Fabric Frames Tutorial
These fabric frames are very versatile. You can make them with as many panels as you want and in any size you need. Having a dinner party? Make a larger frame and slip a card printed with the menu on one side and what’s for dessert on the other. A long series of these panels done in holiday fabric gives you a unique way to display greeting cards on a mantle.
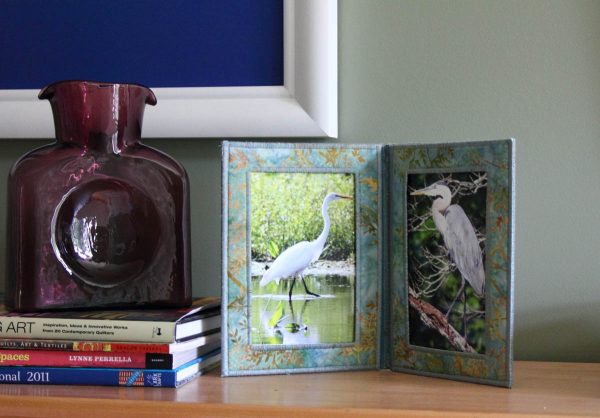
Materials to make a 2 panel fabric frame:
- Timtex – one piece 9″ x 25″
- Fabric for the outside: 9″ x 25″
- Fabric for the inside: 9″ x 25″
- Mistyfuse Fusible Web www.mistyfuse.com
- Chalk marker or disappearing ink pen marker.
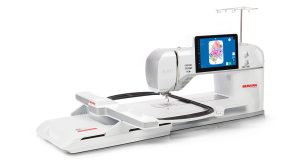
- Your sewing machine. I sew on a BERNINA 750 QE
I used my favorite foot – the BERNINA 34D foot for this project.
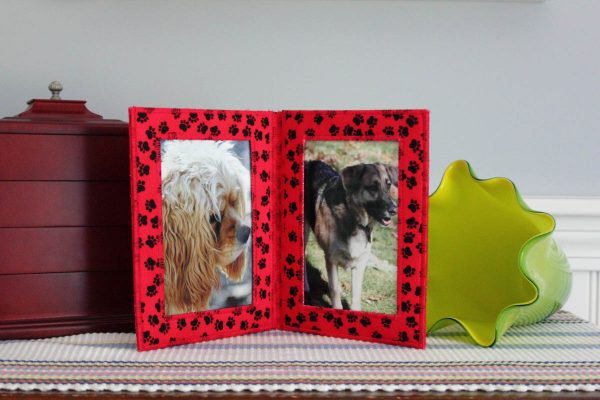
Step 1:
Put a layer of Mistyfuse fusible web on each side of the Timex and then fuse your outside fabric to one side and the fabric for the inside on the other.
Step 2:
Trim the fabric covered timex piece to 8″ x 25″ and then cut the following pieces from it:
Two pieces 8″ x 6″—back panels
Two pieces 8″ x 5 3/4″—front window panels
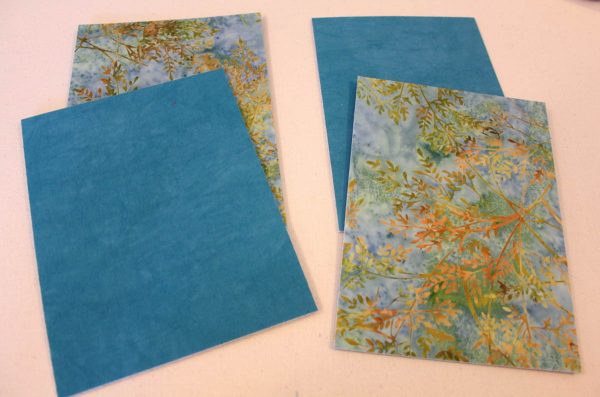
Step 3:
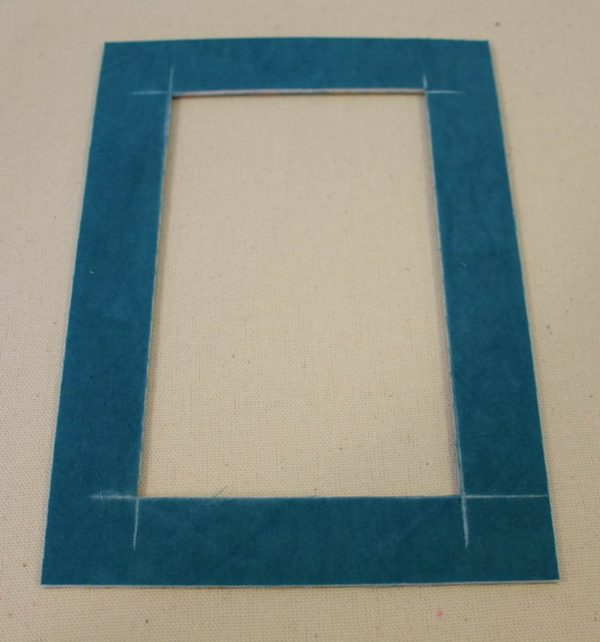
On the wrong (inside) side of the front window panel pieces (8″ x 5 3/4″ pieces) mark a 1″ border all the way around using chalk or disappearing ink pen and cut the inside area out of the panel.
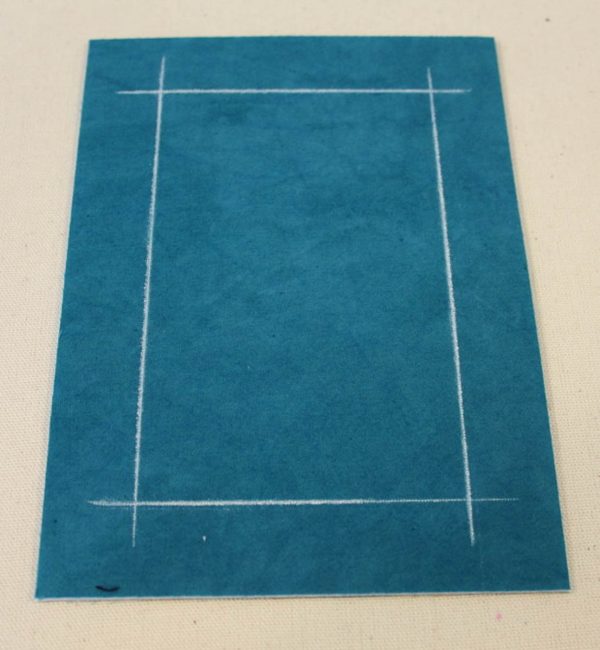
Step 4:
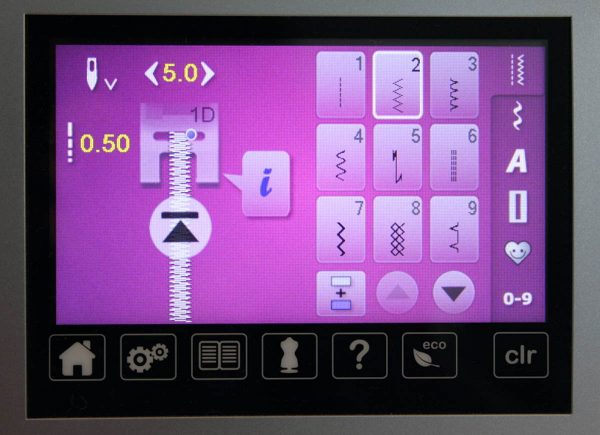
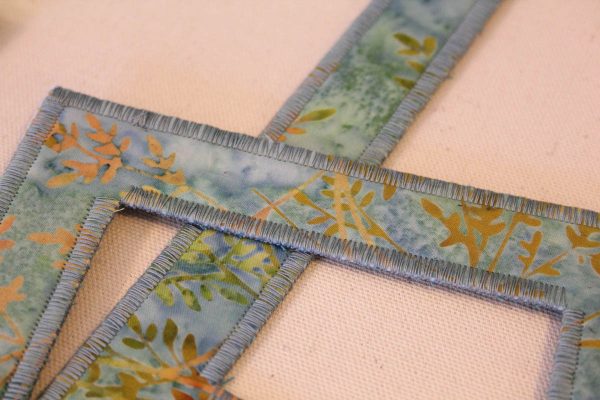
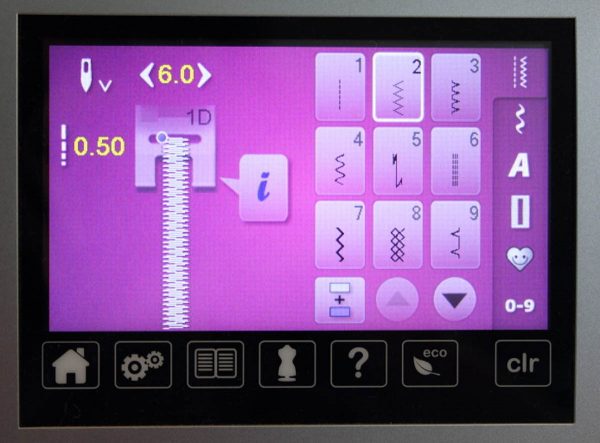
Finish the edges of all the pieces, including the inner edges of the front panel frames using a zig-zag stitch. I set my BERNINA 750 QE to a zig-zag stitch set to 5.0 wide and .50 long and sewed along the edges letting the needle fall just to the outside of each edge so that the thread gets “wrapped” around the edges.
Step 5:
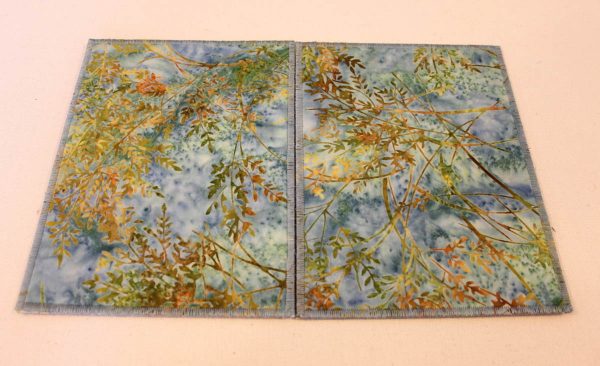
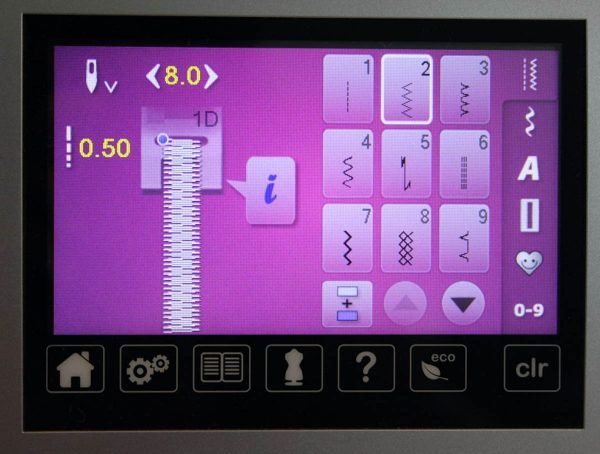
Now it’s time to attach the back panels together. Put the long edges of the back panels against one another and run a line of wide zig-zag stitching down the middle catching both edges. I set my machine up with a 8.0 wide and .50 long zig-zag stitch for this.
Step 6:
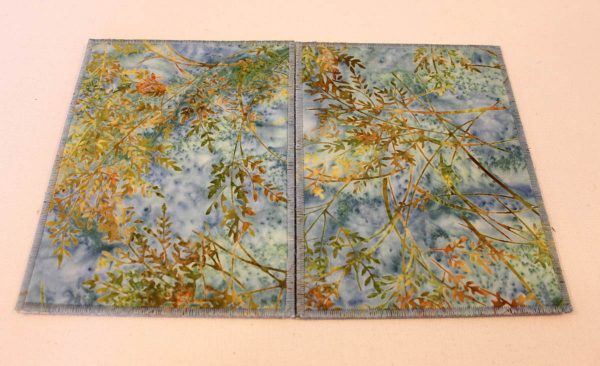
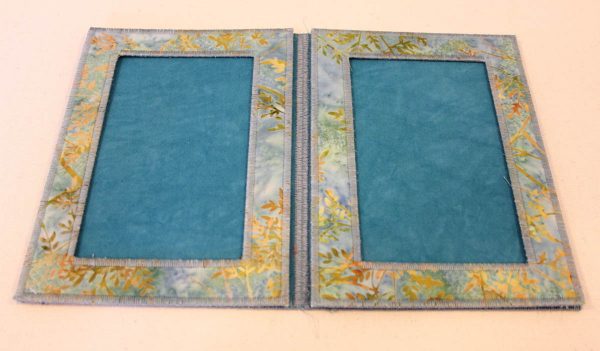
Place the two front panels on top of the back panel aligning the outer and bottom edges. There will be a gap in the center between the two front panels. Use a wide zig-zag stitch and sew the front window panels to the back panel by stitching along the outside, inside and bottom edges. DO NOT sew along the top edge!
Step 7:
Slip your photos in through the top open edge and enjoy!
NOTE: to make a four panel version cut the front panels 8” x 5 1/2” and assembled each panel separately after finishing all the edges with a zig-zag stitch by centering the front panel so that there is a 1/4” border on each side. Sew around the sides and bottom edge of the panel to attach the fronts to the back and then abut each panel next to one another and use a wide zig-zag stitch to sew them together accordion style.
It is give-away time!
One lucky winner will soon be the owner of Sue Bleiweiss’s new book, Colorful Fabric Collage, for more bright and colorful projects.
Just tell us for what occasion you would create this fabric frame by leaving a comment in this post.
The winner of the book will be chosen randomly on November 13, 2015! Good Luck!
Congratulations to Sandra Walker from CA, the lucky winner of Sue’s book “Colorful Fabric Collage: Sketch, Fuse, Quilt!”.
What you might also like
16 comments on “Fabric Frames Tutorial”
-
-
These are all occasion and I’d use them for that, every holiday, birthdays and fun days!
-
yes what a lovely idea for all kind of gifts thank you
-
Two of my nieces have recently had babies – these would be a perfect gift!
-
Resized, these would be perfect for this long photo Christmas cards from family! I would make the four-panel version in winter fabrics. Love the design!
-
Our grandson just delivered new pictures of our 3-yr old great grandson. I plan to put them in the fabric frame. What fun!
-
What a great idea for any occasion! First, I would make some for Christmas, but why stop there?
-
My husband is an amateur photographer. I will make some of these for his favorite photos.
-
Christmas would be a great time to do these with some sparkly Christmas fabric and metallic thread.
-
What a great idea! Would love to make some to put my Xmas cards in❗️?
-
I would make it with doggy fabric and give it to my son and his wife who have two super dogs and love them dearly for Christmas. This project couldn’t come at a more perfect time as I am doing my Christmas sewing as we speak! Love it.
-
I will make this doggy frame as a gift to all my Teammates whose dogs have earned Titles. The fabric will match the colors of the ribbons earned. Fantastic project‼️Thank you very much for sharing❤️
-
For any old reason – just because I felt like it and of course any occasion. What fun gift.
-
Yeah! — I’m so excited to have found my Christmas-Chanukah gifts to make. I’m always leery to make clothing for others, out of fear that I’ll hurt their feelings with the wrong size. This frame is a fantastic idea that seems realistic to me, based on my skills, time constraints, and money limits. Thank you!
-
I’d use this frame for pictures of my granddaughters.
-
I would make one for each guest at the wedding rehearsal dinner – and I would put the engagement photo in one side, leaving the other side open for inserting the wedding photo!
Leave a Reply
You must be logged in to post a comment.





I would definitely make these as Christmas gifts………or birthday gifts………or baby shower gifts…………or……….