Fabric Storage Bin Tutorial
Hello Sewing Friends,
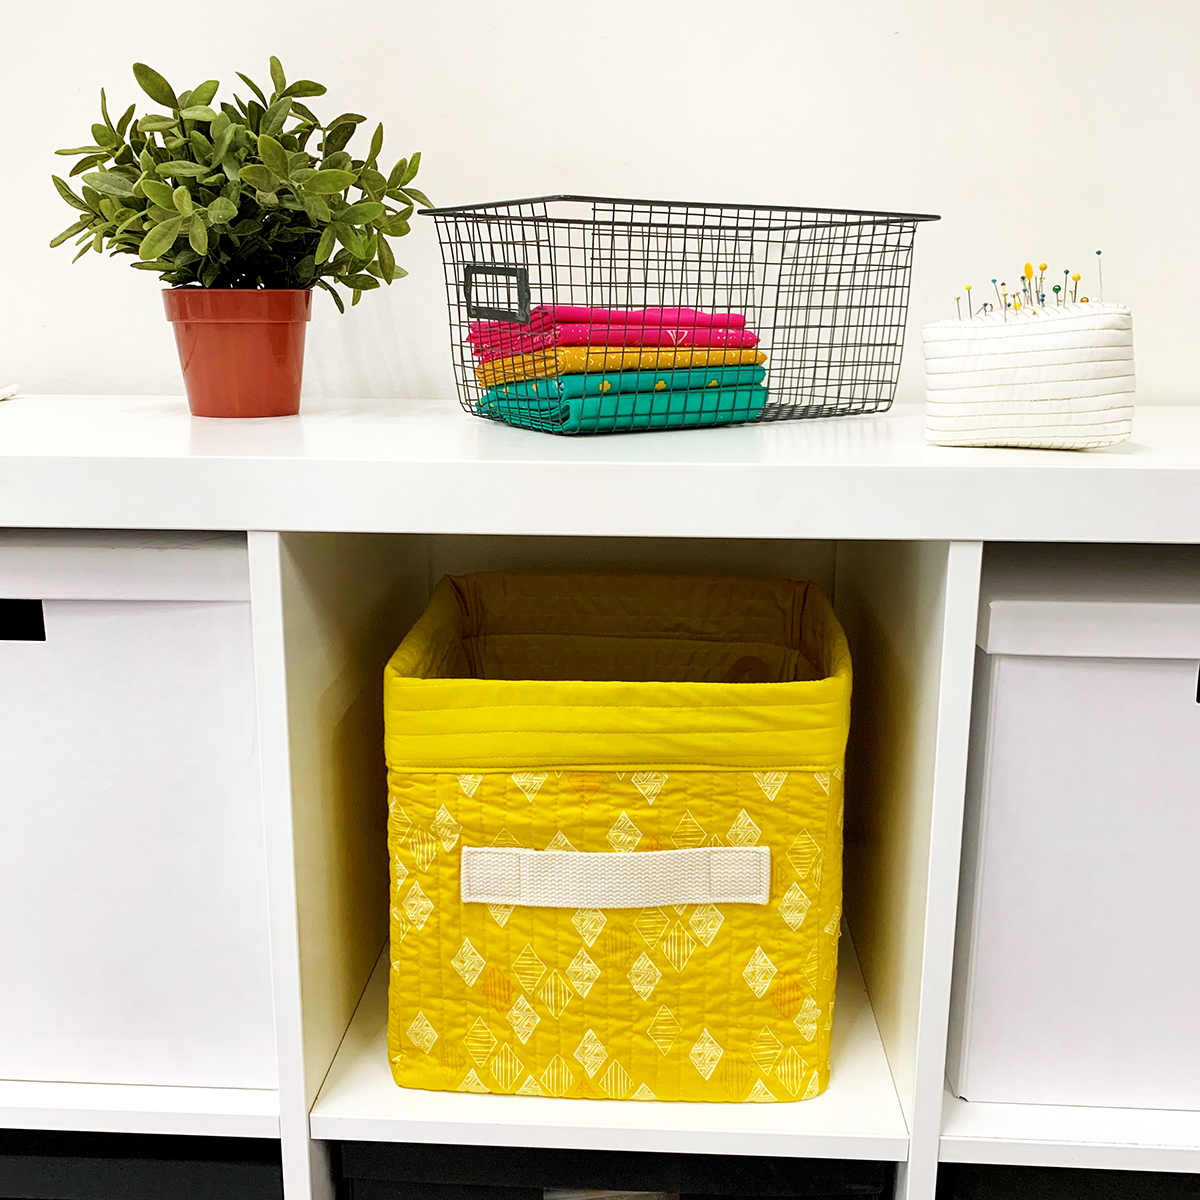
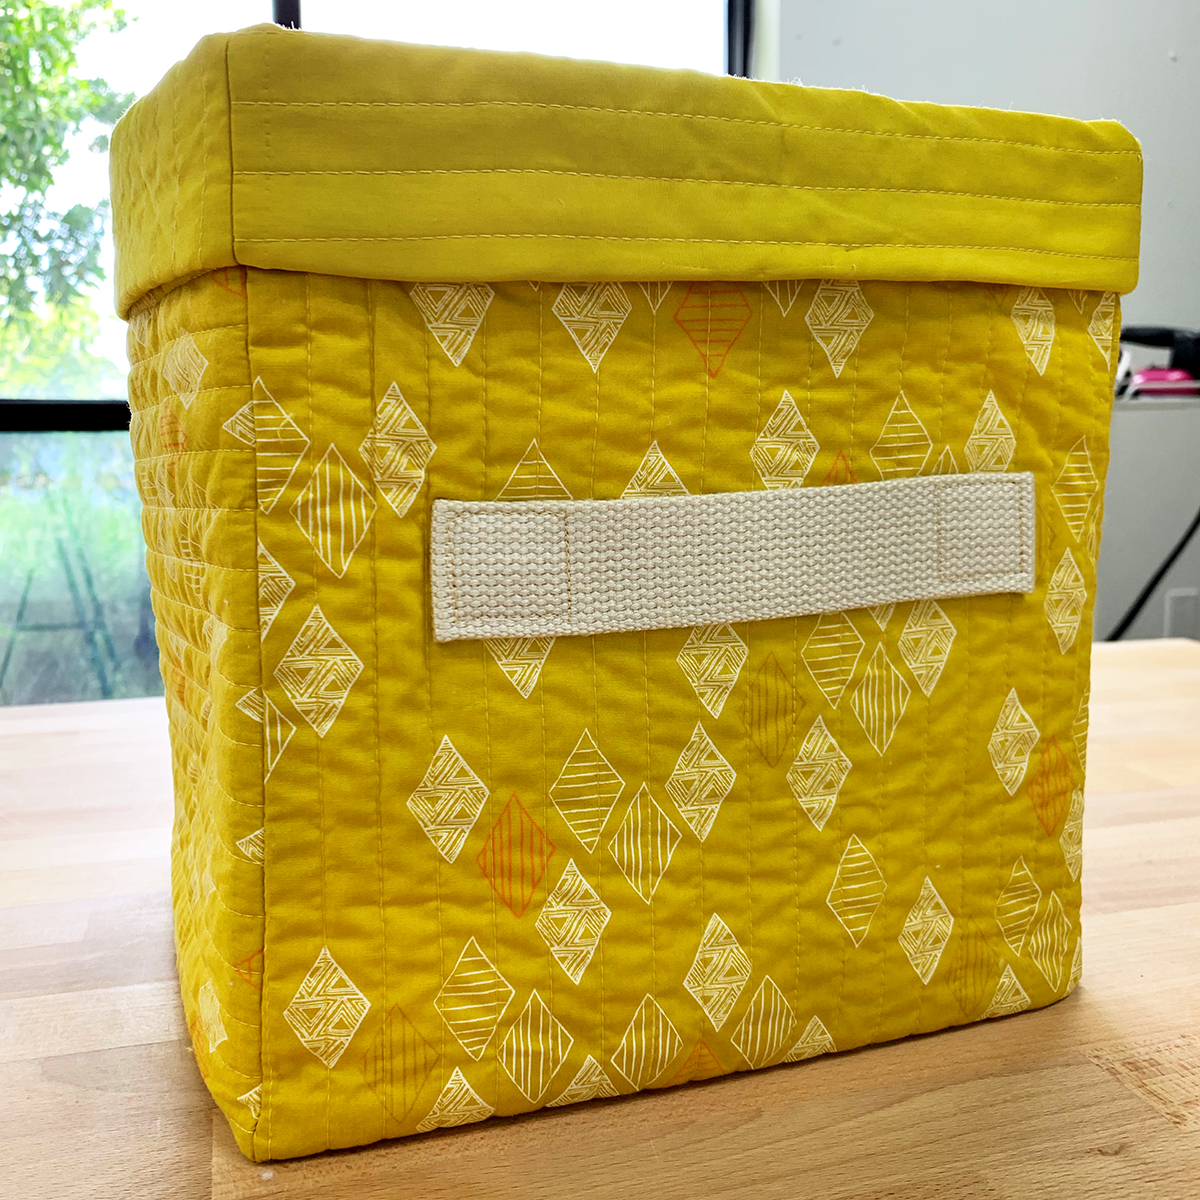
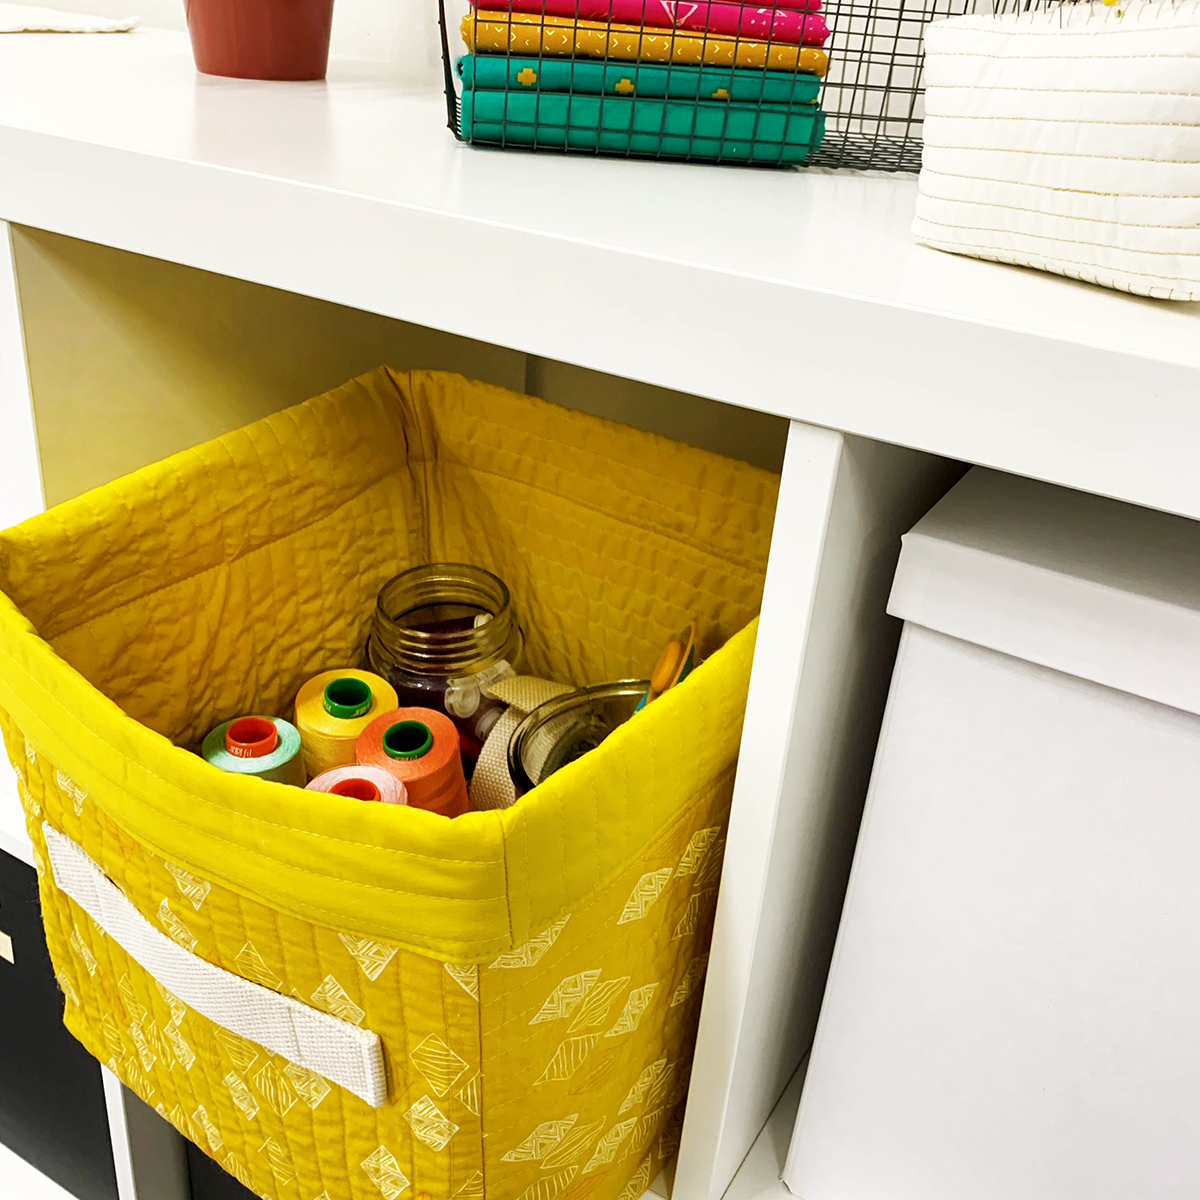
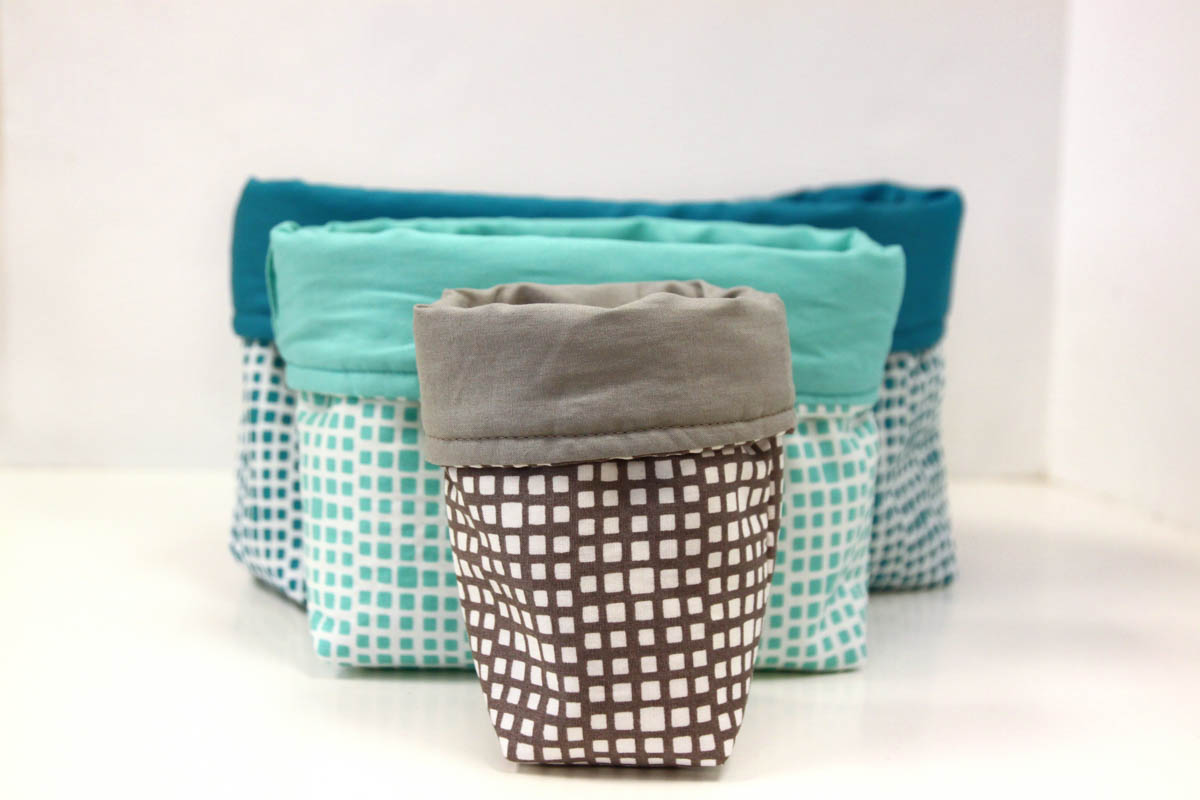
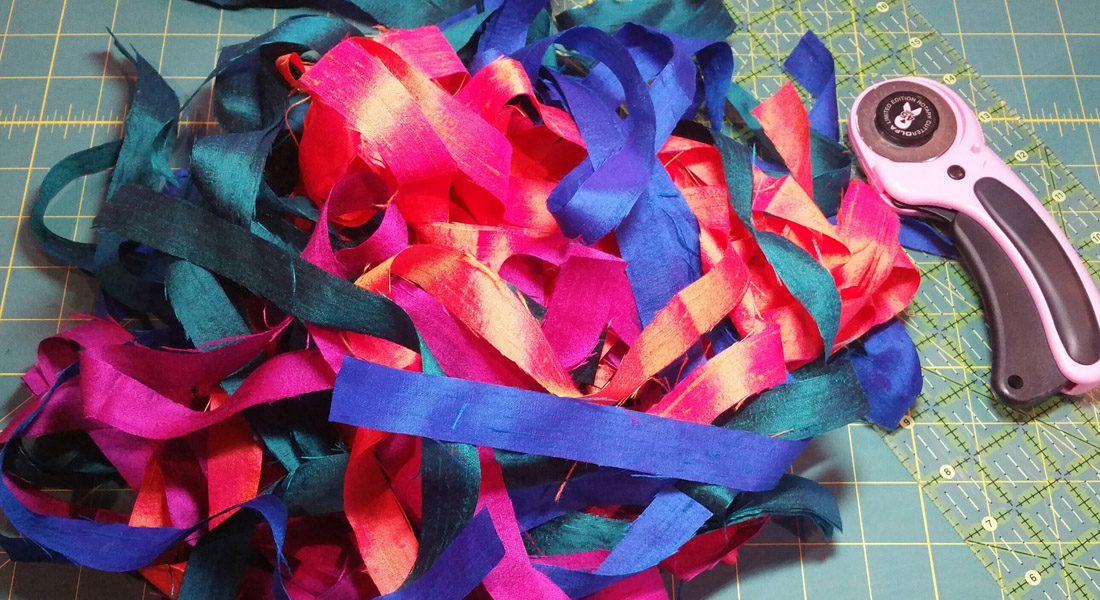
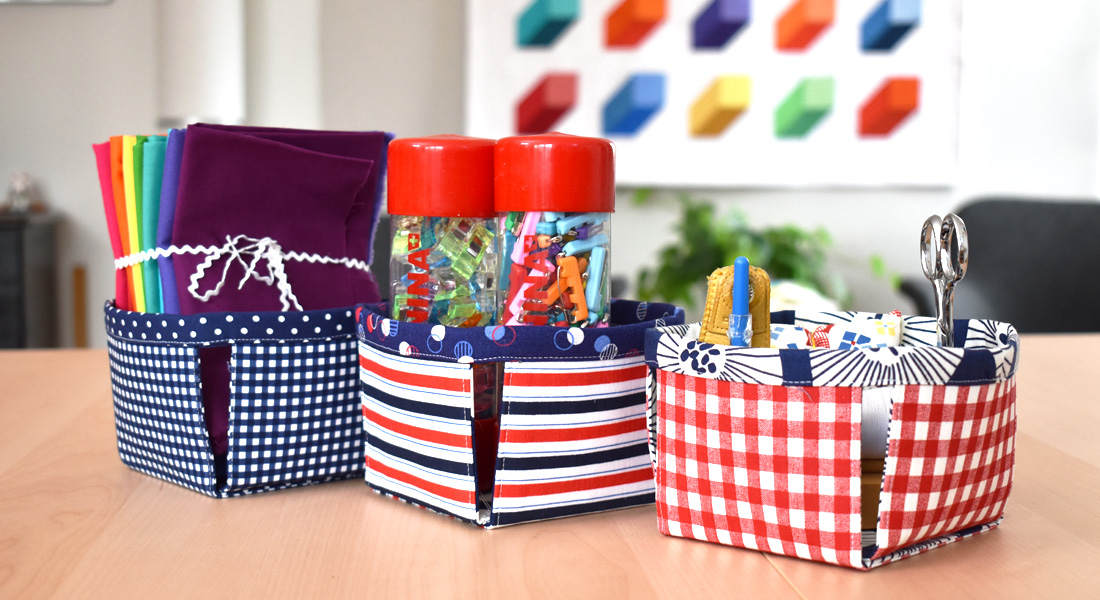
Organizing and keeping an orderly space to work, sew, and live are super important for creative minds to flourish. This is why I wanted to create a great tutorial to help all of you stay tidy in style by sewing up a Quilty Storage Bin to add to any room or space that needs straightening. I made my storage bins with my collection called Matchmade. This collection is special to me because I meticulously curated this special line of blenders to coordinate back with all of my existing collections. It comes in four distinctive color groups, Berry, Gold, Foliage and Midnight! Have fun making a Storage Bin in ever color or make them all in your favorite color group.
I decided to create my Storage Bin using the “Quartz Gold” print because I think this mustard tonal diamond print is perfect for the Autumn months ahead. I paired this print with Art Gallery Fabrics “PURE SOLID”, “Empire Yellow”, for the lining of my bin. Enjoy the step by step instructions below and happy organizing!
Materials to Make a Fabric Storage Bin
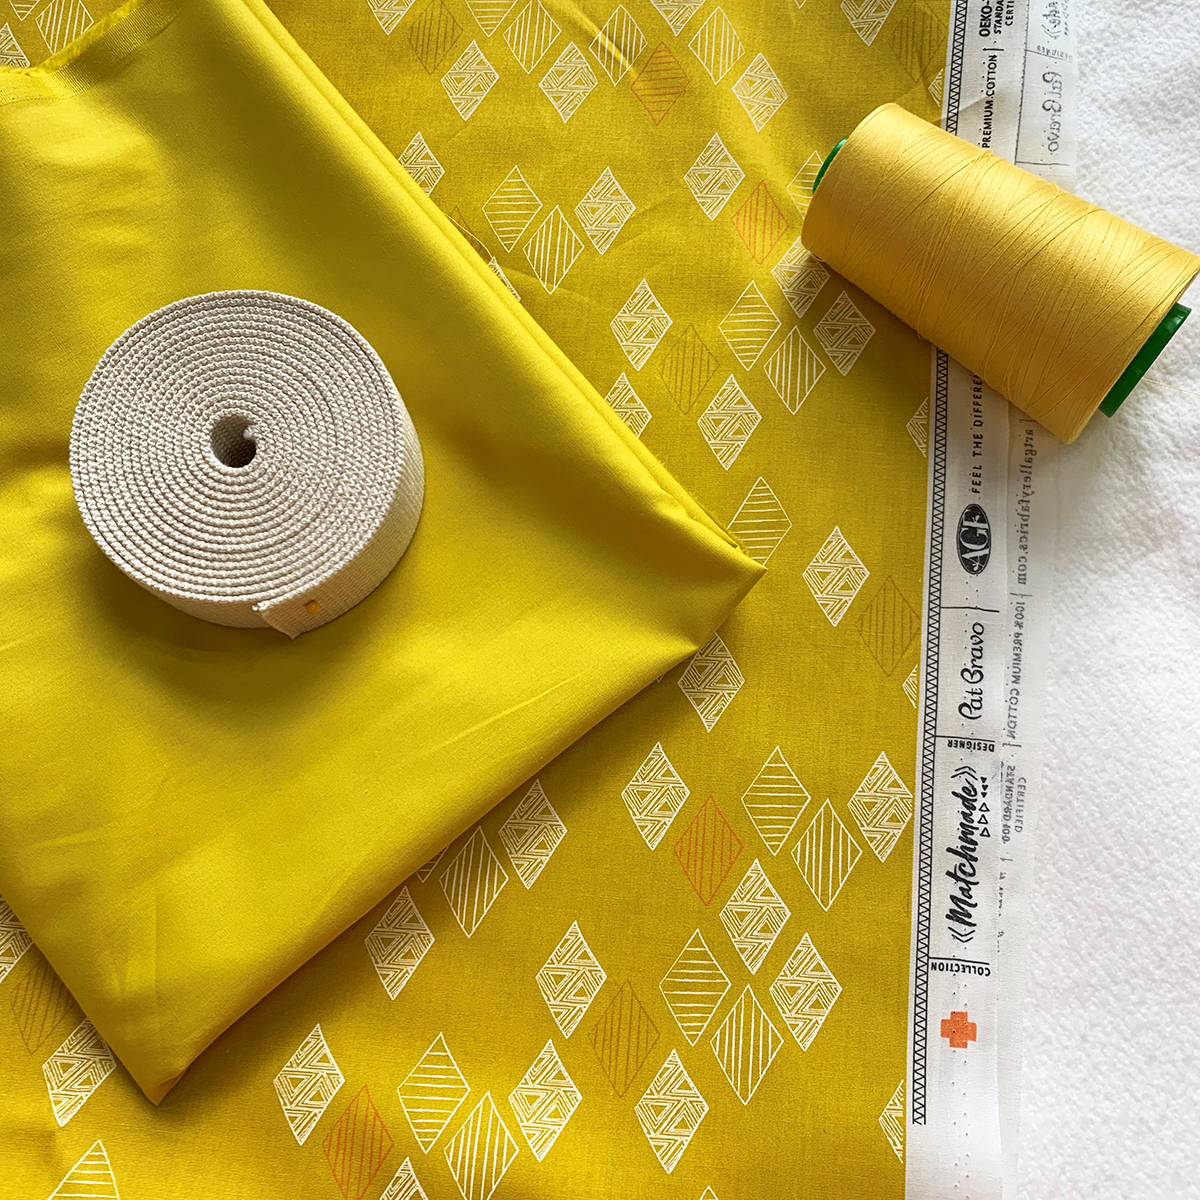
- Fabrics
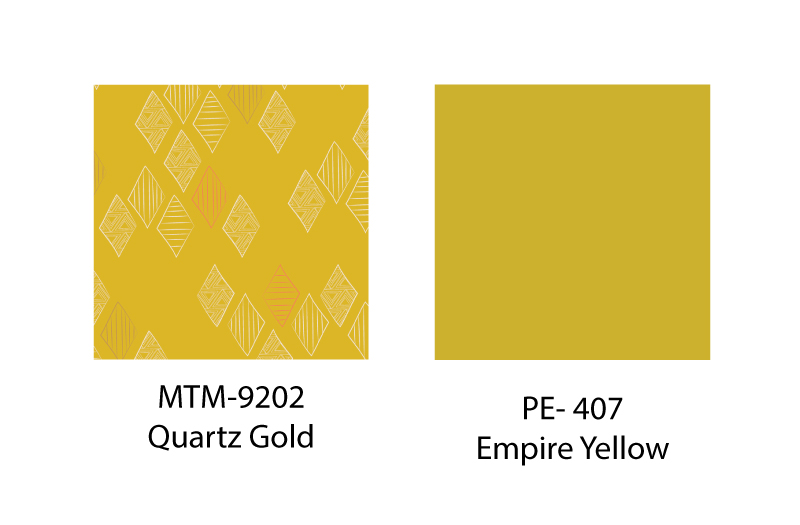
Fabric A- MTM- 9202
Fabric B- PE-407
- Hard Fusible Interfacing
- Quilting and Sewing thread
- Batting
- 10″ long Cotton Webbing
- Wonder Tape (Optional)
- Reverse pattern foot #1D
Cutting Directions
Cut the following pieces from fabrics:
One (1) 36″ x 36″ square from Fabric A and B
Two (2) 38″x 38″ batting pieces
Six (6) 9″ squares from hard fusible Interfacing
One (1) 10″ long strap
Note: Feel free to cut out pattern pieces before quilting if you desire. I wanted to quilt my piece
first, because I found it easy to quilt and I could use the leftover squares of fabric for the base of my
storage bin or use them to add side pockets to my bin.
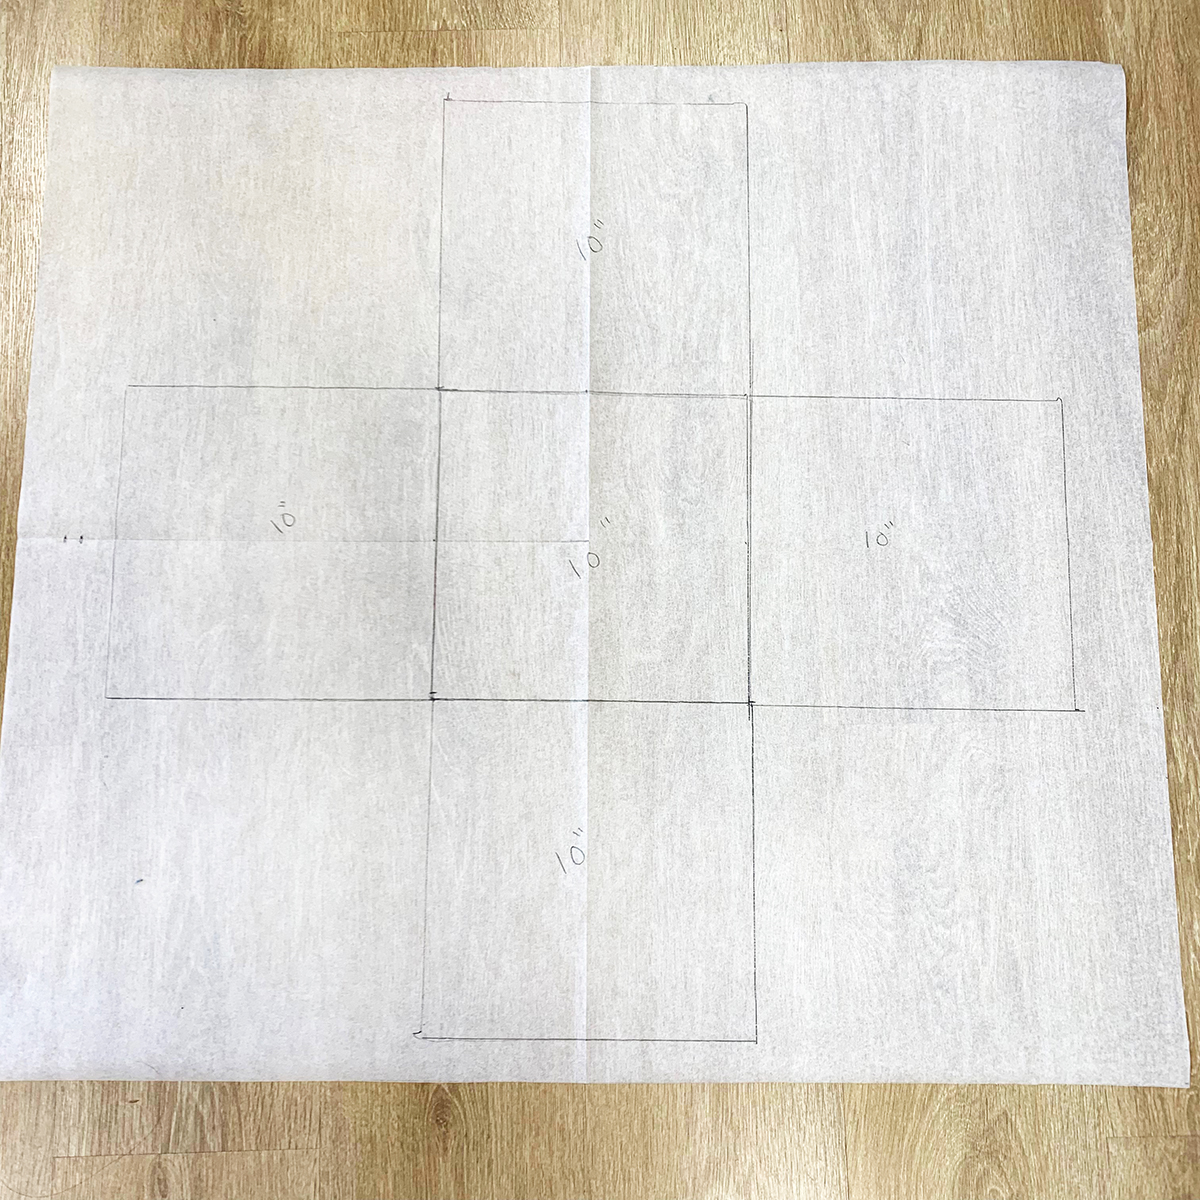
Creating the Pattern Pieces
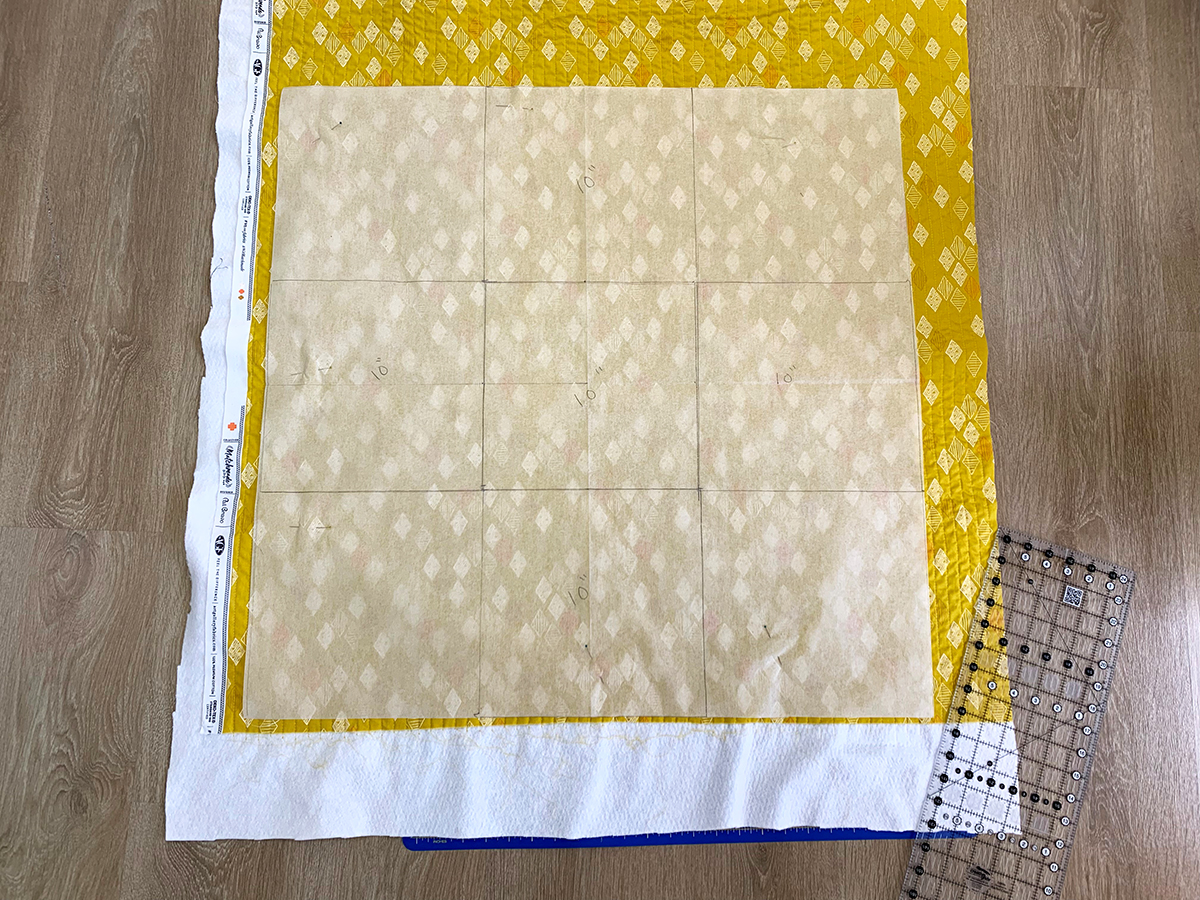
On a large sheet of pattern paper, draw three 10″ squares in a row horizontally. Then draw two more squares in the center top and bottom following the picture below.
Step One- Quilting and Preparing Fabrics
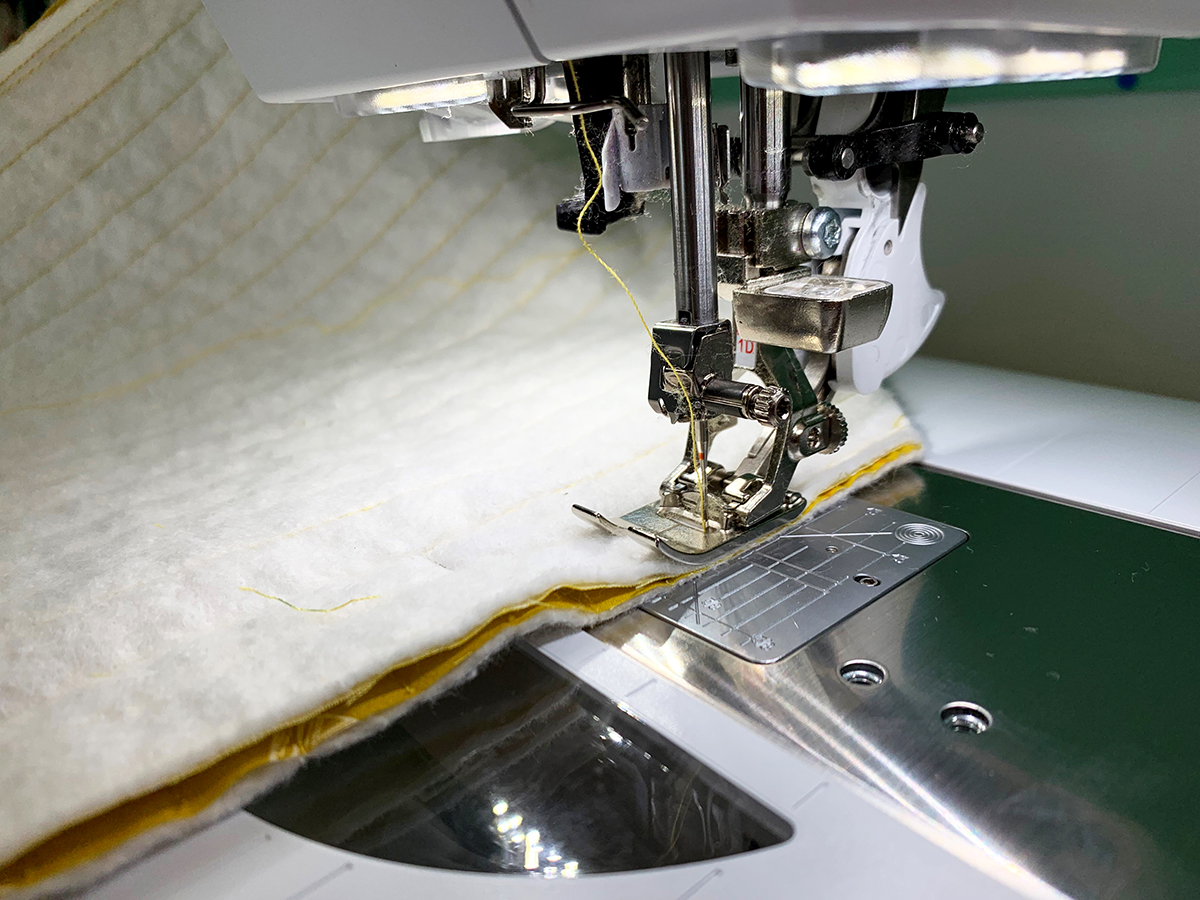
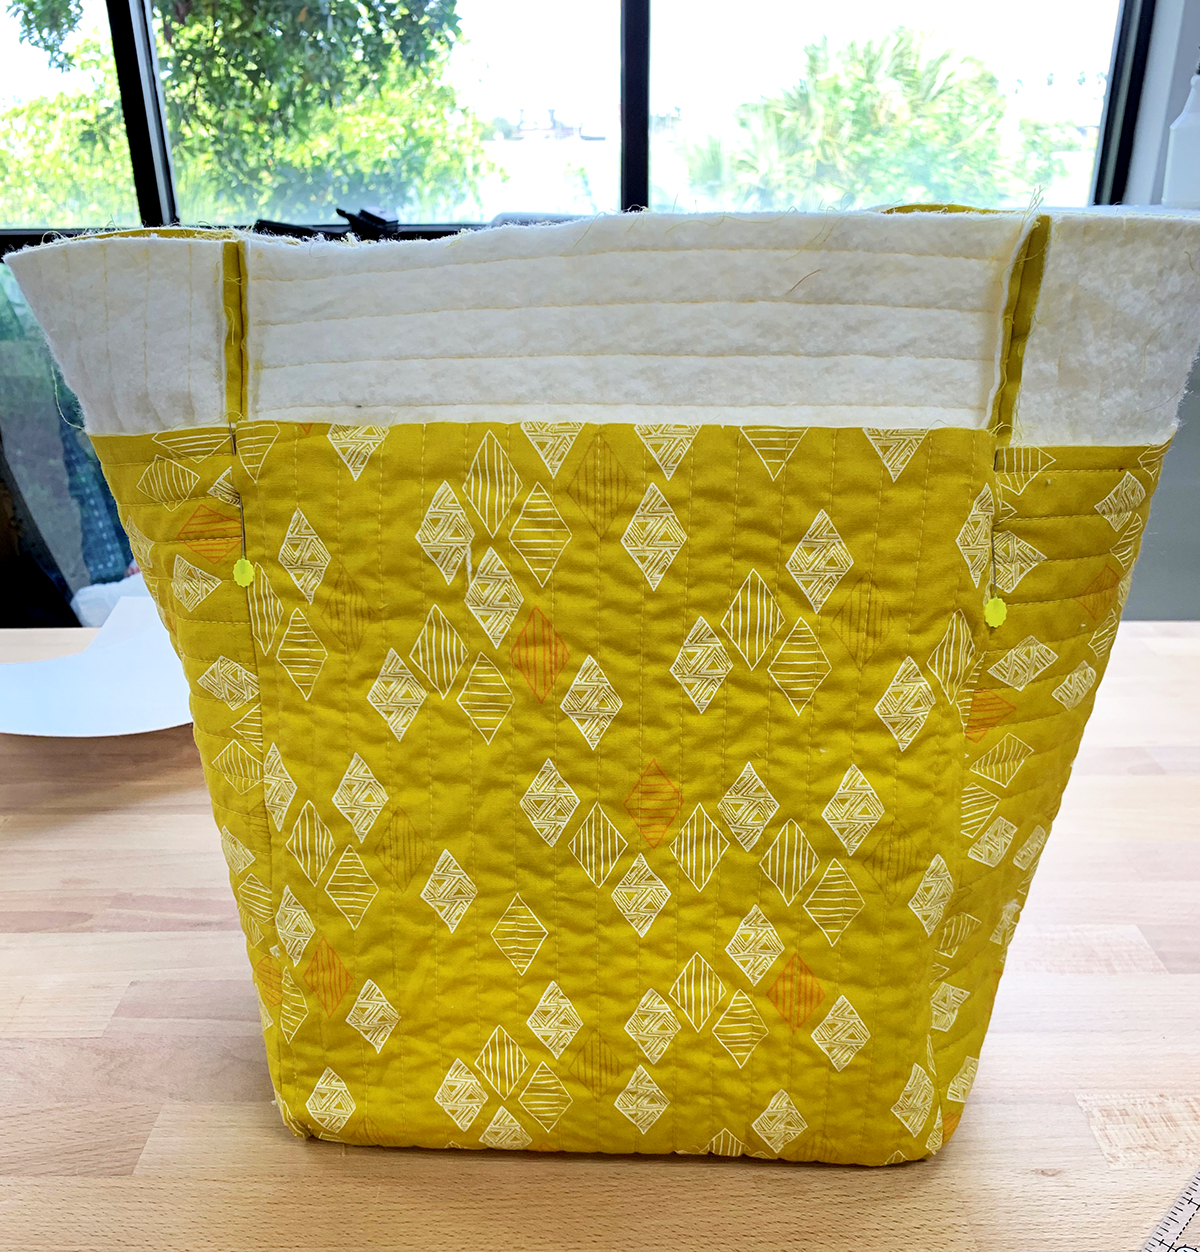
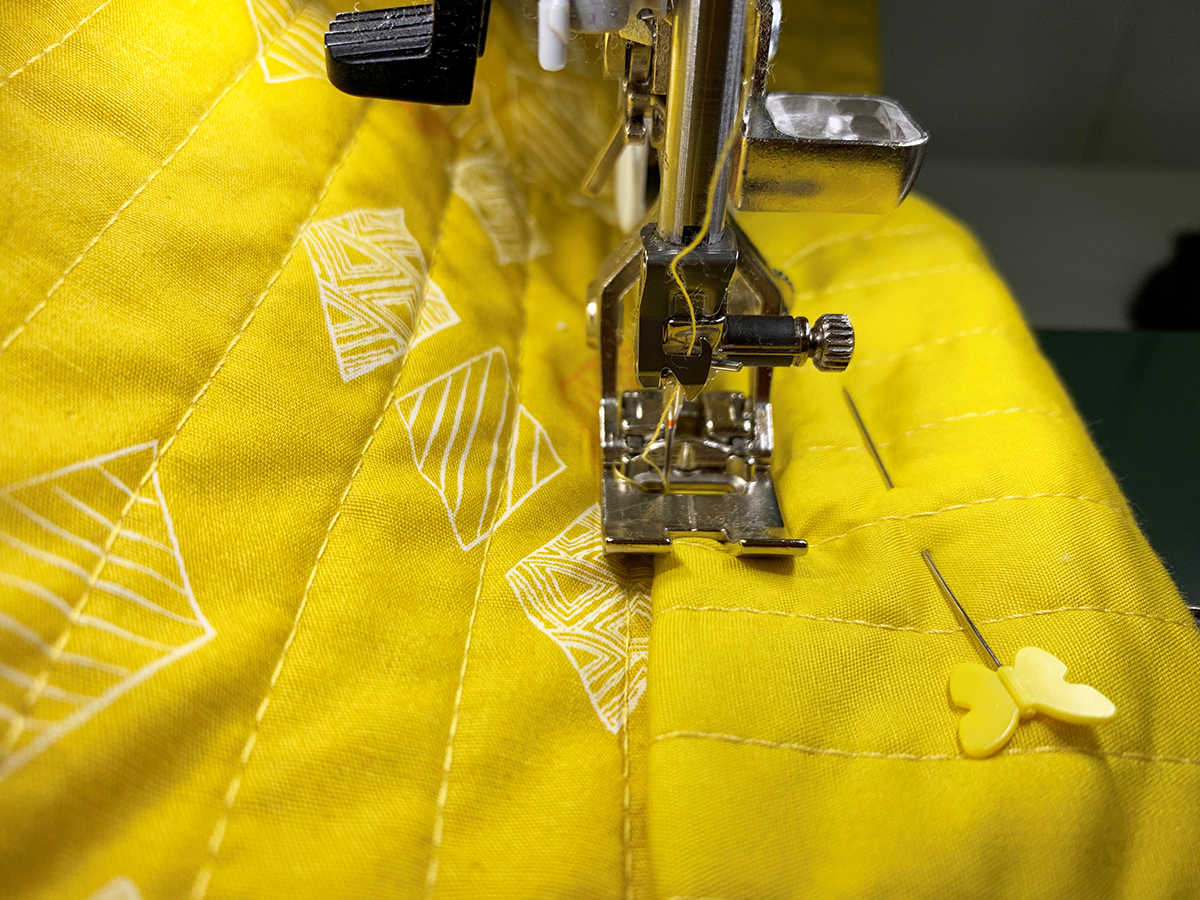
Place your 36″ squares of fabric on top and centered on your batting pieces. Baste pieces together as desired. I wanted a straight line quilty look for my bins so I found the center of my fabric and marked a straight line as a guide for my first stitch line.
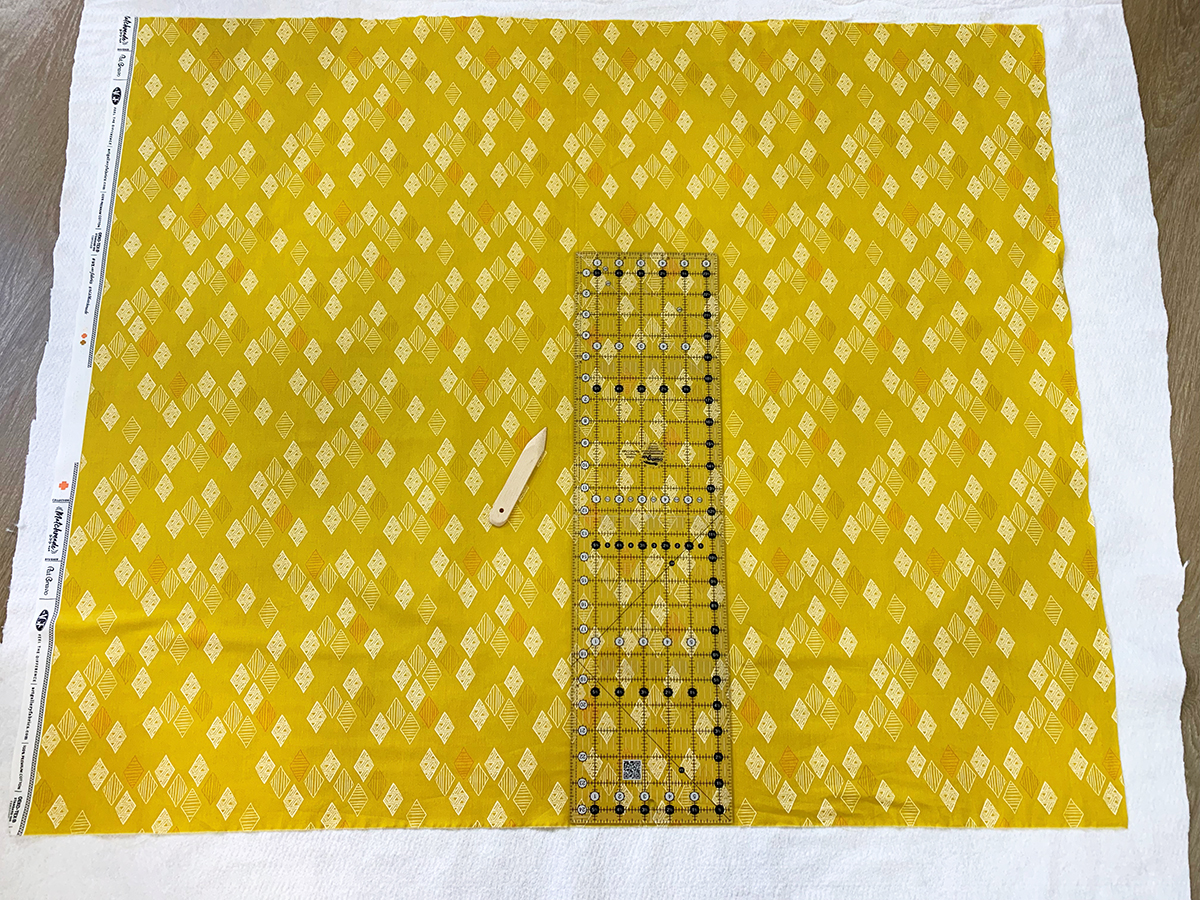
Using my Reverse pattern foot #1D I am able to engage the Dual Feed system on my machine which makes for effortless quilting and perfect stitch lines. With the dual feed activated I quilted my first stitch line and my remaining stitch lines, I used my first line as a guide spacing my lines about a 1/2″ apart.

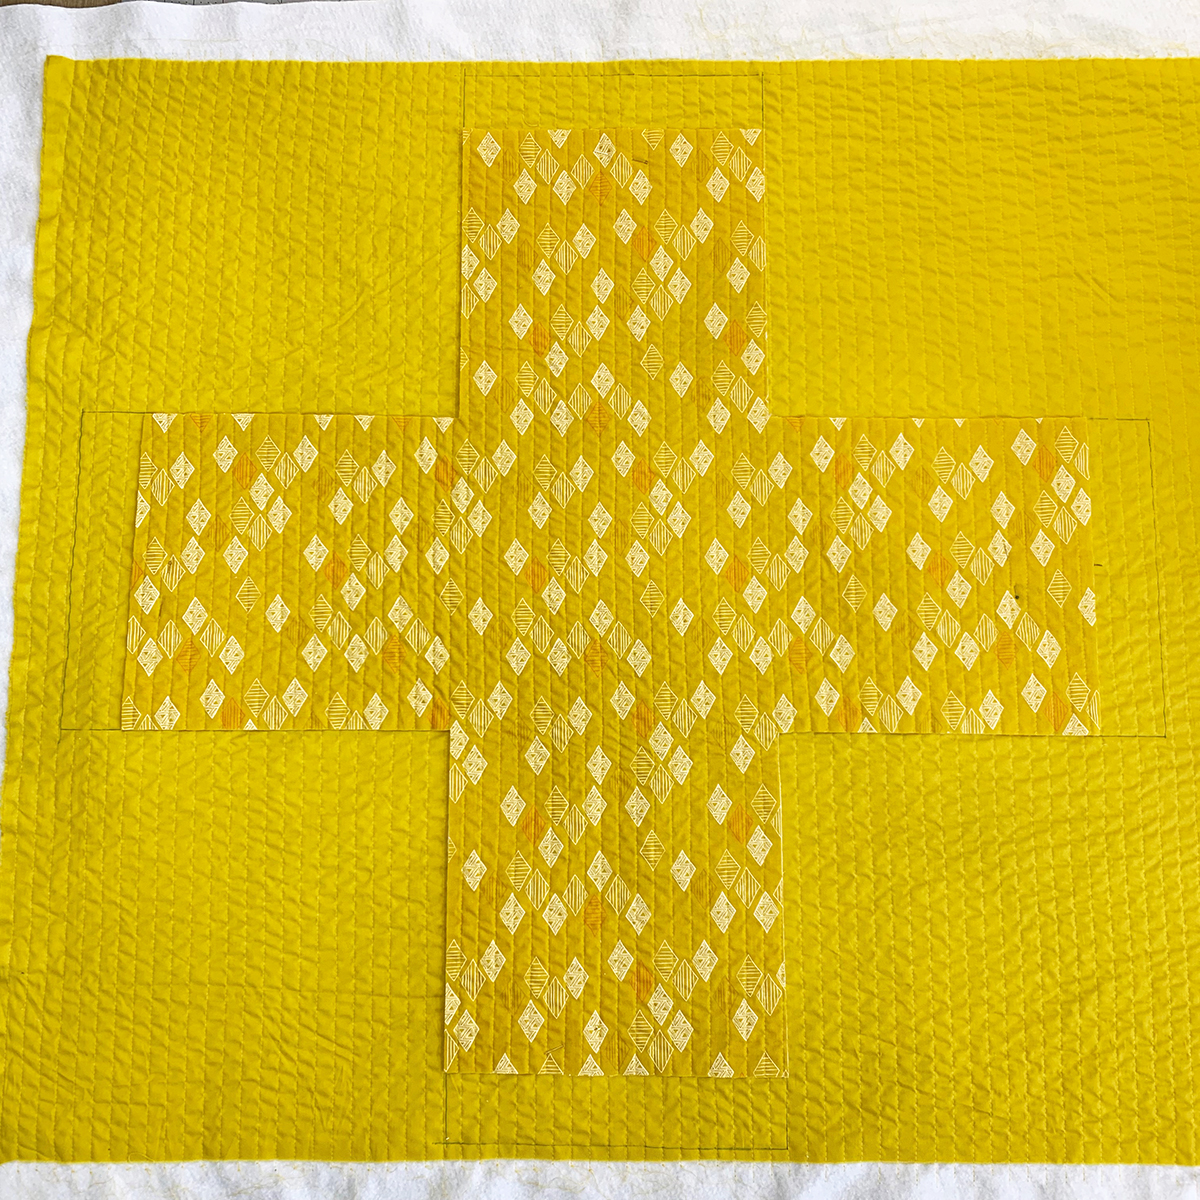
Repeat this process with both your exterior and interior pieces. The more quilting you do the more structure your bin will have.
Step Two- Cutting out your Pattern Pieces
Place your pattern on top of your exterior quilted piece. Cut on your pieces following the outlines. To create your main pattern piece and four squares we will be using two of these squares to create the hard base of our bin. Feel free to use the other leftover squares to create side pockets on your bin.
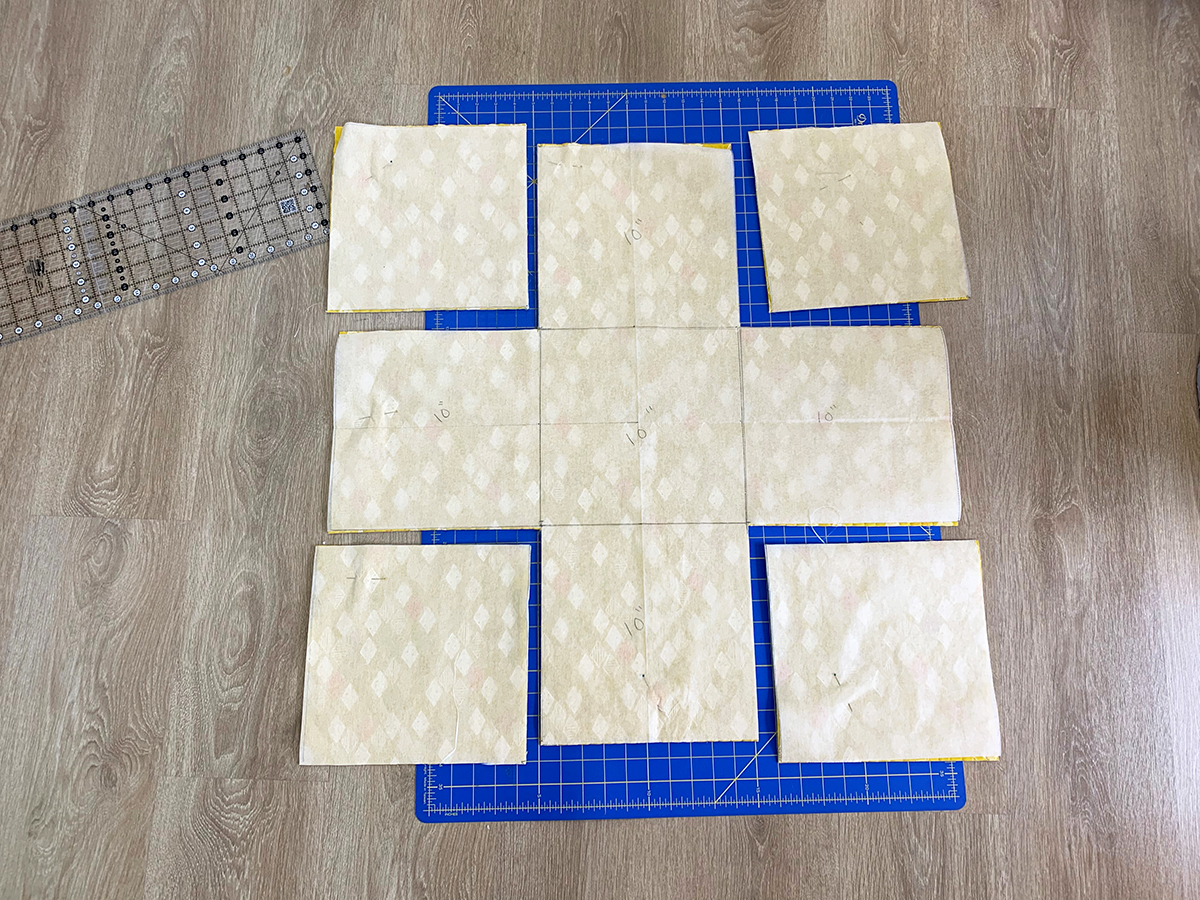
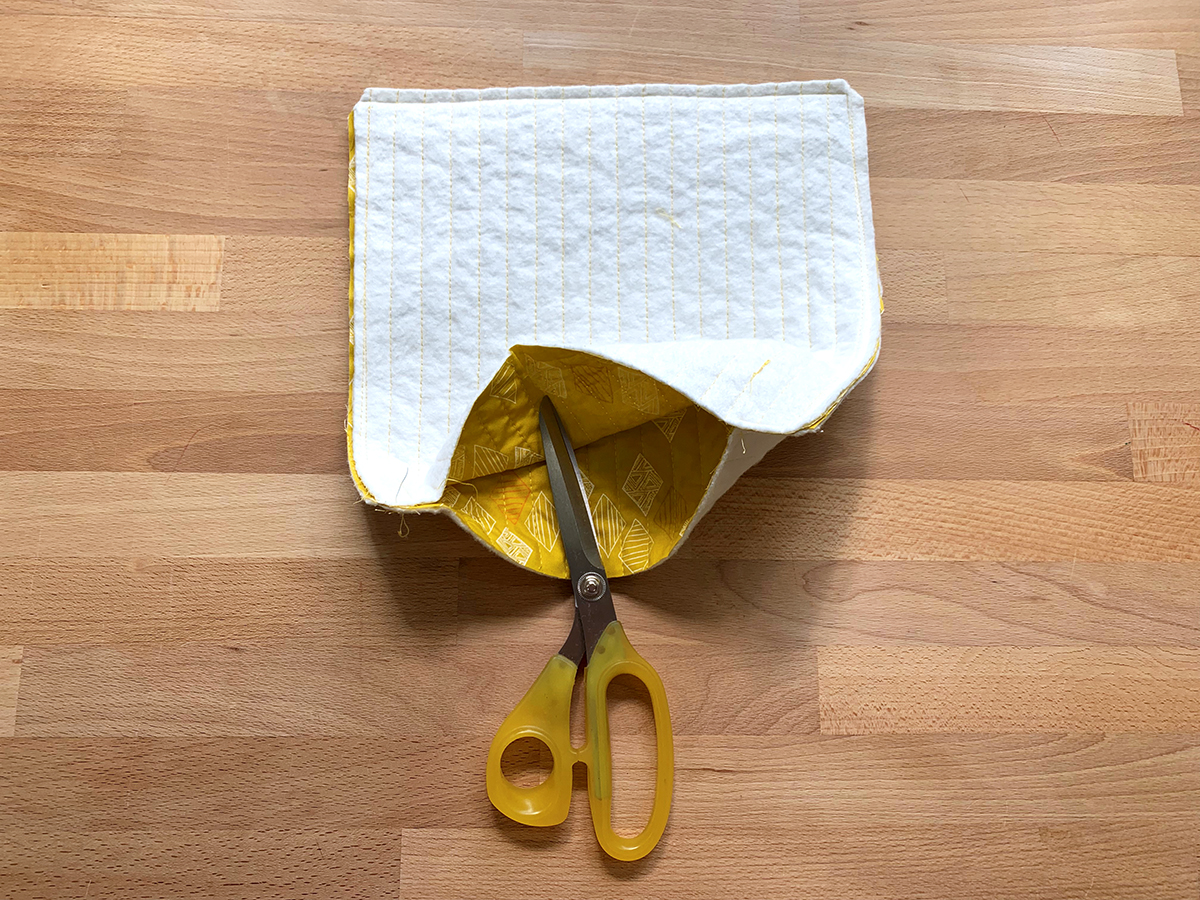
To cut your lining piece use your exterior piece as a template making sure you add 2 1/2″ to the top on each side of your bin. (follow the picture below)
Step 3- Bin Construction
Line up and sew at 1/4″ on each of your sides seams on your exterior and lining pieces. Press your seams open.
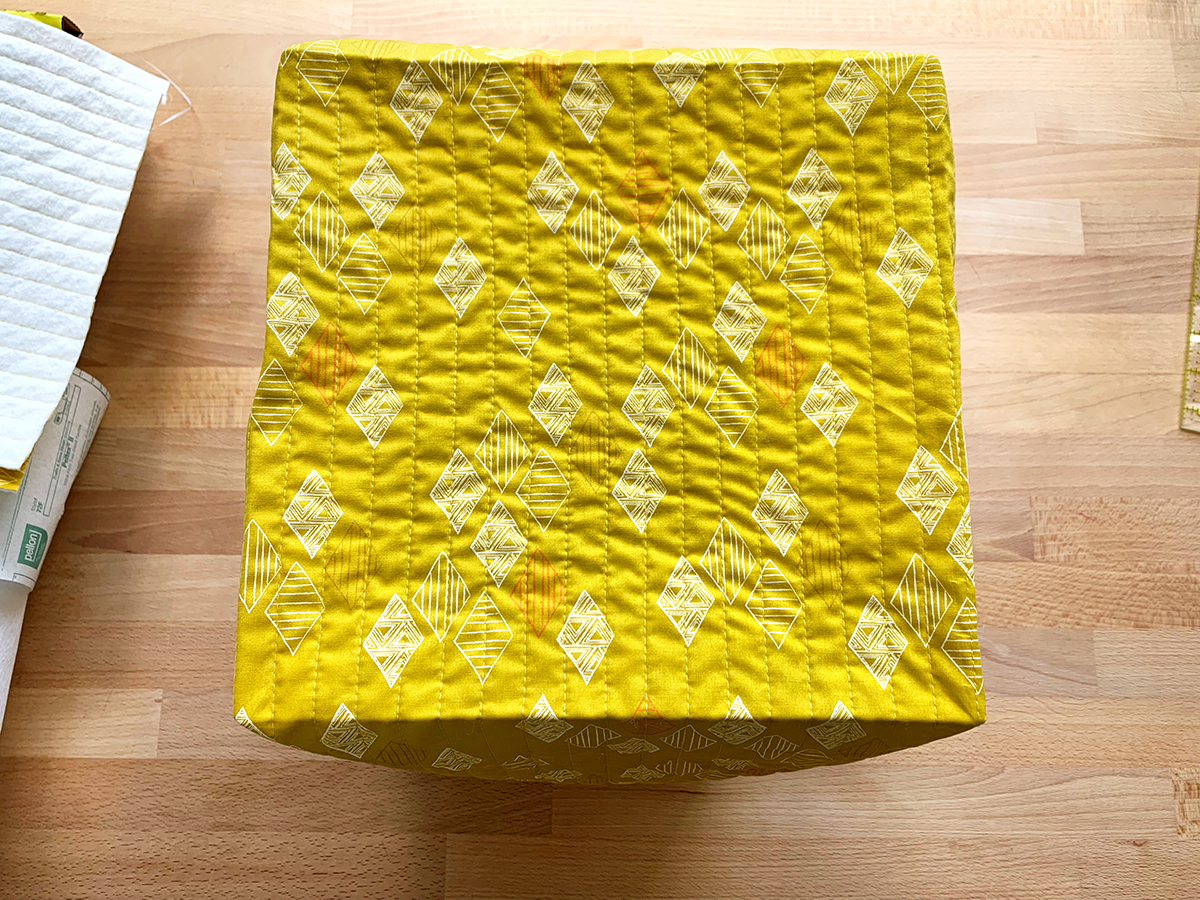
Press crease marks with your iron to create a box formation, for more structure stitch on these crease lines. I found it easier to take the slide on sewing table off my machine for this part.
Place a 9″ hard fusible at the bottom of your exterior piece and fuse into place.

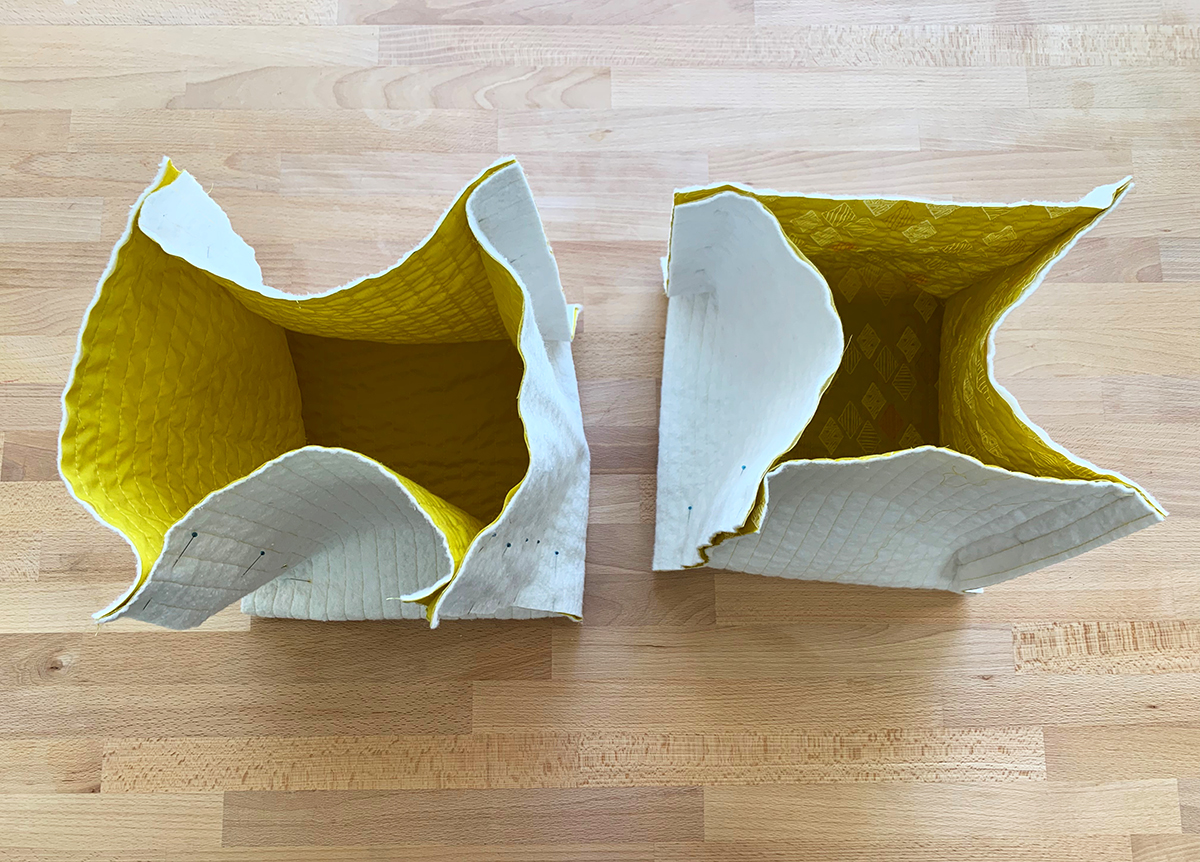
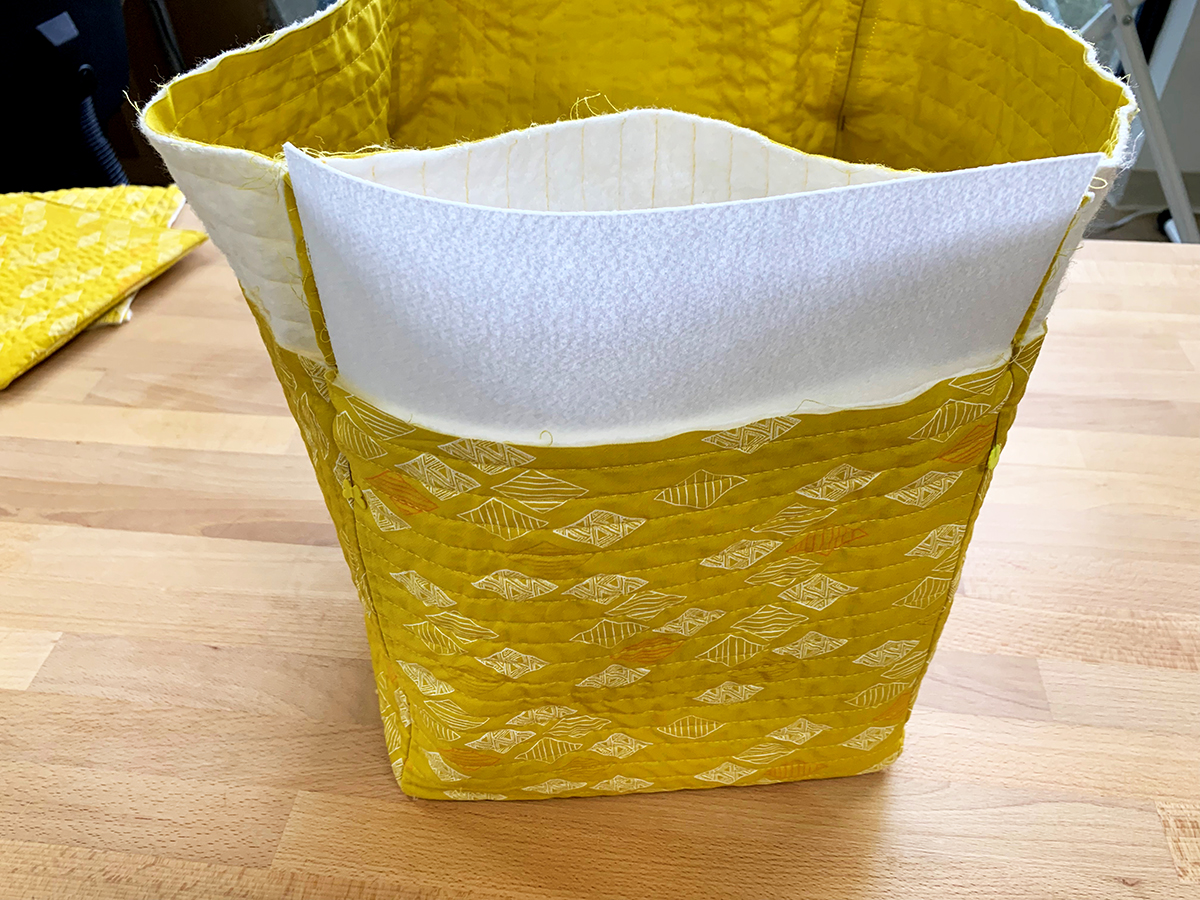
Place your lining into your exterior bin making sure wrong sides are touching. Tuck down each of the corners and make sure side seams match up.
Pin your side seams into place and insert your remaining 9″ hard fusible squares into each side of your bin, making sure to tuck down fusible to the base of your bin. Once your fusible pieces are placed, fuse into place.
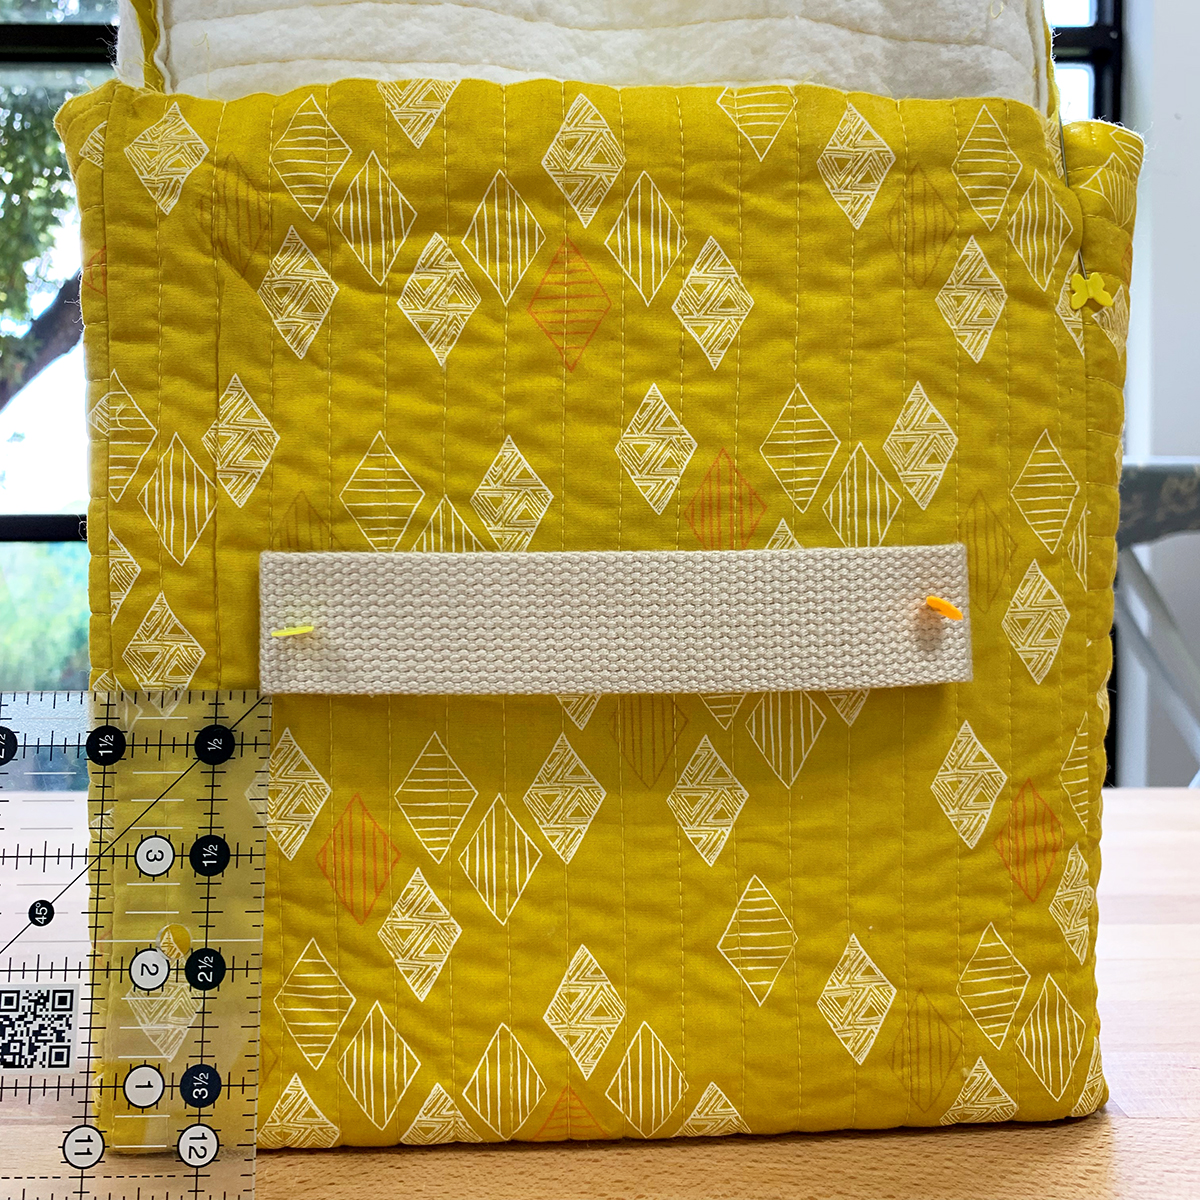
Step 4- Creating the Handle
Take your 10″ cotton webbing and fold in your ends at about 1 1/2″. Pin or use wonder tape to temporarily secure your handles about 1 1/2″ in from the sides and center in the middle of your bin.
Secure your handle into place by sewing down your ends in a square using a triple stitch to create a strong handle.

Step 5- Creating the Folded Top
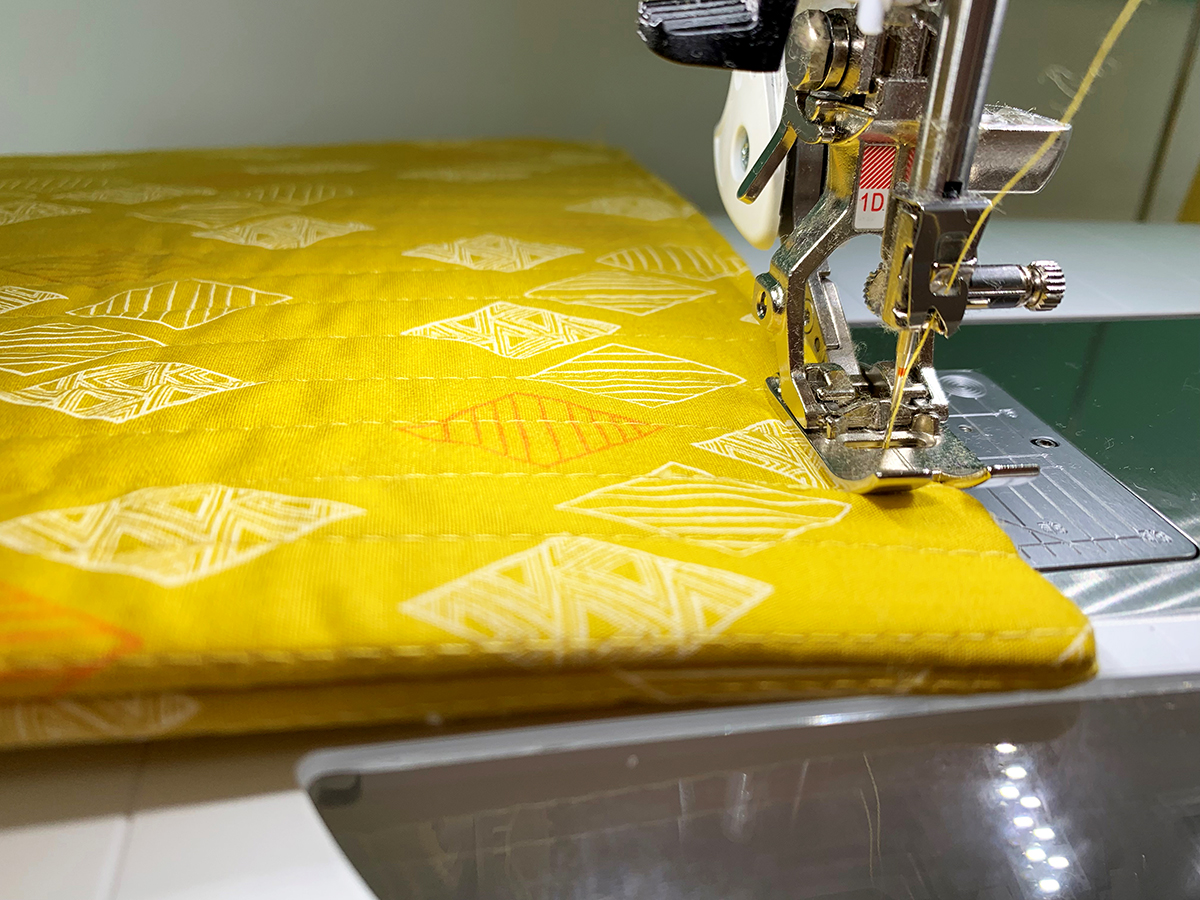
To create the color blocking fold over on the top of your bin, press your raw edges under at 1/2″. Then fold over your excess lining over your exterior bin and pin into place.
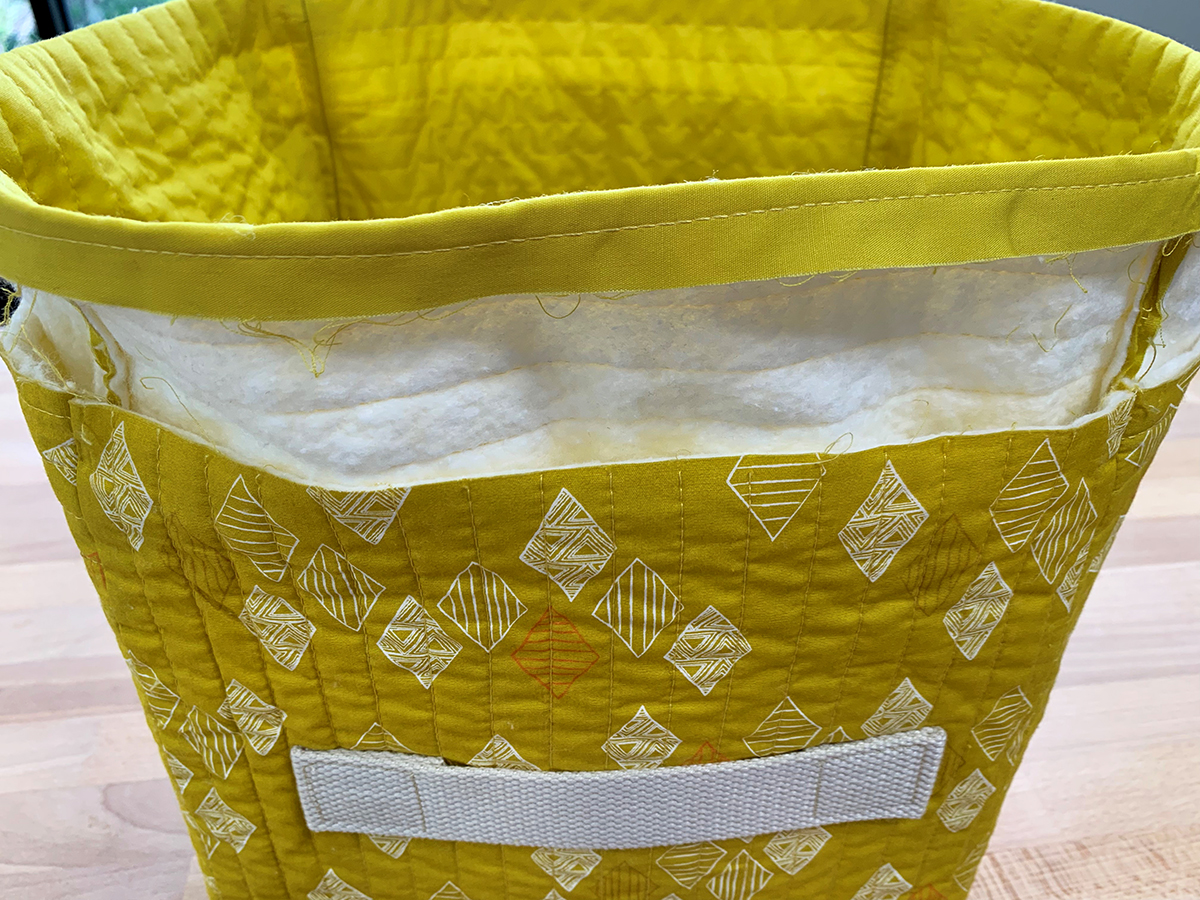
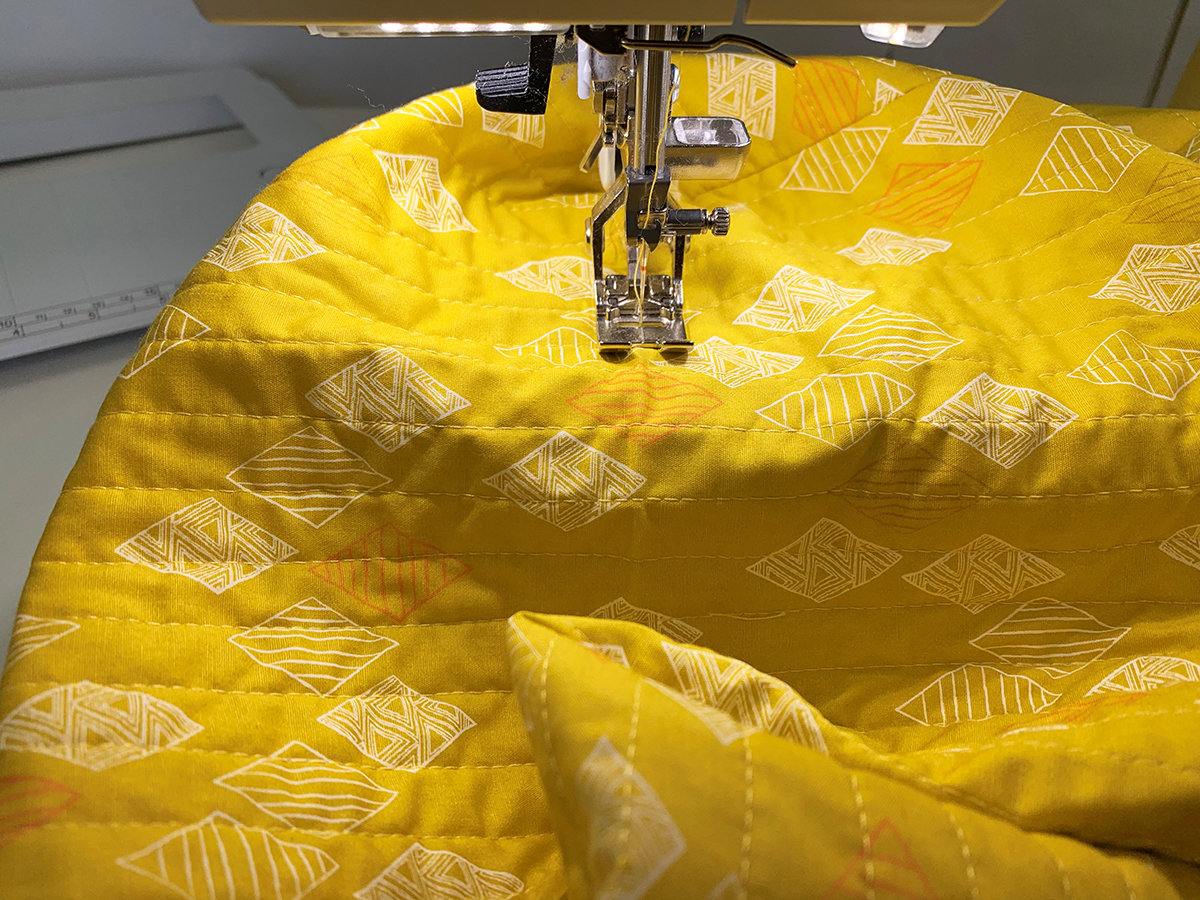
Topstitch as close to the edge as possible to secure your folded edge. I love using a larger stitch length for all my topstitching because I think it leaves a more professional finished look.
Step 6- Creating the Base
The last step is to create a hard base to place at the bottom of your bin for added structure. Take two of your 10″ squares you cut when you cut your exterior pattern piece and sew right sides together leaving a small unsewn portion.
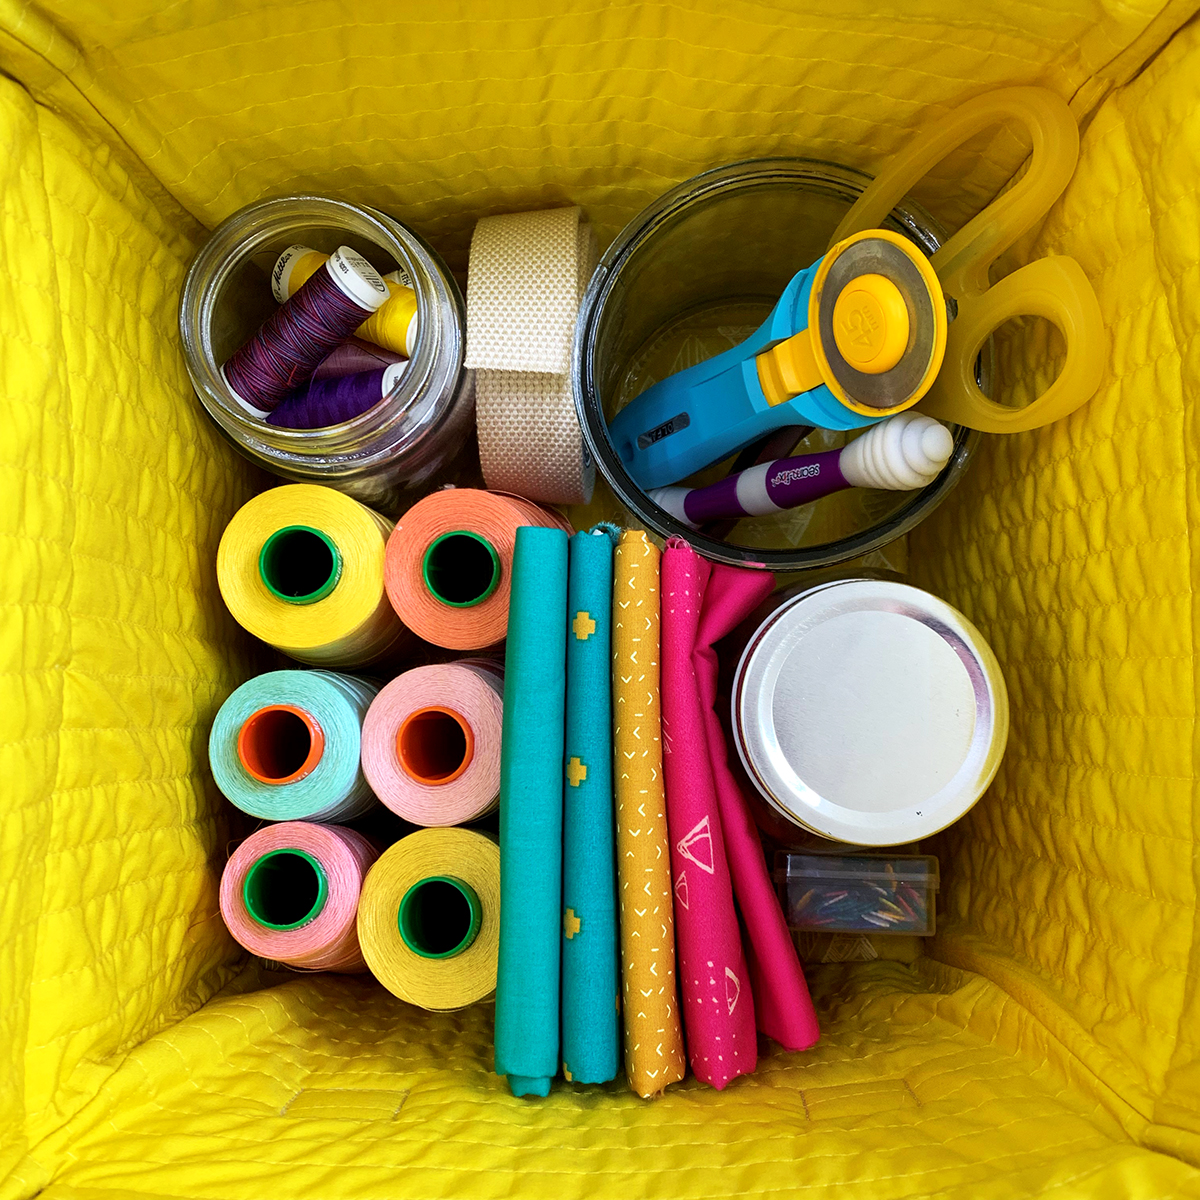
Flip your piece right side out through the unsewn portion and insert a 9″ hard fusible square. Topstitch around your entire square as close to the edge as possible securing the unsewn portion. Place this in the bottom of your bin and you are ready to fill it with all your goodies!
Used Products


What you might also like


2 comments on “Fabric Storage Bin Tutorial”
-
-
I made some bins similar to this about a year ago. Instead of fusible lining, I cut up some cardboard boxes into “panels” that I sandwiched between the inner and outer layers of fabric. On a couple of the buns, I double the cardboard layers for extra stiffness. I then sewed them together. In some areas where I couldn’t get things under the sewing machine, I used hot glue to secure things. I like your pattern idea, so I’m going to keep it for future use. Thanks!
Leave a Reply
You must be logged in to post a comment.

Quick question. When adding the fusible bottom to this bin, your directions say to fuse it but there is no top to the fusible interfacing because it doesn’t say to add the lining yet. Should I add the lining and then fuse? Love this pattern and will make it again. Love my Bernina—made this project a breeze!