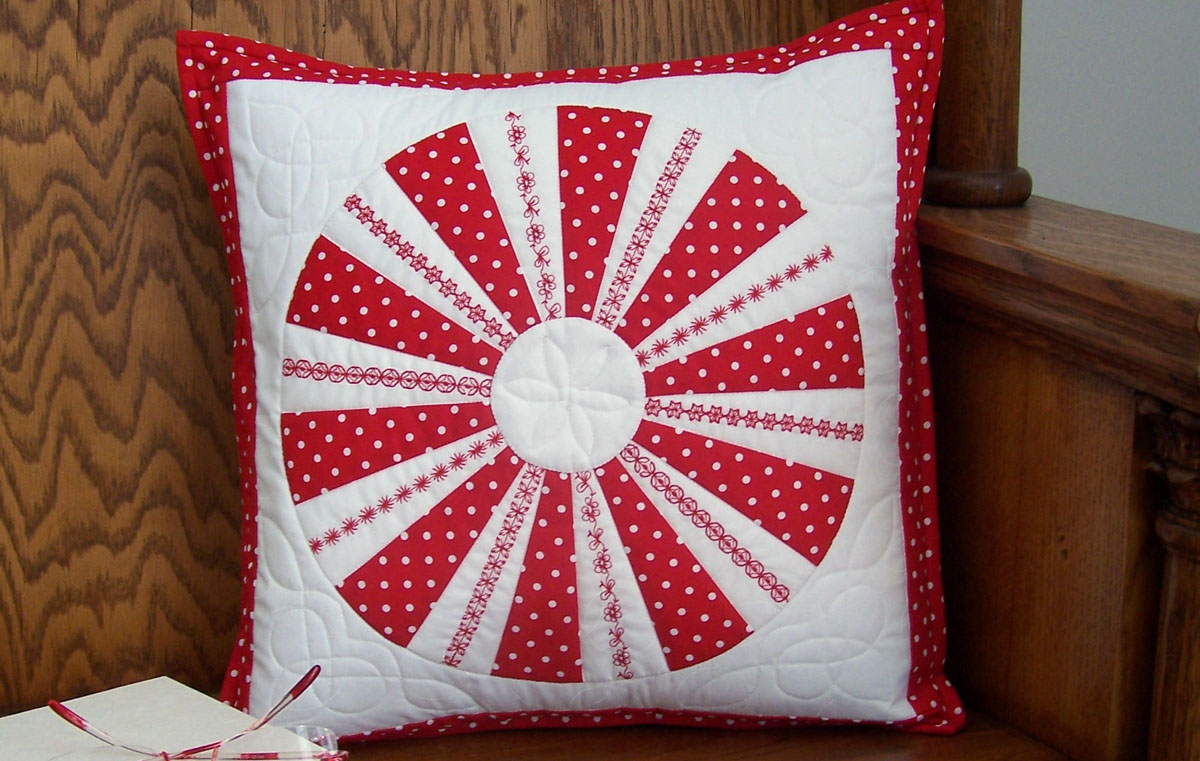
Fair Isle Pillow Tutorial
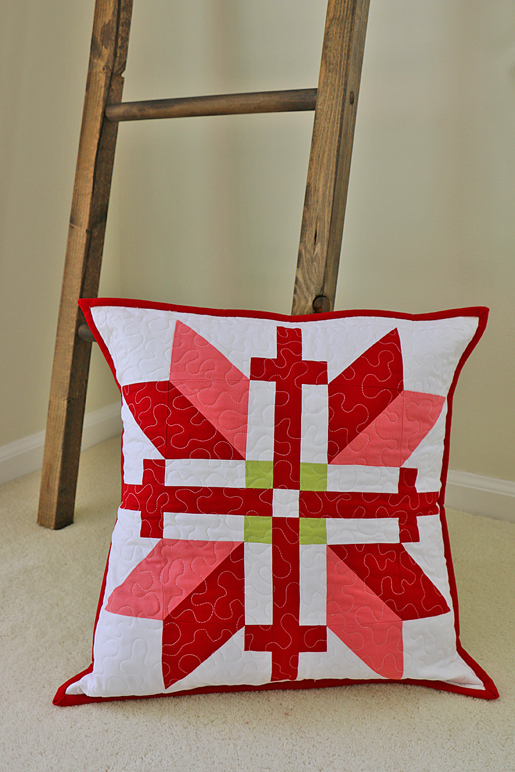
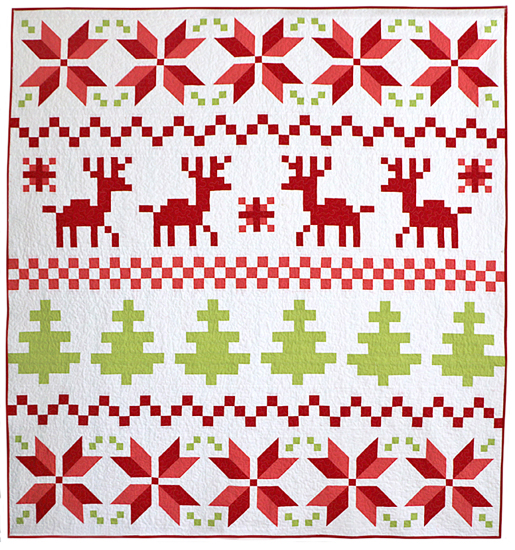
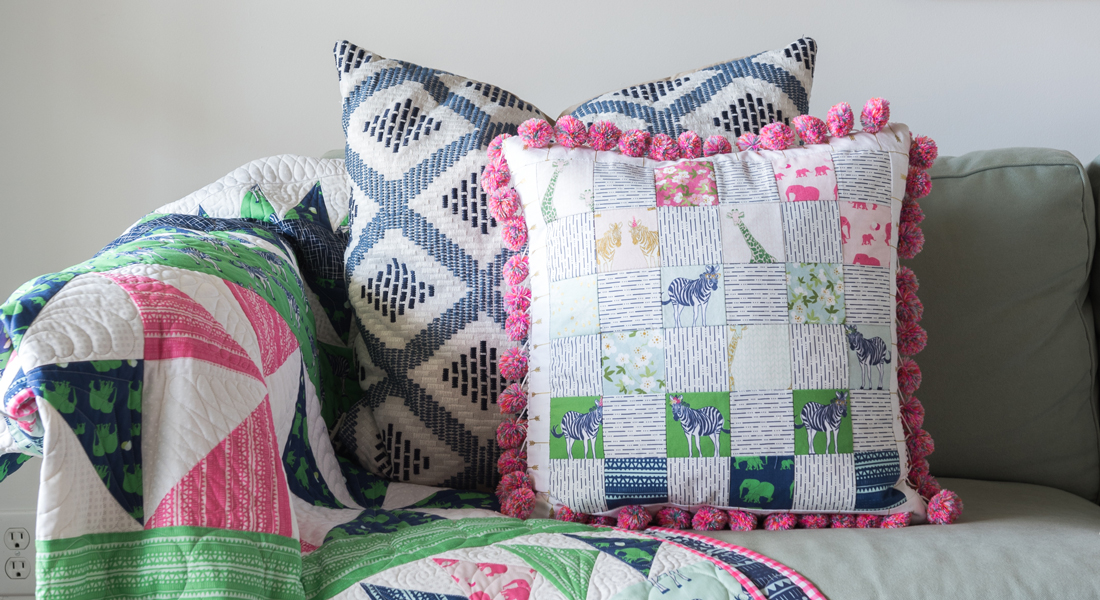
Thinking of starting your holiday sewing? This Nordic-inspired pillow will look great on your couch this holiday season, and it’s the perfect complement to my Fair Isle Christmas quilt pattern.
Supplies
- Quilting cotton in red solid
- 4 squares 4-1/4″ x 4-1/4″
- 1 piece 1-1/2″ x 12″
- 4 pieces 1-1/2″ x 7-1/2″
- 2 strips 2-1/2″ x WOF (for pillow binding)
- Quilting cotton in pink solid
- 4 squares 4-1/4″ x 4-1/4″
- Quilting cotton in green solid
- 4 pieces 1-1/2″ x 1-1/2″
- Quilting cotton in white solid
- 4 squares 4-1/4″ x 4-1/4″
- 4 squares 3-1/2″ x 3-1/2″
- 1 piece 3-1/2″ x 12″
- 1 piece 2-1/2″ x 12″
- 1 square 1-1/2″ x 1-1/2″
- 2 pieces 2″ x 15-1/2″
- 2 pieces 2″ x 18-1/2″
- A piece of batting approximately 20″ x 20″
- A piece of muslin approximately 20″ x 20″
- Fabric for the back of the pillow
- 1 piece 18-1/2″ x 10″
- 1 piece 18-1/2″ x 13″
- Wonder Clips or binder clips (optional)
- Coordinating thread
- Chalk marker or pencil
- 1/4″ foot (BERNINA Patchwork Foot #37/37D, Patchwork Foot with Guide 57/57D, or Patchwork Foot for Models with 9 mm Feed 97/97D)
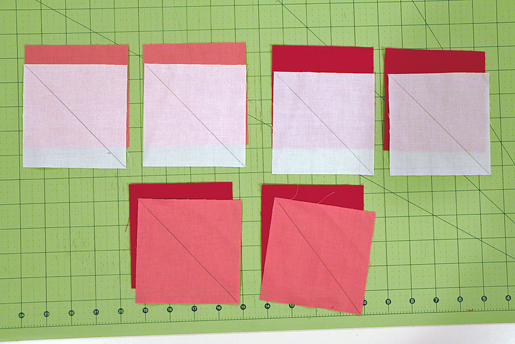
Step 1) Make the half-square triangle units.
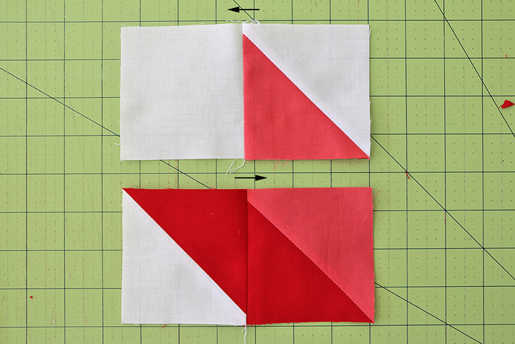
Mark a diagonal line from corner to corner on the back of all four white 4-1/4″ squares and 2 of the 4-1/4″ pink squares. Pair up the squares as shown in the photo—two white/pink pairs, two white/red pairs, and two red/pink pairs.
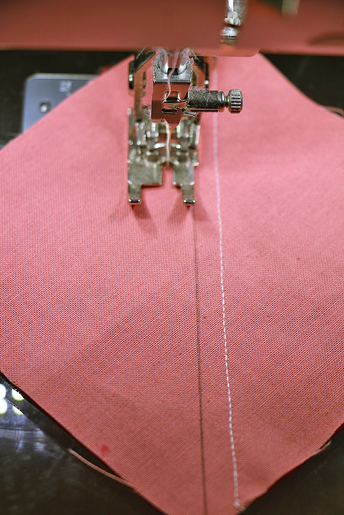
Sew on both sides of the marked diagonal line, 1/4″ out from the marked line.
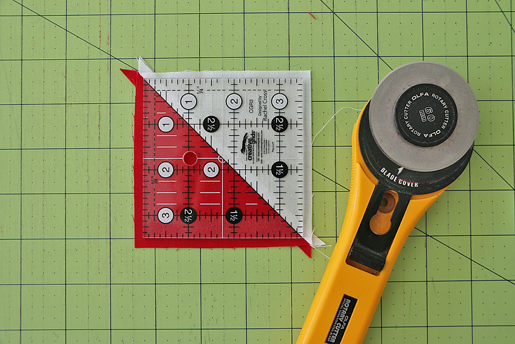
Cut each of the sewn pairs right through the middle on the marked diagonal line. You will now have 12 half-square triangle units. Press open, and square up each unit to 3-1/2″ square.
Step 2) Make the corner blocks.
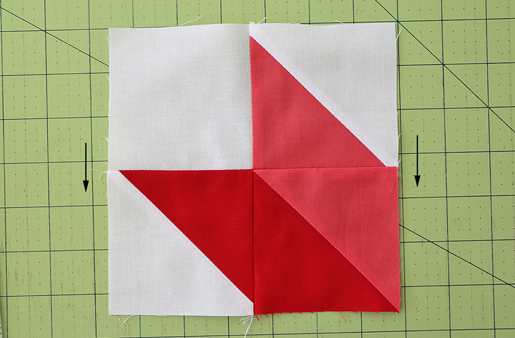
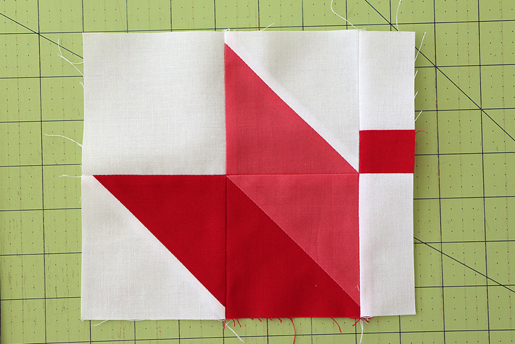
Arrange three half-square triangle units and one white 3-1/2″ square as shown in the photo. First sew the white 3-1/2″ square to the white/pink half-square triangle unit, and the white/red half-square triangle unit to the red/pink half-square triangle unit. Then sew together to create a 6-1/2″ square unit. Make 4 of these four-patch units.
Step 3) Add the sashing.
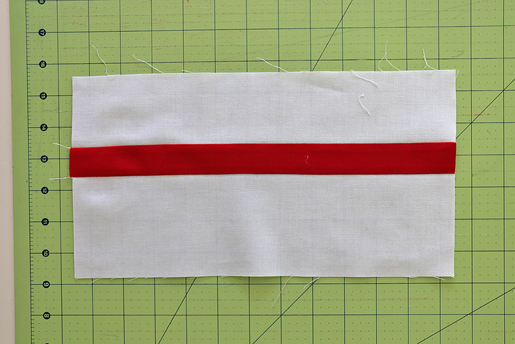
Arrange white 2-1/2″ x 12″, red 1-1/2″ x 12″, and white 3-1/2″ x 12″ as shown. Sew together, pressing seams open or toward the red.
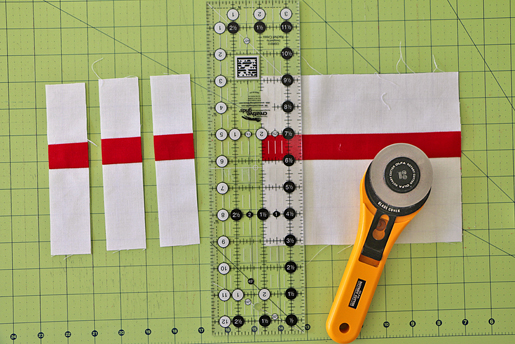
Cross-cut your newly pieced unit into 1-1/2″ x 6-1/2″ pieced strips, as shown. Cut 8 of these strips.
Sew one of these pieced 1-1/2″ x 6-1/2″ strips to the pink side of each 4-patch half-square triangle unit, as shown. Make sure the small red square in the pieced strip is above the red/pink half-square triangle unit, not next to it. Press seams open or toward the newly-added strip.
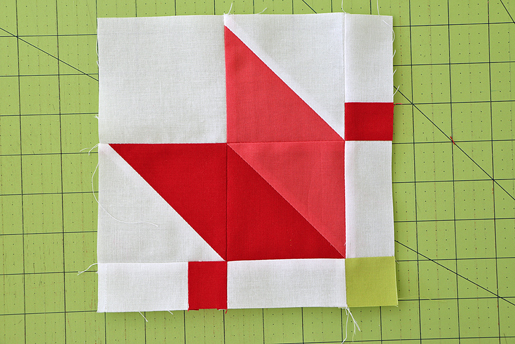
For the remaining 4 pieced 1-1/2″ x 6-1/2″ strips, add 1 green 1-1/2″ square to the end of each. Be sure to add the green square onto the end that has the longer 3-1/2″ white piece! Press seams open or toward the white.

Sew a green/white/red 1-1/2″ wide pieced strip onto the bottom edge of each four-patch half-square triangle unit. Press seams open or toward the newly-added strip.
Step 4) Assemble the block.
Arrange two of your completed units with a red 1-1/2″ x 7-1/2″ strip between the two. Sew and press seams open or toward the red. Repeat this with the other two completed units and another 1-1/2″ x 7-1/2″ red strip.
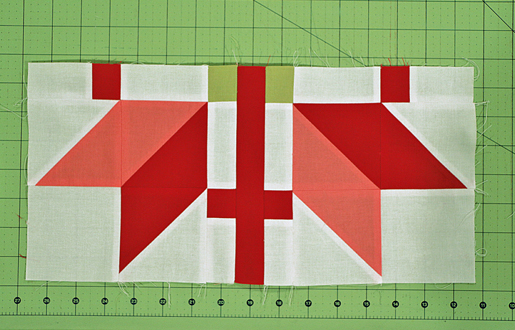
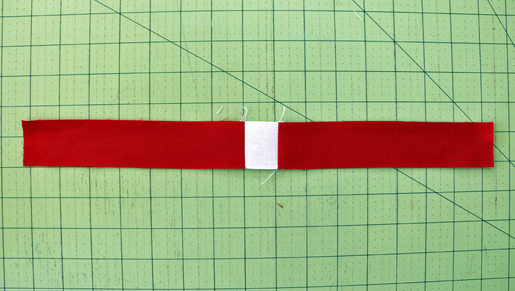
Sew the two remaining 1-1/2″ x 7-1/2″ red strips and the white 1-1/2″ square together, as shown. Press seams open or toward the red.
Lay out all three sections as shown and sew together.

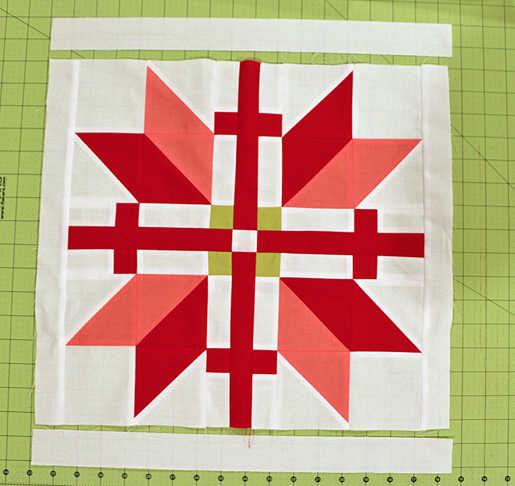
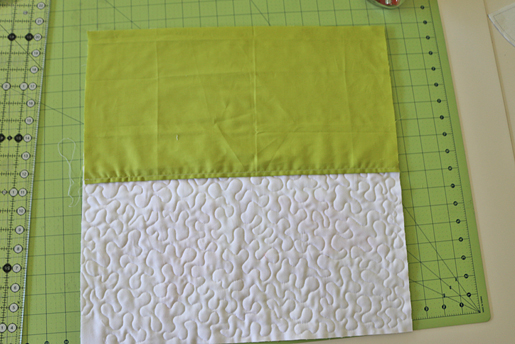
Step 5) Add the borders.
Add a white 2″ x 15-1/2″ strip to each side of the completed block.
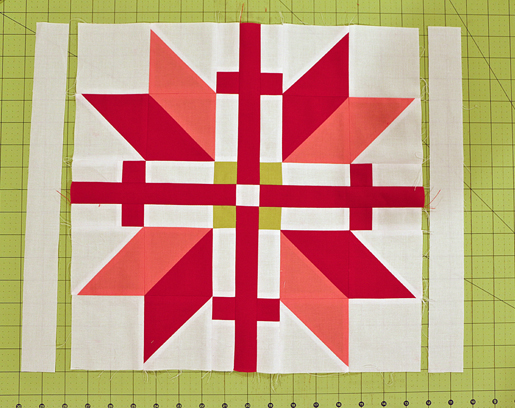
Add a white 2″ x 18-1/2″ strip to each of the top and bottom of the completed block.
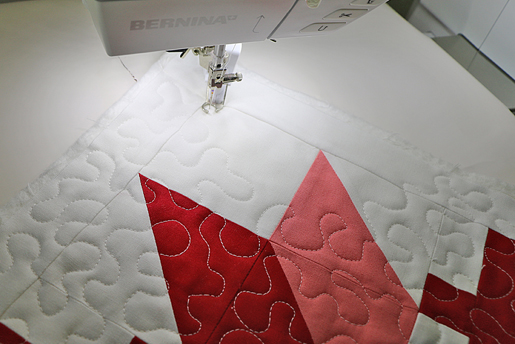
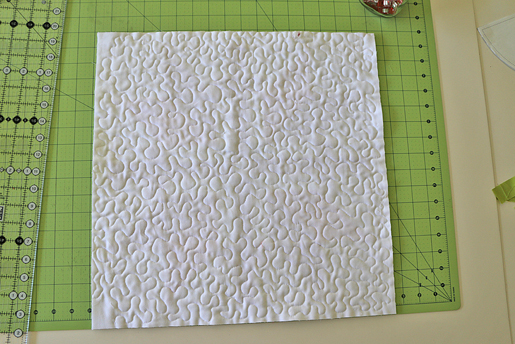
Step 6) Quilt the pillow.
Using the 20″ square piece of muslin and the 20″ square of batting, make a sandwich and baste. Quilt the pillow top as desired and trim to 18-1/2″ square.
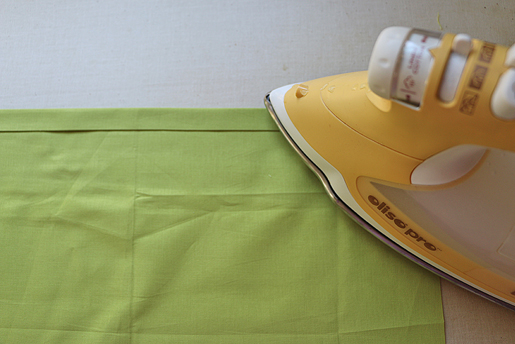
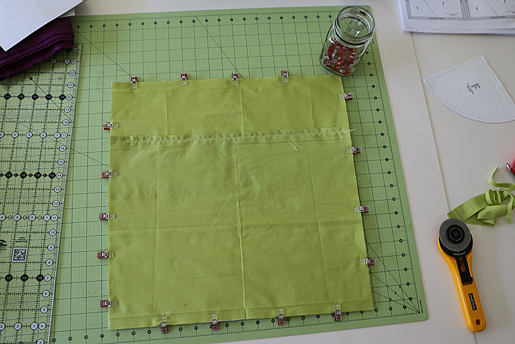
Step 7) Assemble the pillow.
For each of the pillow back pieces, turn one 18-1/2″ edge under a 1/2″ and press, then turn under another 1/2″ and press again. Stitch 1/4″ from the folded edge.
Lay out the quilted pillow top face down, followed by each of the two pillow back pieces, right sides facing up. (This pillow is not constructed inside out.)
Use Wonder Clips to clip all three layers together. Sew around the entire perimeter of the pillow, 1/8″ from the edges.
Using the red 2-1/2″ by WOF strips and your favorite binding technique, hide the raw edges of the pillow cover by binding the edges as you would a quilt.
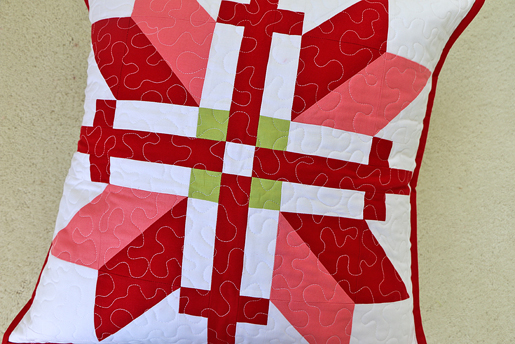
And that’s it!
Enjoy your Fair Isle Pillow, and check out my Freshly Pieced blog, www.freshlypieced.com, for my coordinating Fair Isle Quilt pattern.


4 comments on “Fair Isle Pillow Tutorial”