How to Make a Churn Dash Quilt: Part 3
It’s Week 3 of our Churn Dash Quilt-Along with Amy Smart! Are your blocks completed? Then get ready to assemble your quilt top! Not quite ready yet? No problem – take your time putting your blocks together and don’t rush – it’s a quilt-along, not a race! Joining us for the first time and haven’t started yet? Click HERE and HERE for Weeks One and Two of our series.
We’d love to see what you make! Amy has a Flickr group where you can post photos of your work-in-progress and finished quilts. CLICK HERE to take a peek!
Week 3) Assemble the quilt blocks and add the borders.
Plan the layout.
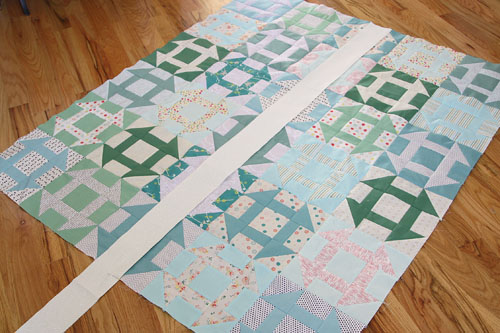
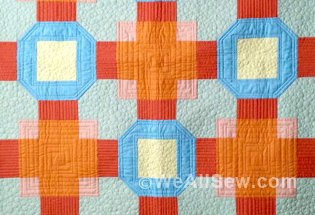
Take your quilt blocks and lay them out five (5) blocks across and six (6) blocks down until you get a pleasing balance of colors and prints. Alternate the light-background blocks with the dark-background blocks to create easy contrast. I have a simple “design-wall” where I lay out my blocks but you could also easily lay them on the floor. (If you are making the twin version, lay out blocks six (6) across by eight (8) down.)

Once you’re pleased with the layout of the quilt blocks, stack each row of blocks on top of each other. Label your rows to keep track of them, and then take them to your machine.
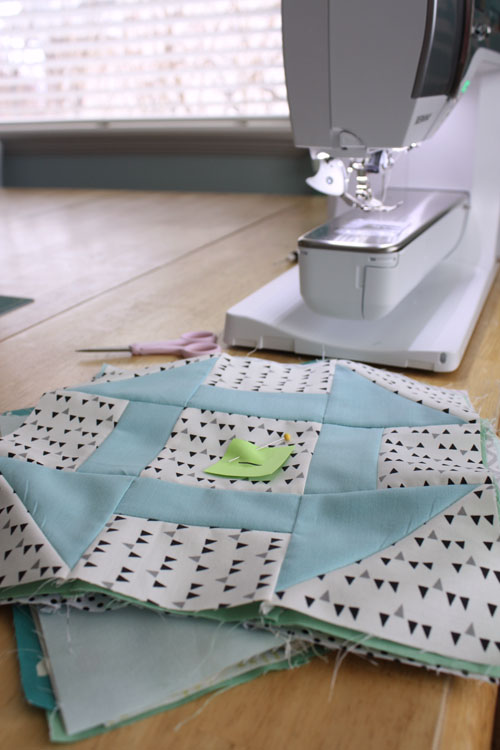
Sew the blocks together.
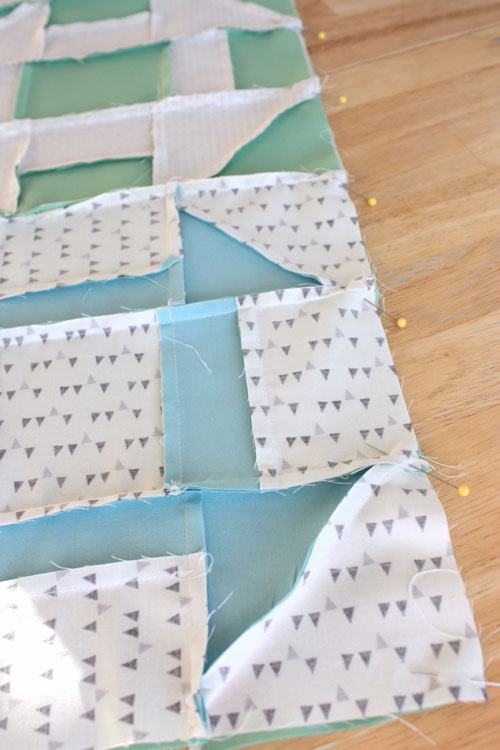
Sew each row of blocks together in the order you laid them out. If you have used the pressing directions from the previous week, your seams should nest against each other, eliminating some bulk and helping points and seams to match-up.
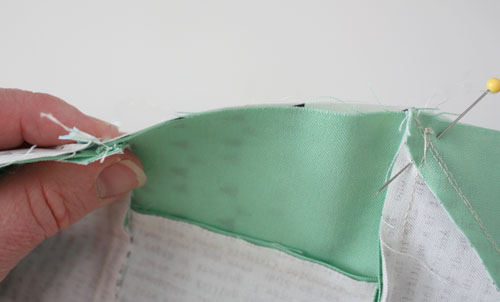
Press new seam allowances toward the dark blocks. When all rows are sewn together, assemble the rows by sewing them together in order.
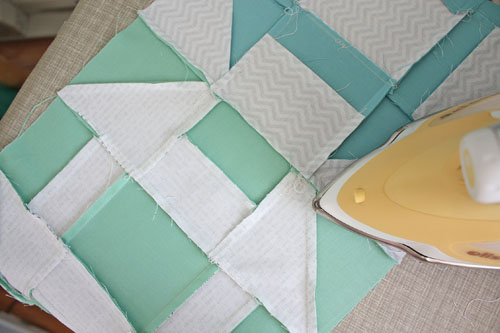
Again, if the seam allowances are pressed toward the dark blocks, they should butt up against each other, helping to match up the corners of the blocks. Press row seam allowances all in one direction.
Add the borders.
Cut six (6) strips 4″ x 44″ (width of fabric) for borders (eight 4″ x 44″ strips if you are making the twin version). Make sure the end of your piece of yardage is “square” before you start cutting the strips. To do this make sure the selvage edges of your yardage piece are matched up. This may require re-pressing the center fold. Then line-up the fold on a straight line of your cutting mat. Trim edges of yardage using a long ruler and rotary cutter to make the piece “square” and then start rotary cutting 4″ strips.
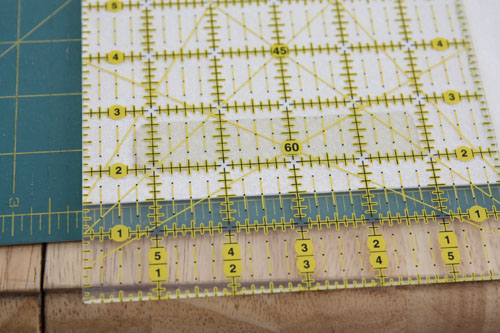
This is my favorite easy method for adding borders. It’s important to measure your borders before you attach them to the sides of the pieced portion of the quilt. This helps your quilt stay “square” and keeps it from having wavy sides.
Sew two sets of 4″ strips together end to end to make two long 4″ border strips. Lay two longer strips down the vertical center of the quilt (this part of the quilt is the tightest), mark the end with a pin, and trim with a rotary cutter to create two side borders for the quilt.
Your quilt edge may be slightly longer than your border strips. Find the center of the strip and pin it to the center of the edge of the quilt, then pin the ends of strips to the ends of the quilt. Evenly pin the sides of the quilt to the border strip. As you sew the border strip to the side of the quilt, the feed dogs will ease the excess fabric at the side of the quilt though the machine.
Press the seam allowances toward the border strips.
Sew the remaining border strips together. Repeat the same measuring process for the top and bottom borders by measuring across the center of the quilt horizontally, and then pinning and sewing the borders to the remaining quilt edges.
This should give you a nice “square“ quilt, without wavy borders.
Next week: Finishing the quilt
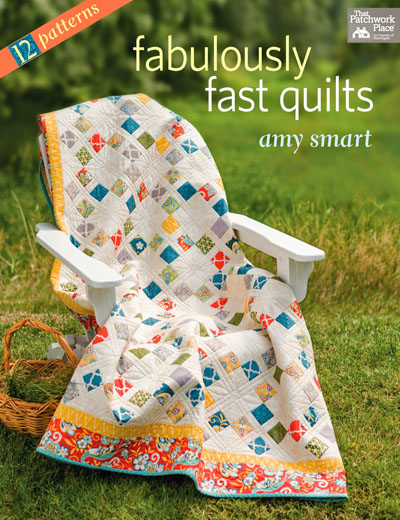
If you like this quick-to-sew Churn Dash patchwork technique , check out Amy’s new book – Fabulously Fast Quilts for more.


What you might also like


4 comments on “How to Make a Churn Dash Quilt: Part 3”
-
-
It’s fixed now. Thanks for letting us know! Jo
-
-
Pingback: WeAllSew « https://weallsew.com
Leave a Reply
You must be logged in to post a comment.

Is there another way to get to the week 2 portion? I tried to use the link in the first paragraph but it says permission denied. Help.