How to Sew an Invisible Zipper Into a Skirt with a Waistband
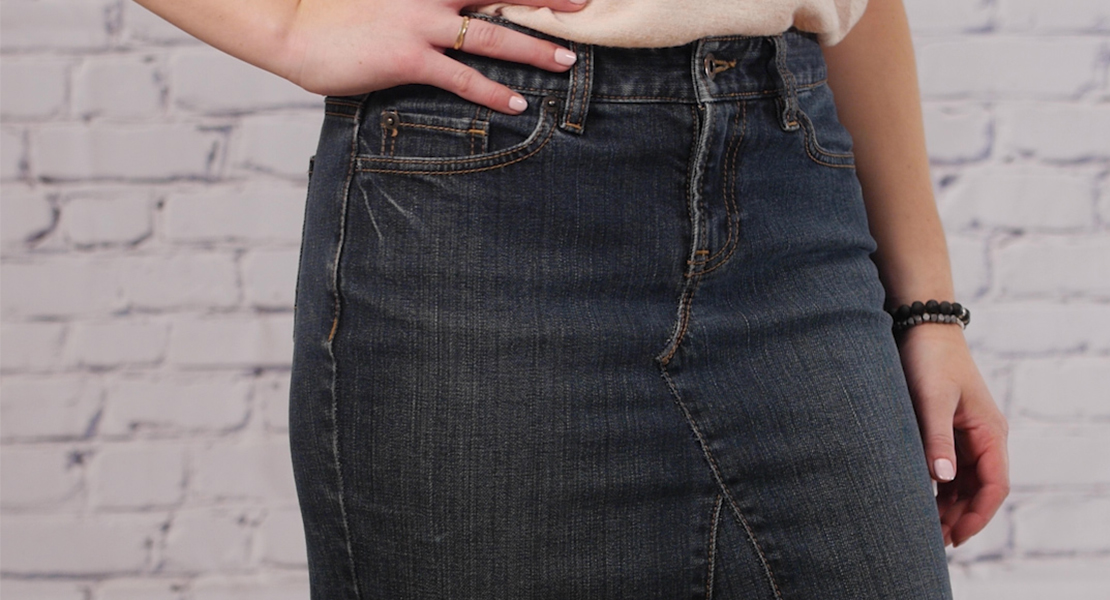
Whether a newbie or an experienced sewer, invisible zippers can be tricky. They’re even trickier when you have to line up a seam on either side of the zipper, like in a waistband. Hopefully, my tutorial will help you so you don’t end up unpicking the seam and re sewing!
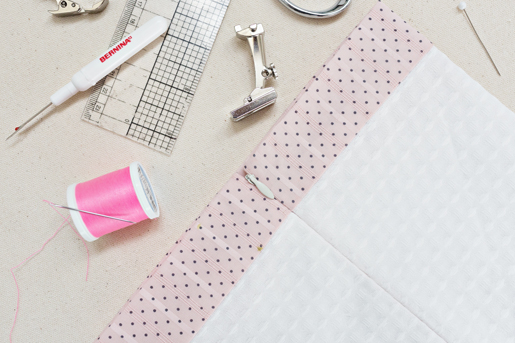
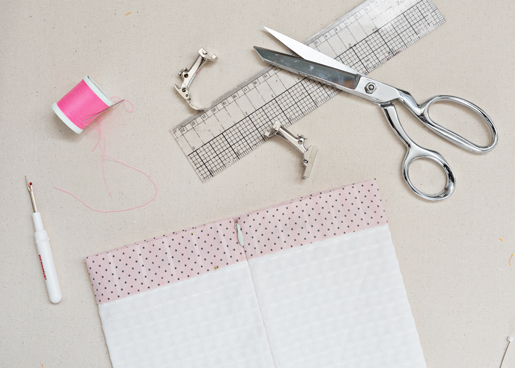
Supplies:
- Skirt with one piece, fold over waistband
- Invisible zipper
- Thread
- Scissors
- Pins
- BERNINA Invisible-zipper foot #35
- BERNINA Zipper foot #4
note: all seam allowance are ⅝”
Step 1: Apply interfacing suitable for your fabric to the wrong side of the waistband and along zipper opening. I make the interfacing strip at the zipper opening ¼” wider than the seam allowance and 1″ longer than zipper opening. Staystitch just inside waist seam allowance at the top of skirt.
The interfacing strip should be ¼” wider than the seam allowance and 1″ longer than zipper opening.
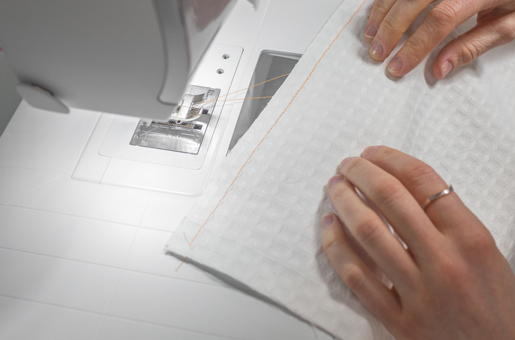
Staystitch just inside waist seam allowance at the top of skirt.
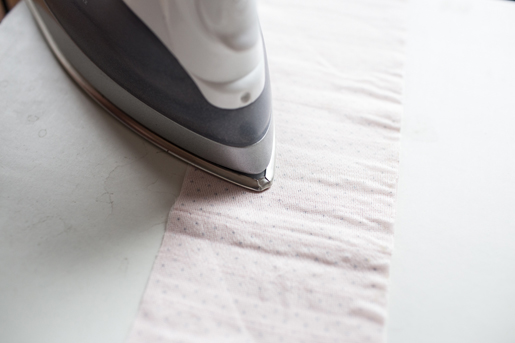
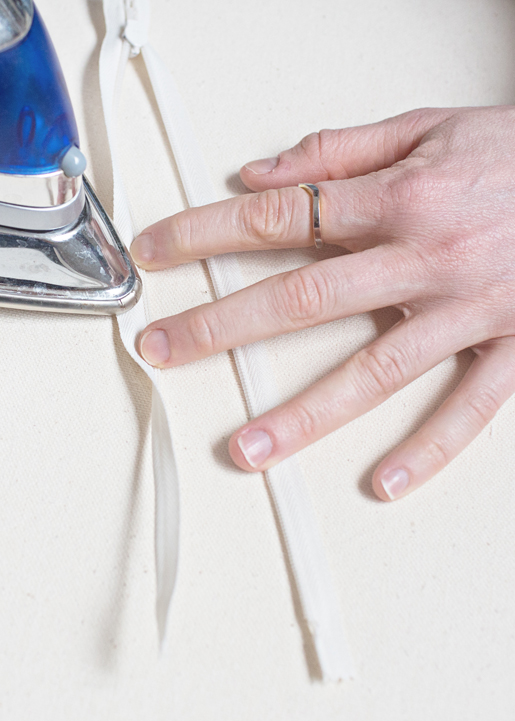
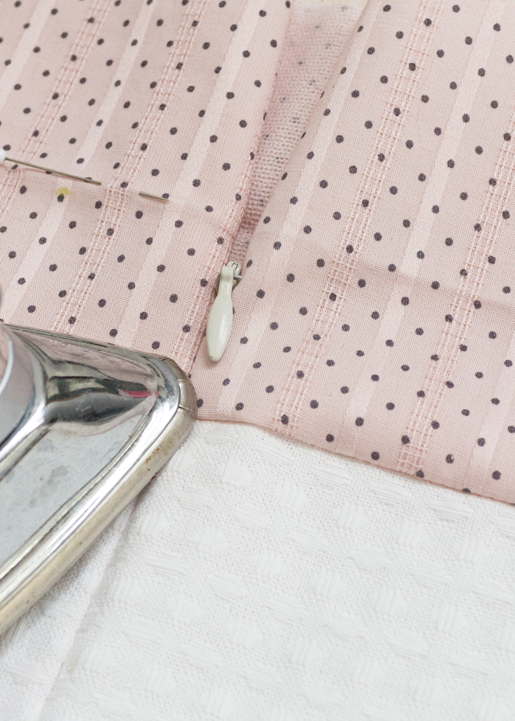
Step 2: Before attaching the zipper to the skirt, we need to press the coils flat so your needle can get close to the teeth. With your zipper right side up and your iron on the synthetic setting (no steam), uncurl the zipper teeth with your finger while pressing open with the tip of your iron. Repeat for the other side.
With your zipper right side up and your iron on the synthetic setting (no steam), uncurl the zipper teeth with your finger while pressing open with the tip of your iron.
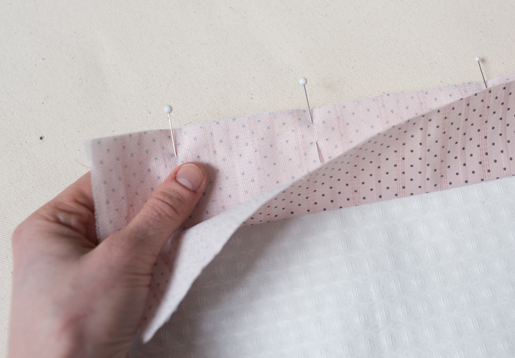
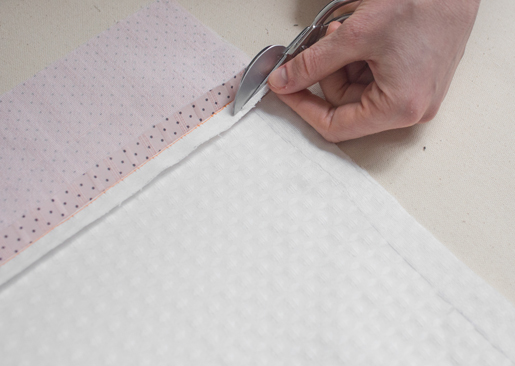
Step 3: With right sides together, pin one side of waistband to skirt (do not pin both sides!) and sew ⅝” from waist top edge. Press seam allowances open and grade. Skirt seam allowance should be ⅛” less than waistband seam allowance to avoid indentation. After, press seam towards waistband (away from skirt).
Pin one side of waistband to skirt with right sides together (don’t pin both sides!)
Grade seam allowance. Skirt seam allowance should be ⅛” less than waistband seam allowance. Scissors shown in image are duck-bill.
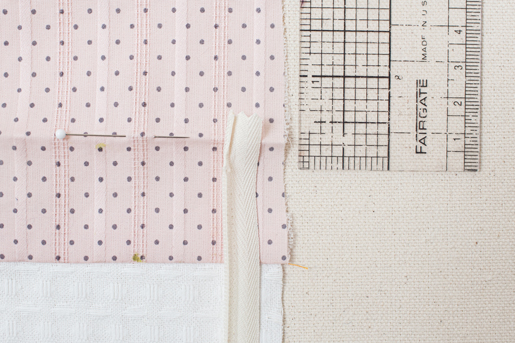
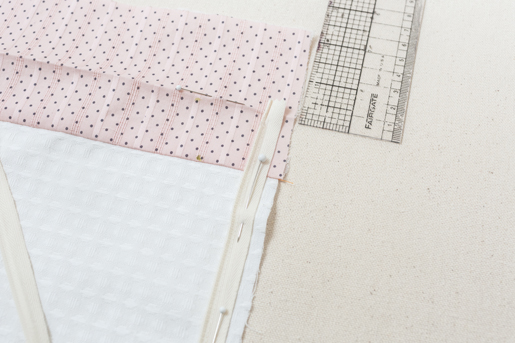
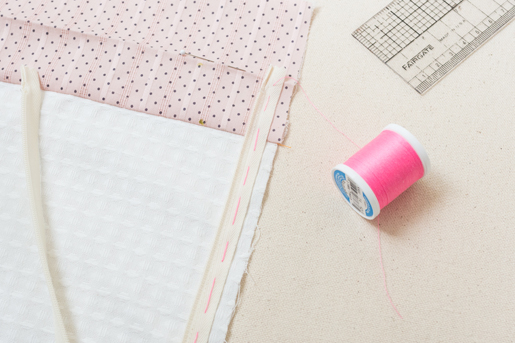
Step 4: With garment right side up, place zipper face down on fabric. Since skirt seam allowances are ⅝” and zipper tape is ⅜” (from middle of teeth to edge), I placed zipper ¼” from edge. Also, top of zipper stop (clear, plastic piece) should be ¼” down from fold of waistband. Pin one side of tape in place and then hand baste to secure. Remove pins after basting.
Zipper face down on right side of skirt – ¼” in from edge and ¼” below fold of waistband.
Zipper pinned to right side of skirt.
Zipper basted to right side of skirt.
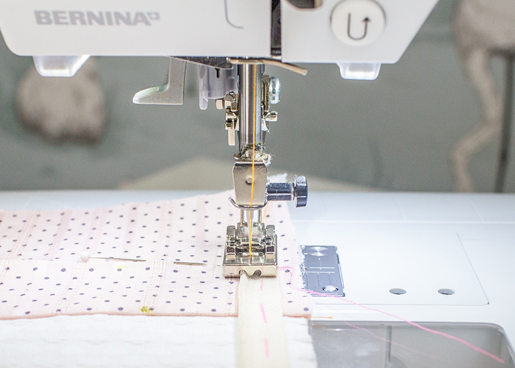
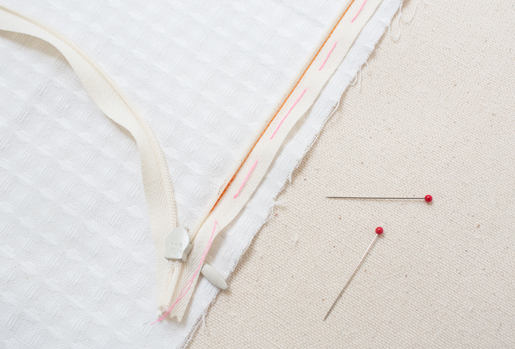
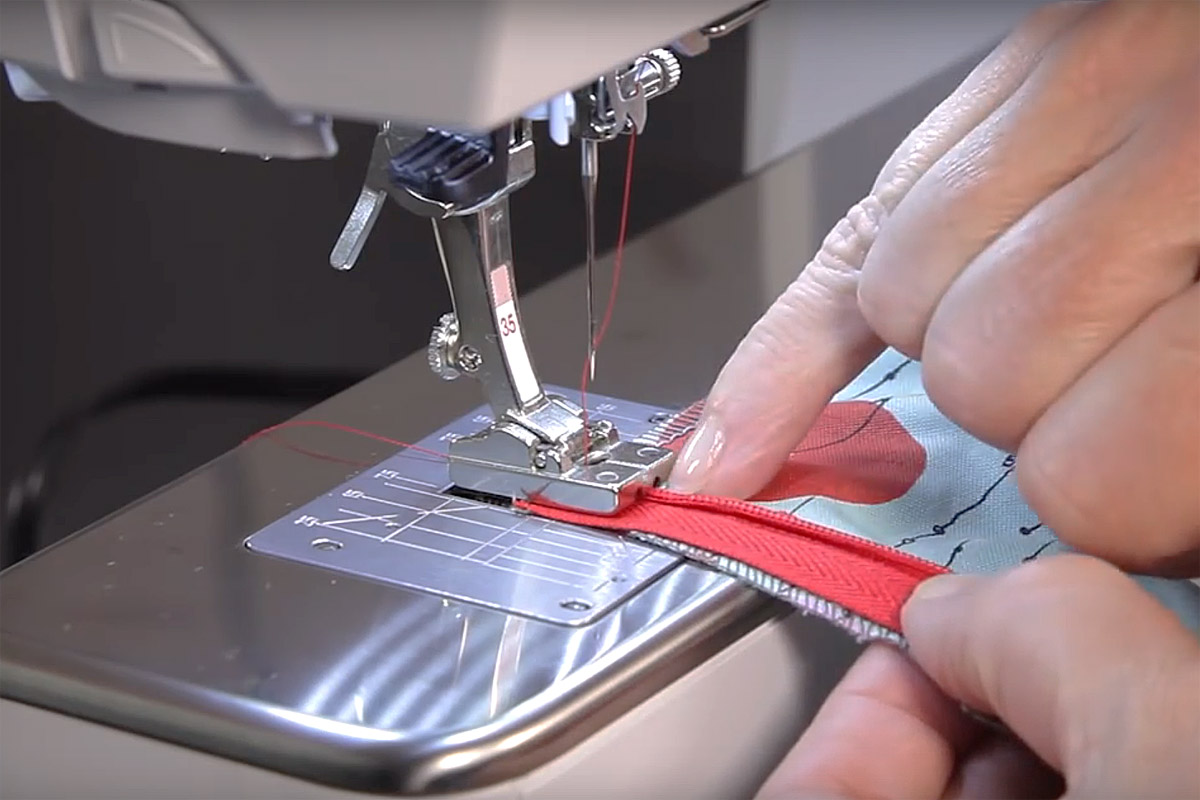
Step 5: Using the BERNINA Invisible-zipper foot #35, sew the zipper tape that you just basted. Before you start to sew, make sure that the zipper coil is in one of the grooves on the presser foot. Also notice that the zipper is face down—this is the way it should be every time you sew an invisible zipper! Stitch to the bottom of the zipper and backstitch twice. This adds extra reinforcement since this point receives a lot of stress from opening/closing.
Sew zipper to skirt with BERNINA Invisible Zipper Foot #35. Make sure zipper coil is in one of the grooves on the presser foot.
This is what zipper should look like after sewing.
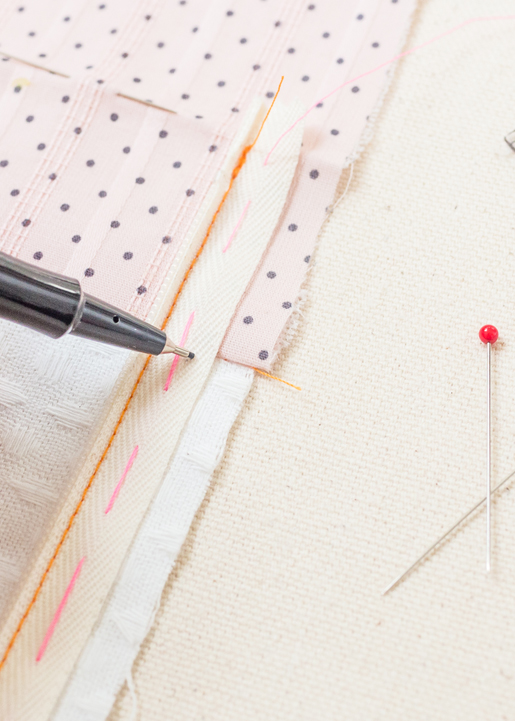
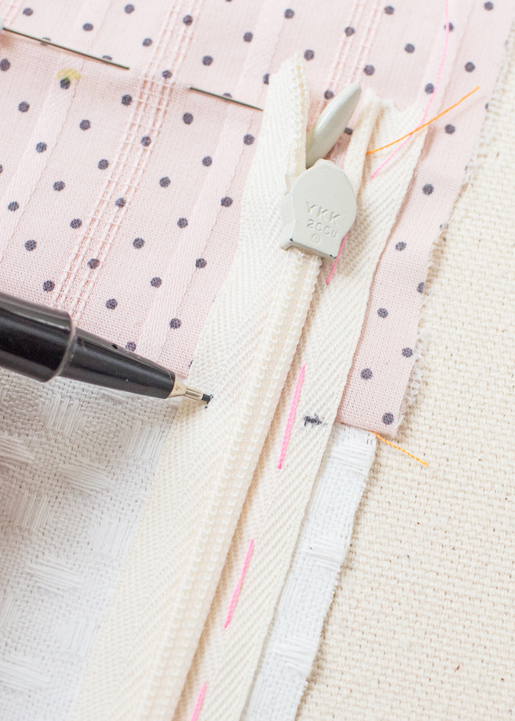
Step 6: Now we will attach the other side! On the zipper tape that is already sewn, use a pen to mark where the waistband seam is. Close the zipper and mark this point on the other zipper tape. Now open zipper again.
Mark waist seam on zipper tape that is already sewn.
Mark waist seam on zipper that is NOT already sewn.
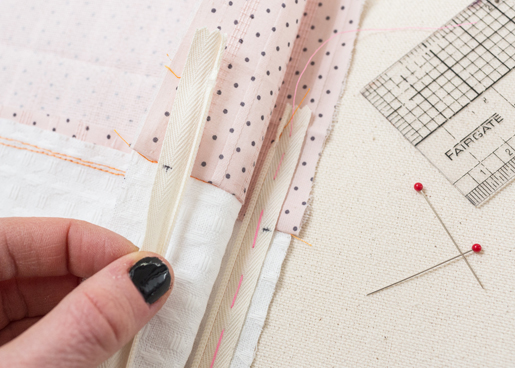
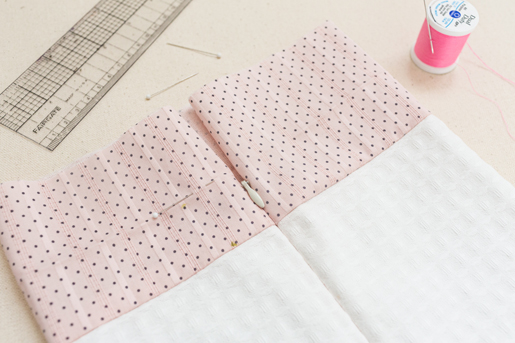
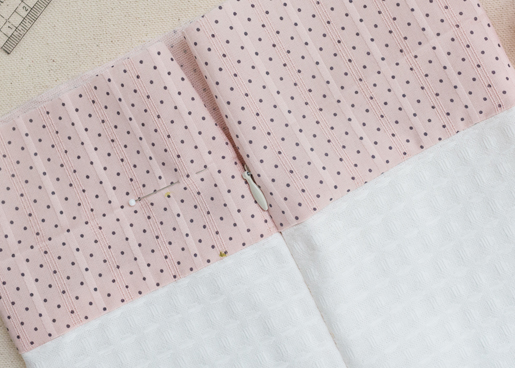
Step 7: Pin and baste other zipper tape to the opposite side of the skirt in the same way as step 4, making sure that the mark we just made is exactly on the waist seam. Before sewing, I like to close zipper to make sure the waist seams line up on either side of the zipper. Sew the zipper as you did the other side. This time, the zipper coil should be in the opposite groove as before.
Pin zipper tape to the opposite side of skirt, making sure that the mark we just made is exactly on waist seam.
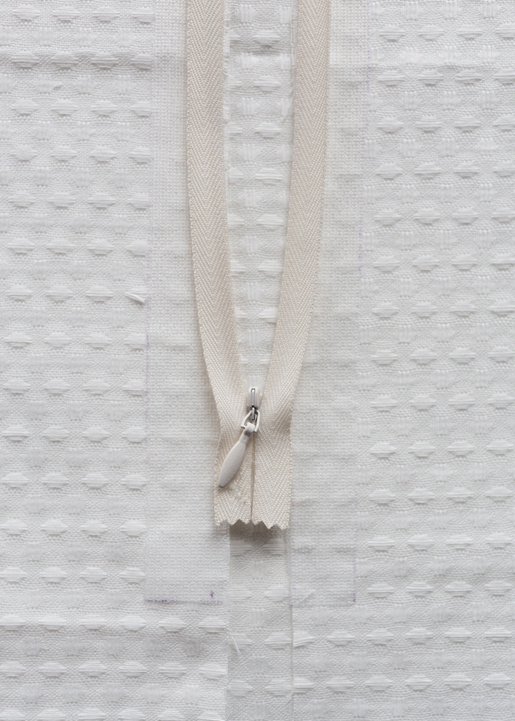
What zipper should look like after being sewn.
What zipper should look like after being sewn.
Step 8: We’re almost finished! Close the zipper and press the zipper opening on right side. It’s okay to press without a press cloth as long as the tip of the iron is lightly touching the zipper opening. You can also remove basting at this time.
Close zipper and press on right side.
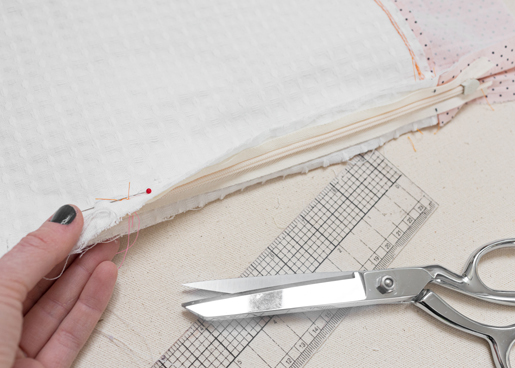
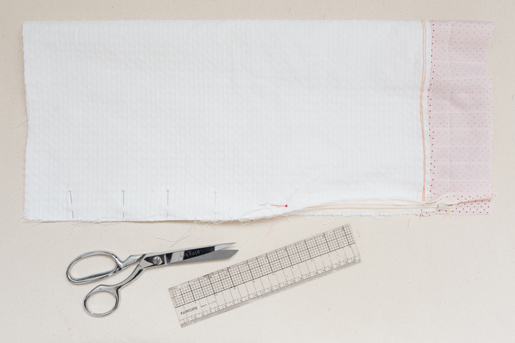
Step 9: With wrong side out, pin zipper tapes together at bottom zipper as well as down the seam.
With wrong side out, pin zipper tapes together at bottom zipper as well as down the seam.
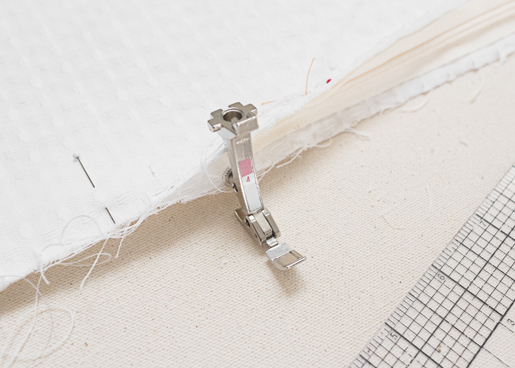
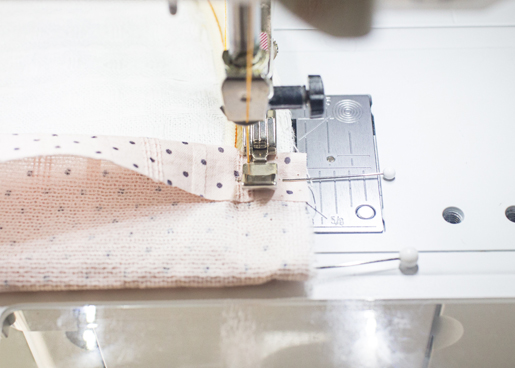
Step 10: Using BERNINA Zipper foot #4, place the edge of the zipper foot ¼” above stitching. Try to get as close to the stitching as possible. It’s okay if they don’t match up—⅛” to ¼” is good! Sew down the remainder of the seam.
BERNINA Zipper foot #4
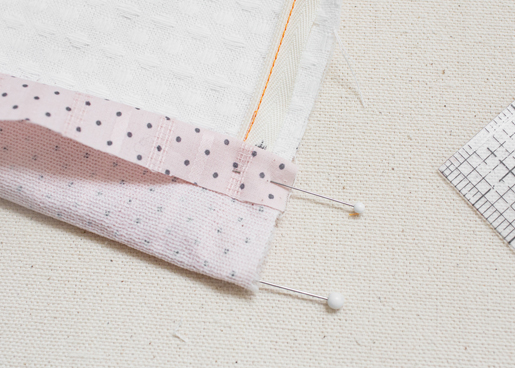
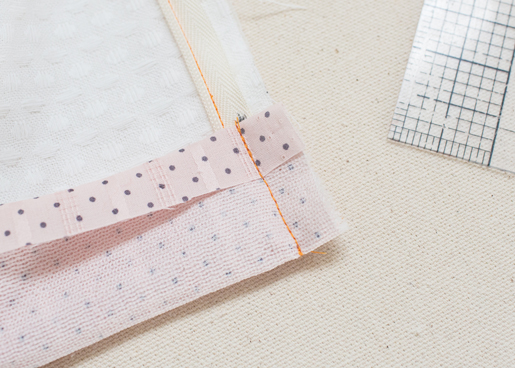
Sew starting ¼” end of stitching and ⅛” to ¼” away.
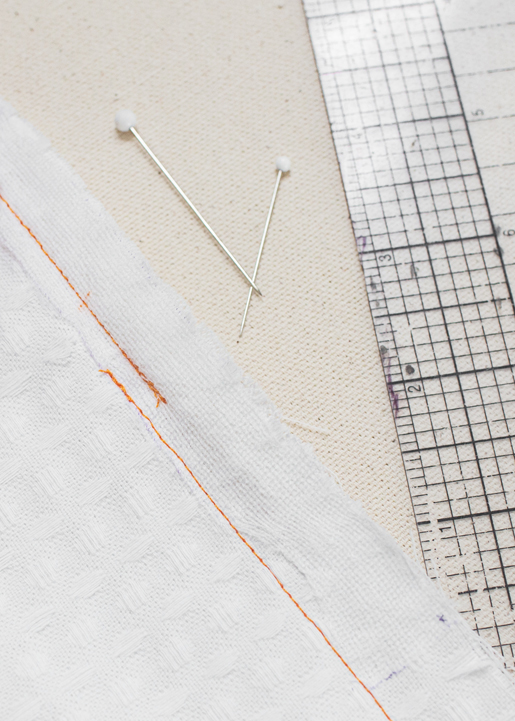
What stitching should look like after being sewn.
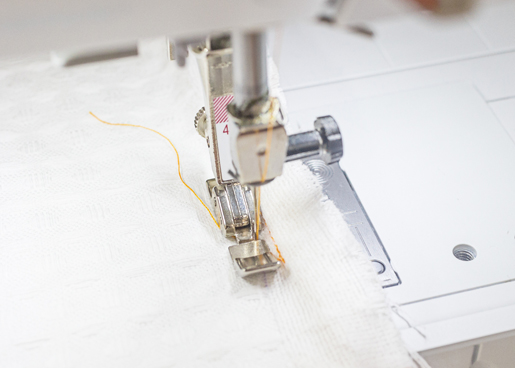
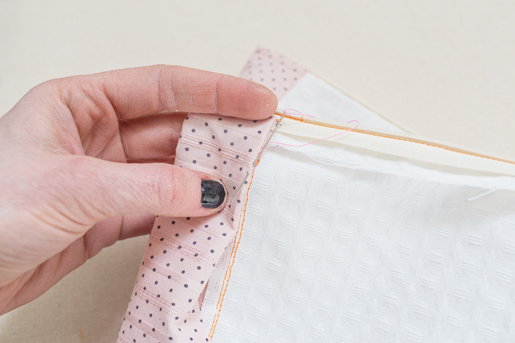
Step 11: Now that the invisible zipper is installed, we are going to close the waistband. Fold the top of the zipper tape to the side, pin in place, and then pin the inside waistband over the zipper. Use the BERNINA Zipper Foot #4 to sew through all layers. Don’t try to get super close to the teeth – this will make it difficult to open and close. Also make sure that the bottom of the waistband is folded away from the skirt. Repeat for the opposite side.
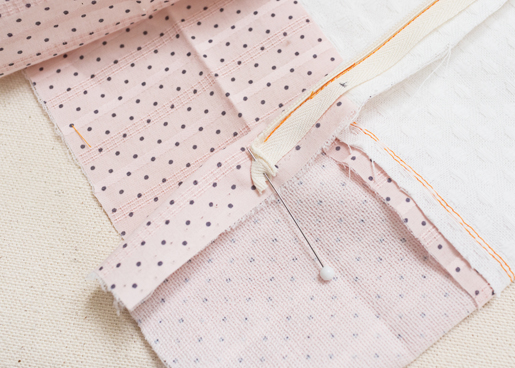
Fold the top of the zipper tape to the side.
Place the inside waistband over the zipper.
Use the BERNINA Zipper Foot #4 to sew through all layers.
What stitching should look like after being sewn.
Step 12: Use this tutorial to turn waistband right side out and create sharp corners.
Step 13: Iron inside waistband under ⅝” and use a slipstitch to secure. Finished!
Use slipstitch to secure waistband on inside.
Finished!
What you might also like
6 comments on “How to Sew an Invisible Zipper Into a Skirt with a Waistband”
-
-
I use many of the same tips as you, and I try to always sew like I have all the time in the world. I get finished much faster that way!! Odd how that works……
-
Excellent tutorial Maddie! I haven’t used interfacing and will totally add that on my next zip. I love seeing that you hand basted the zipper in. Many sewers use the machine basting stitch, but I find hand sewing the zipper the only way to go! I just can’t seem to find quality invisible zippers like you are using here. 🙁 The only ones I can find are made out of a ‘nylon?’ material and do not accept ironing well at all. That would be my tip too….careful use of the iron.
-
I was doing all of this except marking the waist band seam. Good tip! I’ll definitely be using it in my next make. Rather than thread basting, I like using a glue stick to tack my zip in place.
-
I love that you hand basted this. We all take too many shortcuts to speed things up when sewing. Plus this is how my Mom sewed, and she is a perfectionist.
Leave a Reply
You must be logged in to post a comment.








I appreciate the tutorial. I would recommend careful use of the iron.