Indie Clutch Tutorial
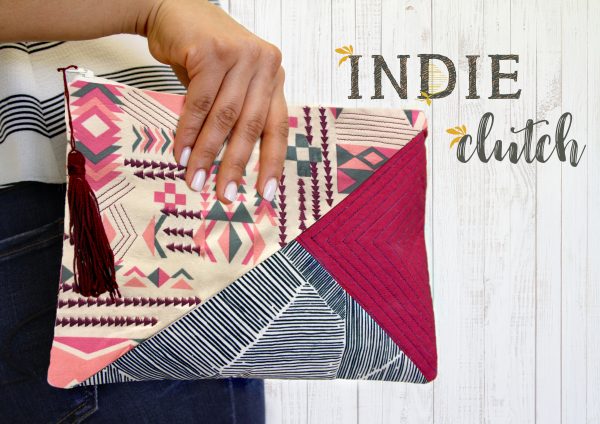
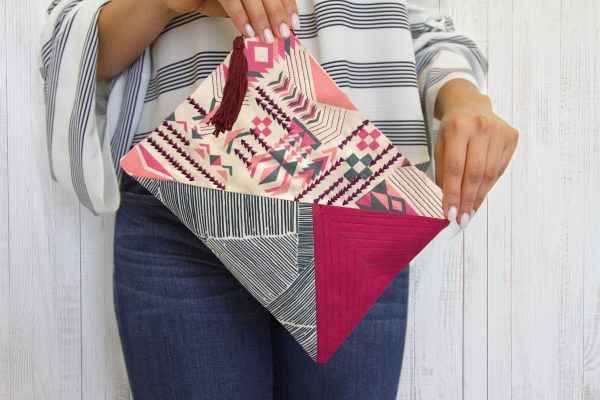
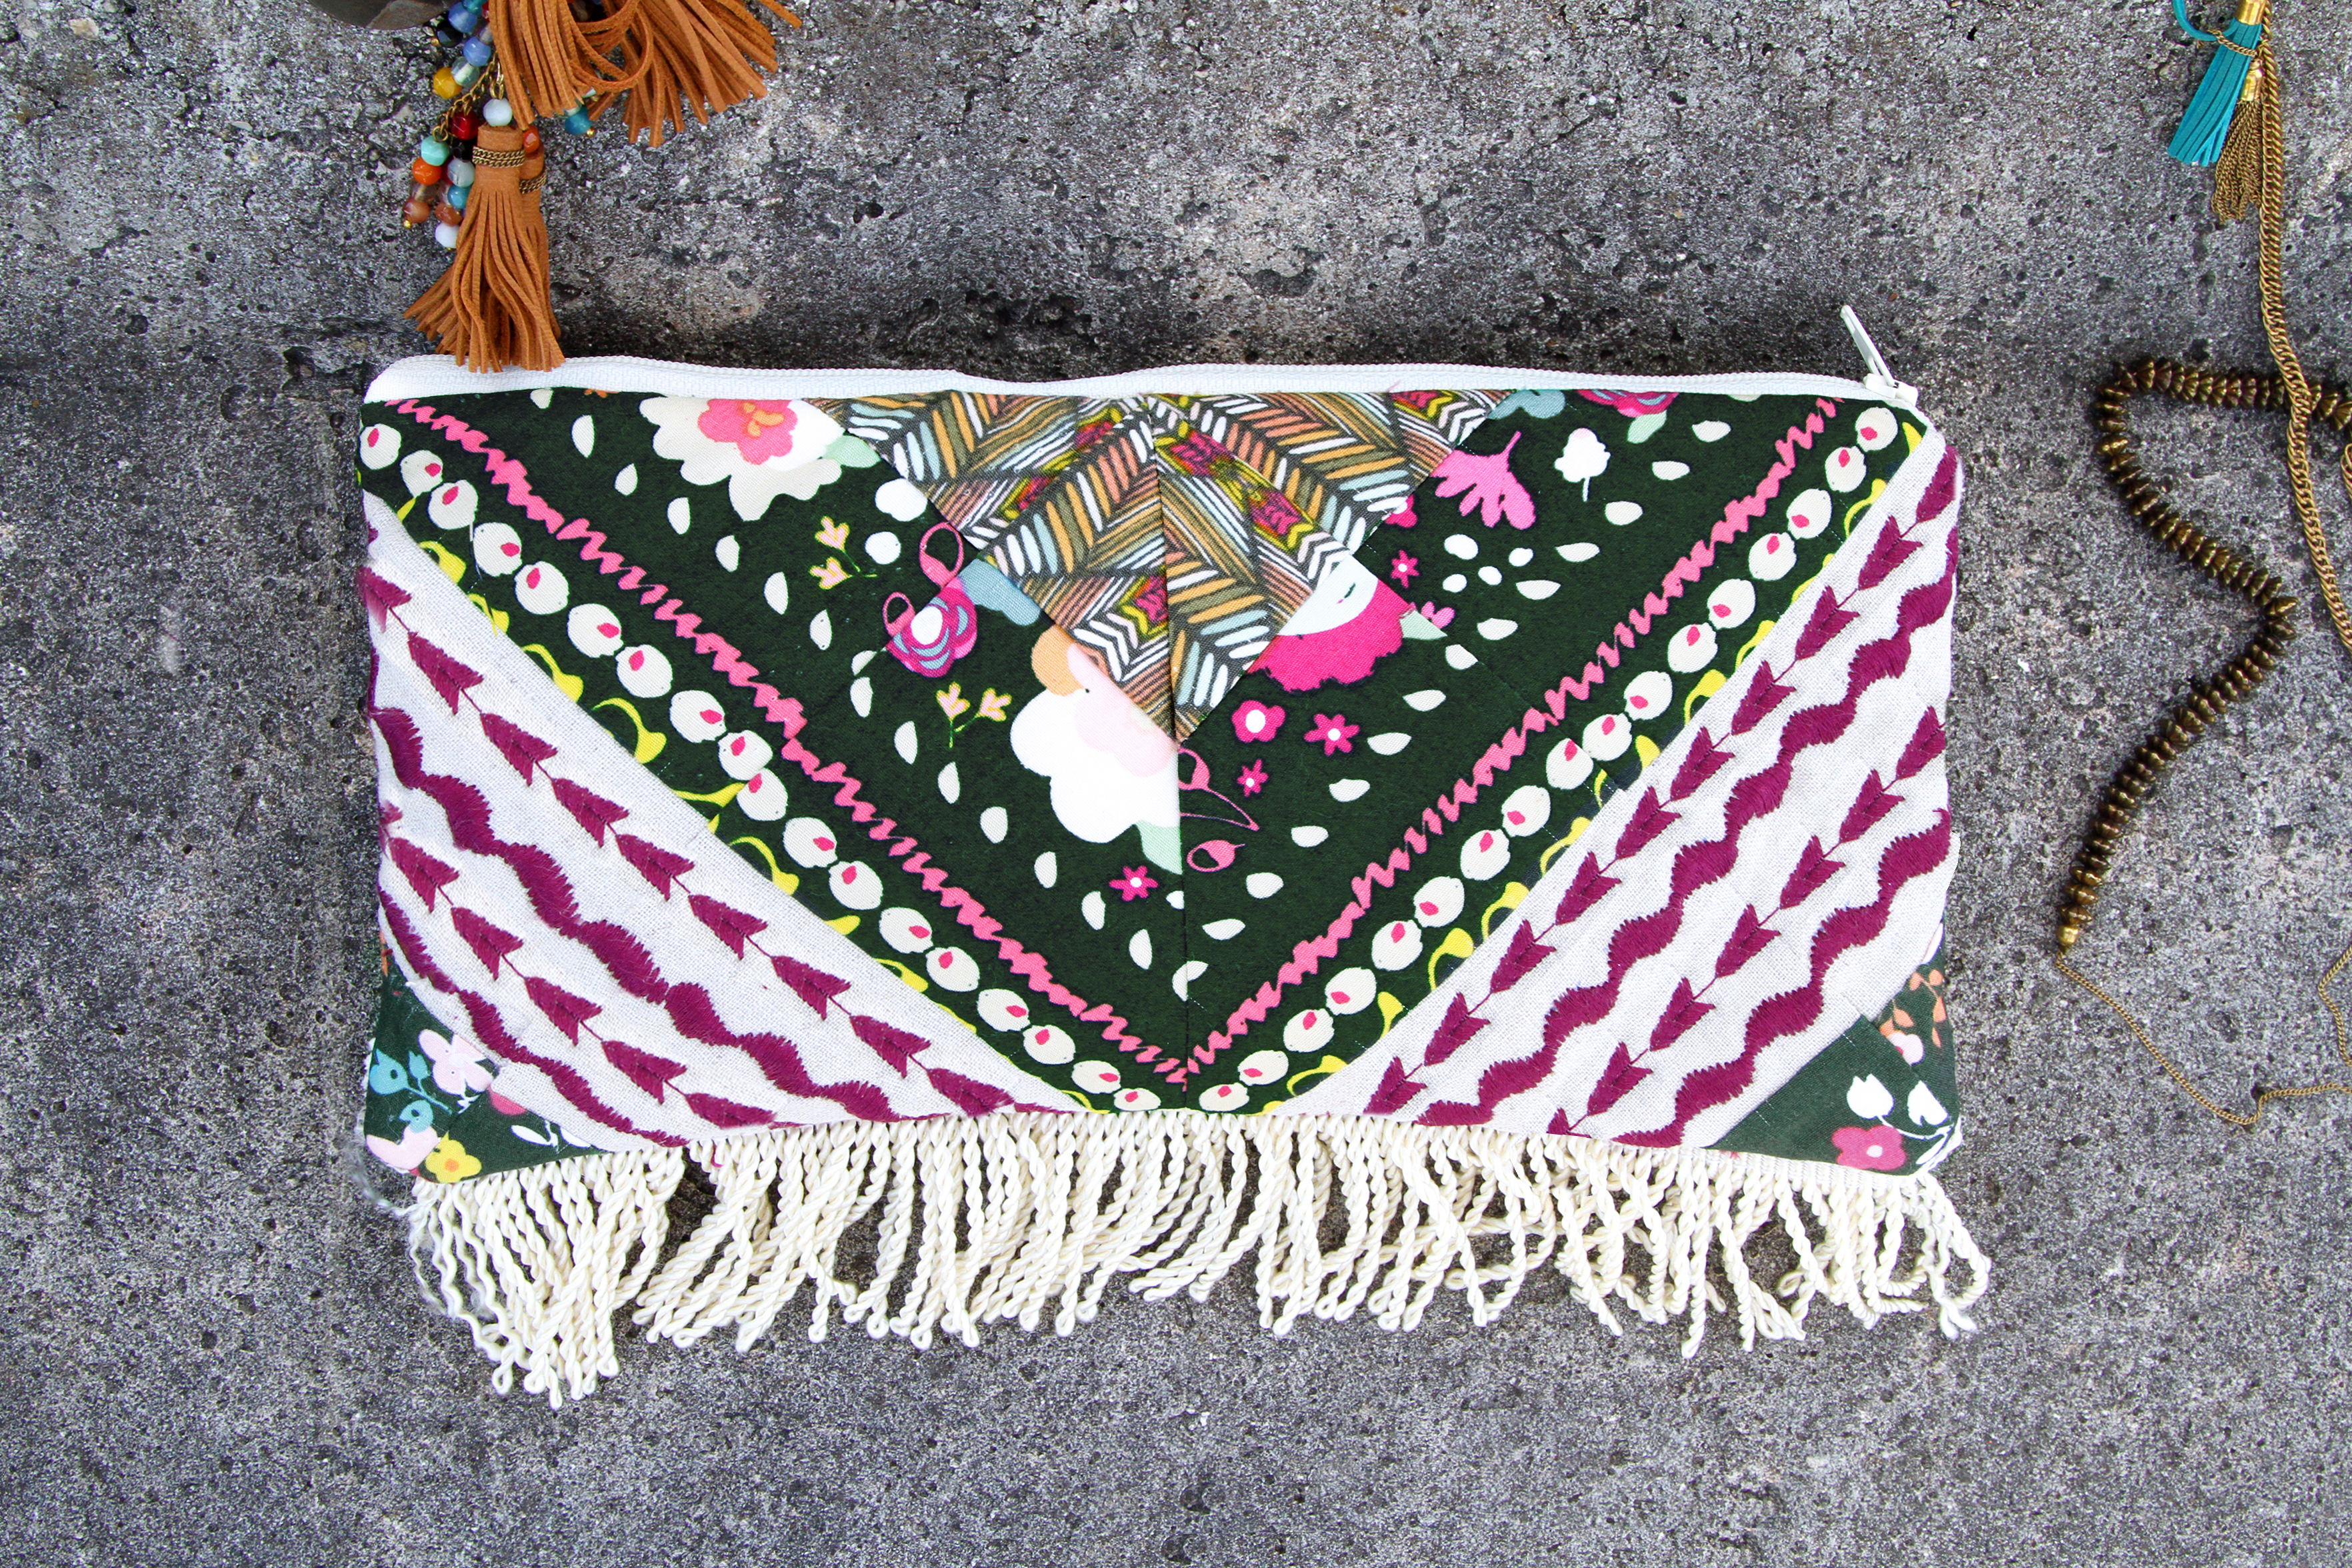
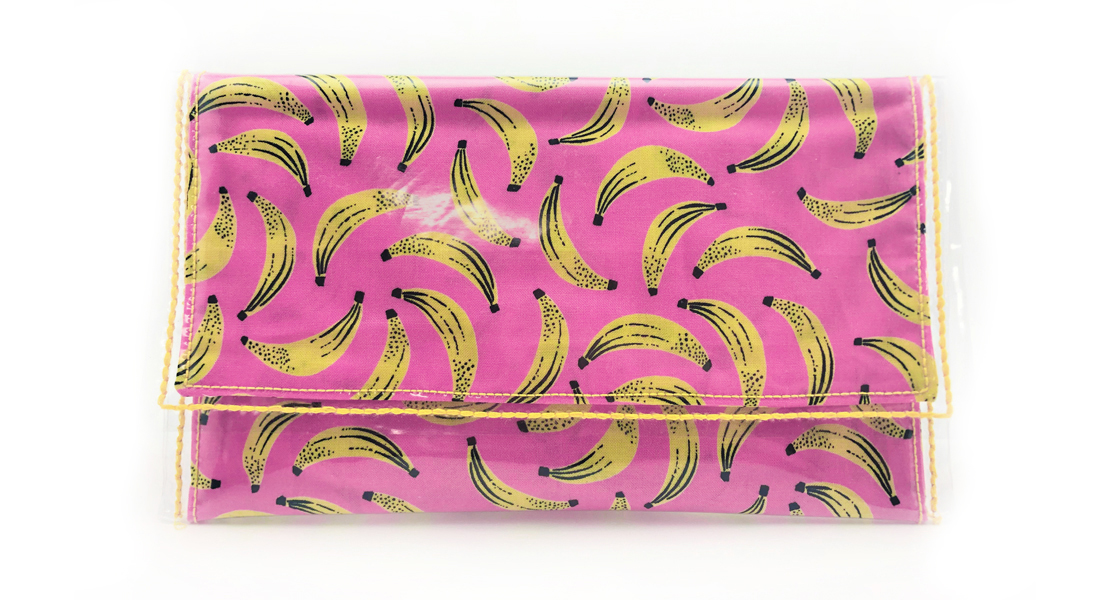
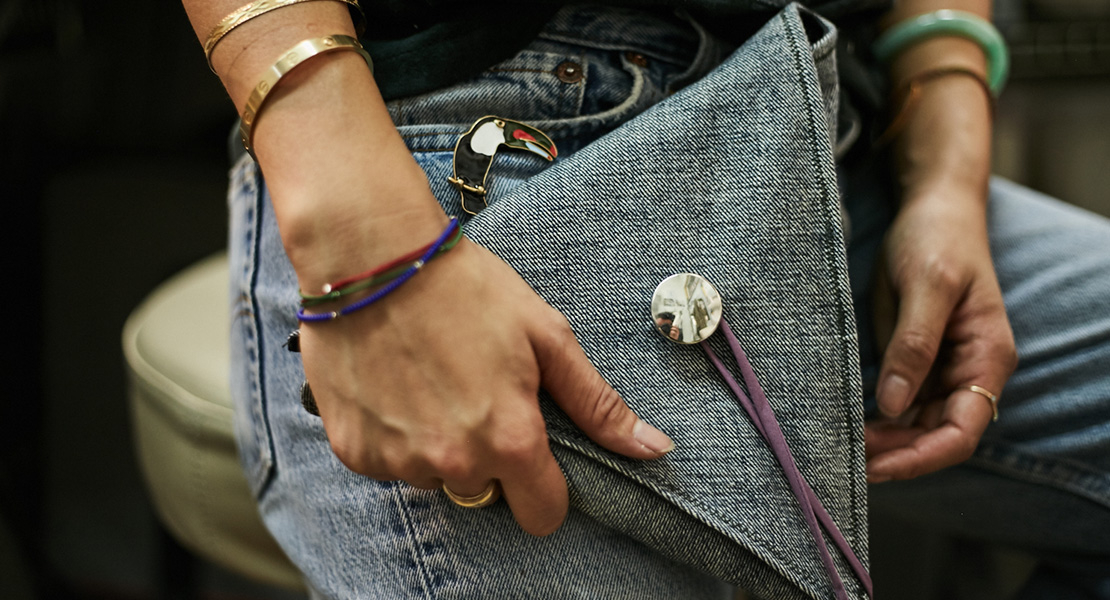
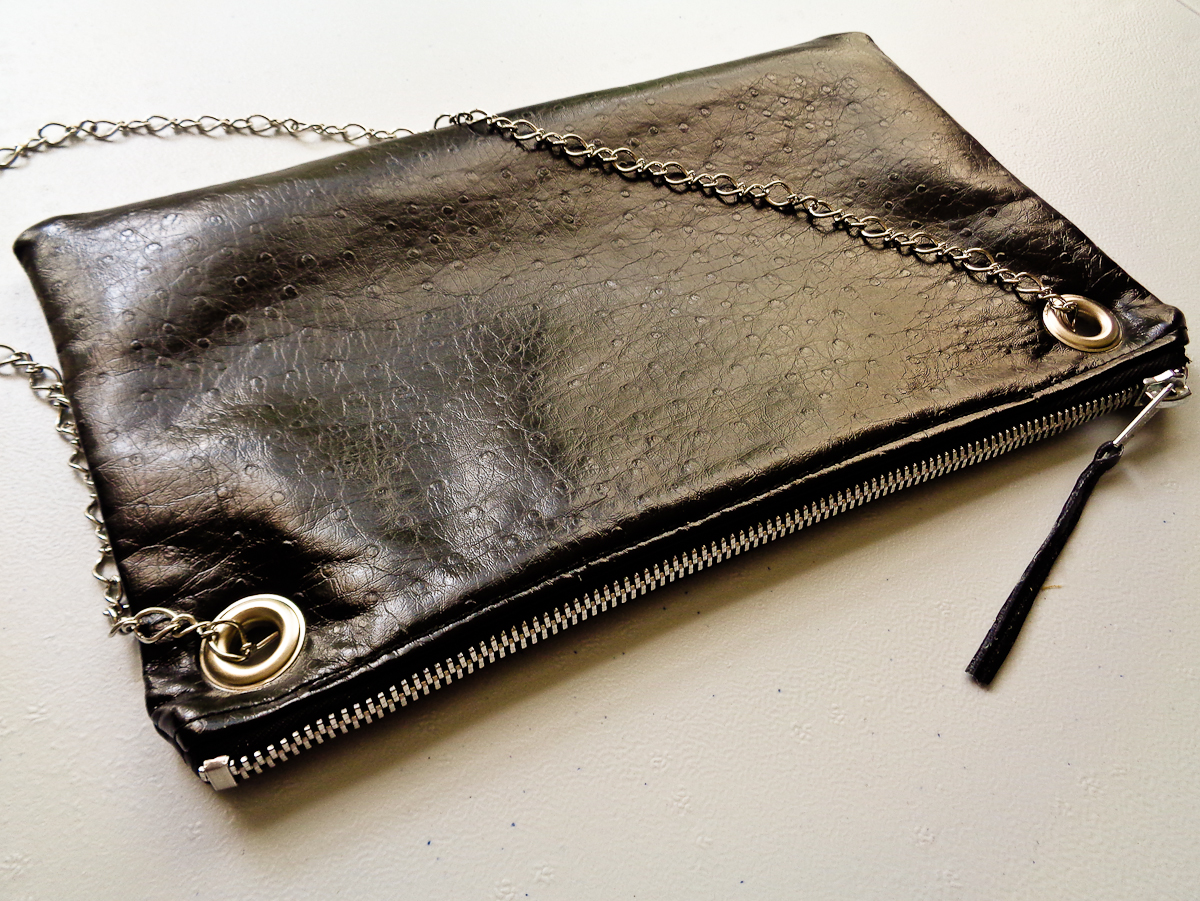
With my Indie Boheme collection coming up, I couldn’t resist and started making little projects. And of course, I had to share it! The Indie Clutch is the perfect add-on to your ensemble, and so pretty. Follow the instructions below to create this stunning clutch and elevate your accessory game!
Materials to Sew the Indie Clutch
We are going to use fabric scraps; in my case I used scraps from projects using Heartland Fabrics.
- Fat Eighth of Pat Bravo IBH-74207 Fabric A
- Fat Eighth of Pat Bravo IBH-64203 Fabric B
- Fat Eighth of Pure Elements PE-427 Fabric C
- Fat Eighth of The Denim Studio by AGF DEN-SB-7000 Fabric D
- 10” zipper
- 1/3 yard of batting
- Erasable Pen
- Universal needles, size 80/12
- Your sewing machine and embroidery machine: I sew on a BERNINA 790
- Open embroidery foot (BERNINA Open embroidery foot #20/#20C/#20D), all-purpose presser foot (BERNINA Reverse Pattern Foot #1/#1C/#1D) and Zipper Presser foot (BERNINA Zipper foot # 4D)
- AURIFIL cotton thread #4030 and #2783
- Download the printable Indie Clutch template
Cutting Instructions
- Cut Fabric A using Template 1
- Cut Fabric B using Template 2
- Cut Fabric C using Template 3
- Cut 1 (one) 9” by 12” from Fabric A
- Cut 2 (two) 9” by 12” from Fabric C
- Cut 1 (one) 9” by 12” from Fabric D
- Cut 1 (one) 9” by 12” from batting
- Cut Batting using Template 1
- Cut Batting using Template 2
- Cut Batting using Template 3
Step 1- Front of the clutch
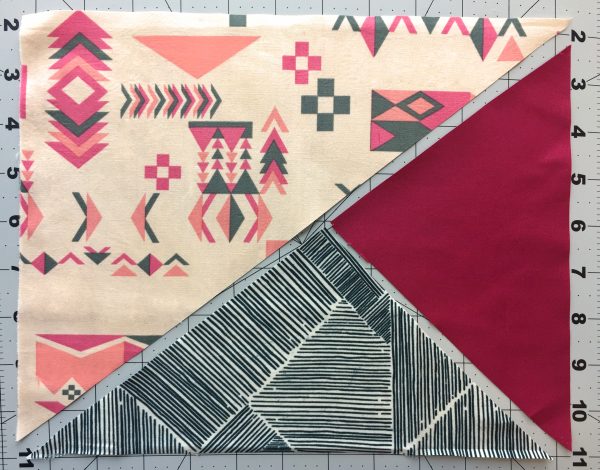
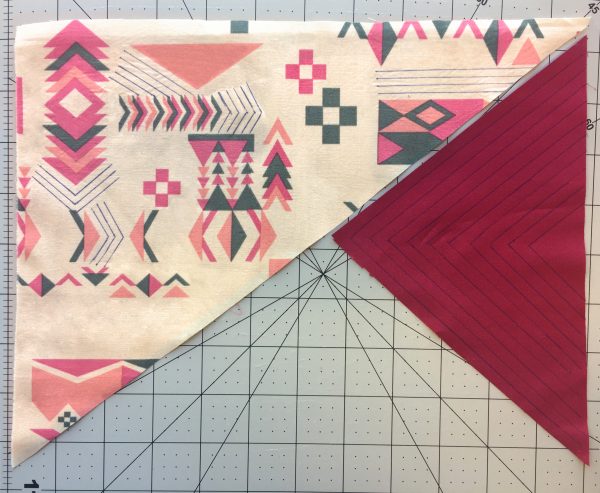
Get all your cut pieces together from Template 1, 2 and 3. We are going to stitch Fabric A and C therefore we need to use the batting pieces from Template 1 and 3 when stitching.
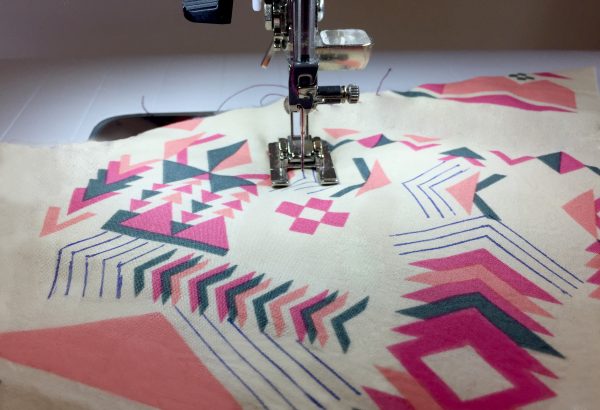
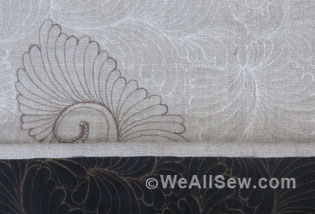
With the erasable pen, draft the lines you want to stitch.
Prep your machine with the Open embroidery foot #20/#20C/#20D and Aurifil thread #2783.
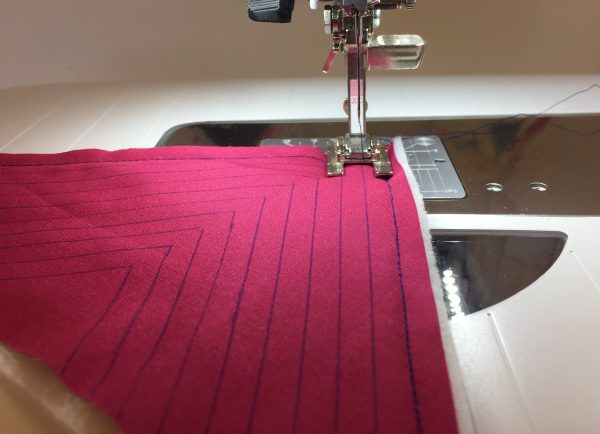
Using the straight stitch, stitch across the lines for Template 3.
For Fabric A, change the machine thread to #4030 and stitch across the lines.
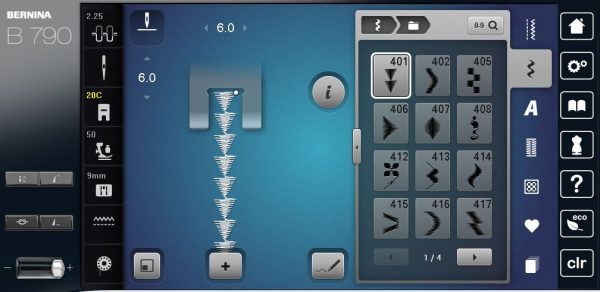
Change your machine stitch to Satin Stitch #401.
Begin to stitch. The fun part is due to the intricate design of the print, you are free to add decorative stitches where you see fit.
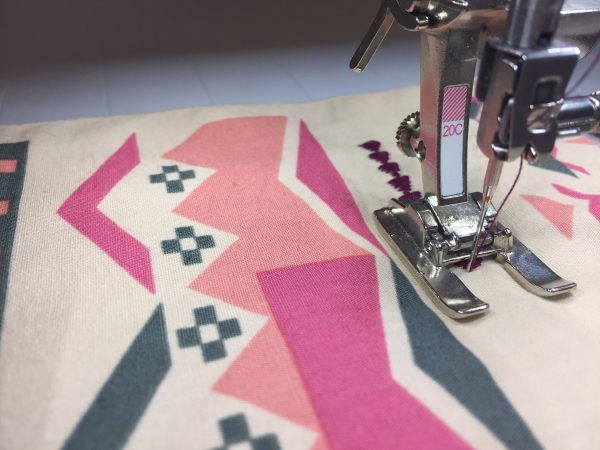
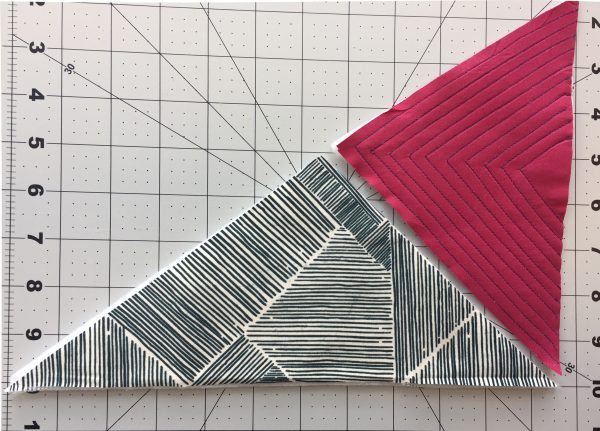
Now, get Fabric B piece with it’s matching batting and the recently finished Fabric C piece and sew them together.
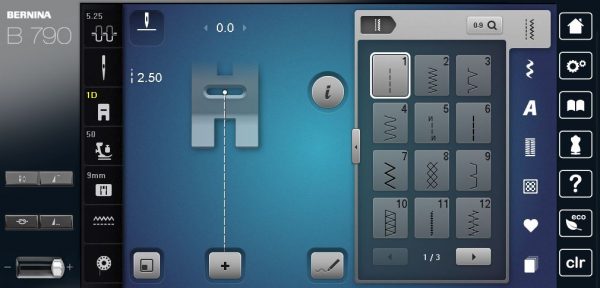
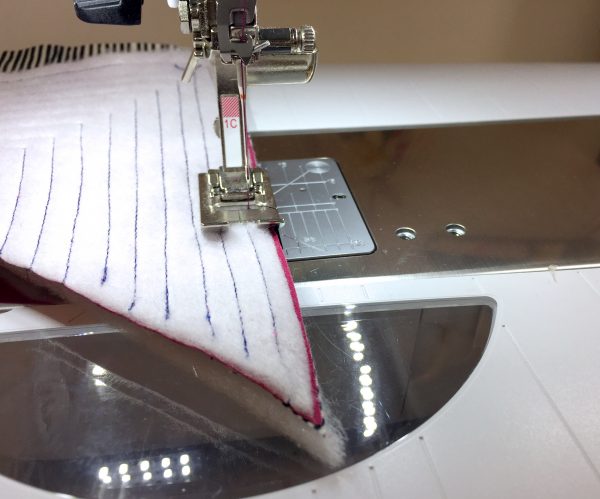
Change the presser feet of your machine to the Reverse Pattern Foot #1/1C/1D and using a 1/4″ seam allowance, stitch pieces from Fabric B and C together.
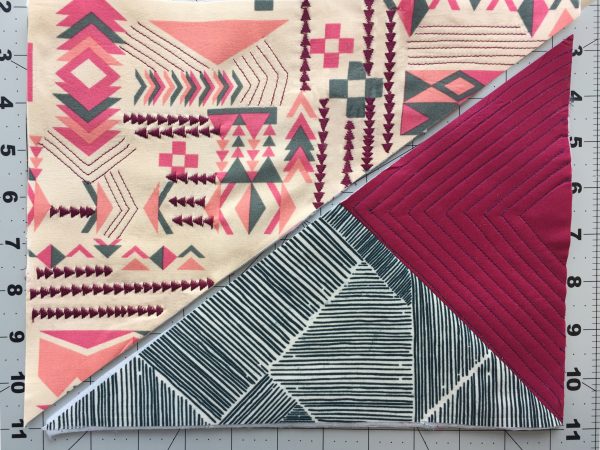
Attach Fabric A piece to the rest of the recently attached piece (Fabric B and C).
Step 2-Attach Zipper and Lining
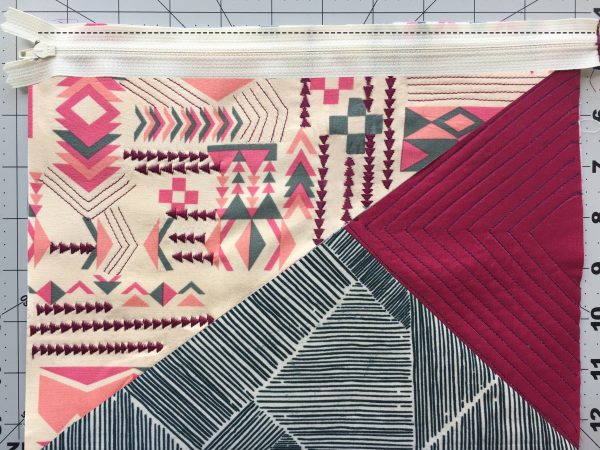
Get the front of the clutch and place it with the right side of the fabric facing up. Next place the zipper facing down, as shown below, once the lining pieced is added, you will stitch on the dashed line. More explained below.
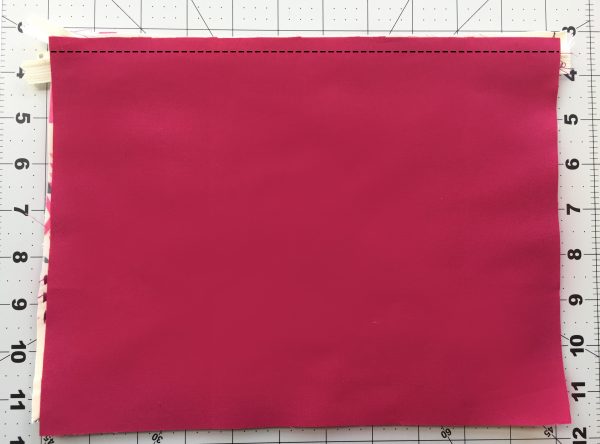
Lastly, place the 9” by 12” piece from Fabric C on top and pin in place. Stitch on the dashed line, about 1/4″ from the edge.
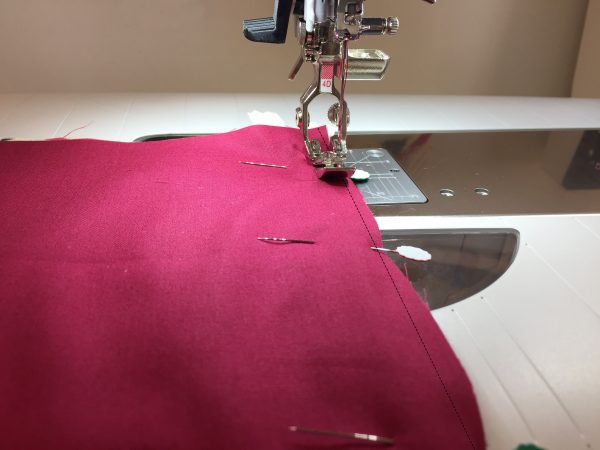
Change the presser foot on your machine to the Zipper Presser foot (BERNINA Zipper foot # 4D) and straight stitch close to the zipper teeth.
Stitch on the dashed line, about 1/4″ from the edge.
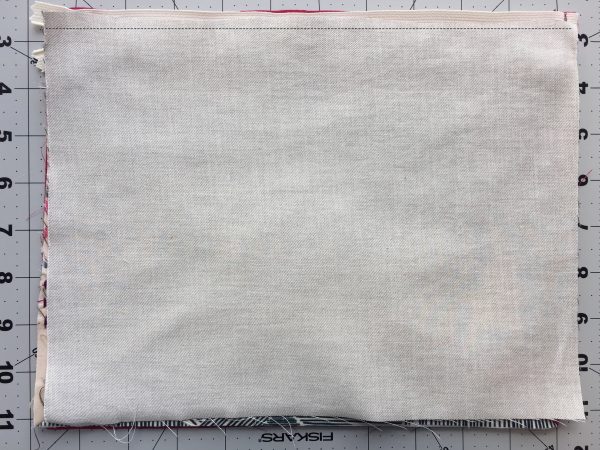
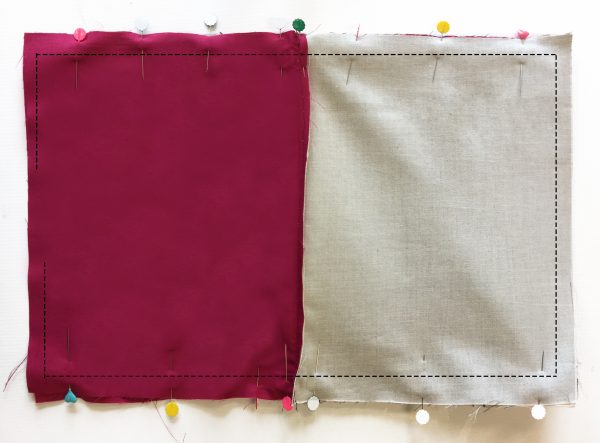
Now place the last 9” by 12” piece from Fabric C, and add the piece from the previous step, and set it as instructed below with the front of the clutch facing up. And lastly, place the back of the clutch (9” by 12” from Fabric D) with the wrong side facing up, pin in place and straight stitch from top to bottom close to zipper teeth.
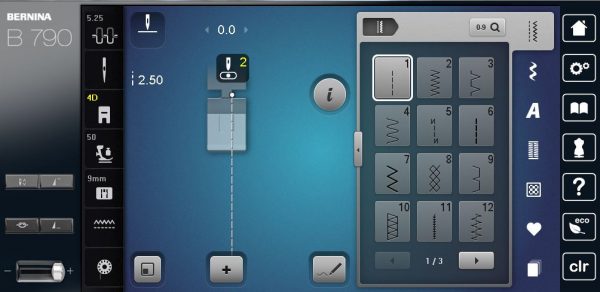
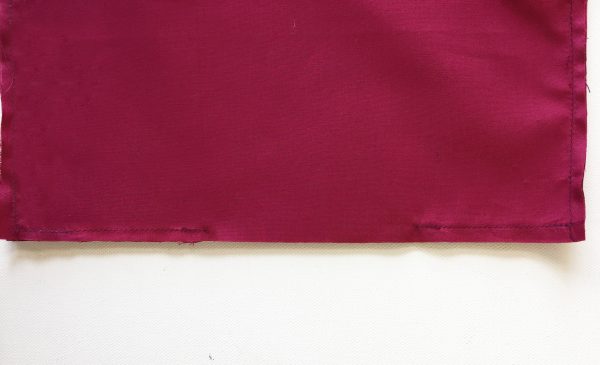
Lay out your pieces separating outer fabric on the left and lining on the right. Changing from your BERNINA Zipper foot 4D to the Reverse pattern foot #1D, stitch all around using straight stitch #1 with a 1/4″ seam allowance, leaving a 5″ opening at the lining. Make sure the zipper is open because when you pull the clutch through, you are going to come through the zipper. After this, clip all four (4) corners.
Once it’s stitched all around, pull the clutch through the open zipper, pull the corners out and stitch the opening closed. You can either hand stitch it or machine stitch it.
And voila! Your Indie Clutch is ready to use!
What you might also like
4 comments on “Indie Clutch Tutorial”
-
-
Thank you!!
-
-
Beautiful!
-
Aww thank you!
-
Leave a Reply
You must be logged in to post a comment.




Love it – my daughter would love this!