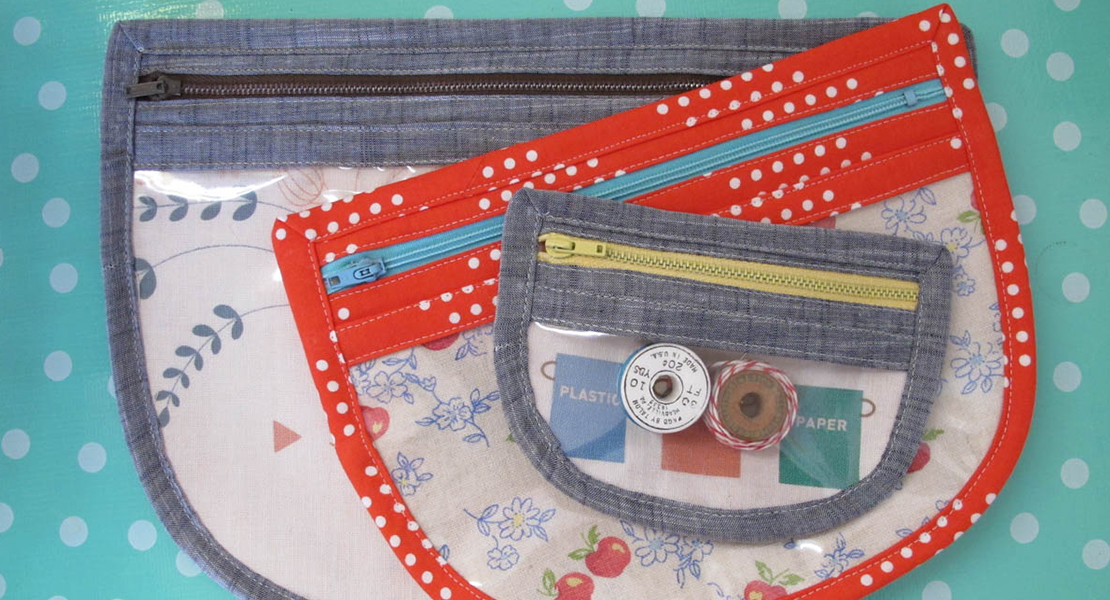
Lined Clear Vinyl Clutch
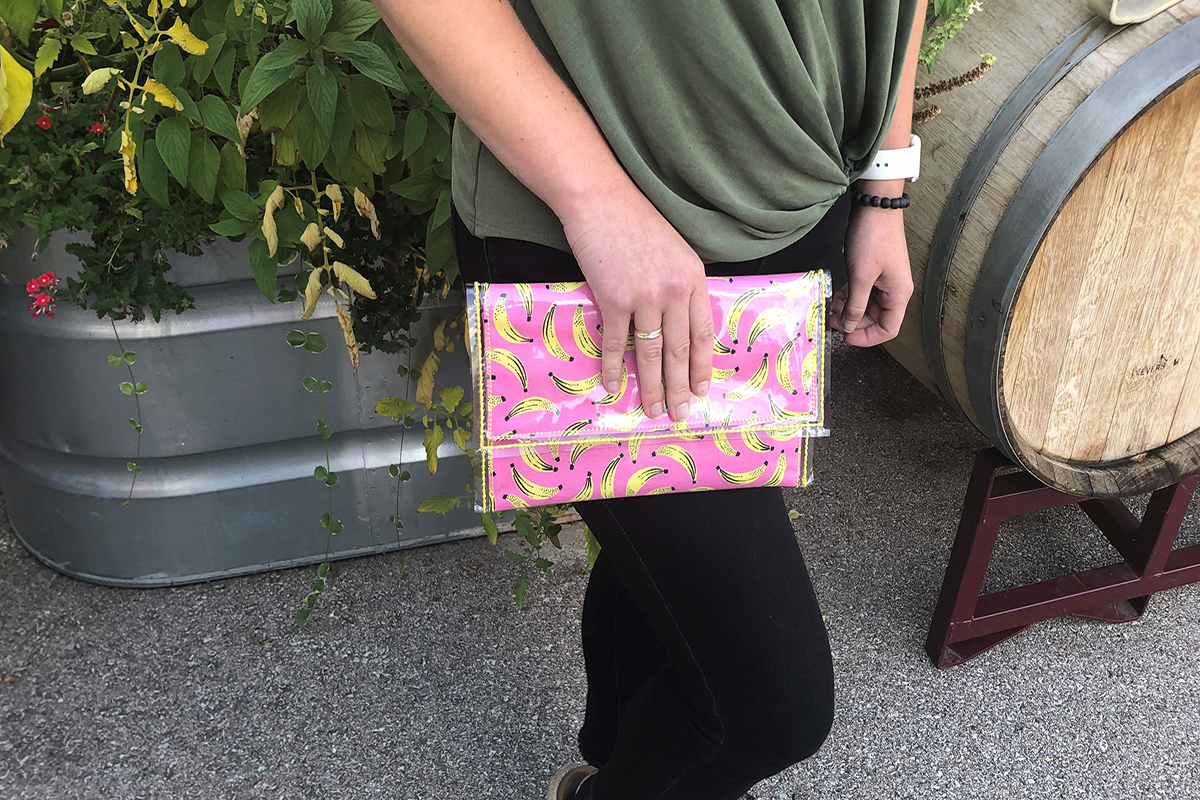
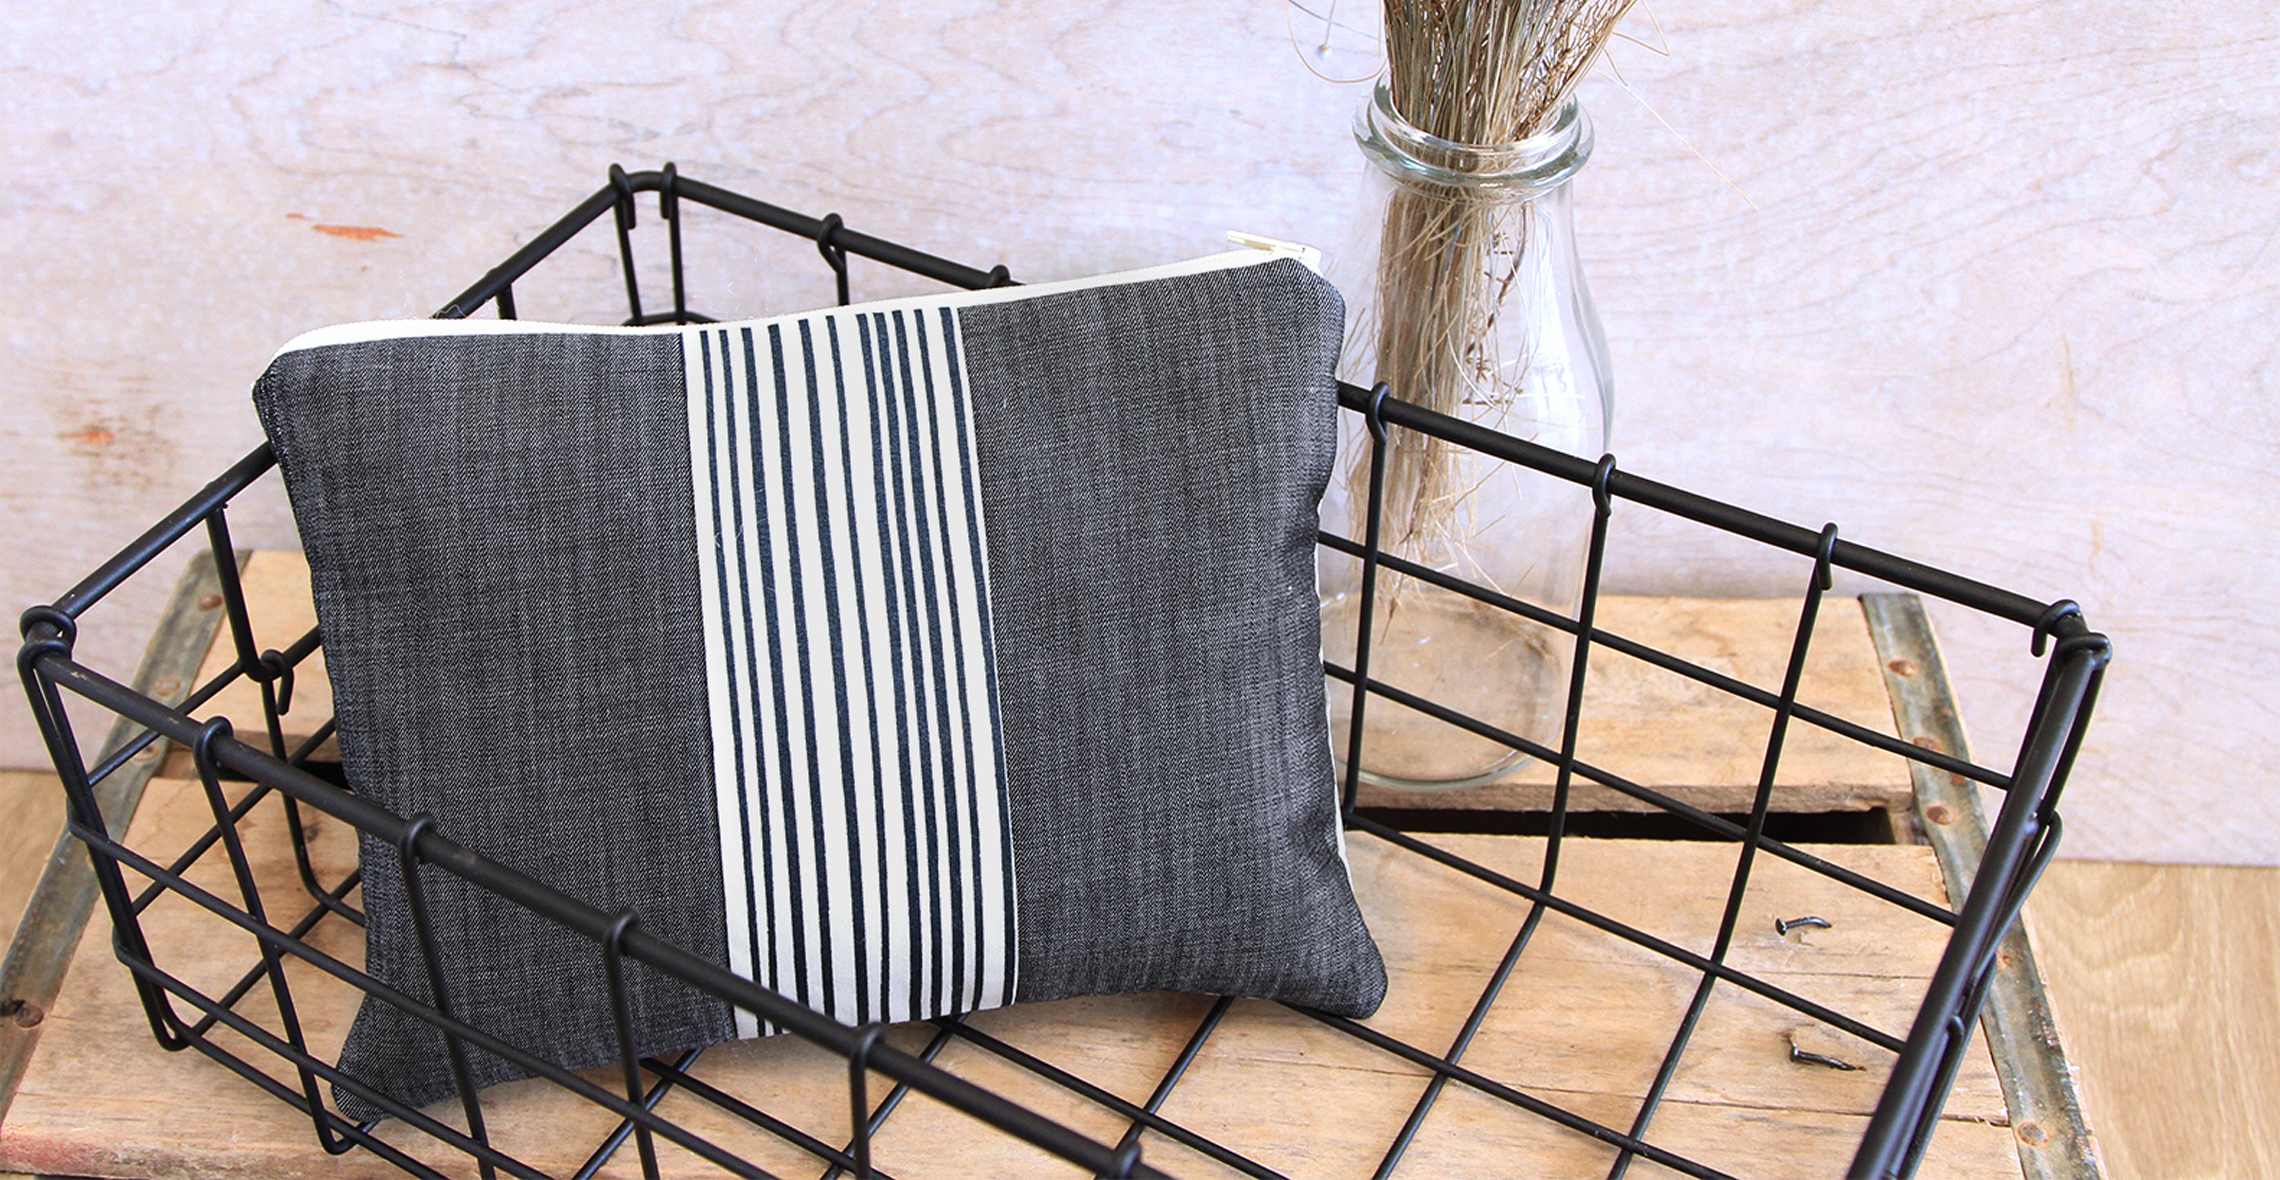
I love, love, LOVE bold and unique prints. It is even sweeter when the fabric matches perfectly with the thread. This clutch creates something with vinyl that you will want to take with you everywhere. The vinyl on the exterior of this clutch provides durability and is easy to clean, while the flashy cotton interior gives it a chic, fun look that can be adapted to any season. Easily adapt the size of the bag and add straps for another great look.
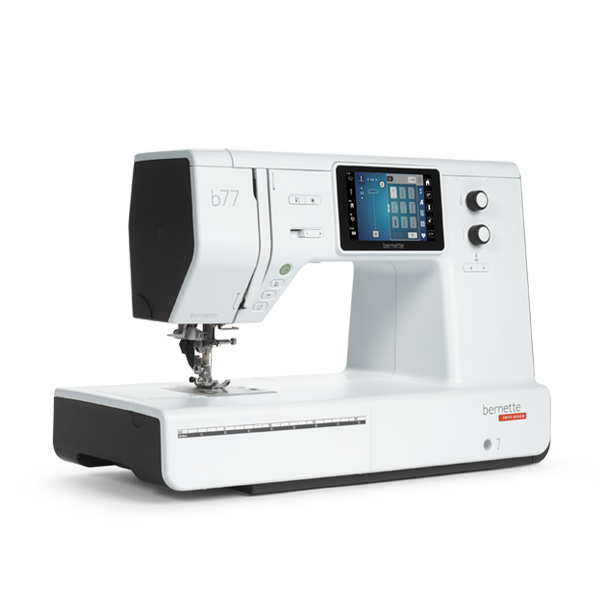
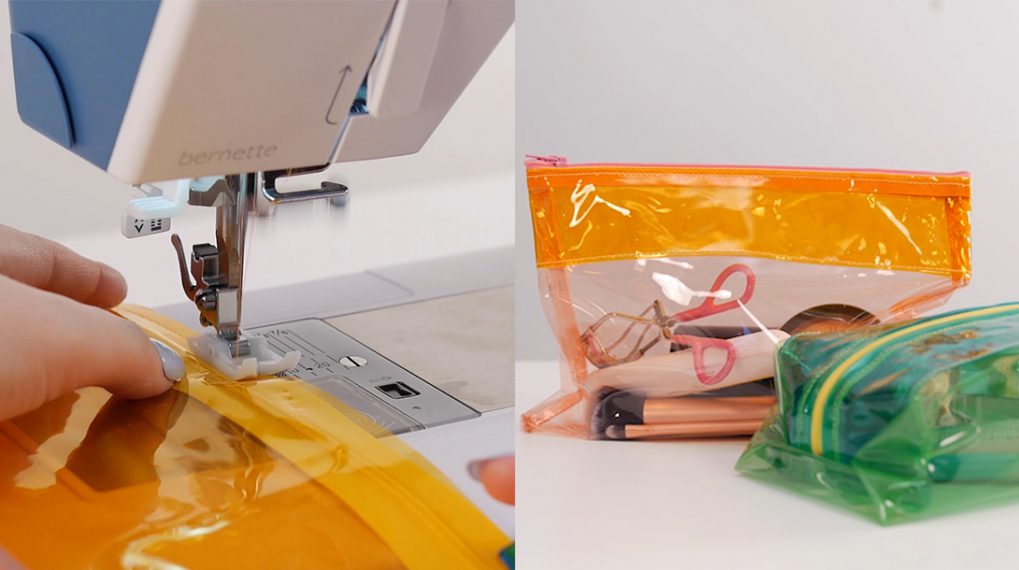
This project was completed on the bernette 77, one of the machines in the new affordable bernette line of machines. These machines are powerful, very easy to operate, and are perfect for beginner projects, such as this clutch. The project demonstrates the penetration power of the bernettes, as well as the adaptability to sew on several different materials and through several layers. This project also requires that numerous machine settings be changed; all that can be done quickly and easily using the touch screen.
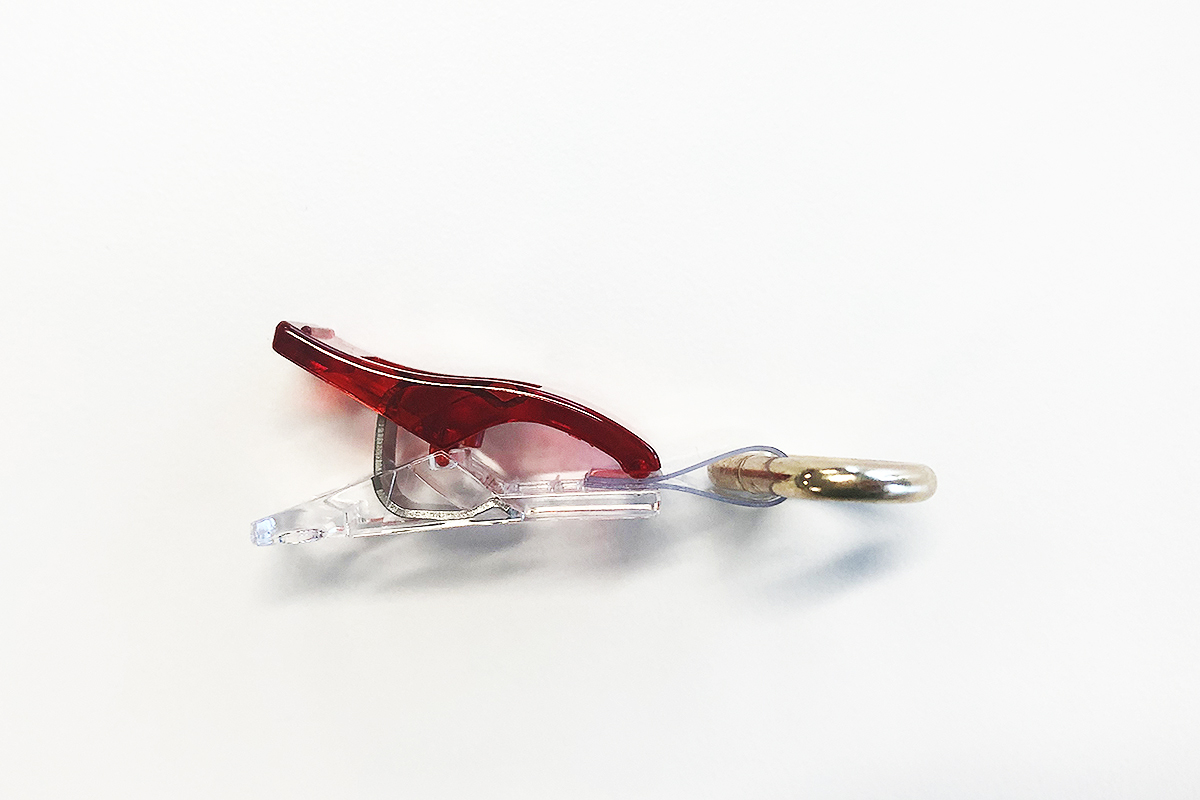
One of the first things to know about vinyl is that it cannot be pinned or sewn through without leaving a permanent hole. So instead of using pins to keep things from moving, use Clover Wonder Clips. They do not pierce through the fabric, but rather pinch everything together and hold it all in place.
Materials To Create a Lined Clear Vinyl Clutch
- 16 gauge clear vinyl
- Cotton fabric of choice for the lining
- 1/4” wide Stitch Witchery
- 3/4” wide
- Wonder Clips
- Cordonnet 30 weight thread – for the upper thread
- Metrosene Plus thread – for the bobbin
- Schmetz Topstitch Needle 90/14
- Schmetz Universal Needle 80/12
- Point Turner
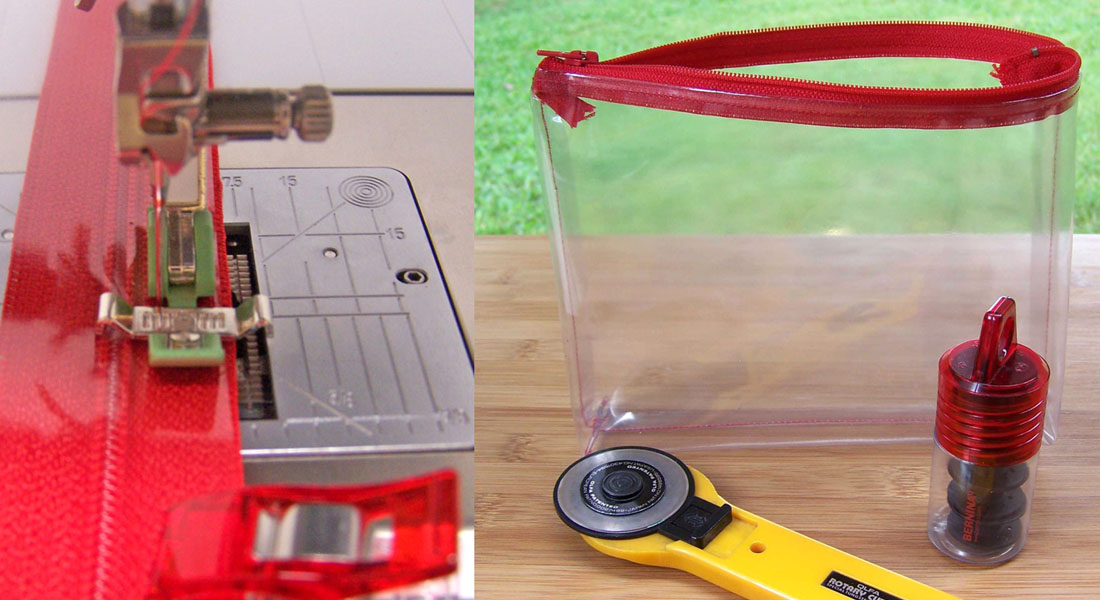
- Designated paper rotary cutter-do not use fabric scissors or a fabric rotary cutter to cut the vinyl!
- Ruler
- Seam gauge
- Pins
Here is a step-by-step tutorial of how this project was constructed.
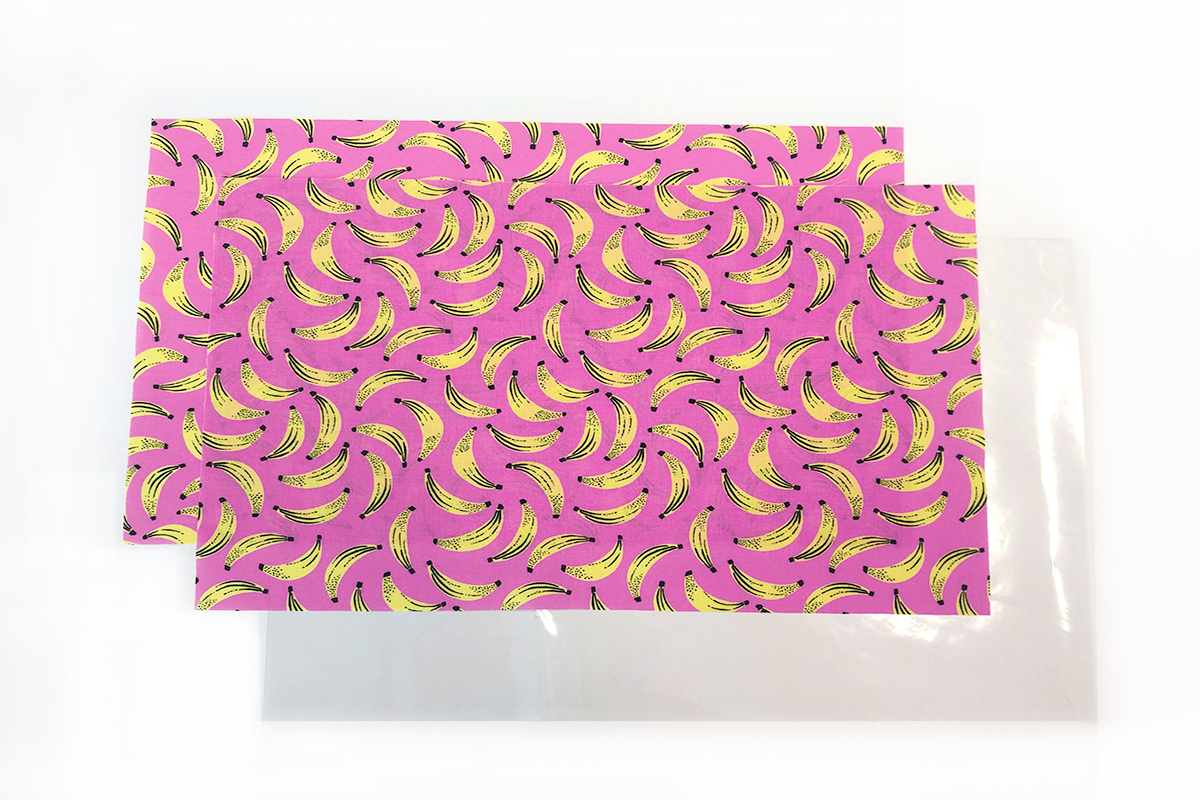
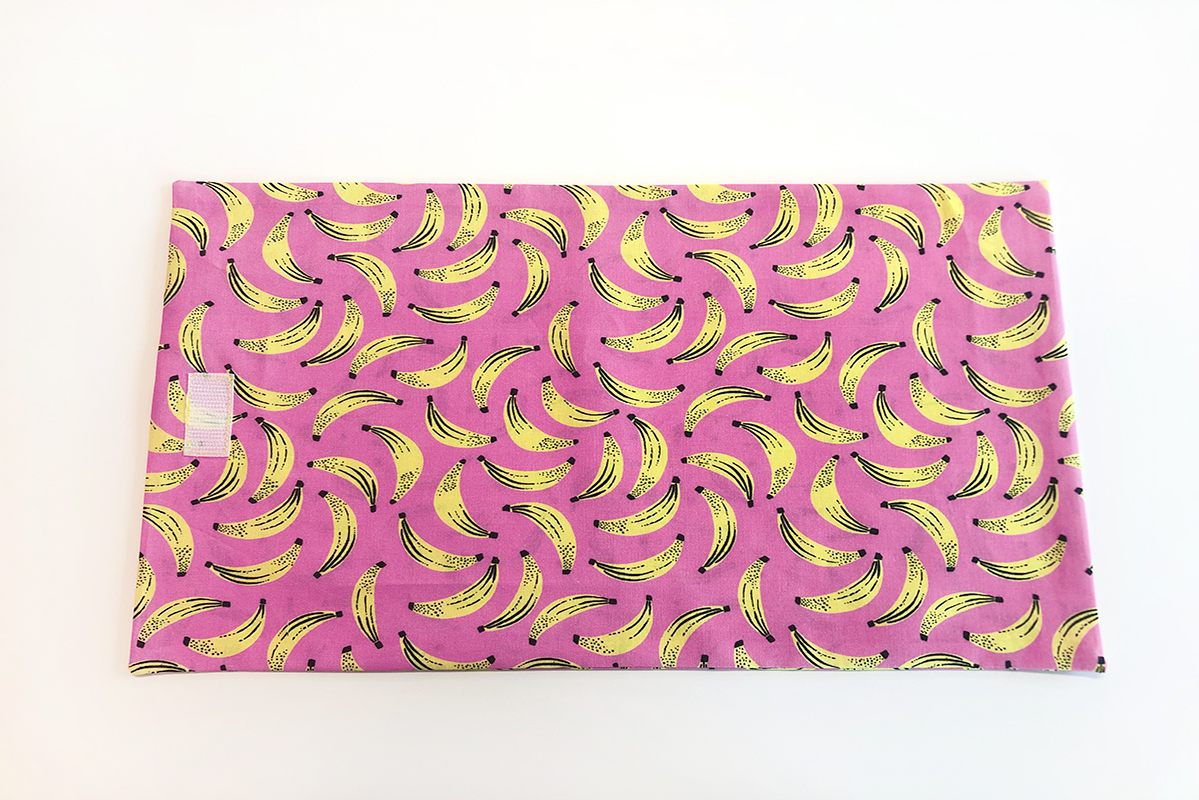
Step 1 – Begin by cutting out the fabric and vinyl pieces. Cut two 10” x 16” pieces of fabric and one 11” x 16 ½” of clear vinyl. If using a fabric with a directional pattern, keep in mind where the fabrics will line up once folded. The fabric pieces will be sewn together with a 3/8” seam allowance. I cut the vinyl using my designated paper rotary cutter, but it can also be cut using regular scissors.
This project is easy to size up or size down, so it is best to start bigger with the vinyl, then trim to be smaller. More sizing options will be discussed in the Alternatives/Tips and Tricks at the end of this blog.
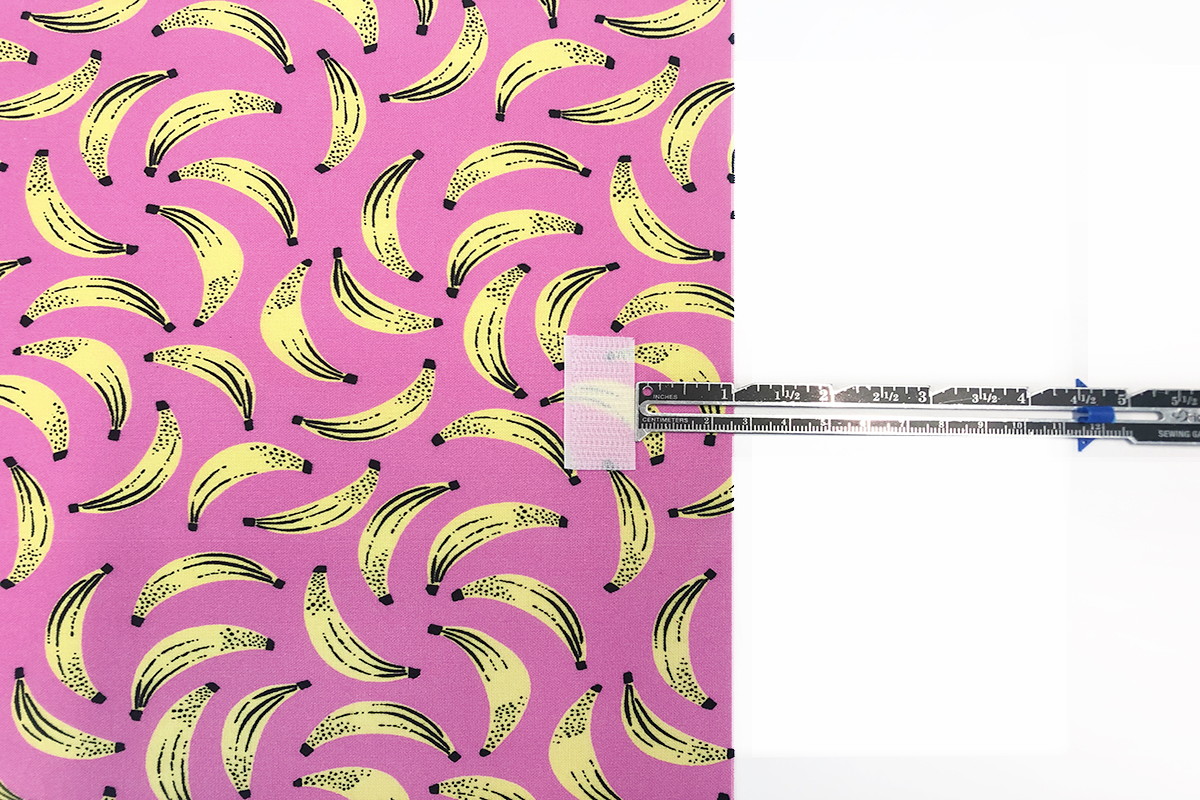
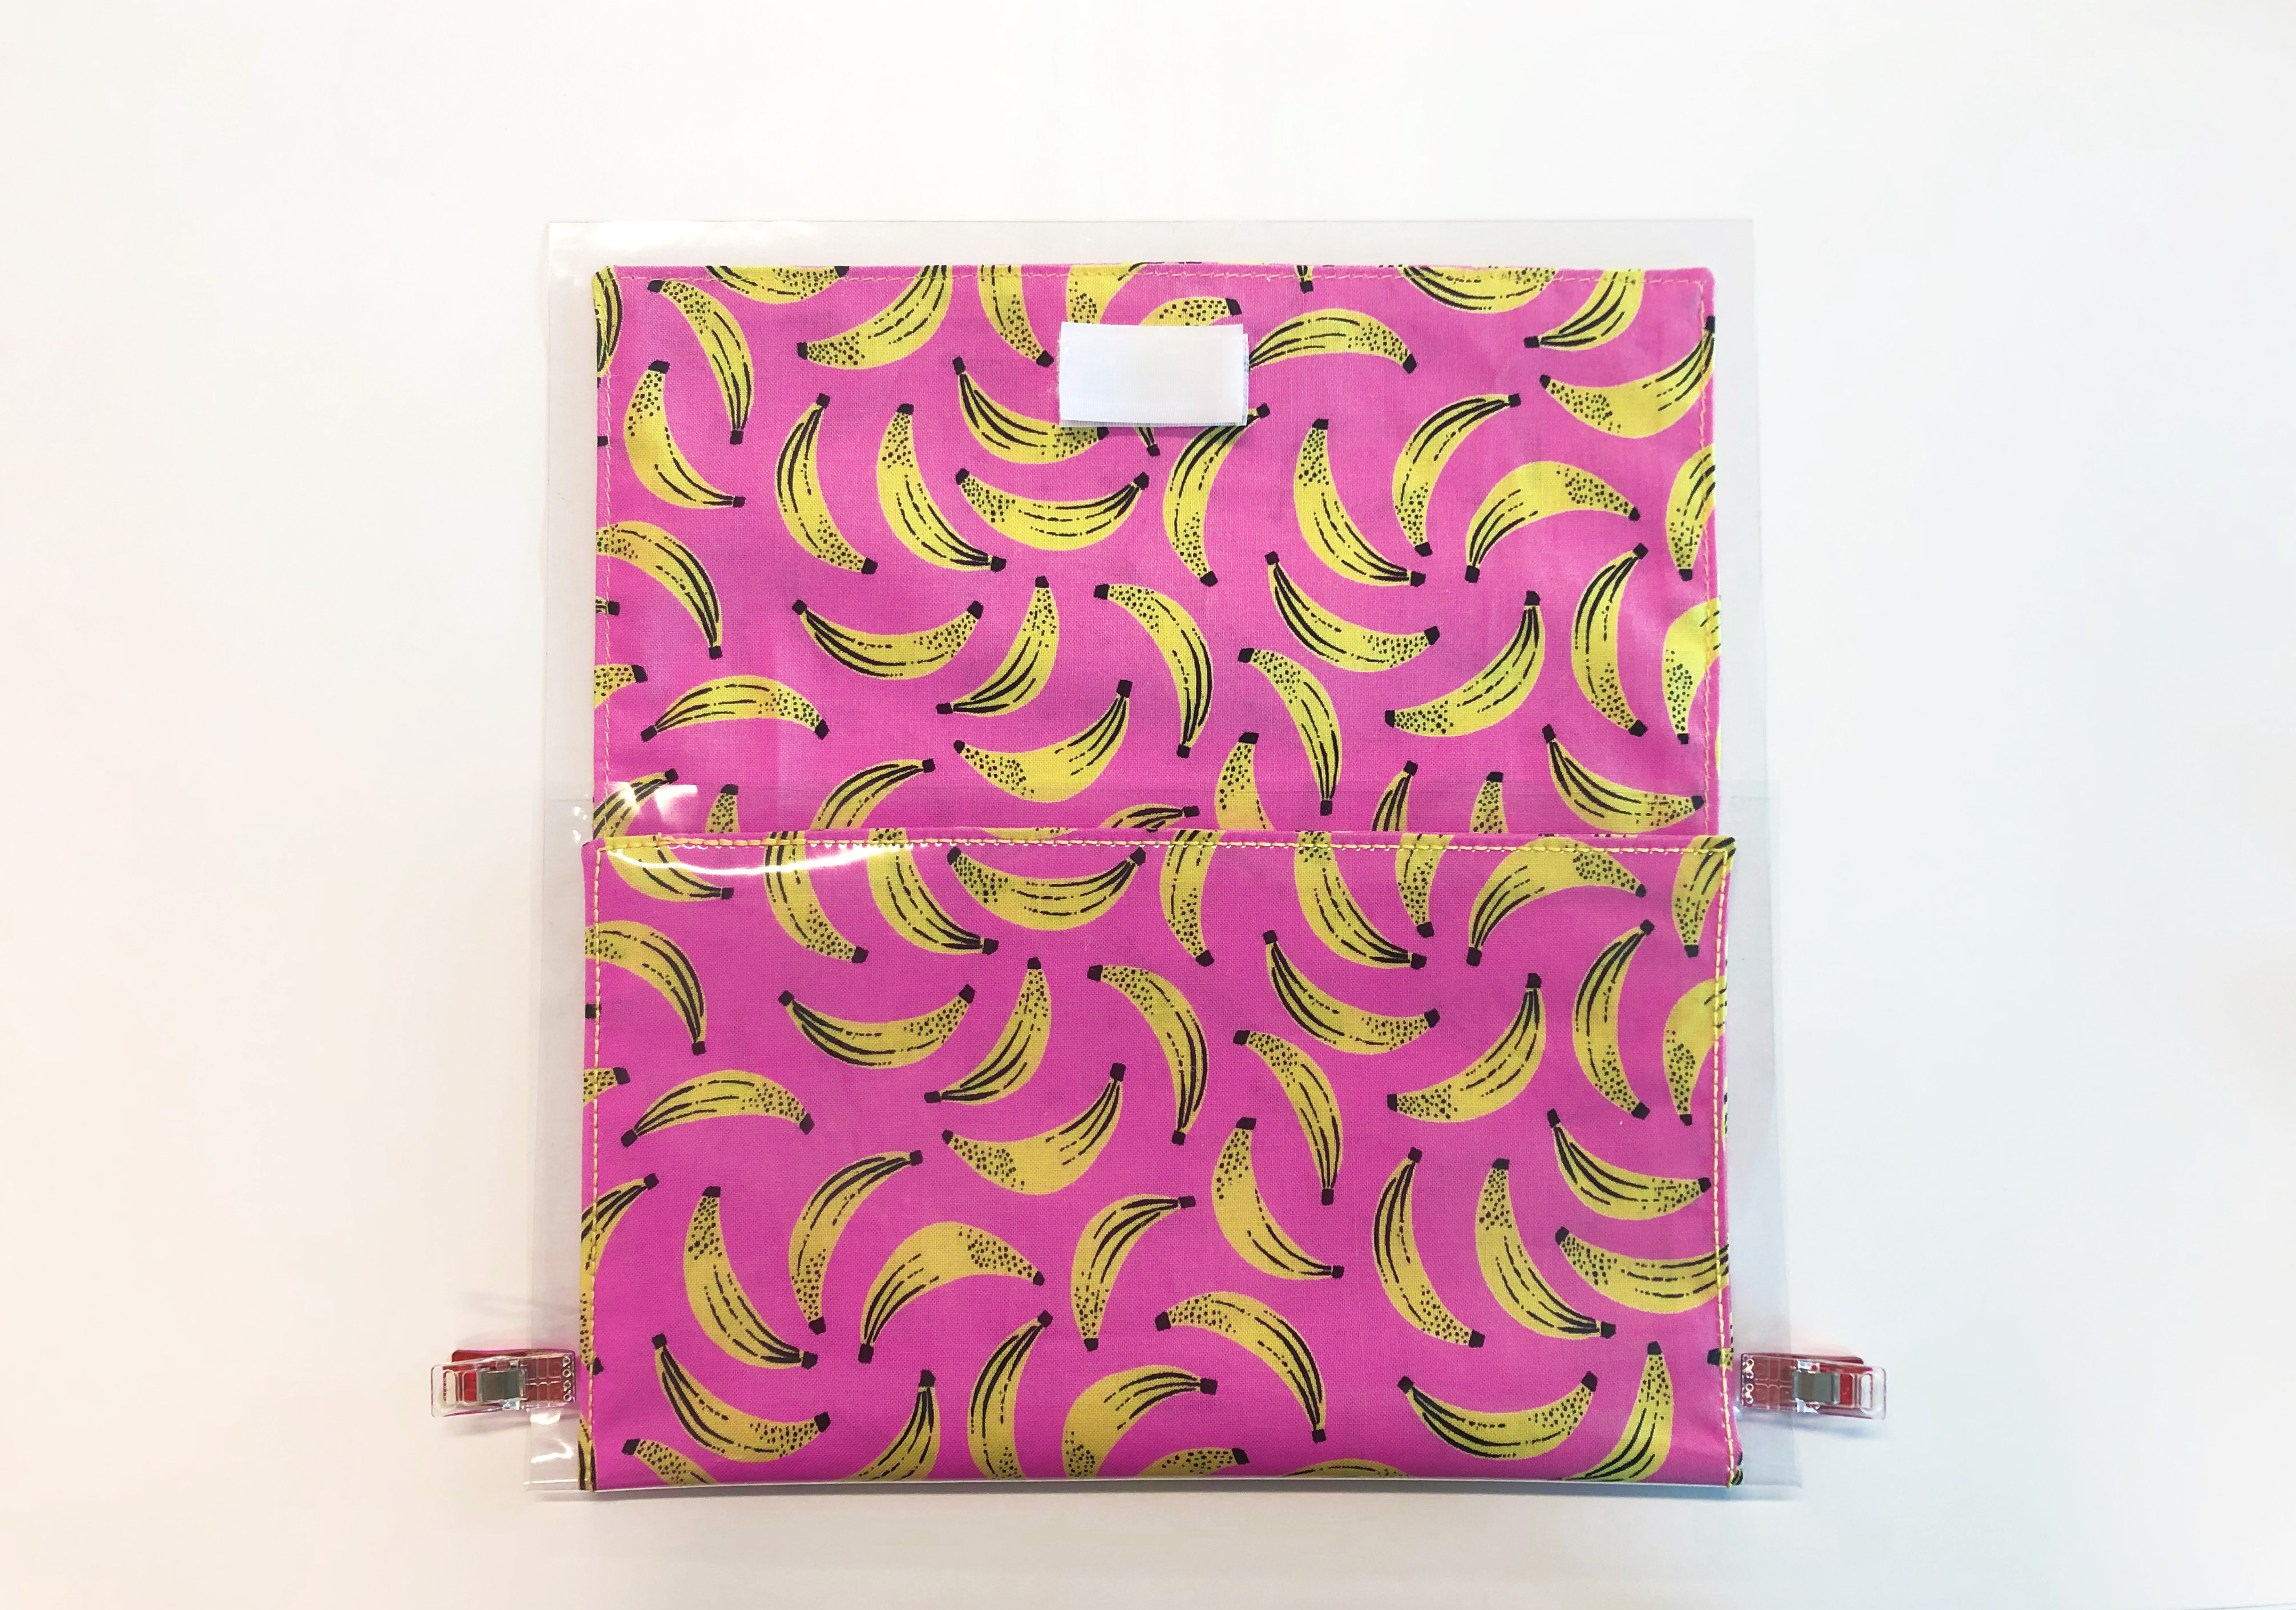
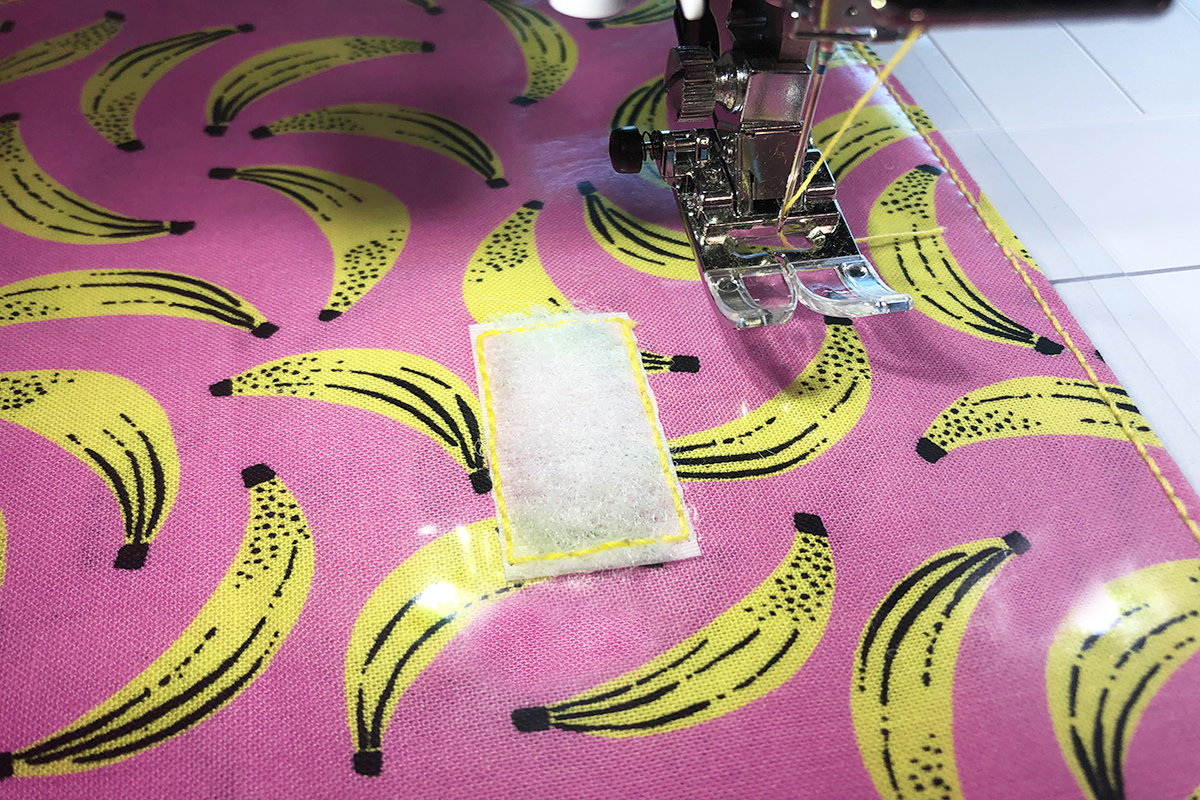
Step 2 – Cut a 1 ½” piece of Velcro for the top closure of the clutch. Measure down approximately 1” from the center of the top edge (the 10” side) of one of the pieces of fabric on the right side and place the Velcro. Pin in place.
Step 3 – Using the bernette presser foot of choice (I used the standard zigzag foot (DA) for the entirety of the project), a Schmetz 80/12 universal needle, and a thread such as Metrosene, stitch the Velcro to the single layer of fabric.
Step 4 – Now layer the two pieces of fabric right sides together, and pin. Mark out a 4” opening that will allow the pieces to be turned right side out after they are sewn.


Step 5 – Stitch the two pieces of fabric together using a 3/8” seam allowance. Follow along the markings on the stitch plate. Be sure to leave the marked opening unstitched, but take a few securing stitches at the beginning and end. Pivot around the corners.
Step 6 – Before turning the fabric piece right side out, clip all four corners at an angle about 1/8” away from the stitching. Clipping the corners will reduce the bulk and will help the make the points sharp when turned.

Then turn the piece right side out. Using a point turner, fully push out the corners. Remember that they will be exposed on the exterior of the clutch.
Step 7 – Give the piece a good press. Fold the exposed raw edges of the opening to the inside at 3/8” and press. Cut a 4” piece of Stitch Witchery to close the opening. Stitch Witchery is a fusible tape that holds seams together, but can still be stitched through. It will hold the opening shut until the fabric is sewn to the vinyl.

Step 8 – Layer the fabric lining (side without the Velcro) onto the vinyl. Hold the fabric in place with Wonder Clips.
Step 9 – Change the upper thread of the b77 to the Cordonnet.
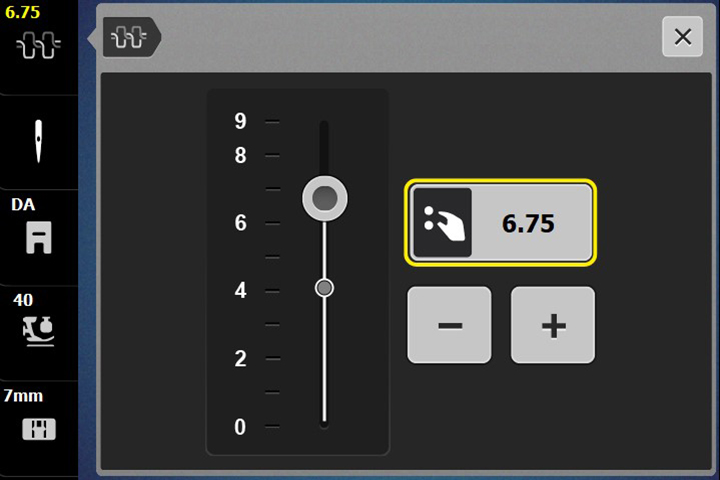
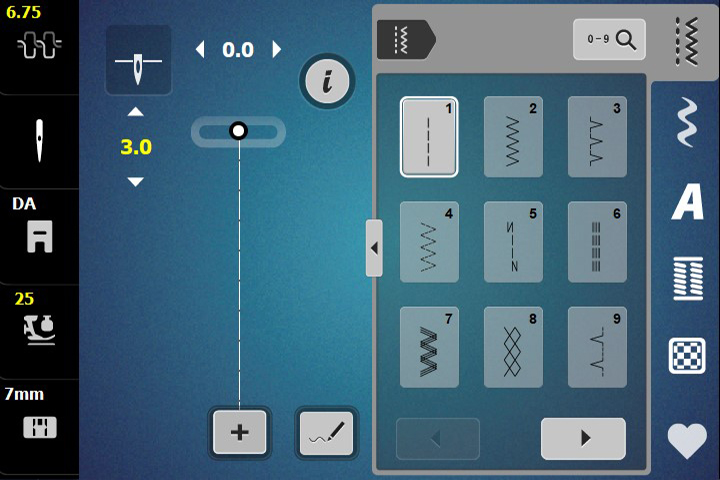
Several machine settings will need to be changed. Still using straight stitch #1, first increase the tension to 6.75.
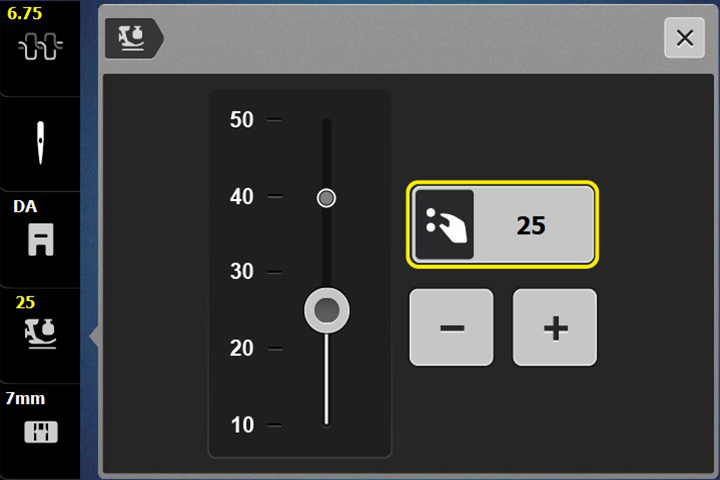
Decrease the presser foot pressure to 25. This will allow the vinyl to move freely with the feed dog.
Finally, increase the stitch length to 3.0.
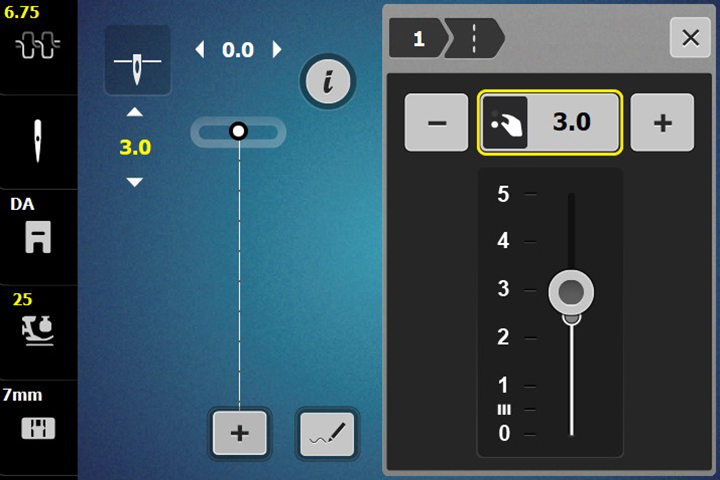
Notice that the changes you made on the b77 are shown in yellow.
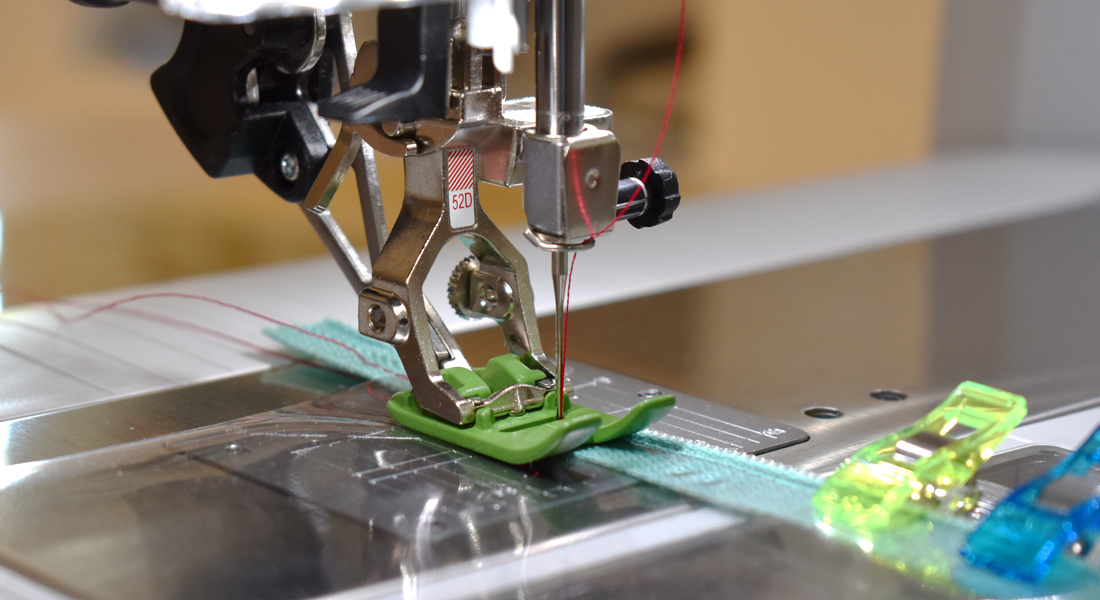
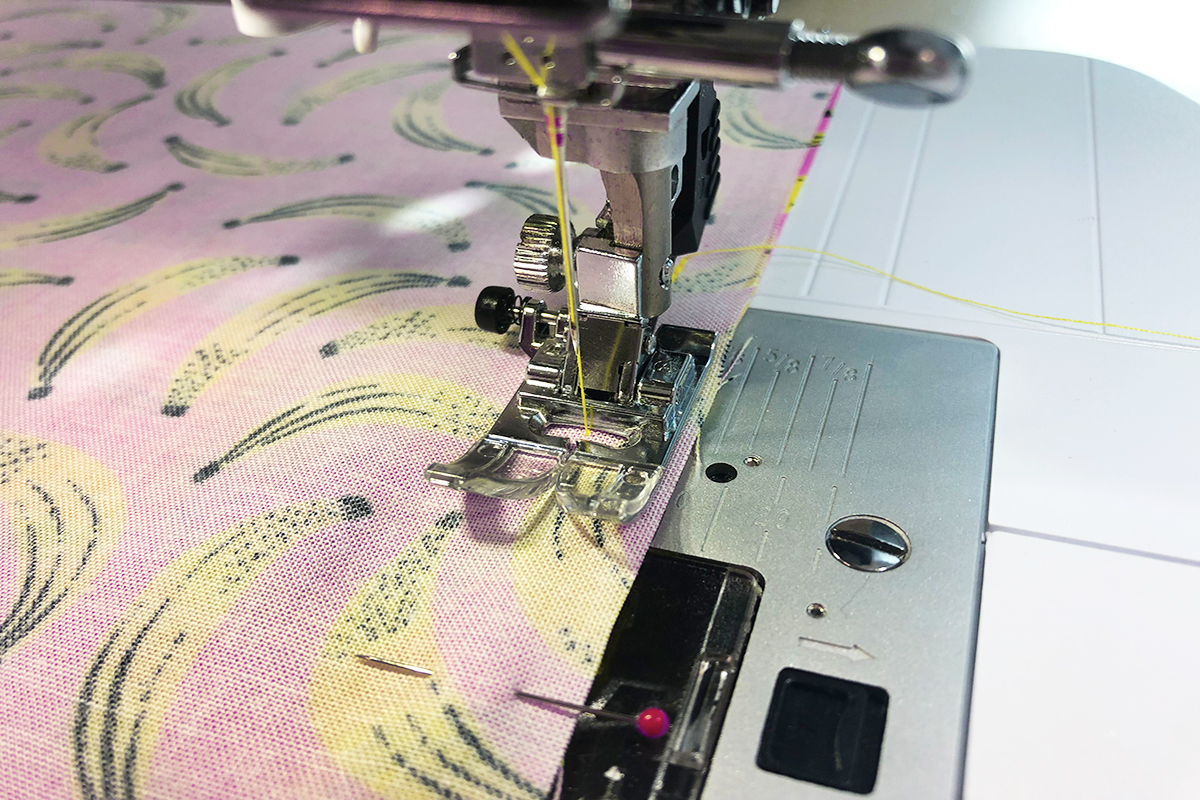
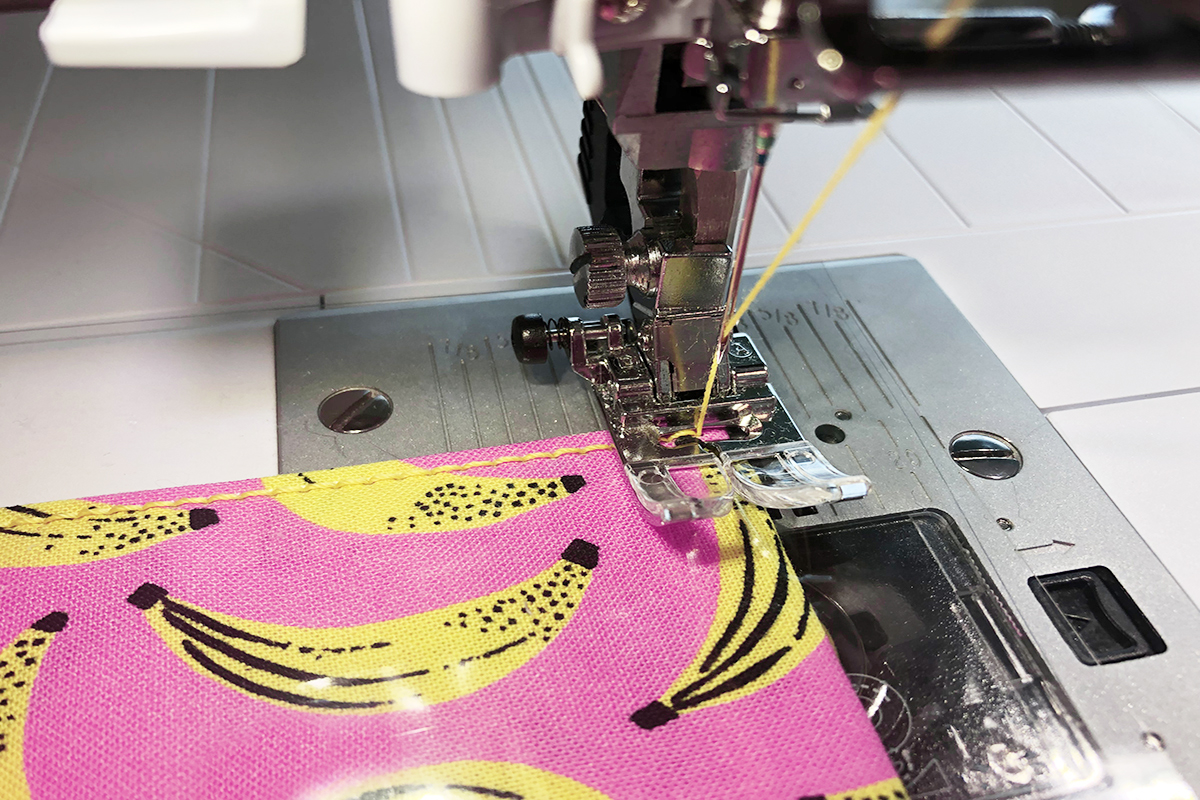
Step 10 – Stitch the fabric lining to the vinyl. The vinyl should be the top layer. Stitch approximately 1/8” away from the edge of the fabric, and pivot around the corners. The Cordonnet thread will create a beautiful topstitch on the vinyl.
Step 11 – Trim down the sides of the vinyl to be 3/8” away from edge of fabric.
Step 12 – Mark where the second piece of Velcro should be placed. To do this, create the bottom fold of the clutch and hold it in place with Wonder Clips. On my clutch, the length from the edge of the vinyl to the bottom fold is 5 1/2”. Use a pen or chalk to mark this point to realign to later.
Cut another 1 ½” piece of Velcro. My trick for perfect placement is to put a small piece of double-sided tape on the back of the Velcro. Attach the two pieces of Velcro together, then fold down the top of the clutch. While holding onto the unstitched piece, carefully pull away the top piece of Velcro. The unstitched Velcro will stick to the vinyl and will be in the perfect place when the clutch is closed.
Step 13 – Leaving the machine settings the same, stitch down Velcro. Before doing so, remove the Wonder Clips that were holding the bottom fold and unfold the fabric.
Step 14 – Recreate the bottom fold, matching up the bottom edge of the vinyl to the marks made in step 12. Hold the fold in place with Wonder Clips.

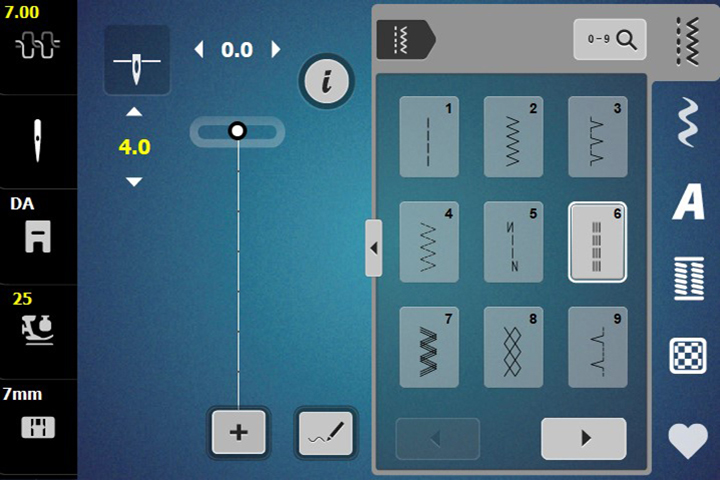
Step 15 – On the machine screen, select Triple Stitch #6.
Touch the Tension icon in the upper left corner and adjust the tension to 7.0. Close the screen.
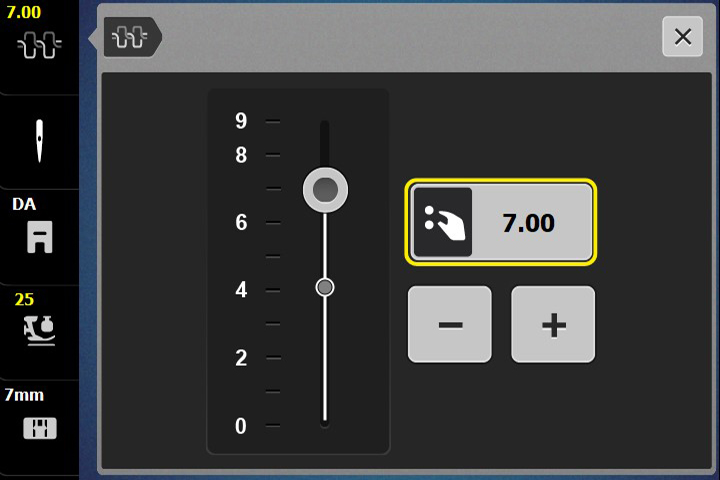
Increase the stitch length to 4.0. You can do this by turning the Lower Multi-function knob. You can also do this touching the stitch length icon on the screen. Then adjust the length to 4 using the + or – icons, or by using the slider on the screen that opens.
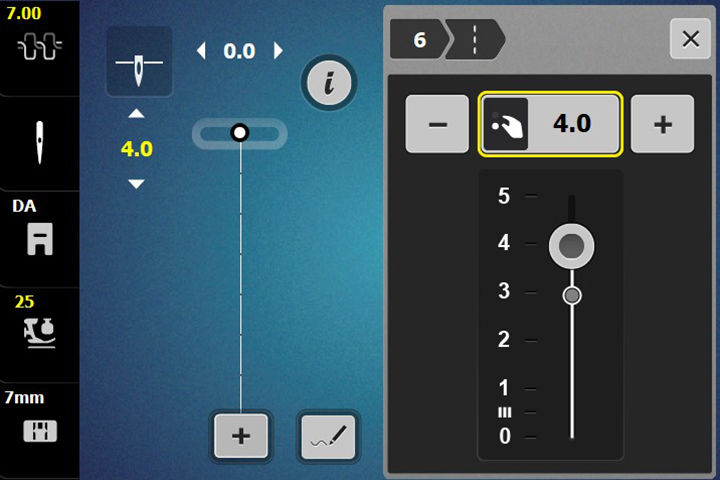
Notice the changes made now appear in yellow on the screen.
Step 16 – Sew all the way around the clutch, stitching approximately 1/8” away from the edge of fabric on the just the vinyl. Again, the vinyl should be on top. Start at one side of the bottom fold and stitch around to the other side of the bottom fold.
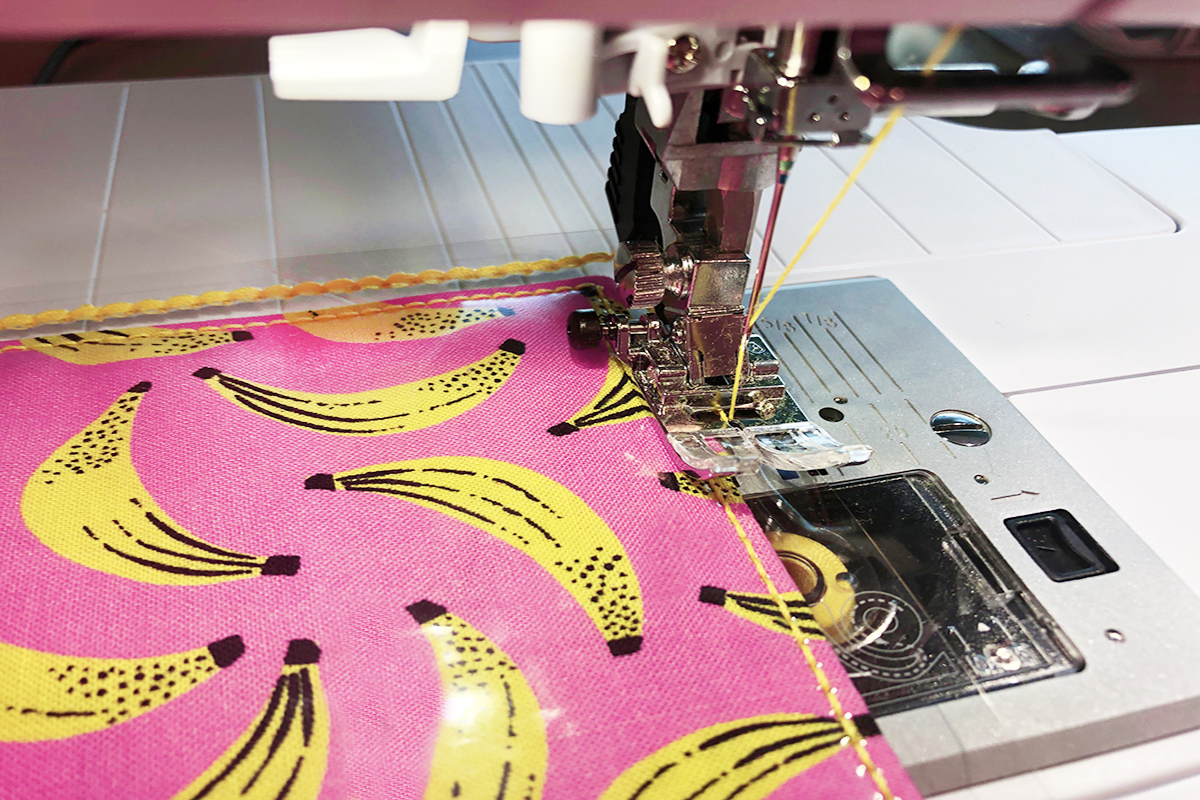
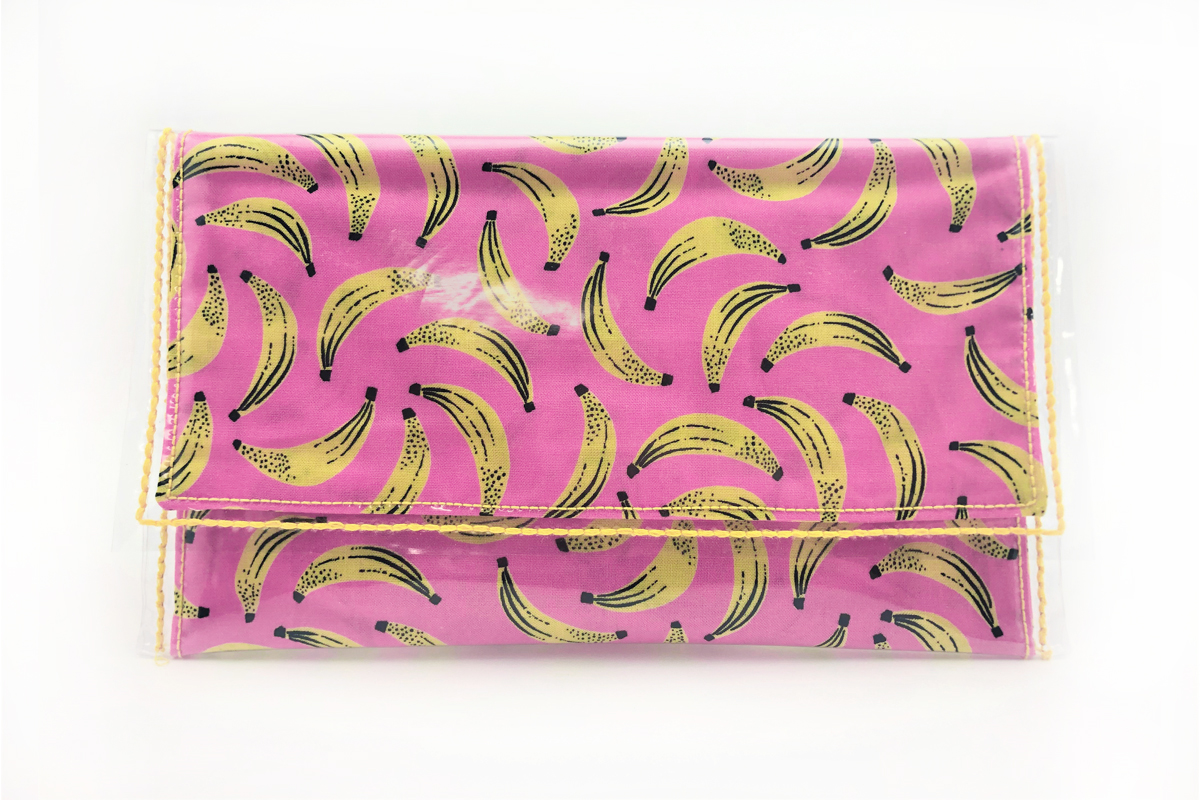
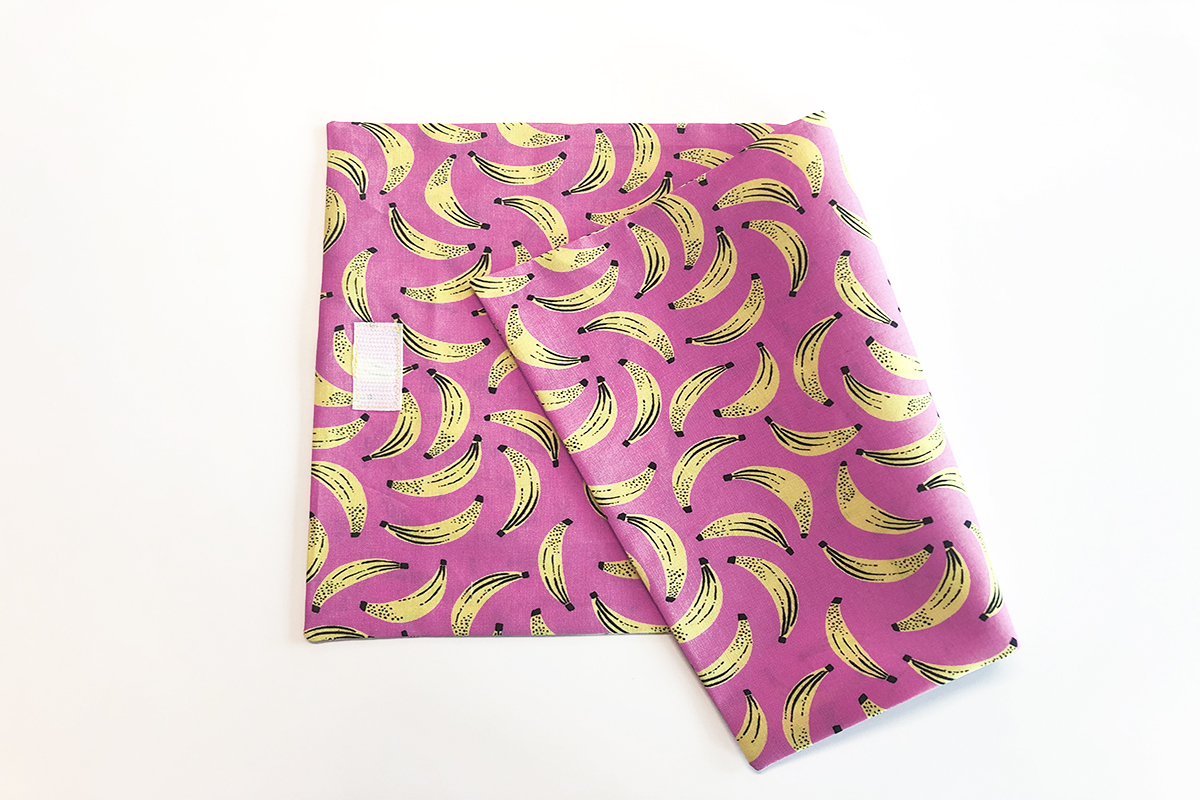
Finished dimensions of the closed bag are 9 ½” x 5 ½”.

Alternatives/Add-Ons/Tips & Tricks
There are several things that can be done to take this clutch a step further.
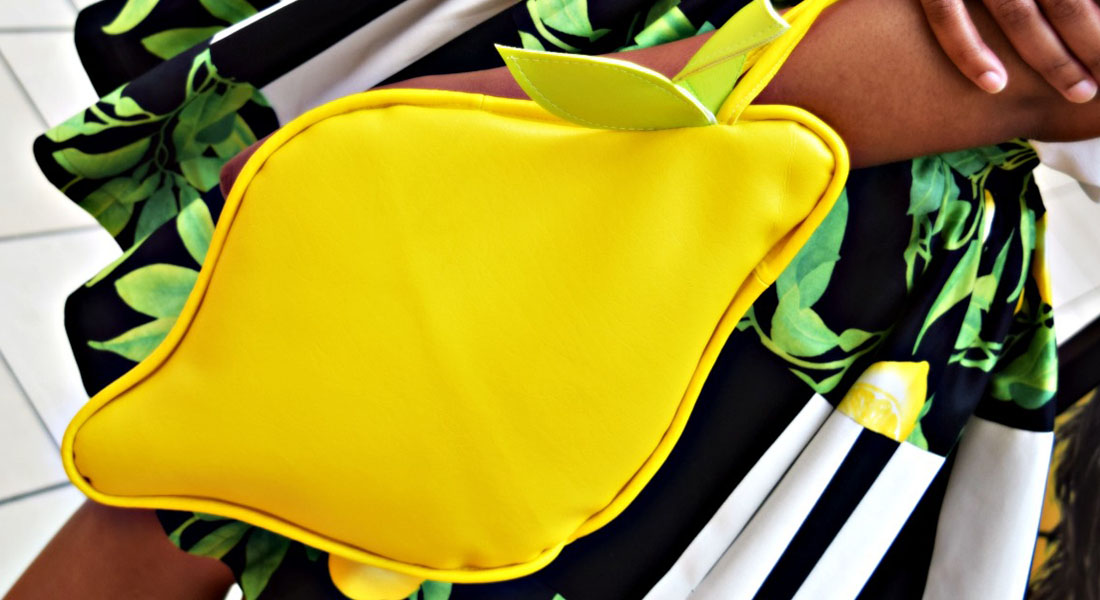
- Size
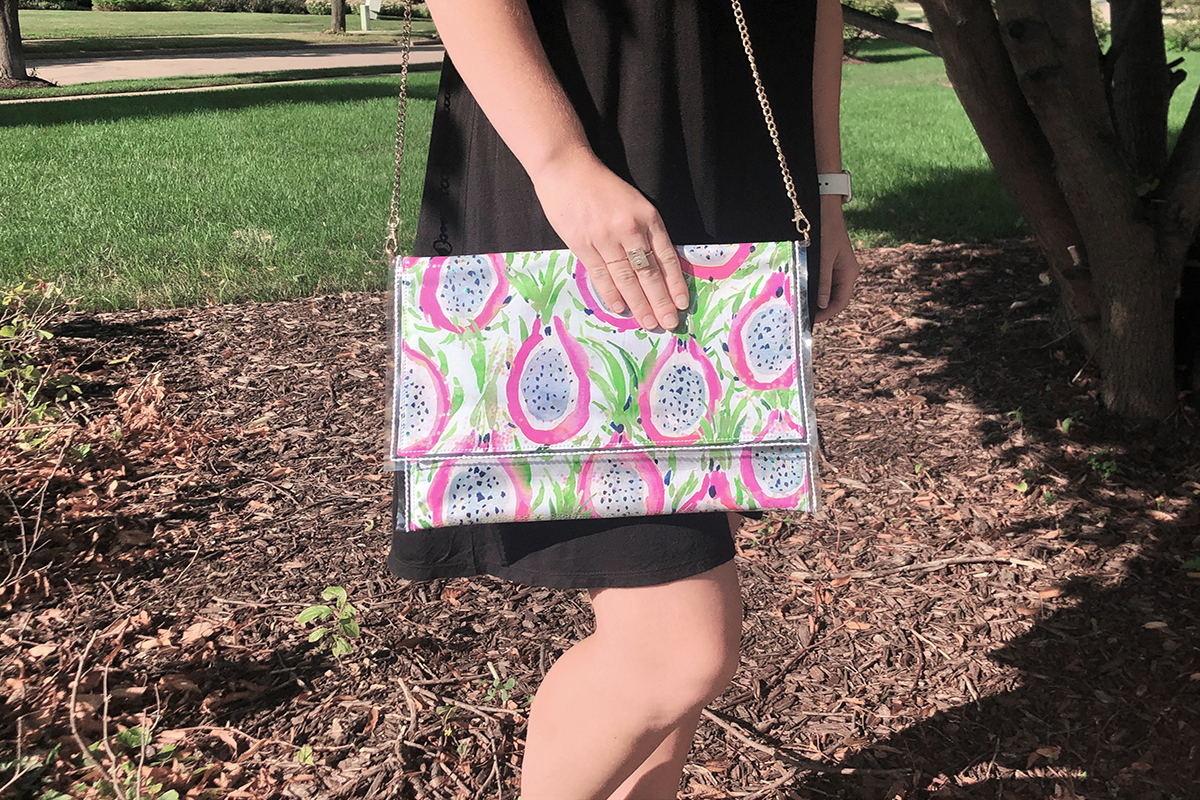
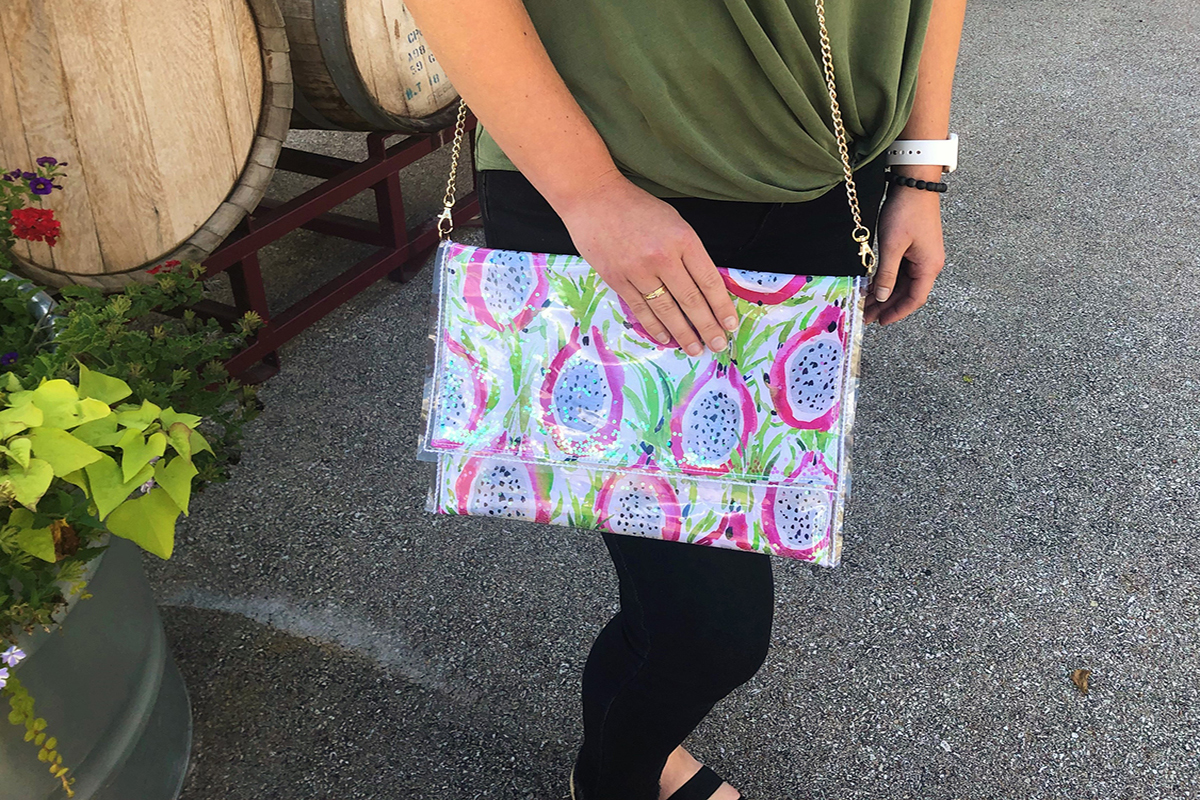
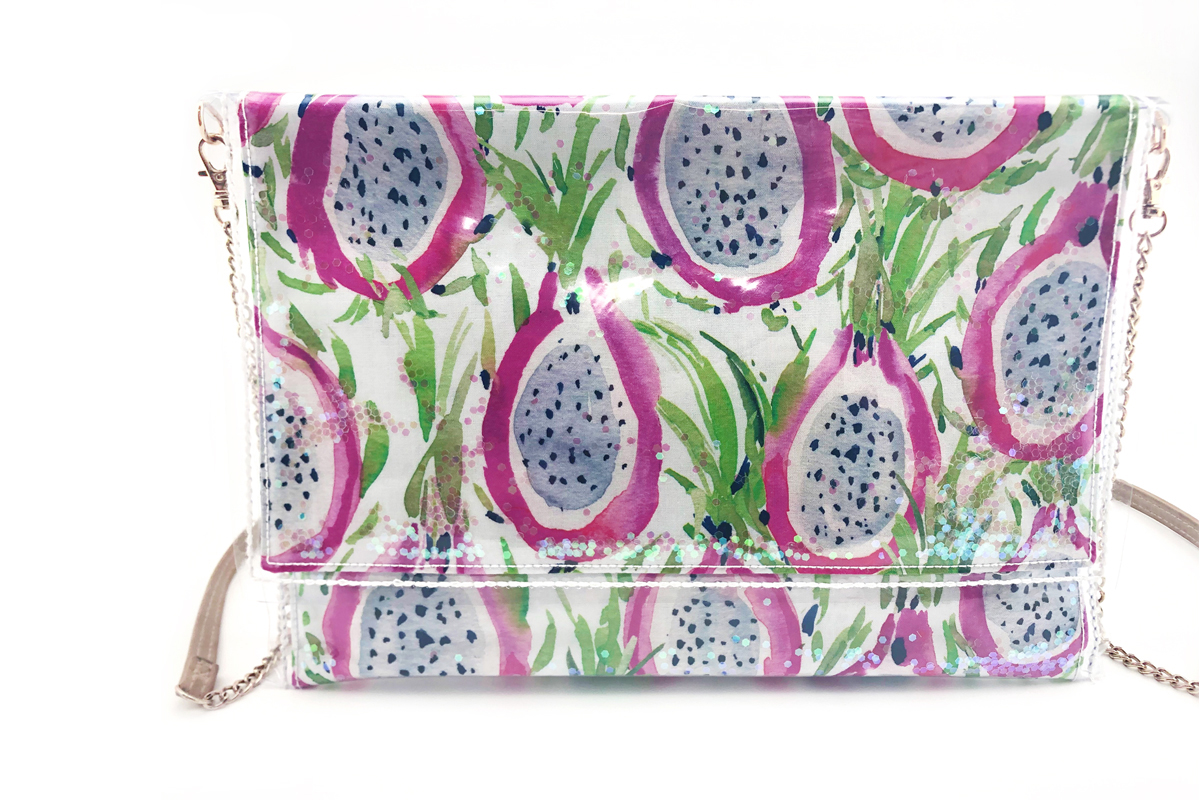
If the print on the fabric is bigger, you may choose to make the clutch bigger to show off more of the design, like that of the dragon fruit print. The fabric pieces were 12 ¾” x 24 ¾”, and the vinyl was 25 ¼” x 13 ¾”. After following all the same steps as above, the bag had finished dimensions were 12 ½” x 8 ¾”.
- Different decorative stitches for the raw edge of the vinyl
This bag was initially finished off with the triple stitch, but the machine settings can be easily adjusted to accommodate another decorative stitch if needed, such as stitch #20.
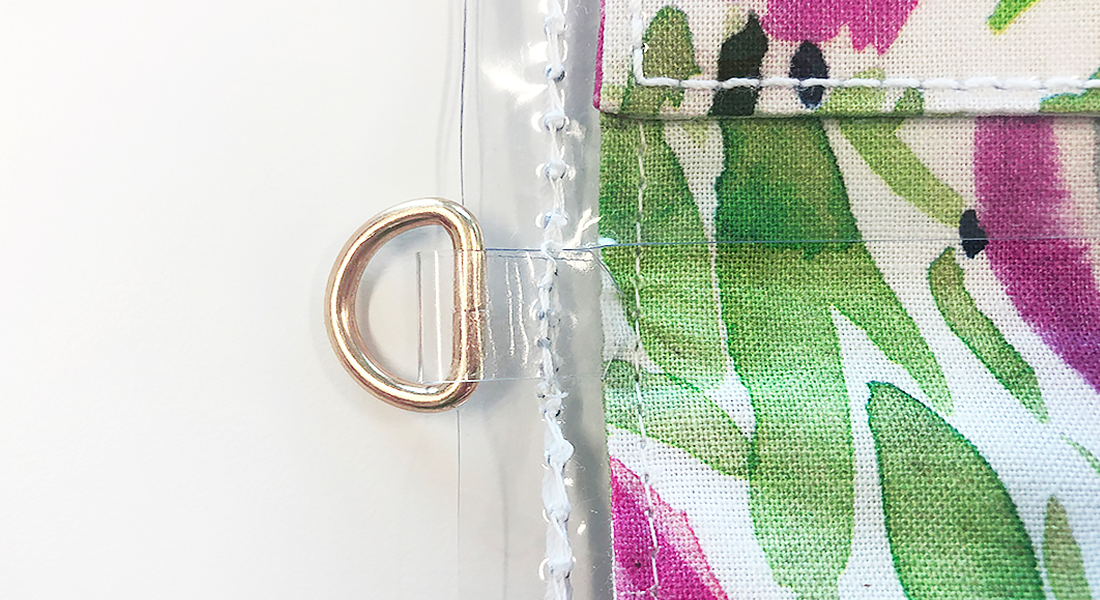
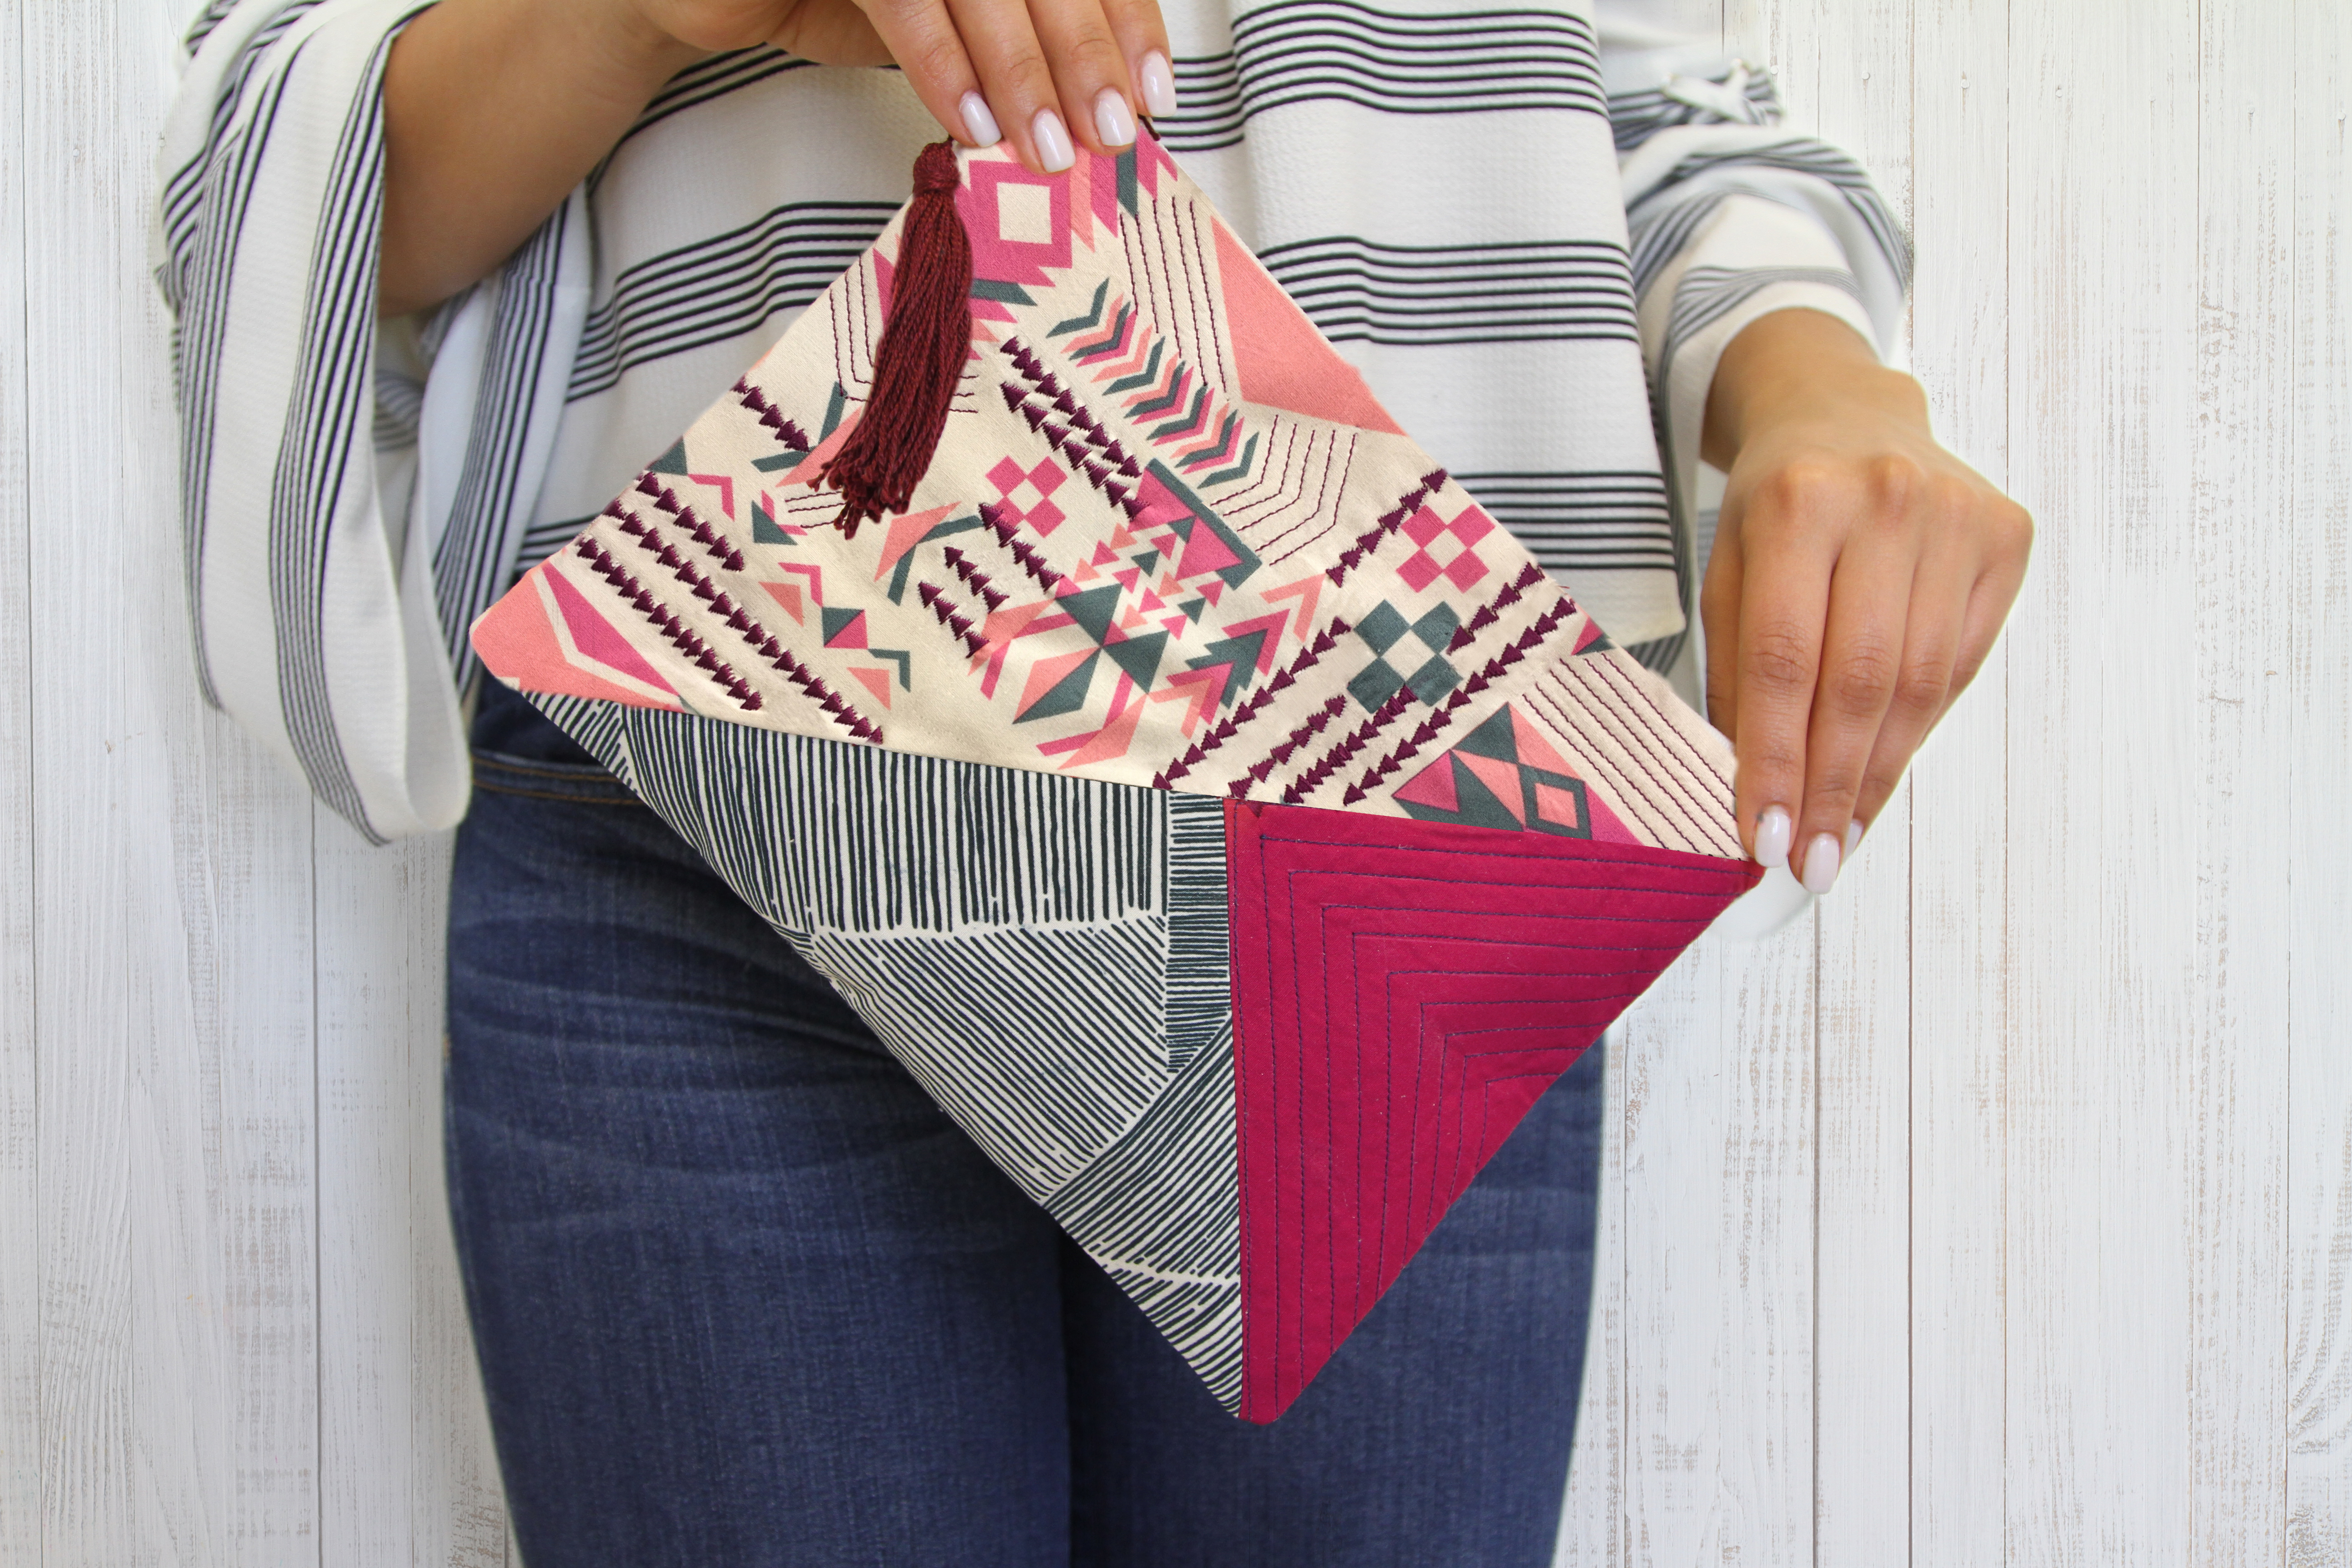
- Attaching hardware
The dragon fruit bag shows attached hardware, making this an over-the-shoulder bag. Cut two 3/8” x 1” strips from the leftover vinyl, fold them in half around a D-ring, and topstitch them onto the bag near the top fold following the previous stitching.
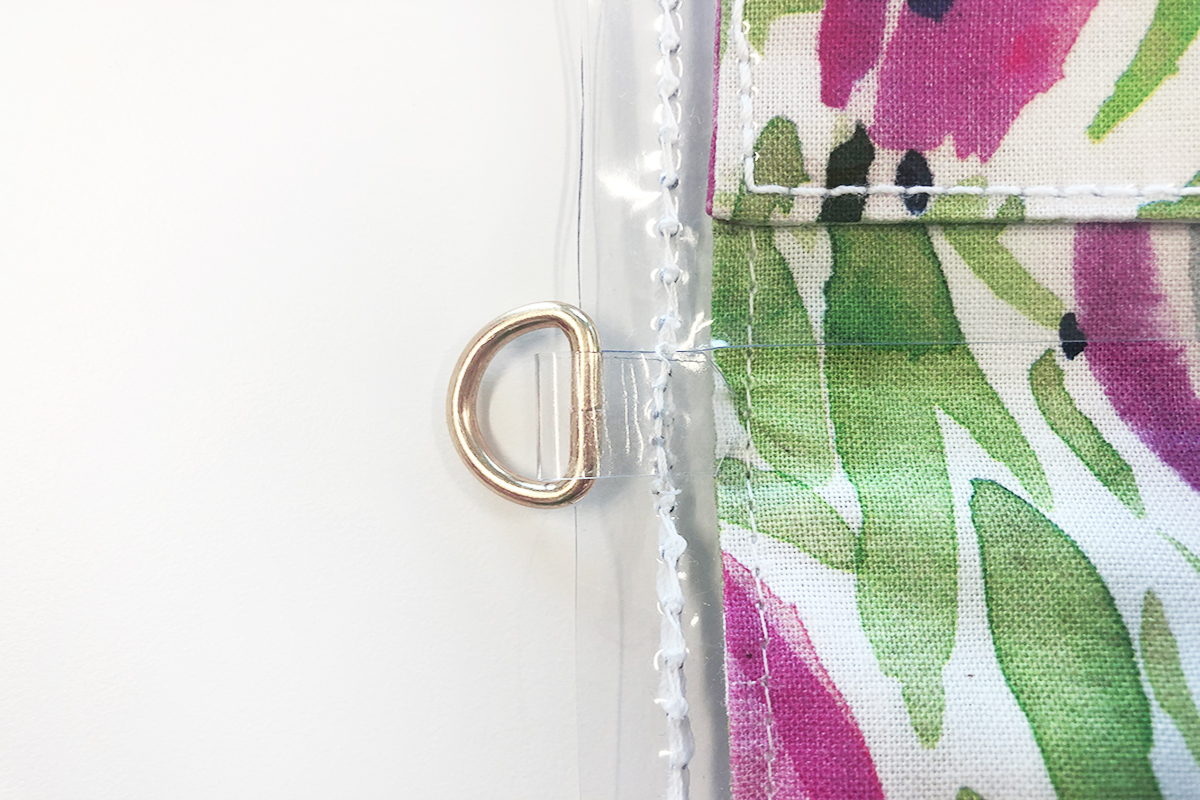
Tip: To keep the vinyl piece closed around the D-ring I sprayed it with a small amount hairspray and put a Wonder Clip on it until it was dry.
The strap can then be made out of fabric and vinyl, or purchased from your local craft store.
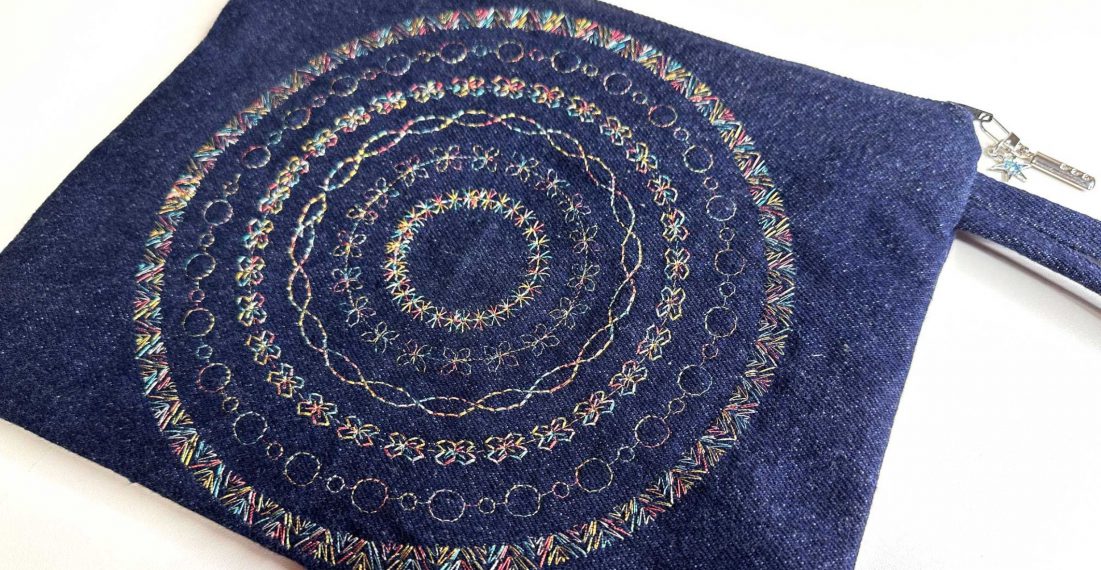
- Adding pockets and glitter
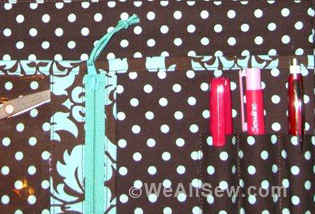
Before stitching the folds into place, an additional piece of vinyl could be sewn into the middle to create a pocket to hold credit cards, pens, and other purse essentials.
I also added iridescent glitter to sparkle when the light hit it. Before sewing the fabric lining to the vinyl, I sprayed the fabric with a hairspray, sprinkled the glitter on, and then layered the vinyl on top to encase it. The glitter hardly moves because of the vinyl’s static, but additional stitching could be added to create pockets to keep the glitter in a certain area.
- To reduce static and prevent the thread from breaking, lift the vinyl slightly as it is being sewn. This prevents static from building up on the vinyl because it is not sliding across the extension table.
- As an optional accessary, use the bernette zigzag foot with non-stick sole (JQ). It is helpful when sewing on materials such as vinyl and leather.