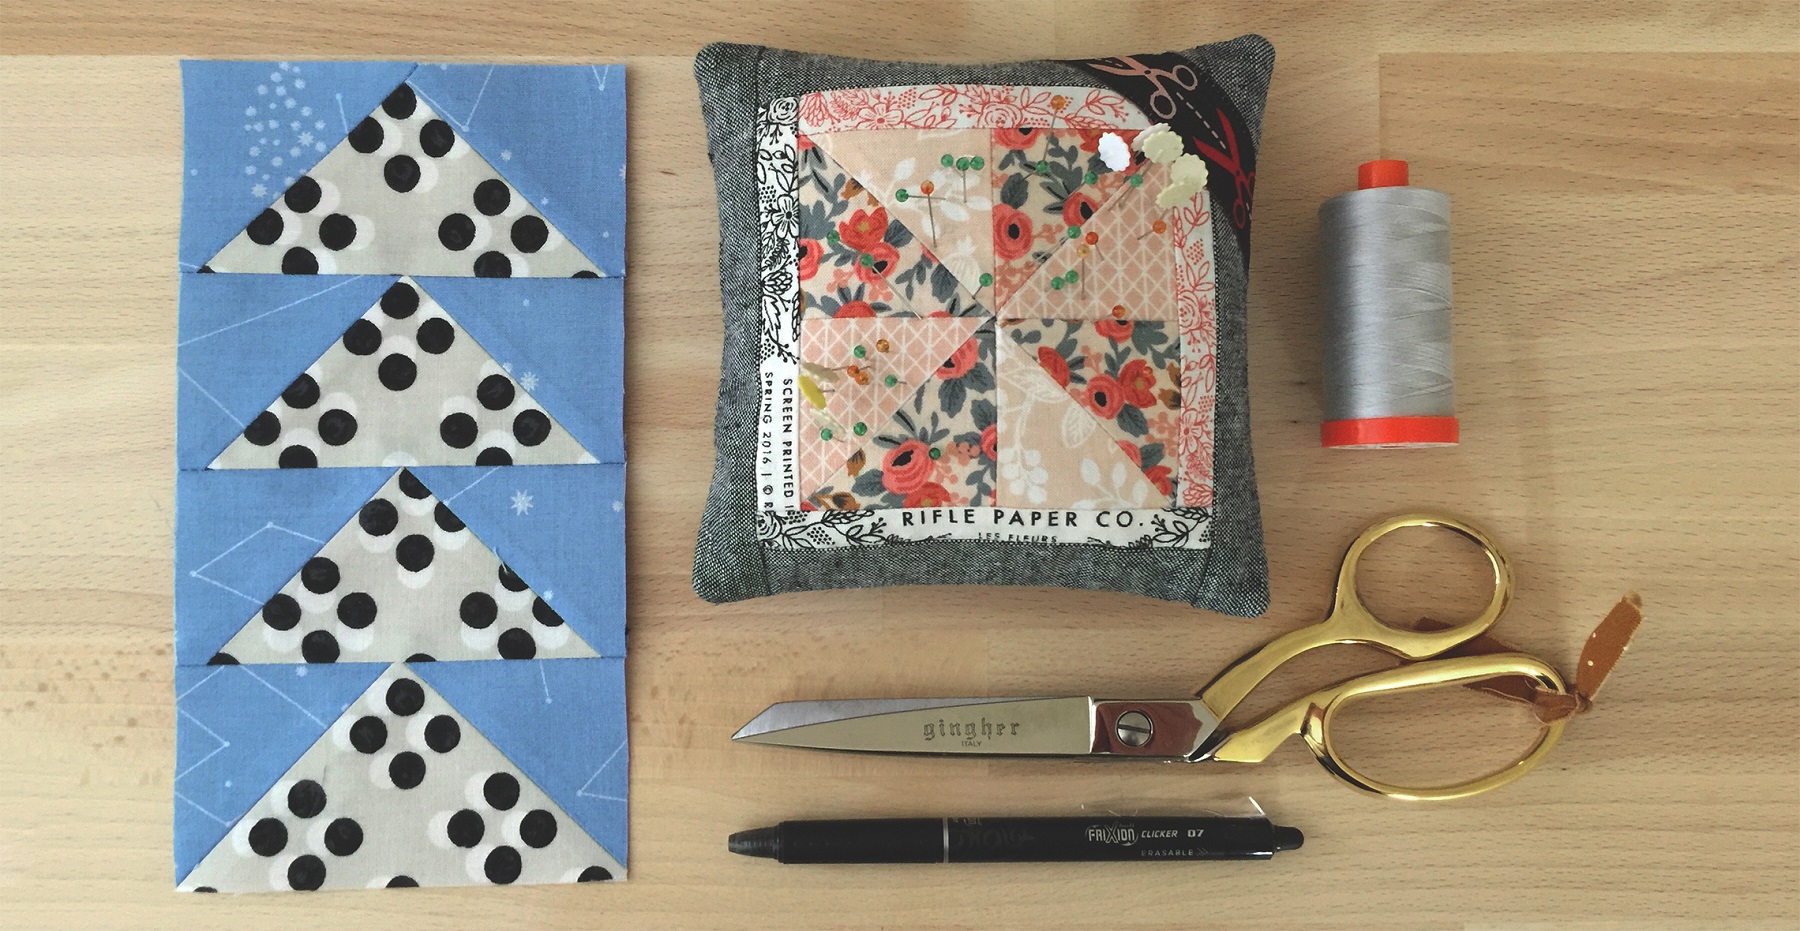
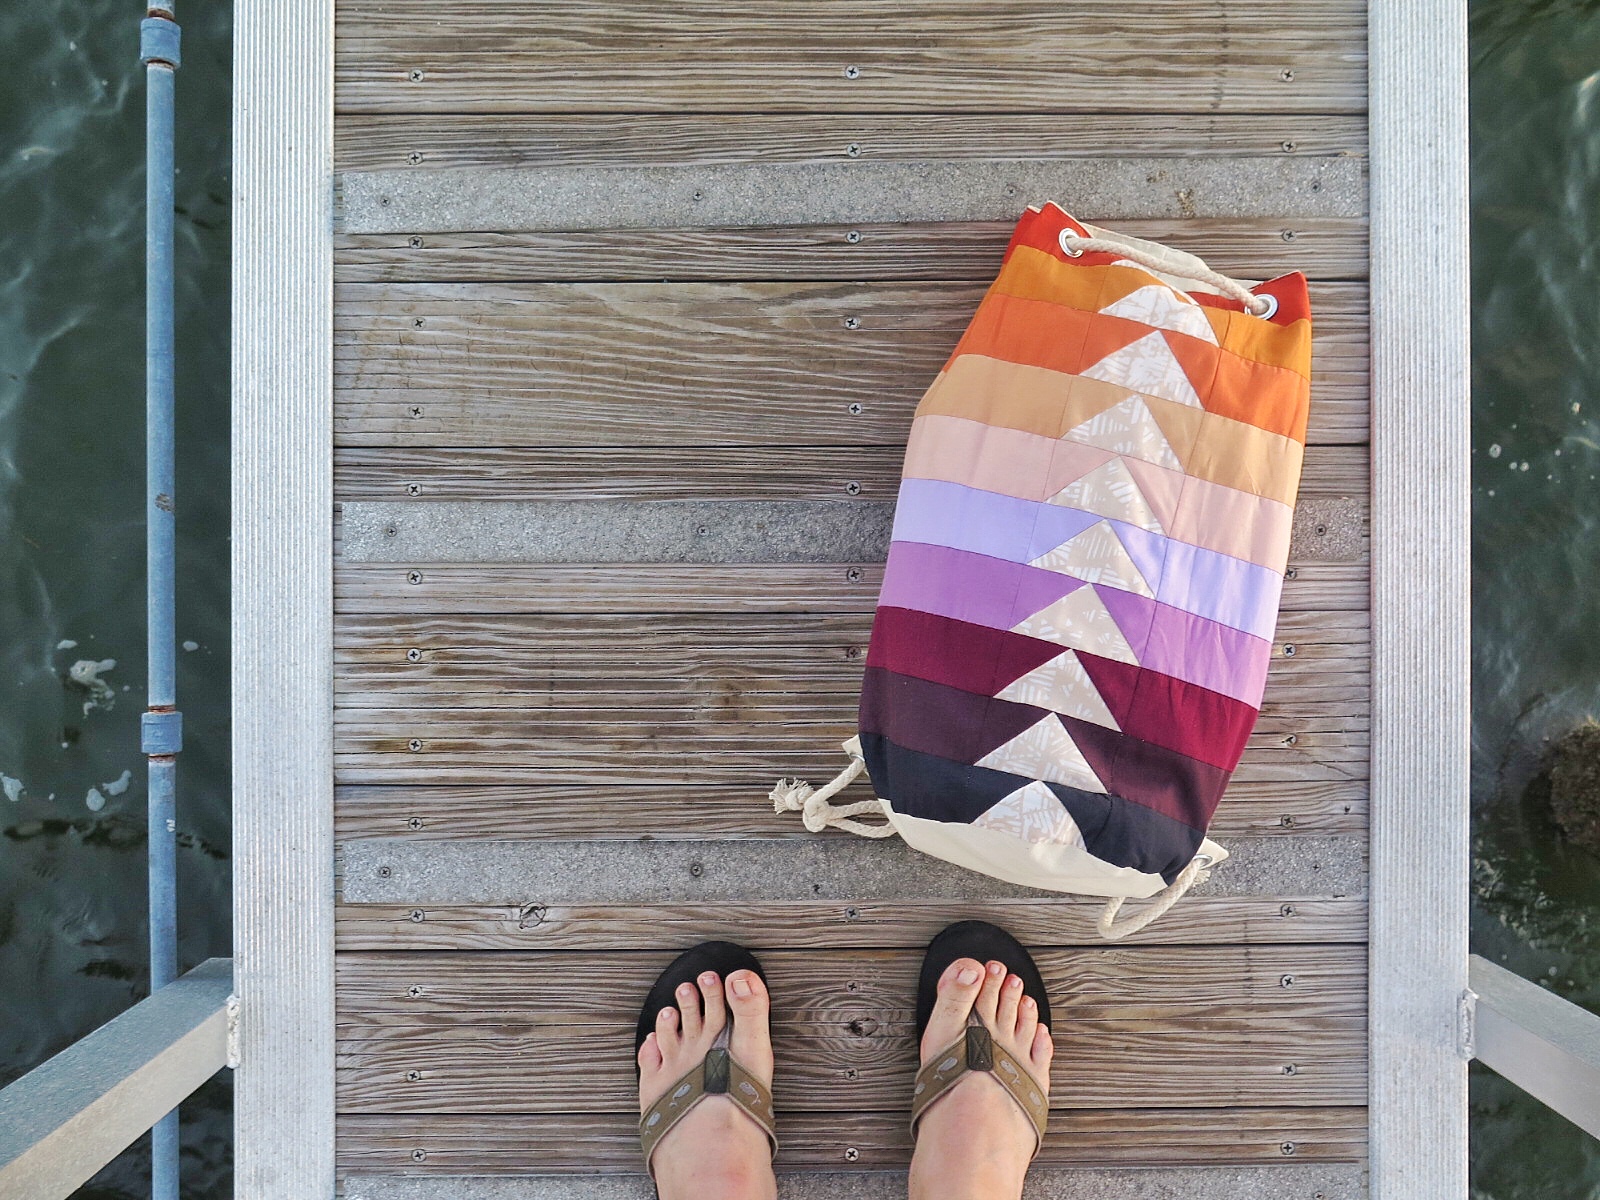
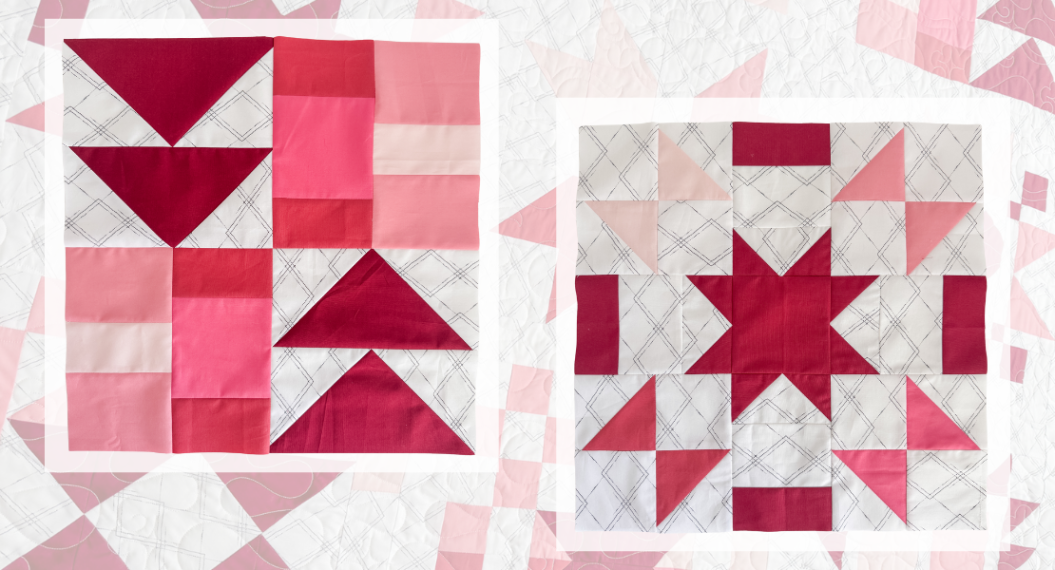
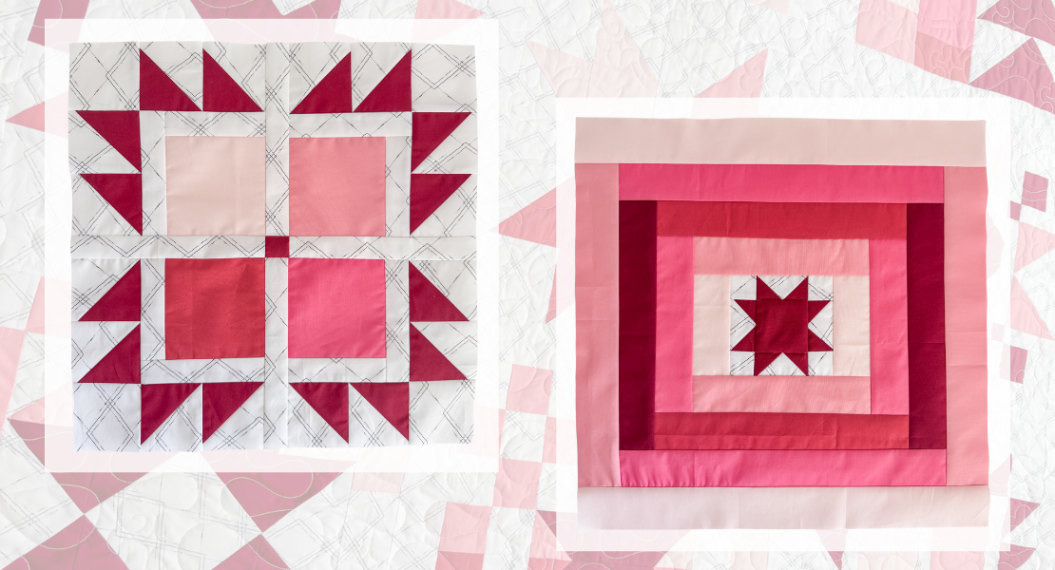
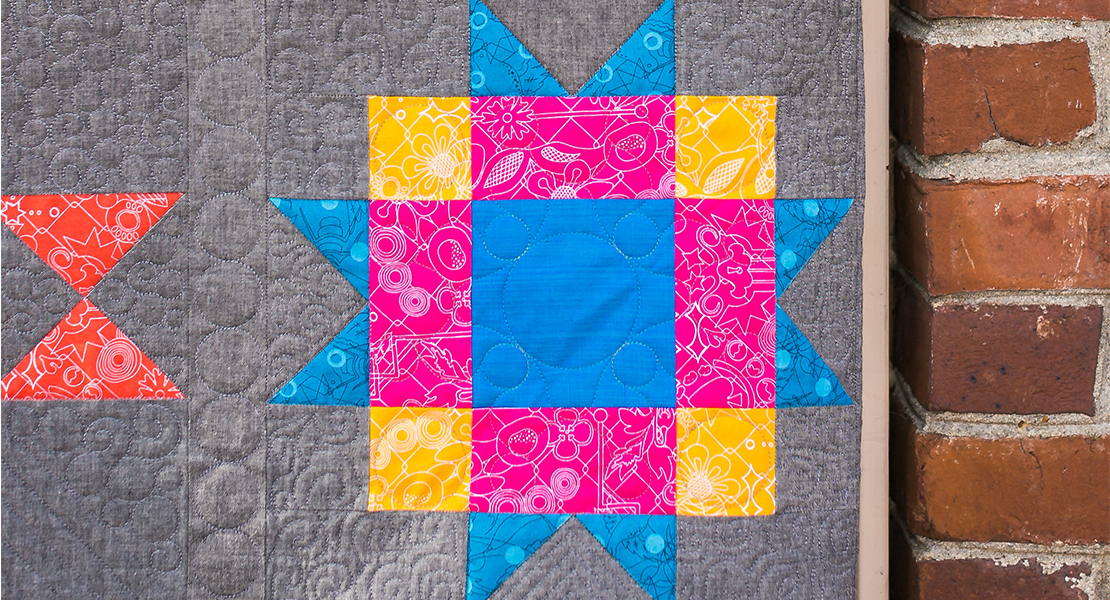
No-Waste Flying Geese
Flying geese are a really common element in both modern and traditional quilts but they can be tricky. There are so many different ways to piece them and it seems like no matter what you do, you end up wasting fabric or sewing stretchy bias cut edges (which always leaves room for error). I’m excited to share this tip which has made my projects with flying geese so much easier.
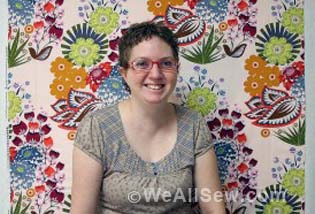
Before we get started, I’d like to introduce myself! I’m Hayley, the newest addition to the BERNINA Education team. I’m looking forward to sharing tons of fun projects and useful technique tips with you in the future. I’ve been using this method for flying geese in a quilt I’m working on at home and thought this would be great place to start and to share with all of you!
I discovered this way to piece flying geese a few years ago and it has made my life so much easier! This method requires a little bit of math but will guarantee consistent results every time you need to make flying geese.
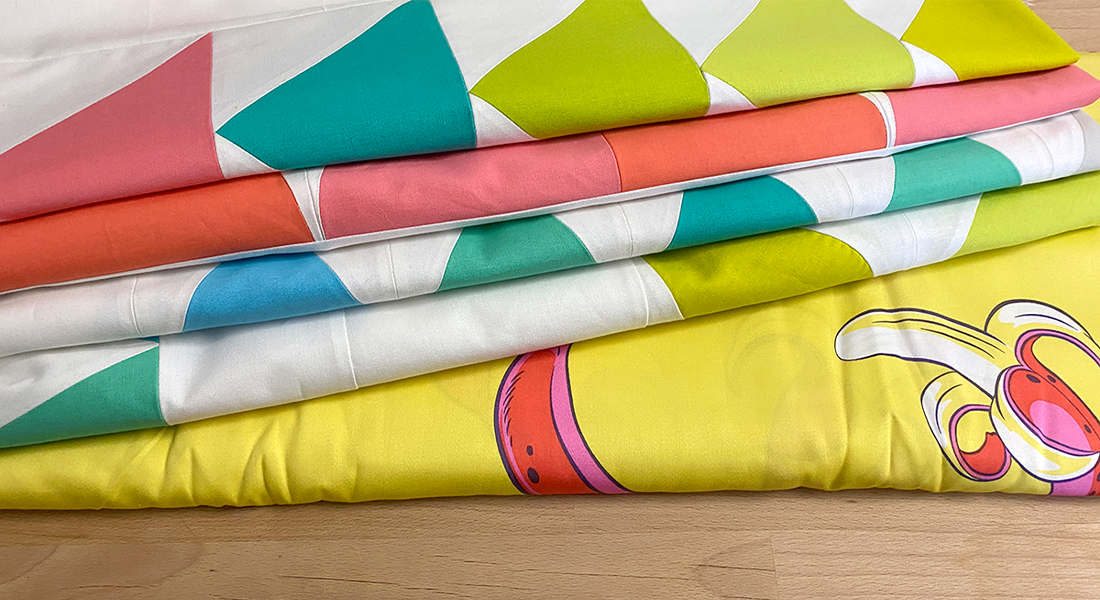
No-waste flying geese will give your four, identical geese of the same size. To do this, you’ll need two different fabrics cut into five squares total: one large square, which will be the actual triangle of your goose, and four small squares, which will be the background. If you’re making a medallion quilt with a flying geese border or a quilt that’s all flying geese, this will be a real life saver!
Materials to Sew Flying Geese
- Fabric (cut sizes explained below—yardage needed will vary, depending on the size of your flying geese)
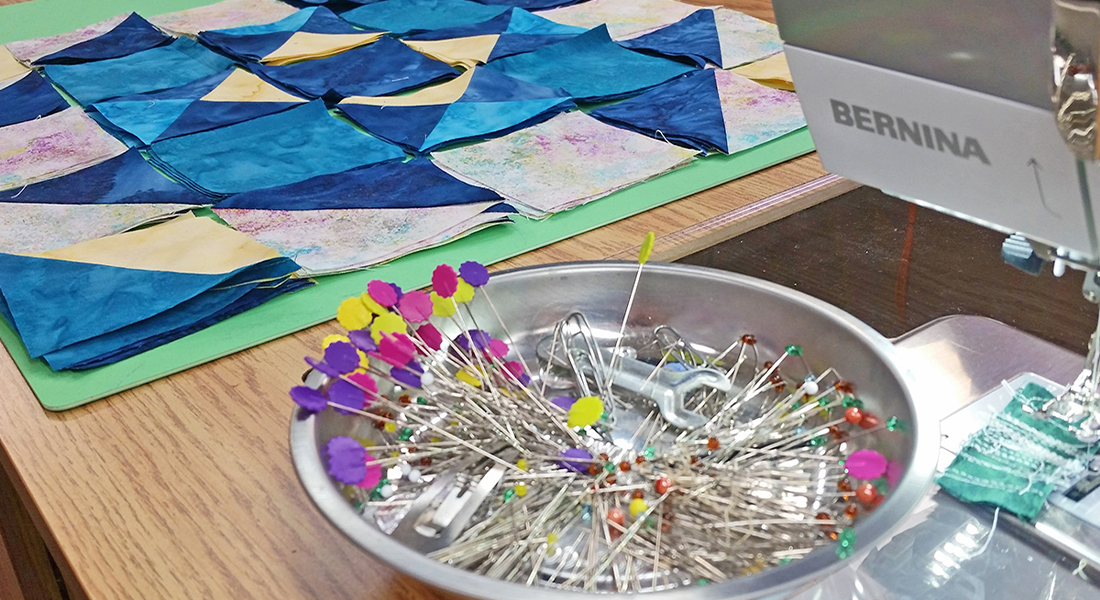
- Your favorite thread for piecing (I use Aurifil 50wt in #2615 for almost all of my patchwork piecing)
- Pins
- Marking pen (I use a Pilot Frixion pen)
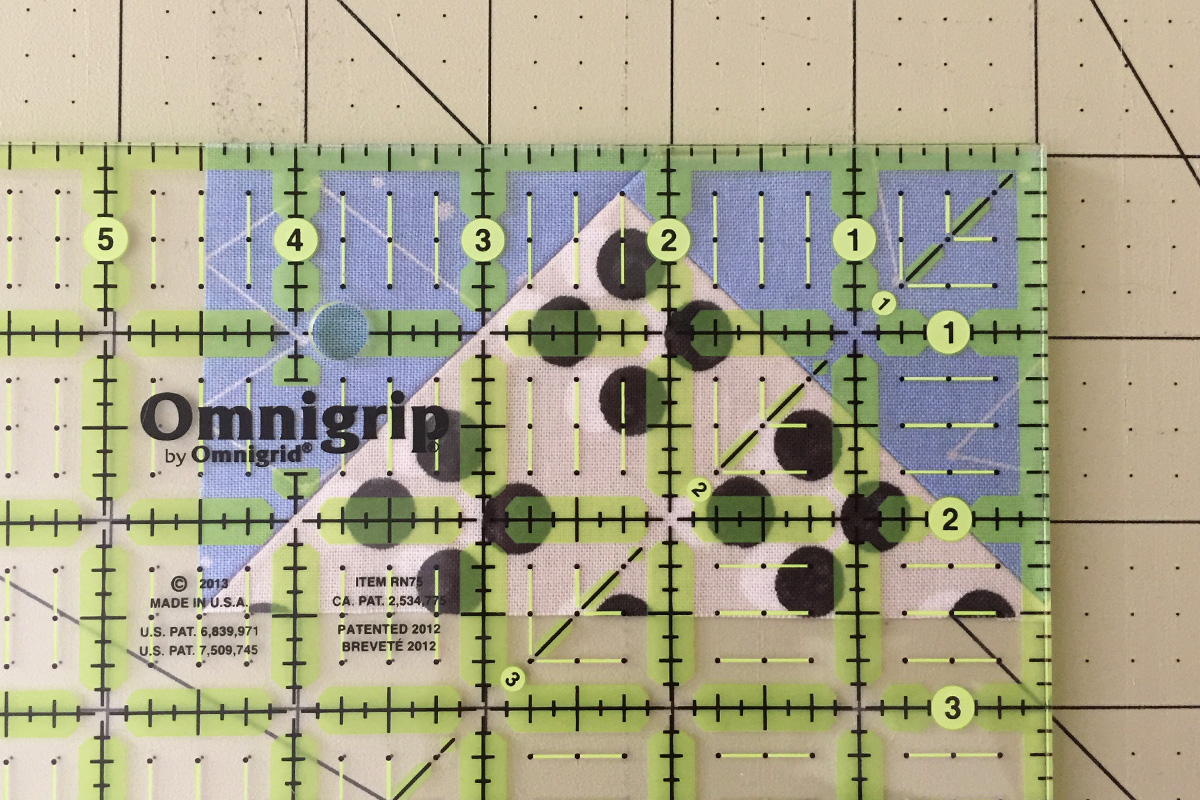
- Rotary cutter/mat/ruler
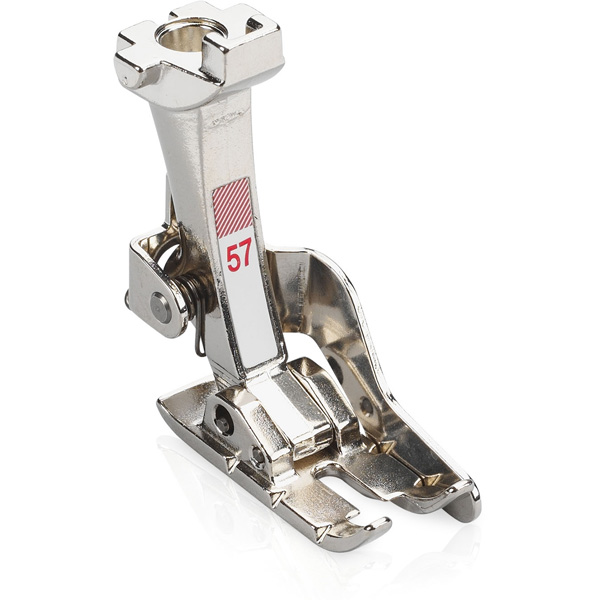
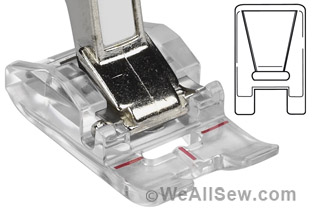
- BERNINA #37 / #57 / #97D patchwork foot
- I’m using the #97D foot because it’s the best fit for machines with 9mm wide feed dogs
- The #37 and #57 feet will work on machines with 5mm feed dogs. The difference between these two is your preference!
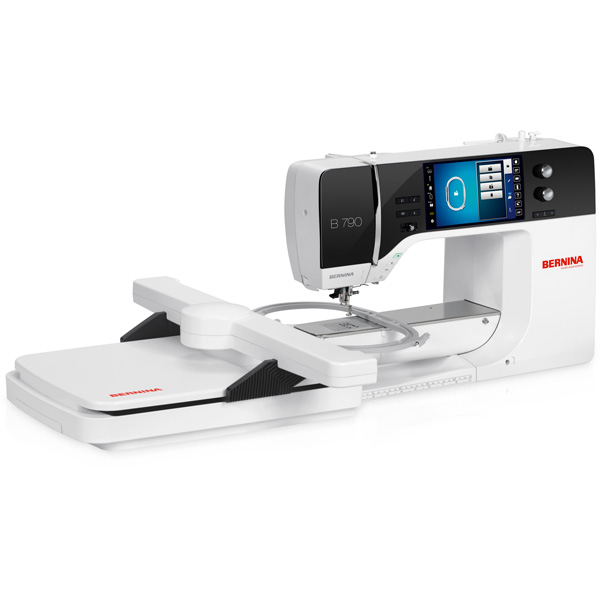
- Your sewing machine (I’m sewing on a BERNINA 790)
Instructions to Sew No-waste Flying Geese
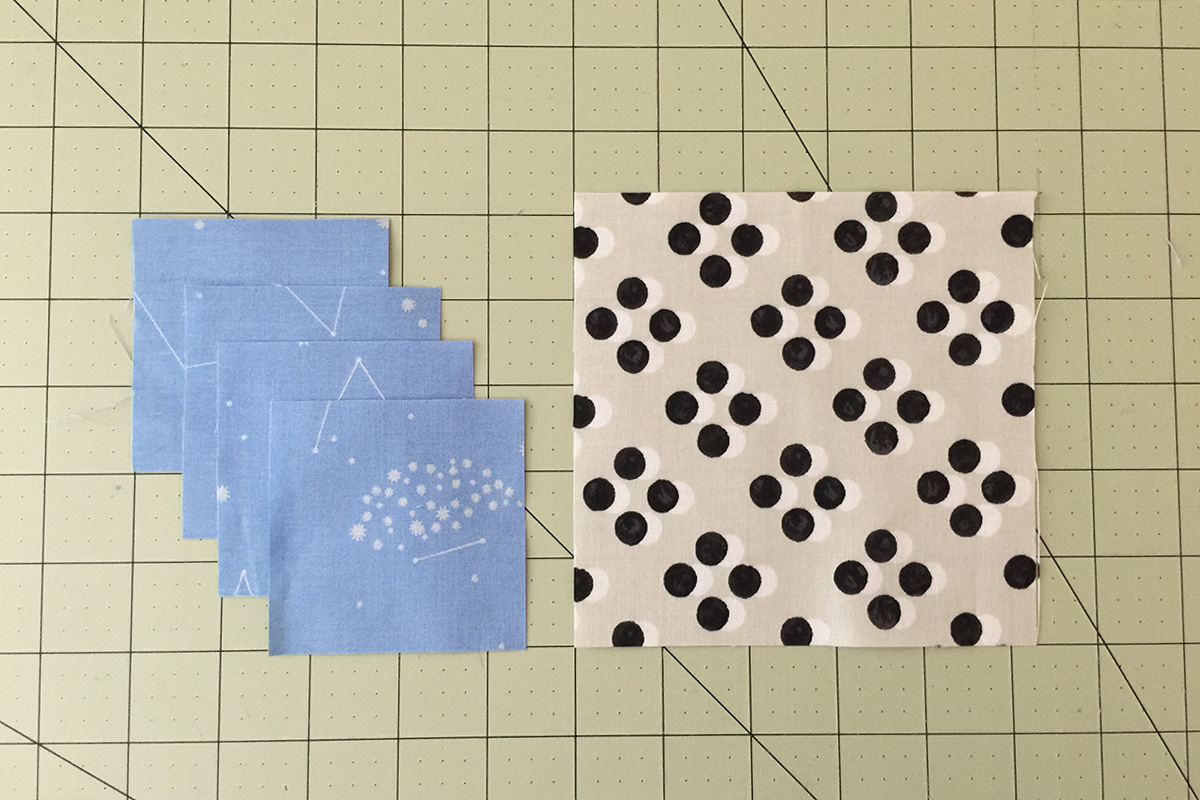
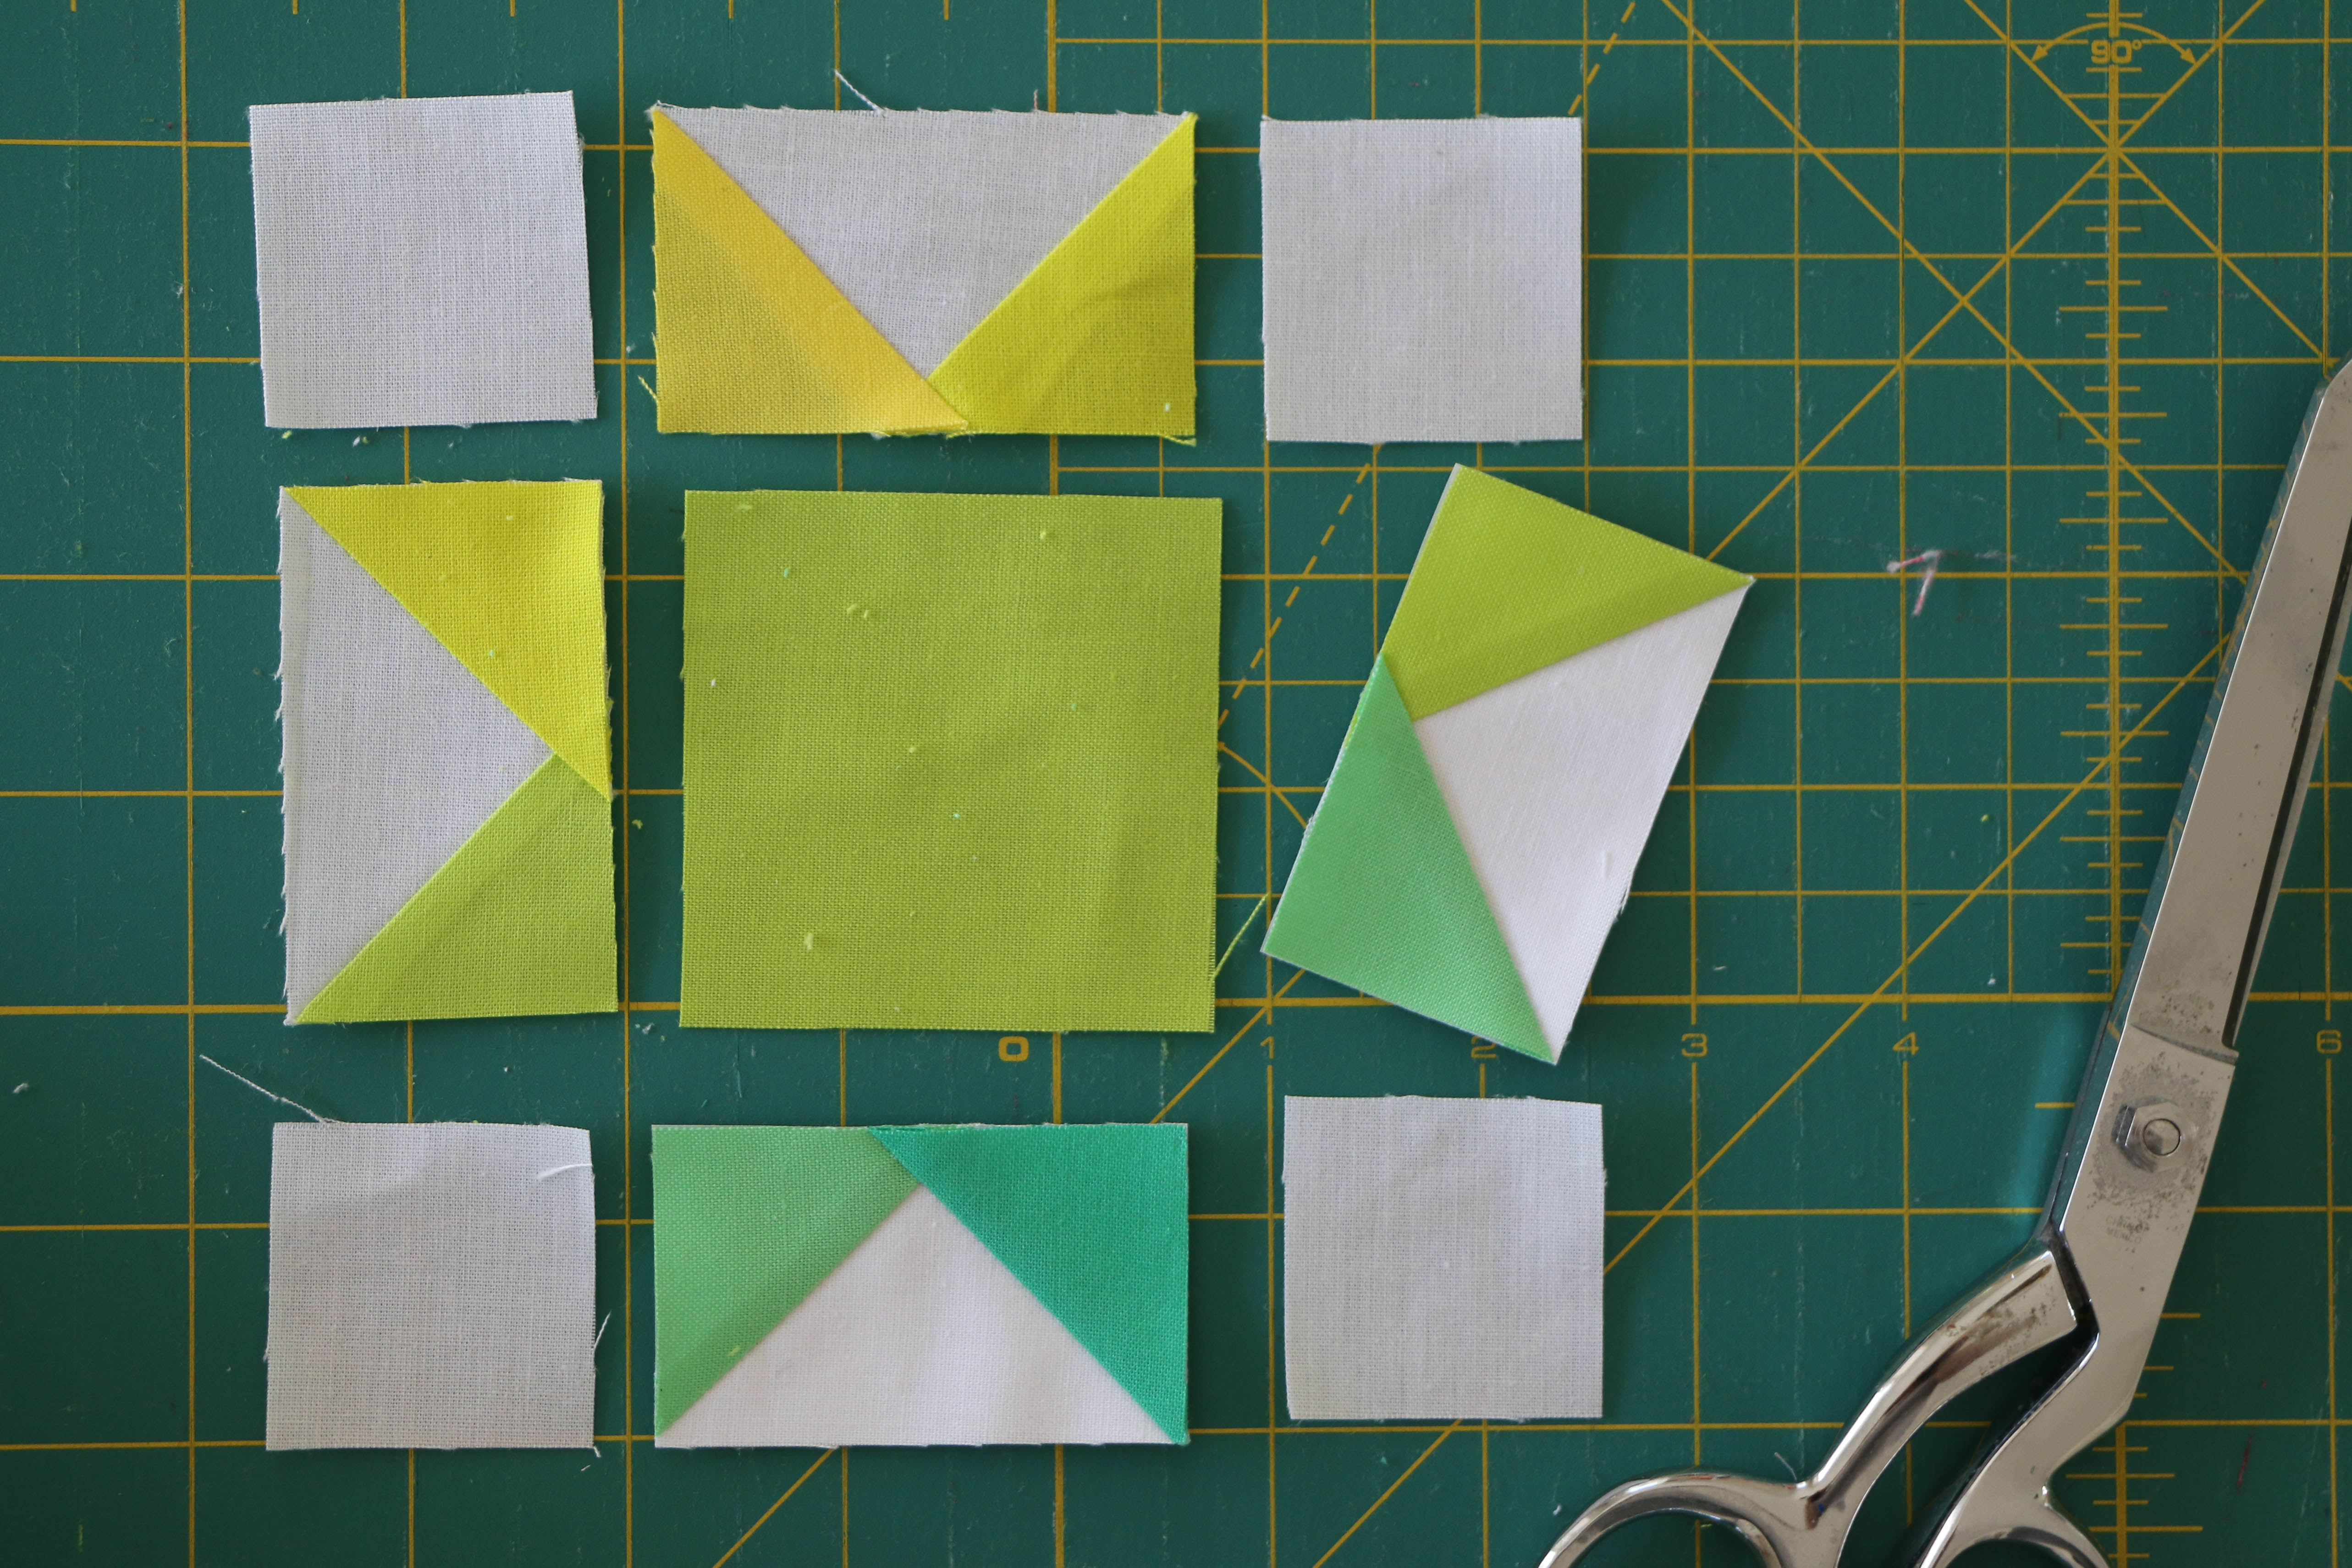
Step 1: Cut fabric
Here’s how to figure out how to cut your fabric: determine what size your finished block needs to be. For example, I want mine to finish at 4″ by 2″.
Take that width measurement (4″) and add 1 ¼”. That will be the size of your large square (5 ¼”.)
Take the height measurement (2″) and add 7/8″. This is the size of your four, small squares (2 7/8″.)
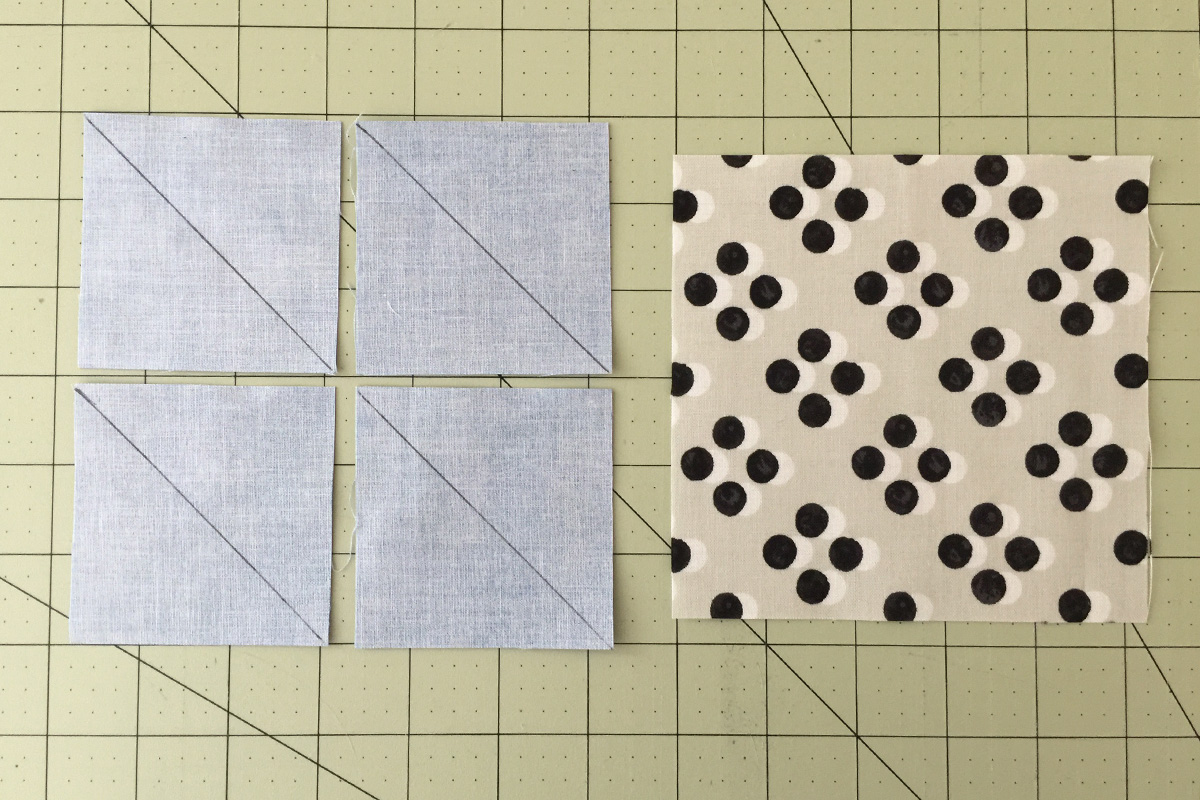
Step 2: Mark guidelines
On the wrong side of your small squares, mark diagonal lines from one corner to the opposite. You can use whatever marking tool you like because these lines will eventually be cut straight through. I like Pilot Frixion pens for any marking that I know won’t be visible in the final project.
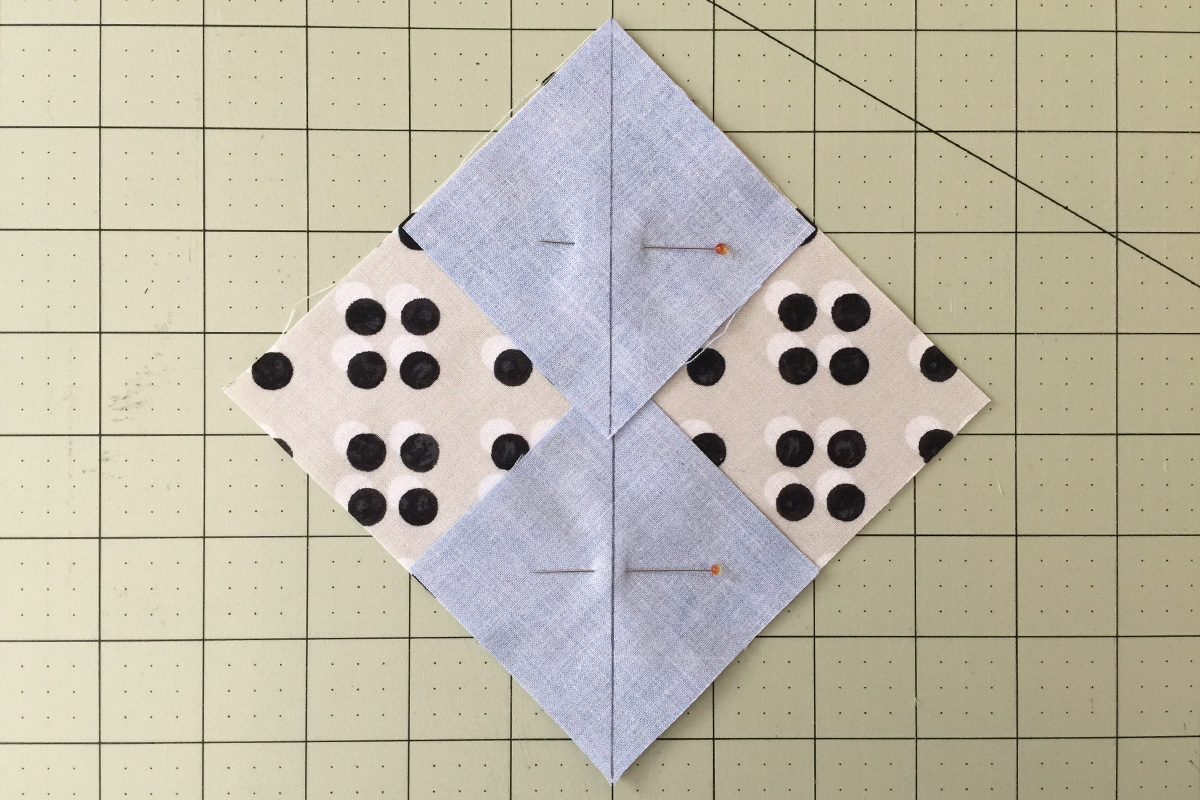
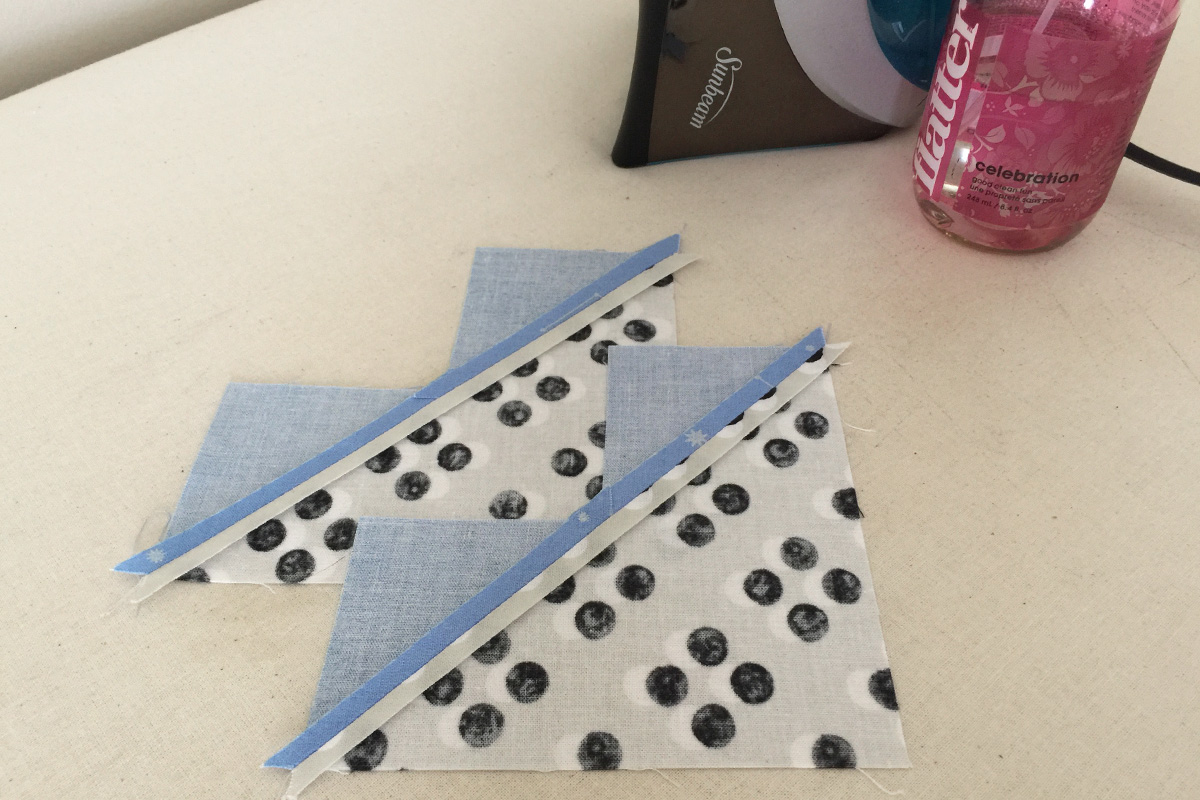
Step 3: Pin
Take your large square and lay two small squares across it between opposite corners, with right sides together. Your diagonal lines should line up here perfectly, creating one long 45 degree angle line. Pin these in place so that nothing shifts.
Step 4: Stitch
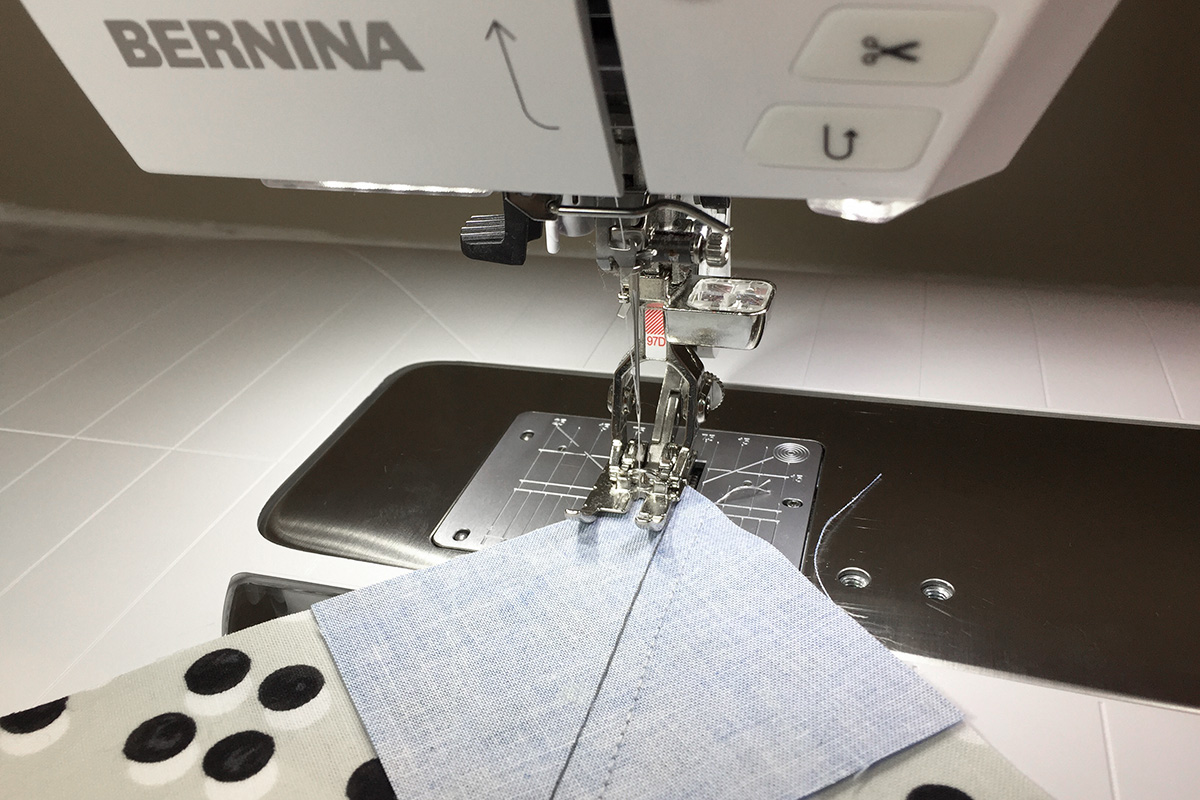
Next, we sew! I’m sewing these on my BERNINA 790 with a #97D patchwork foot. Align your drawn guideline with the right edge of your ¼” patchwork foot, backstitch or engage your locking stitch and sew from one end to the next. Backstitch/locking stitch again when you reach the end and cut your thread. Because we’re not aligning to a raw edge of fabric, it’s important to keep a close eye on that foot and make sure things are moving straight!
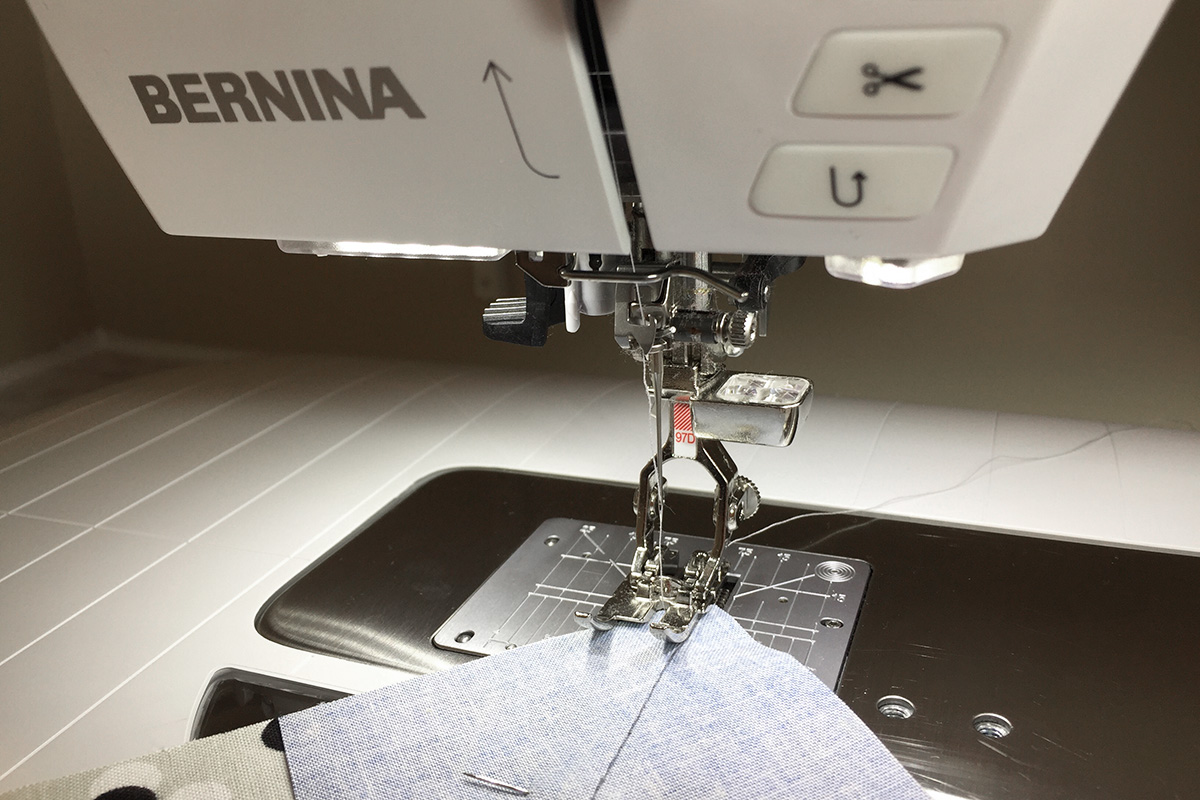
Flip that square around and sew down the other side of the drawn line in the same method. Again, make sure you keep that lined up with your patchwork foot for a precise and straight stitch!
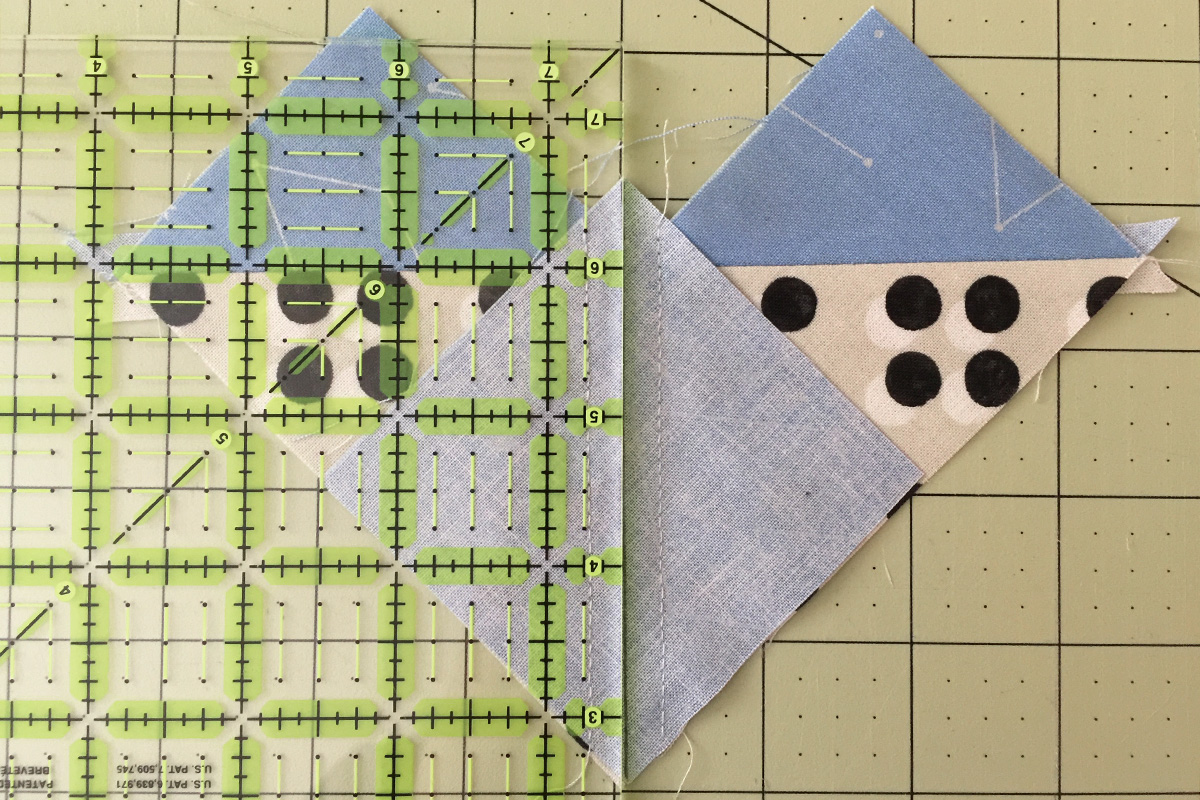
Step 5: Trim
Next, we’ll cut these pieces apart. I always like to double check my seam allowances before I cut these! You can see that by lining up with our #97 foot, our stitching ended up at a perfect 1/4″.
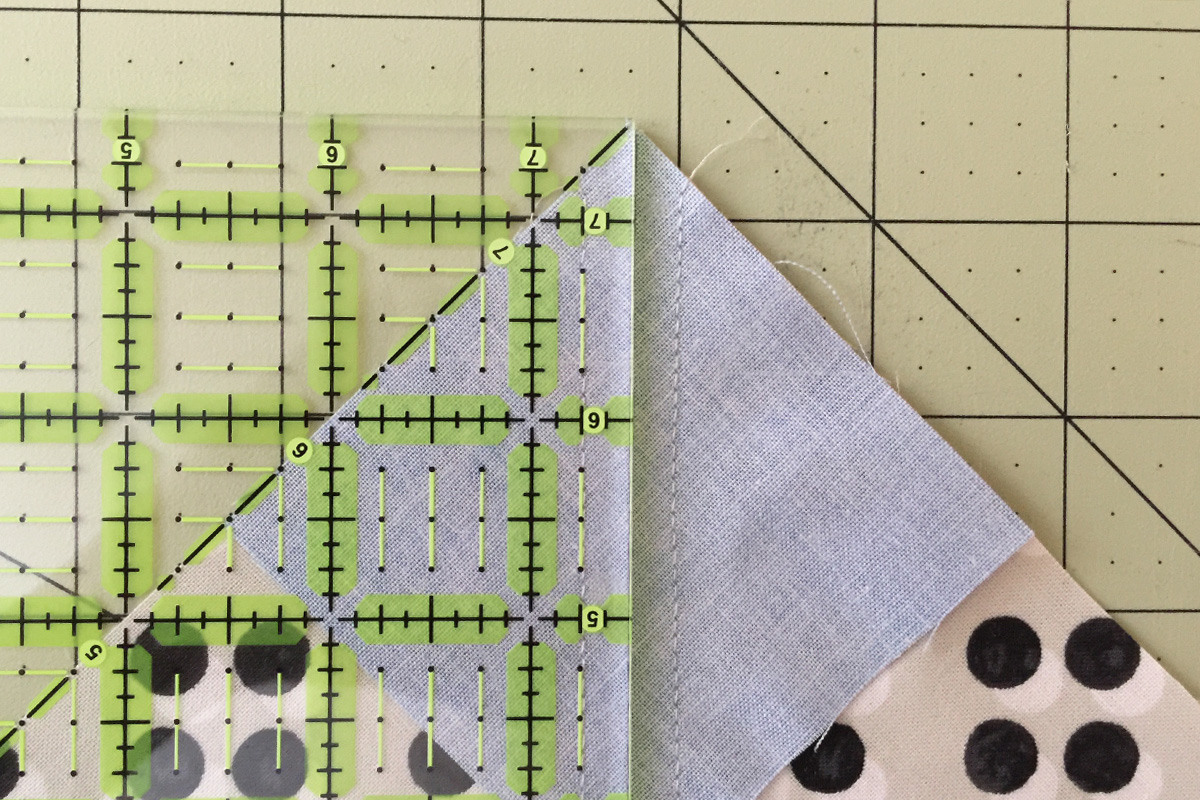
Using your favorite ruler and rotary cutter, slice through the drawn diagonal line.
Step 6: Press
I prefer to press my seams open to reduce bulk.
Step 7: Pin
Next, take one of the remaining small squares and line it up with the unstitched corner of your background fabric. The drawn guideline here should run perpendicular to the seam we already stitched.
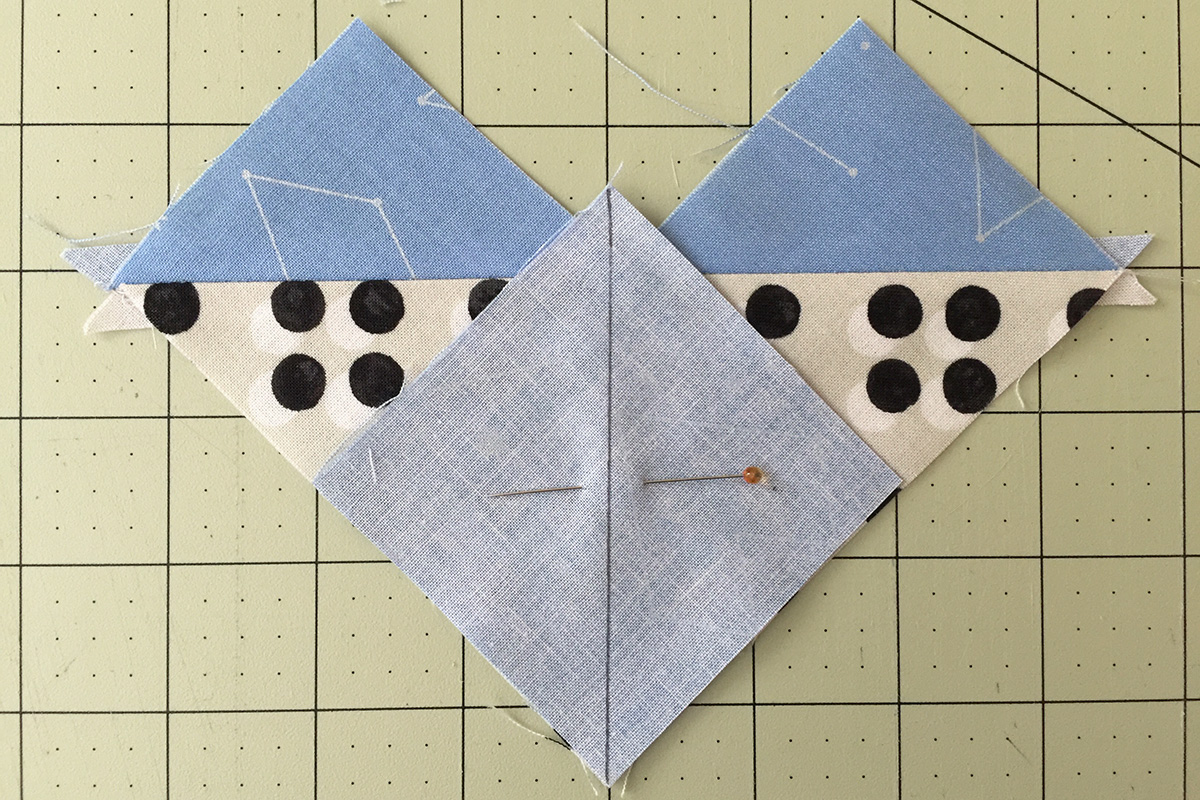
Step 8: Stitch
Same deal as the first seams—align your drawn guideline with the ¼” foot and sew end to end. Flip it around and stitch the other side when you’re done. Repeat for the remaining sewn piece and remaining small square.
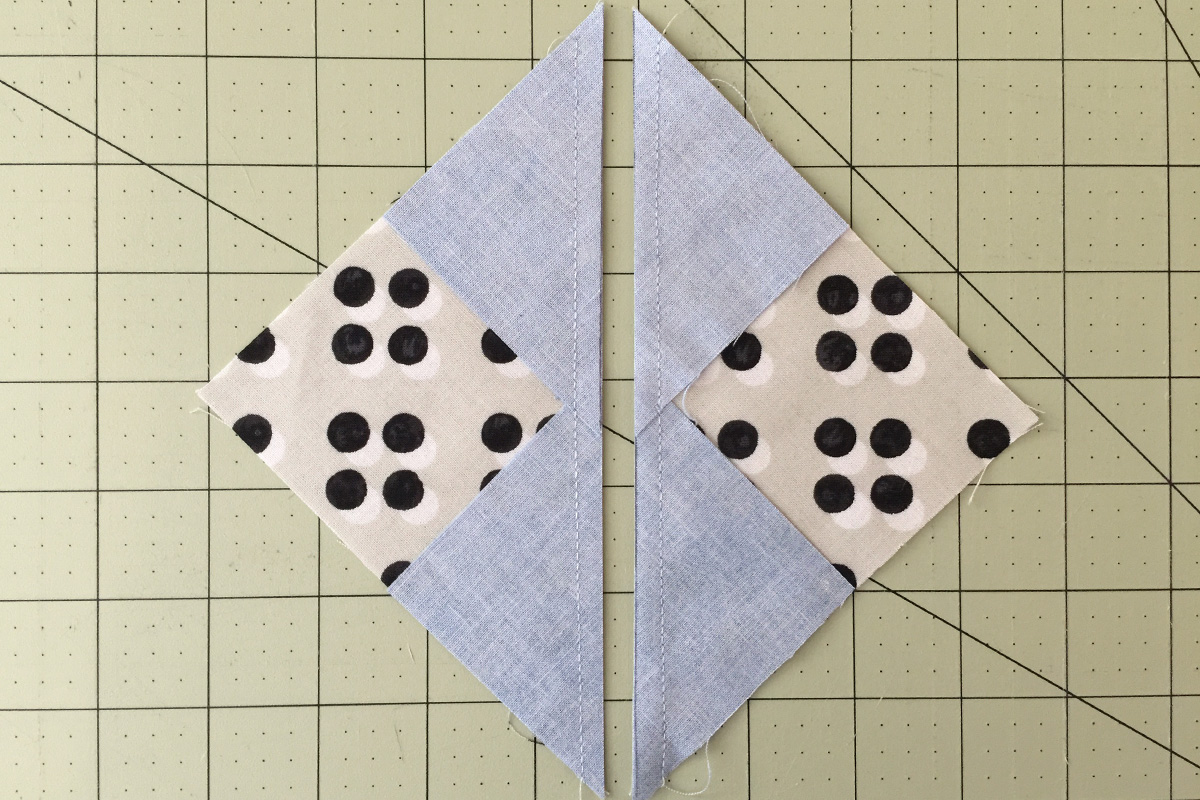
Step 9: Trim & Press
Cut these through that drawn line like before and then press your seams open!

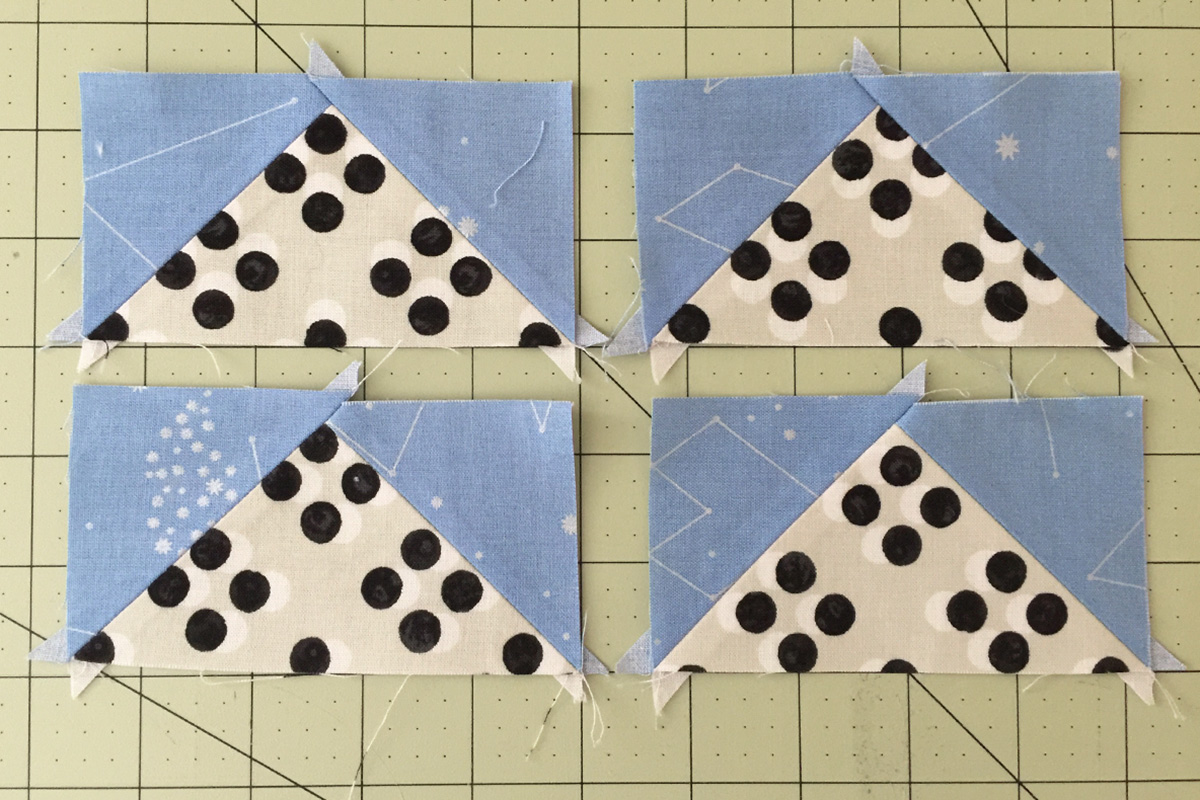
Boom! Four, identical, painlessly-pieced flying geese. They’re perfect to set up in an assembly line and chain piece when you’ve got tons of blocks to make.
Step 10: Square up
Square up to your unfinished size (4 1/2″ x 2 1/2″ for me). This should be little more than just trimming away dog ears. I hope this tip saves you time and a headache like it has for me! Happy sewing!


What you might also like


12 comments on “No-Waste Flying Geese”
-
-
Exactly! Those numbers are to account for your seam allowances which should be consistent, regardless of your desired finish size. Good luck!
-
-
Thank you for this great tip on flying geese-I have always had trouble with them, but this is a “lightbulb” moment-thank you for sharing, Susan
-
That’s great to hear, Susan! I hope this brings you success in your future projects 🙂
-
-
I believe there is an error in step 3. I think it should be “with right sides together” and not as it is written “with wrong sides together”.
-
You are correct! Thanks for pointing that out. We’ve adjusted accordingly!
-
-
Good way to do this but Eleanor Burns way with her rulers are a lot easier.
-
Thanks, marsuz! I’ve heard her rulers are great. This is a fun alternative if you haven’t invested in the ruler or don’t have one at the correct size 🙂
-
-
I’ve always been afraid of flying geese. This just made it so attractive for me to try. Thank you
-
Good luck! And just remember, there are no mistakes in quilting. I prefer to think of them as “improvisational design elements” 🙂 I hope this technique helps!
-
-
I have never made this type block but this way looks perfect. Look forward to your posts.
-
Thank you so much for this easy way to make flying geese!! I just started quilting over 2 years ago & flying geese have been so difficult for me. I’ve passed up some beautiful patterns just because those are in the quilt. Now I’m going to look thru my digital patterns and get busy! This looks so fun, thank you again for sharing!
Leave a Reply
You must be logged in to post a comment.
I am assuming that the addtional 1-1/4 inch to the larger square and 7/8 inch to the smaller square is standard no matter what your finished block size is?