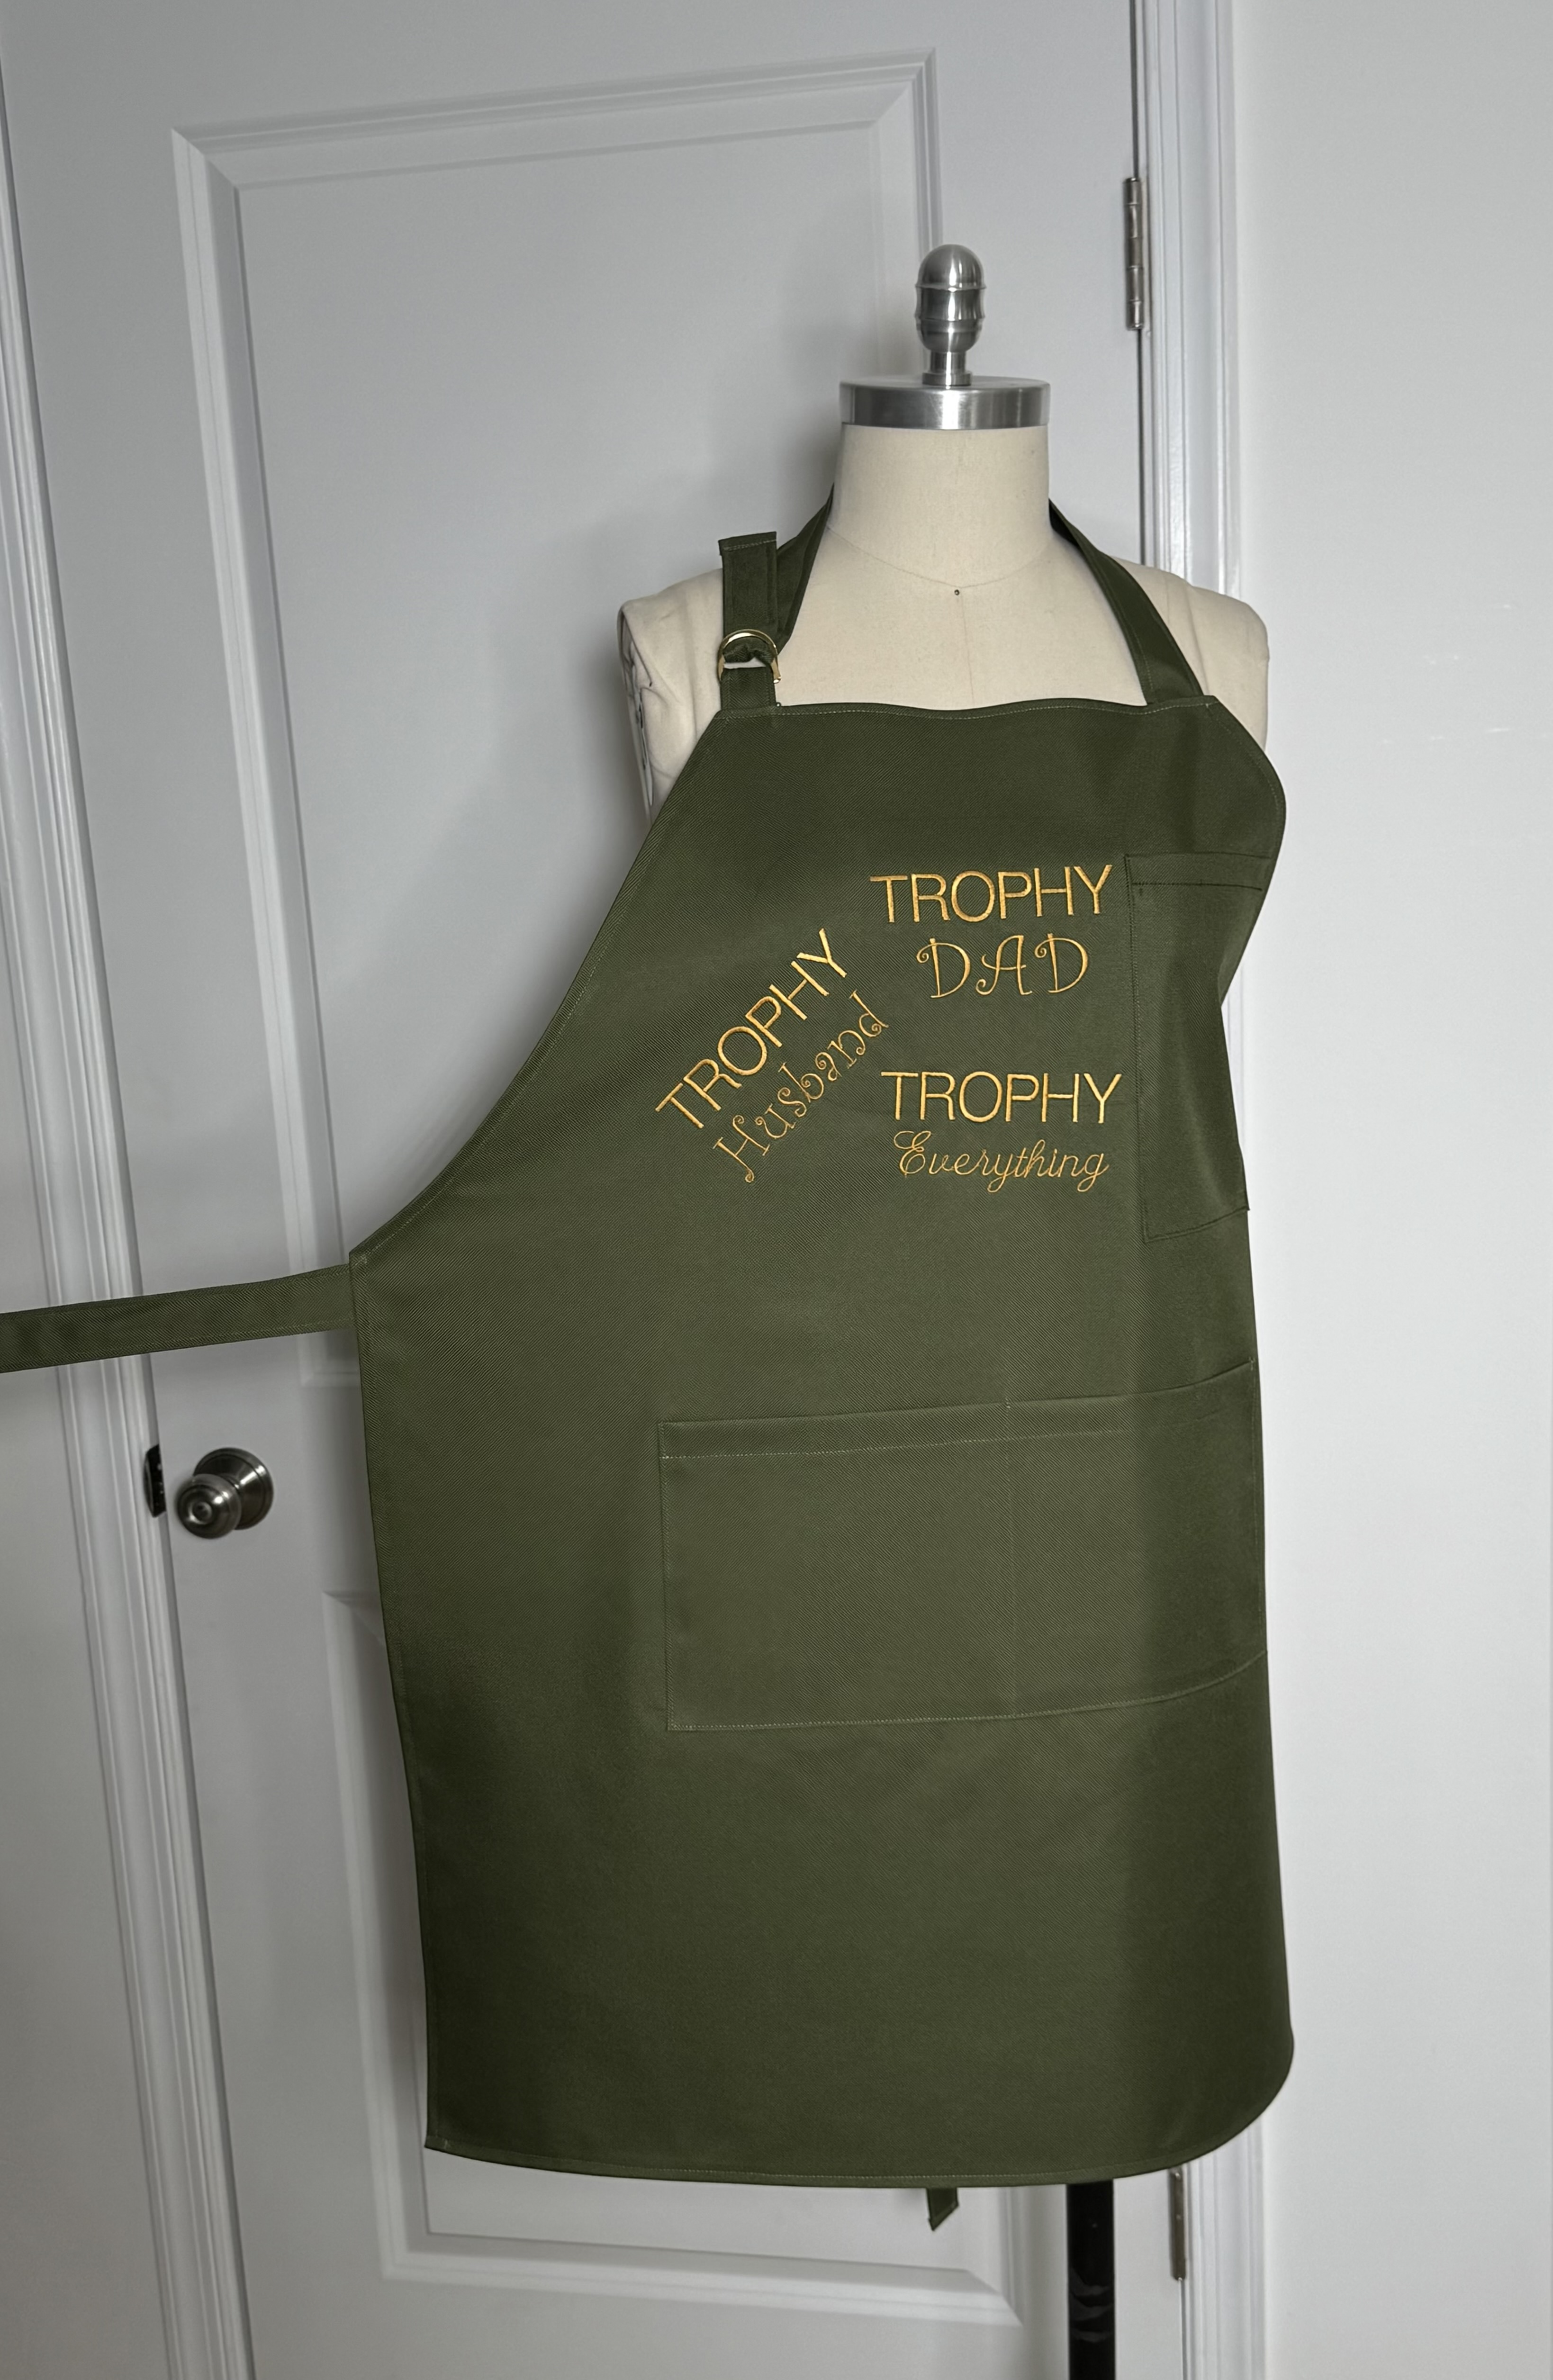
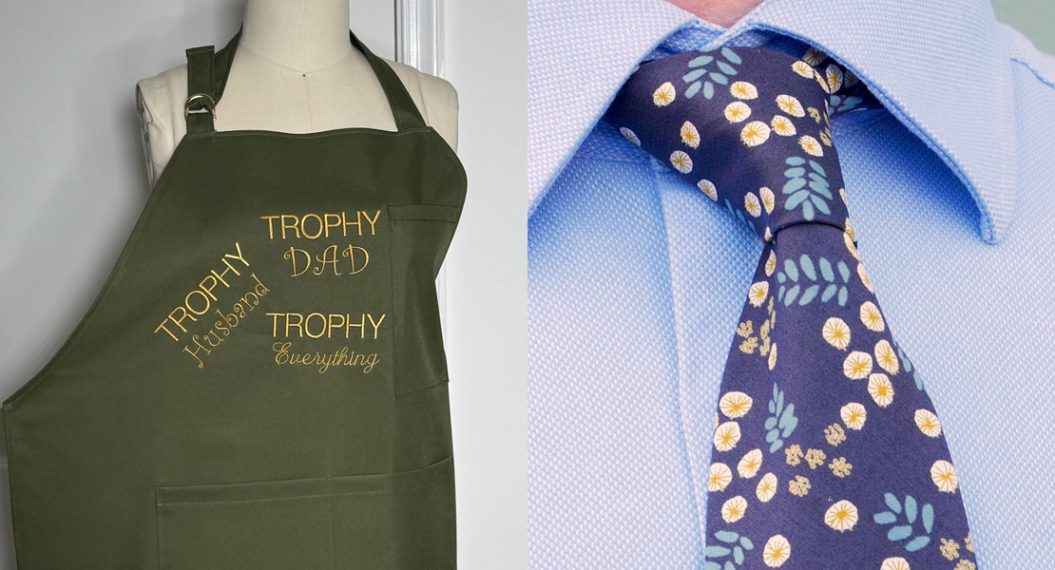
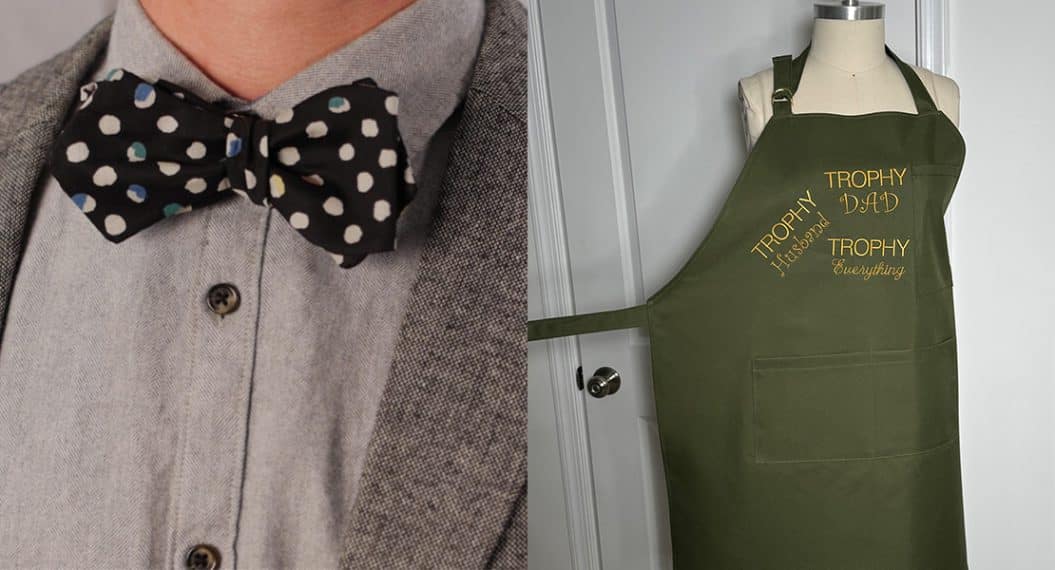
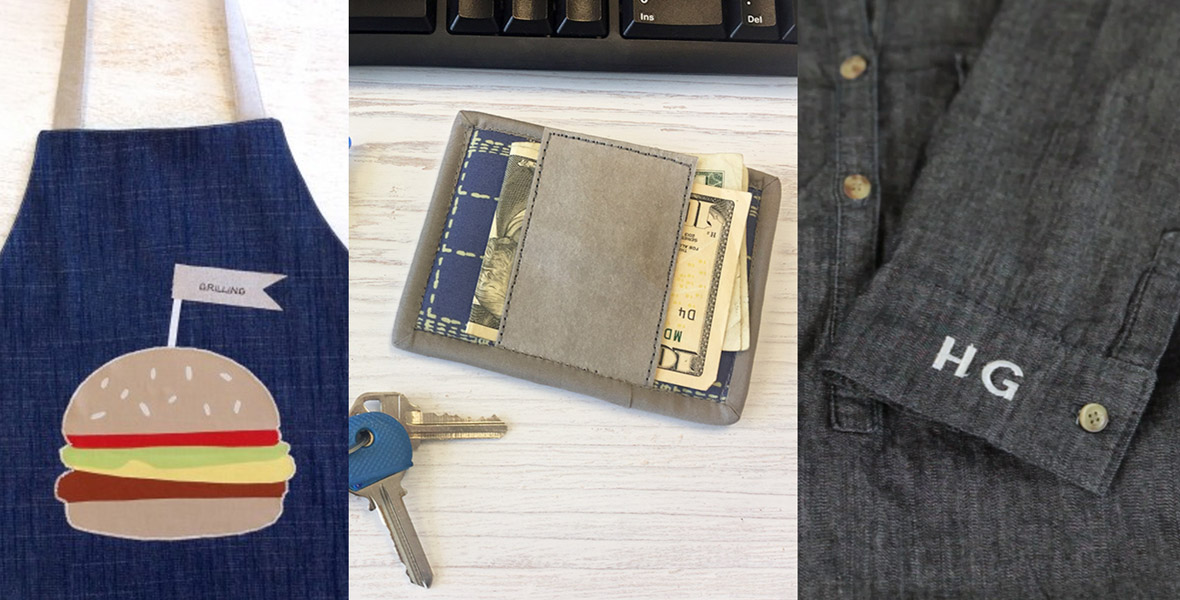
Father’s Day Gift Idea: Personalized Embroidered Apron
Finding the perfect Father’s Day gift is never easy, especially when you want it to feel personal and meaningful. If your dad, husband, or any father figures at heart loves to cook or grill, a custom apron is a thoughtful way to add that extra special touch.
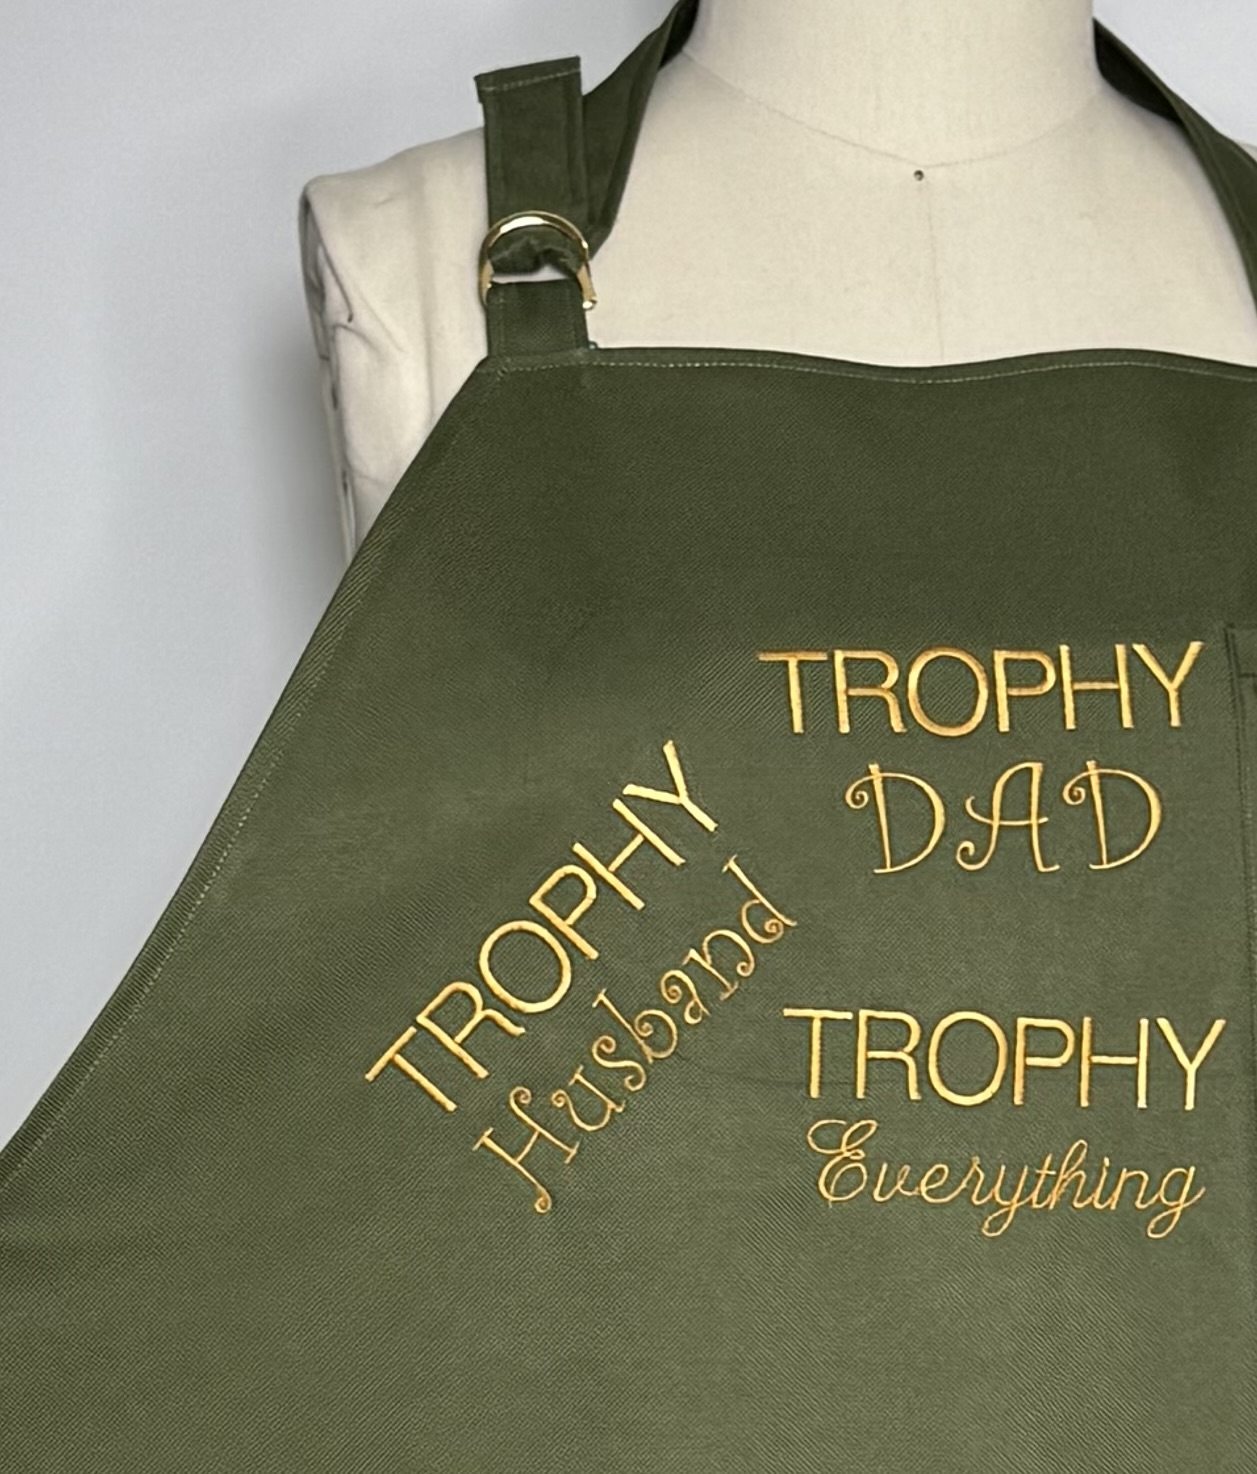
Whether he’s flipping burgers in the backyard or experimenting with new recipes in the kitchen, this personalized apron makes him feel like the star chef he is. You can customize it with his name, a funny quote, or even a heartfelt message from the kids. Make it from durable, high-quality fabric to give it that special longevity.
Not only is it practical, but it also adds a fun and sentimental element to every meal he makes. It’s a gift he’ll wear with pride, and one that reminds him he’s appreciated. So, this Father’s Day, skip the generic gifts and go for something that celebrates his personality—and his passion for cooking.
Materials to Make an Embroidered Father’s Day Apron
- Apron pattern
- 1.5 yards of canvas fabric
- Thread to Match
- Scissors or rotary cutter
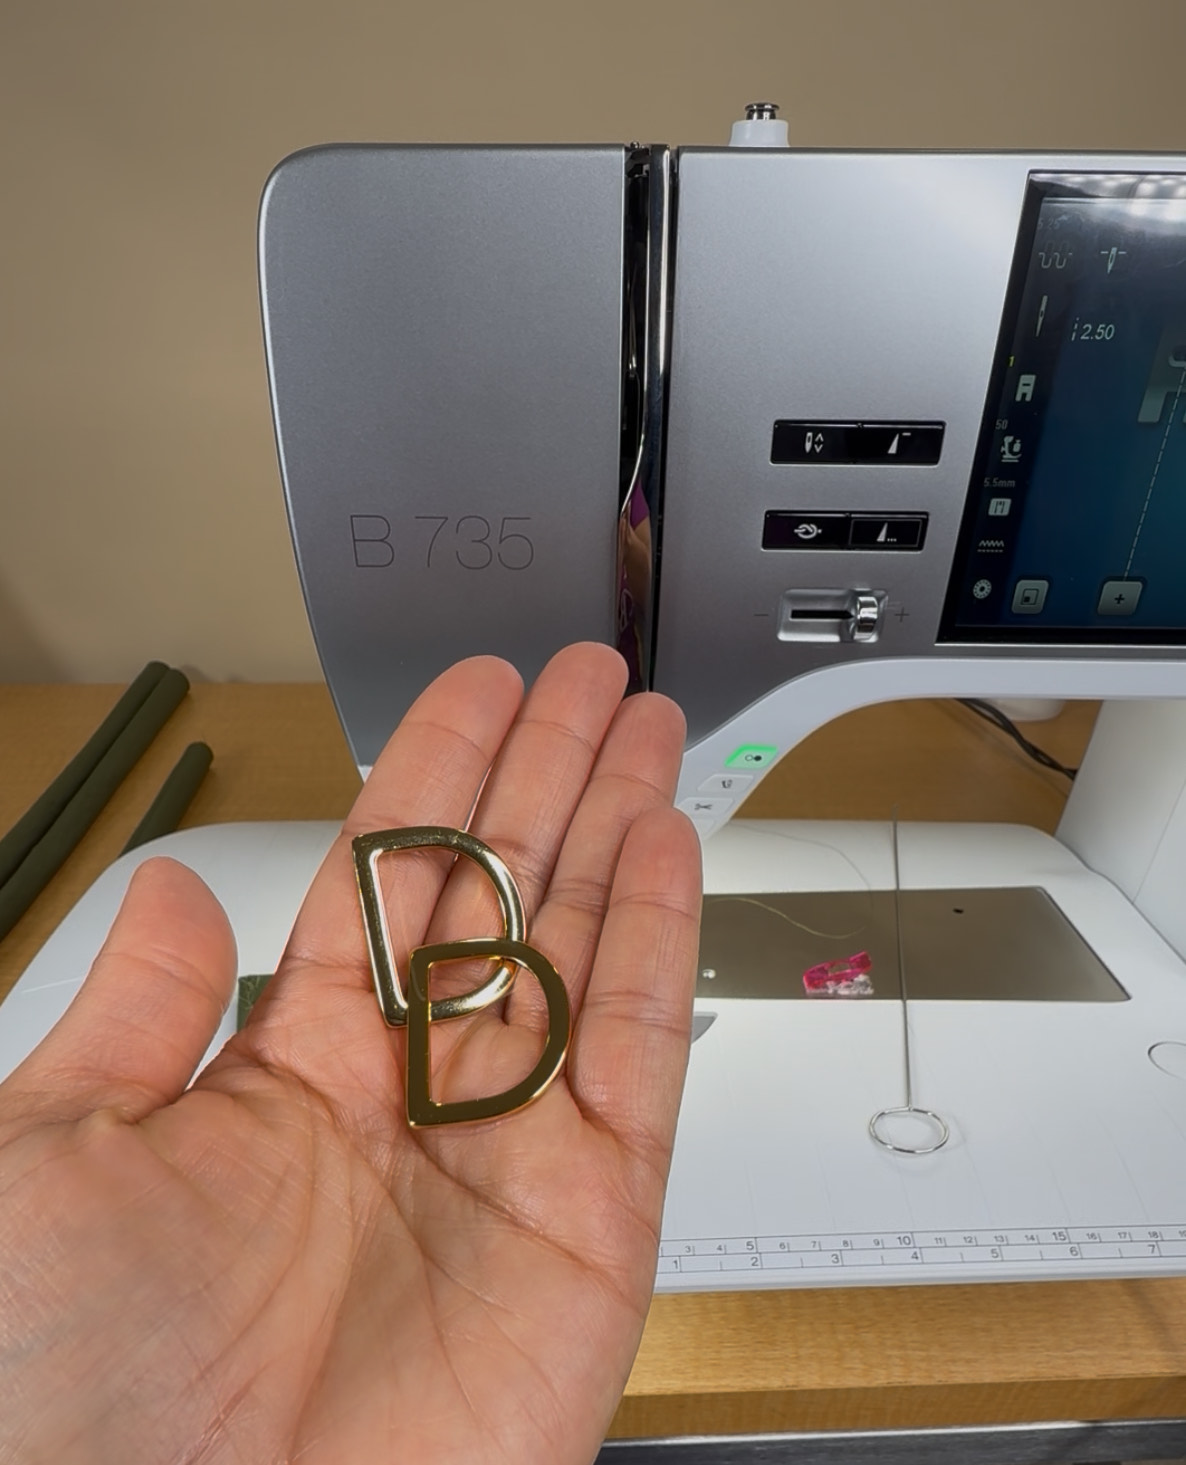
- 2 (1 inch) “D” rings
- Pins or clips
- Sewing machine
- Iron
- Optional: embroidery to customize

Steps to Make an Embroidered Father’s Day Apron
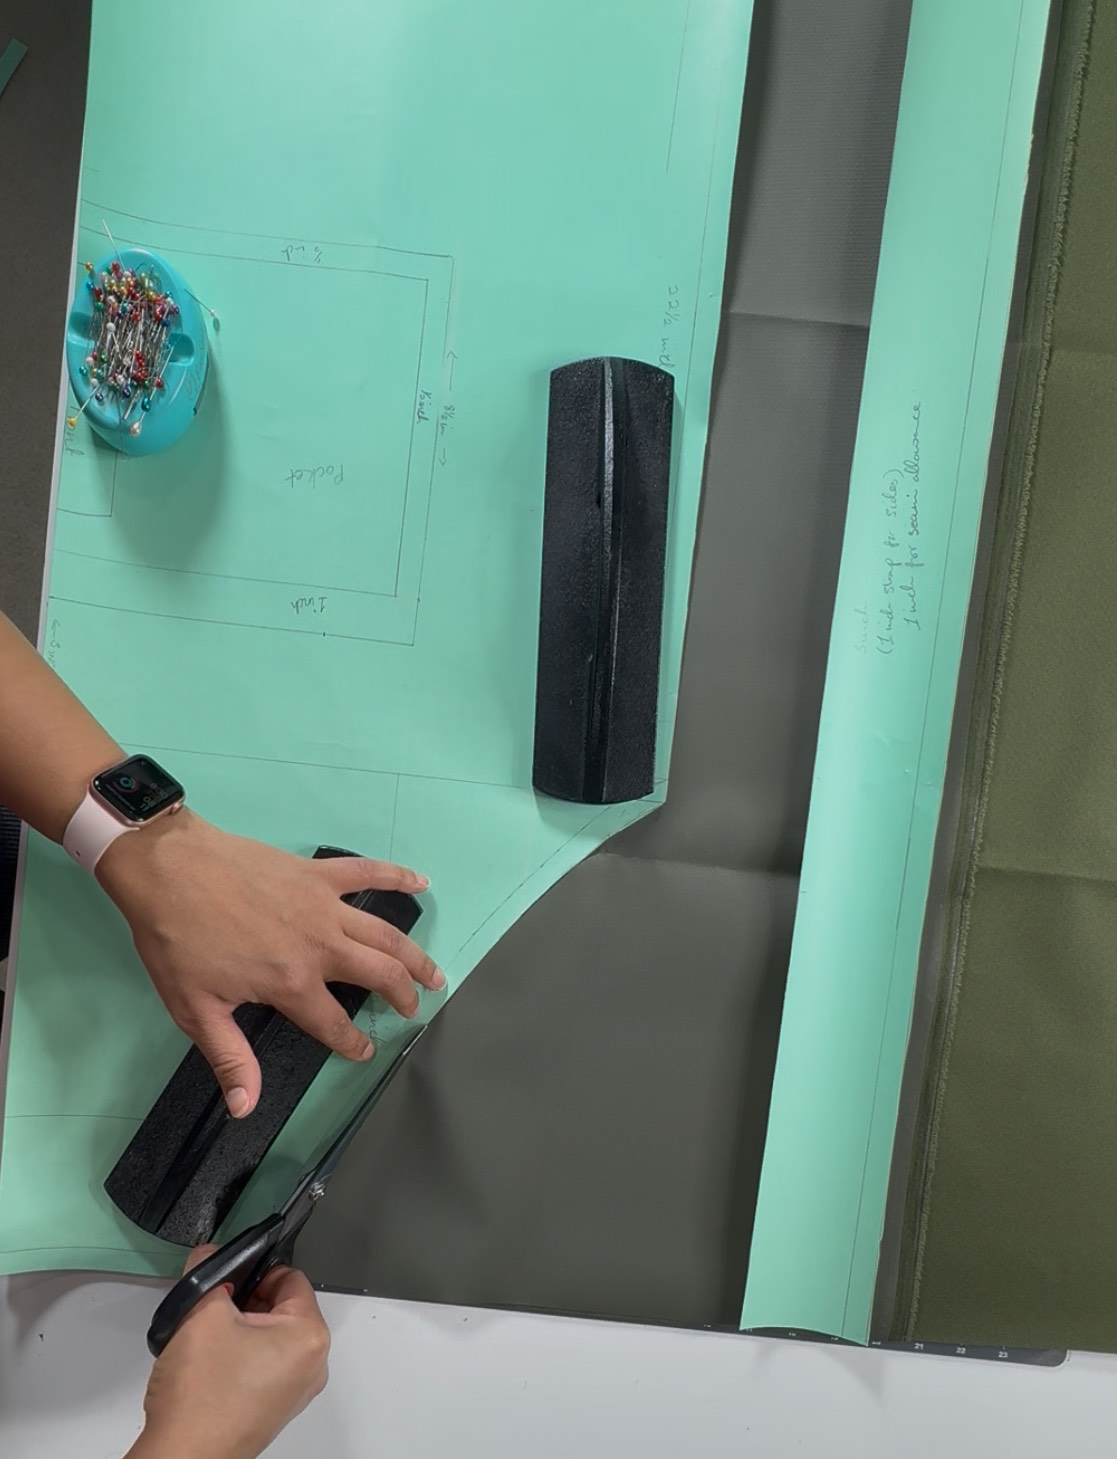
1. Cut out the Fabric
Using your apron pattern, cut out the apron body on the “FOLD”, 2 neck strap, and 2 waist ties. Also, cut out a pocket piece included in the pattern. Serger the body of the apron all the way around for a clean finish.
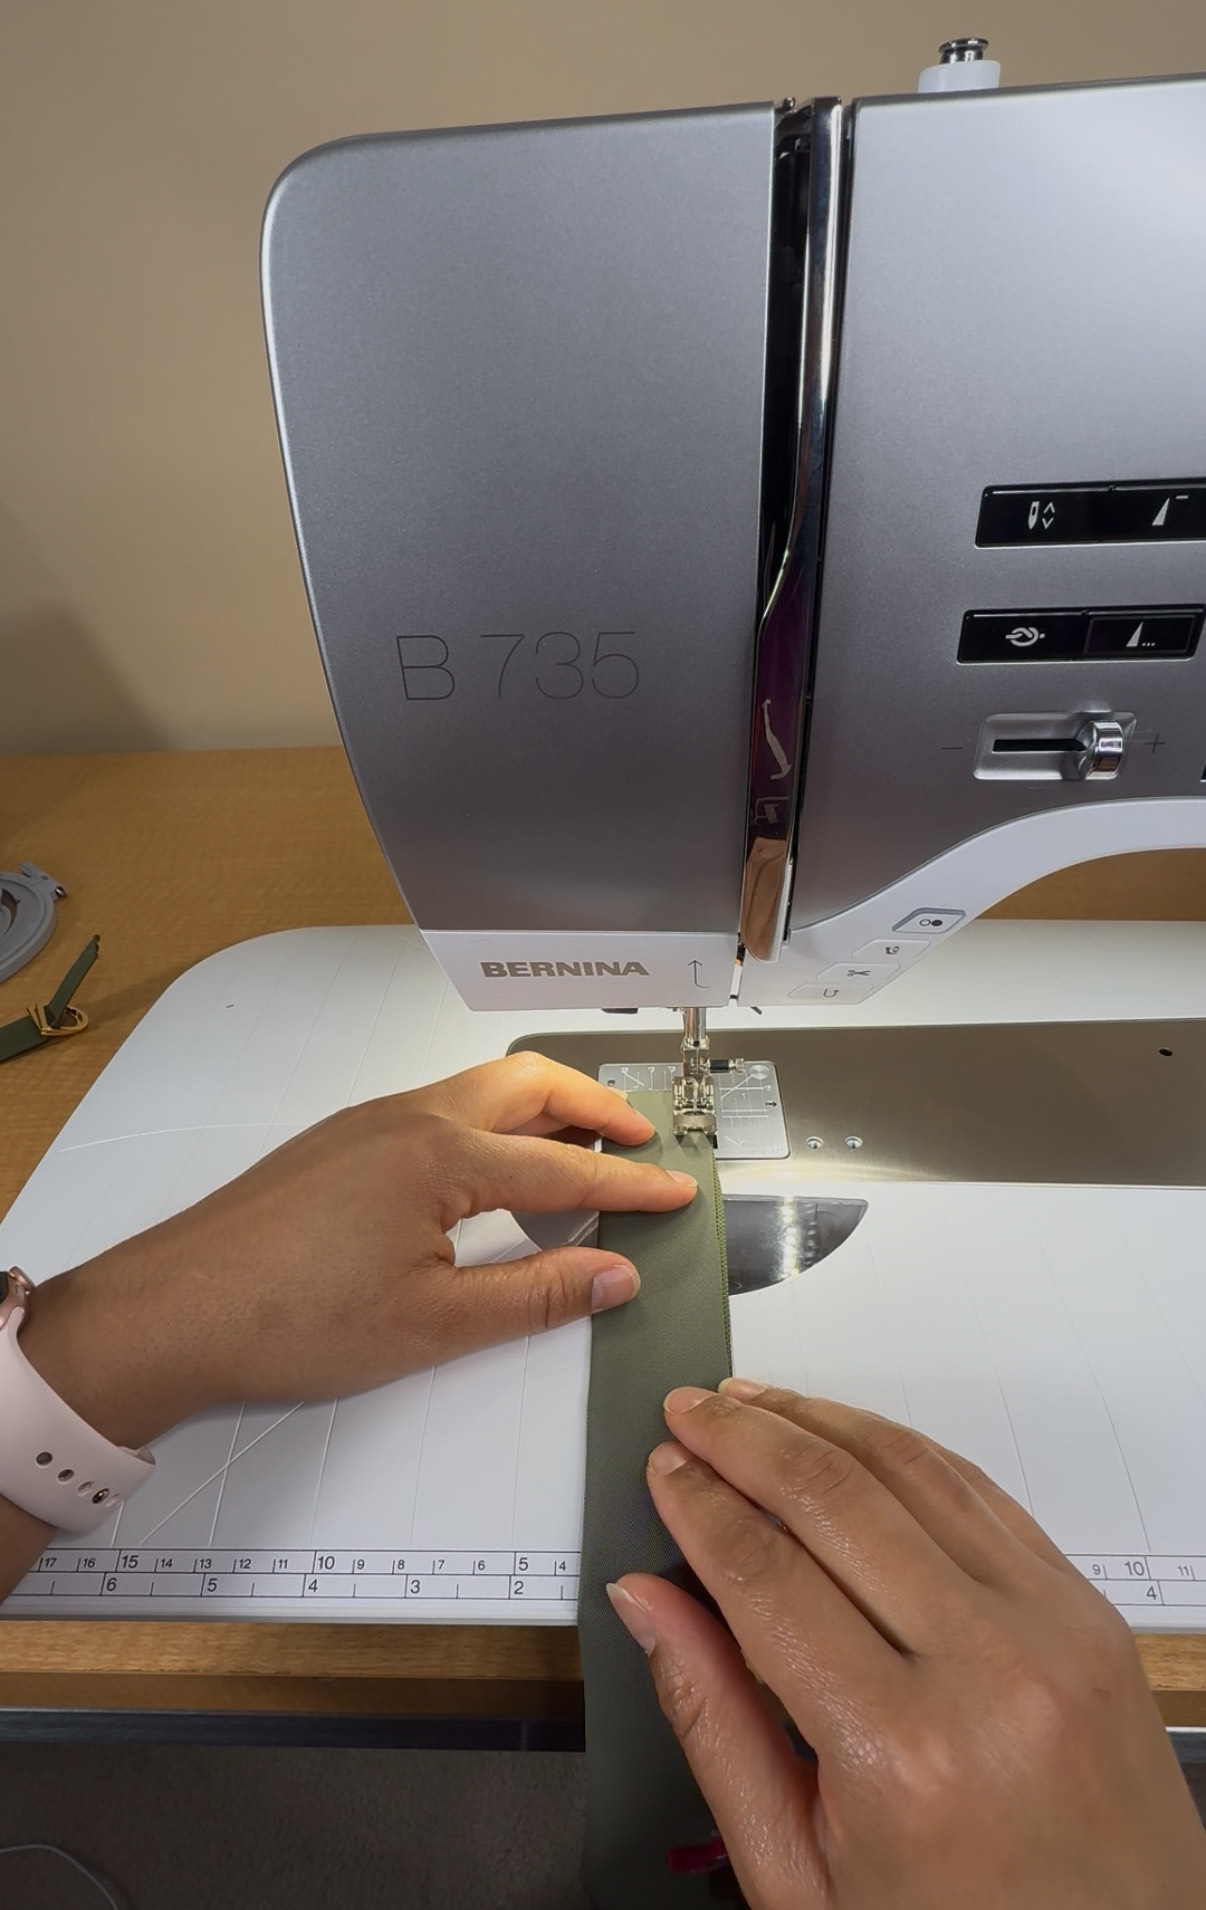
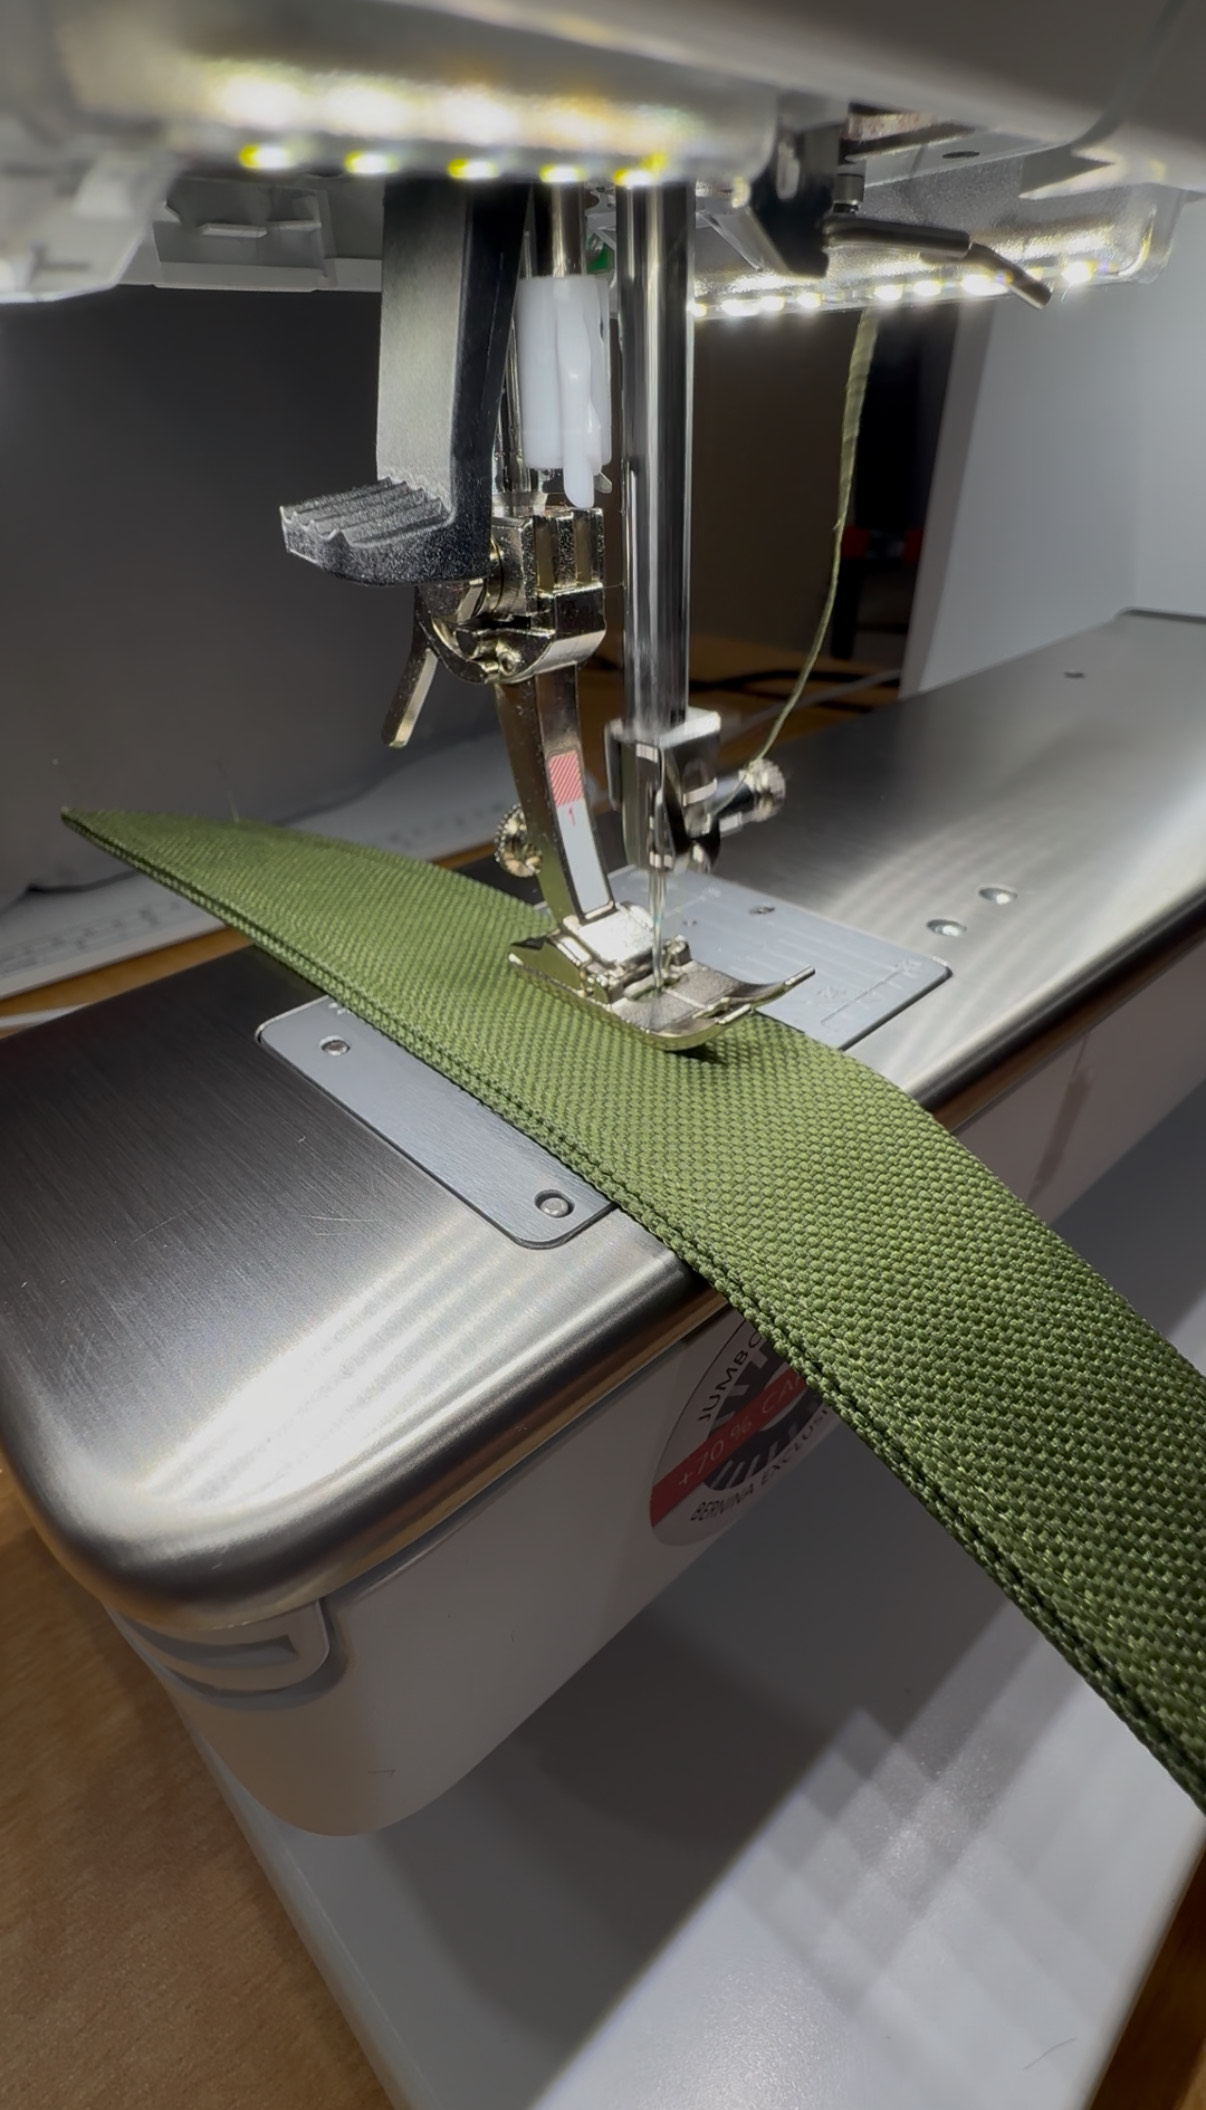
2. Prepare the Straps
Fold each strap piece in half lengthwise, right sides together. Stitch along the long edge, then turn right side out. Press flat and top stitch 1/8 seam allowance on both sides of the straps
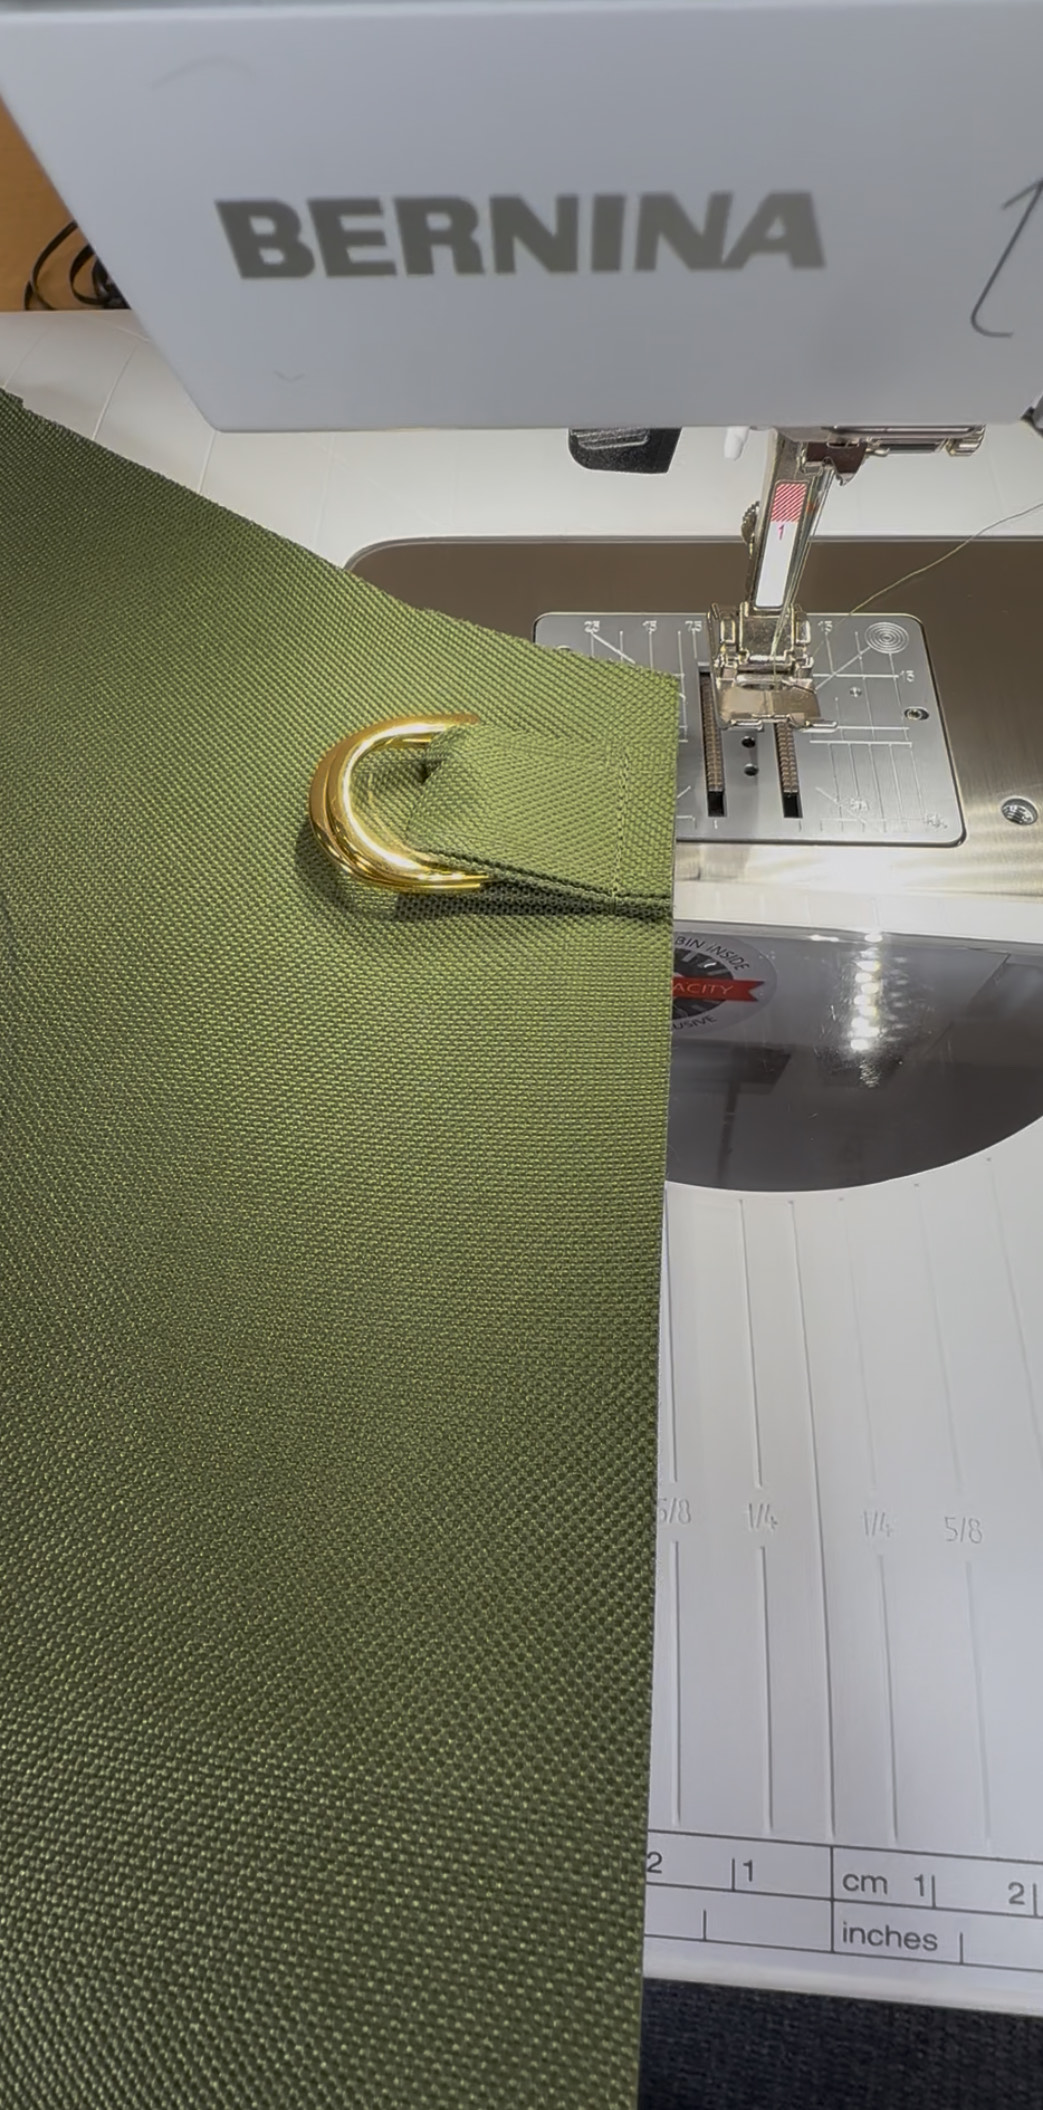
3. Attach the Straps
Attach Straps 5/8 inch on both waist straps, right-side facing, and apron top right using the smallest straps and slide both “D” rings on the strap and fold the strap in half. Attach the 2 D-ring strap and top left corner strap, right sides facing, and stitch all 4 straps down.
4. Hem Edges
Turn over the straps. Fold and press the edges of the apron body 5/8 inch to create a fold hem. Stitch all the way around for a clean finish.
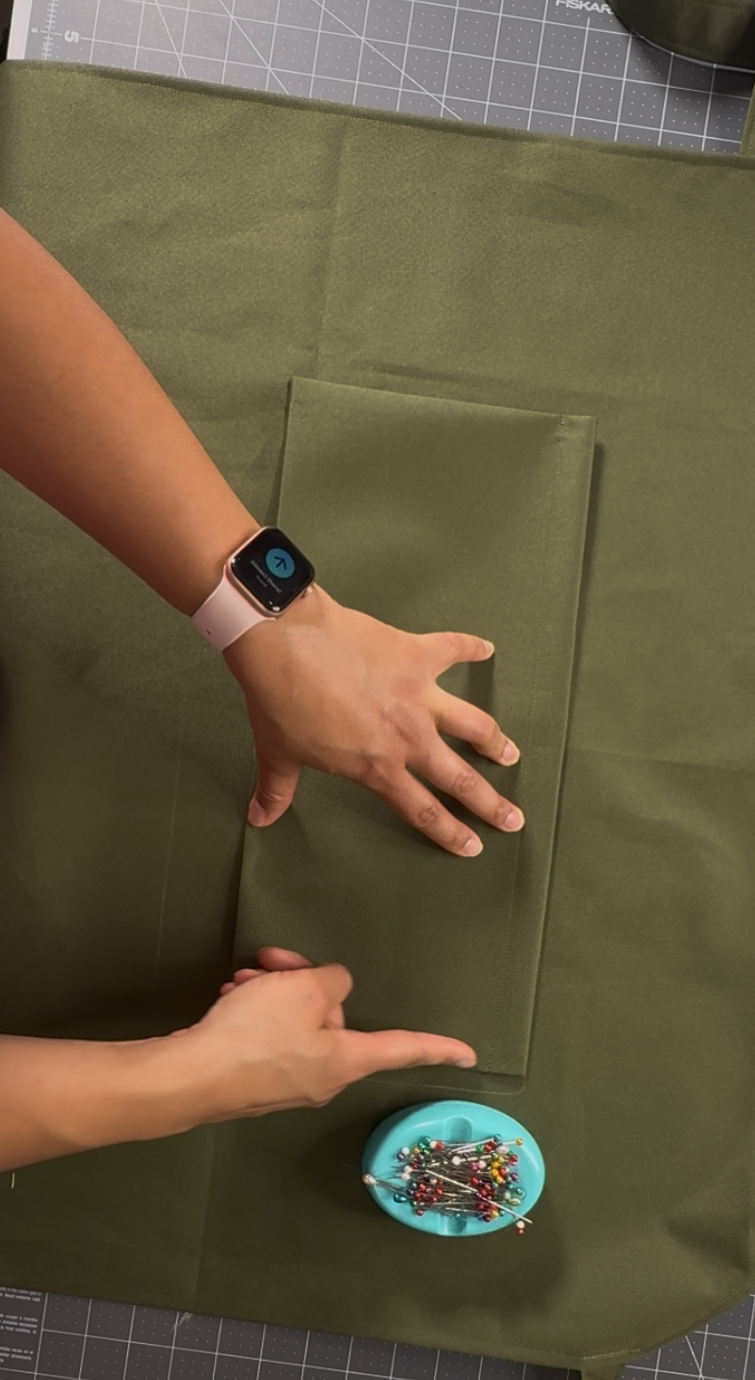
5. Add Pocket
Fold and hem the top edge of the pocket 1 inch. Press under the remaining edges 5/8 inch, place the pocket on the apron front, and topstitch around the sides and bottom, backstitching at the corners. (Sidenote: I added an additional cell phone pocket per the request of my husband, not included in pattern, BUT you can definitely add one.)

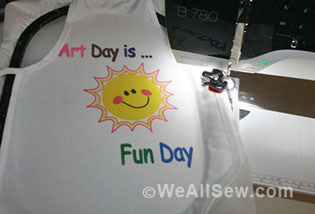
6. Decorate (Optional)
Apply your embroidery design if desired. Be sure to follow proper pressing instructions for your chosen decoration method.
7. Final Press
Give the entire apron a good press to set the seams and finish the look.