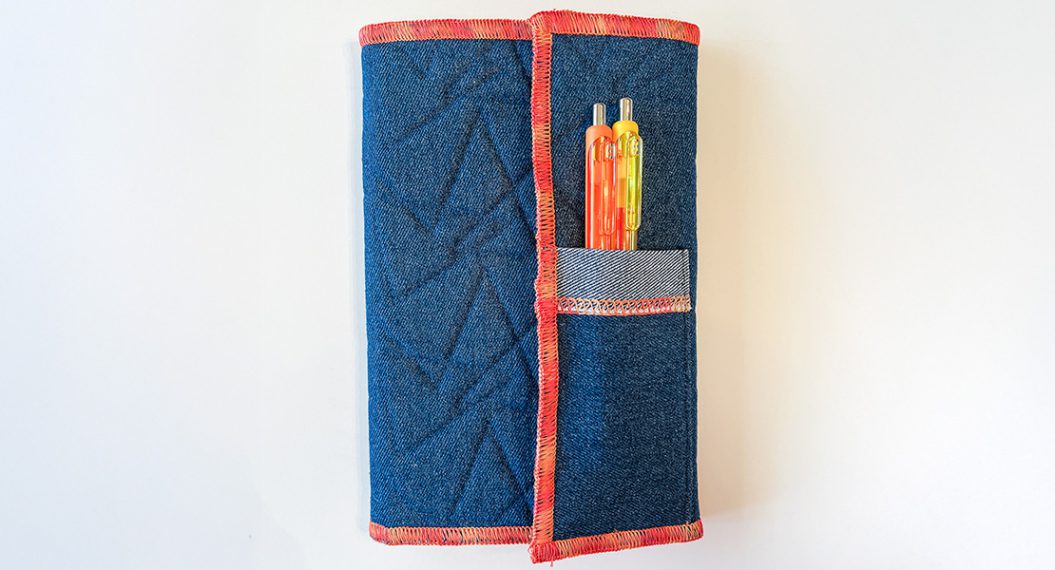
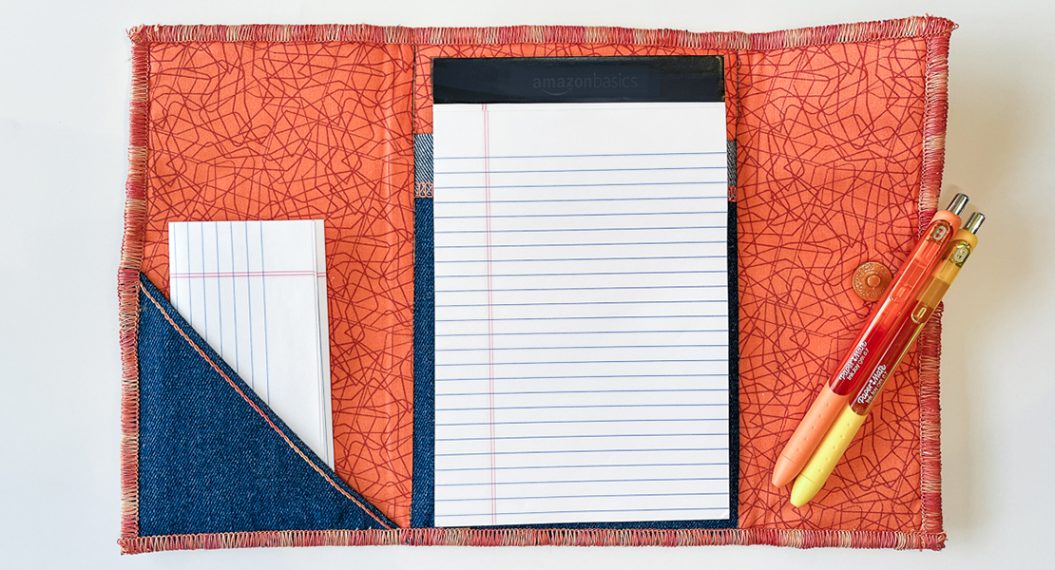
Textured Cork Notepad Cover
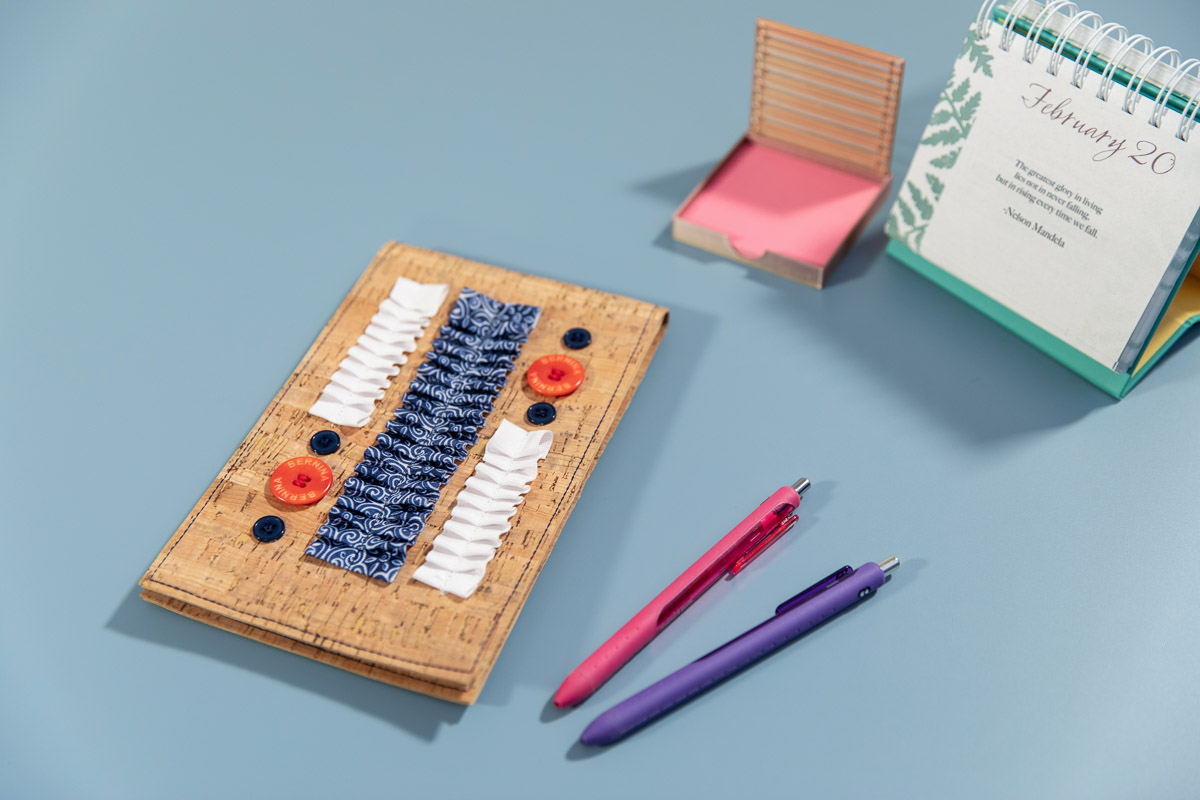
In today’s techy world, I still like to put pen to paper to write notes and lists. A pretty notepad holder makes a mundane task more fun. Plus, I love the textures of the ribbon, cork, and buttons.
Let’s make one together!
Materials for Making the Notepad Cover
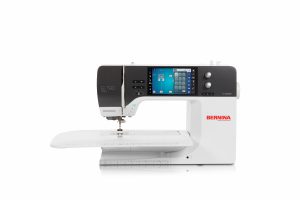
- Sewing Machine (I used the BERNINA 790 PRO)
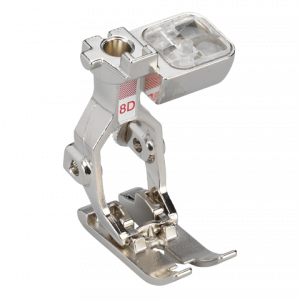
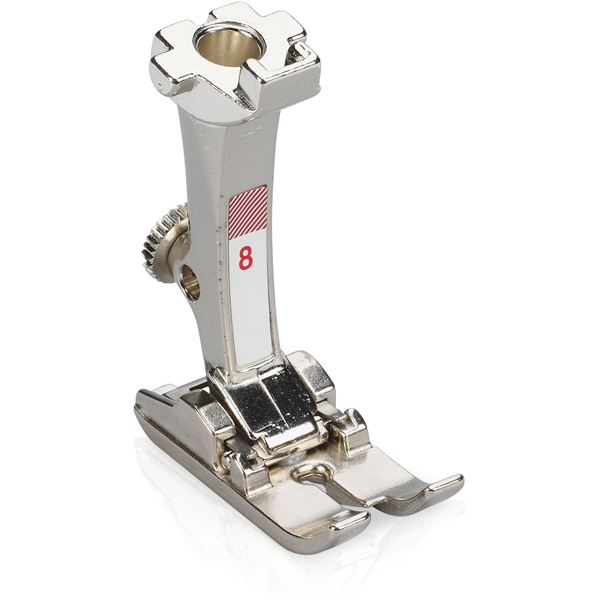
- Jeans Foot #8/8D
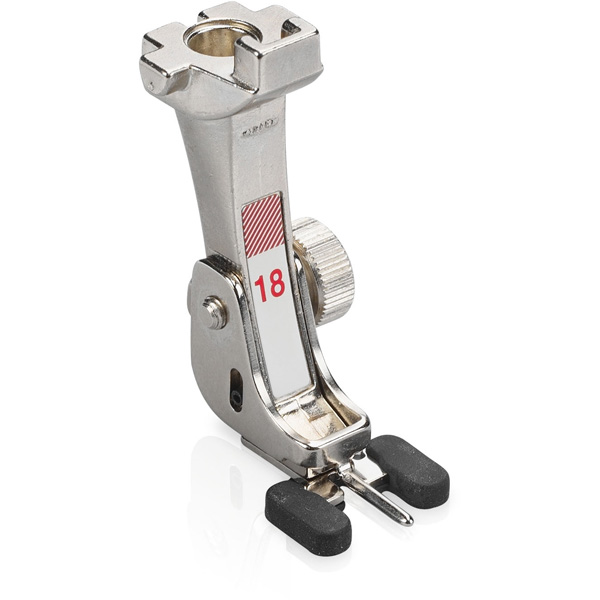
- Button Sew-on Foot #18
- Embroidery Foot with Clear Sole #39/39C
- Ruffler #86
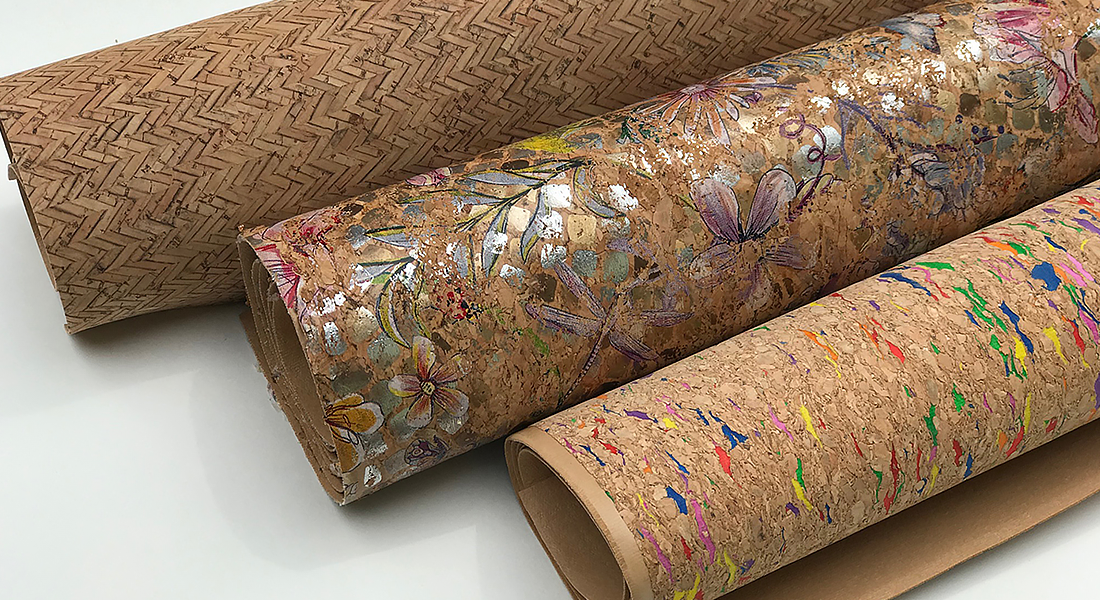
- Cork
- (2) 5 1/2″ x 17 1/2″ rectangles for front and lining
- (1) 5 1/2″ x 5″ rectangle for pocket
- Peltex Sew-in Stabilizer
- (2) 5 1/4″ x 8 1/4″ rectangles
- 1 1/2″ wide grosgrain ribbon
- (1) 14″ piece
- 7/8″ wide grosgrain ribbon
- (2) 8″ pieces
- Double Sided Basting Tape
- Assorted buttons
- 90/14 Jeans needle
- Threads to match ribbons and buttons
- 5″ x 8″ notepad tablet
- Basic sewing supplies
Ruffle the Ribbon
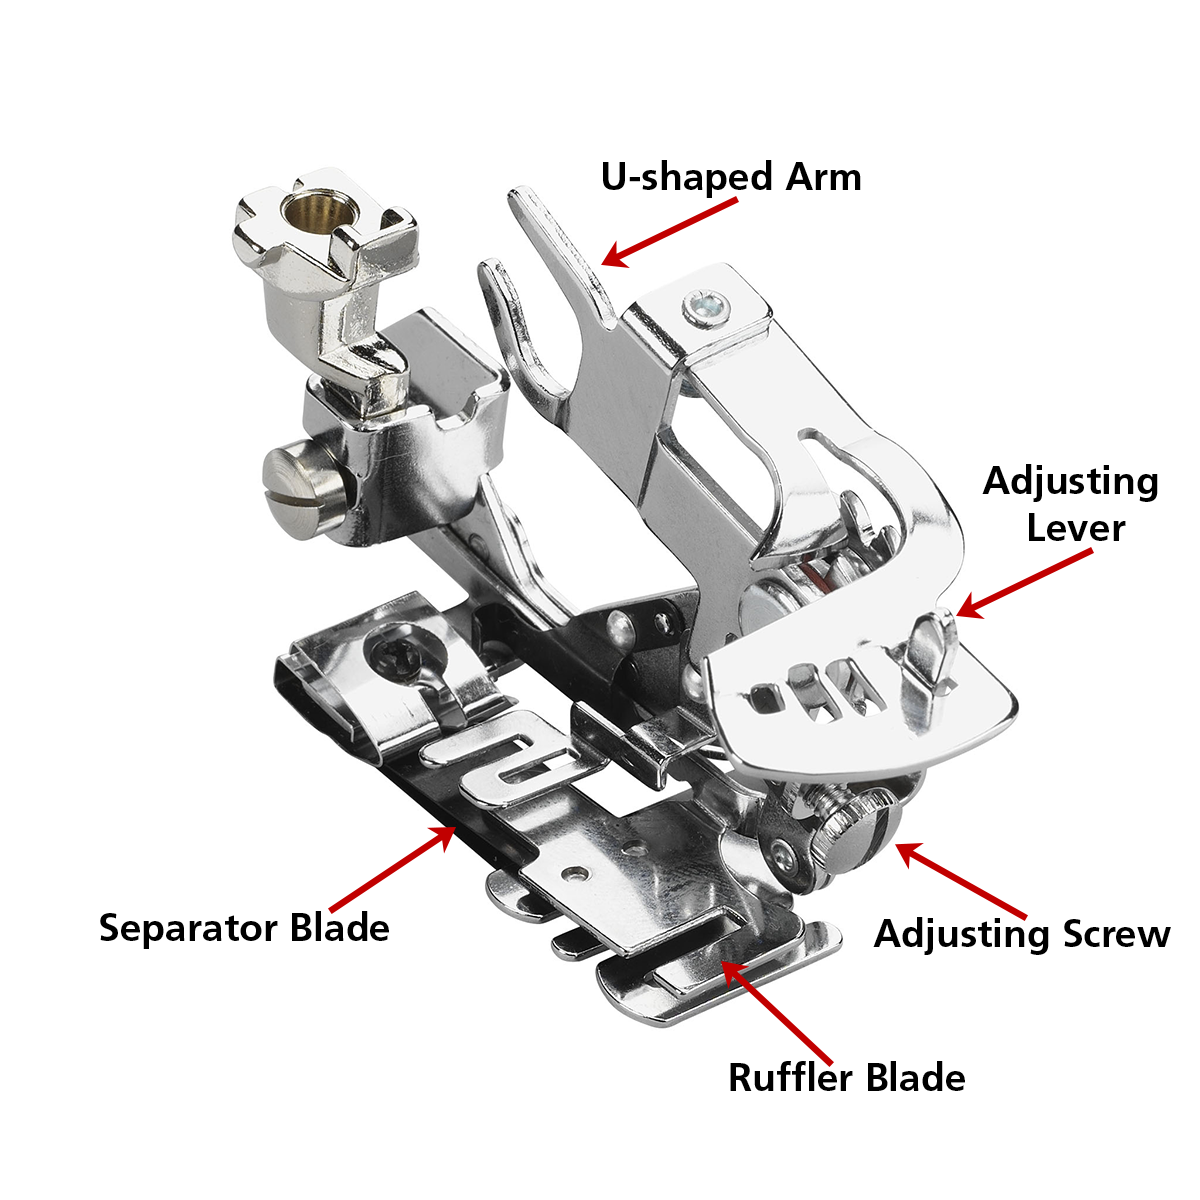
The Ruffler #86 is the go-to foot when you want to make gathers and pleats for garments and home dec projects. It works great on fabrics, lace, and ribbons. You can easily customize the size and distance of your pleats with a few minor adjustments. Click HERE for more information on how to do that.
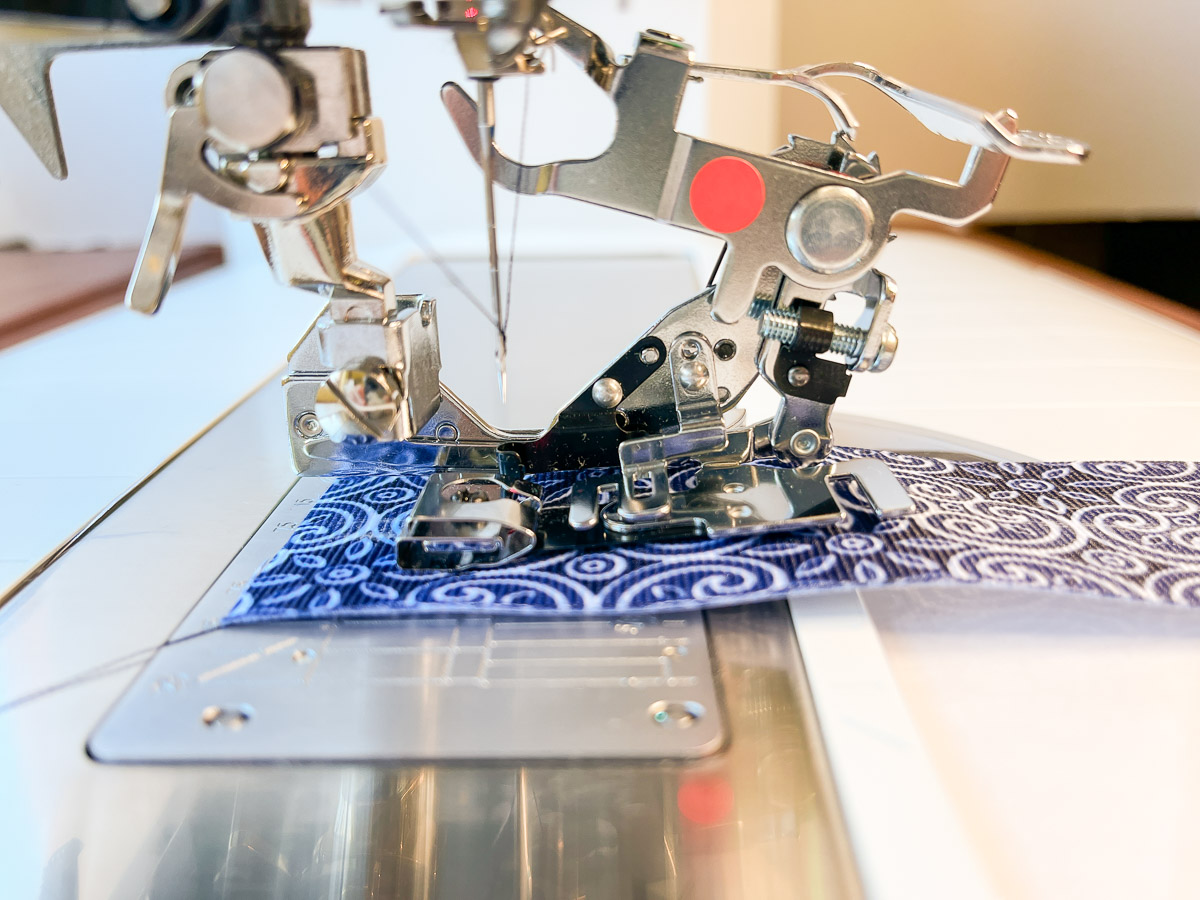
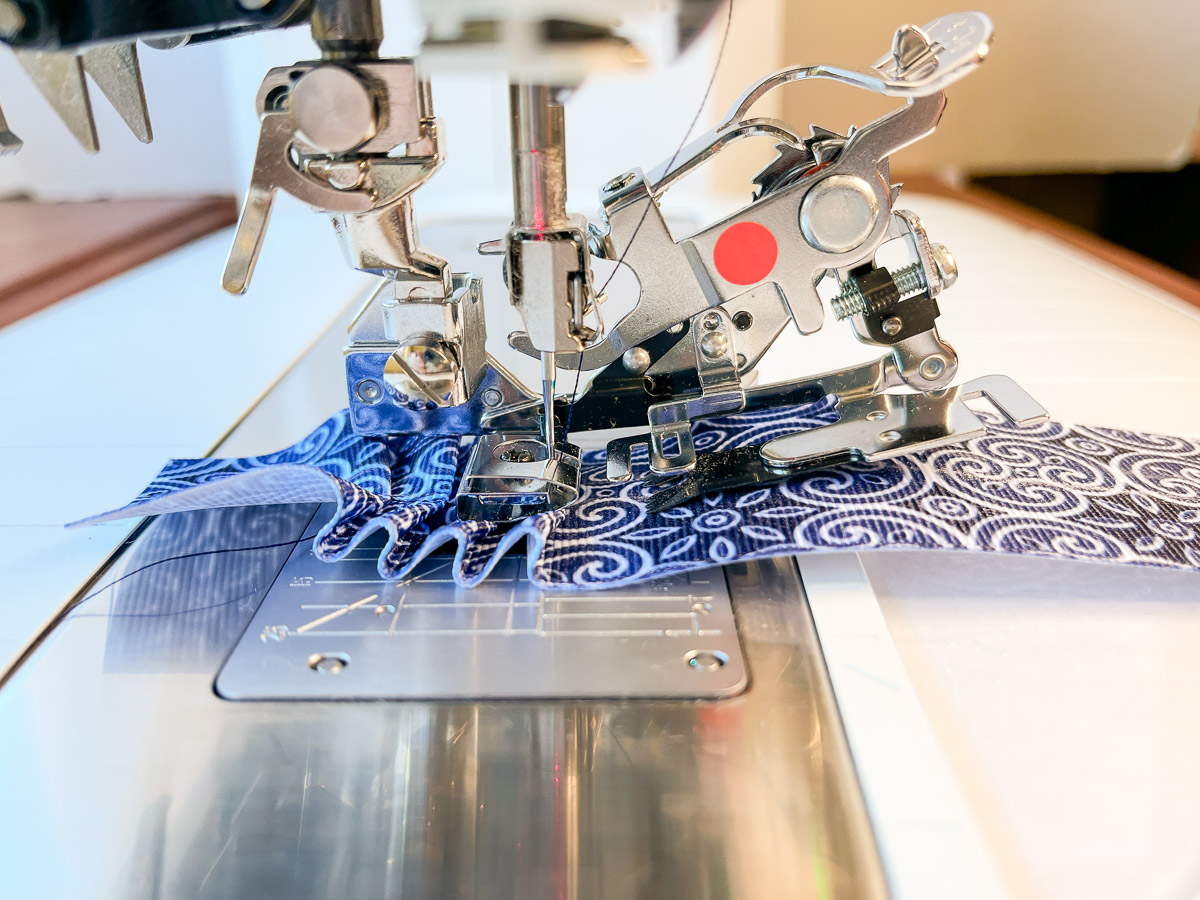
I have two important tips for you: 1) make sure that the U-shaped arm is on the needle bar and 2) fabric or ribbon that is to be ruffled goes between the separating blade and the ruffler blade, not UNDER the foot.
We are going to use it to ruffle the ribbon.
NOTE: There are two variations of this attachment, one for 5.5 mm machines (yellow dot) and one for 9 mm machines (orange dot). Let your dealer know which machine you will use so you get the correct one.
Step 1
Thread the machine with thread to match the 1 1/2″ wide ribbon. It is best (and easier) to thread the needle before attaching the foot. On the BERNINA B 880 PLUS and B 790 PRO, the automatic needle threader will be deactivated when the foot is selected. Do not attempt to use the automatic needle threader while the foot is attached as damage can occur.
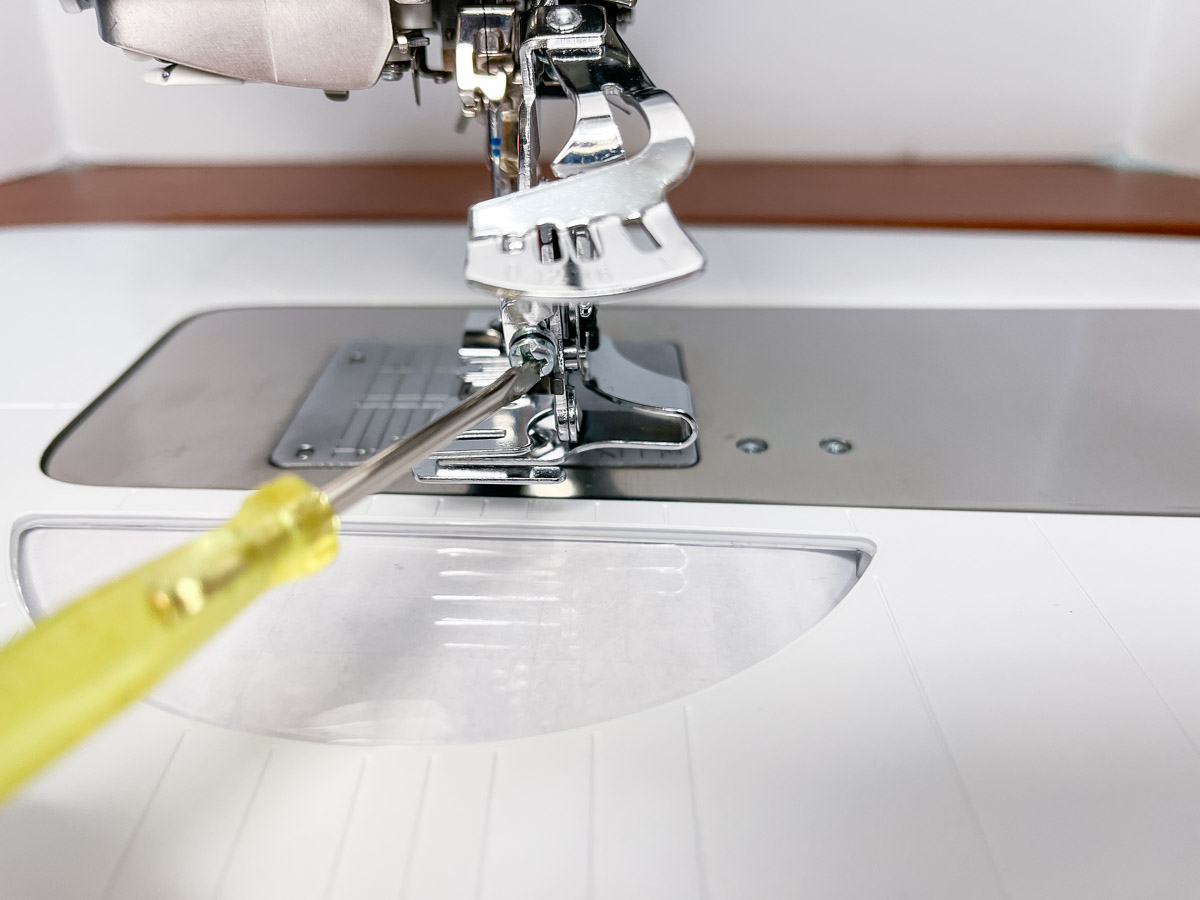
Once the foot is attached and selected, increase the depth of the pleat by turning the adjusting screw clockwise as far as it will go.
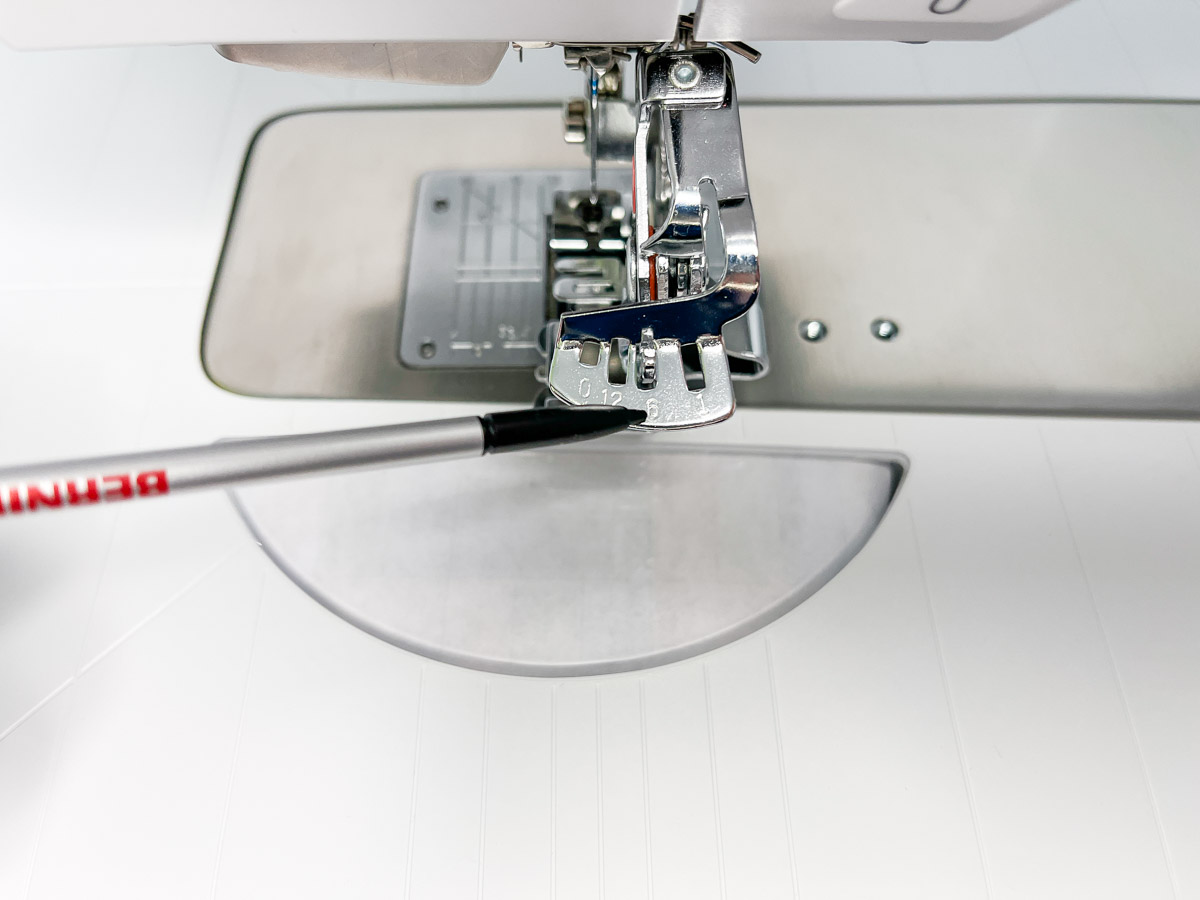
Move the adjusting lever to 6 to make pleats every six stitches.
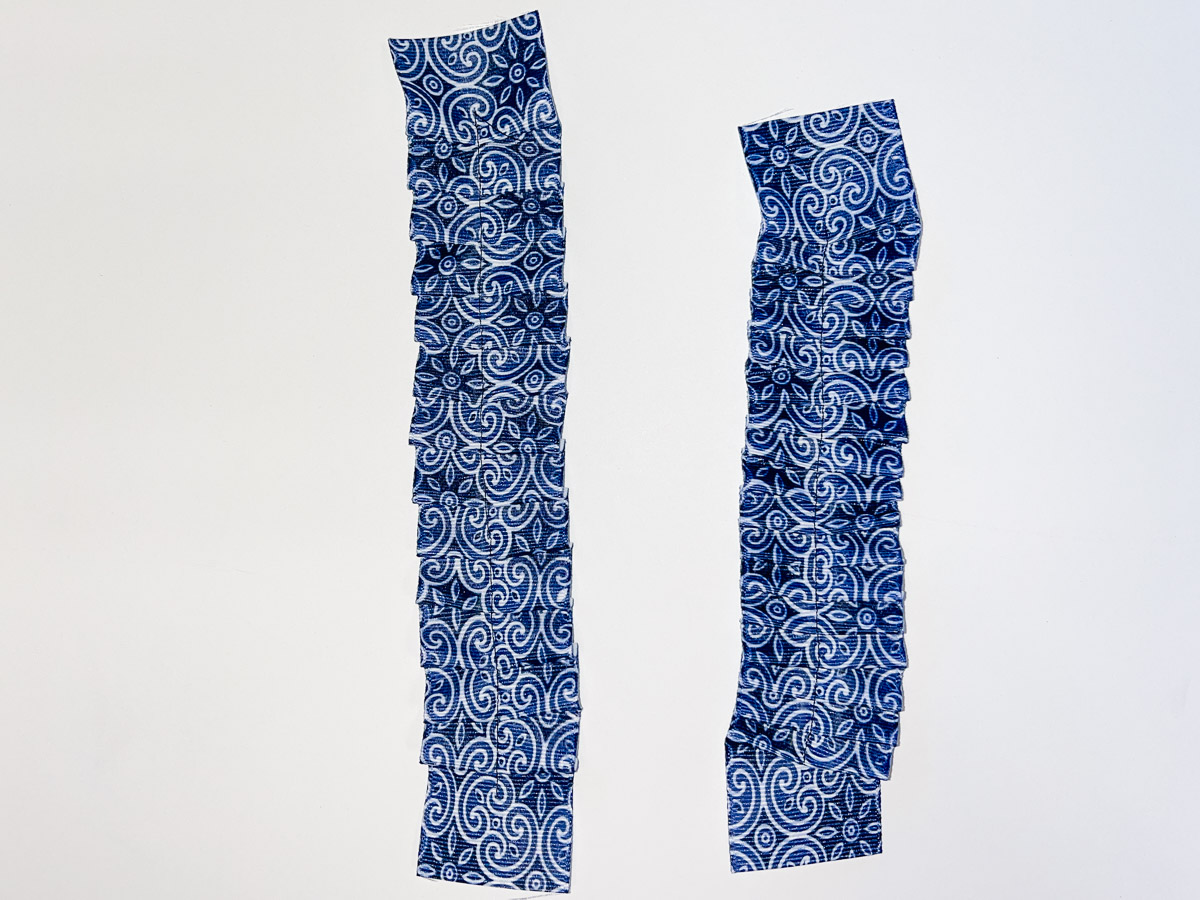
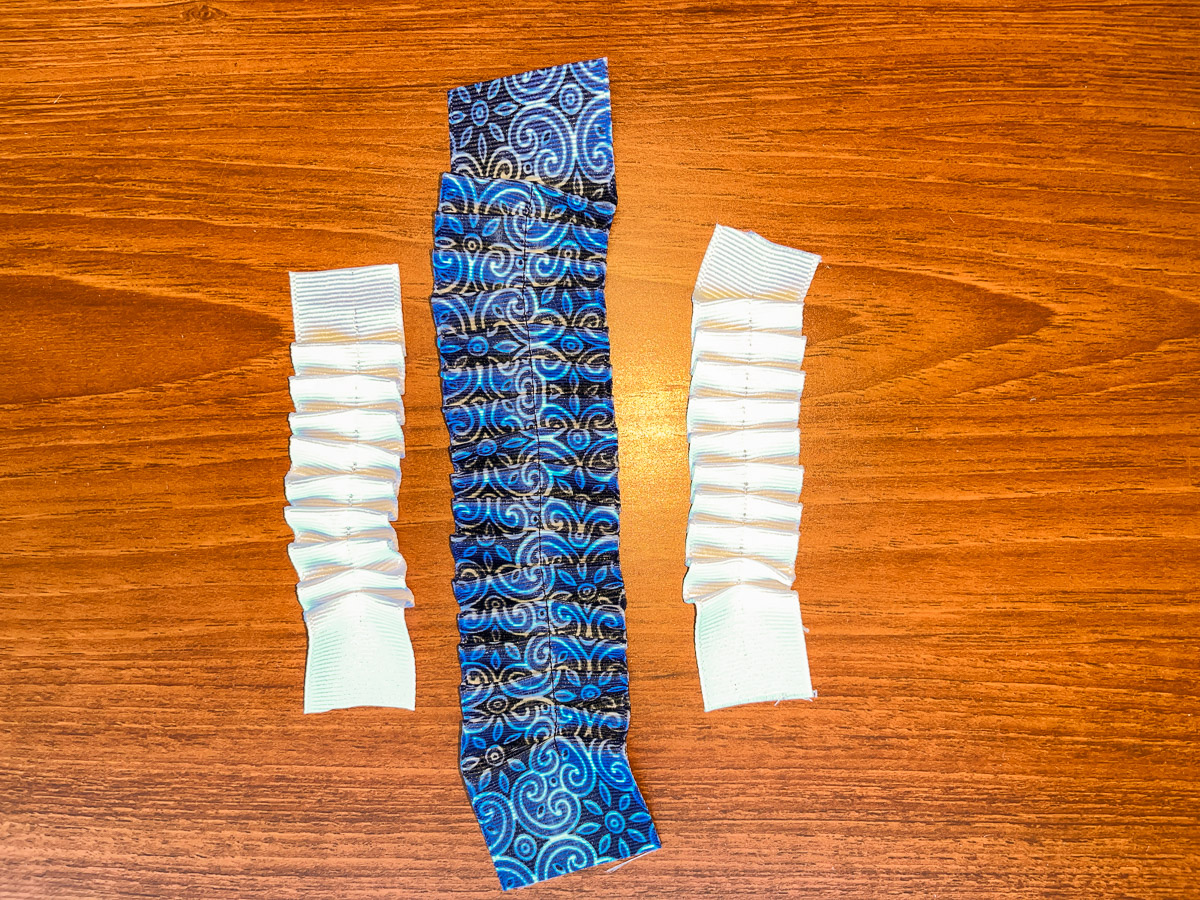
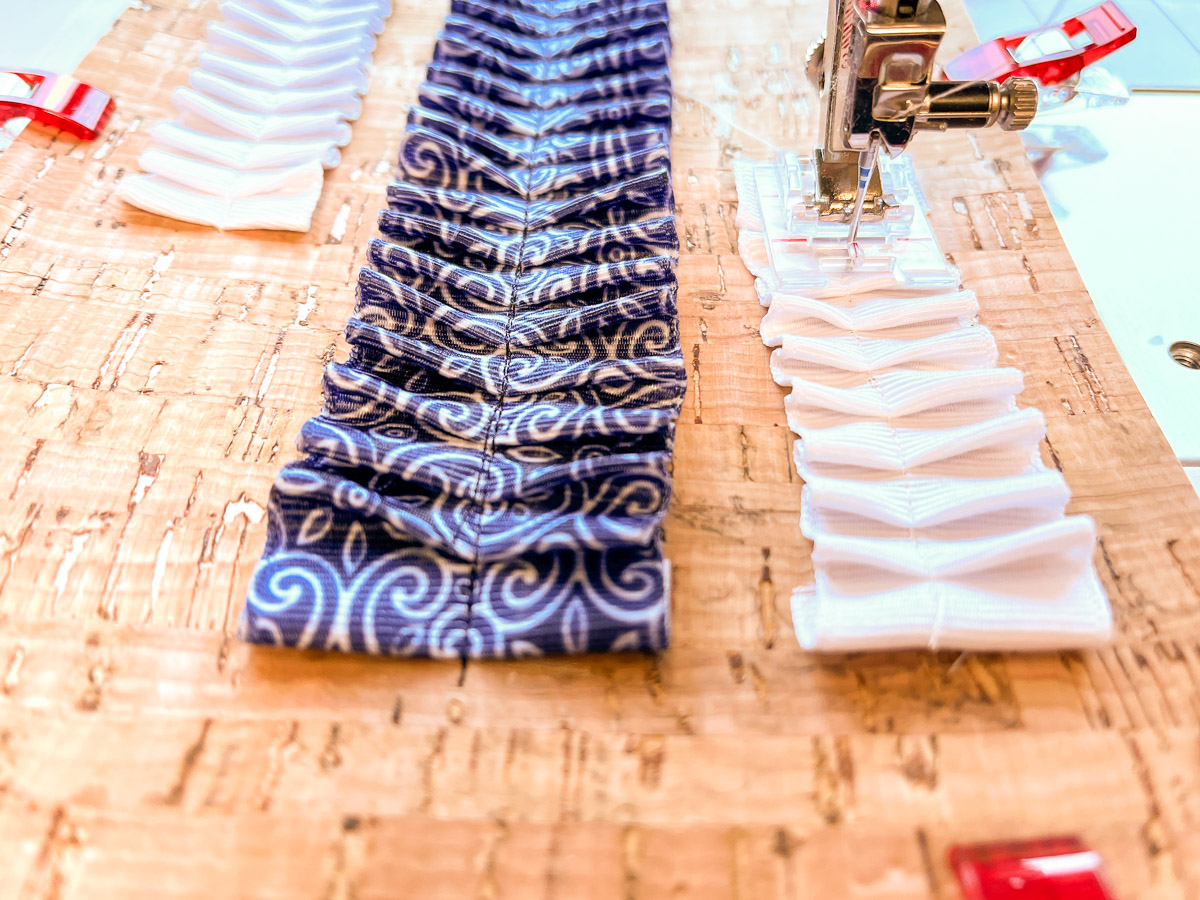
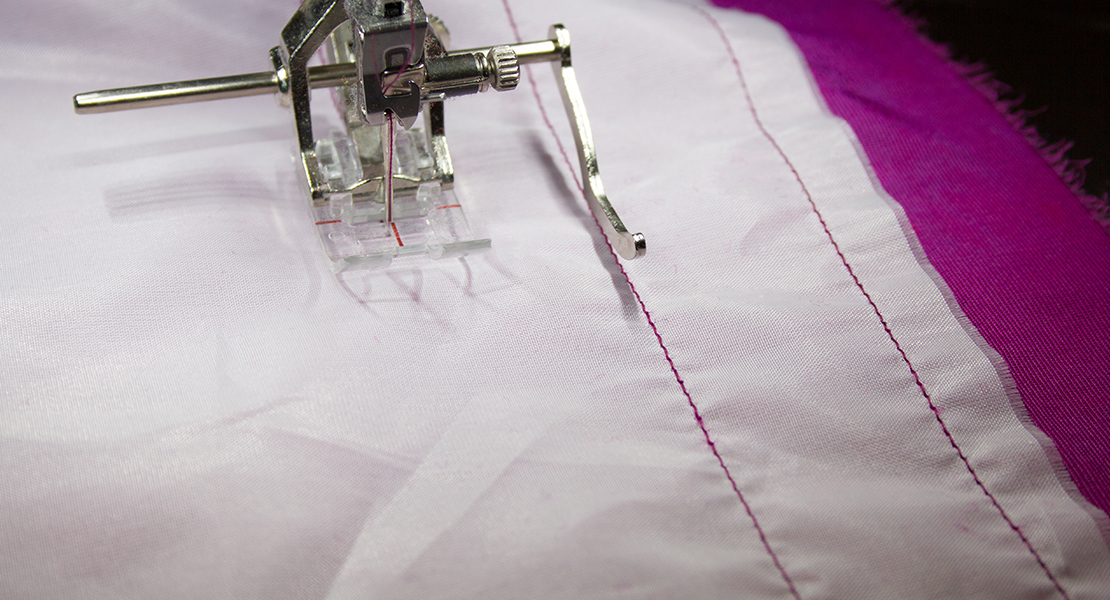
I tested at this setting with the default stitch length of 2.5 (left ribbon in the image below). The pleats were not as close as I liked, so I decreased my stitch length to 1.5 (right ribbon). This is where you can play and adjust the pleat depth and distance to what you like best.
Step 2
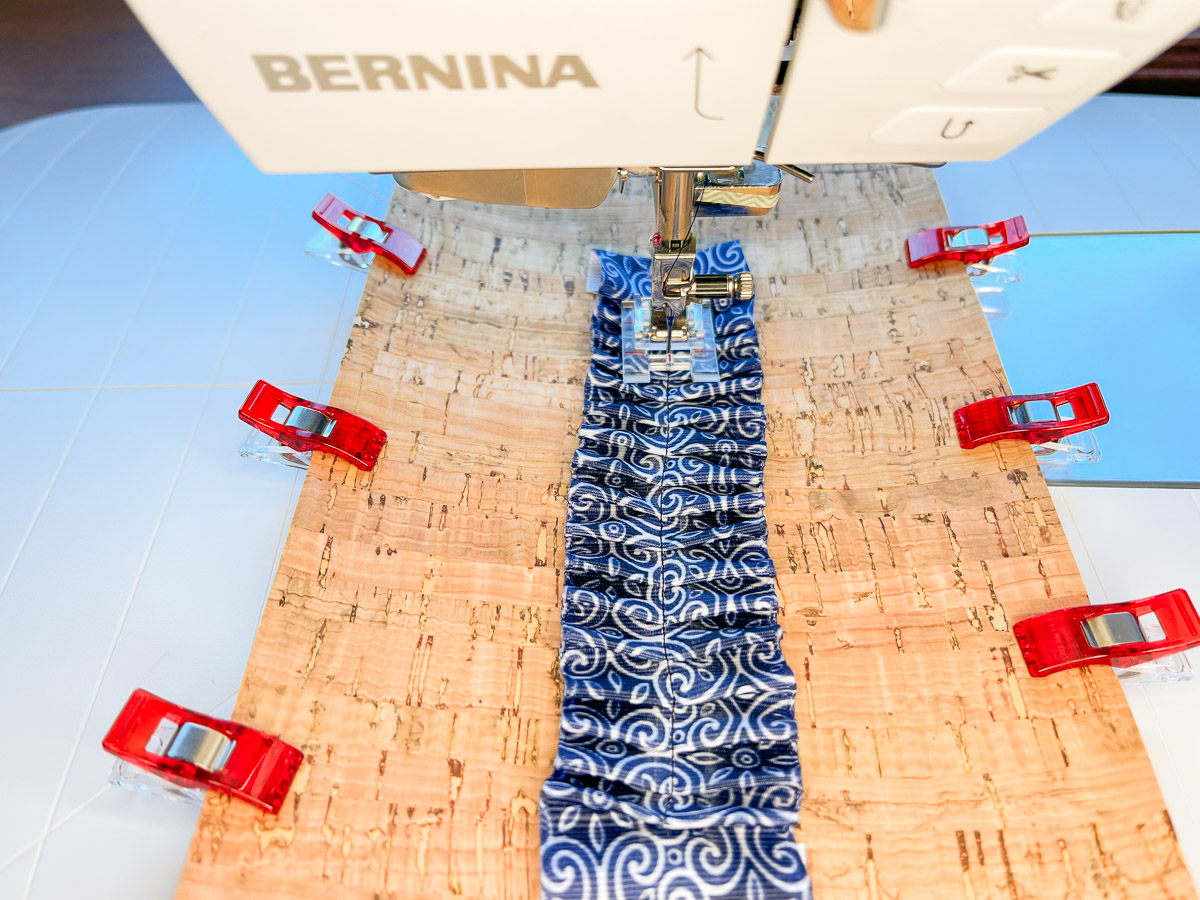
Insert the ribbon right-side up into the foot with some of the ribbon extending behind the foot. You need this extra bit to turn under later. I like grosgrain ribbon for this technique … it sews nicely and comes in lots of colors and even prints!
Align the ribbon so that the needle is in the center. You might want to draw a chalk line down the center of the ribbon to help with alignment. Stitch at a moderate pace and guide the ribbon as necessary. Stop stitching about 1/2″ from the end of the ribbon. If you like, give it a quick press to straighten, but don’t flatten the ruffles too much.
Step 3
Re-thread to match the narrower ribbon and repeat on both pieces. When you are done, you will have three ruffled ribbons.
Embellish the Notepad Cover
Step 1
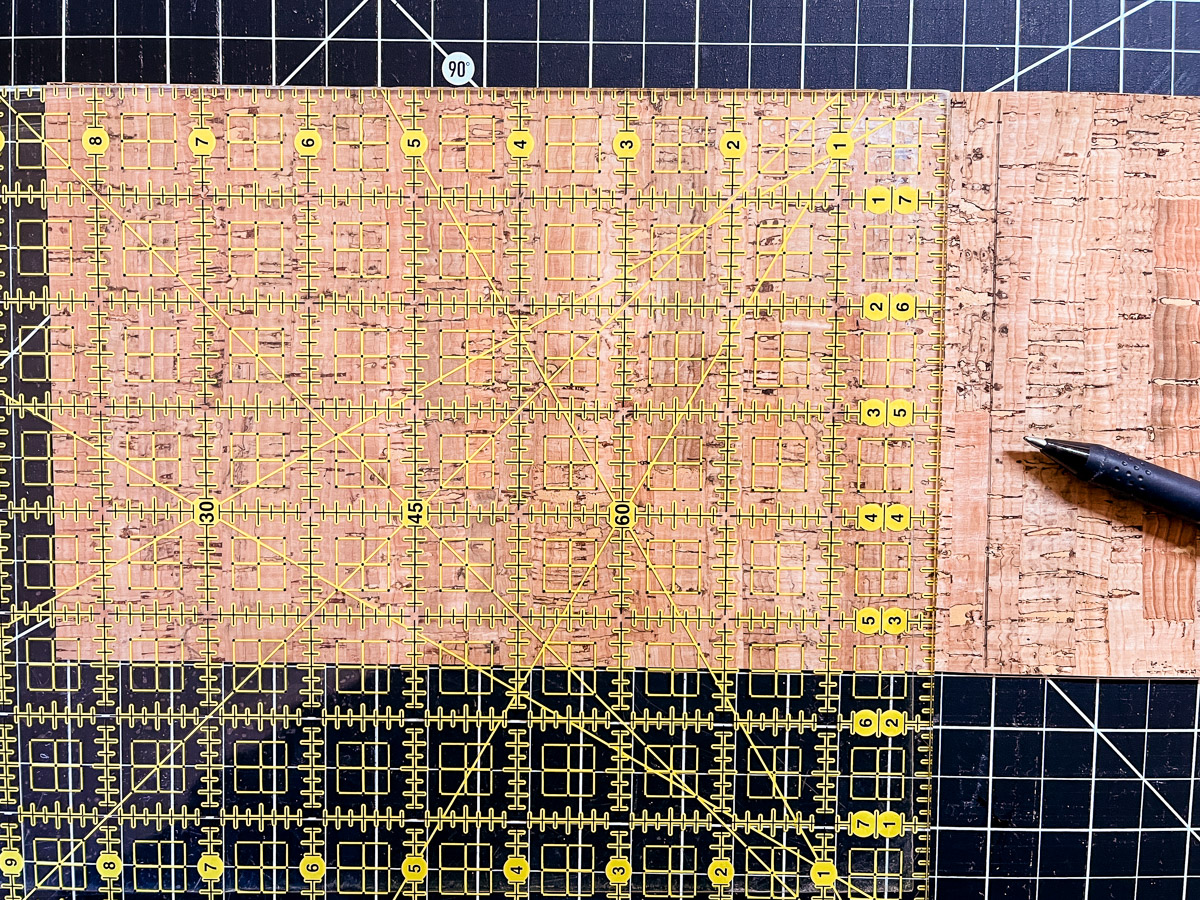
Mark the spine seam lines 8 1/2″ from each short end on both the right and wrong side of one 5 1/2″ x 17 1/2″ cork piece.
Step 2
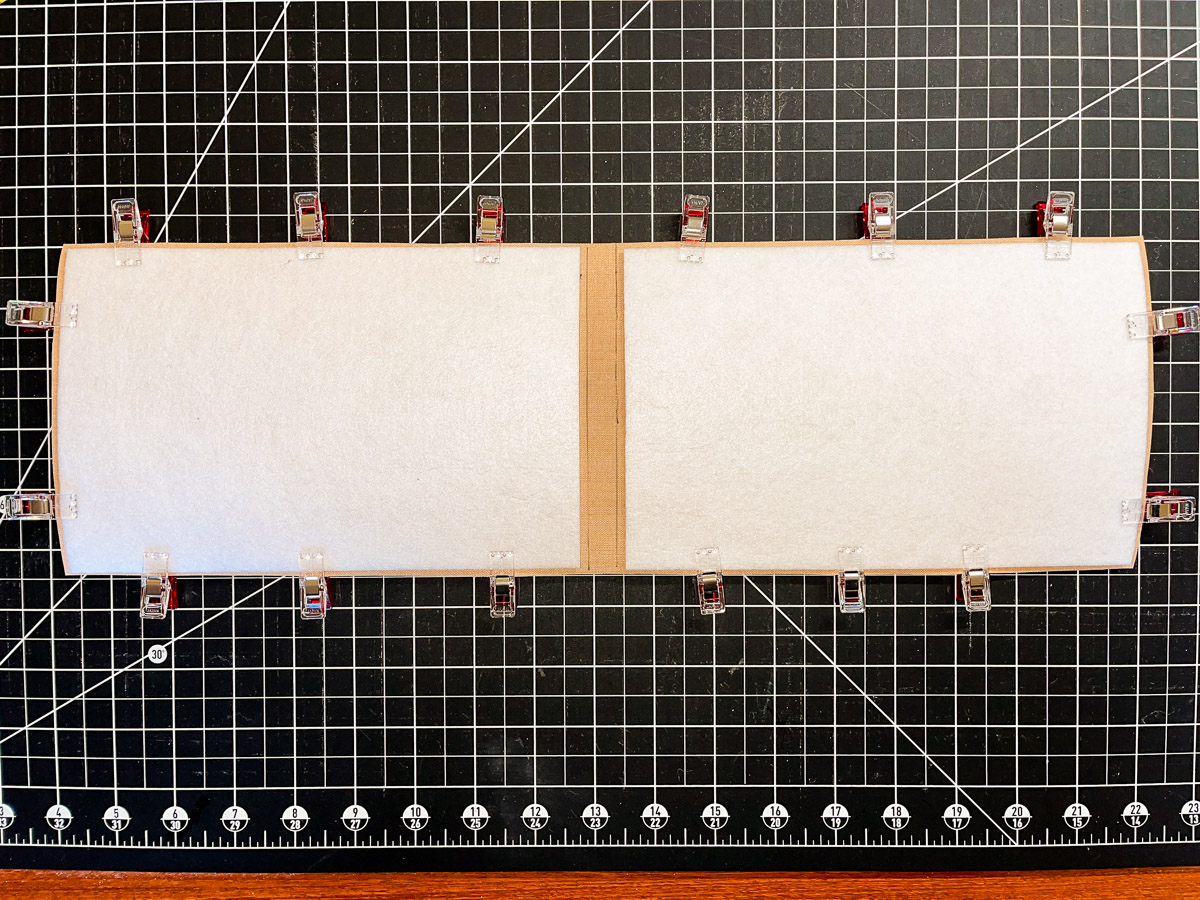
Spray temporary adhesive on one side of each Peltex piece. Place on the wrong side of the marked cork rectangle, with about 1/8″ of cork showing on the bottom, sides, and 1/8″ away from marked spine line. The area between the marked spine lines does NOT have Peltex.
Step 3
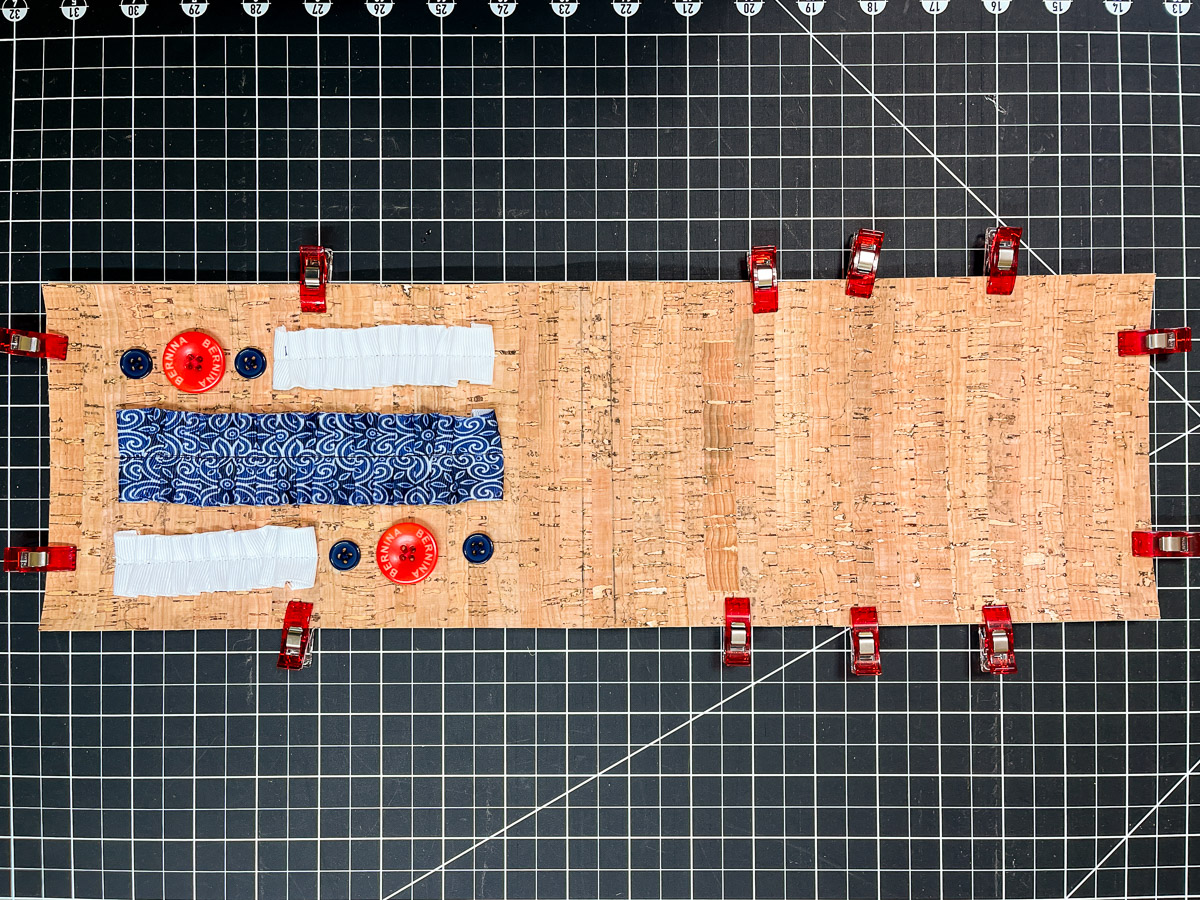
Mark a 6″ vertical line centered on the cover front. Place basting tape on the line and position the 1 1/2″ wide ribbon in place. Thread with matching thread. Fold under the top edge of the ribbon and stitch along the ribbon’s stitching. Fold under at the end of the ribbon, too. Be sure to backstitch at the beginning and end. The Embroidery Foot with Clear Sole #39/39C makes it easy to see the line of stitching!
Change the thread to match the narrow ribbon. The narrow ribbons will be added on either side of the wide ribbon. The one on the left will be even with the top of the wide ribbon and the one on the right will be even with the bottom of the wide ribbon. Draw 4″ lines about 1 3/4″ away from the center of the wide ribbon. Place the basting tape and then the ribbons. Adjust as needed so that it is pleasing to you. Stitch along the ribbon’s stitching.
Step 4
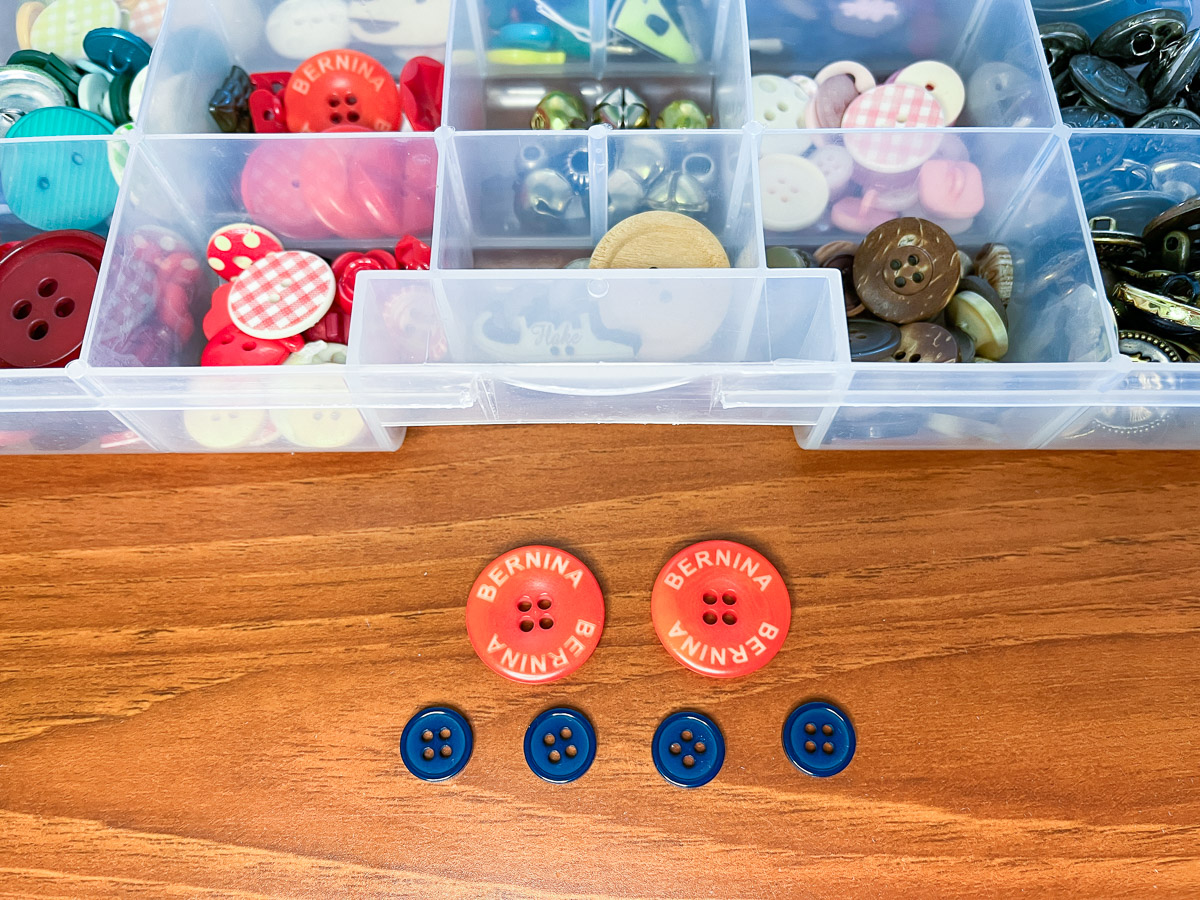
Now let’s add some buttons. I had fun digging through my button box and even found some rare BERNINA buttons!
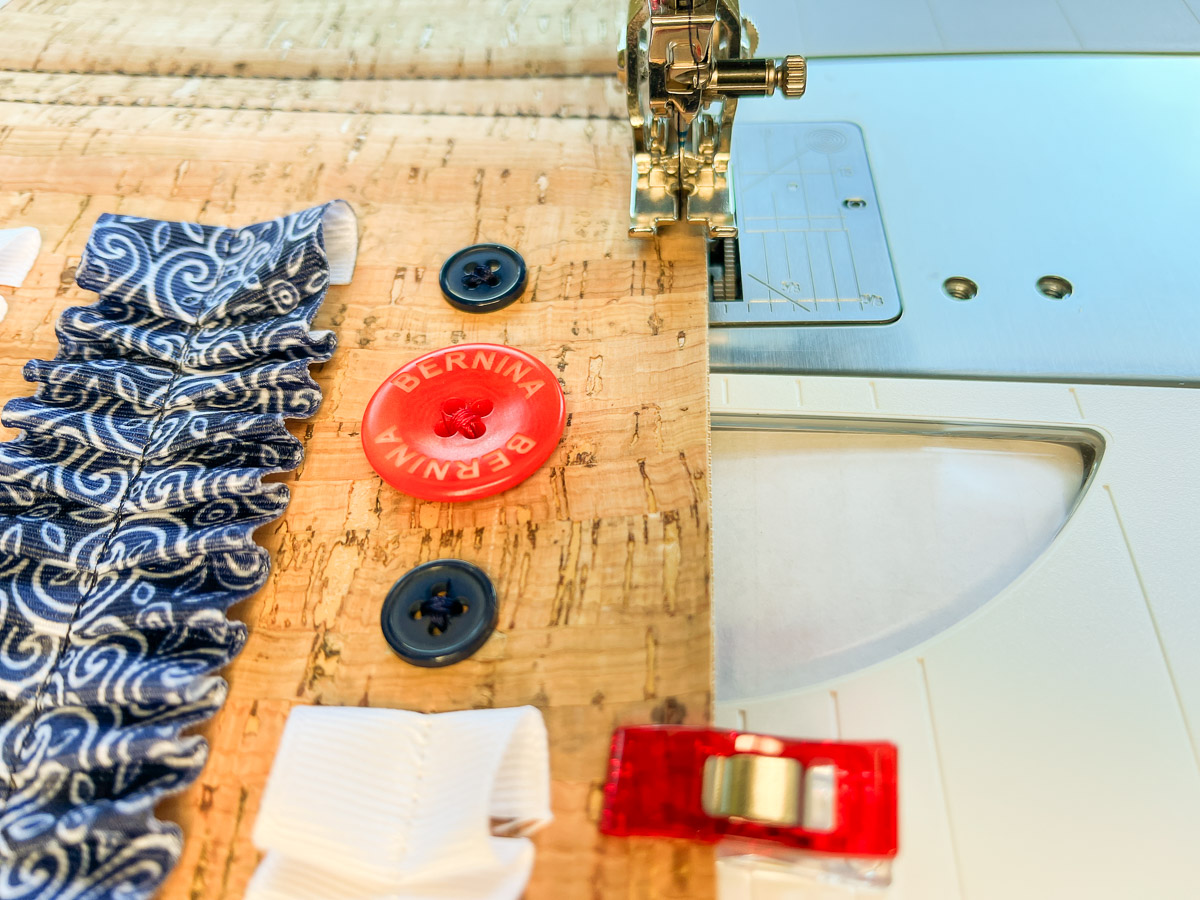
Arrange the buttons as desired. Use a smidge of basting tape to hold in place.
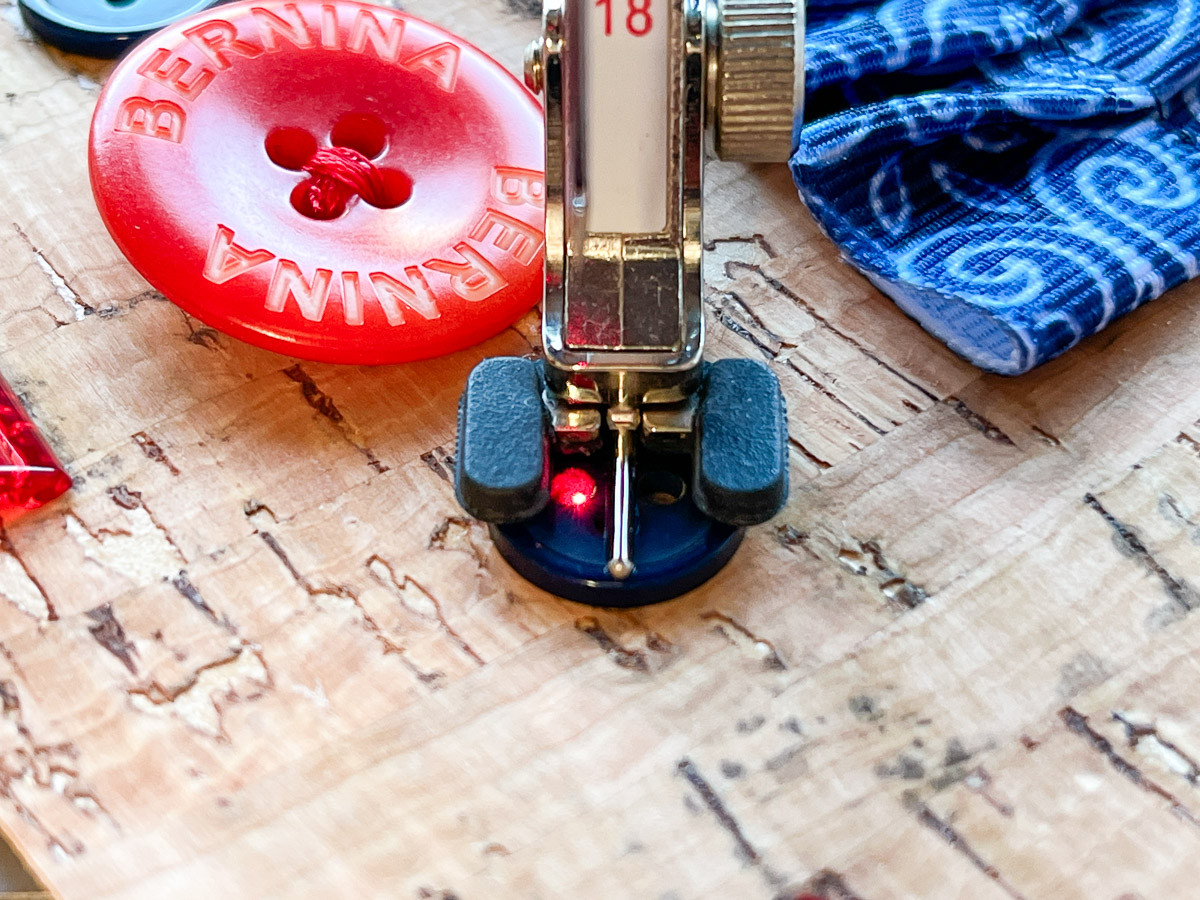
Attach the Button Sew-on foot #18 and stitch the buttons in place with coordinating thread. I love the Pinpoint Laser on the B 790 PRO! It shows me exactly where the needle will go for easy placement of the button under the foot.
Step 5
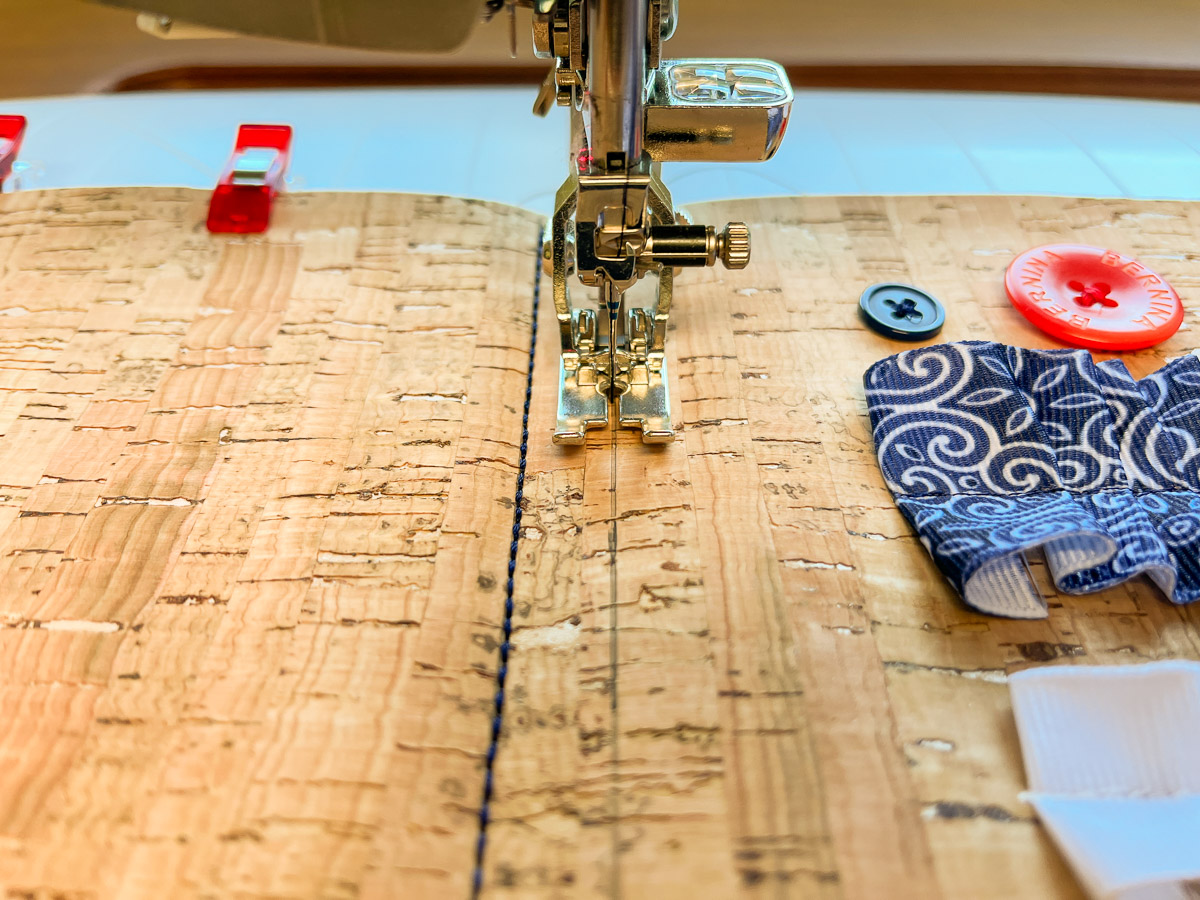
Now it’s time to put everything together. Thread the needle and bobbin with matching thread (I’m using blue) and select the Triple Stitch. Attach the Jeans Foot #8/8D. The single needle hole of the foot provides extra stability as you sew through the thick layers of the cork and Peltex.
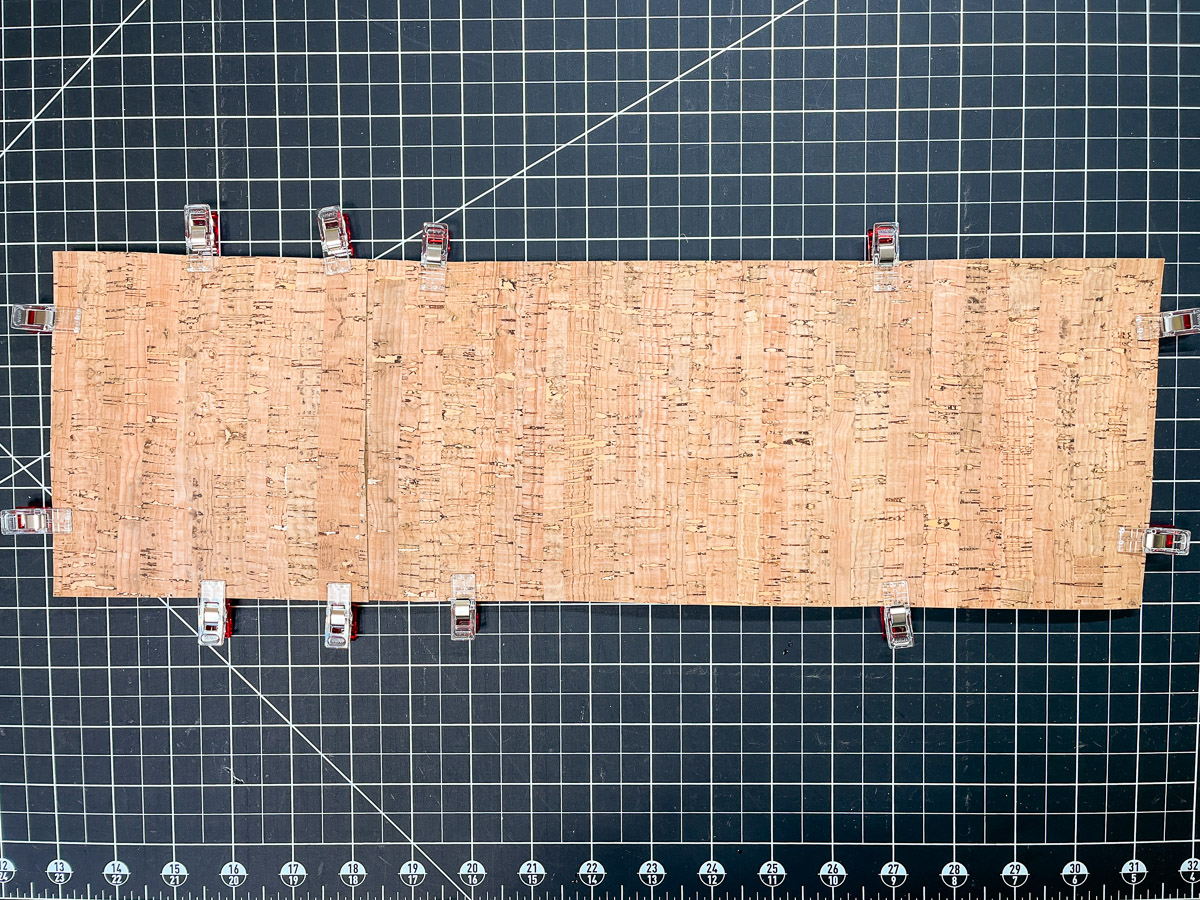
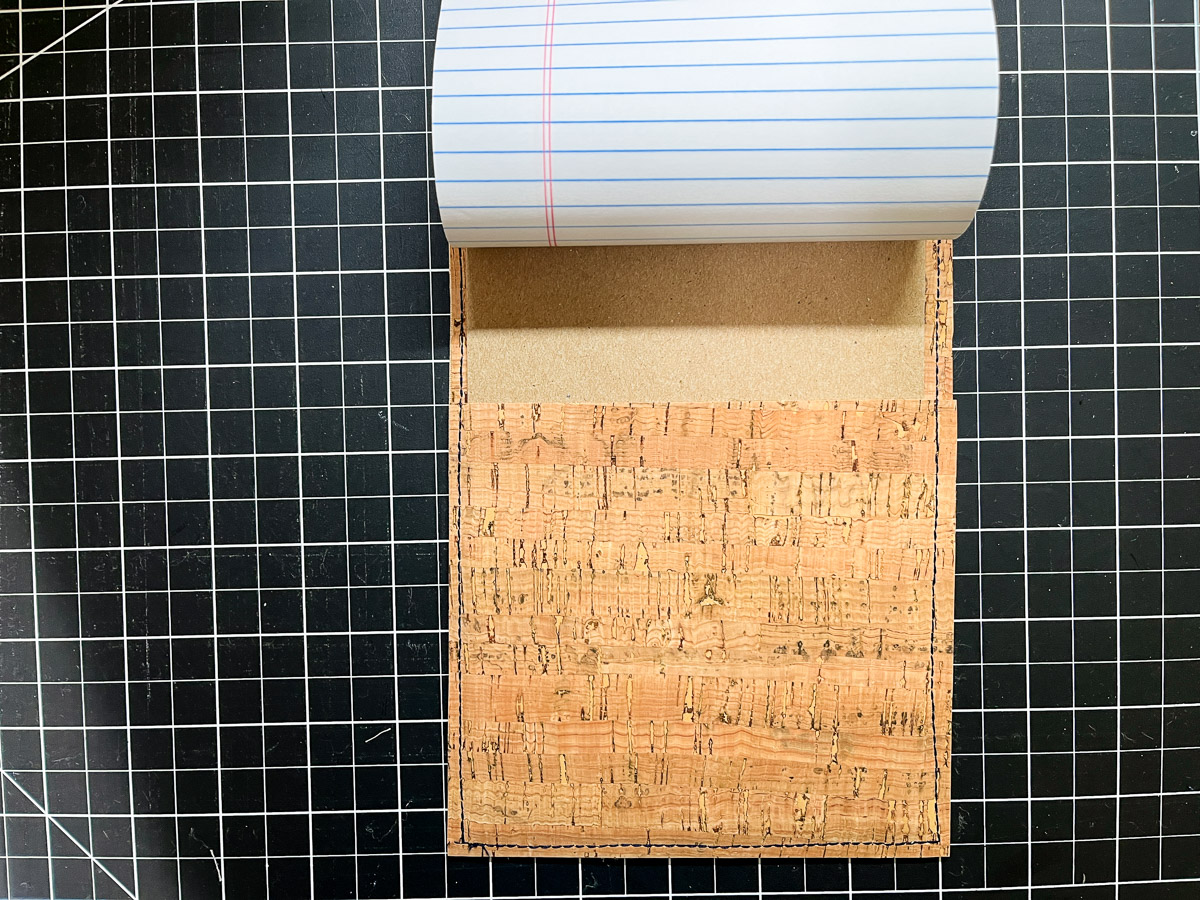
Place the front and lining cork rectangles wrong sides together, aligning all edges. Add the pocket to the inside back and clip along all edges.
Stitch the spine seams first along the marked lines. For a tidy backstitch, I began with a straight stitch starting about 1/4″ in and backstitched to the edge of the cork. Then I switched to the Triple Stitch and sewed forward to the end. Then back to a straight stitch to backstitch.
Stitch all around the notepad cover with the Triple Stitch, guiding the cork along the inside right toe of the foot.
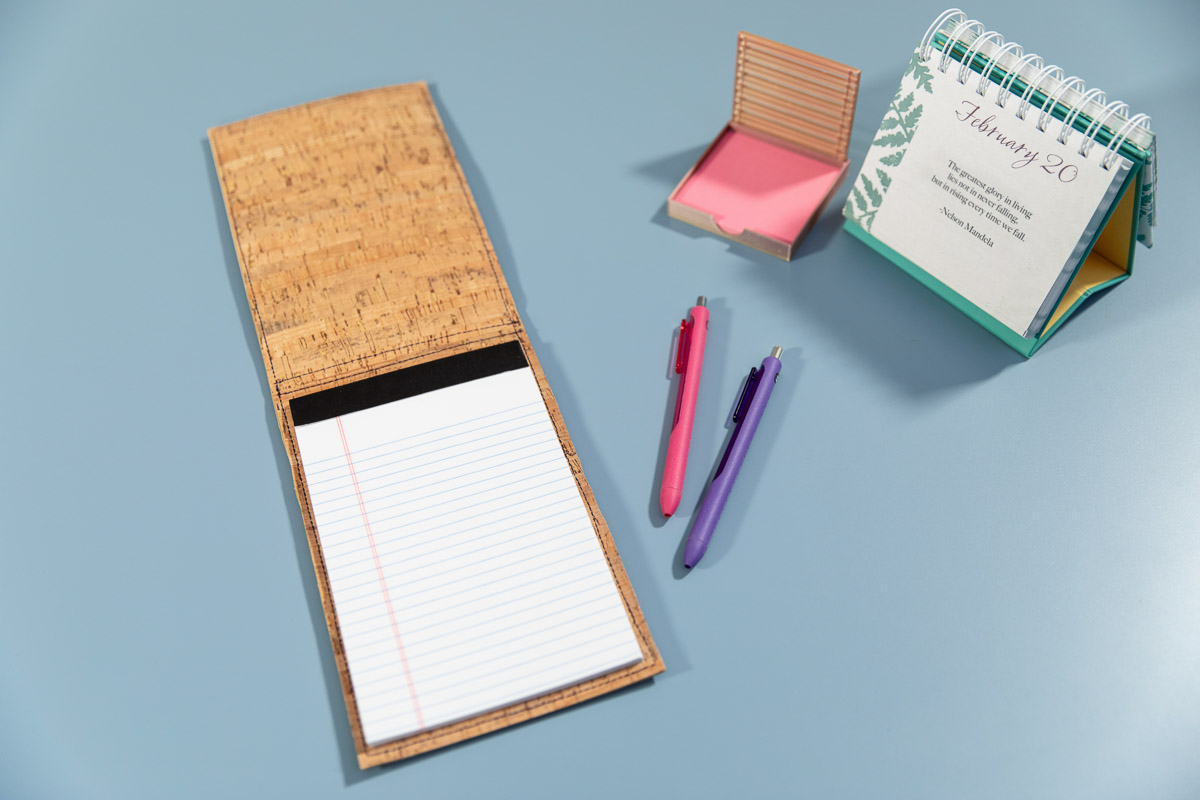
That’s it! Insert your notepad and you are ready to write in style!
I hope you enjoyed exploring some new feet and using the Ruffler #86 in a creative way.
Until next time, happy sewing!
