How to Sew a Makeup Brush Roll-Up
With just a few straight lines of stitches you can make this perfect gift for yourself, friends, and family. This is a great project for beginning sewists.
1—Pick fun fabrics.
2—Add simple sewing.
3—Take your organized make-up brushes on your next trip.
Beautiful!
Supplies
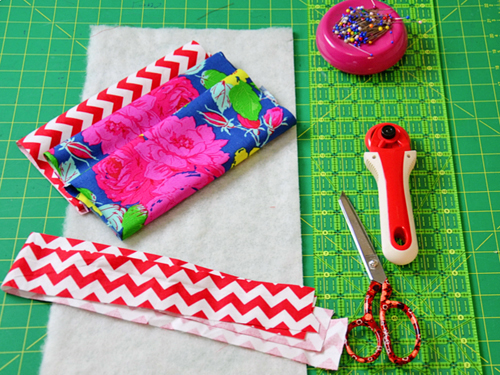
- 1/2 yard of main fabric (outside and pocket)
- 1/2 yard of contrast fabric (inside and ties)
- 1/2 yard batting
- Rotary cutter and mat (optional)
- All-purpose foot (BERNINA Reverse Pattern Foot #1/1C/1D)
- Zipper foot (BERNINA Zipper Foot #4/4D)
Step 1) Cut the fabric pieces.
Cut the following:
- Two 9ʺ x 18ʺ rectangles of main fabric (outside and pocket)
- One 9ʺ x 18ʺ rectangle of contrast fabric (inside)
- Two 2ʺ x 23ʺ strips of contrast fabric (ties)
- One 9ʺ x 18ʺ rectangle of batting
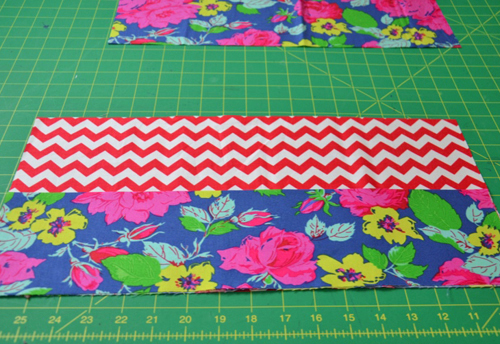
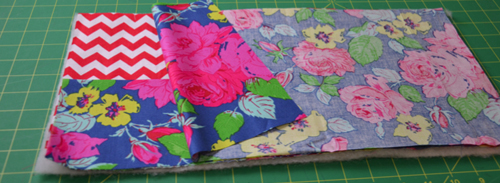
Fold one main fabric rectangle in half lengthwise for the pocket. Press.
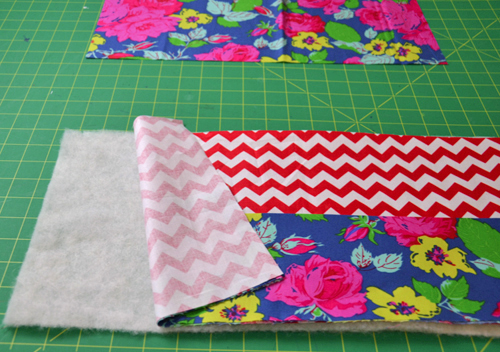
Place the folded pocket piece on top of the contrast fabric rectangle, right sides together.
Place the contrast/pocket unit on top of the batting. Set aside.
Step 2) Make the ties.
Fold the ties in half lengthwise, wrong sides together. Press to crease.
Unfold strips. Fold the edges in so they meet in the center. Press.
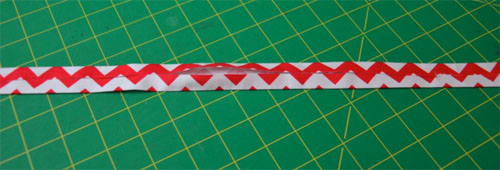
Fold strip in half; press.
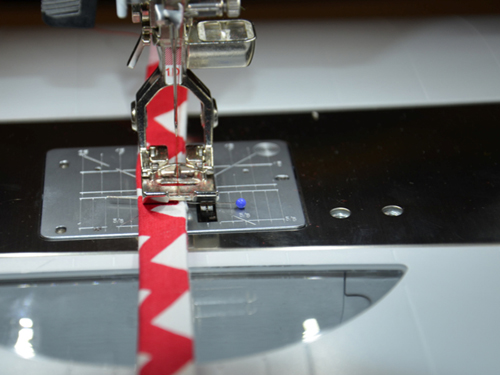
Stitch close to the open edge of each tie strip.
Step 3) Assemble the roll-up.
Place both tie strips on the right-hand side of the roll-up, just above the pocket. Pin in place.
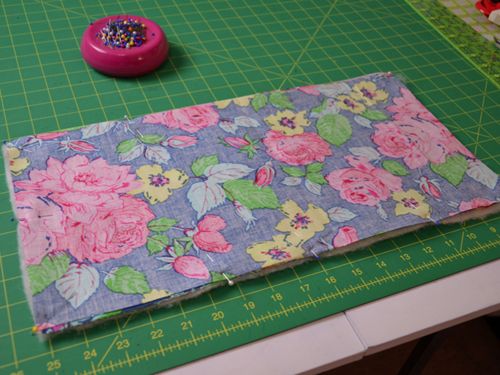
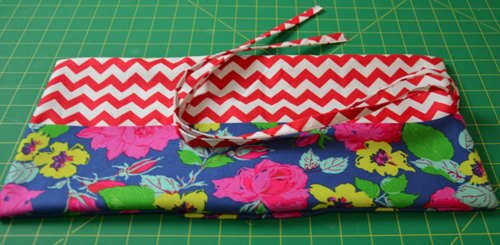
Place the remaining main fabric rectangle on top of the roll-up, right side down as shown. Make sure the ties are inside and out of the way.
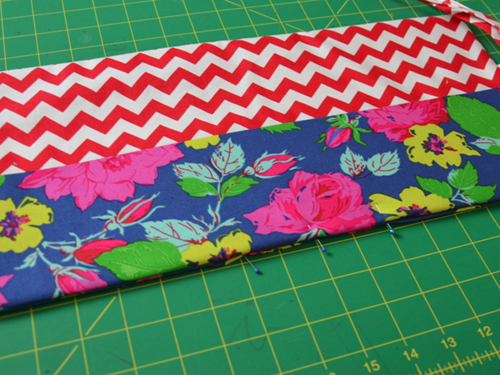
Pin all the way around.
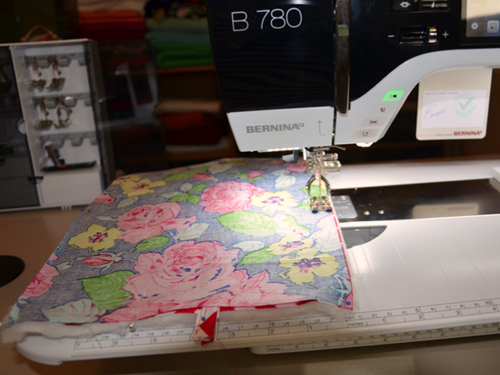
Sew around all sides using a 3/8ʺ-wide seam allowance, leaving a 2” opening along the lower long edge of the roll-up (at the lower edge of the pocket).
Clip the corners.
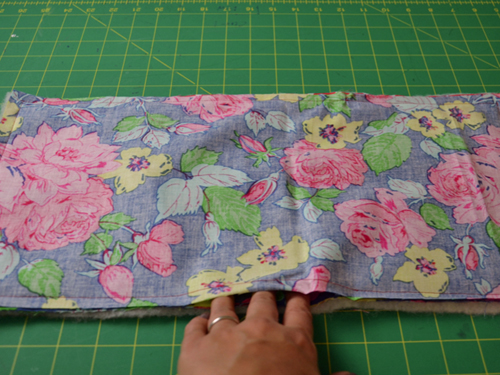
Pull the roll-up right side out through the opening.
Poke out the corners and edges; press flat.
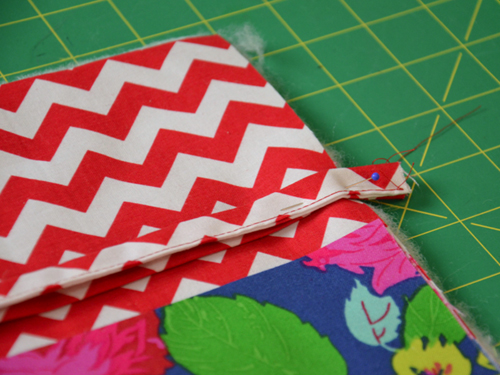
Pin the opening closed.
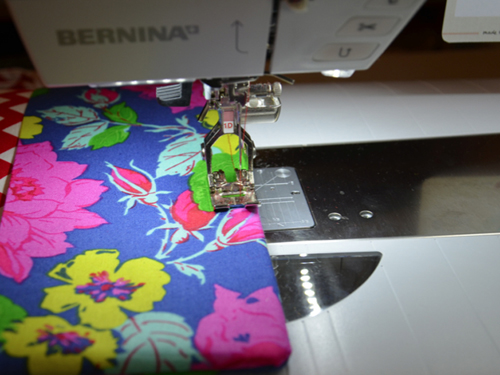
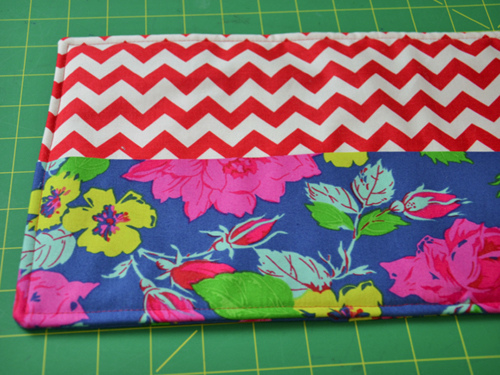
Topstitch 1/4ʺ from the outer edges, all the way around the roll-up, starting at the opening and pivoting at the corners.
Press the roll-up again.
Step 4) Stitch the pocket dividers.
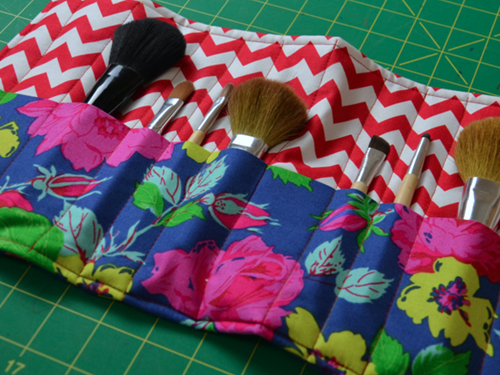
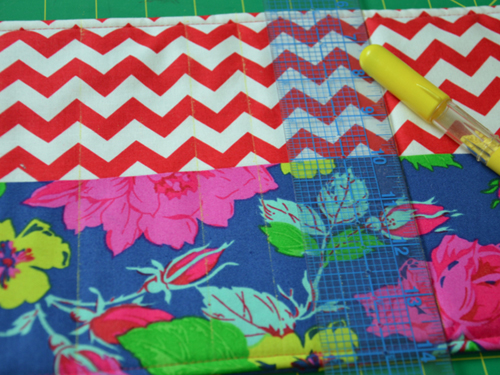
Using a clear quilter’s ruler or straight edge and a chalk roller or similar fabric marking tool, mark vertical lines spaced as follows: 1ʺ, 1-1/2ʺ, 2ʺ, 1ʺ, 1ʺ, 1-1/2ʺ, 1-1/2ʺ, 1ʺ, 1ʺ, 2ʺ, 1-1/2ʺ, 1ʺ.
Tip: Adjust spacing as desired for holding other items, such as crayons, pencils, etc.
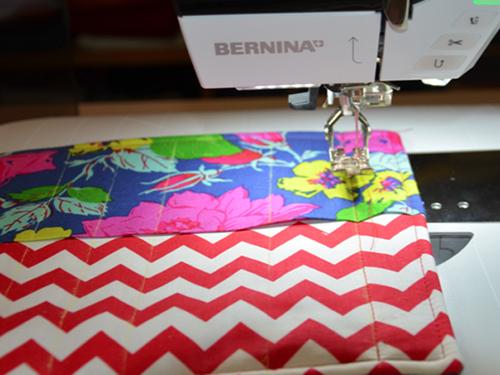
Stitch along the marked lines, starting at the lower pocket edge and ending at the upper edge of the roll-up, back-stitching to secure the ends. Clip thread tails.
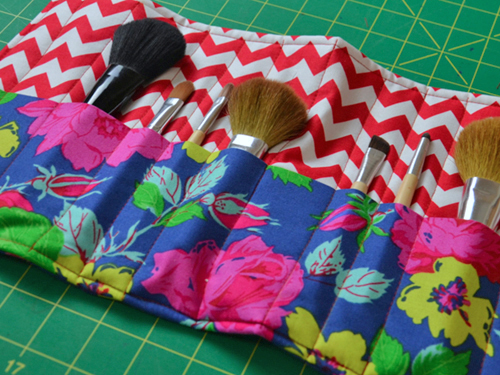
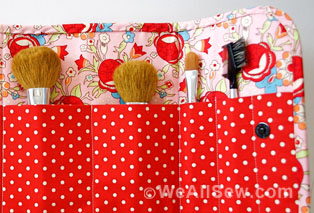
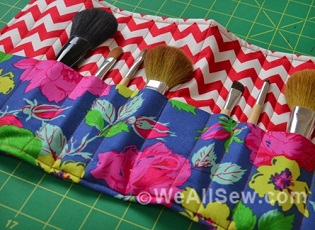
Insert brushes.
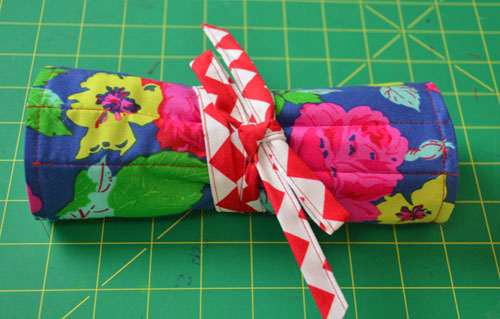
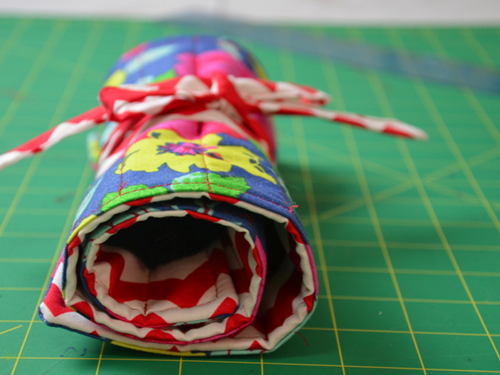
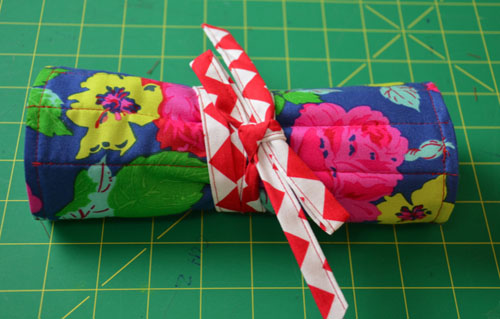
Starting at the edge without the ties, roll up the brushes.
Wrap ties around the roll-up in opposite directions; tie ends in a bow.
For more fashion projects and tutorials, visit Mimi at mimigoodwin.blogspot.com/
What you might also like
11 comments on “How to Sew a Makeup Brush Roll-Up”
-
-
It’s a PDF file. Try saving it to your computer instead of opening it, then open it after it’s saved. Jo
-
-
This would also make a good holder for double point knitting needles. Or could be made longer and would hold the regular straight knitting needles.
-
Would it be possible to have larger how-to photos in these projects PDFs? All the fun graphics are nice, but when you are working on the project sometimes you need large images.
-
You can set your Acrobat Reader software to show the pages at 100%, 150%, 200%, etc. That will give you a close up look at the images.
-
-
Pingback: WeAllSew « https://weallsew.com
-
Pingback: My Weekend in Pictures |
-
I must be missing something….can’t find link for .pdf for this. 🙁
-
Where do I find the pdf for this pattern? Thanks
Leave a Reply
You must be logged in to post a comment.







Can’t open file. ???