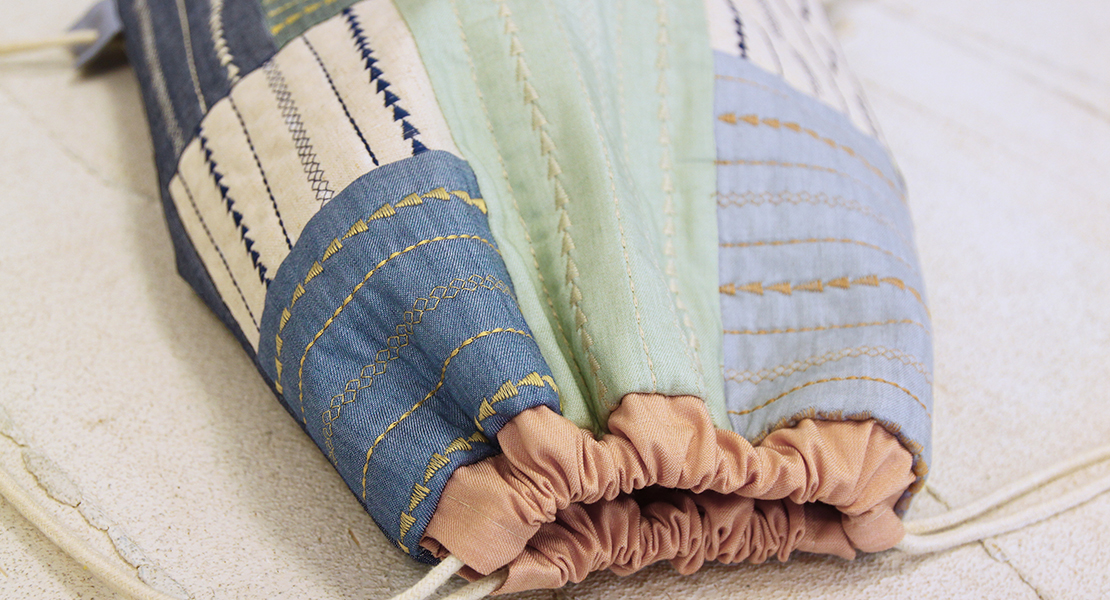
DIY Adjustable Patchwork Camera Strap
I have a vintage tin cracker box on my dresser. The box has traveled with me for over 20 years to the nearly 20 different places I’ve lived. No one aside from me has ever opened the box or seen the contents.
The first thing I put in the box was a ticket stub from the Michael Jackson concert my dad took my to in 7th grade. Now, nearly two decades later the box is stuffed to the brim with other tiny tokens that remind me of places I went, people I met and things I did. Aside from that concert ticket stub, some of the things in the box are the first friendship bracelet anyone gave me, the first love letter that my first boyfriend sent me, post it notes that my mom would leave on my bathroom mirror reminding me to do my chores and that she loved me, the first handmade thing I ever purchased which was a pair of earrings made from pressed flowers, countless ticket stubs from planes, trains and buses, a copy of the receipt from the first time I ever sold a piece of art that I’d made, cocktail napkins with blurry poems written late at night in dark dive bars, a few photographs and a lot of other things that I couldn’t bear to let go.
Last year I got married and made all of my wedding decorations. After the wedding I kept the fabric scraps from the garlands, table runners and embroidery hoop fabric ‘chandeliers’ I’d made. While I was cleaning out my studio the other day I found all of those wedding fabric scraps and snipped a tiny piece off one of them to add to my cracker box ‘time capsule.’ There were a lot of scraps and I started thinking about ways to use them. I thought about the DIY camera strap round-up post I did a few months ago and got inspired to finally create my own strap using the fabric scraps from my wedding.
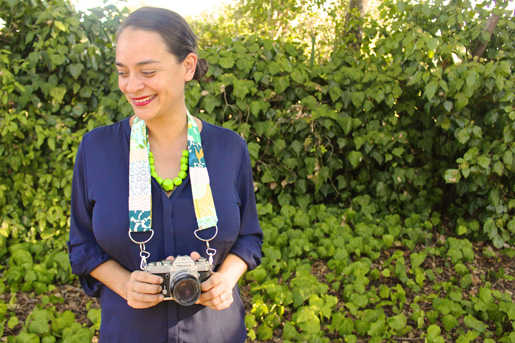
Since the scraps were small I had to sew them together and ended up creating a ‘patchwork scarf,’ then I added the hardware and in less than an hour my strap was done. I love my cracker tin full of keepsakes but I rarely look at everything inside it. The camera strap is awesome because every time I use my camera I’m reminded of my wedding day and the loveliness of being surrounded by friends and family. If you have special fabric scraps that you’ve been holding onto, this is the perfect way to turn them into something functional.
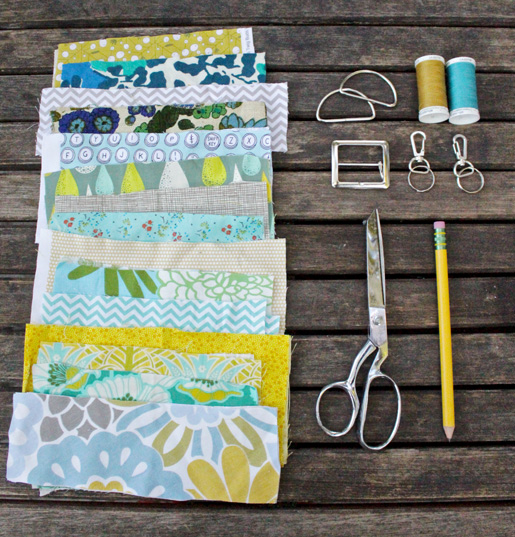
Supplies
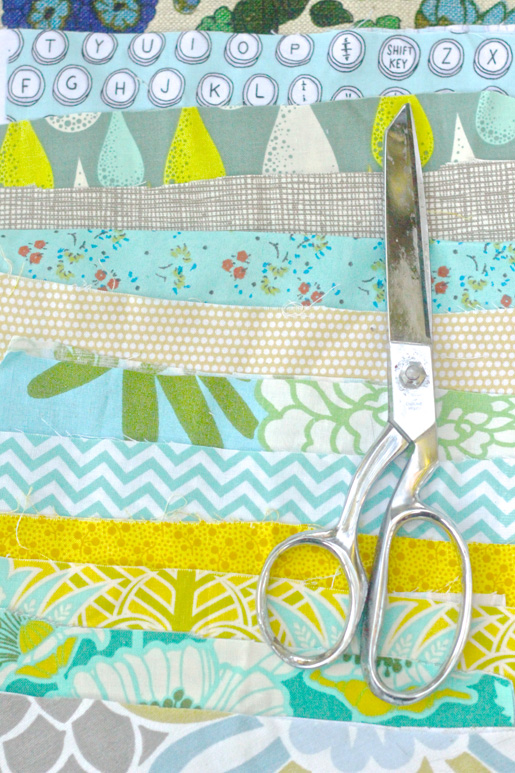
- Several rectangles of fabric in various patterns and colors. For my camera strap I choose a blue and yellow color palette but you can pick fabrics based on scraps you have laying around or patterns you’re drawn to like all polka dots or stripes.
- Thread that coordinates with your fabrics
- Two D-rings
- Two swivel hooks with key rings
- One center bar buckle
- Iron
- Ironing board
Step 1) Piece the patchwork.
The size of your fabric pieces will depend on the size of your D-rings and buckle. My D-ring and buckle were about two inches wide so I cut my fabric pieces 4-1/2 inches wide to allow for folding it in half and adding two 1/4 inch-wide seam allowances. (2 times the D-ring width, plus 1/2 inch.) For the height of your fabric pieces, you can vary it so that some strips are thin and some are thick or you can choose to have them all be the same height. The strap I made was 50 inches long so I had about 14 pieces of fabric that were three to four inches high. You can vary this and adjust the height to accommodate the scraps you have.
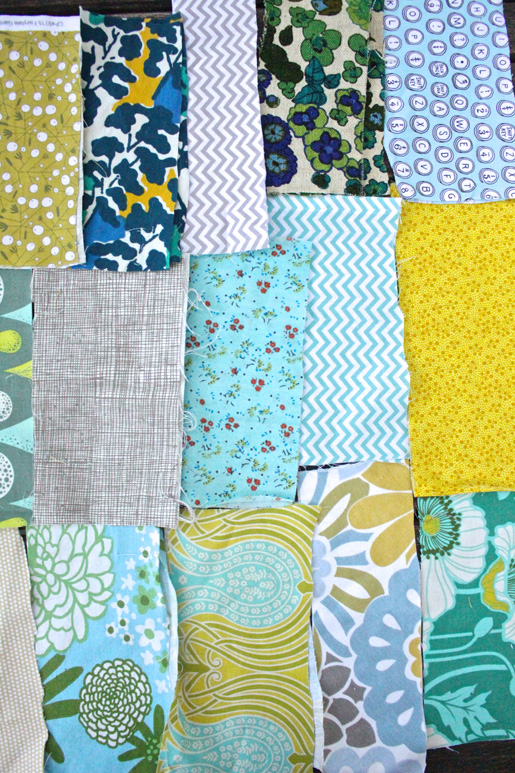
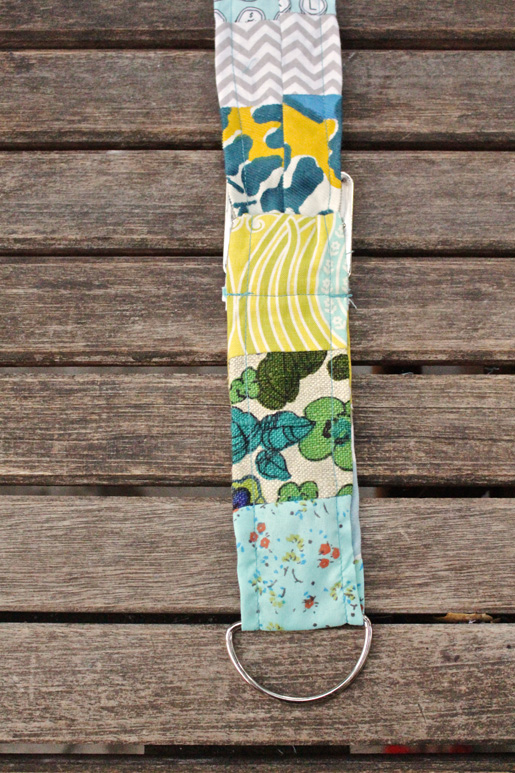
Figure out the order you want your pieces of fabric to go in and line them up on your table. I started at the center and built off from each side.
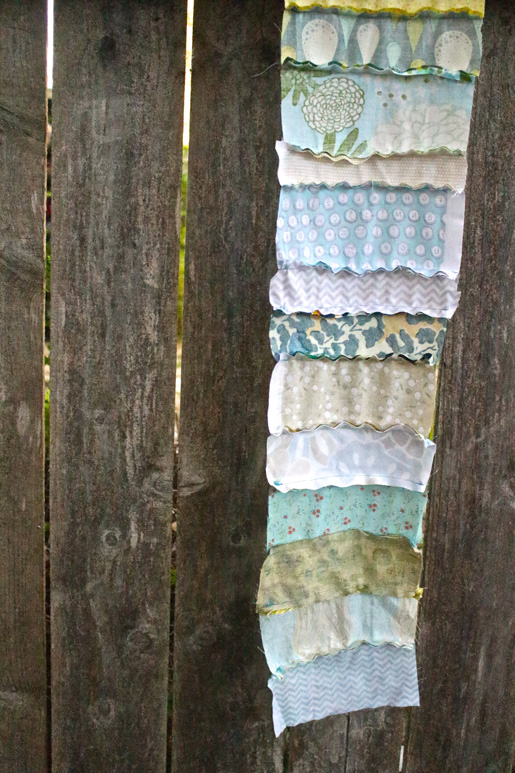
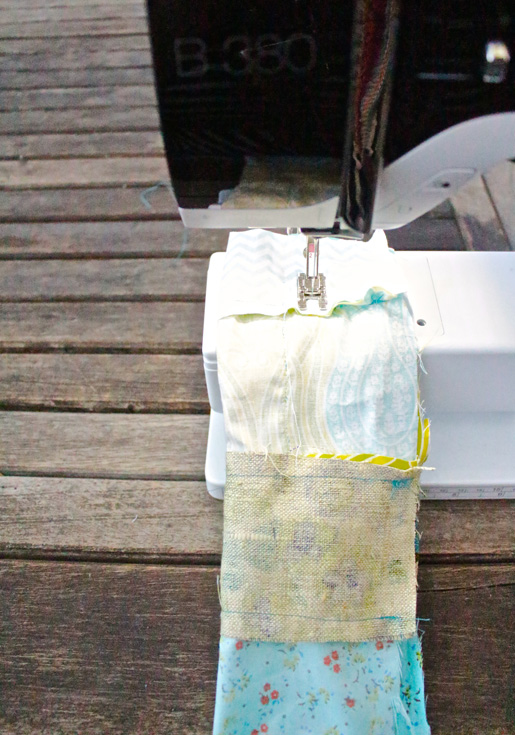
Start from one end of your line of fabric pieces that you arranged. Place the first two pieces together with the right sides (printed sides) of the fabric together and sew the seams along the longer side of the fabric pieces.
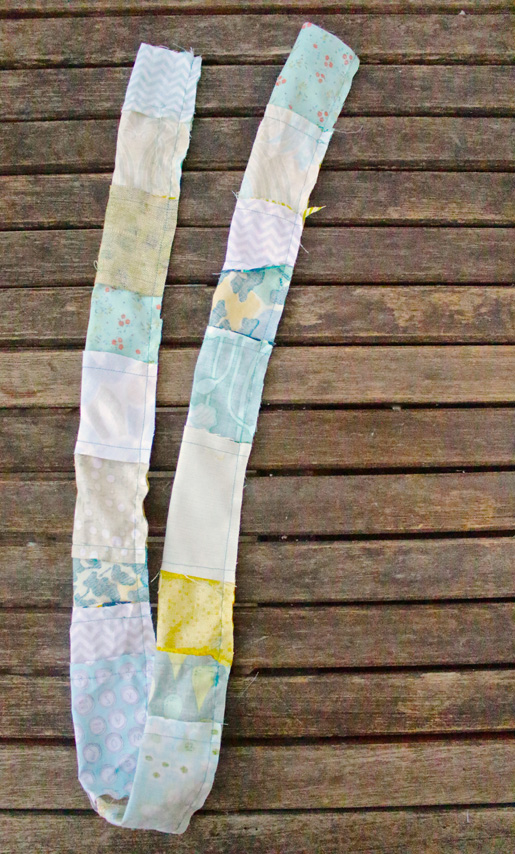
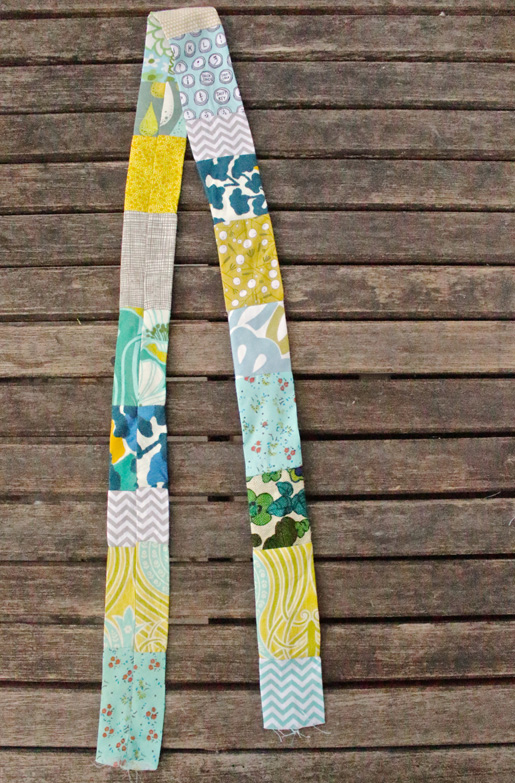
Repeat until you have a long of strip of all your fabric pieces sewn together.
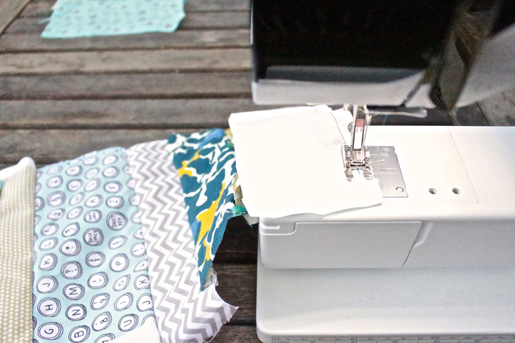
Step 2) Make the strap.
Fold your patchwork strip in half lengthwise with the right sides facing in.
Sew down the length of the strip using 1/4 inch seam allowances.
Clip of any excess fabric and strings.
Turn the strip of fabric, which is now a tube, right side out using a pencil or your finger.
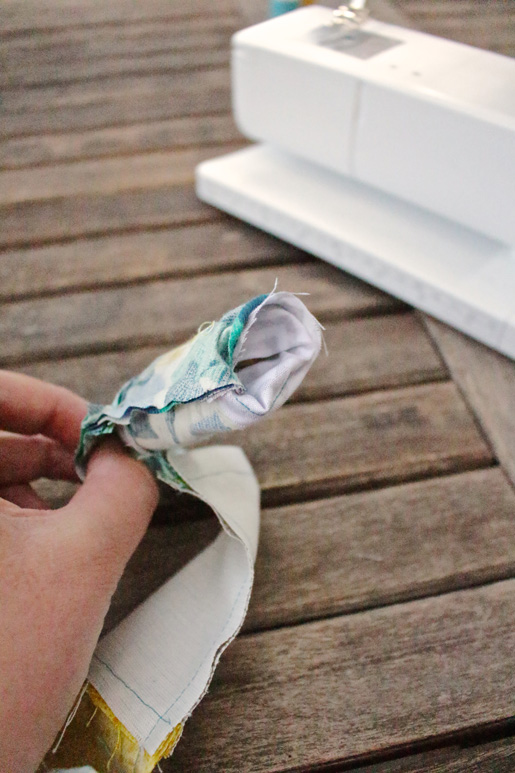
It might take a while to get it started; just keep at it and it will happen. Turning the tube is the hardest part of this project!
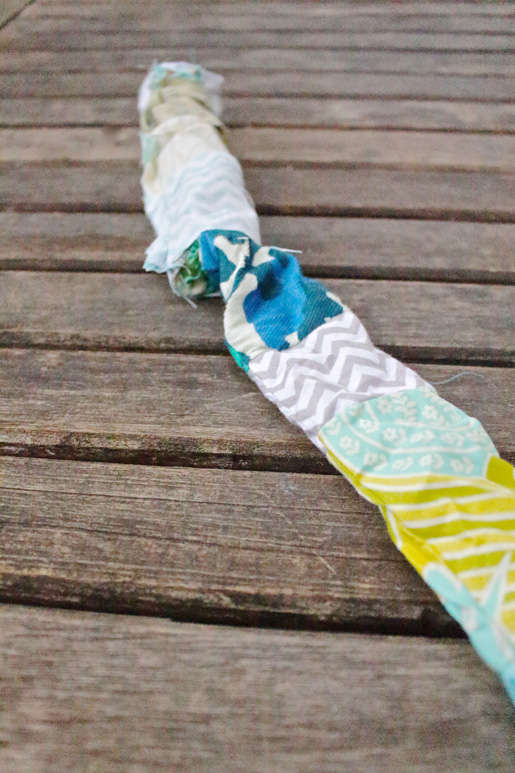
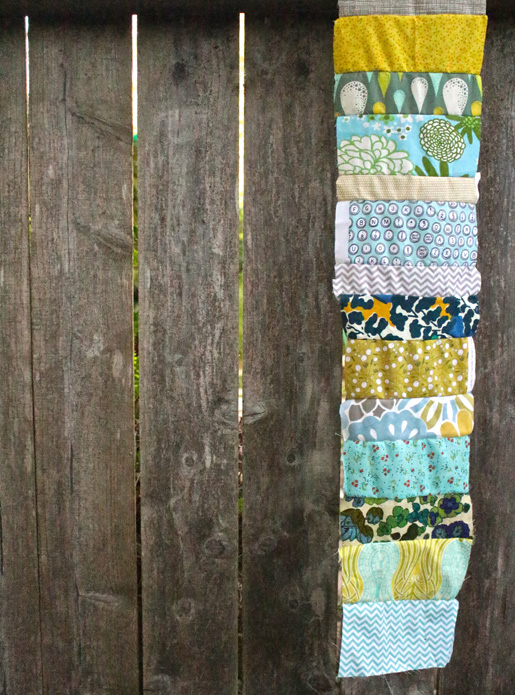
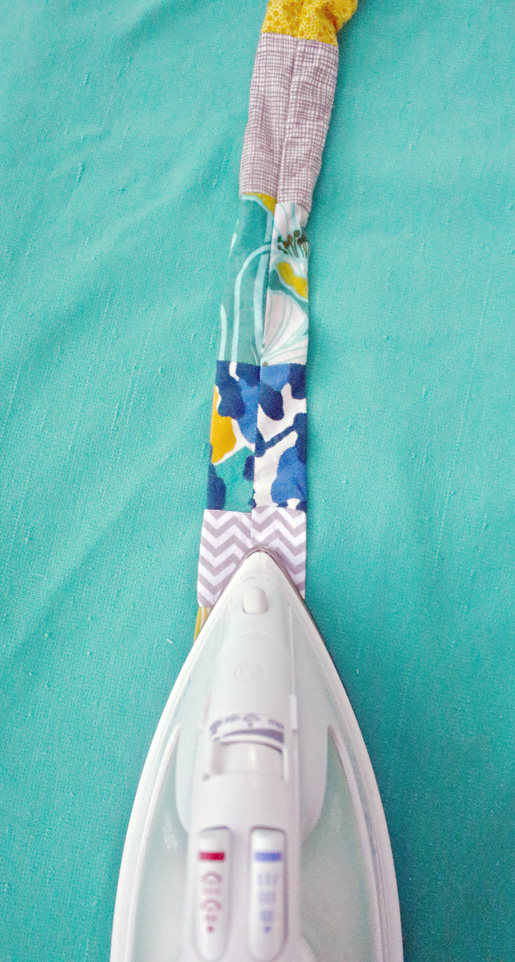
Place your strap with seam down the middle and iron it.
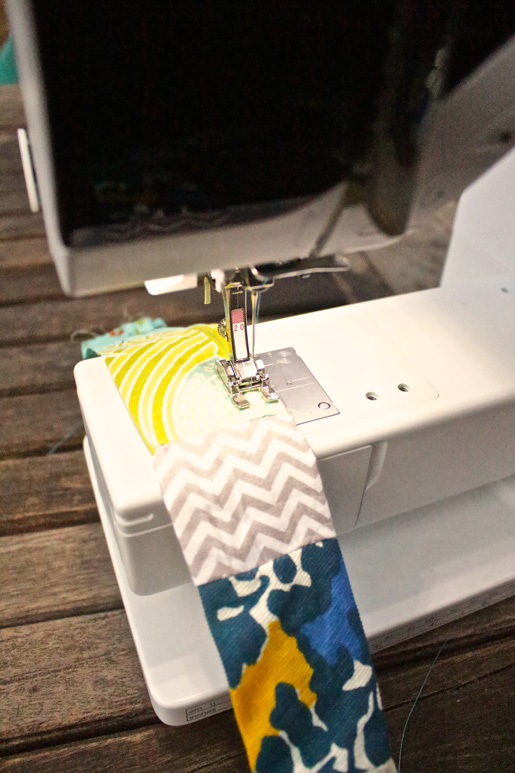
Topstitch down each side of your strap.
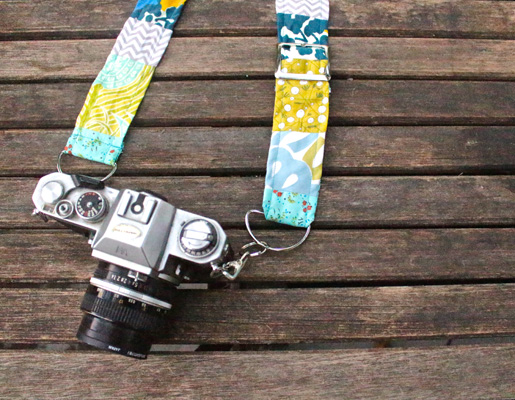
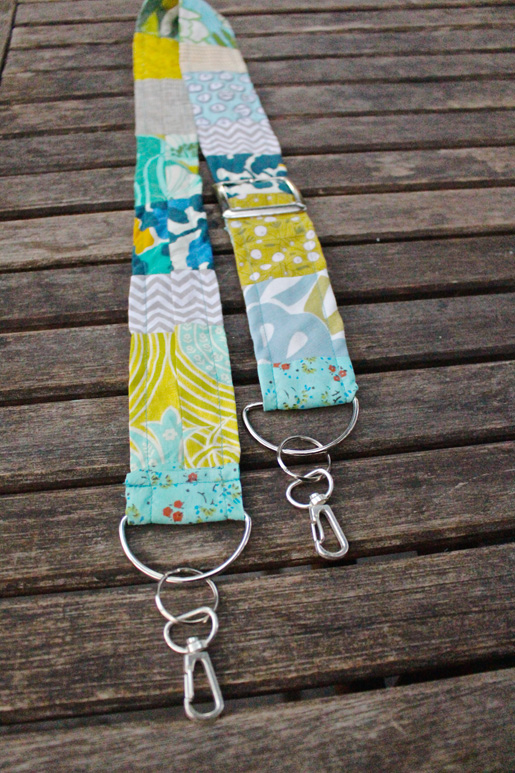
Step 3) Attach the hardware.
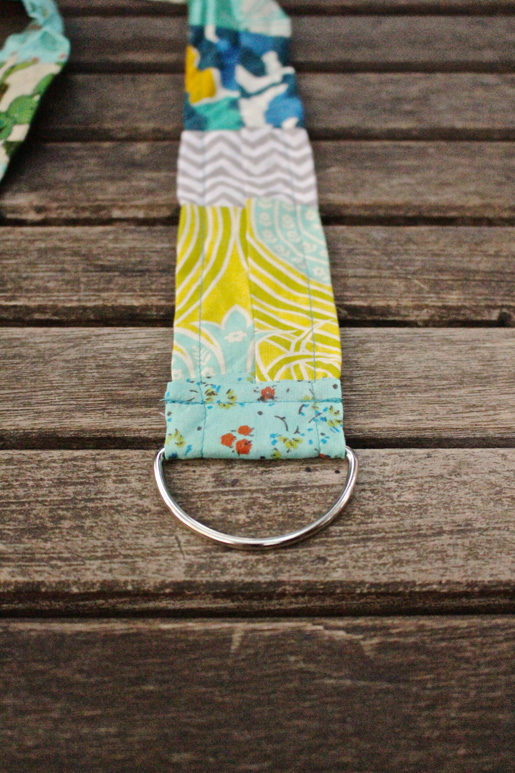
Put one end of your strap through one of the D-rings. Fold over the end twice and sew it down.
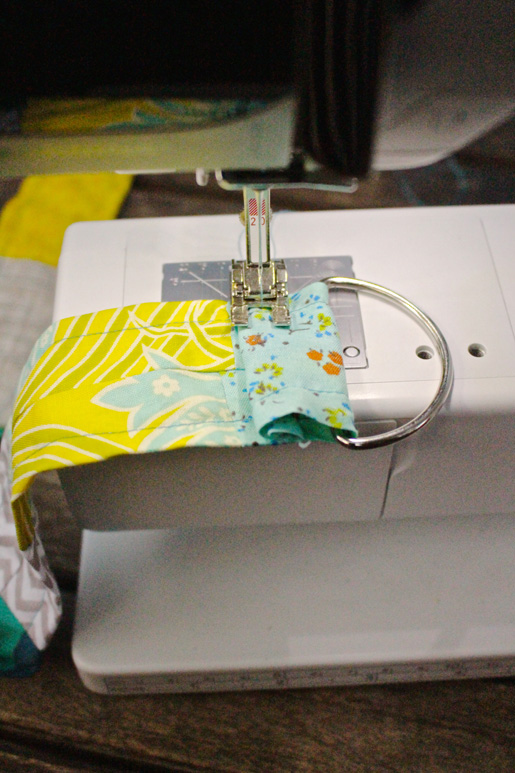
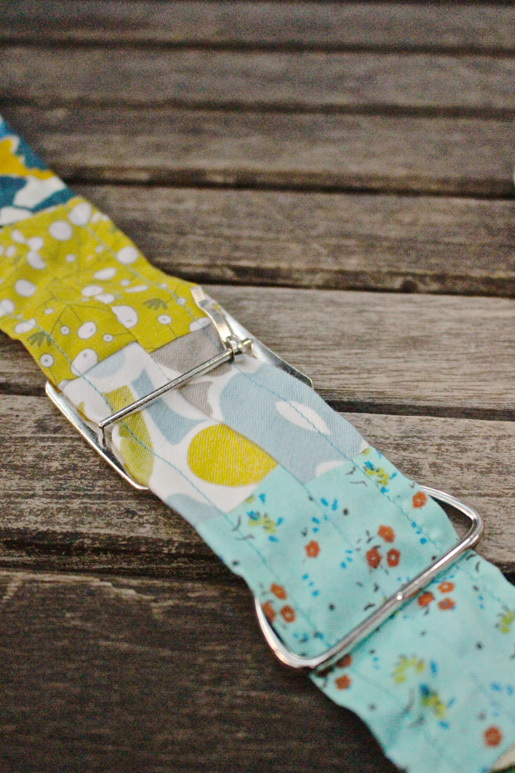
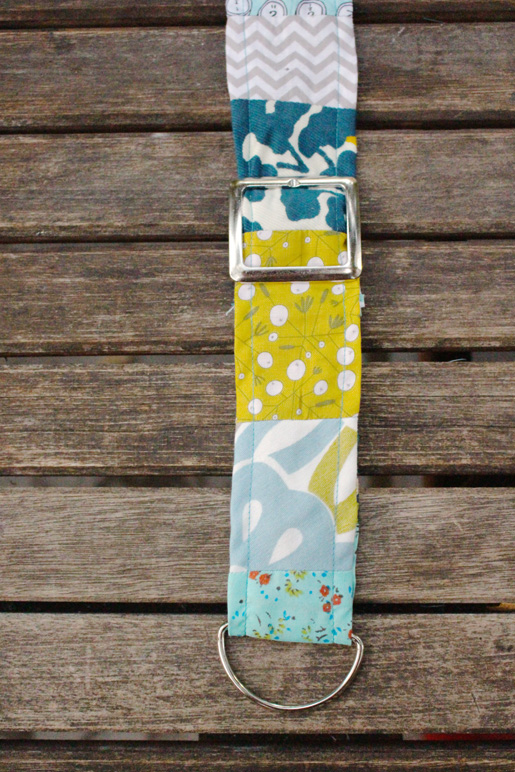
Pull the other end of your strap through the buckle and under the center bar. Then pull that end of the strap through the other D-ring and wrap it around it. Fold over the edge twice and sew it into place.
Thread each D-ring through the end of a swivel clasp.
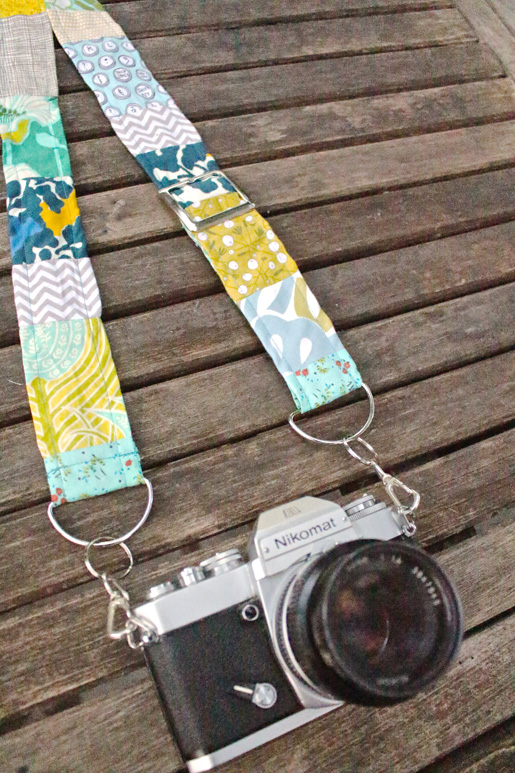
Attach the strap to your camera.


3 comments on “DIY Adjustable Patchwork Camera Strap”
I really love this idea! But, I think I would have pressed all the seam allowances open (or all in one direction), before sewing the long seam, and would have also added either some needlepunched fleece or a fusible interfacing inside to make the strap a little sturdier. Some of those cameras are pretty heavy, and an un-reinforced strap isn’t going to be very sturdy. It might not come apart on you, but it could stretch out or fold over on itself, and also might dig into your neck. Ouch!