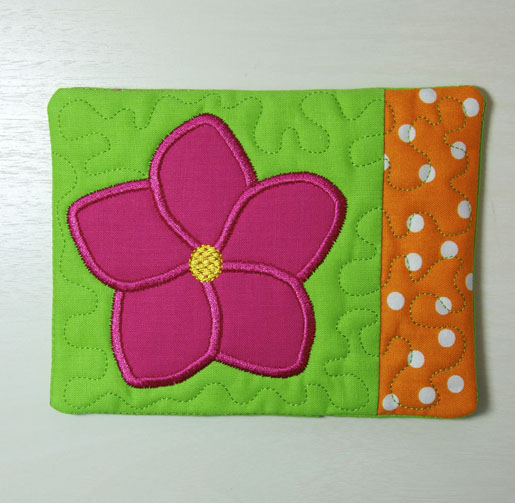
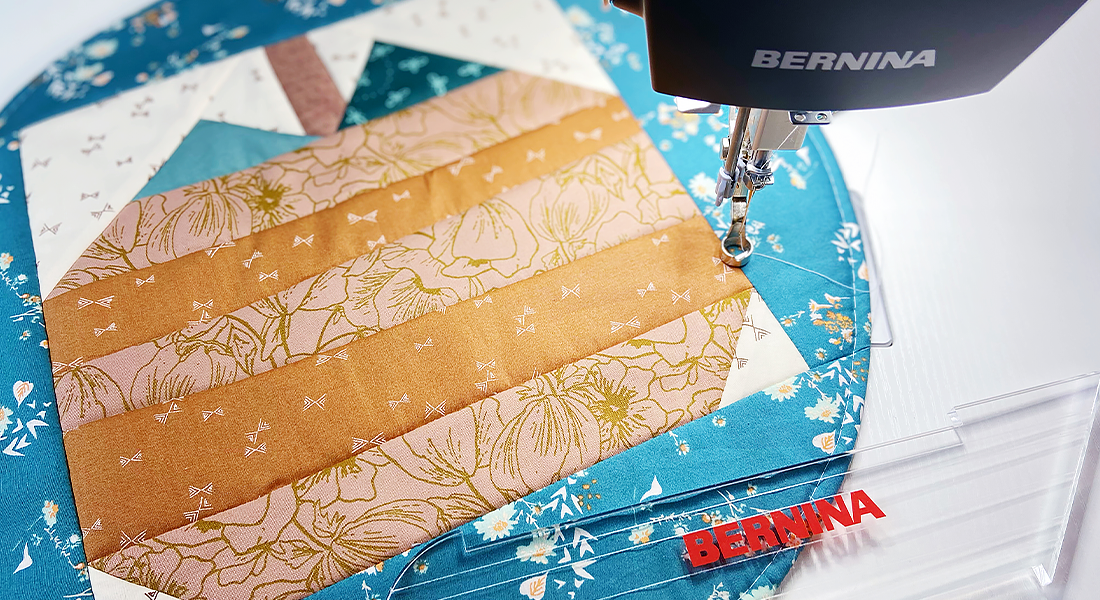
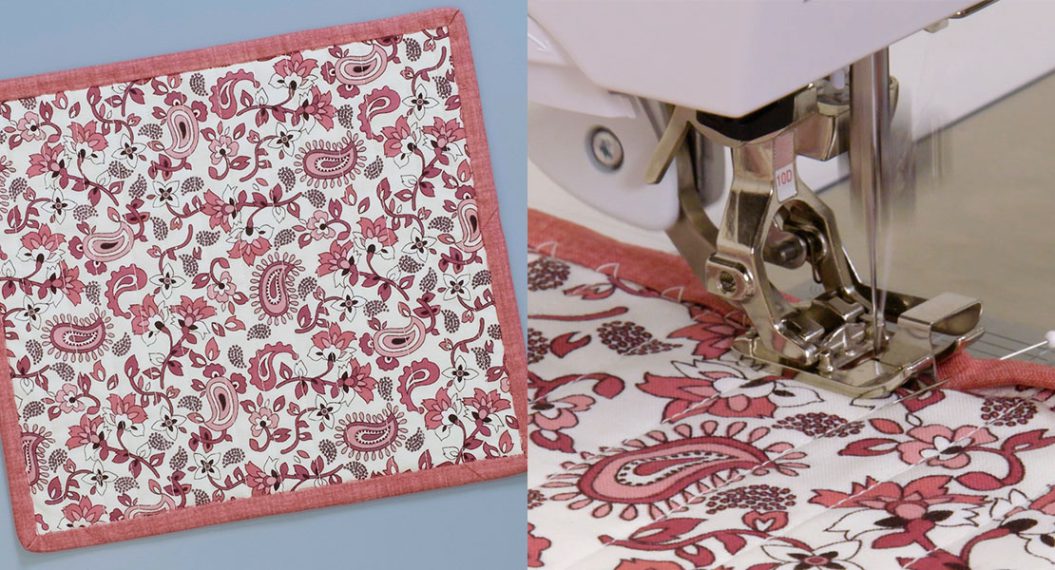
Mug Rug “In The Hoop” Tutorial
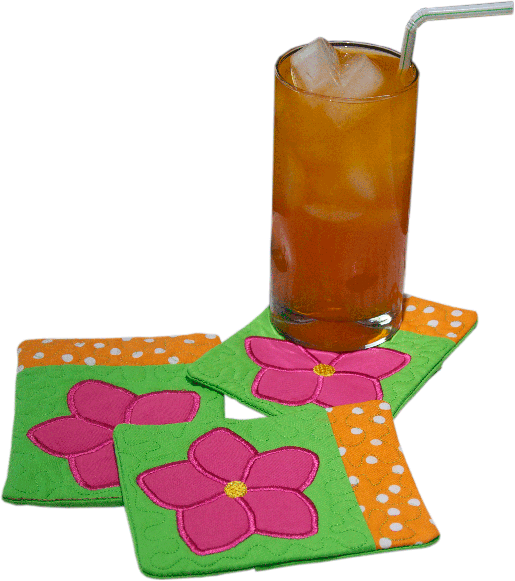
As a brand ambassador for BERNINA USA, I wanted to create a bright and cheery “in the hoop” mug rug. This one can be created in about 30 minutes. It can be something you make to brighten someone else’s day, or one that you simply enjoy for yourself!

Mug Rug Materials:
- 5” x 6.5” batting
- 5” square of background fabric
- 2” x 5” strip of fabric for side stripe
- 4.5” square of fabric for flower appliqué
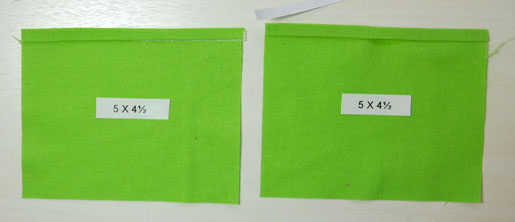
- Two 5” x 4.5” fabric rectangles for backing
- Four 5” cuts of 1/4” Dritz Wonder Tape
- 3” of painters tape
- 12” x 15” rectangle of No Show Poly-Mesh Stablizer (or similar stabilizer)
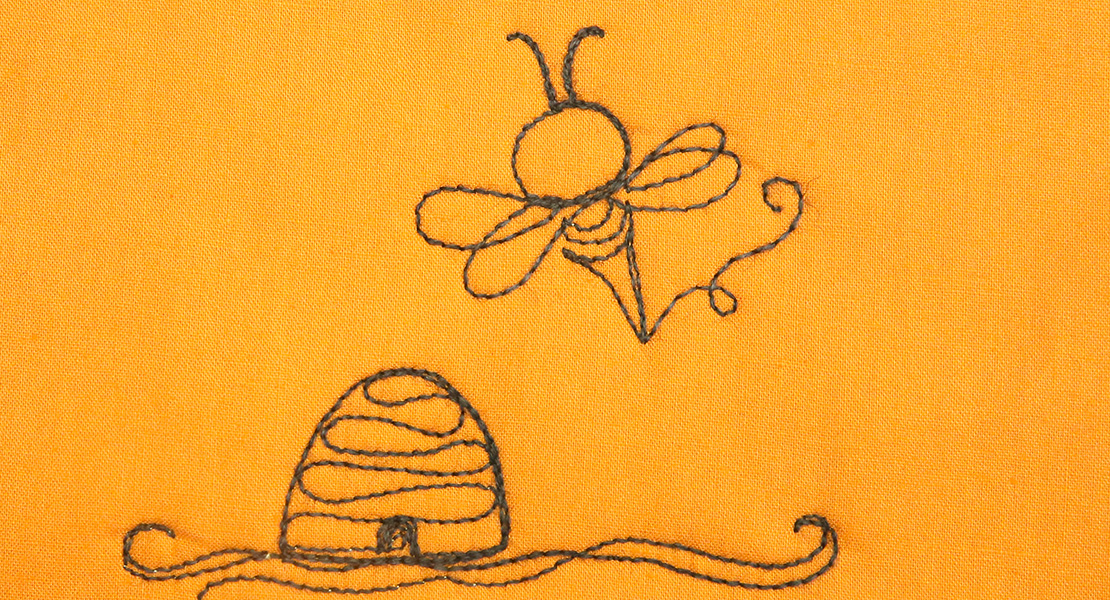
- Flower Mug Rug Design
- SVG Flower File (optional)
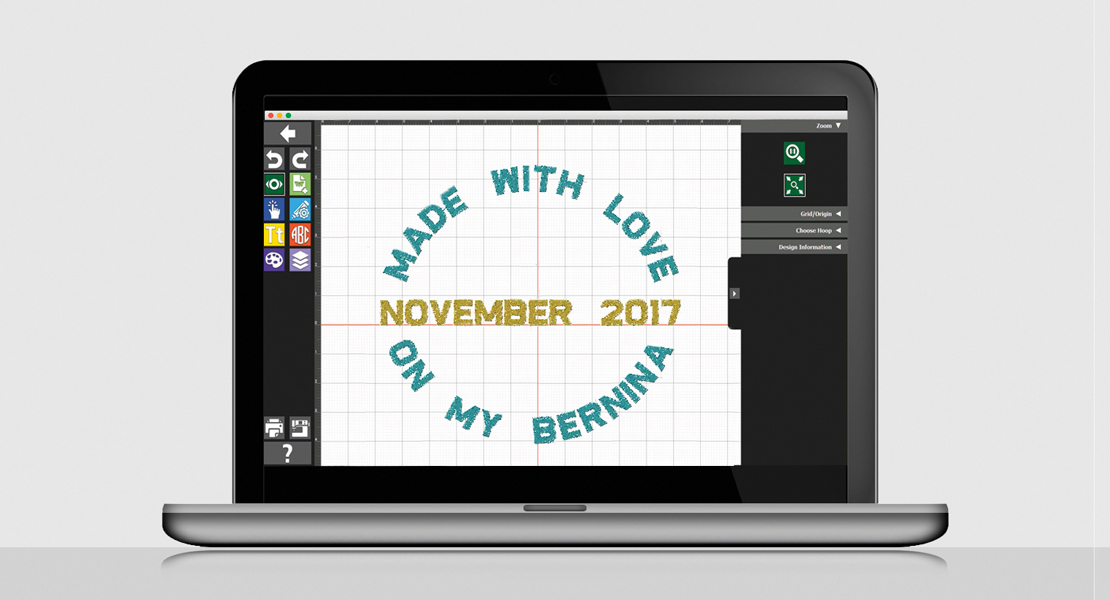
Flower Mug Rug Design
Flower Mug Rug Embroidery Files
SVG Flower File (optional) Flower Mug Rug
Instructions:
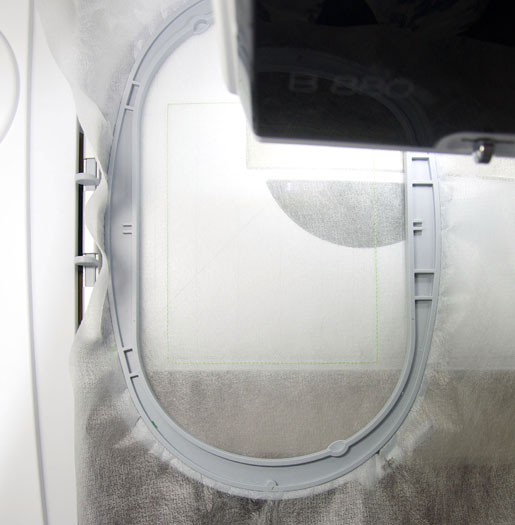
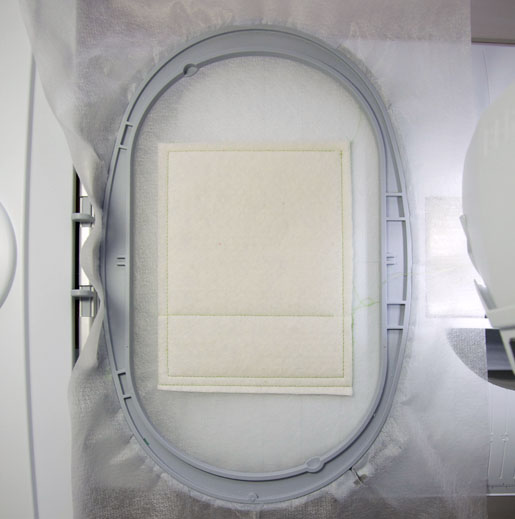
Hoop the No Show Mesh Stabilizer. Load the design into your machine. Start the machine. The first stitches are placement stitches for the batting. When the machine stops, lay the 5″ x 6.5″ batting rectangle inside the placement lines.

Start the machine. The machine will stitch a rectangular box that will tack the batting down, so that it doesn’t shift.
Start the machine. The machine will stitch a 5″ x 2″ rectangle. This is a placement line for the stripe on the side of the mug rug.
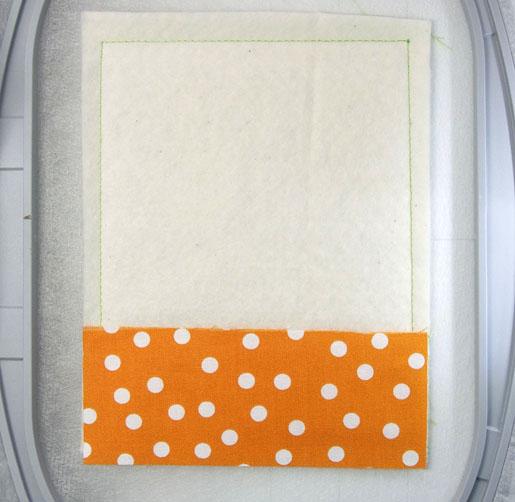
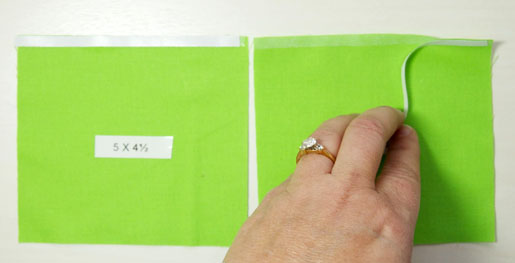
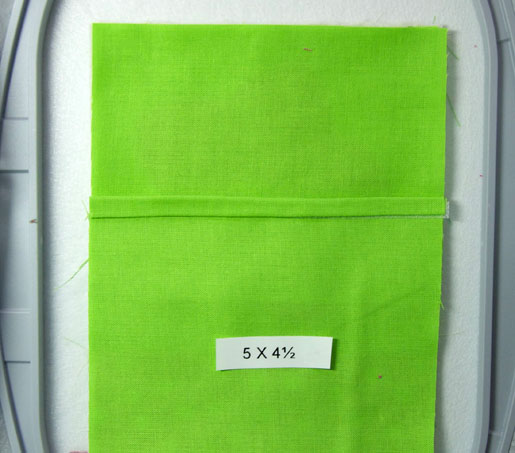
When the machine stops, place the 2″ x 5″ strip within the placement rectangle, with the fabric right side up. Don’t start the machine yet!
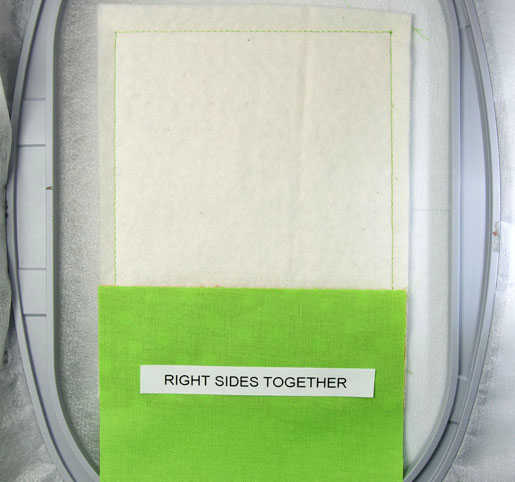
Lay the 5″ square on top of the strip, with right sides together.
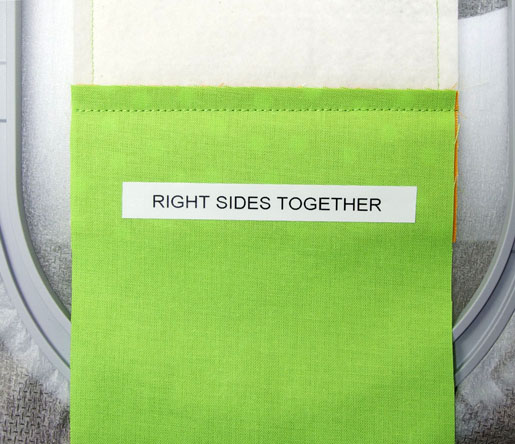
Start the machine. The machine will stitch a 1/4″ seam.
Note: I just hold the fabric with my fingers until the strip is stitched in place. Please, don’t run over your fingers!
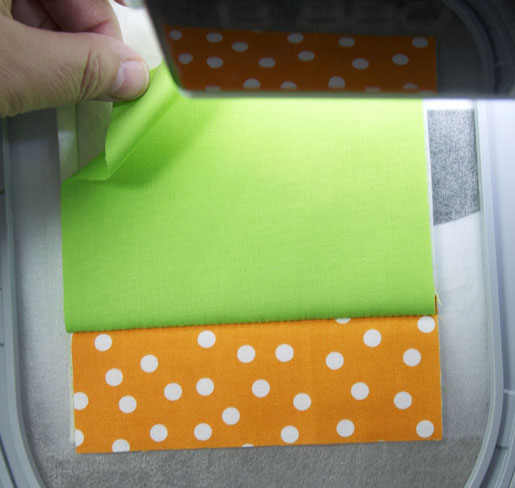
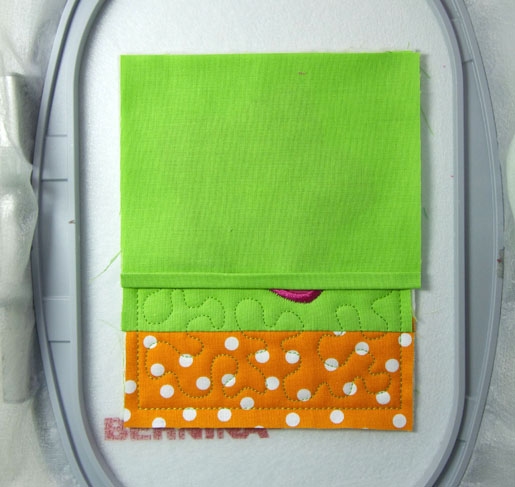
When the machine stops, flip the top square over. Finger press in place.
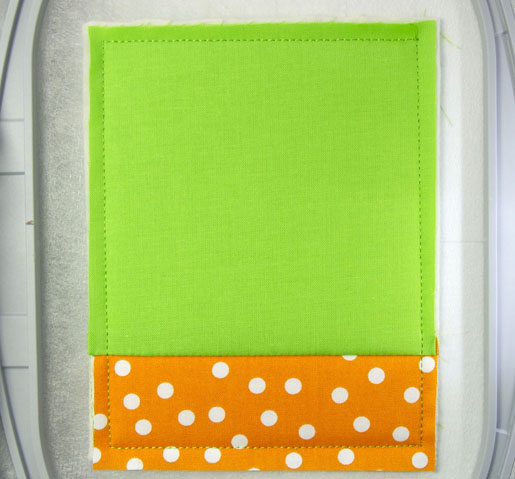
Start the machine. The machine will tack stitch around the perimeter, to keep the fabric in place.
Change thread to the color you want for your flower. Start the machine. The machine will stitch a placement line for the flower.
Note: Now, it’s time to put the appliqué fabric in place. Choose one of the following methods.
Cameo method—if you have a Cameo Cut out unit, use the included SVG file to cut the fabric. Take the fabric flower and lay it inside the placement lines. Press the flower in place, or use a glue stick to hold it in place.
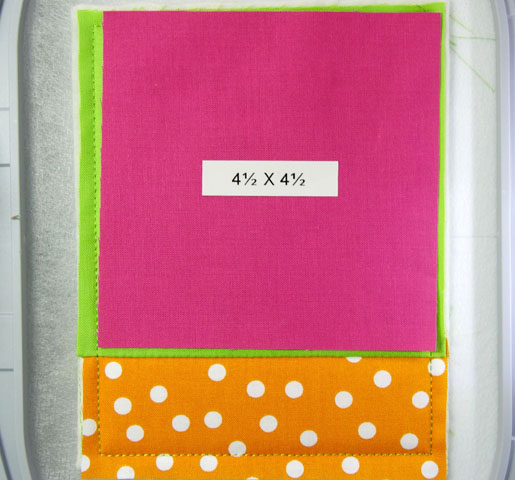
Traditional method—lay the 4.5″ square of fabric over the placement lines. After you have the fabric in place (either method), start the machine. The machine will stitch a zig zag tack line in the shape of a flower.
Note: If you used the Cameo method, skip to step 13.
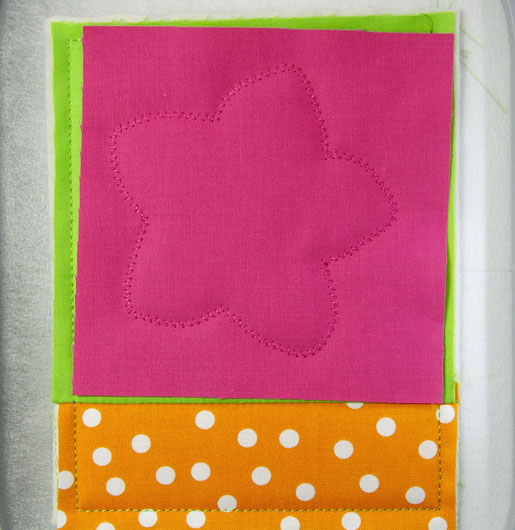
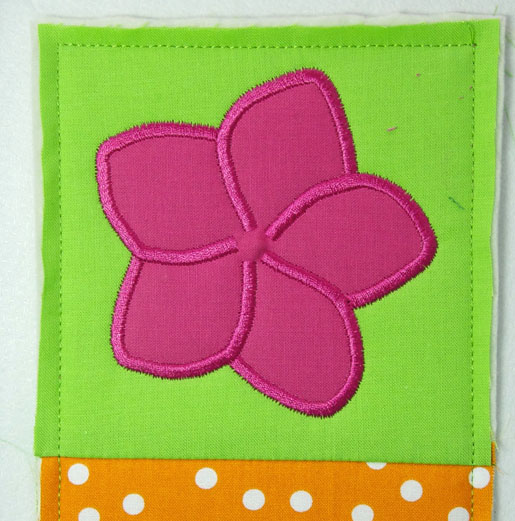
Here is a photo of the zig-zag stitching for the traditional method. Remove the hoop from the machine, but DO NOT remove the fabric from the hoop.
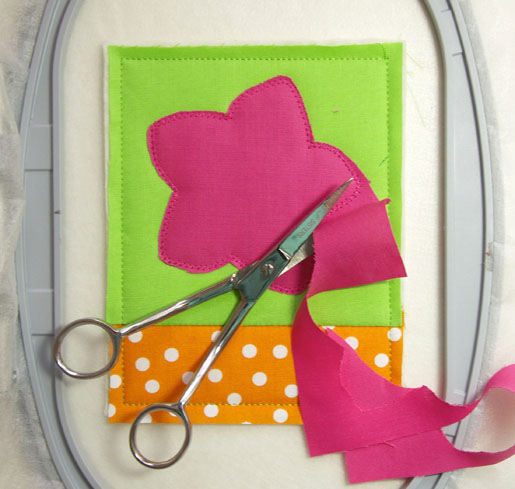
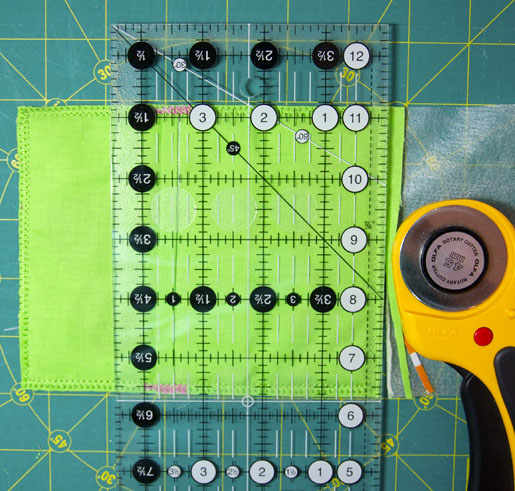
Lay the hoop on a flat surface, and trim away the excess fabric. Trim as close to the stitches as you can, without cutting into the stitches.
Start the machine again. The machine will satin stitch around the flower.
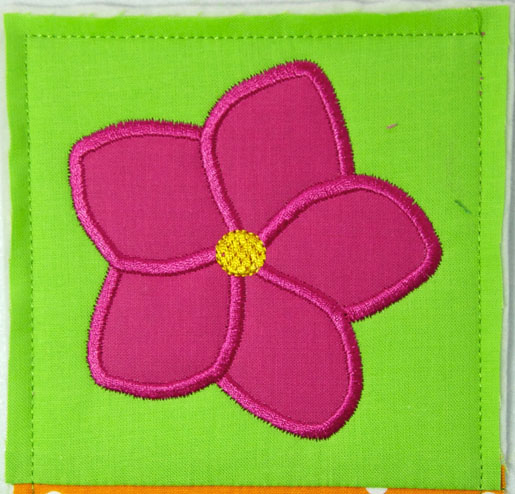
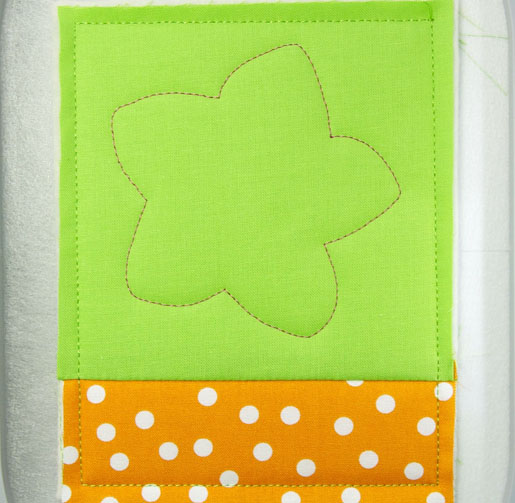
Change the thread to the color you want for the center of the flower (for my flower, it is yellow). Start the machine. The machine will stitch the flower’s center.
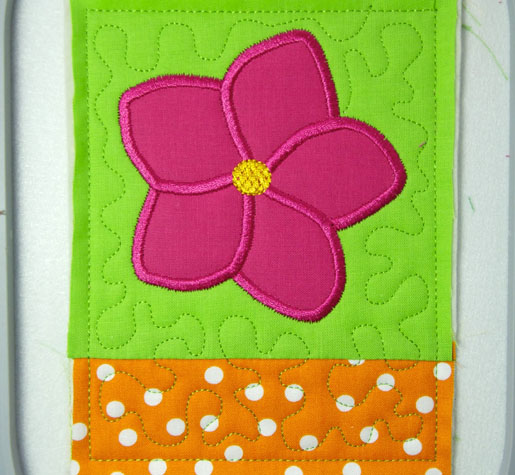
Change thread to match the background fabric. Start the machine. The machine will stipple around the flower.
Take the two 4.5″ x 5″ backing pieces, and lay them wrong side facing up. Place a 5″ strip of Dritz Wonder tape on one of the 5″ sides. Remove paper and fold over 1/4″ to hem. Make a double hem by placing another 5″ strip of tape on the folded edge, and folding again. Repeat with the other backing piece. You will have two pieces with a 1/4″ hem when you are done.
Lay one backing piece over the mug rug with the hem facing up and the un-hemmed edge even with the top of the mug rug.
Lay the second backing piece over the first piece. The hem will also be facing up. The un-hemmed edge will align with the bottom edge of the mug rug.

Tape over the seams with painter’s tape. This will prevent the foot from getting caught under the hem. Start the machine. The machine will stitch around the perimeter. Start the machine again. The machine will stitch a zip-zag stitch. This is just a little extra protection to ensure that the backing fabric stays in place when you turn it right side out.
When the machine stops, remove the hoop and the fabric from the hoop. Trim the mug rug close to the zig zag stitches, but don’t cut through them.
Turn the mug rug right side out. Use a chopstick to turn out the corners. Now, Enjoy!


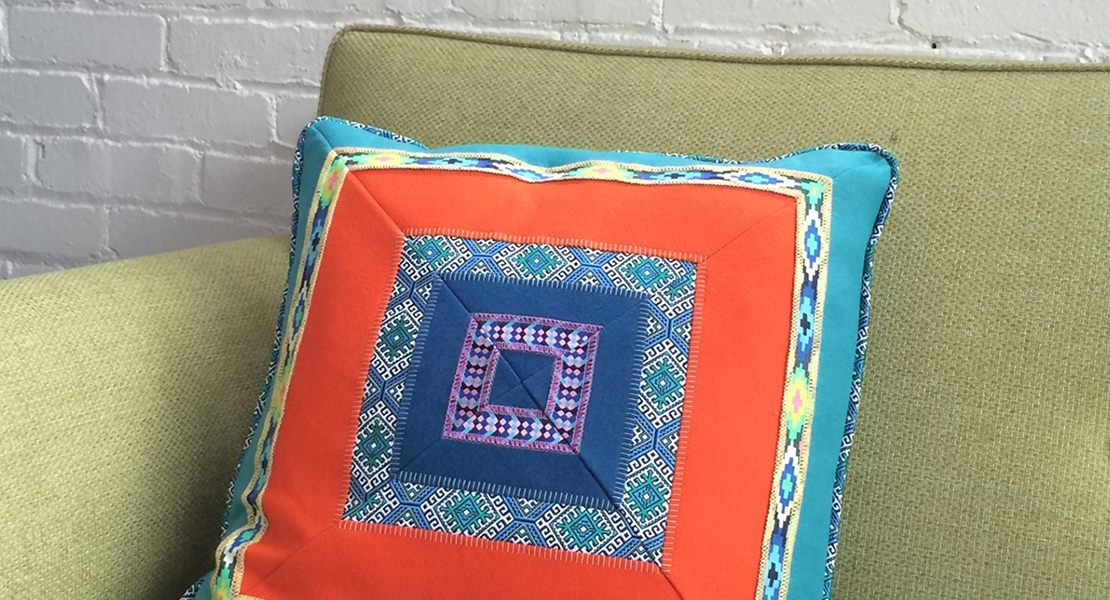
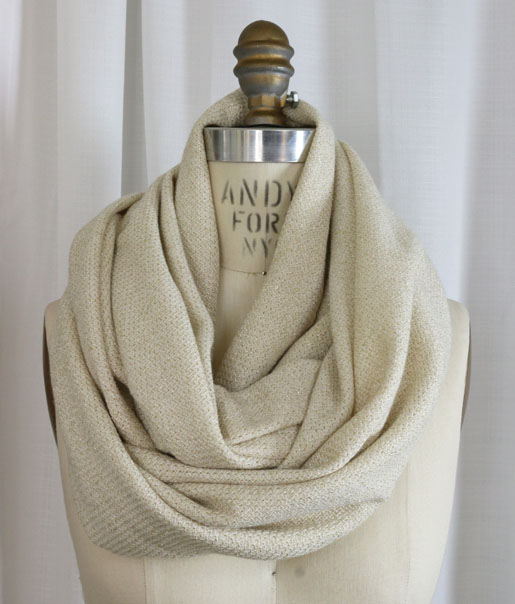
What you might also like


10 comments on “Mug Rug “In The Hoop” Tutorial”
-
-
Glad you liked the project. To everyone, please make sure the painters tape is securely over the seam! I am the Queen on holding things down with my fingers, but on this project the tape is a MUST! My daughter had a friend visit and I let her make one for her sister and herself, and she loved doing that, so I am sure your grand-daughter will have a blast!
-
This is so cute-I love to make mug rugs for gifts. However, after downloading the instruction file, I was unable to open it in adobe reader. I always like to print out the instructions and put them in a folder so I can refer to it when I make the project. Any help you can give me will be greatly appreciated.
Thank you and thank you for the design.
Karen D.-
Hi Karen,
The links at the top are for the embroidery designs, and the SVG file for the Cameo cutter. There is no PDF instruction to download. Good news though, the instructions will remain on the site, and you can save the URL in your files for safe keeping. I hope that helps!
-
-
-
-
Christine,
Thank you for the pattern and video. It was my first project on my machine. It was very helpful to see the video, I watched while doing the project.
-
I love love love these. I would like to design my own as gifts. Can you help me? I have an 880 and have the v7 software, how can I design my own? Are there step my step instruction on how to do these?
-
Hi there! I am so happy that you like the Flower Mug Rug. I’m sorry, but do not provide instructions on how to create the mug rug files. I do have many sets that can be purchased through your local dealer like Winter, Spring, Football, Basketball, Irish, Backyard Buddies, and our newest set…Old World Christmas Mug Rugs.
-
I am obsessed with making mug rugs! Thanks for this design.
Leave a Reply
You must be logged in to post a comment.

Loved this project, it was so easy. Until you get the hang of it try cutting the fabrics and batting 1/8″ larger all the way around and put the painters tape over the whole of the seam so the foot doesn’t get caught up on the final position. READ directions twice before you start – I have made so many mistakes not doing that lol. It will be the ideal sewing project for ggranddaughter to make on her summer visit. Try it, you will love the results.