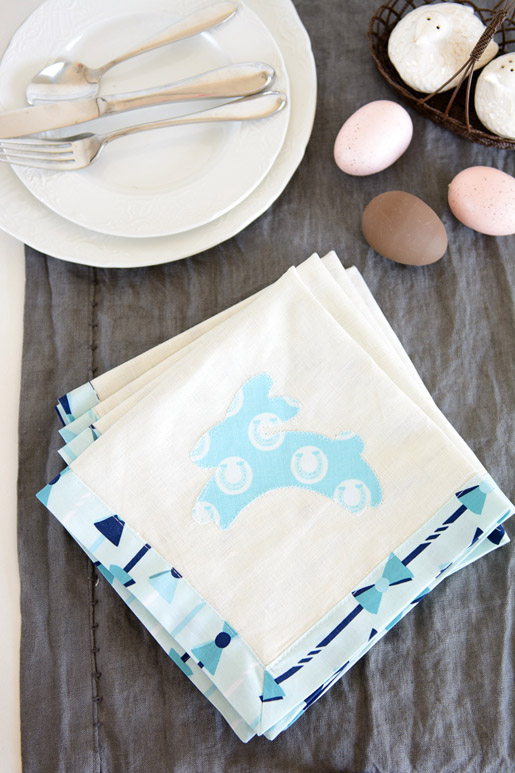
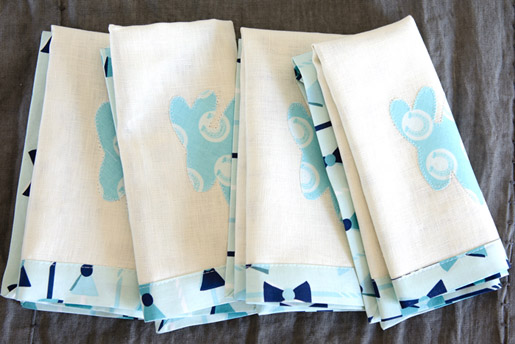
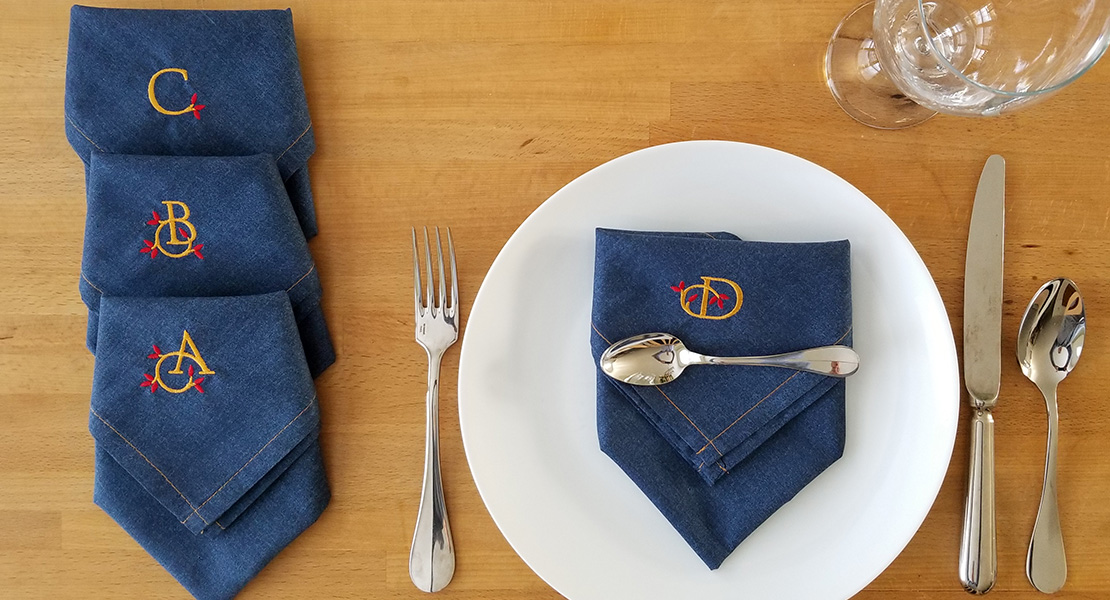
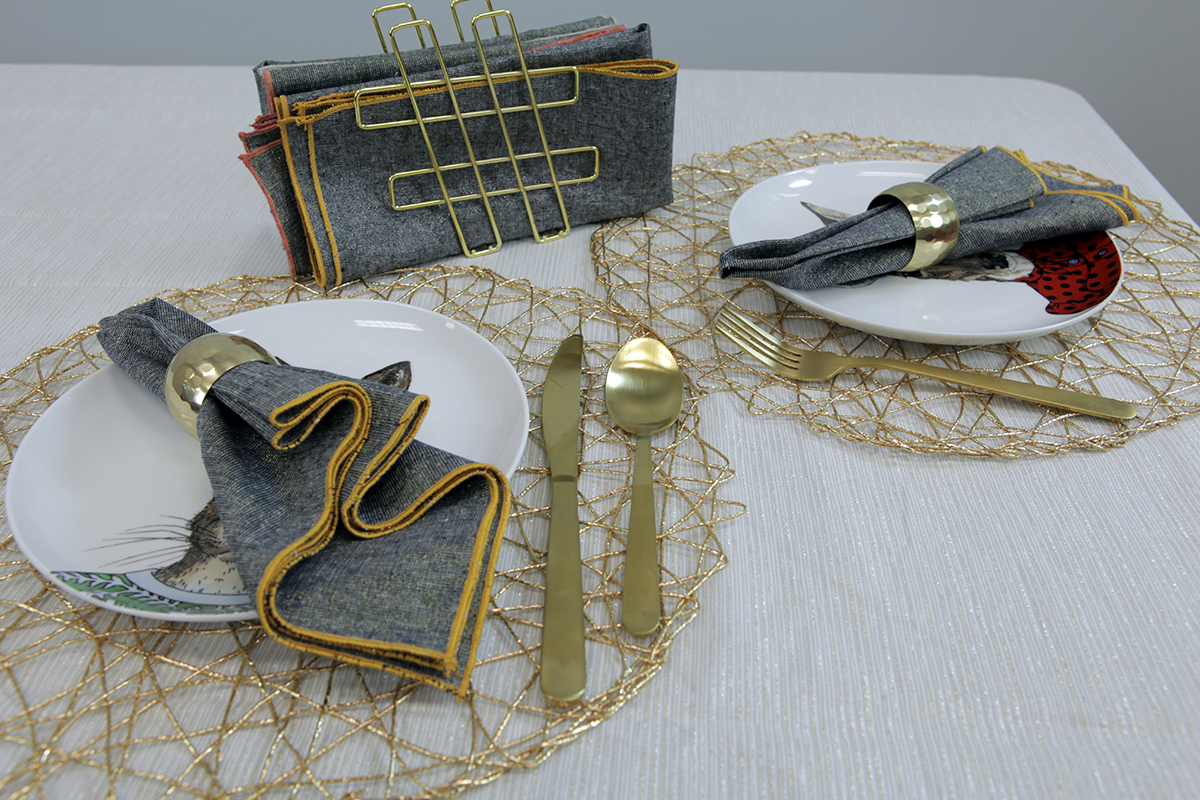
How to Sew Easter Napkins
Are you hosting the Easter brunch this year? Create the final touches for your Easter table with this quick and easy Easter napkin tutorial. These napkins are self-binding so you can quickly whip up a bunch of them for a very special Easter occasion.
Materials Needed for four Napkins:
- 1 1/4 Yards of 44″ wide quilting cotton
- 1 Yard of Linen Fabric
- 1/4″ yard fabric for appliqué
- Paper Backed Fusible Web
- Ruler with 45 degree marking
- Fabric Marking Pen
- Pins
- Thread
- Dual Feed Foot or Walking Foot attachment
- Pins
- Easter Bunny Applique Template
- Spray Starch
- Recommended but not shown: BERNINA open embroidery foot # 20 or BERNINA appliqué foot # 23
A few things to note:
Pre-wash your fabric. If you plan on drying the napkins after they are sewn then you should also dry the fabric in the dryer. If you plan to let them line dry you don’t need to throw the fabric in the dryer.
The linen may be a little bit tricky to work with. I recommend pressing and starching it before you cut out your squares. This will help you get a more accurate cut.
Cutting for each napkin cut:
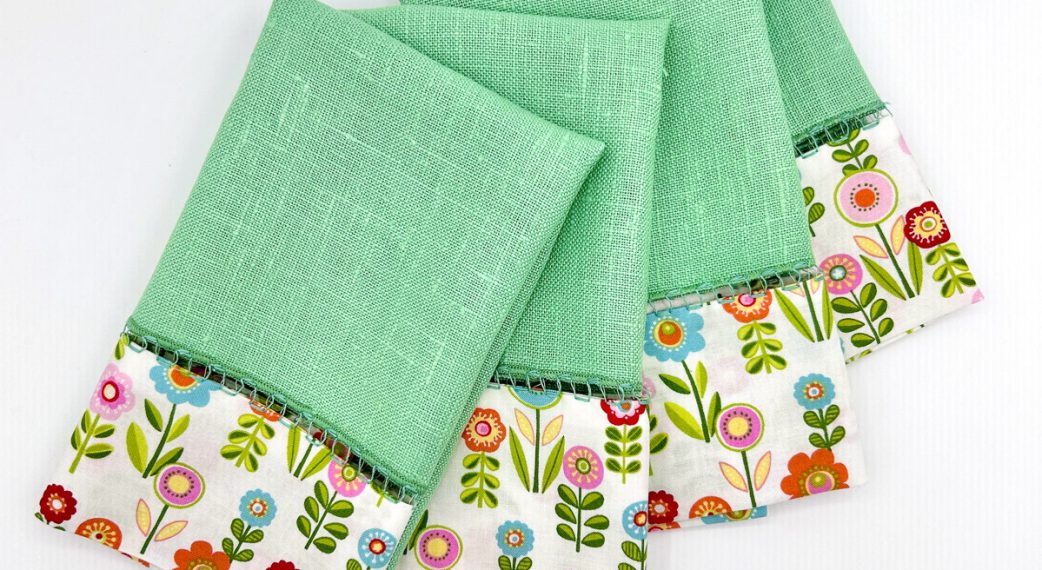
- One 20″ x 20″ square from quilting cotton
- One 16″ x 16″ square from linen fabric
Directions:
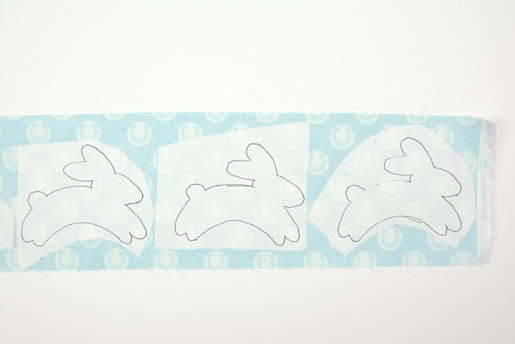
STEP ONE: Appliqué
Trace 4 bunny shapes onto the paper side of a piece of paper backed fusible web.
Cut around the shapes.
Press the shapes on to the wrong side of your appliqué fabric (follow the directions as indicated on your package of paper backed fusible web.)
Cut out the shapes, precisely this time.
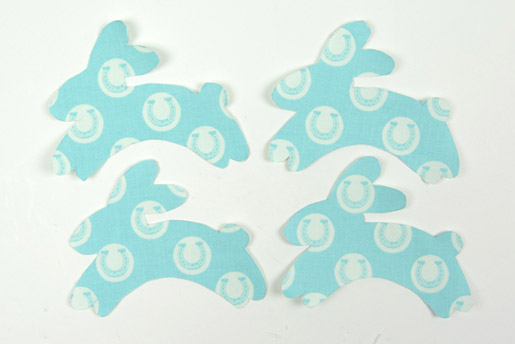
Peel the paper backing off of the bunny appliqué and place it on the 16″ x 16″ linen fabric square in the corner 1 1/2″ in from the two edges.
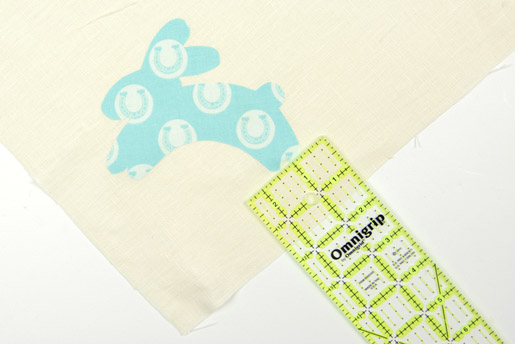
Press in place.
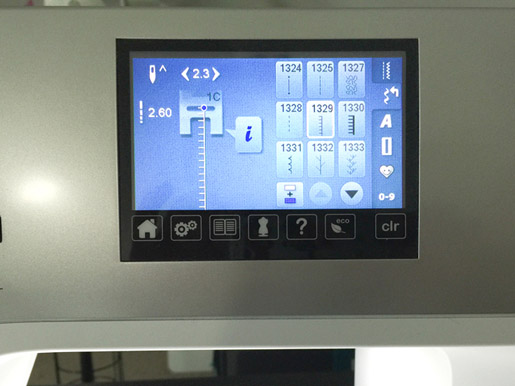
On your machine, select a blanket appliqué stitch. On my BERNINA 710 this was stitch #1329. Change your needle so that it stops in the down position.
Carefully stitch around the bunny appliqué. When the needle is on the right, it should just barely be off your bunny appliqué. When the needle swings to the left, that is when the appliqué piece will be held into place. Pivot frequently, when the needle is on the right, to help you get around the shape.
Repeat for all four napkins.
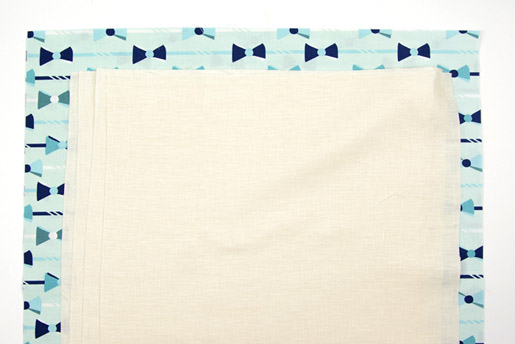
STEP TWO: Assemble the Napkins.
Fold and press the 16″ x 16″ piece of fabric in half along all sides so that you know where the center of all 4 of the sides are. Do the same thing to the 20″ x 20″ piece of fabric.

Pin the 16″ x 16″ piece of fabric to the 20″ x 20″ piece of fabric RIGHT sides facing and matching centers. Place a mark 1/2″ in from each corner on your 16″ x 16″ piece. This is your stitching stop point. Transfer this point to the wrong side of your 20″ x 20″ piece.
Engage the dual feed foot. With the linen fabric facing the feed dogs, stitch all four sides of the napkin with a 1/2″ seam allowance.
On one side of the napkin leave a 3″ hole in the center so that you can turn it right side out.
Stop stitching at the points that you marked.
You need to stitch with the linen facing the feed dogs so that it feeds evenly through the machine (it’s lighter weight than the quilting cotton.) This is why you need to transfer that 1/2″ mark to the wrong side of your 20″ x 20″ piece of fabric.
Read this step carefully.
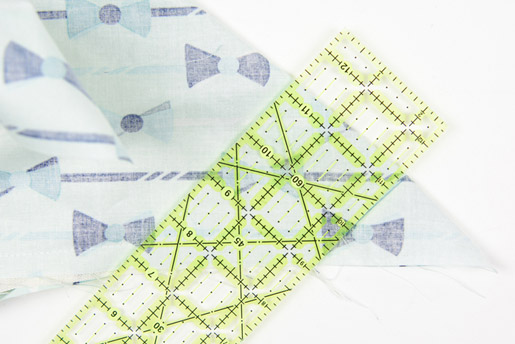
Fold the napkin in half along the diagonal, with the linen piece facing inwards and having the raw edges even.
Place the 45 degree angle mark on your ruler on top of the stitching line. Draw a line from the end of the stitching line to the edge of the fold in the fabric. Stitch along this line. Repeat for all 4 corners.
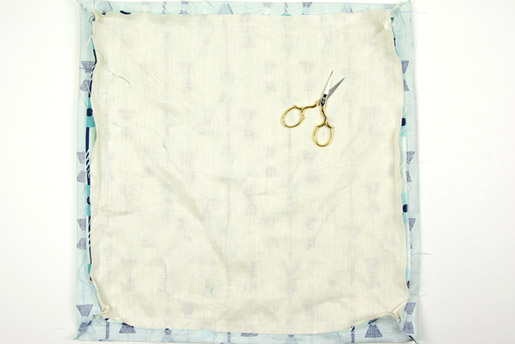
Turn the napkin right side out. Make sure that you’ve sewn the corners correctly. If you have, turn it back wrong side out and clip the excess fabric off of the corners.
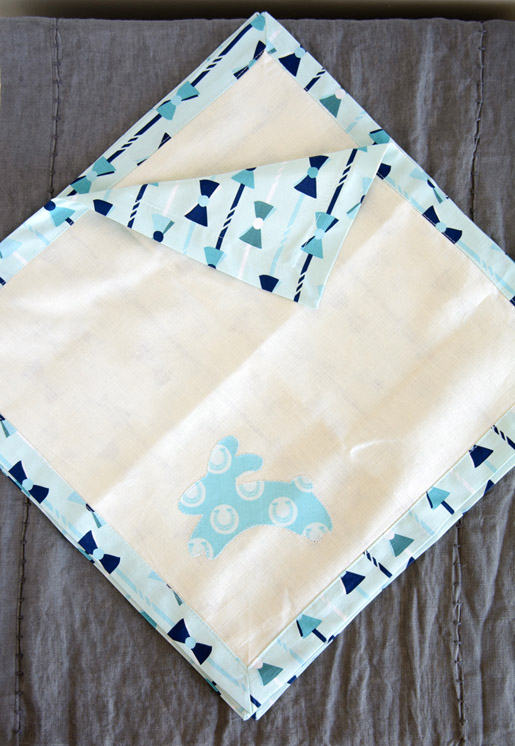
Turn it back right side out and press. Make sure that you push the corners out all the way so that they look crisp.
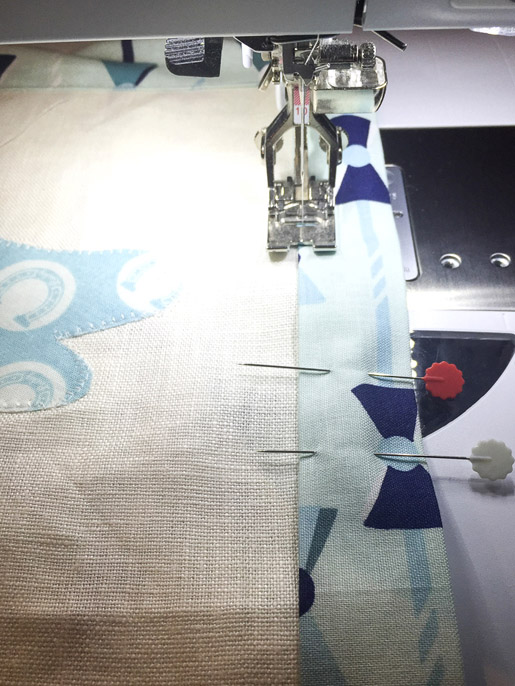
Pin the opening of the napkin closed, and using your Dual Feed foot or a Walking Foot, top stitch the edge of the napkin.
Spray the napkin with starch and press well.
Repeat for all four napkins.


4 comments on “How to Sew Easter Napkins”
These napkins are so cute