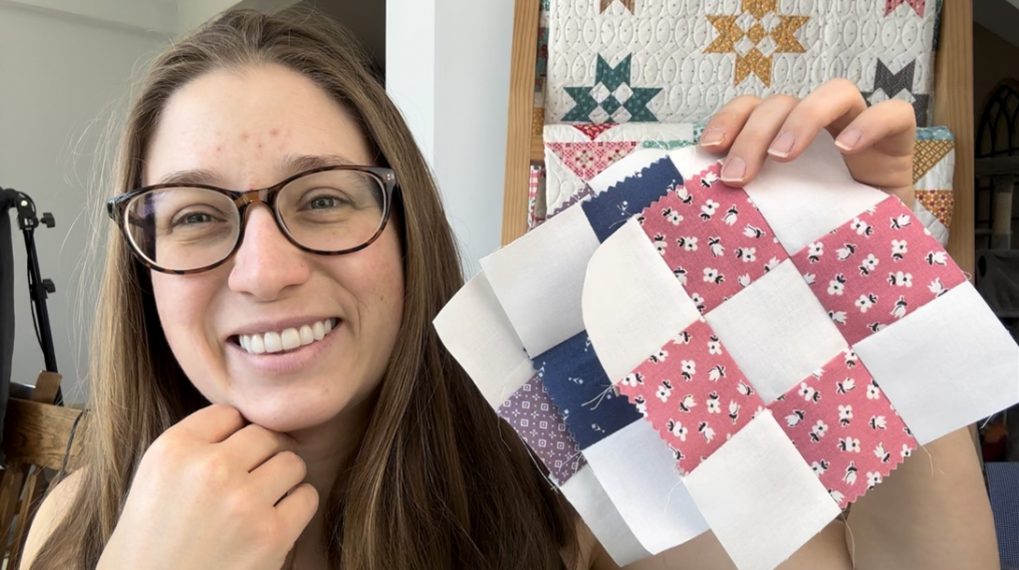
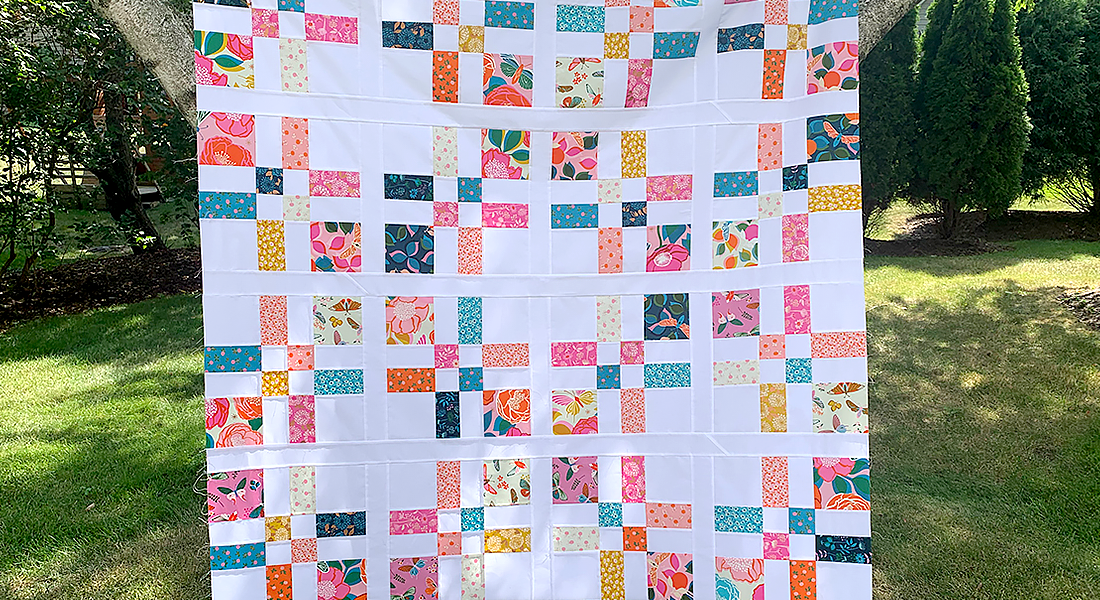
Snowflake Quilt-Along Week 2, Assembling the Quilt Top
Welcome to week 2 of the Snowflake Quilt-Along. Last week we made 34 snowflake quilt blocks. You can find the directions in the Week 1 Snowflake Quilt Along post. Today we are going to assemble our quilt top. Let’s get started!

Snowflake Quilt-Along – Week 2
Pattern by Faith Jones, Fresh Lemons Quilts
Finished Size: 55″ x 67″
Block Size: 8″ x 8″ Finished
Number of Blocks: 34
Assembling the Quilt Top of our Snowflake Quilt
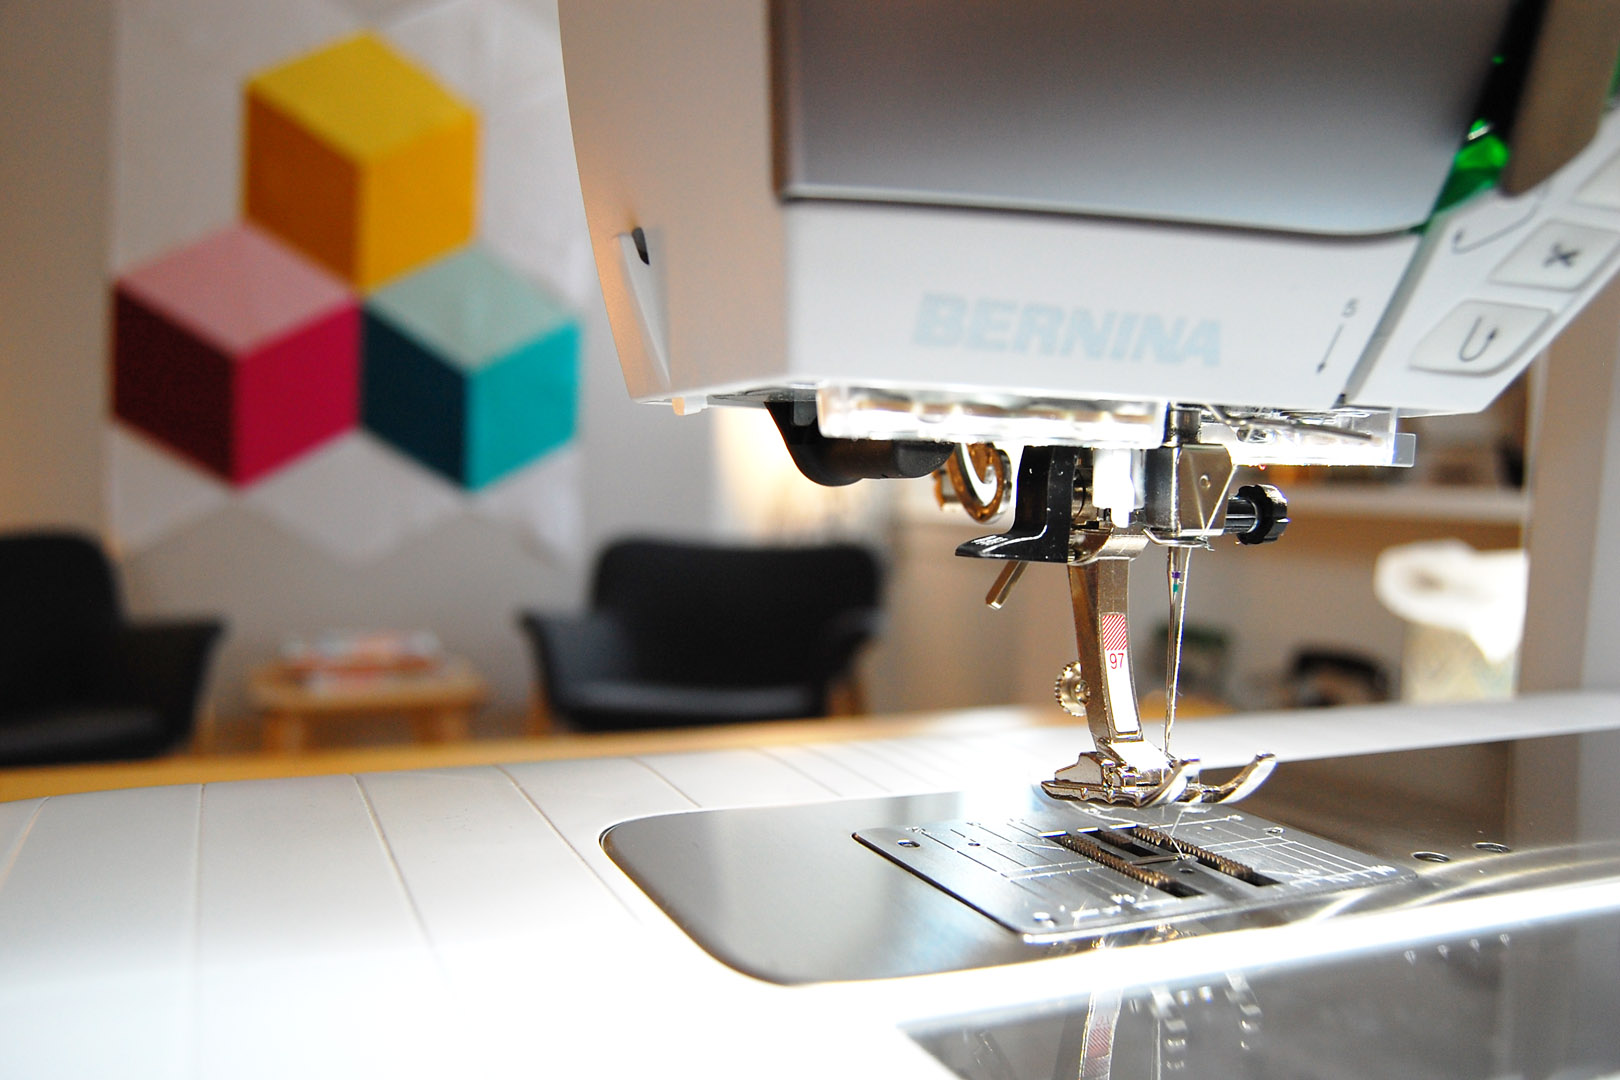
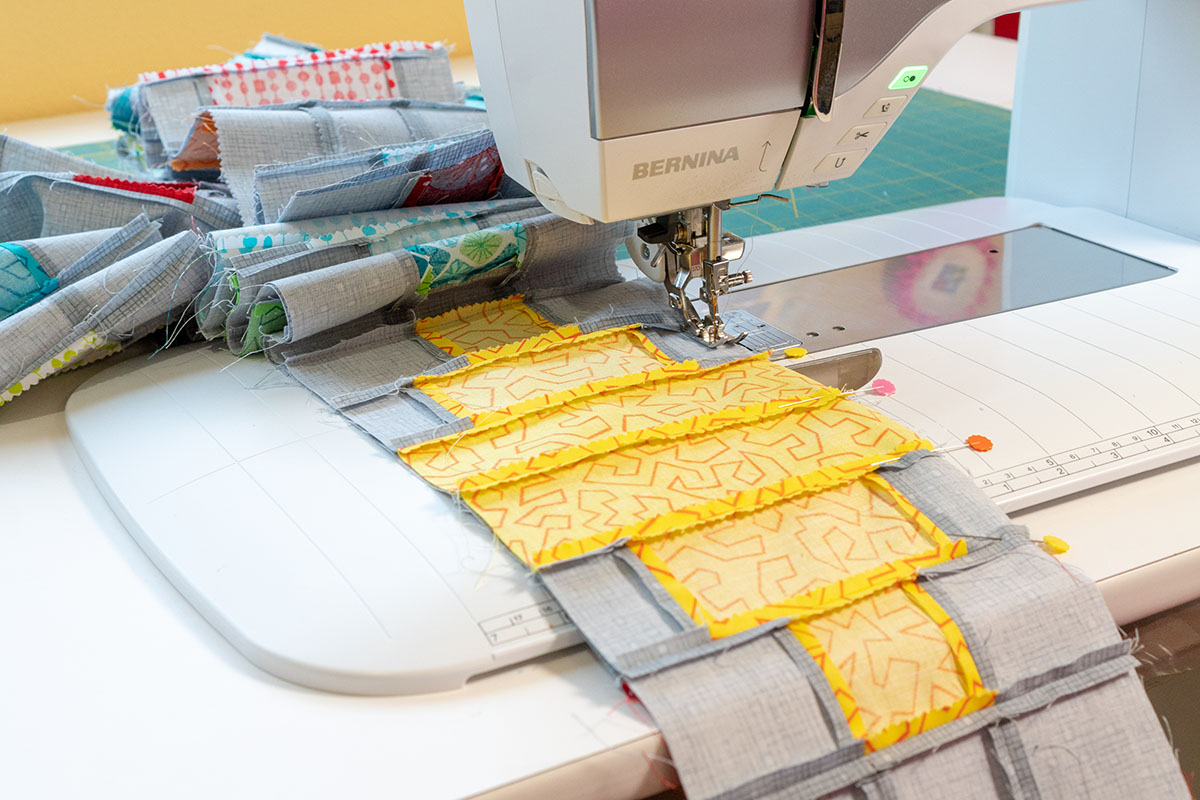
All seam allowances are 1/4″. I assembled my quilt top on my BERNINA 750 QE using the Patchwork foot 37D with the dual feed engaged and a straight stitch needle plate.
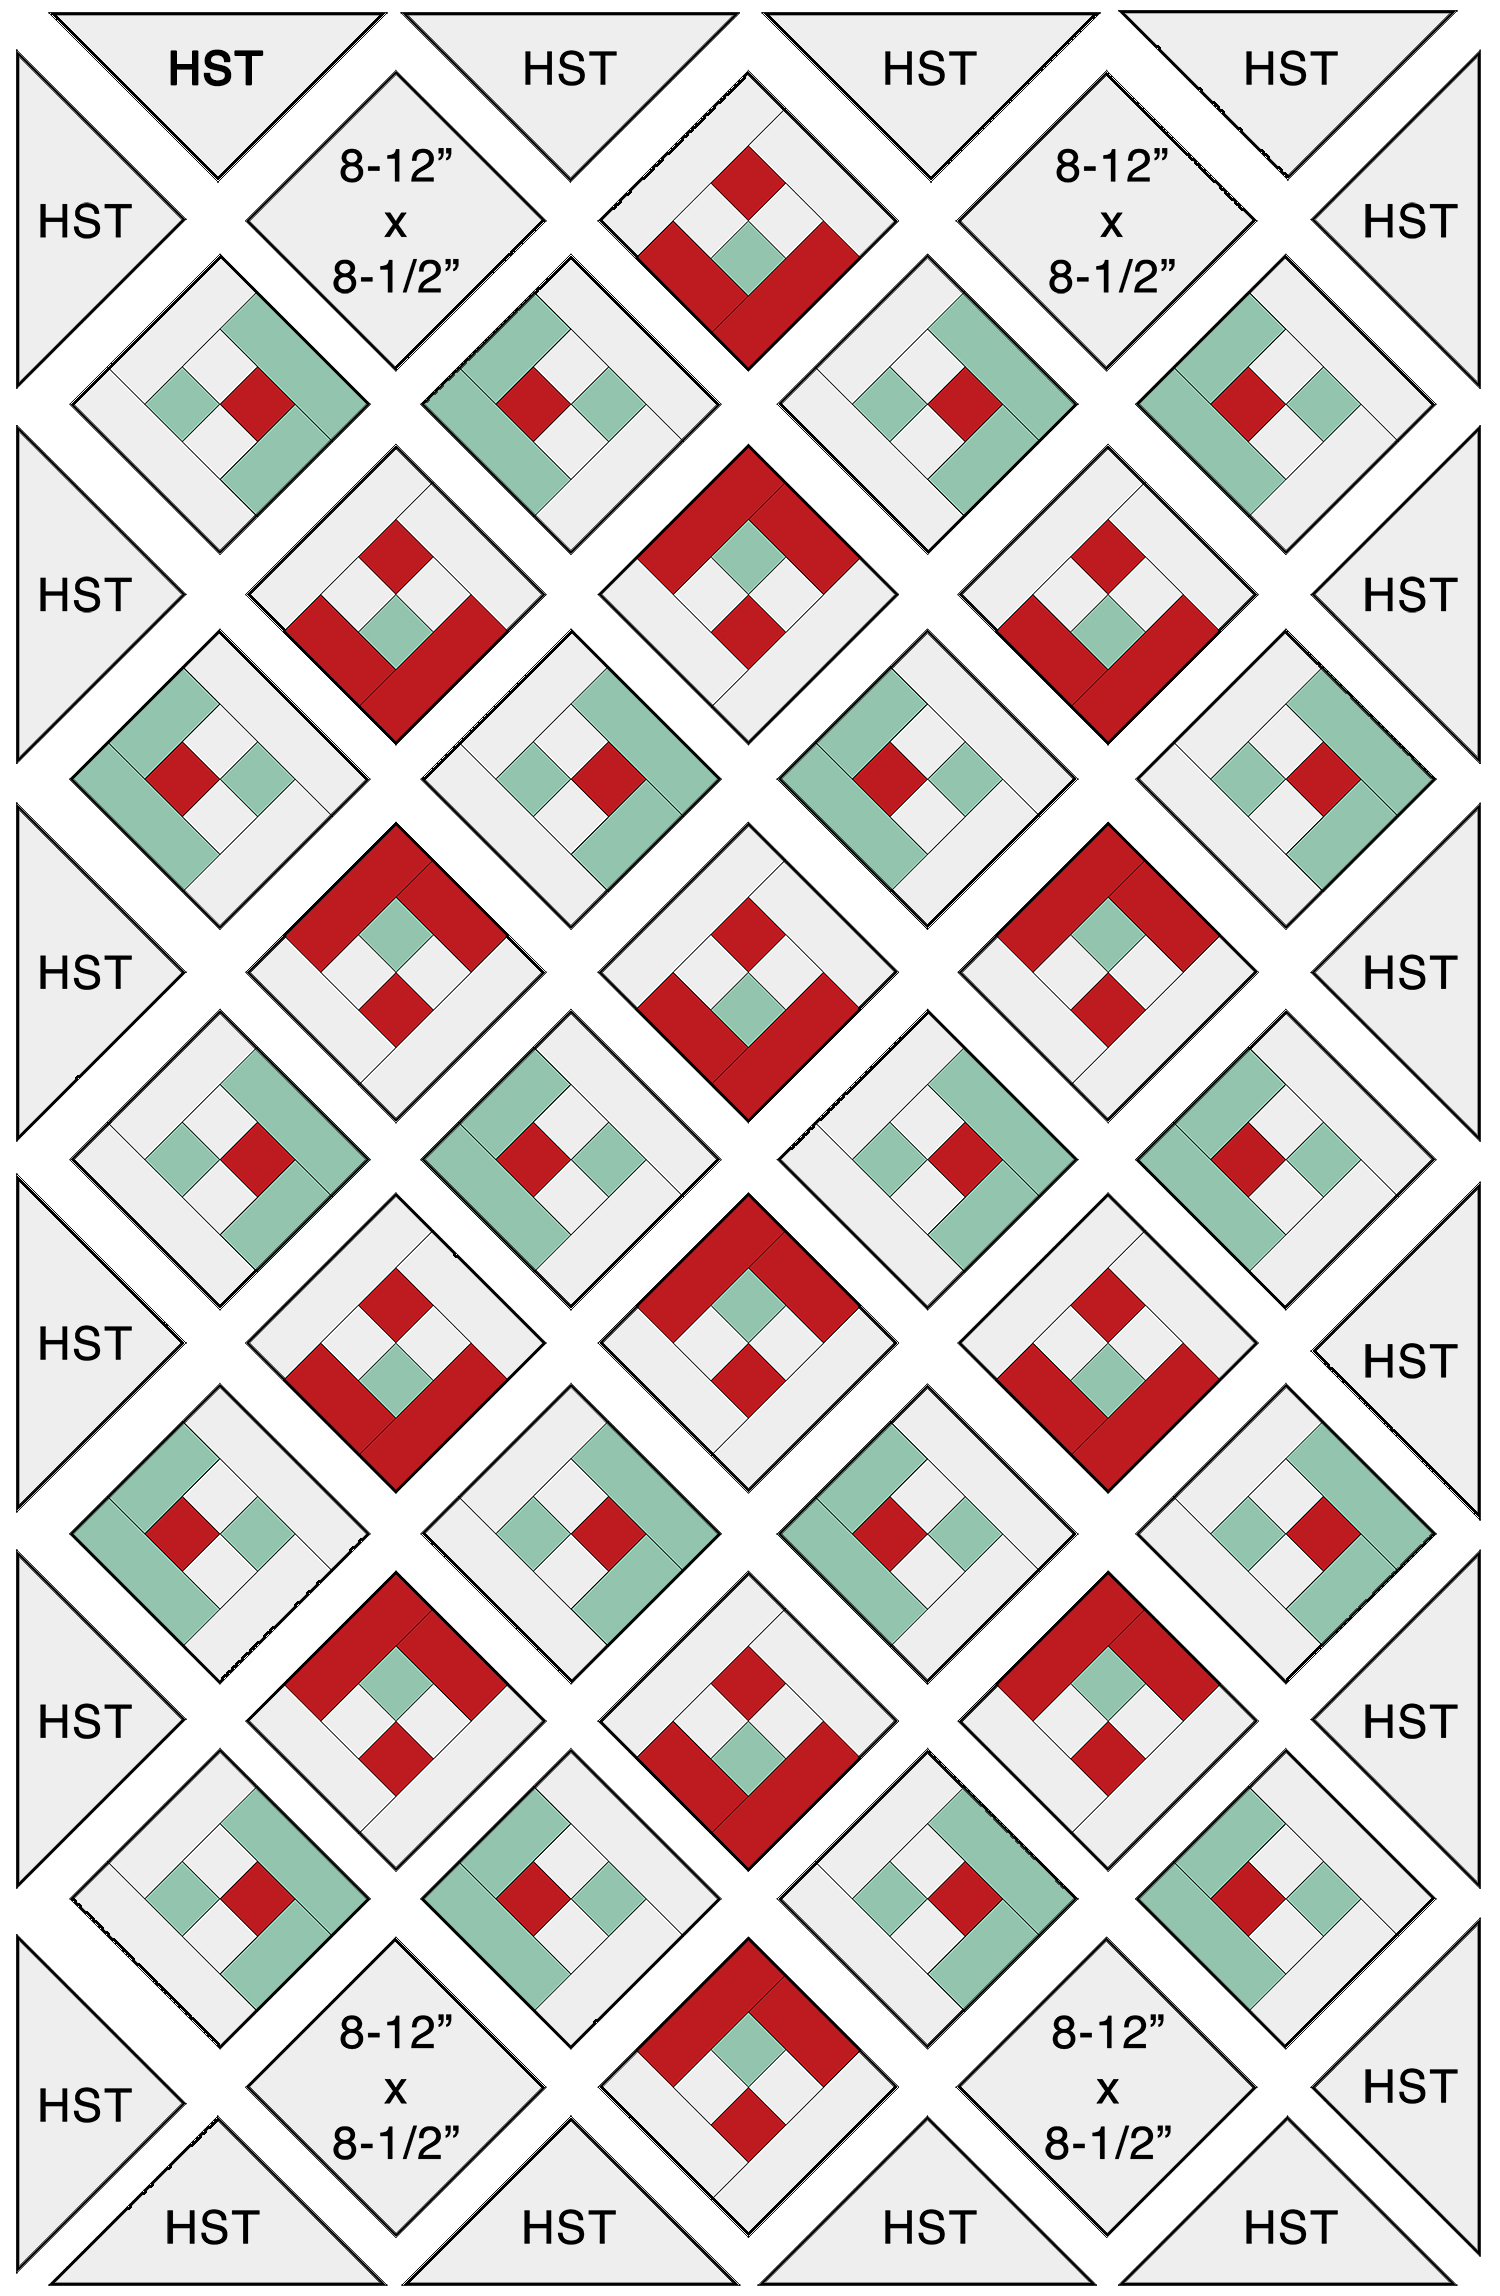
Step 1
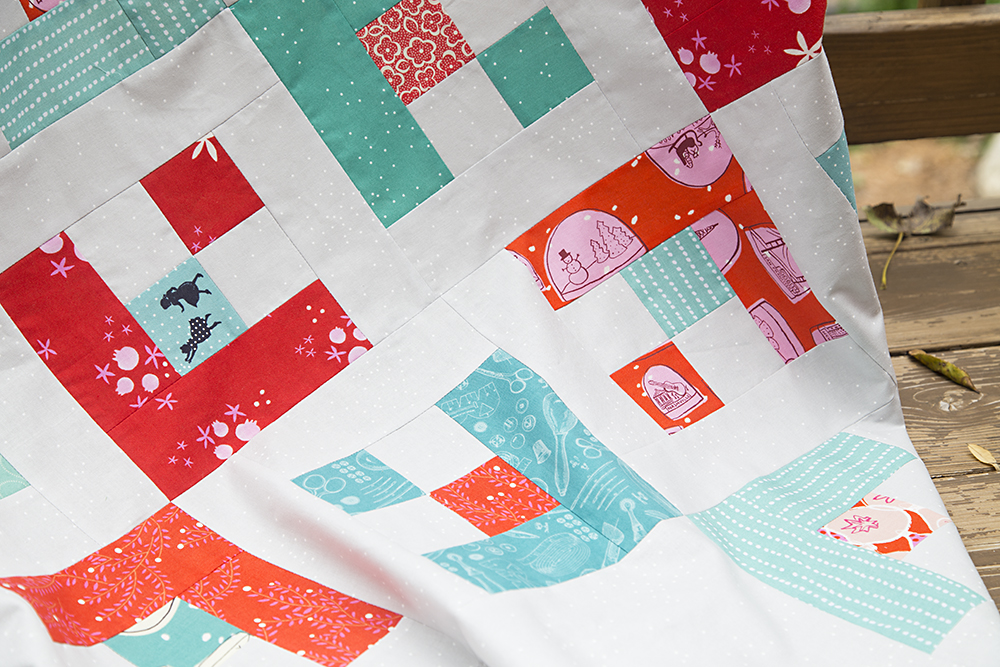
Gather your (20) Block A’s, (14) Block B’s, (4) 8-1/2″ x 8-1/2″ background squares, and (20) background HSTs created from your (10) 8-7/8″ x 8-7/8″ background squares.
Layout your blocks as shown, on point (rotated 45 degrees). Take care to check and double check your block direction.
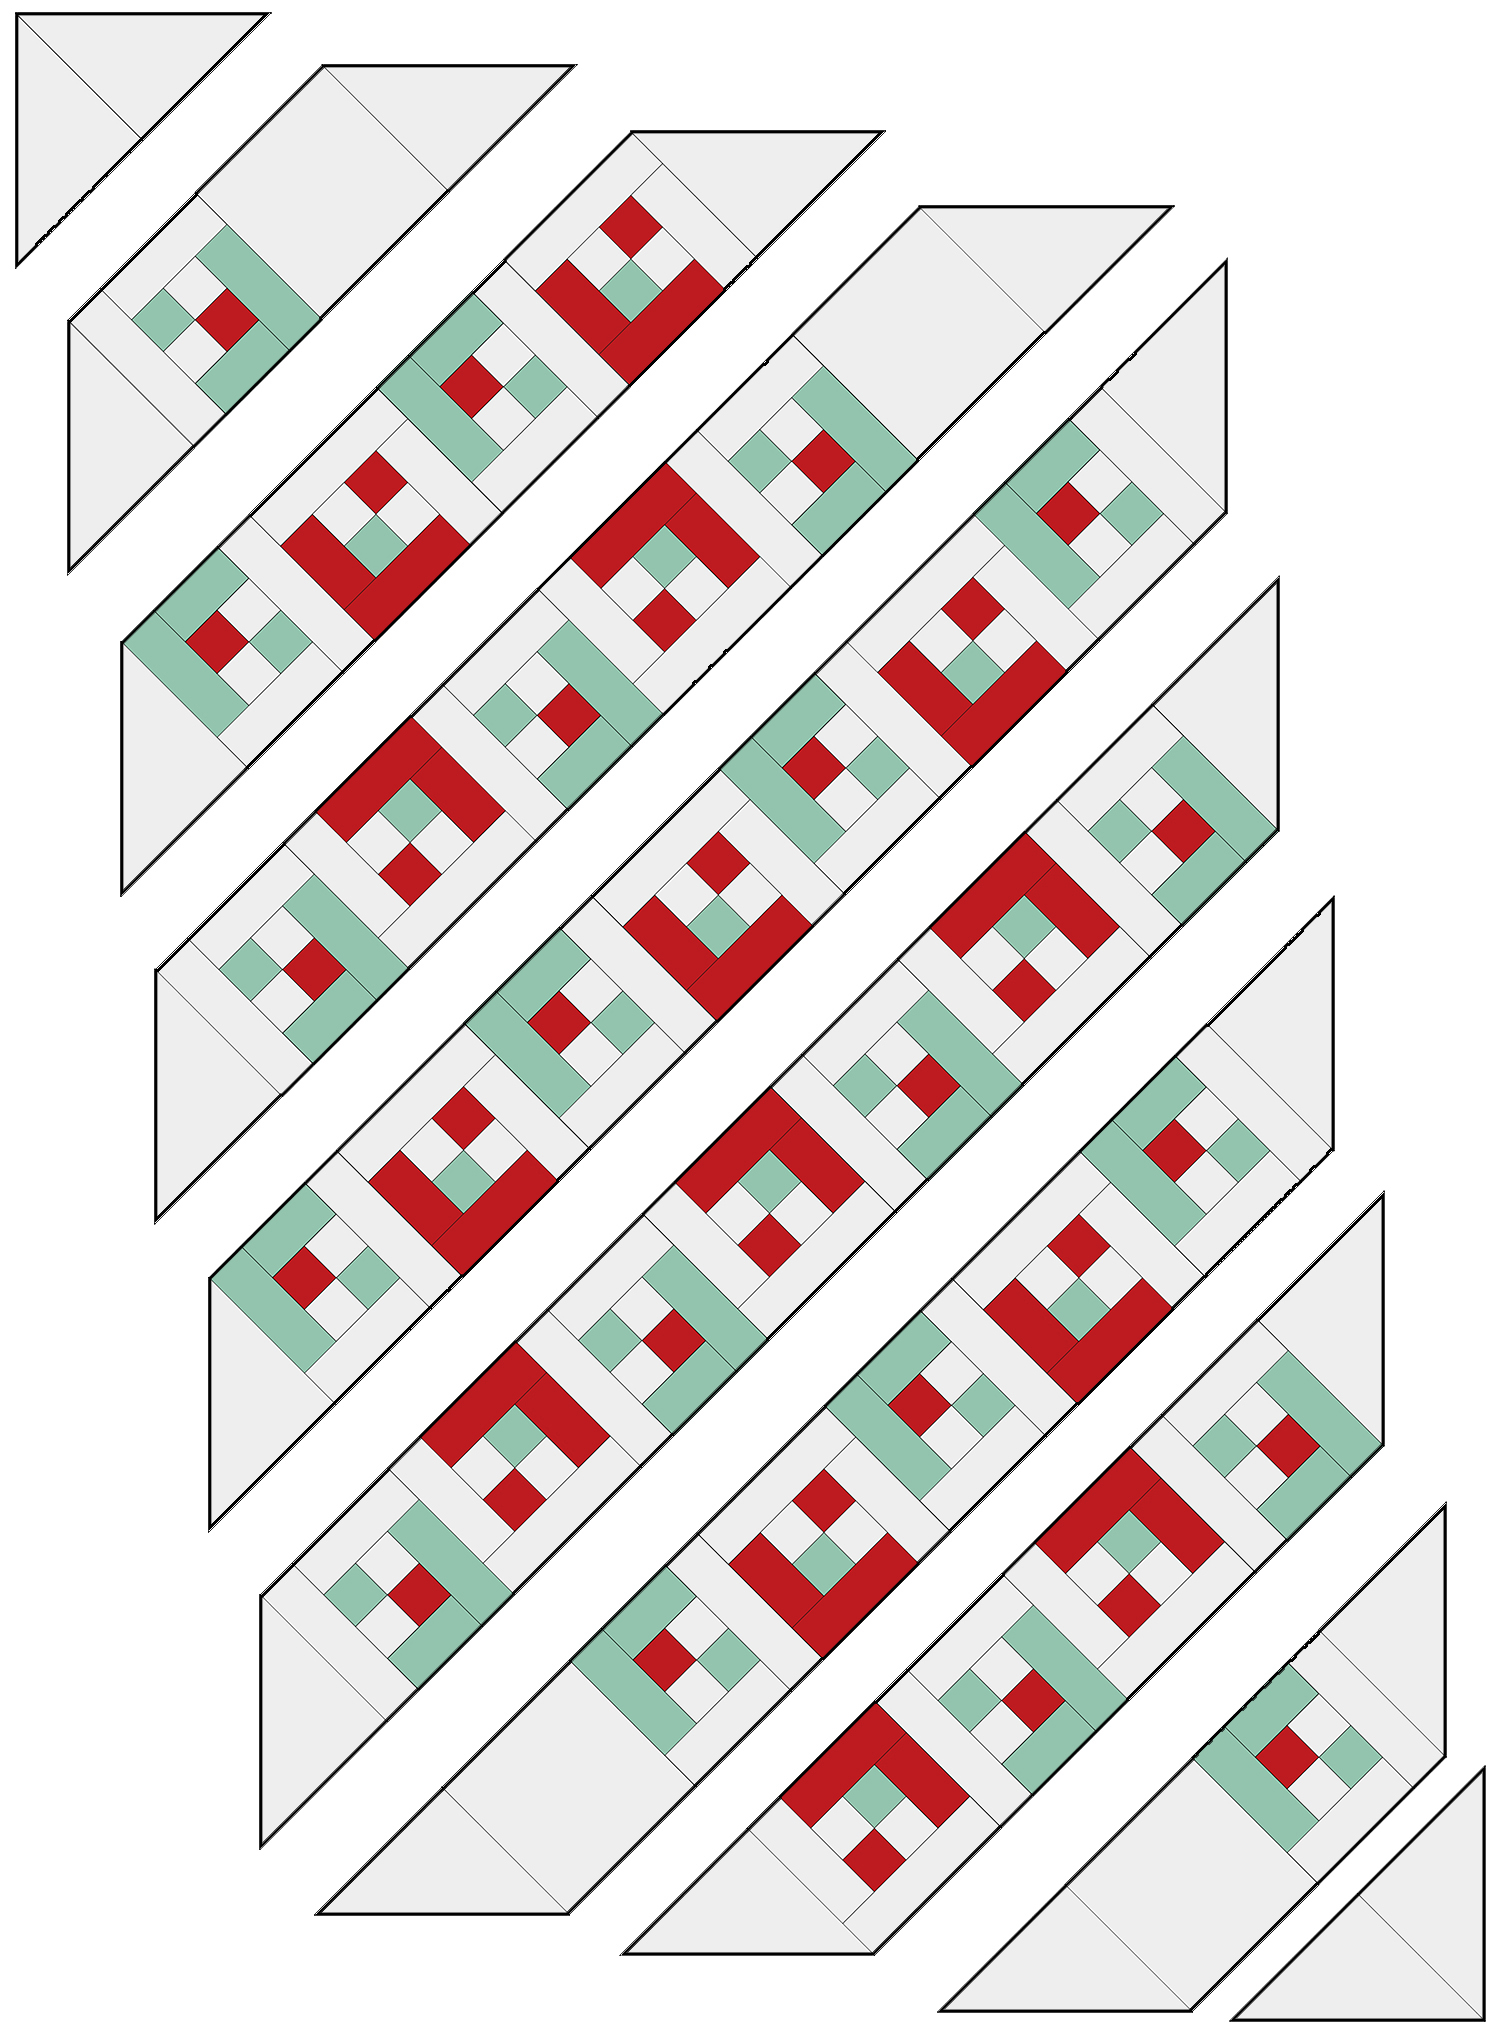
Step 2
Stitch your blocks together in diagonal strips. Press your seams in alternate directions for each diagonal row.
Step 3
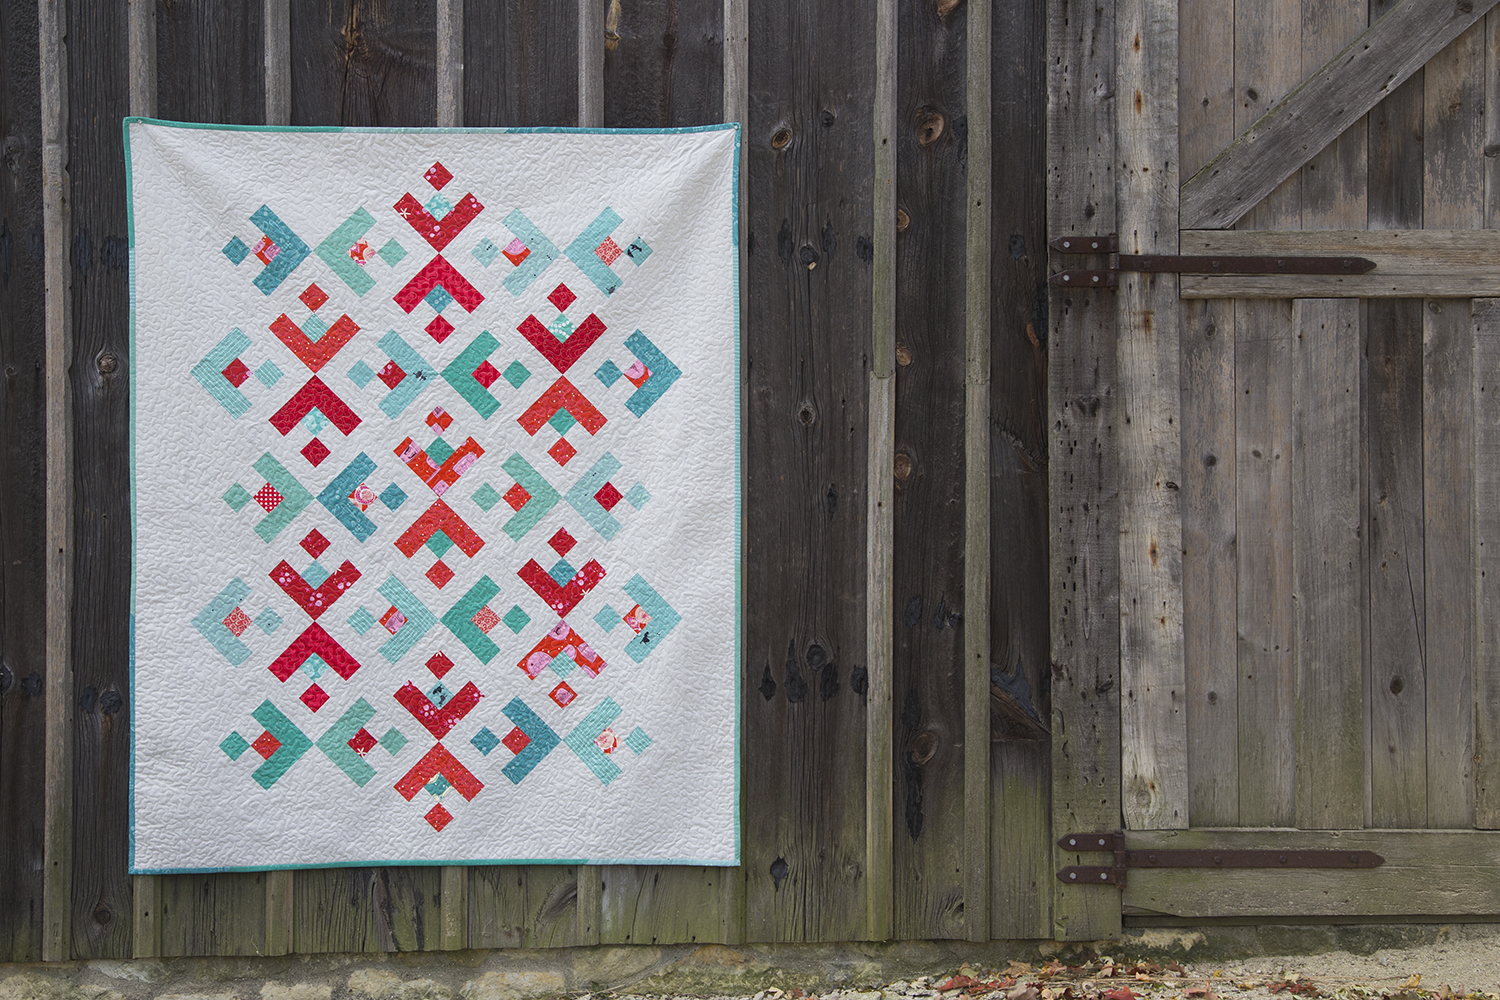
Stitch your diagonal strips together to form the center of your quilt top. Press your seams open.
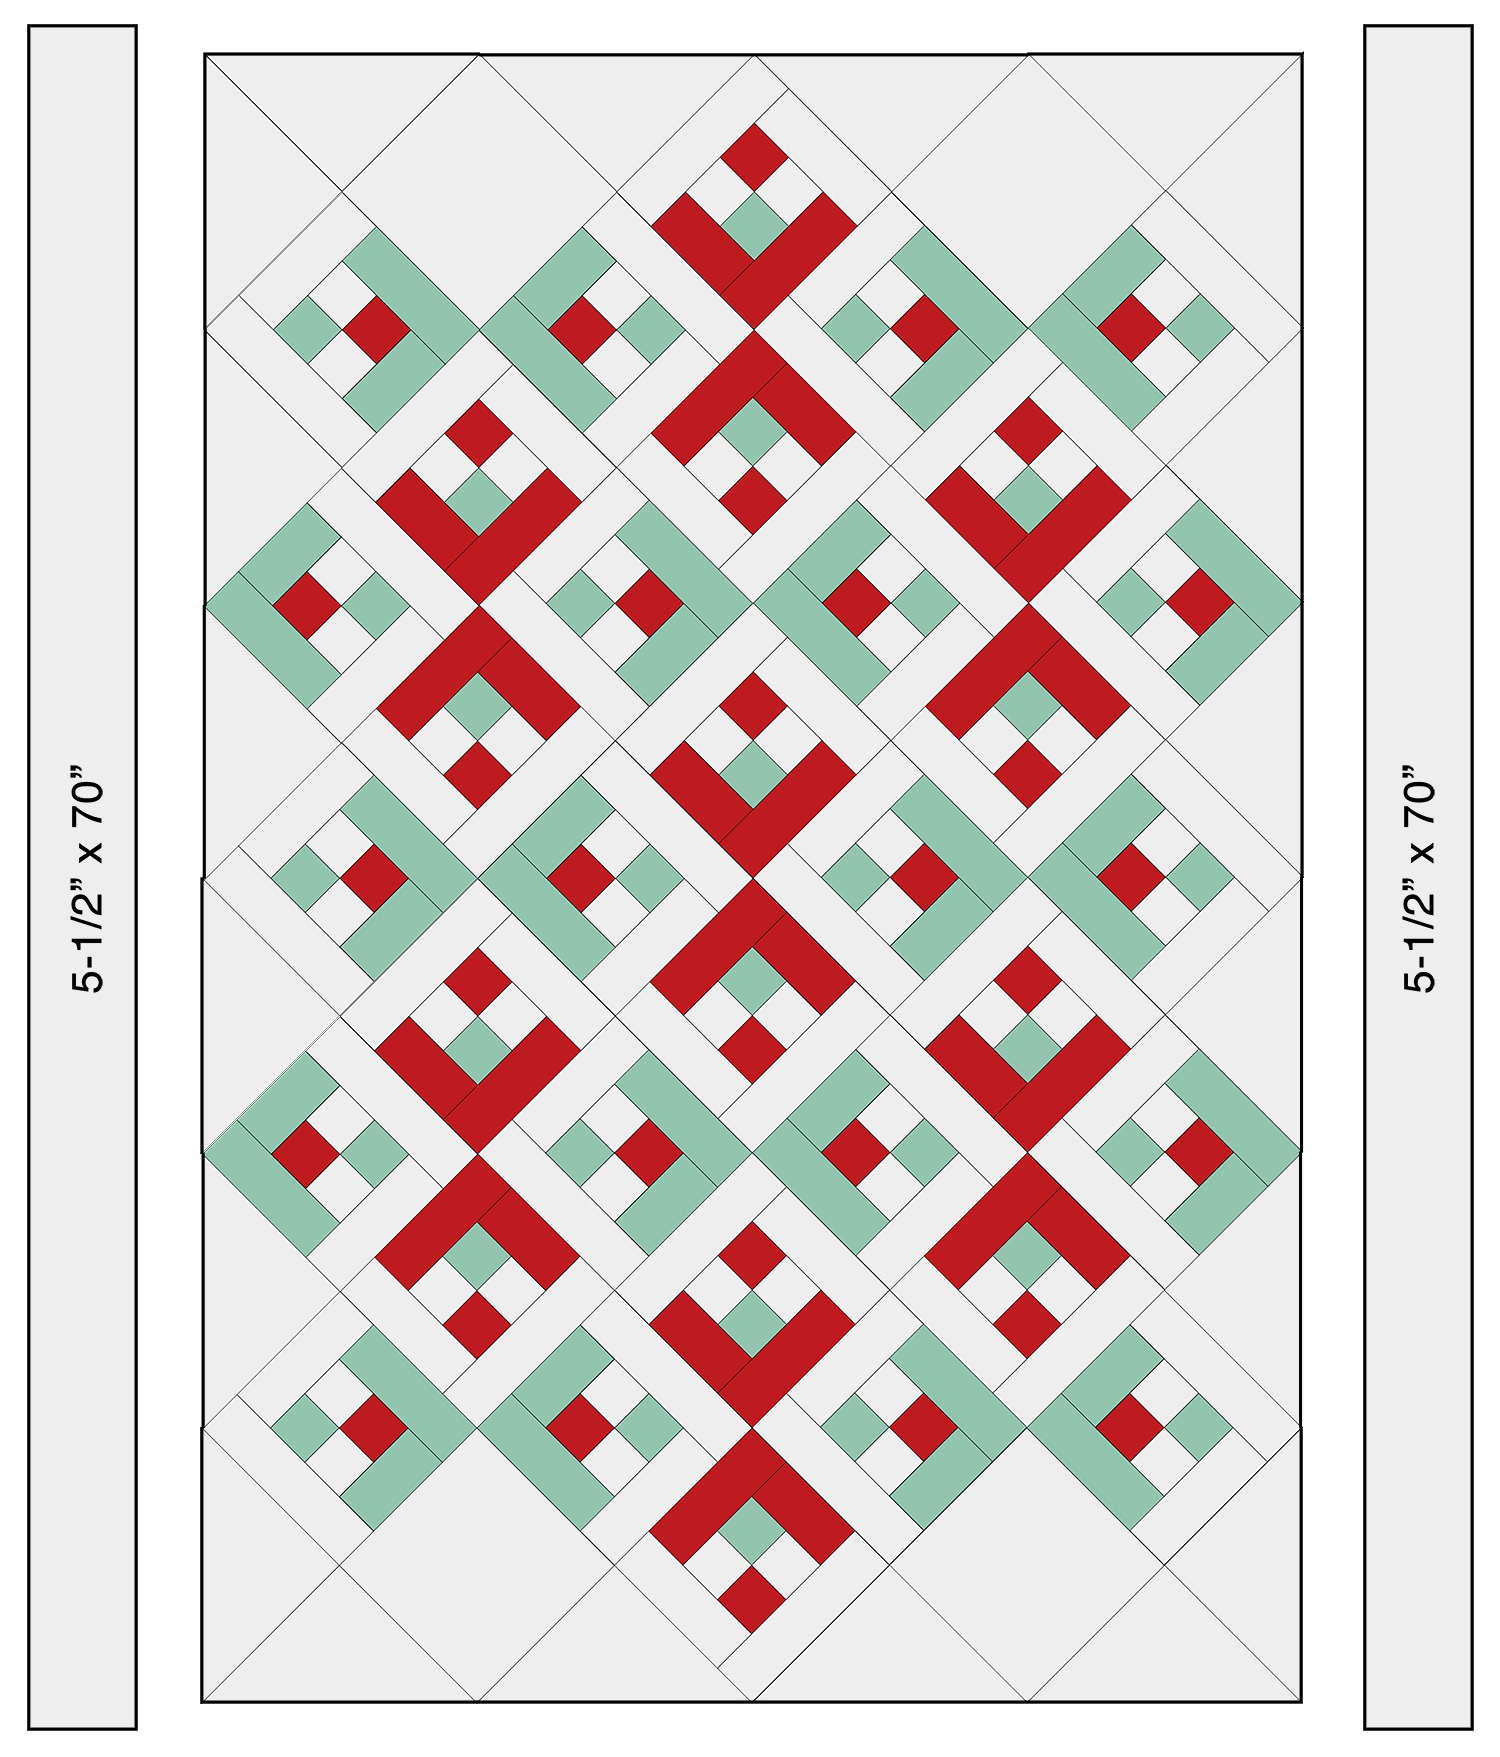
Step 4
Gather your (2) 5-1/2″ x 70″ background strips. Sew the strips onto the left and right edge of the quilt top. They will be a little longer than the quilt top to allow for any discrepancy in size. Press your seams open and trim flush with the top and bottom of the quilt.
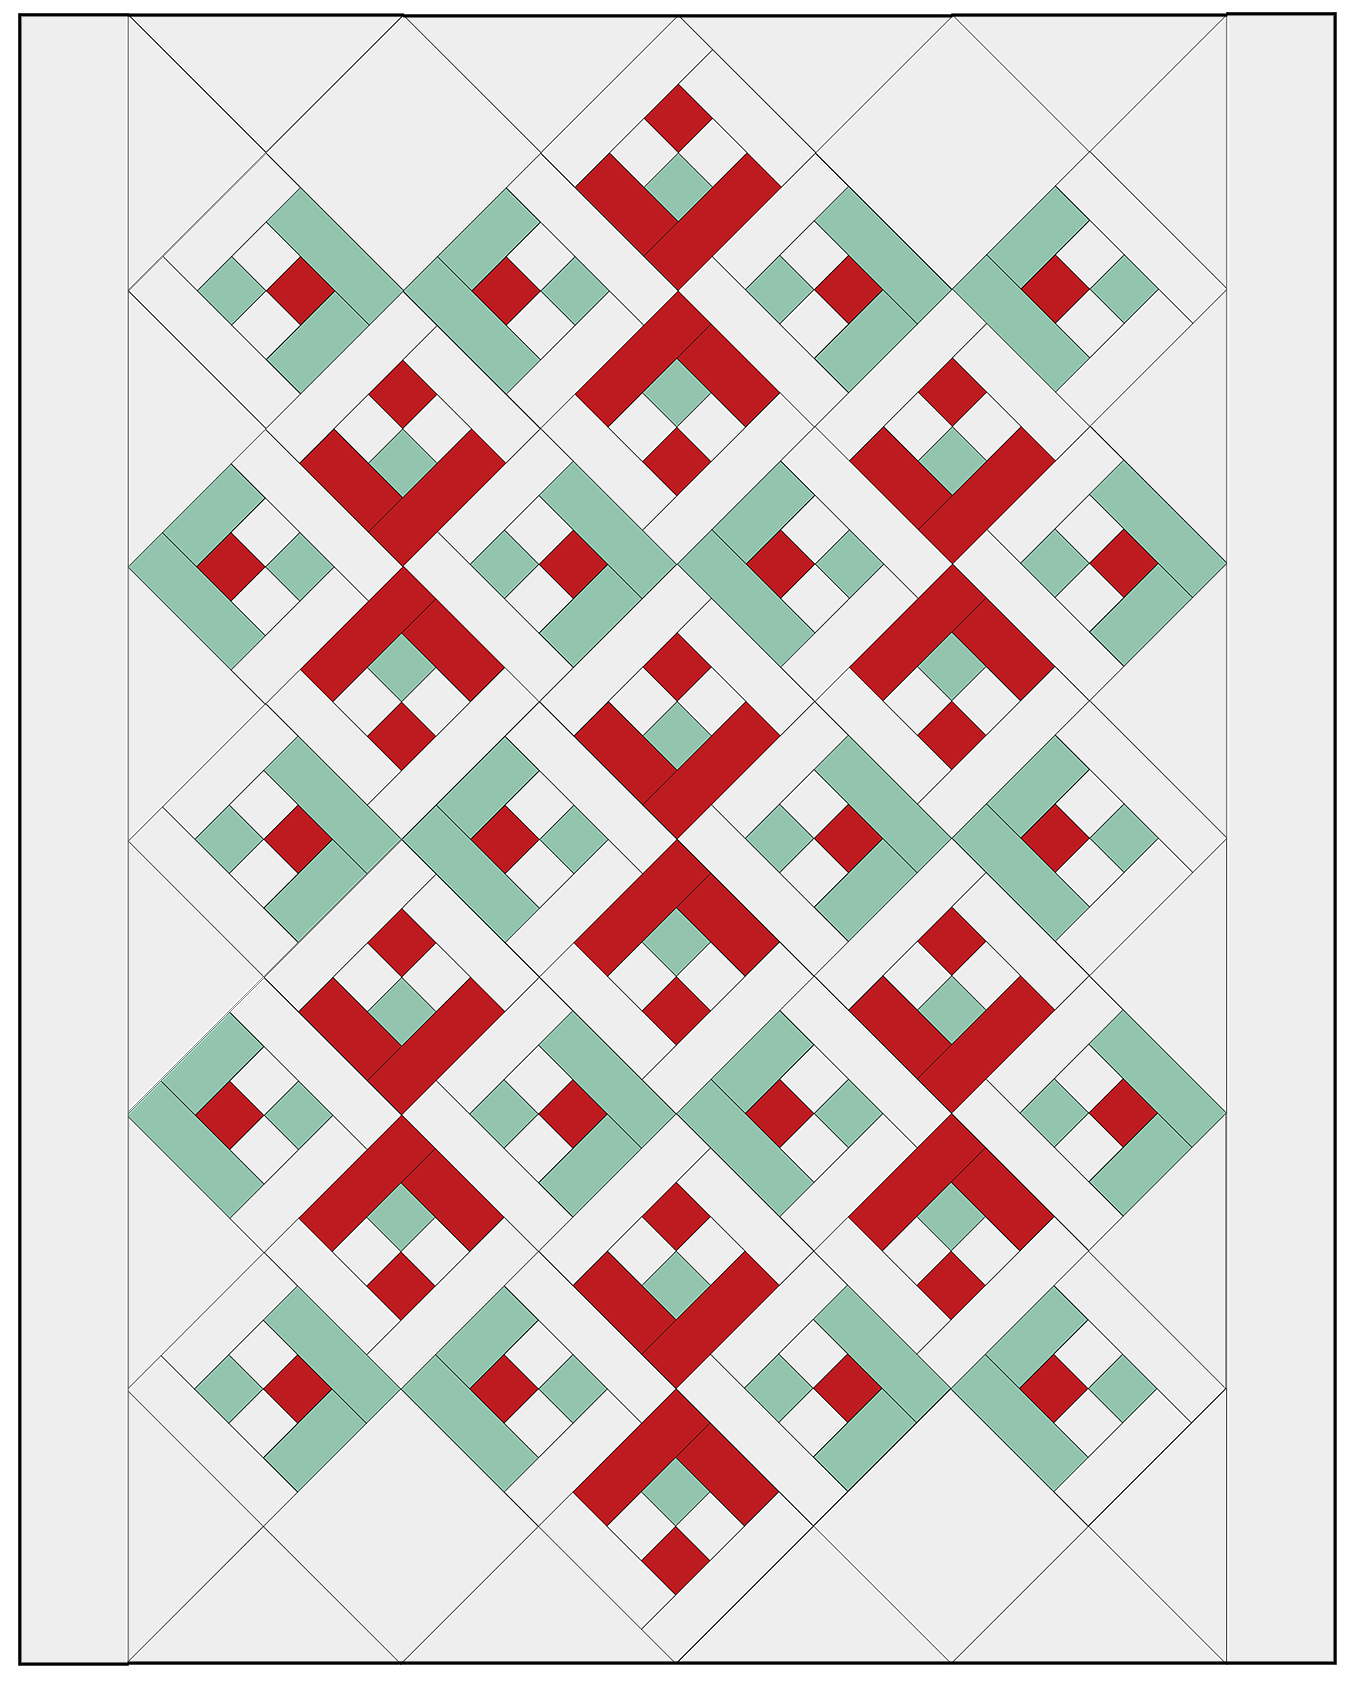
Congratulations! You assembled your Snowflake Quilt Top!
Stop by next week for details on finishing the quilt.


4 comments on “Snowflake Quilt-Along Week 2, Assembling the Quilt Top”