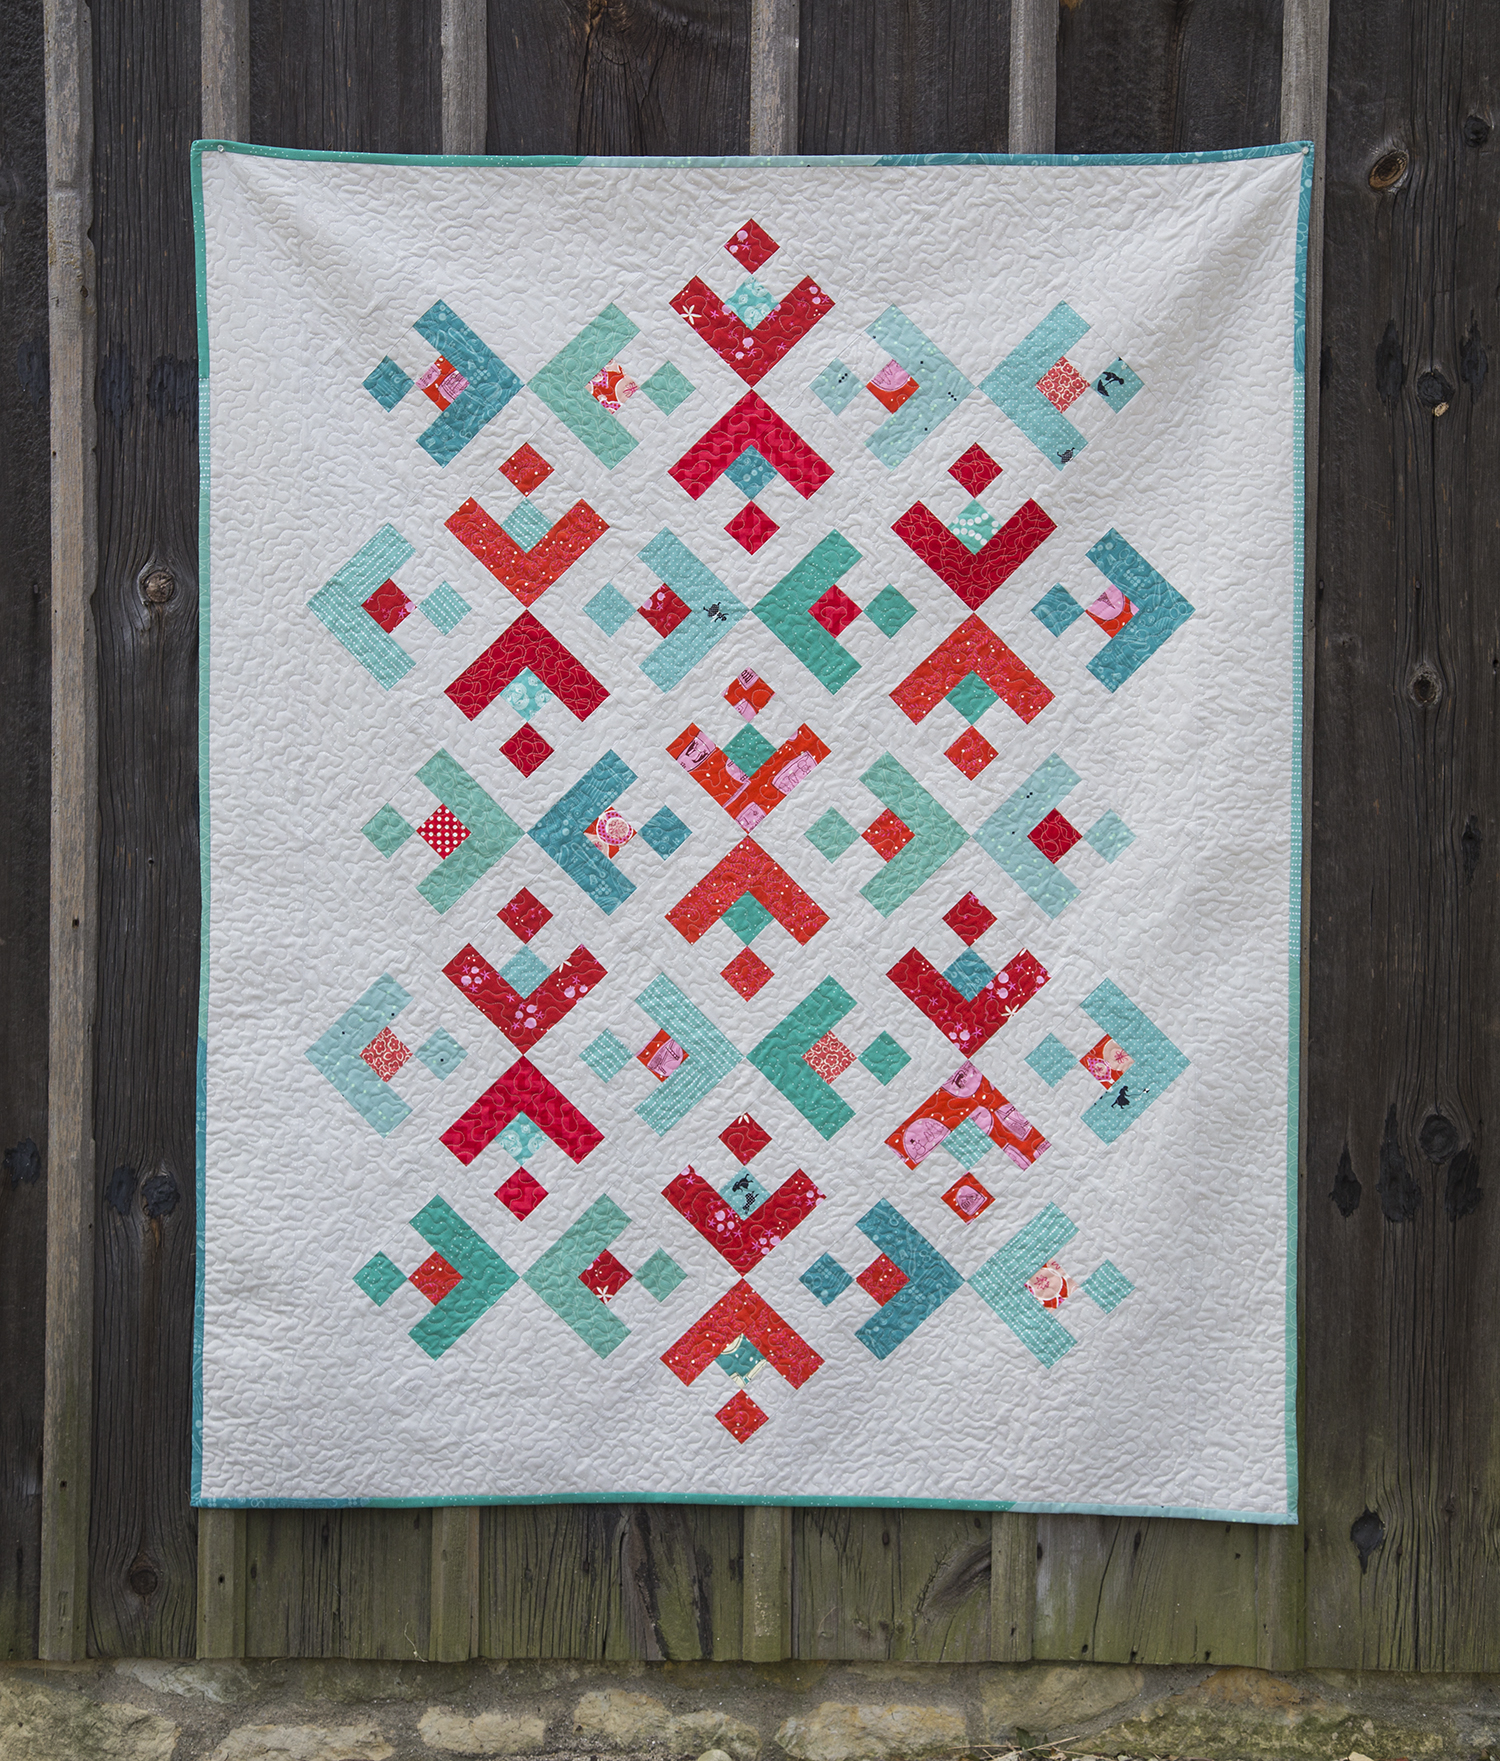
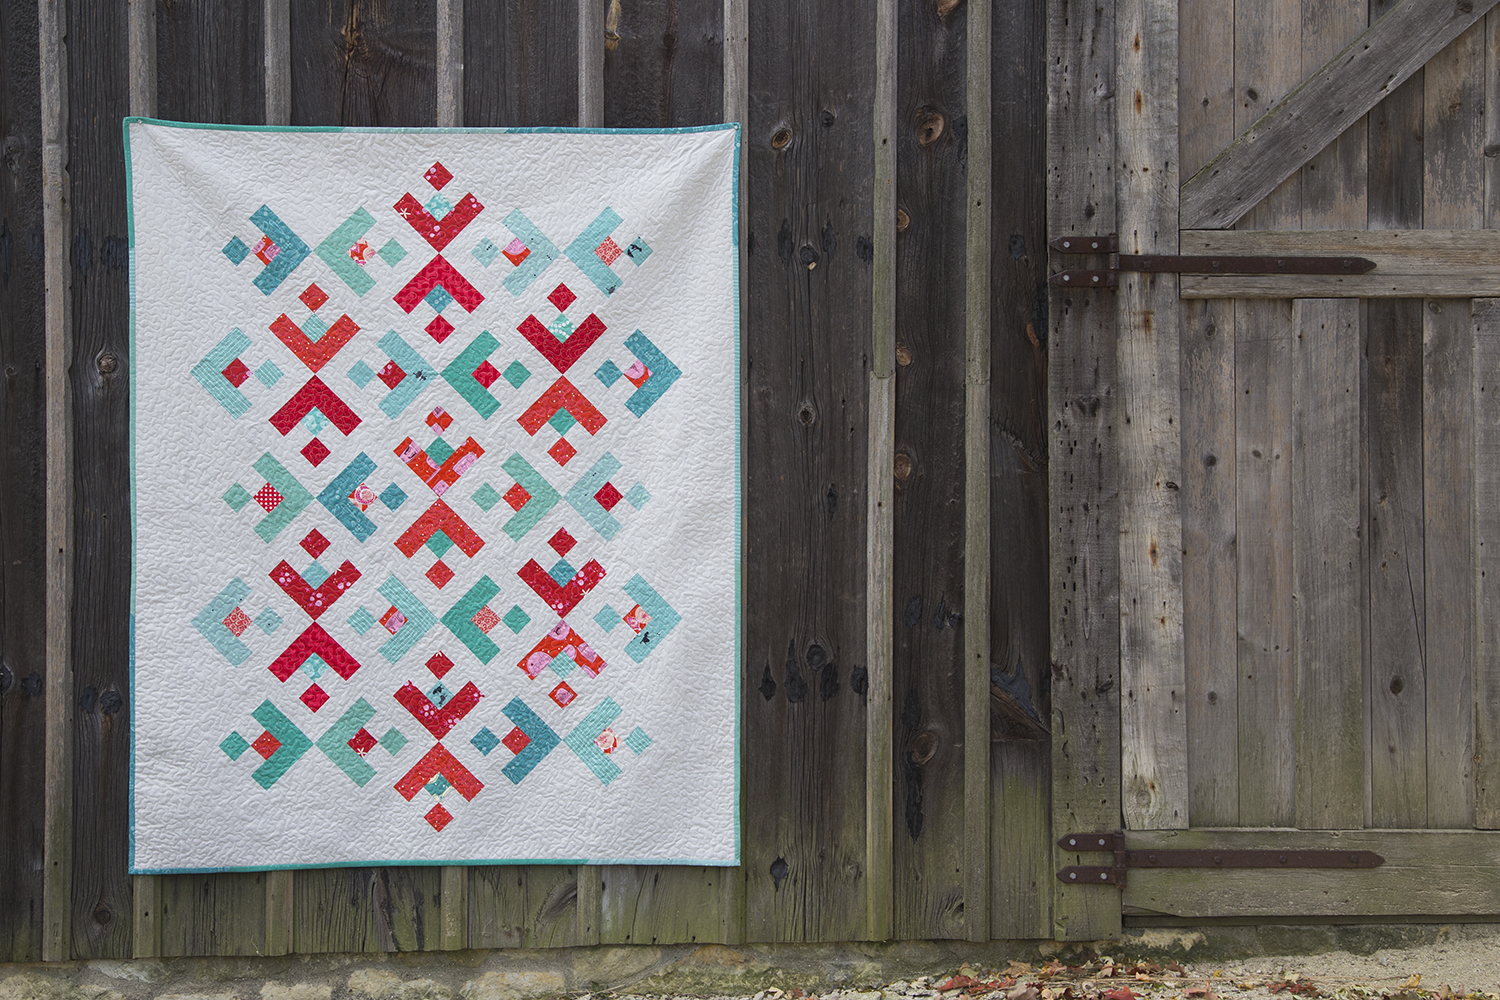
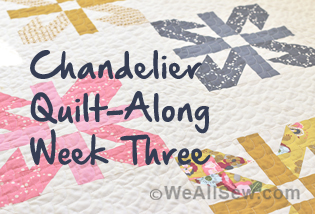
Snowflake Quilt Along Week 3
Welcome to Week 3 of the Snowflake Quilt Along. During the first week, we pieced 34 Snowflake quilt blocks. Last week, we assembled our Snowflake quilt top. You can find the previous directions in the Week 1 Snowflake Quilt Along and Week 2 Snowflake Quilt Along posts. This week we are going finish up our quilt. Let’s get started!

Snowflake Quilt Along – Week 3
Pattern by Faith Jones, Fresh Lemons Quilts
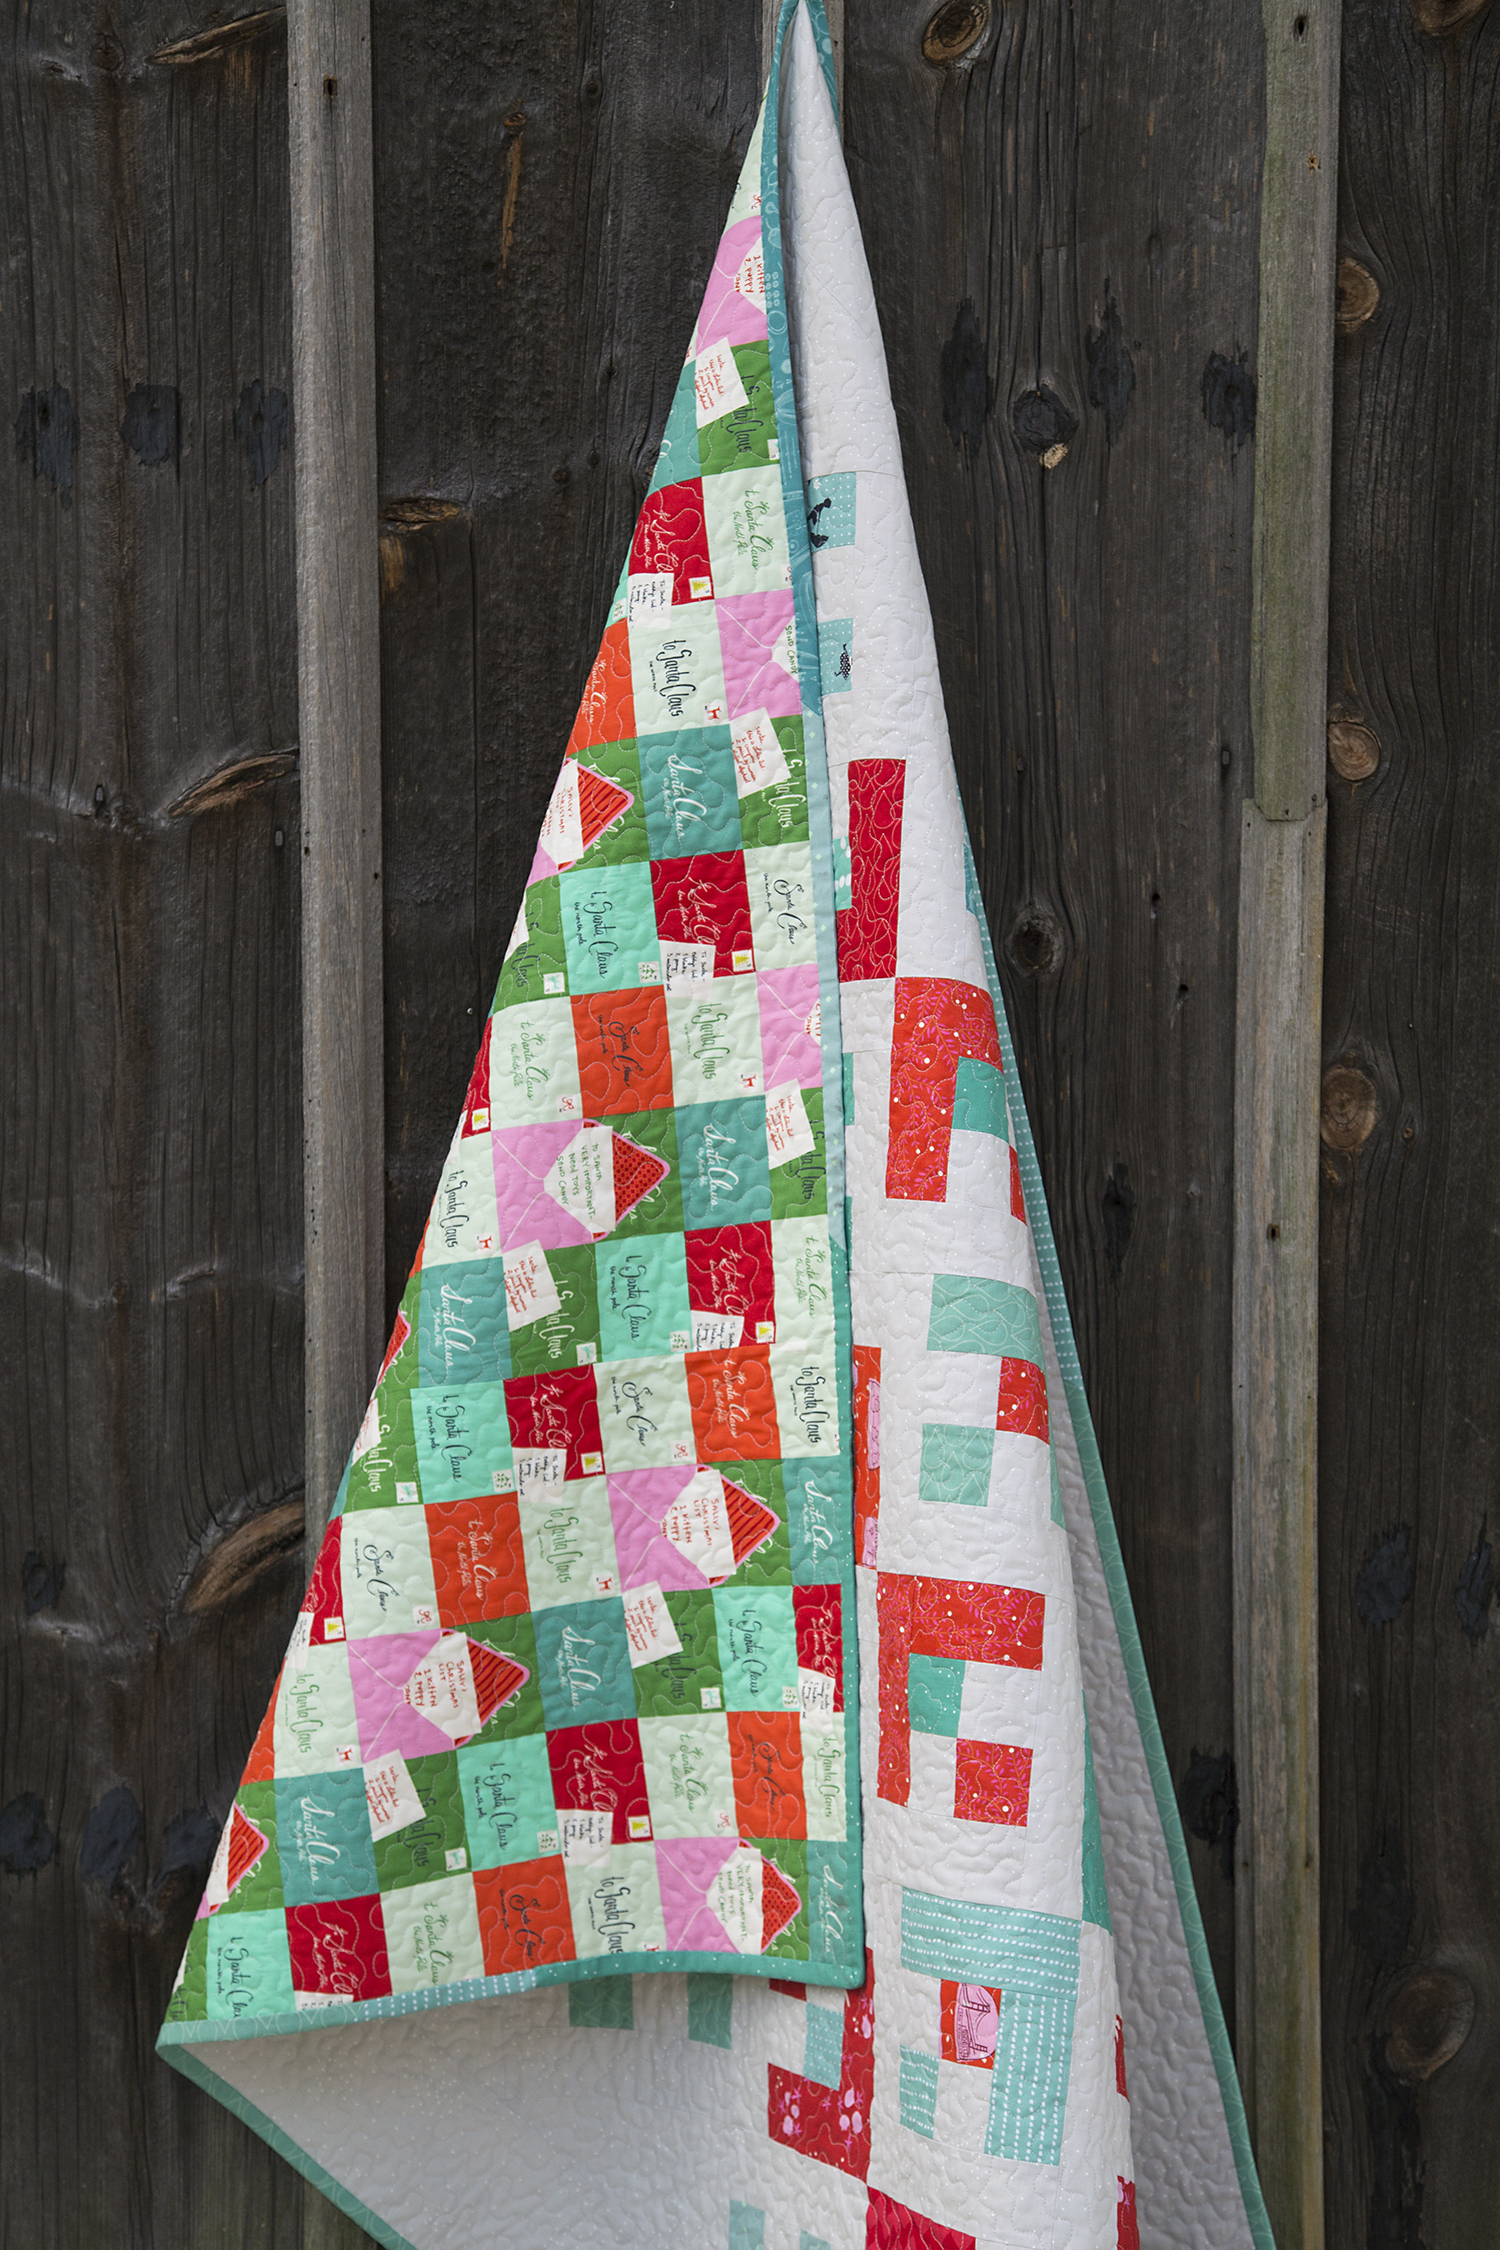
Finished Size: 55″ x 67″
Block Size: 8″ x 8″ Finished
Number of Blocks: 34
Quilting and Finishing the Snowflake Quilt
Step 1. Create your backing. Cut the (3-1/3) yards of backing fabric in half, resulting in (2) pieces, 42″ x 60″. Sew together along the long side of the fabric, resulting in a backing that measures 60″ x 84″. Trim to 60″ x 75″.
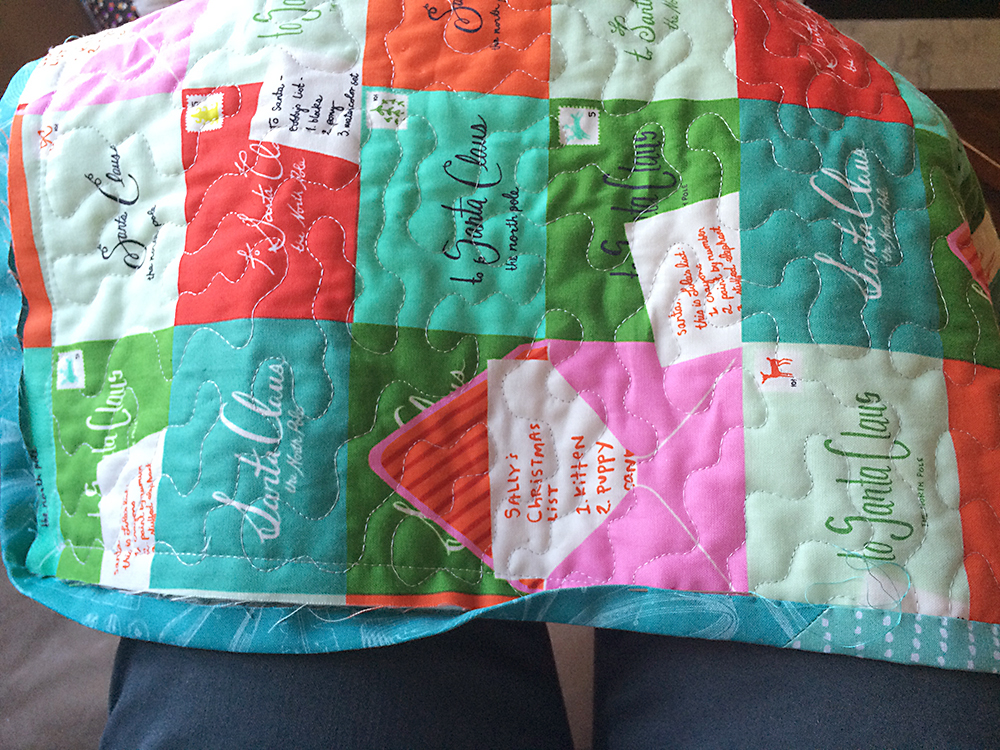
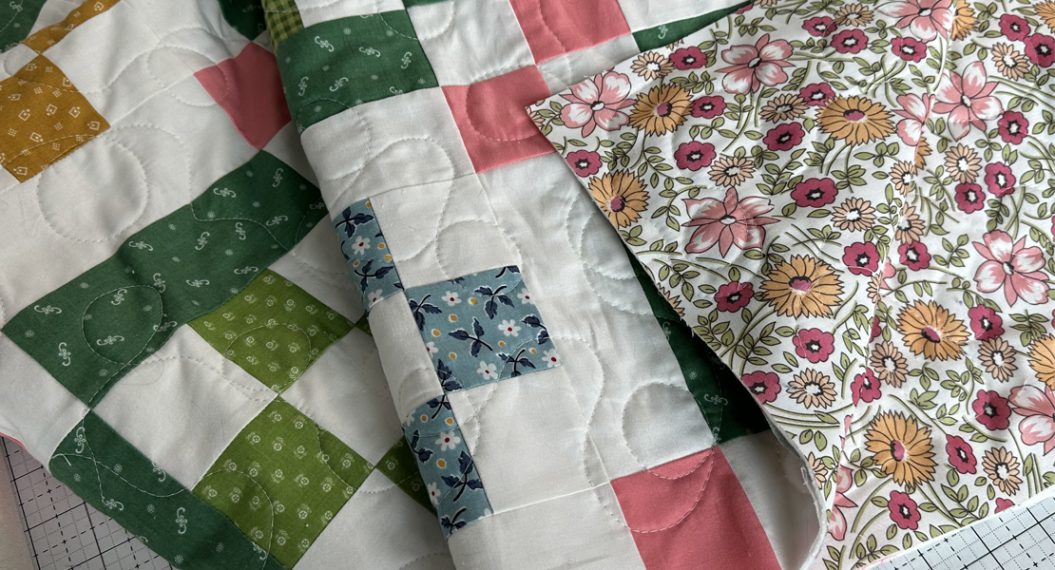
For my backing, I used a print from Cotton and Steel’s Tinsel collection called Notes to Santa.
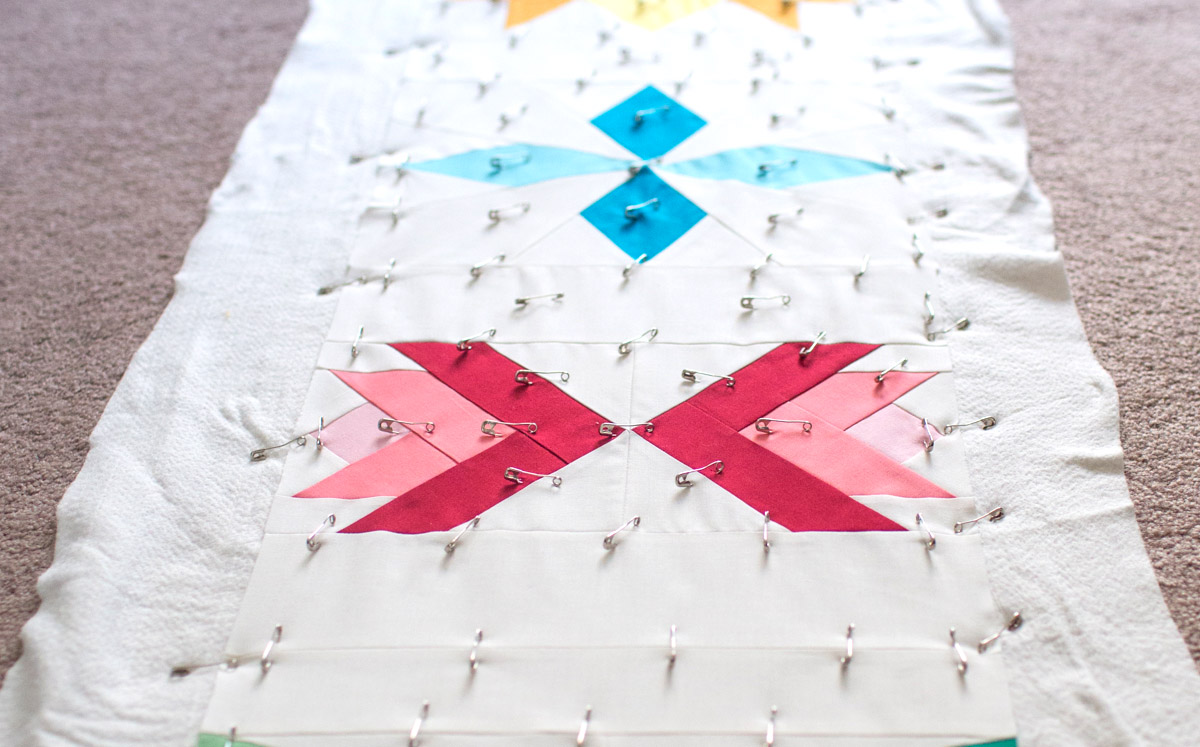
Step 2. Baste the quilt using your preferred method, or follow these simple steps.
Layer the backing on a smooth, clean surface, right side down. Secure with painter’s tape to keep the bottom layer from shifting while basting. Add the batting on top of the backing, smoothing out any wrinkles. Add the top to the quilt sandwich, right side up. Smooth out any wrinkles with your hands, beginning in the middle of the quilt sandwich and moving out to the edges. Use basting safety pins to secure all layers together, pinning about a hand’s width apart.
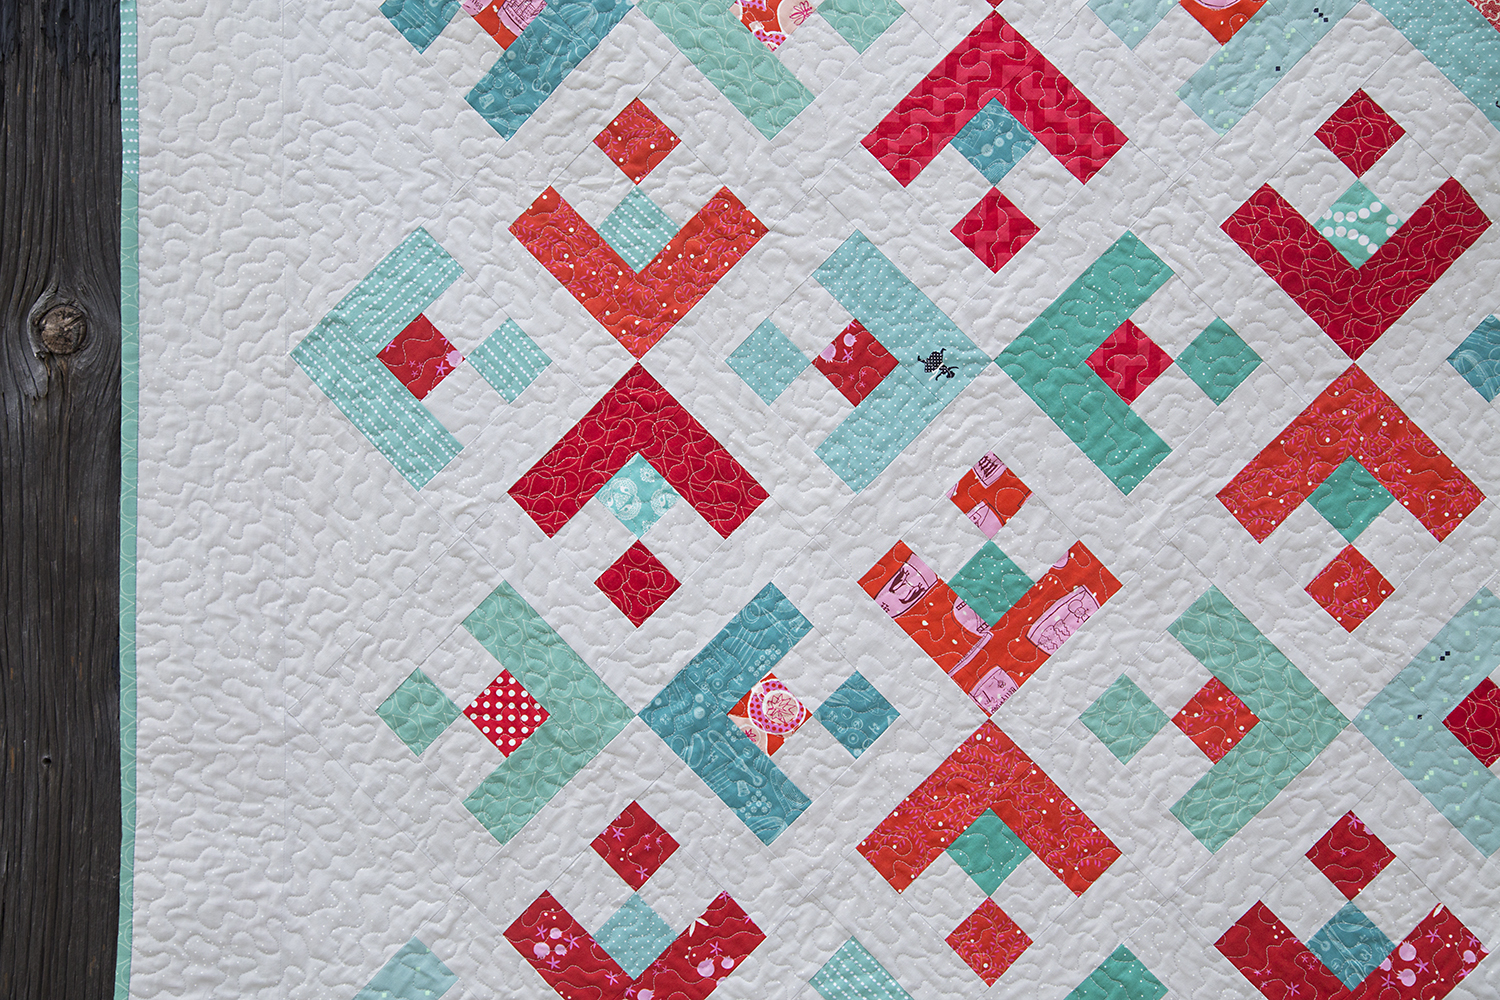
Step 3. Quilt as desired. I quilted my Snowflake quilt in a meandering free motion design using my BERNINA Stitch Regulator BSR and a straight stitch needle plate. I love the perfect stitches I achieve.
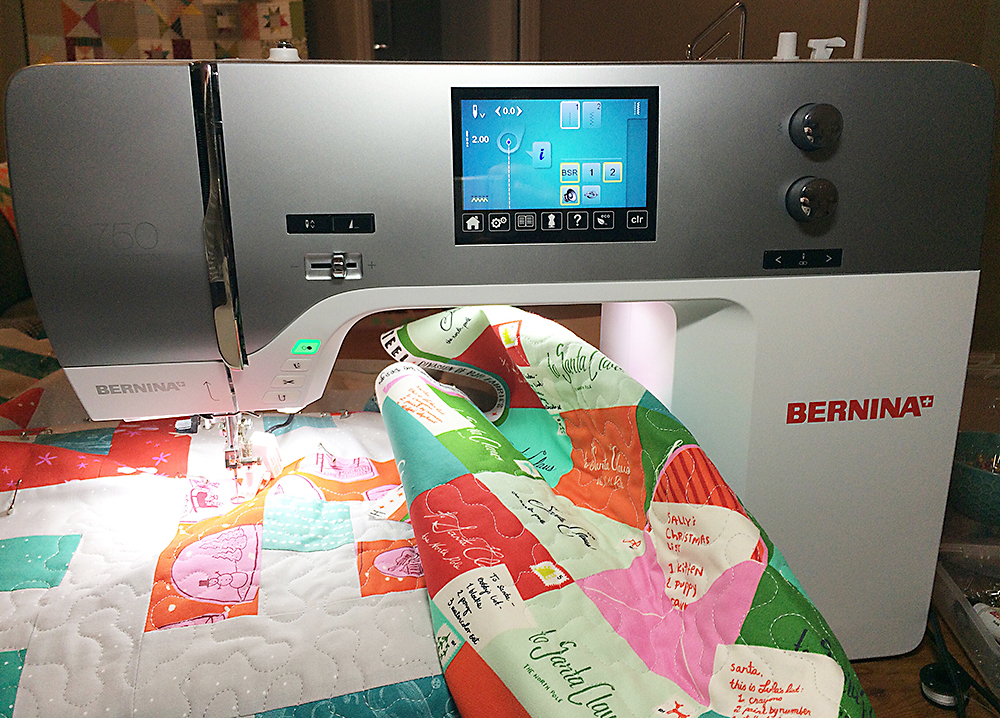
TIP: Fill several bobbins before starting your quilting. I used 3-1/2 of the large BERNINA bobbins that came with my BERNINA 750QE. If you have the standard sized bobbin, I would suggest filling at least 5 before starting your quilting.
Step 4. Cut (7) strips of fabric for your binding, 2-1/4” x 42” (width of fabric). Create your binding using your favorite technique, or follow the simple steps below to bind the quilt. I chose to bind my quilt in a scrappy assortment of aqua fabrics I used on the quilt top.
Join all strips together by stitching at a diagonal 45° angle. When opened, the strip should lay straight. Cut seam allowances from joining strips to ¼” and press to one side. Fold the binding in half, seams on the inside and raw edges together. Press. Attach binding from the front side of the quilt using a straight stitch and a 3/8” seam allowance, mitering the corners. (Click this link to see a mitered corner binding tutorial.) Stop sewing 6 – 8 inches before reaching the spot where you started the binding. Cut ends to overlap exactly 2 ¼”, and pin right sides together to join at a 45° angle. Trim seam allowance and finish sewing binding to the top of the quilt.
Fold binding to the back of the quilt, and hand-sew to finish.
Snuggle under your new Snowflake Quilt!


5 comments on “Snowflake Quilt Along Week 3”
I enjoyed this quilt and just finished mine. Thanks for posting.