Deer Quilt Sew-Along with LUKE Haynes – Week Two
Howdy, everyone, I hope you didn’t have any trouble with last week’s segment.
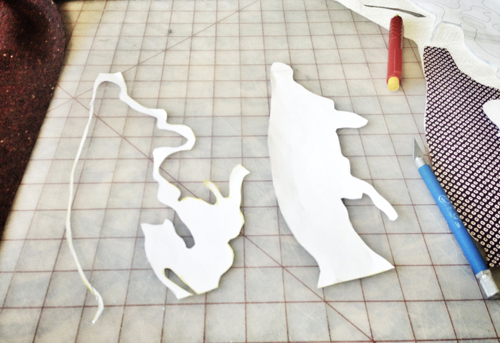
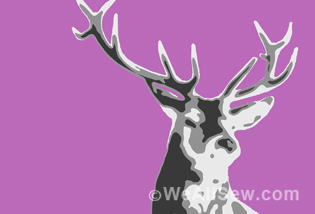
Now it’s time to make the figure of the deer.
Take out the silhouette we made last time and let’s get started.
For Week One, click here: https://weallsew.com/2013/09/23/deer-quilt-sew-along-with-luke-haynes-week-one/
Week Two: Cut and place appliqué fabric shapes.
Step 1) Cut out the fabric shapes.
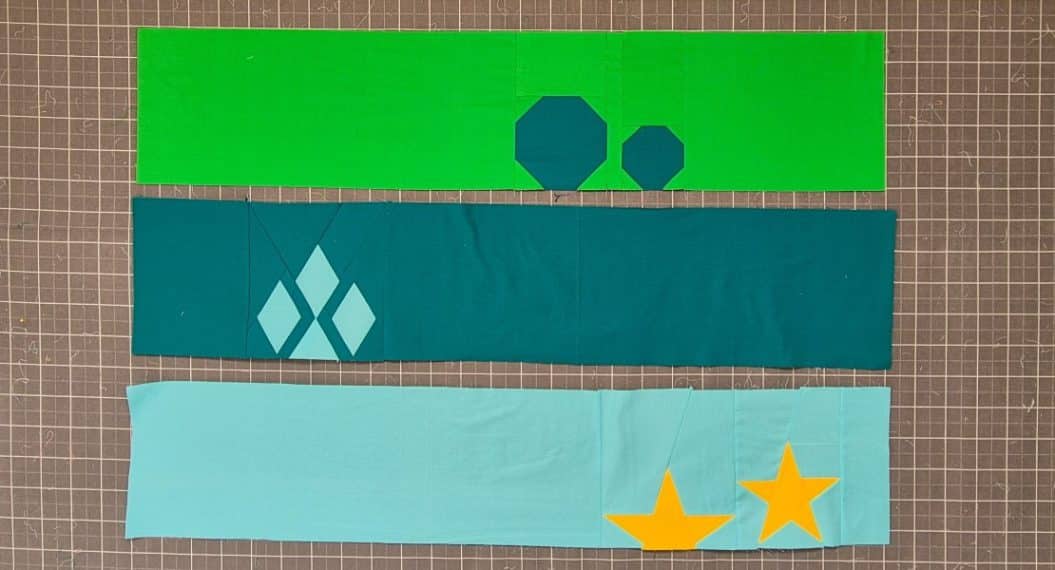
Take out the lightest value fabric that you chose for the deer figure.
Wash/iron/pet/tease/starch/coax it till you are ready to use it for the quilt. I tend to just use it like I found it with a little ironing to lay it flat. Note: Wash it if you are planning to use it in a quilt that will be washed later.
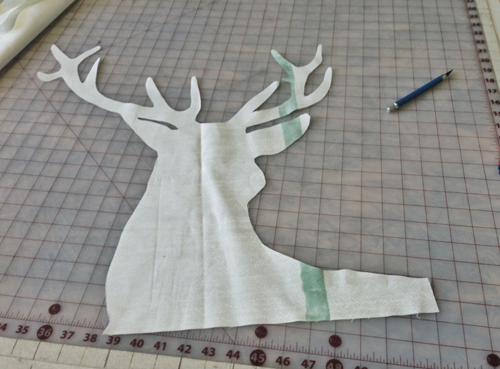
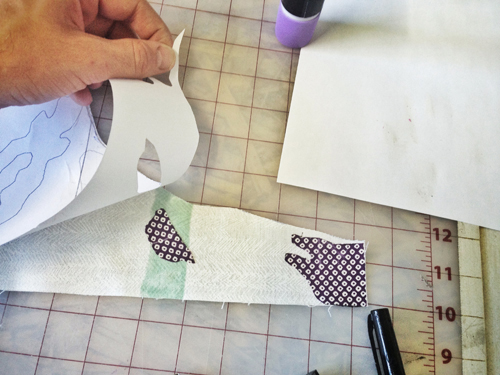
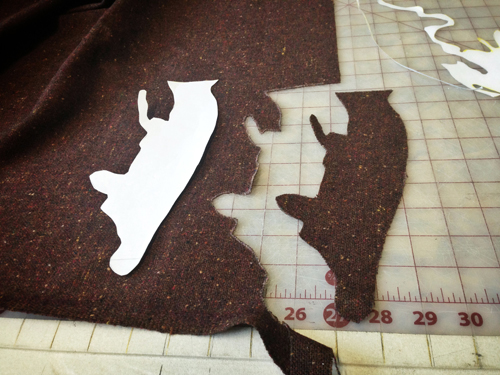
Lay out the lightest fabric on a flat table. I use my cutting mat as the surface to do all this work, but you can use a table or the floor or whatever surface you find most comfortable.
Position the fabric on the table so it will be in just the right spot to cut it out. Note that I incorporated that lovely green line in the piece. The fabric has a few creases in it, but those get worked out over time and through the ironing once the quilt is finished.
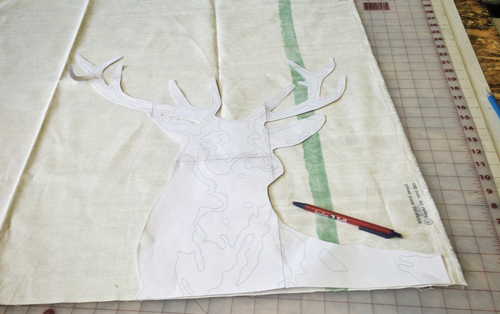
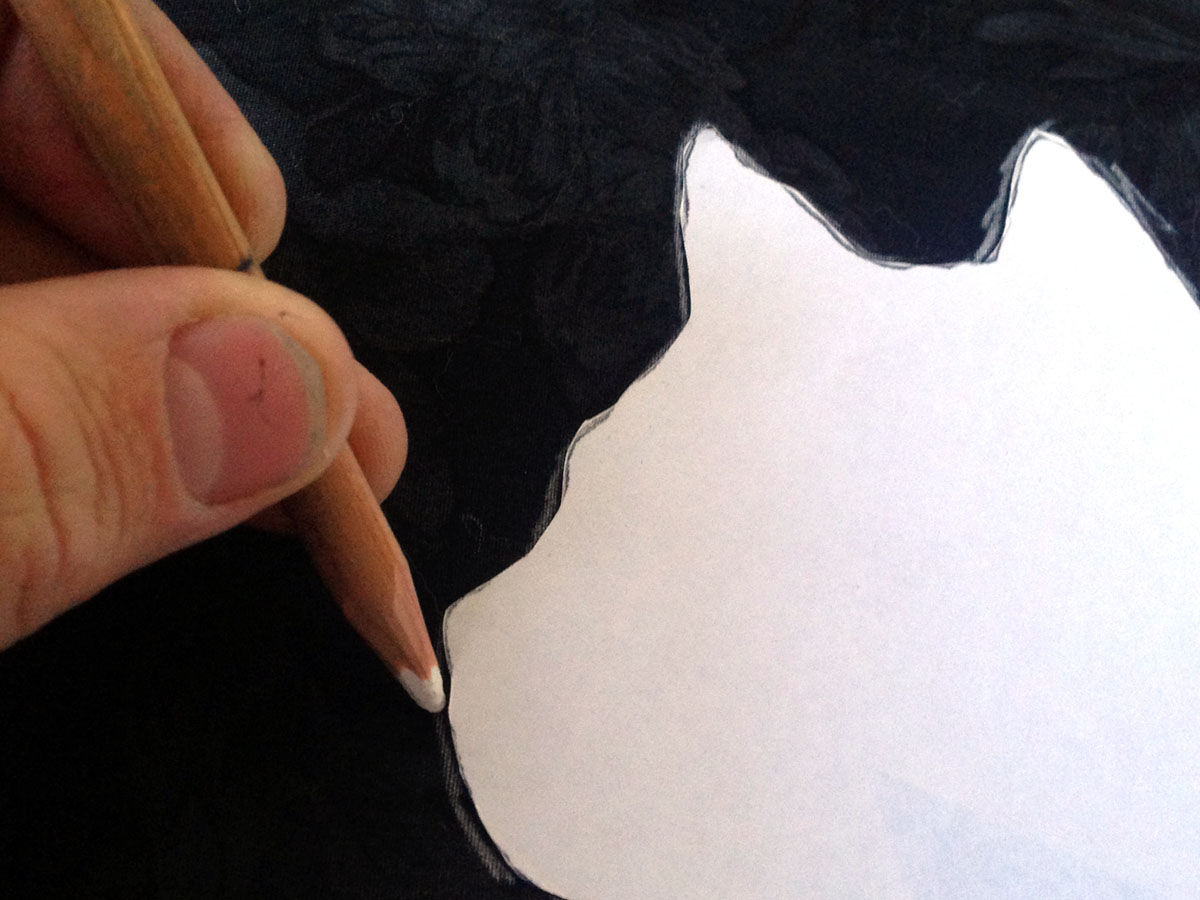
Now, trace the outline of the paper. I use a ballpoint pen, but you can use a fabric marker or a chalk pencil or anything you want that shows up on the fabric. The reason I don’t mind using a ballpoint pen is that we are going to be cutting along those lines and if a little gets on the piece it lives on the edge. Unless it’s resting on your nose you won’t notice it, but it’s up to you, of course.
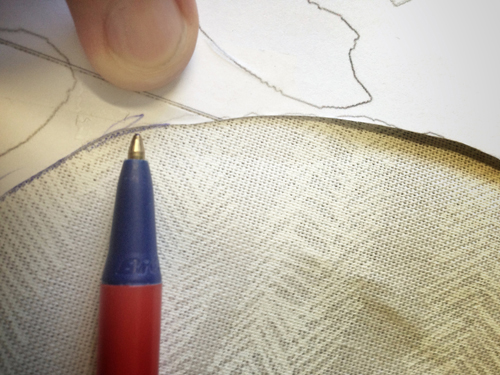
The way I trace is to start from the middle and work toward the edges, so if the paper moves I have a registration point to line up with. You can tack the paper down with glue or pins till you feel more comfortable, but if you are careful it will stay in place just fine. (Unless you are in Los Angeles and have all the fans going, like I do!)
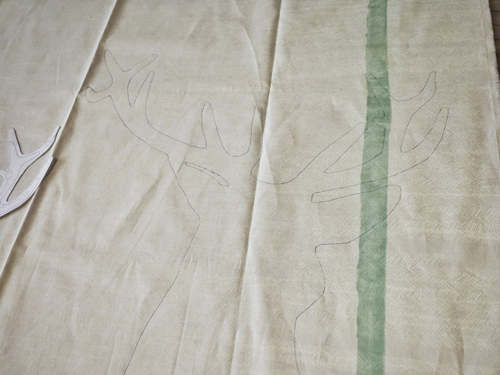
Once you have traced the whole thing, start to cut it out. I use an X-acto blade, but scissors work just fine.
Step 2) Assemble the layers.
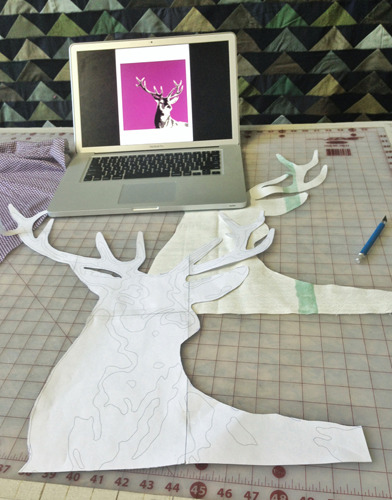
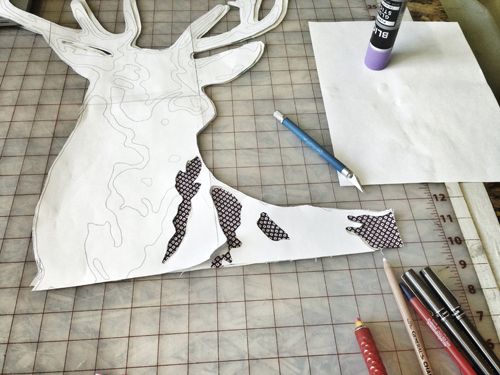
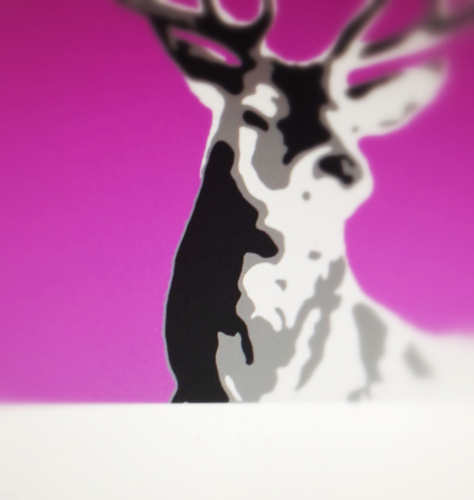
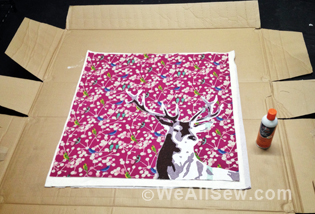
Now comes the fun/tedious part. I set up my computer or print out the PDF image of the whole project and keep it nearby for registration.
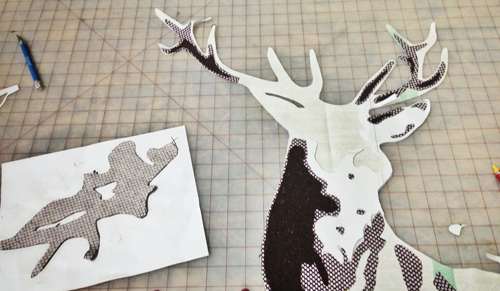
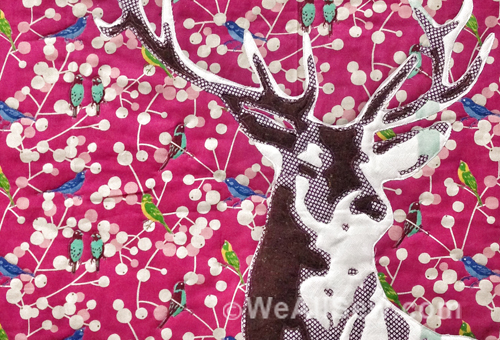
Let’s start adding the other colors to our stag. I work from one side to the other so I can keep track of the pieces. Let’s start from the lower right corner.
Cut out the piece at the corner. Now, using the same technique we used to get the outline of the whole head cut out, grab your second color, the middle value one, and cut out this piece. (If you are using white, gray, and black, this will be the gray fabric.) You can cut this out using scissors, or like I do, with an X-acto knife.
Flip that piece over to the back and slap some glue on it. Here you can also use a fusible product or tack stitches; I tend to use glue stick just for the ease and speed.
Now we’re going to use the paper cutout of the whole head to help us position the piece as we glue it down. It isn’t too hard to find the right spot for this piece, but when you get to the middle of the piece it gets more difficult.
We’re going to repeat that same process for all the rest of the middle value pieces. However, we should go through the method for the darkest color so you don’t lose the pieces we’ll need to get those dark areas on there correctly. I tend to work each piece till I get it done, and then I can cast the scraps; otherwise I will lose those important pieces in my growing pile of cuttings.
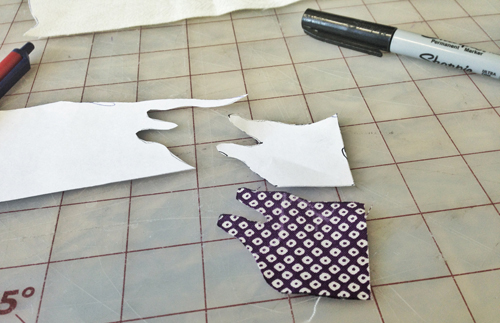
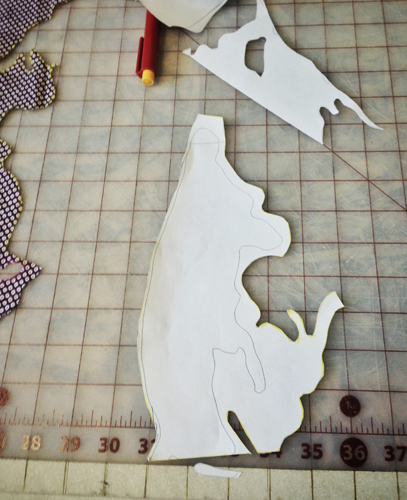
I will show you what I mean. Take this left side piece we’ve cut from the larger head. Hard part here. I have cut off just the size piece off the middle value fabric that I can handle; the line continues up but I cut across right where the eye would be so I don’t have to wrangle a large floppy piece. It will line up later and none will be the wiser. I bet you didn’t notice anything awry with my final piece.
First things first—we need to place the middle tone piece on the head, so do that like you’ve been doing for the pieces that are just that middle value (gray).
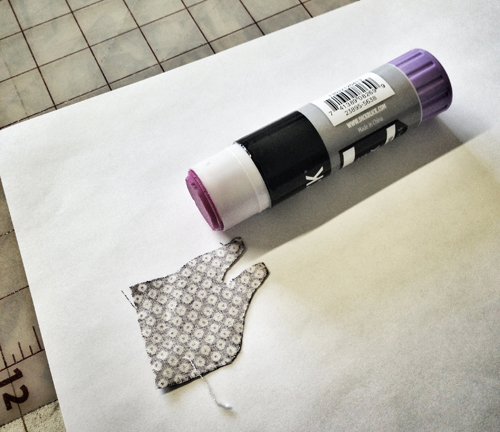
Once you’ve done that, take this bit of paper and cut the line that separates the piece that will be the dark area. (Refer back to the overview page and/or look at the line color.) Save what you cut off; we will use it to position the piece within the larger head.
Take the piece you cut out and trace it on the fabric you are using for your darkest color.

Cut it out.
Place the wiggly leftover piece of paper on the mid-value fabric. Using it as a guide, position the dark fabric piece on the mid-value fabric and glue or fuse it down.

See how nicely it fits?

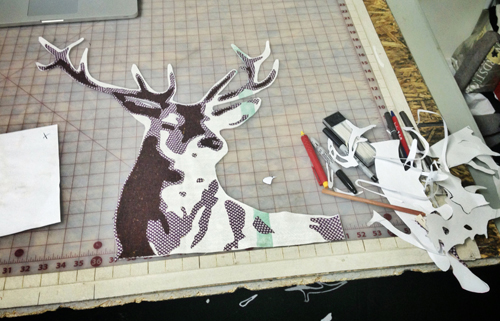
Now onto the detail parts on the noggin.
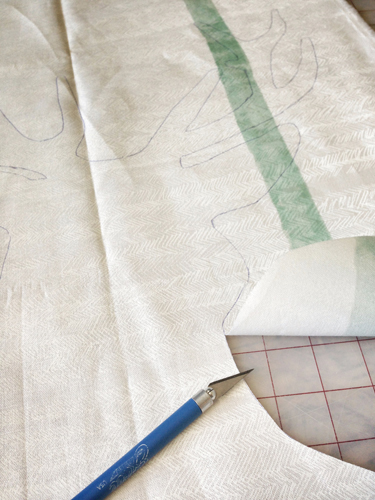
See how I’ve cut the template into manageable pieces? Note the antler on the upper left; no reason that should have to be flopping along with the large head piece. You can cut it into as large or small pieces as makes you feel comfortable.
There you go! I say that like it was easy and quick, but I realize that there is a learning curve to this process. Good luck and see you next week! LUKE
See you next week, Monday, October 7, as we continue our Deer Quilt Sew-Along.
Visit LUKE at lukehaynes.com.


What you might also like


4 comments on “Deer Quilt Sew-Along with LUKE Haynes – Week Two”
-
-
I bought my ‘deer’ fabrics last week, then was inspired by the designer to check out my local Goodwill “buy the pound” store for my backing. I found the perfect red plaid shirt! But then guess what. I brought it home, washed it, and tried it on. And it was so cuddly and soft and cosy that I just couldn’t cut it up. It’s the perfect layer to wear right now as the fall weather sets in. The good news is that I went back to the store and found one more shirt – almost as good – and I’m hoping it’ll work well as the background. I didn’t try it on because I worried the same thing might happen again 🙂
-
Pingback: WeAllSew « https://weallsew.com
-
Pingback: WeAllSew « https://weallsew.com
Leave a Reply
You must be logged in to post a comment.

Dear Luke,
I just ran onto this quilt and I am just starting it so I am a bit behind but I will catch up. Thanks, I knew who I was going to make this for the moment I saw it. He will be thrilled.
Maggie