Deer Quilt Sew-Along with LUKE Haynes – Week Three
Welcome back! Let’s get this thing looking more quilt-like.
We’ve done the hard parts; now let’s assemble it.
Let’s get going! LUKE
Week Three: Layer, baste, appliqué, and quilt.
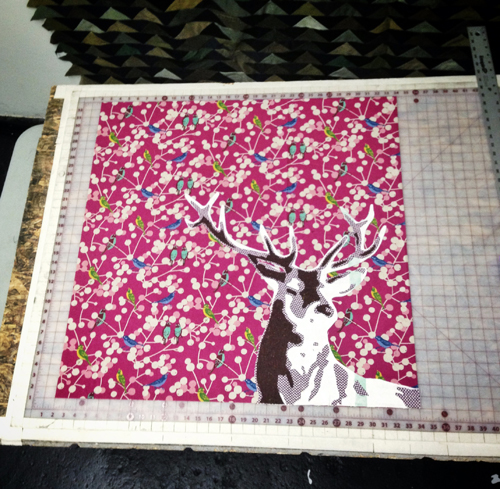
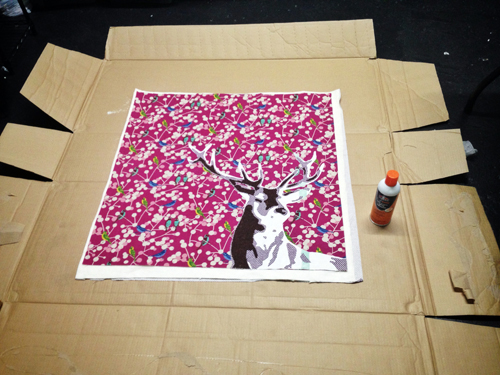
Step 1) Check the fabric contrast.
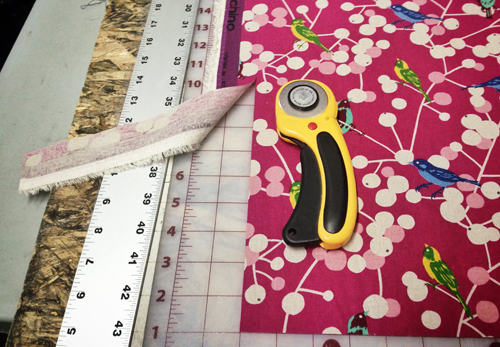
Take what you made last time…and get out about a yard of fabric we love for the background.
Let’s make sure we love it. I like to lay the appliqué right on top to be sure it shows up really well. (Note: No glue or fusible yet; we are just looking.)
Squint your eyes at it. Does the head pop out or fade in?
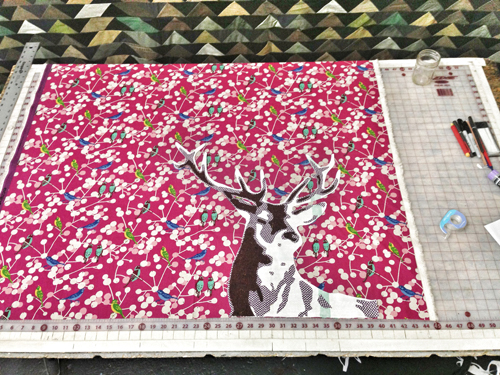
If it pops and you love the way it looks, we are ready.
Sometimes I have to do that with a few fabrics till I find the one I like the best.
If you have just the perfect fabric and the right orientation, cut a piece 32” x 32”.
This allows 2” extra on each side of the finished 28” x 28” piece for trimming and wiggle room.
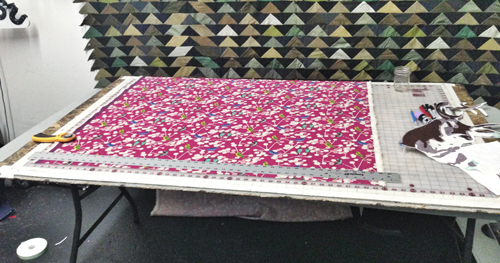
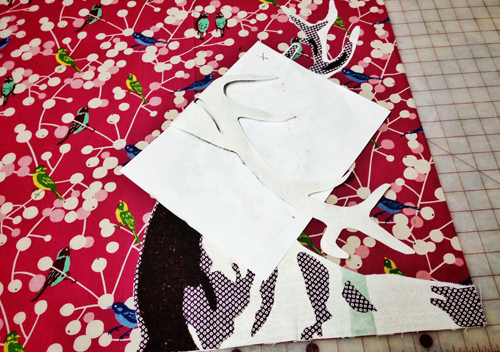
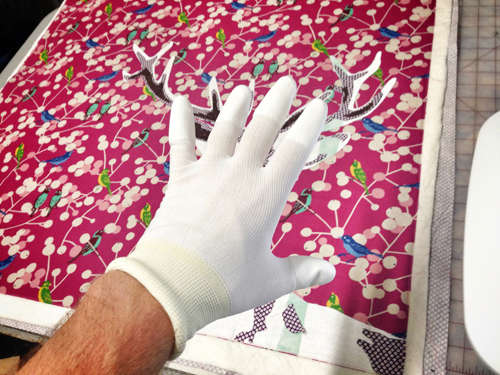
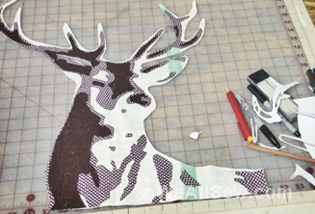
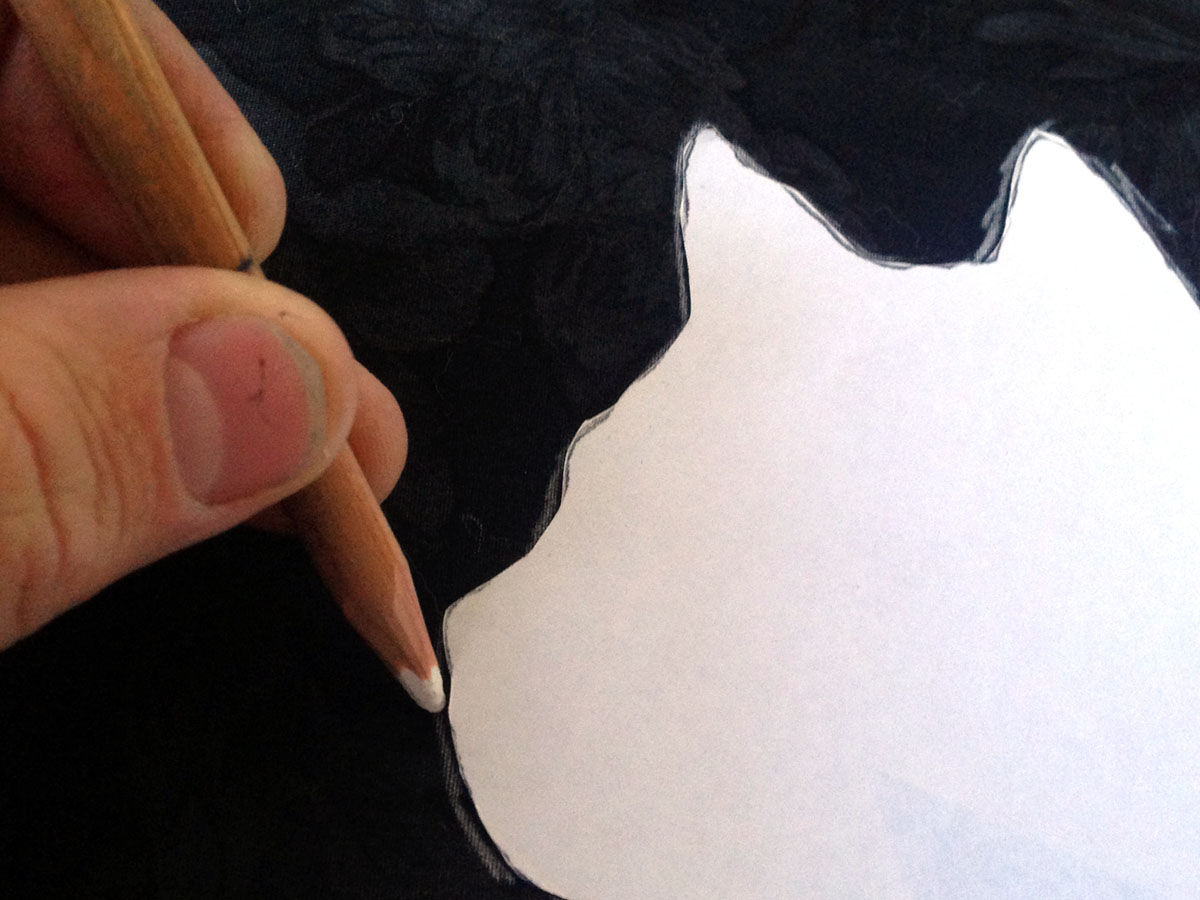
Step 2) Glue the head down.
And now let’s glue/fuse the head down. There are plenty of ways to do this: glue stick, spray glue, hand-basting, telekinesis, or fusible. I will use glue stick so I can do it on my table without moving from the same working surface.
There’s no need to do the whole thing at once. Start from one side and work to the other, flopping it over a piece of paper and gluing that part, flopping it back and smoothing it down with your hand, and making sure it is in the right place. Start from the bottom right so you have that corner to help you with registration.
And there you go.
 (My goodness—a few of these images are blurry. You will have to forgive me and my photography skills.)
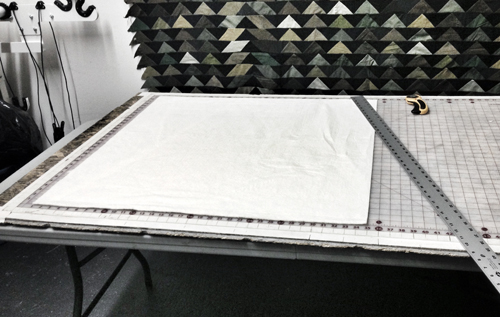
Step 3) Layer the “quilt sandwich.”
Now we need batting and backing. I use Fairfield Soft & Toasty cotton batting for wall pieces and Natur-fil Wool quilt batting for bed quilts (because it’s loftier and warmer).
Cut a piece of batting 34”-ish square, and the same size piece for the back.
I am using this lovely shibori purple for the back.
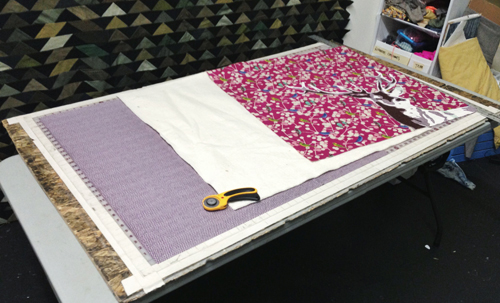
Now you have your three layers all ready.
Use spray adhesive to glue the layers together. (You can hand-baste them or machine baste them, but I glue for speed and efficiency.)
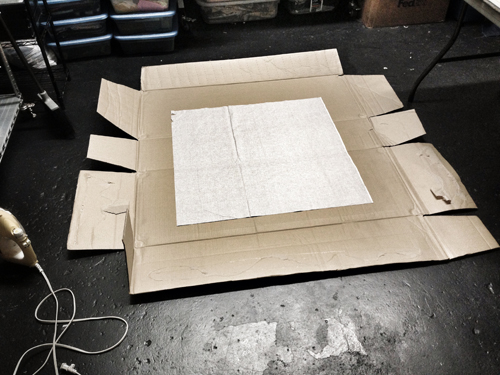
If you want to do this indoors, tear open a cardboard box; I always have them lying around.
Place the batting in the box, smooth it out, and spray it with an even layer of glue. (Note: Make sure the bottle says “acid free,” or it could eat away at the fabric over the years.)
Then lay the quilt top on the glue. It’s often helpful to have a second hand for this, as it’s easy to get a wrinkle. You can take it back up, of course, but better to do it right the first time.
After gluing the front, flop it over and do the back in the same way. So now you have the batting sandwich ready to quilt.
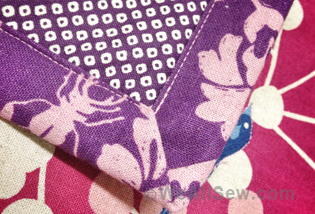
Run a stitch close to the edge of the quilt so it will stay put and the corners don’t move. Do this closer than ¼ʺ to the outside edge so it will be covered up by the binding.
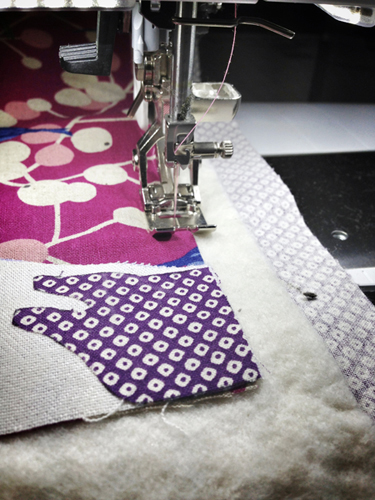
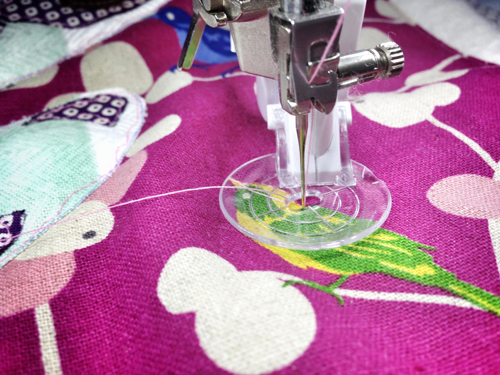
Step 3) Free-motion quilt the layers.
NOW it’s time to quilt this bad boy.
I am lowering the feed dog and using the free-motion capabilities of my machine so I can follow the outlines of the pieces; you should try this if you haven’t already. If you detest it, you can follow along the edges with the feed dog up, but it will take you many tens of times longer.
Also—you get to use fancy accessories if you do free-motion stitching, like these fashionable heavy gloves.
Let’s quilt this here thingy.
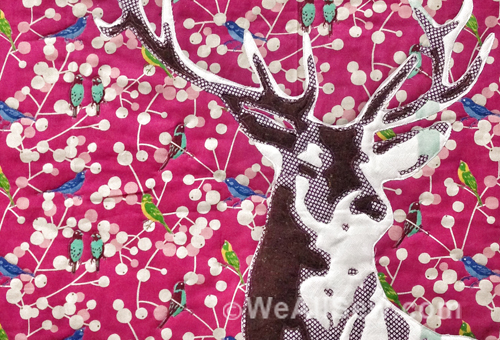
I am going to trace around all the pieces in the applique so they stay in place. Choose a thread that will either match or show up, your choice. I say do the one that makes you uncomfortable so you have an excuse to try something new.
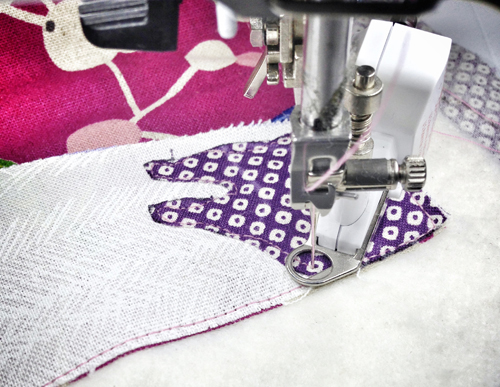
I do the figure first, then the background out from there so we know the important part will stay put and not buckle.
After all the head pieces are secured I am going to follow around the birds in the background fabric to reinforce them as a design element.
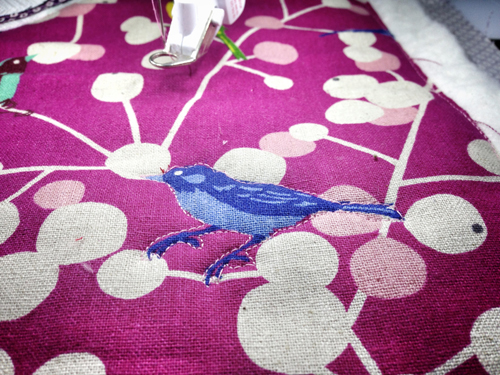
Choose a pattern in the fabric or one you like and do some fun things in the background. This is a large area to get some playing in.
You can also go back and fill in some of the figure pieces with quilting. I chose not to just so we can see this project as a jumping off point.
And now you have done what we are here to do today—good luck with this. See you next week for the binding!
LUKE
See you next week, Monday, October 14, as we continue our Deer Quilt Sew-Along.
Visit LUKE at lukehaynes.com.
Did you miss the first two weeks? Click below to link to previous instructions.


What you might also like


4 comments on “Deer Quilt Sew-Along with LUKE Haynes – Week Three”
-
-
I’m checking with Luke and will let you know. I like to stitch a little less than 1/8″ from the edge; closer to 1/16″. Jo
-
Sue! the real answer is that I just sew around the edges till I feel they are secure. I try to stay around 1/8 inch so the fabric doesnt ravel out, but I sometimes go in and out of that dimension. Does that help?
-
-
Pingback: WeAllSew « https://weallsew.com
Leave a Reply
You must be logged in to post a comment.

Teacher! Teacher! I have a question:
How close to the raw edges of the applique should we stitch? Like 1/8″ or less?