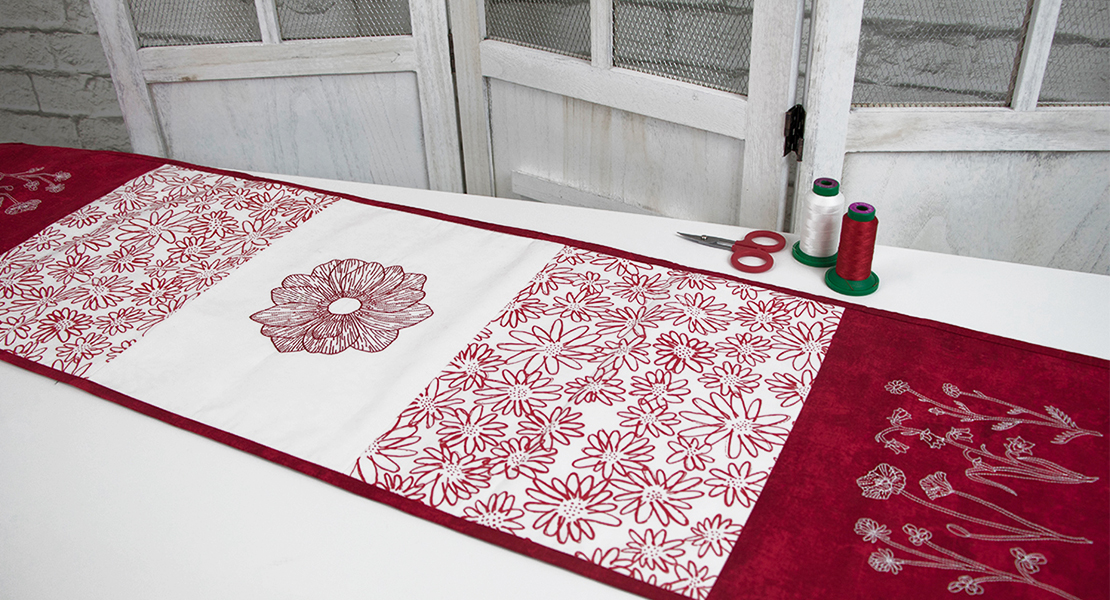
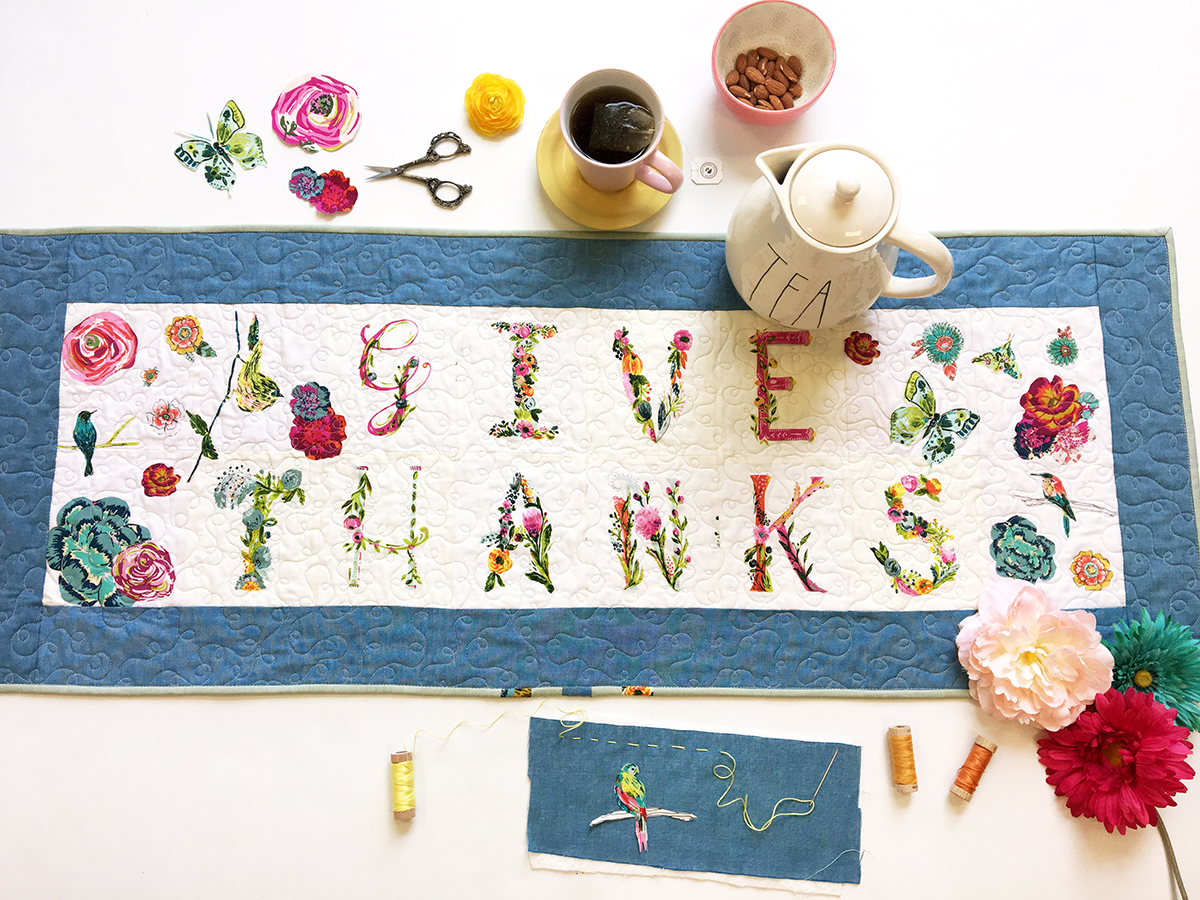
Sugarplum Table Runner Quilt-along—Week 4
Welcome to Week 4 of the Sugarplum Table Runner Quilt-along. In Week 1, we discussed the fabric requirements and cutting instructions. During Week 2 and Week 3, we created seven beautiful quilt blocks. This week we are going to finish up the project—just in time for the holiday season!
Sugarplum Table Runner Quilt-Along—Week 4
Finished Size: 12″ x 84″
Block Size: 12″ x 12″ Finished
Number of Blocks: 7
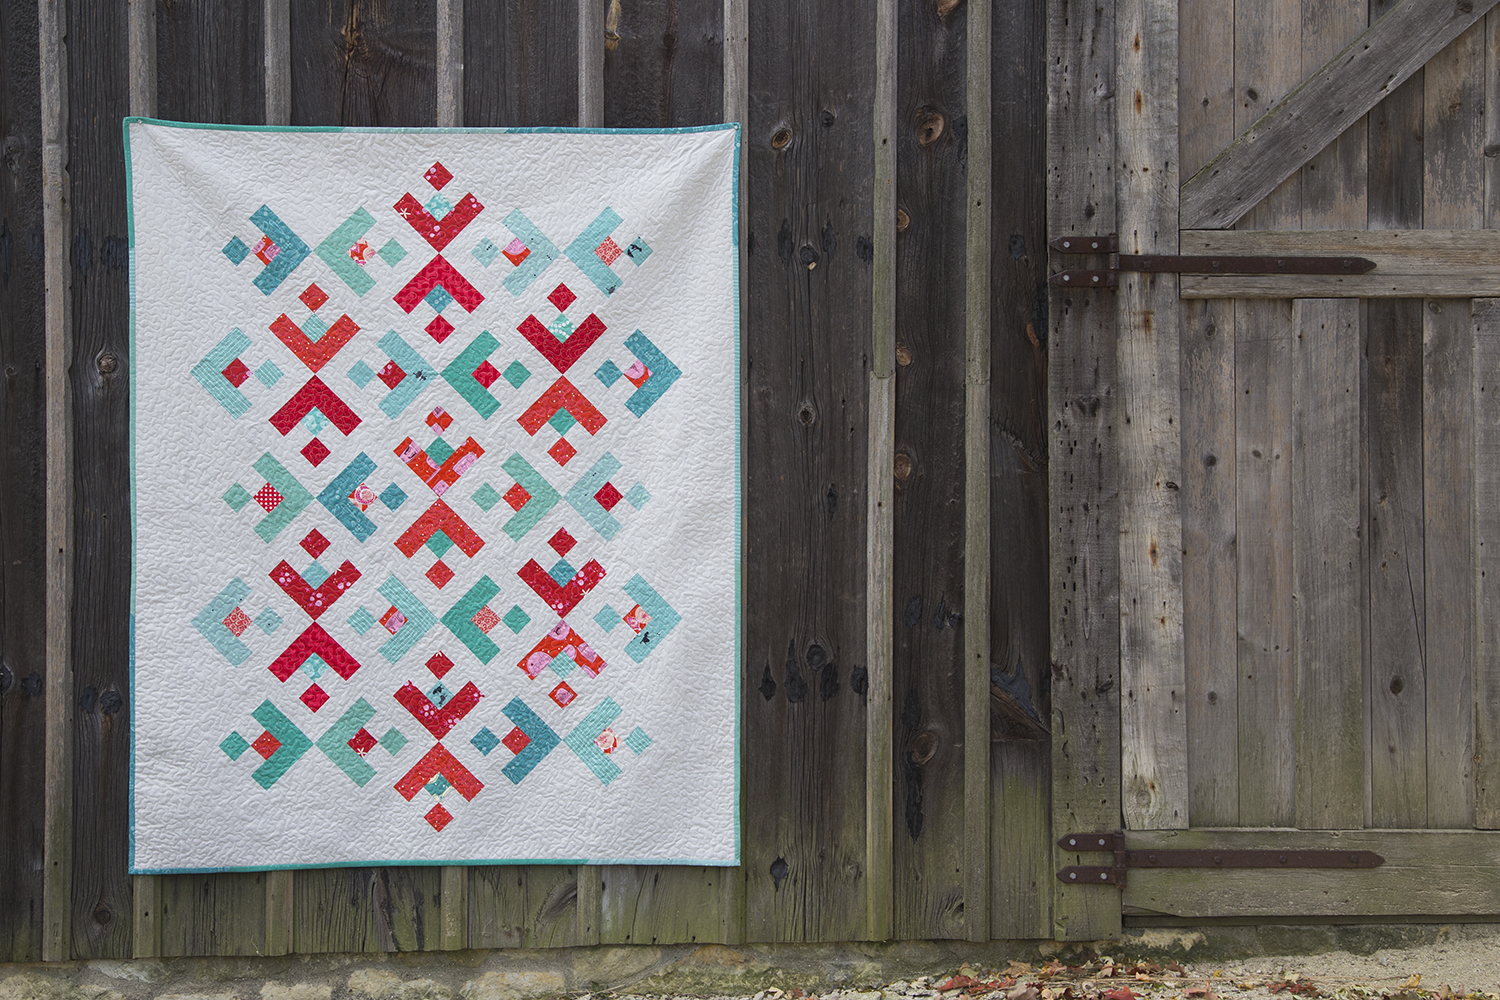
Quilting and Finishing the Snowflake Quilt
Collect the backing, batting, binding and trim supplies from Week 1, and the (7) 12-1/2″ x 12-1/2″ blocks assembled in Weeks 2 and 3.
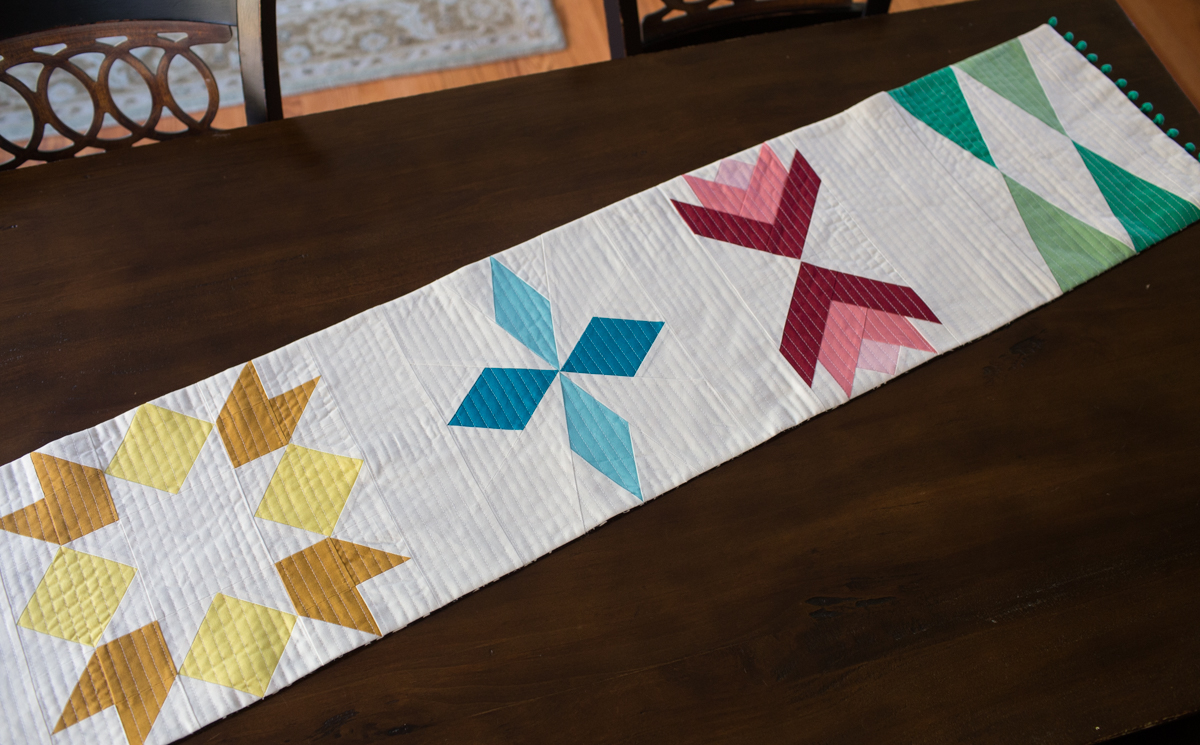
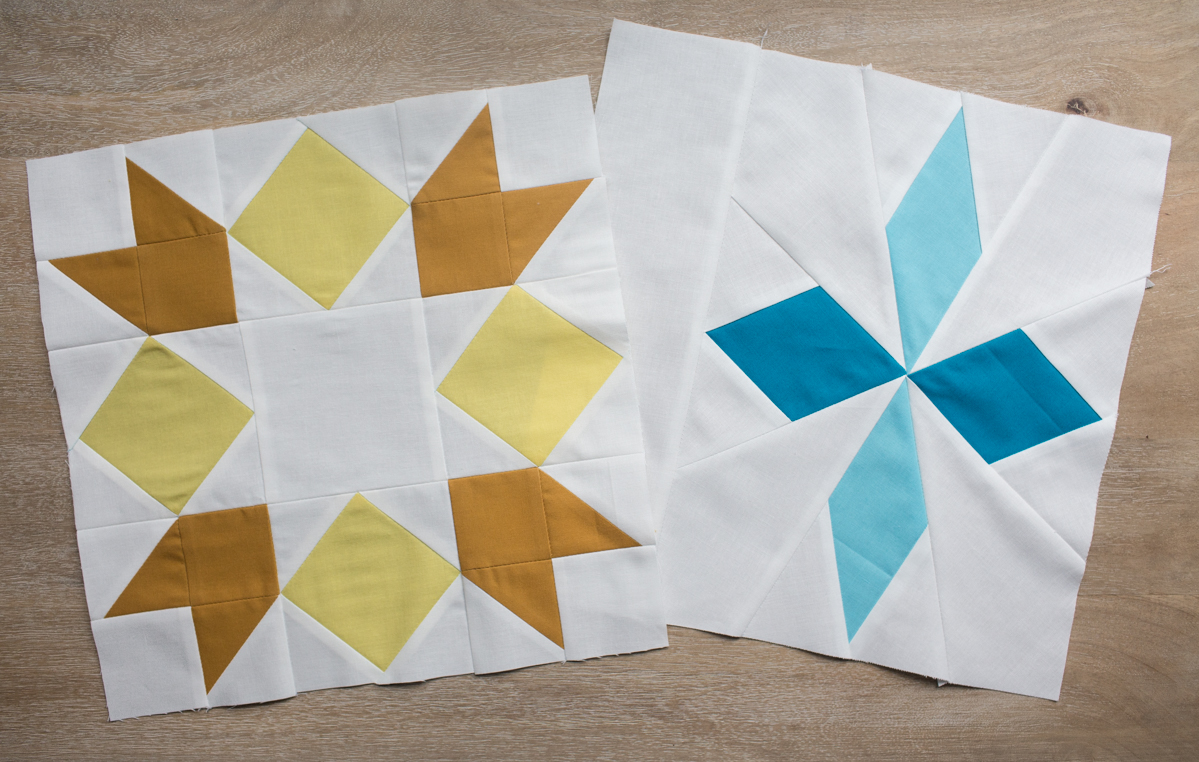
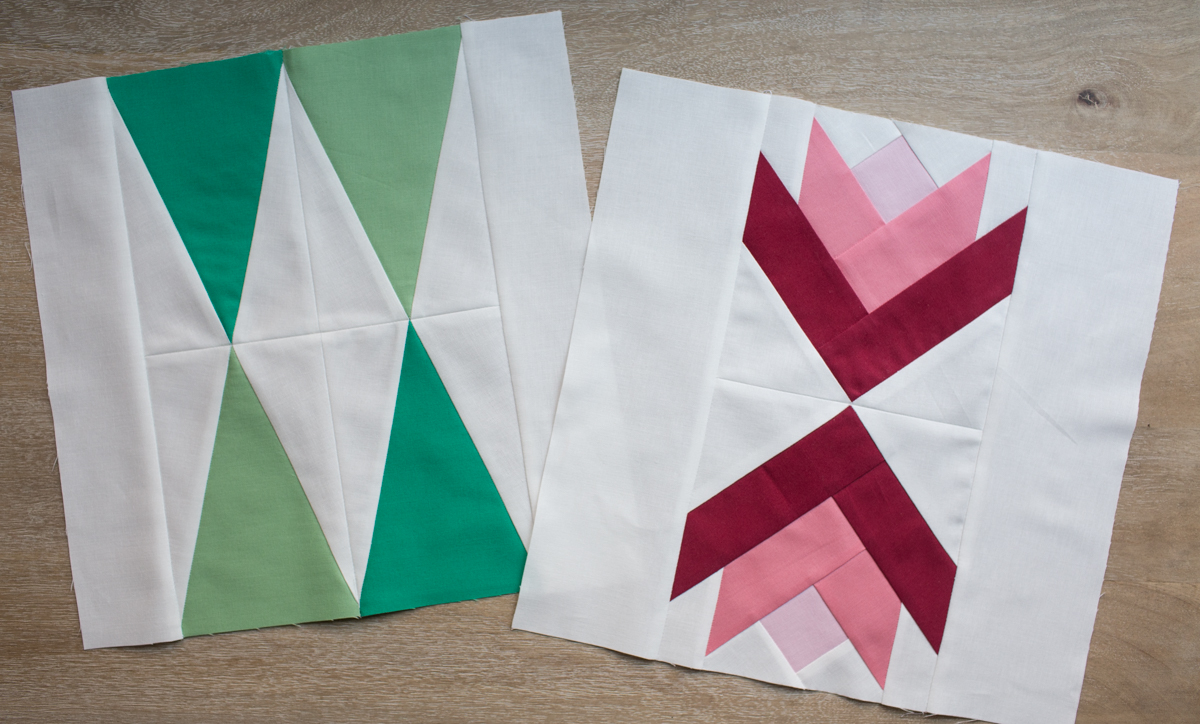
Step 1. Lay out your blocks as shown.

Step 2. Stitch your blocks together in a row. Press seams open.
Your next steps depend on whether you want to traditionally finish your quilted table runner with binding, or finish your table runner like mine, with a pillowcase look and pom pom trim. If you would like to traditionally finish and bind your table runner, follow Steps 3 – 8. If you would like to use the pillowcase method and pom pom edge, jump to Step 9.
Traditional Method
Step 3. Select 1-1/3 yards of backing fabric. I am using Good Cheer in Coal from Juniper Berry by Basic Gray for Moda Fabrics
Step 4. Cut your fabric in strips measuring 18″ x 48″.
Step 5. Stitch the strips together along the 18″ side of the fabric, resulting in a backing measuring 18″ x 95-1/2”. Trim to 18″ x 90″.
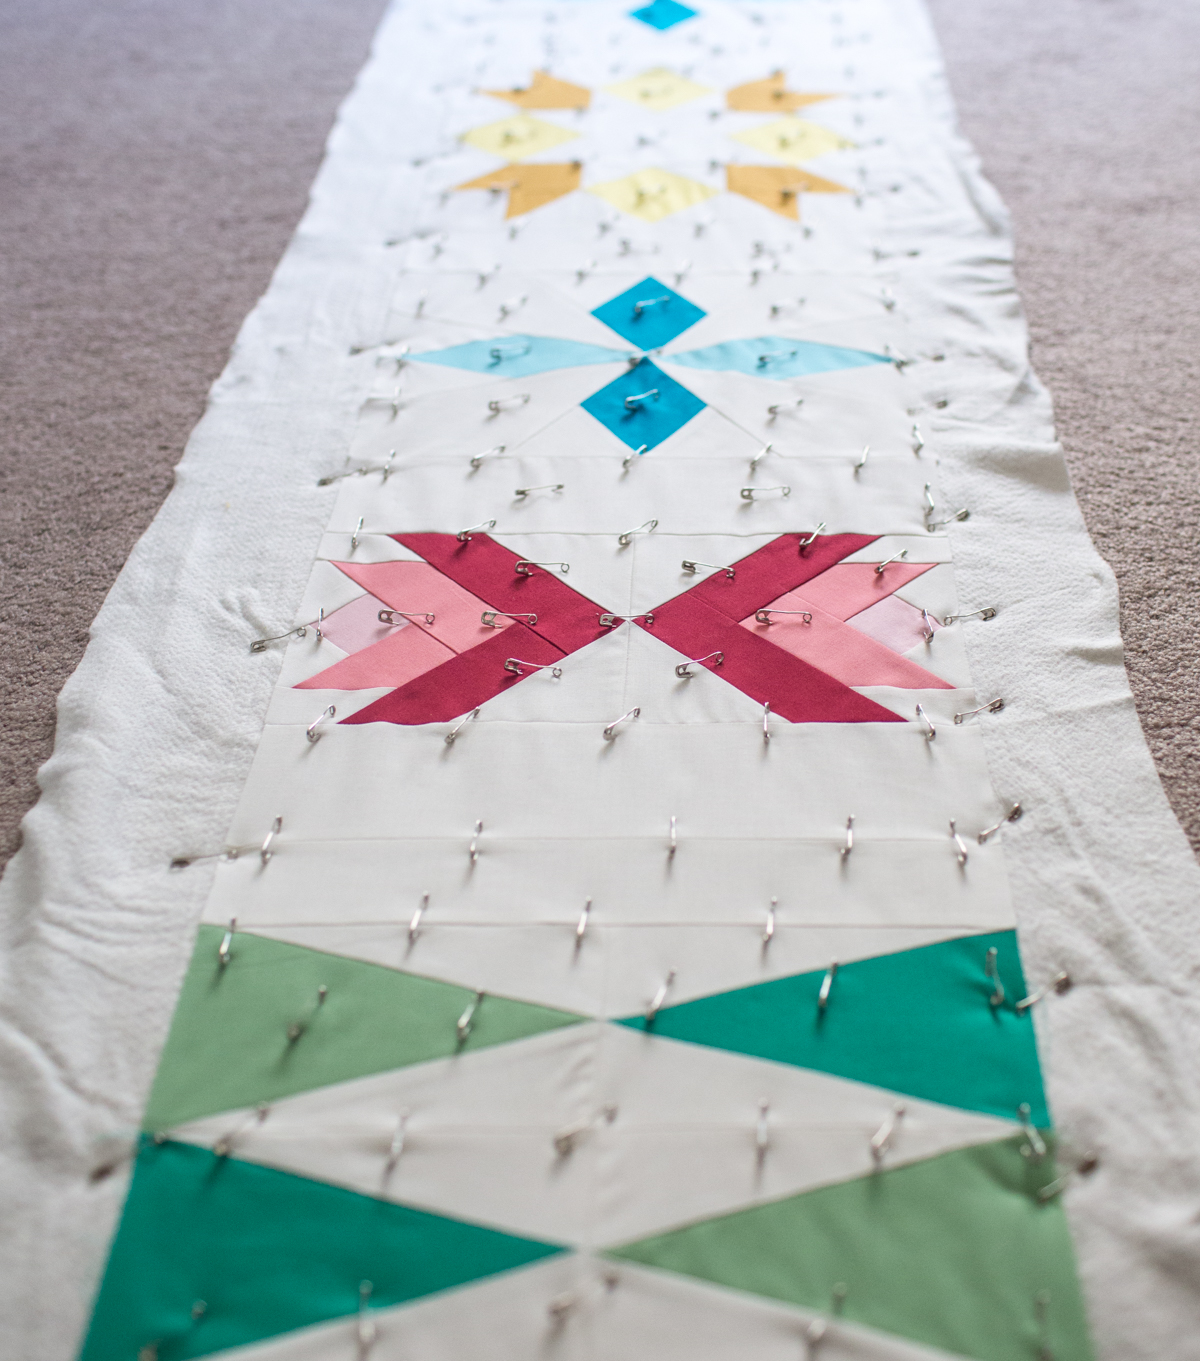
Step 6. Collect your table runner quilt top, batting, and quilt backing. Baste your quilt. Please see my How to Pin Baste a quilt post for a tutorial.
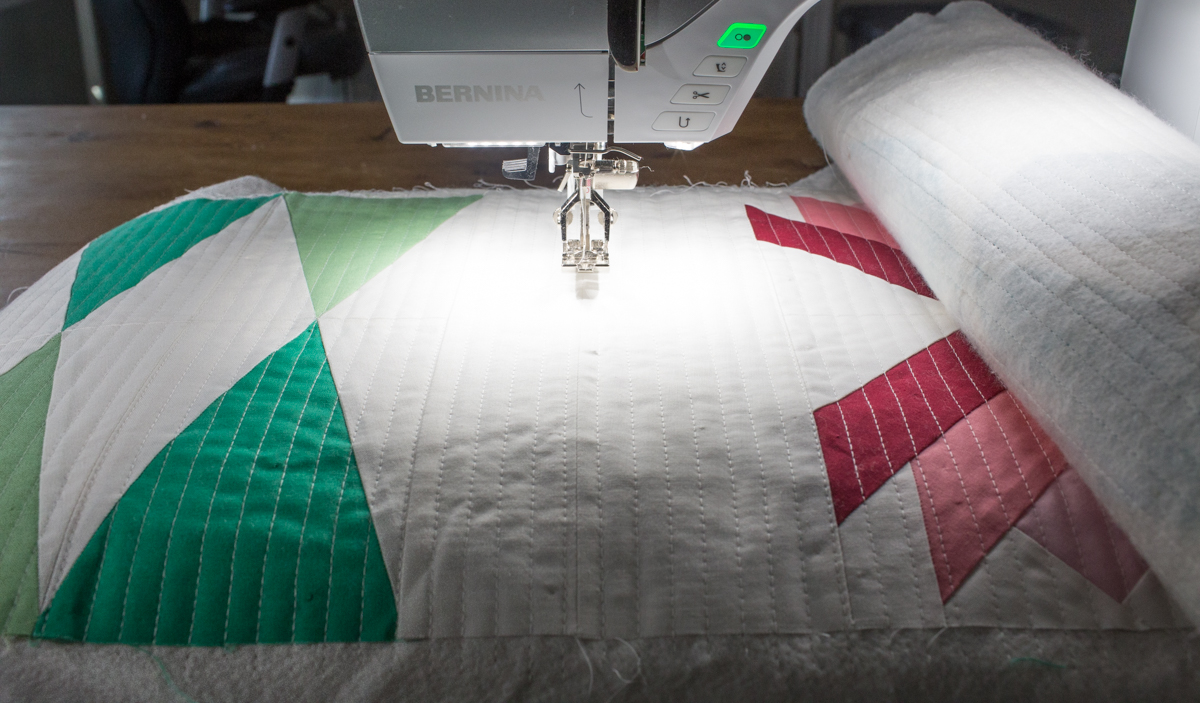
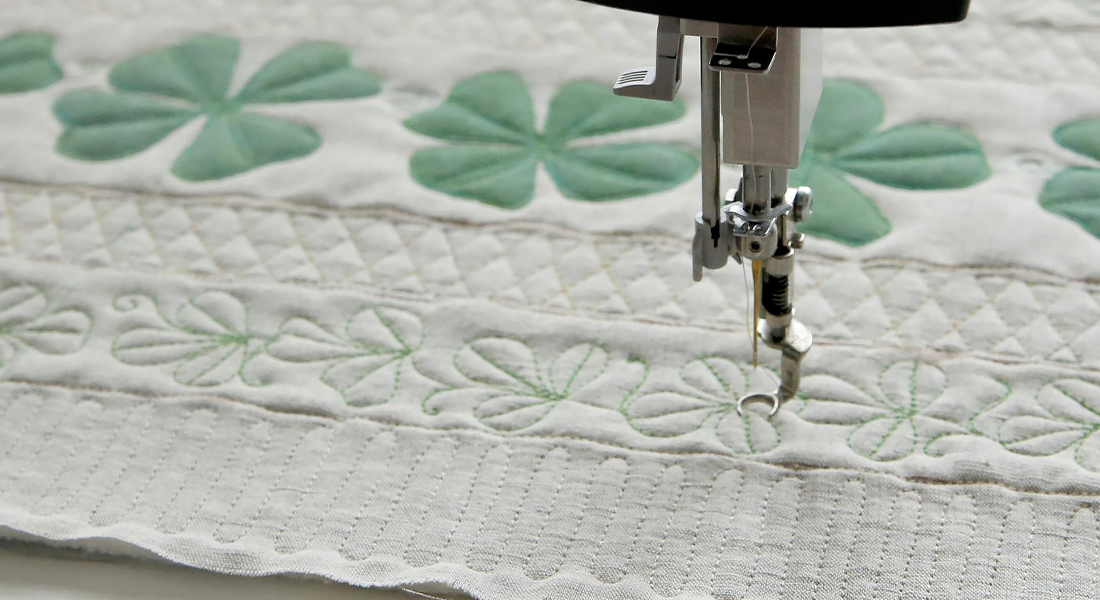
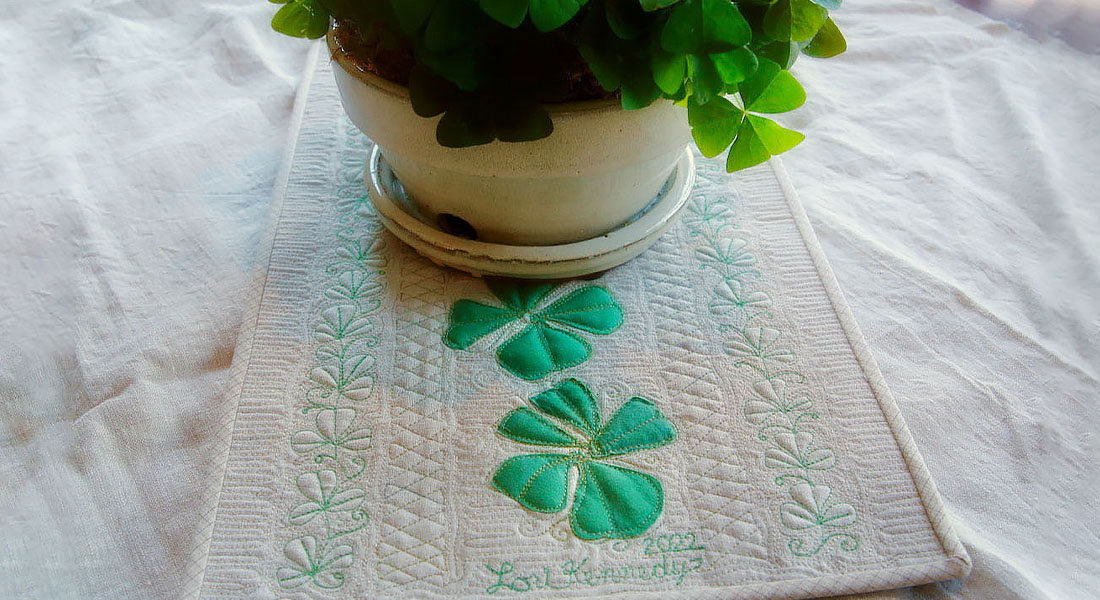
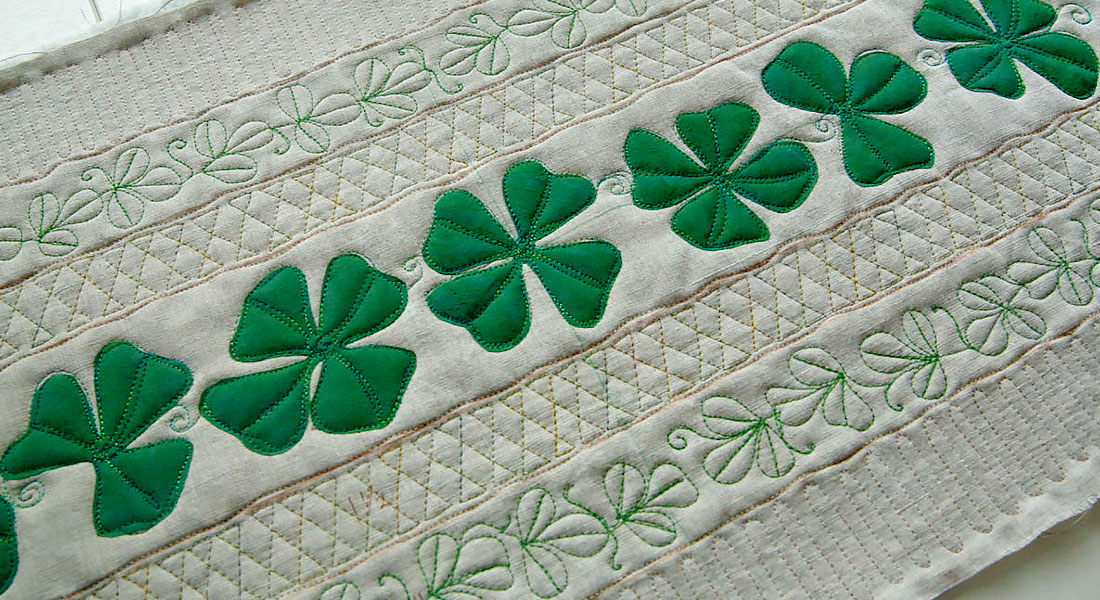
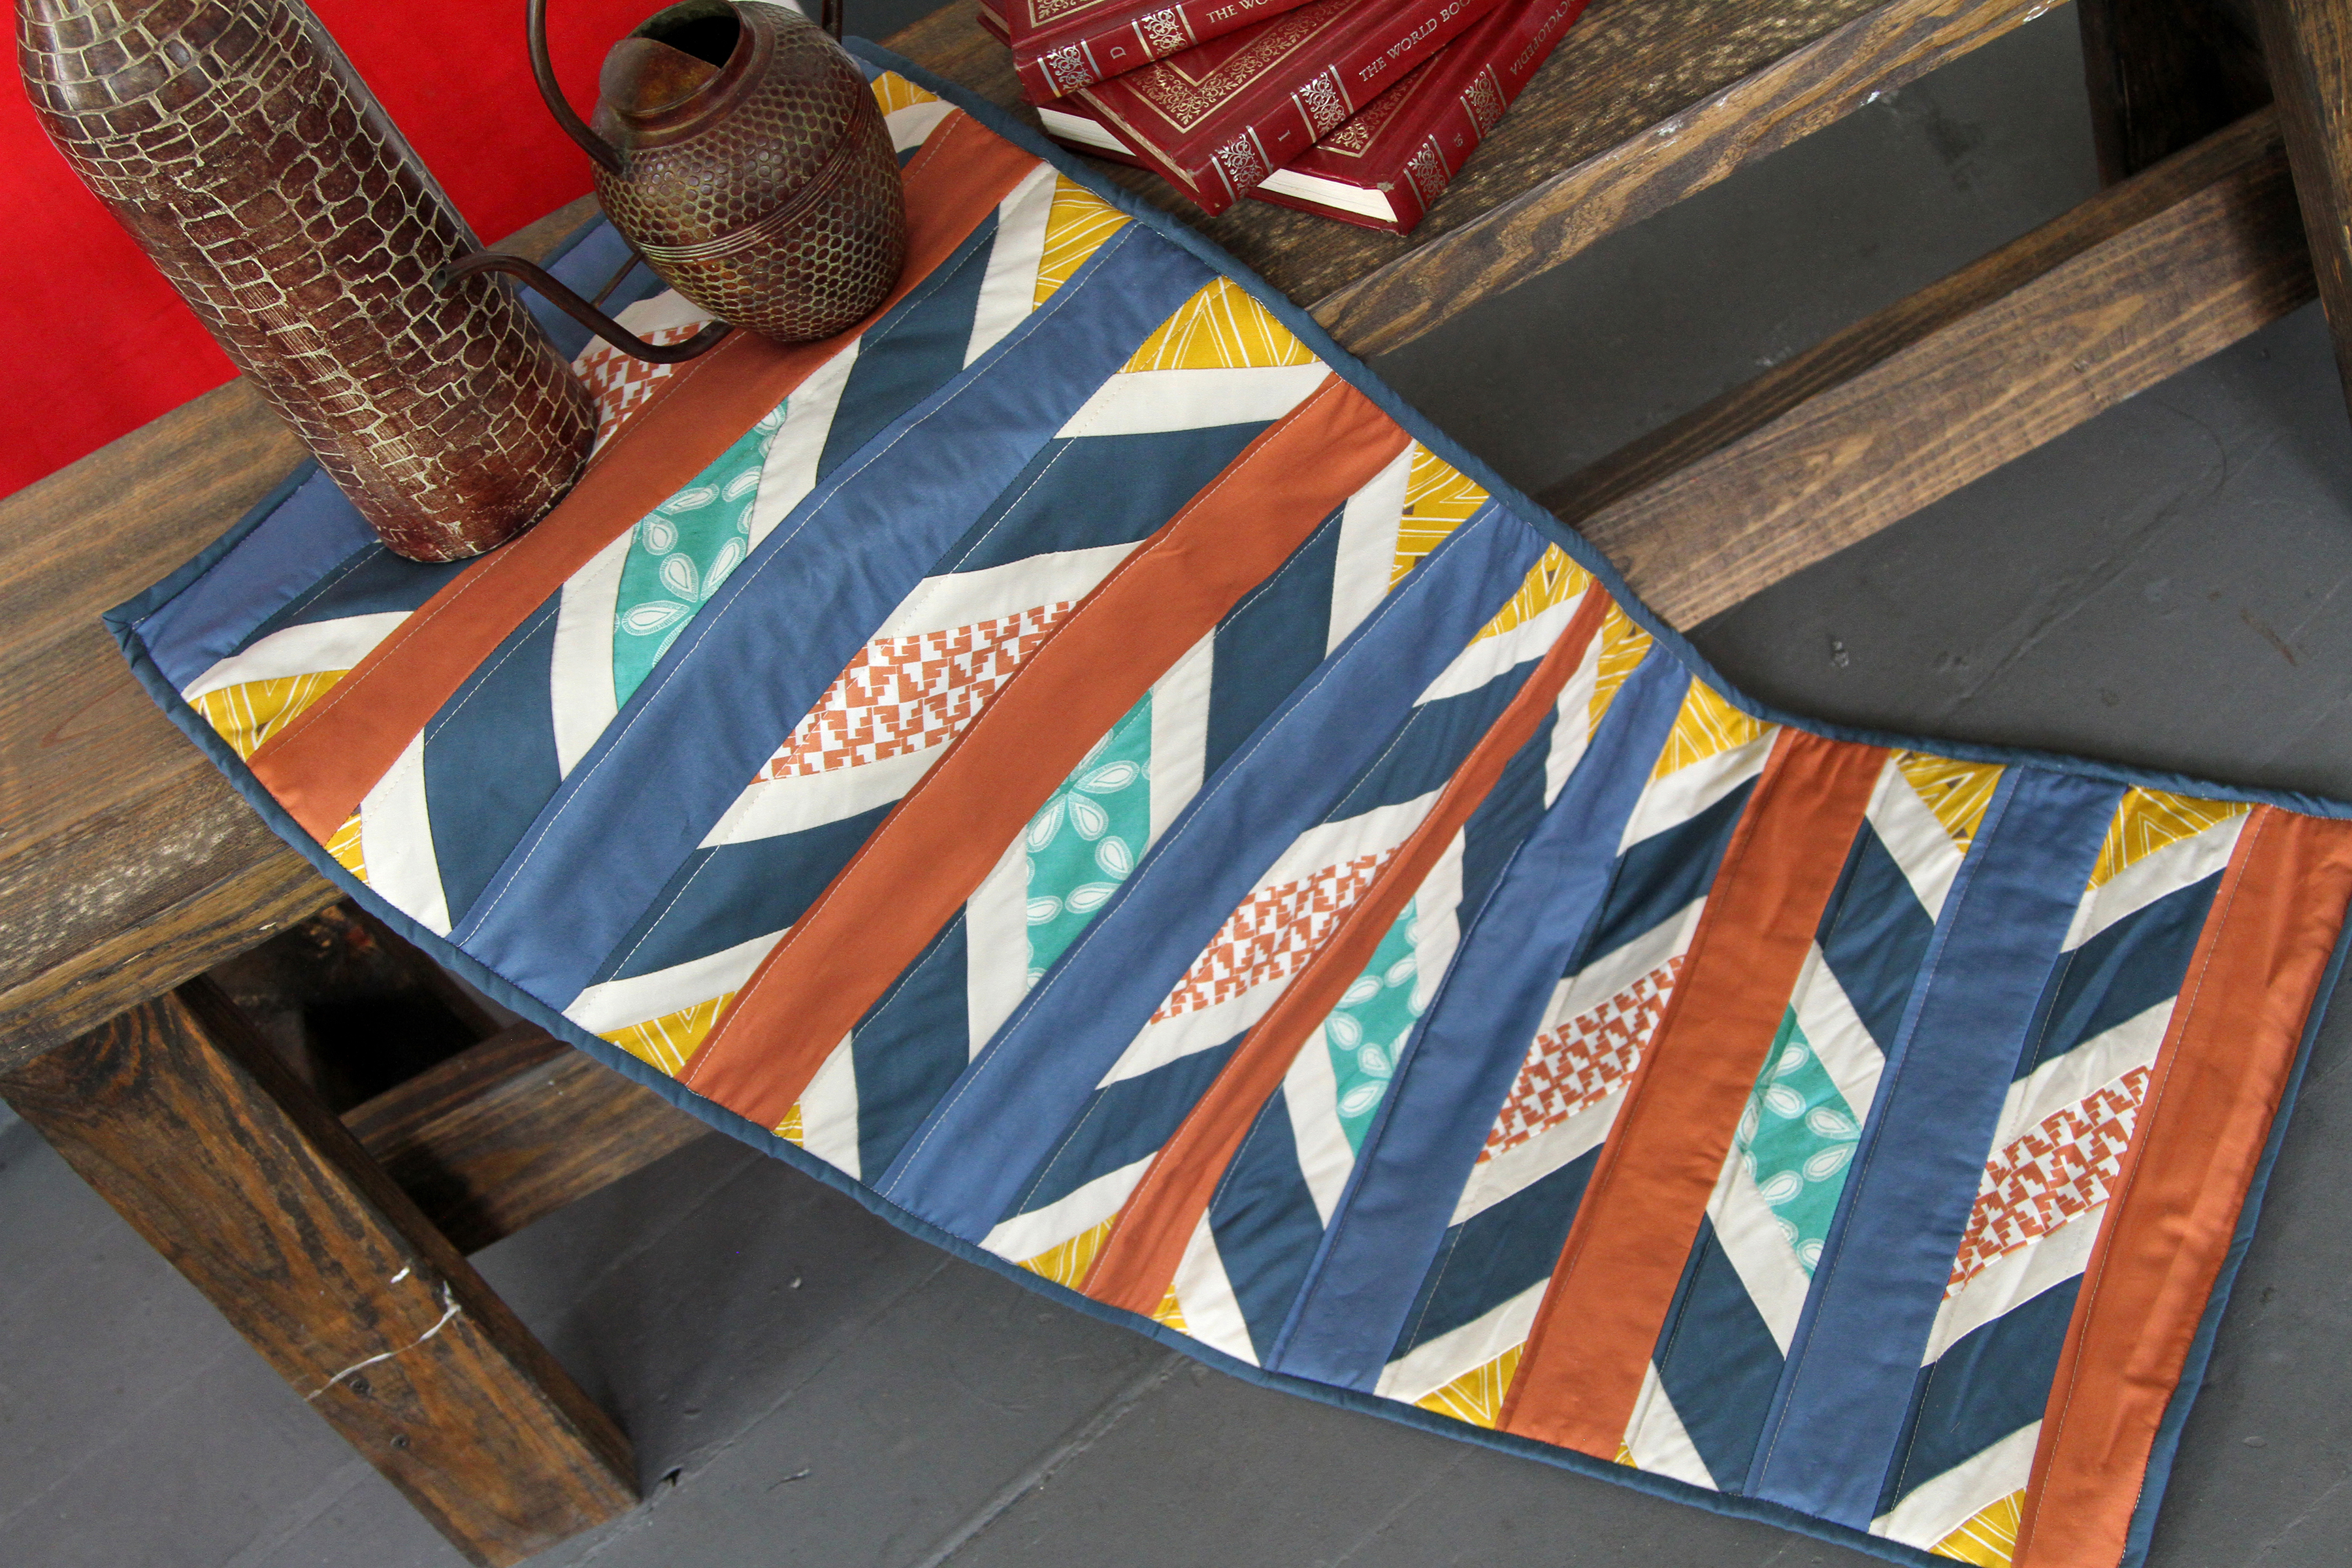
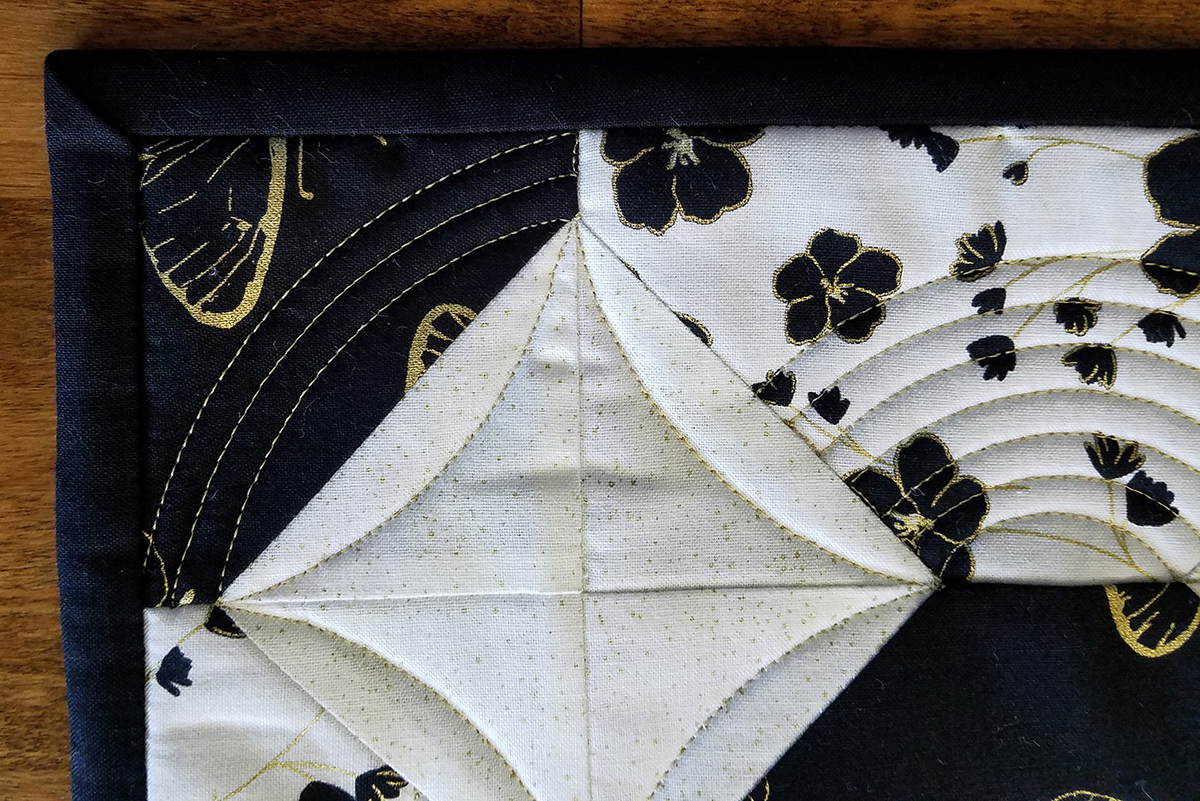
Step 7. Quilt your table runner. I quilted mine with straight lines using my BERNINA 770 QE’s Dual Feed. My lines are about 3/8″ apart.
Step 8. Select your 1/2 yards of binding fabric. Cut 5 strips of fabric, 2-1/2″ x WOF (width of fabric). If you are new to quilt binding, see my tutorial for complete directions.
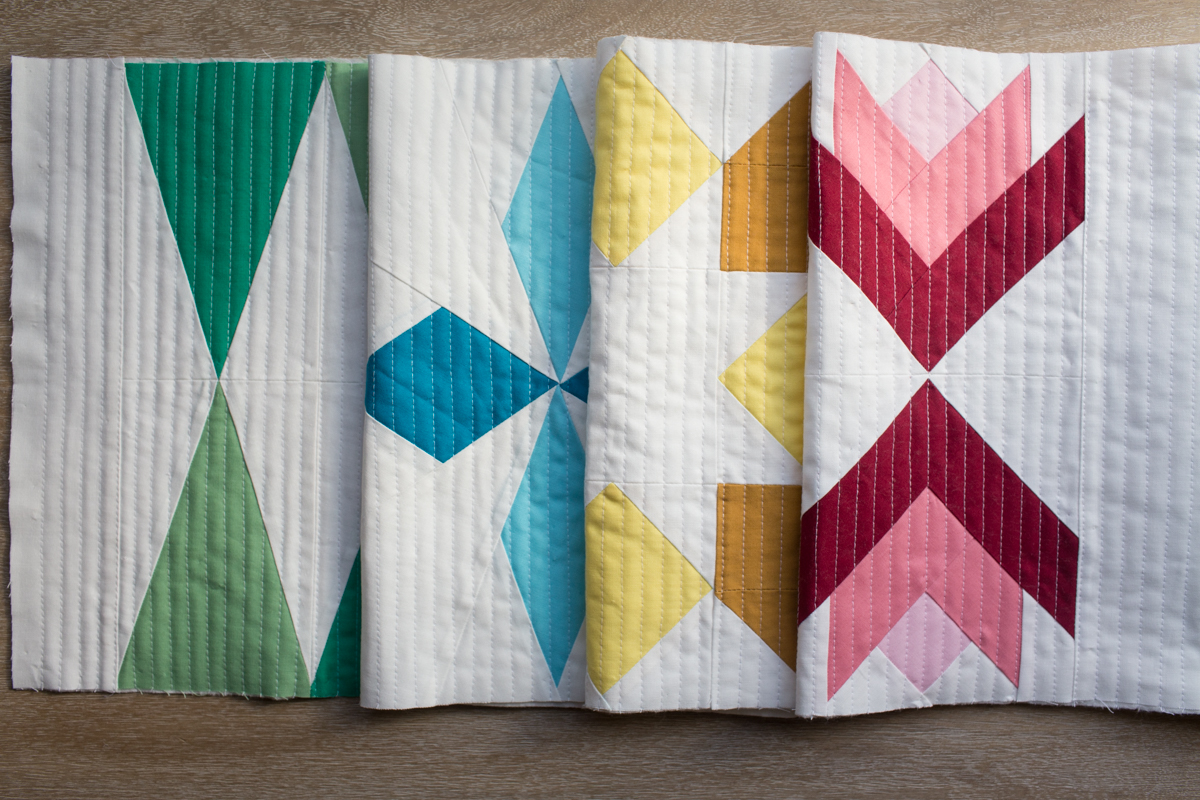
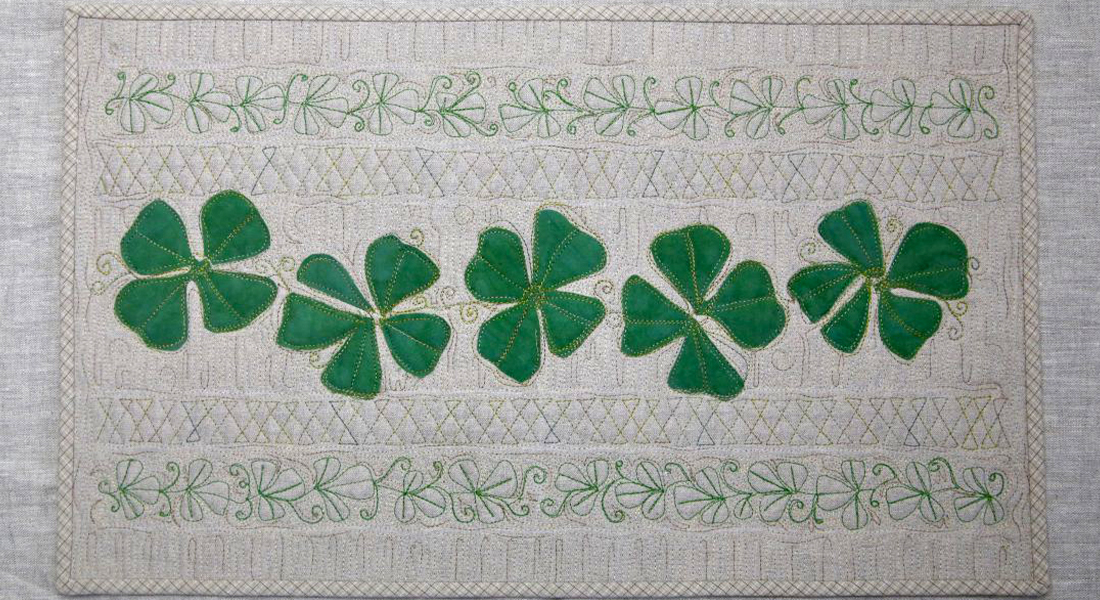
Enjoy your finished table runner!
Pillowcase Method
Step 9. Select 1-1/3 yards of backing fabric. I am using Good Cheer in Coal from Juniper Berry by Basic Gray for Moda Fabrics.
Step 10. Cut your fabric in strips measuring 12-1/2″ x 48″.
Step 11. Stitch together along the 12-1/2″ side of the fabric, resulting in a backing measuring 12-1/2″ x 95-1/2″. Trim to 12-1/2″ x 84-1/2″.
Step 12. Collect your table runner quilt top and batting. Baste your quilt as usual, this time only layering your quilt top and batting, NOT your backing. Please see my How to Pin Baste a quilt post for a tutorial, but again, do not include your backing.
Step 13. Quilt your table runner. I quilted mine with straight lines using my BERNINA 770 QE’s Dual Feed. My lines are about 3/8″ apart. Trim the extra batting from the edge of the table runner top.
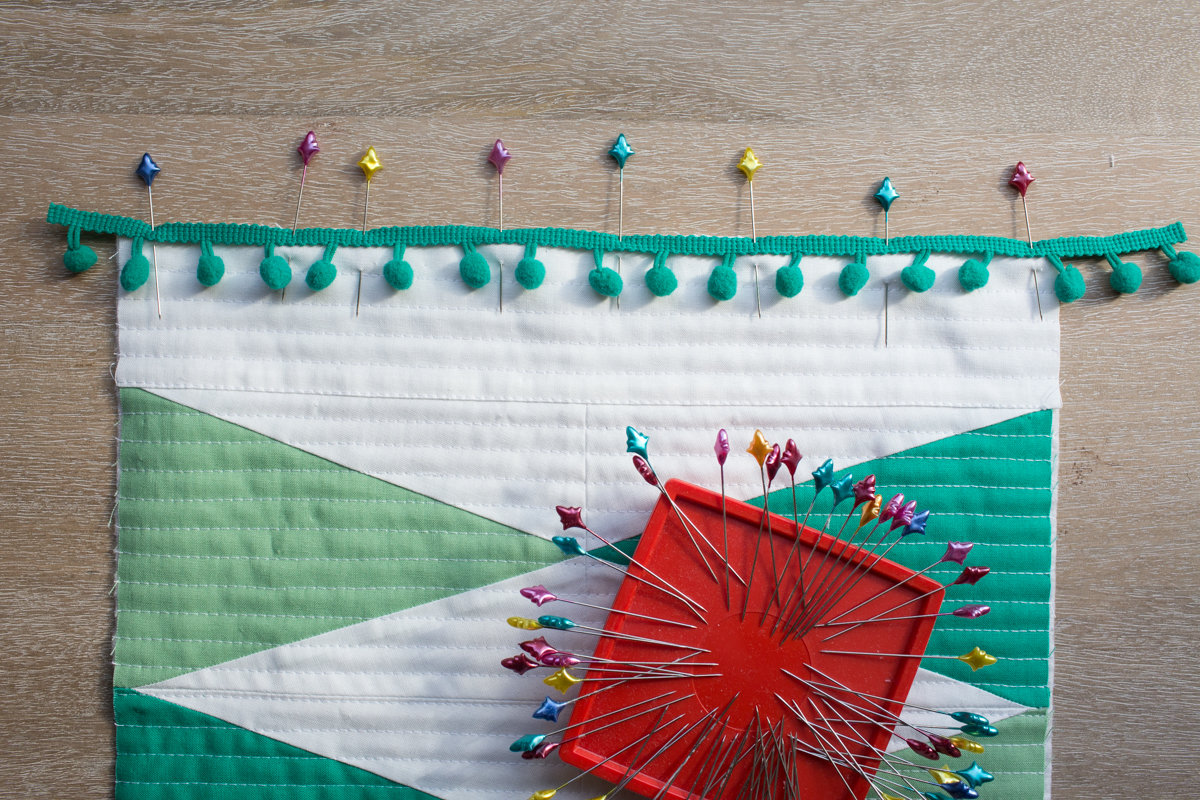
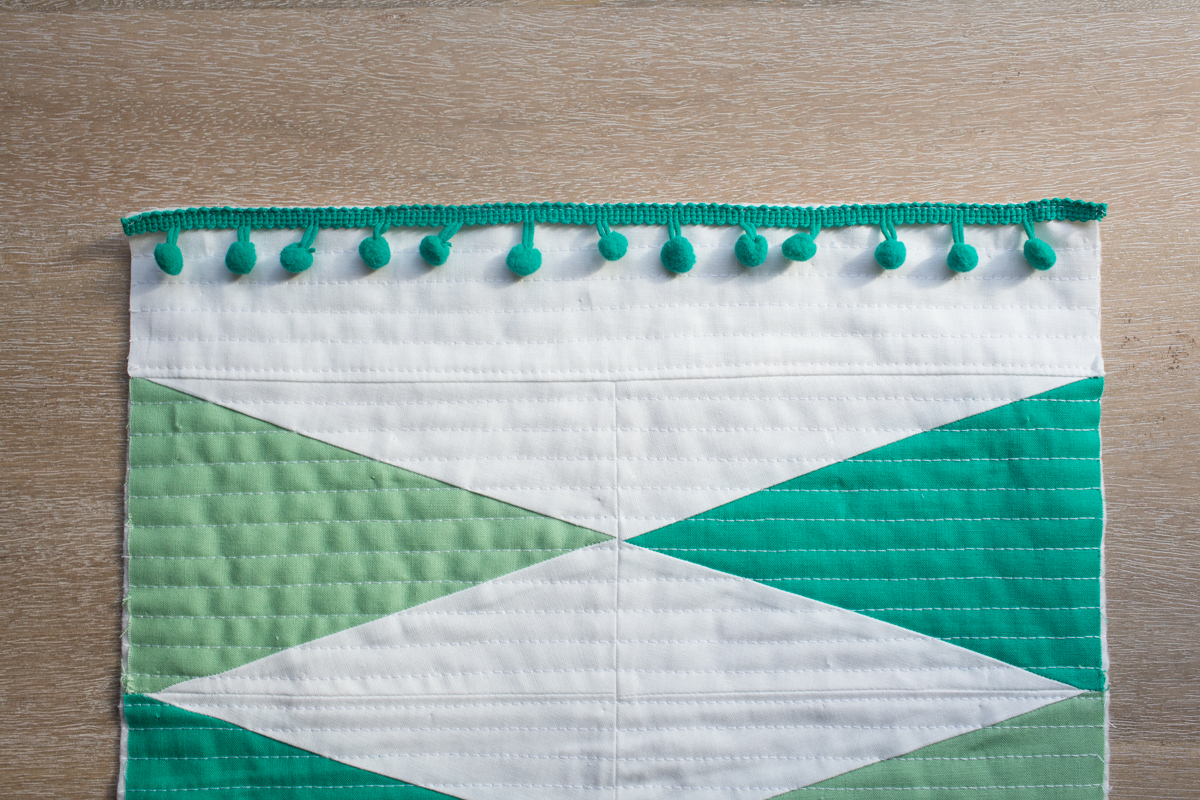
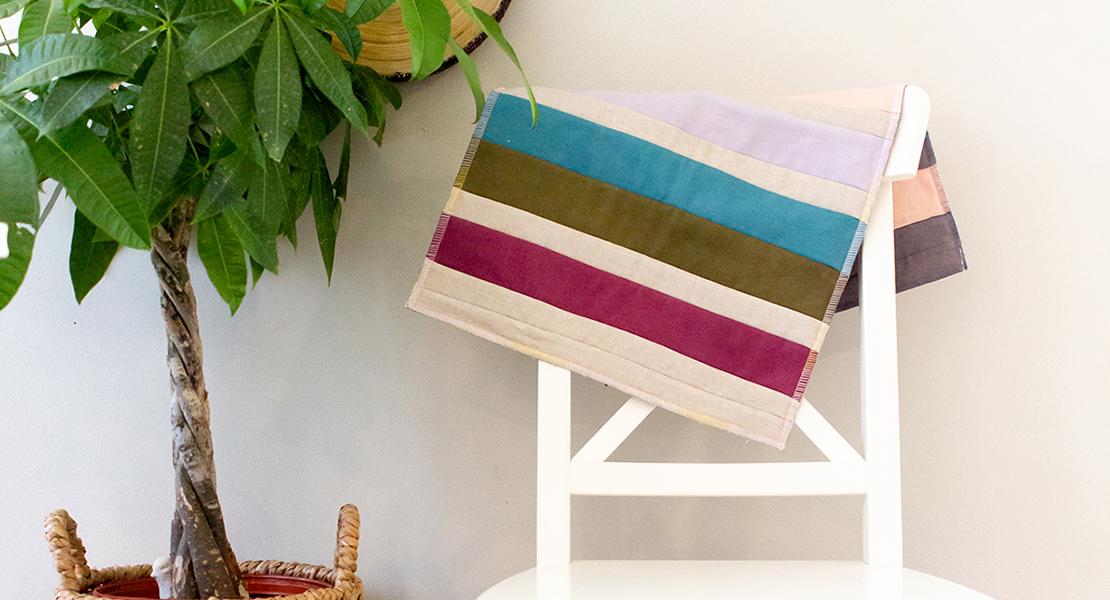
Step 14. Cut (2) 12-1/2″ sections of pom pom trim. Pin your pom pom trim into place along the short edge of the table runner. Stitch into place.
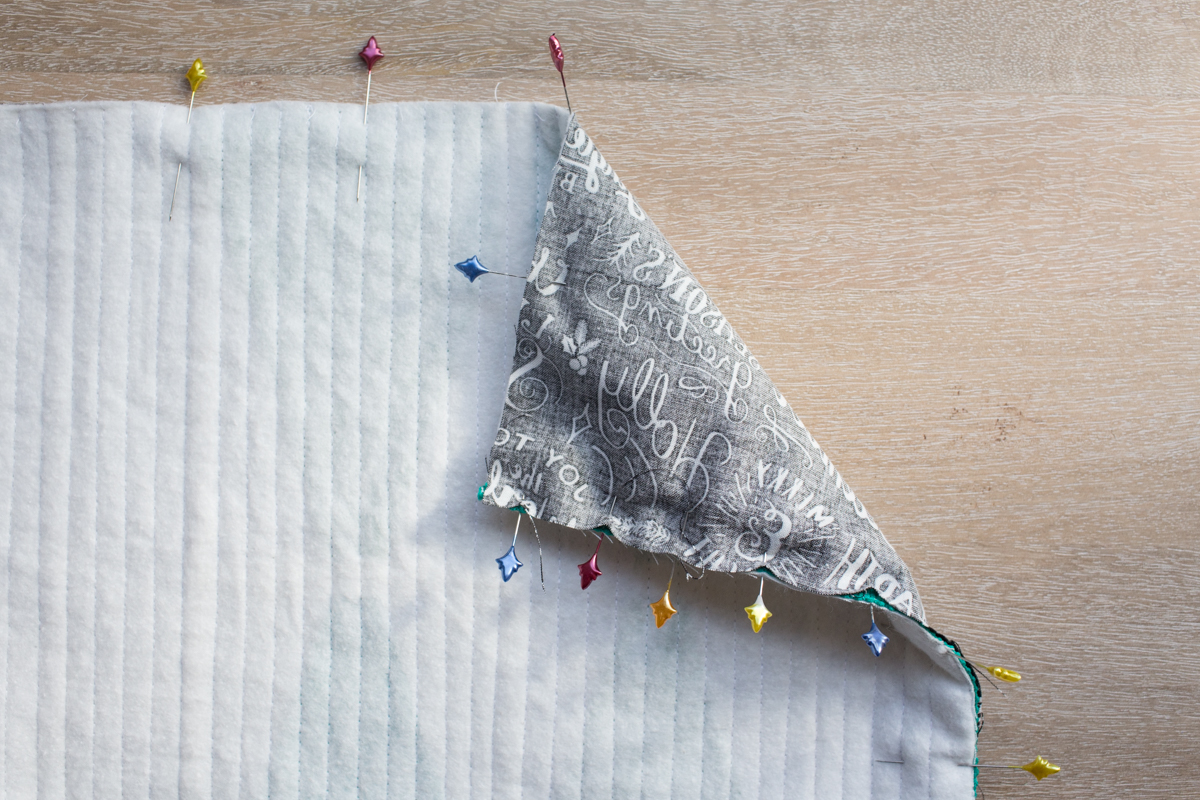
Step 15. Place your fabric backing right sides together with your quilted table runner. Stitch 1/4″ around the sides of the table runner, leaving about a 7″ section unsewn to flip your table runner right side out.
Step 16. Trim your corners close to the stitch line.
Flip your table runner right side out, taking care at the corners. Press. Hand stitch the opening closed.
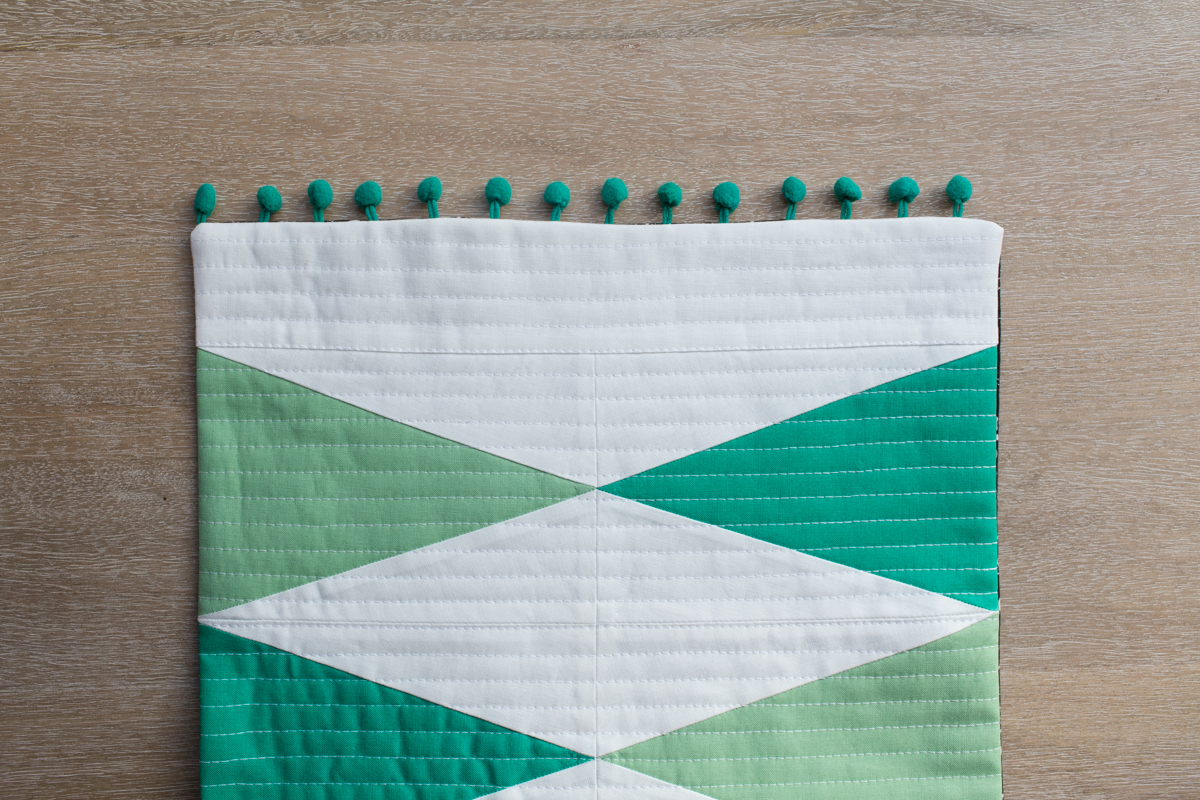
Enjoy your finished table runner!


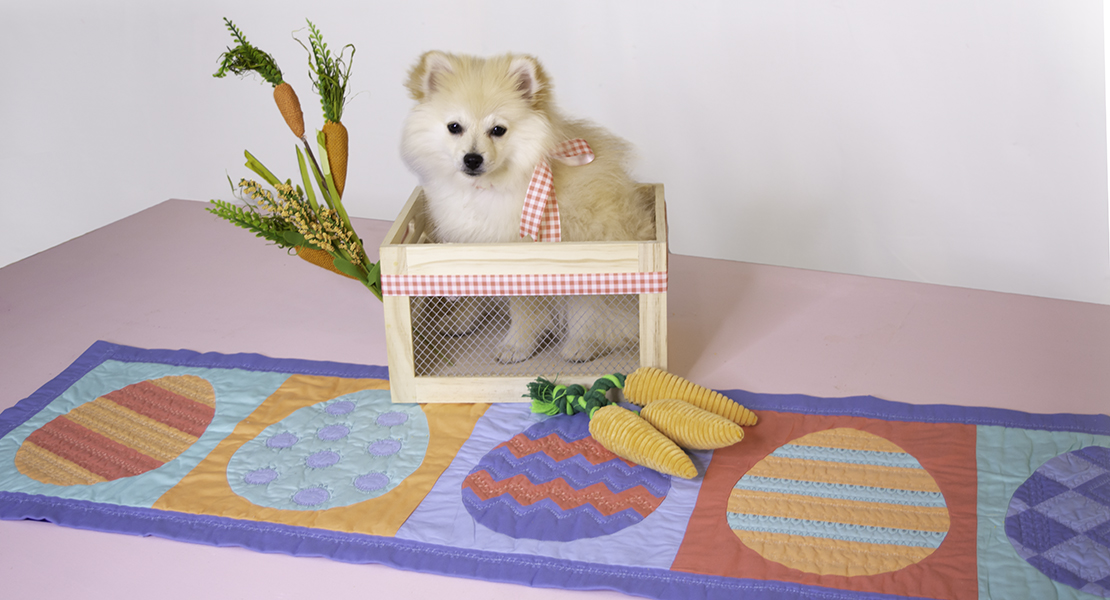
What you might also like


4 comments on “Sugarplum Table Runner Quilt-along—Week 4”
-
-
Hi Giselle – The Golden Star block is traditionally pieced, so there is no template. You can find the fabric requirements and cutting instructions in Week 1:
https://weallsew.com/sugarplum-table-runner-quilt-along-week-1
And the piecing directions in the second half of Week 3:
https://weallsew.com/sugarplum-table-runner-quilt-along-week-3
-
-
I love this. I must make one soon. The quilting looks so easy.
Stephanie
Leave a Reply
You must be logged in to post a comment.
I cannot find the golden star template anywhere on your site for the table runner.
Have everything set to sew…please help.Thank you