How to Make a Leather Strap Tote
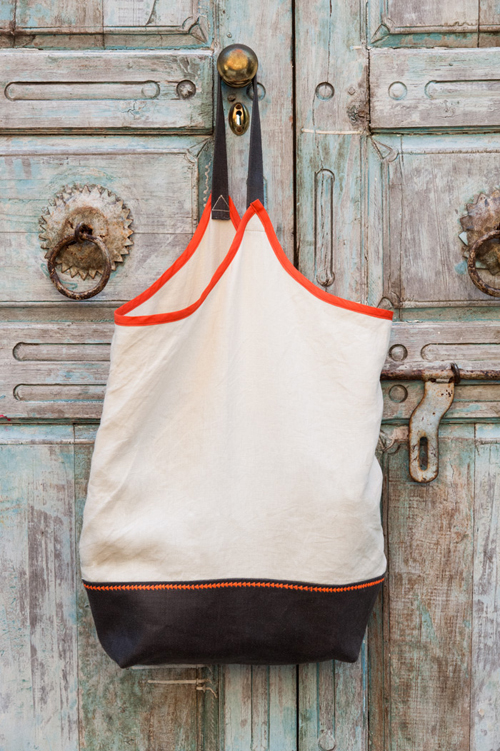
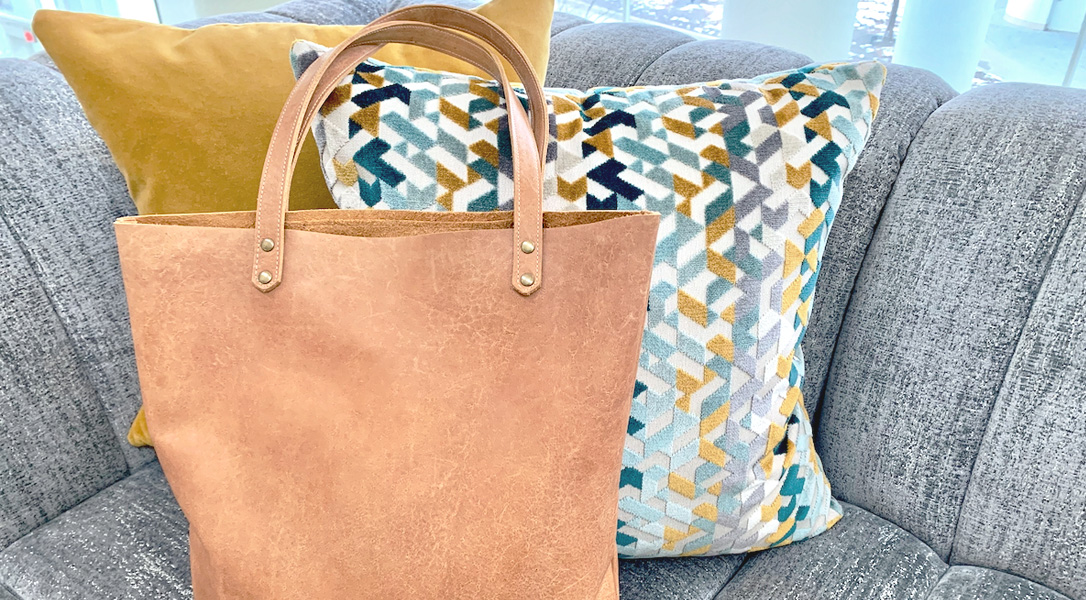
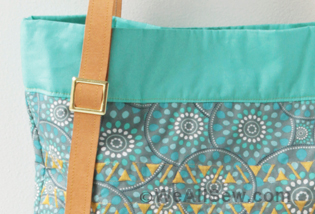
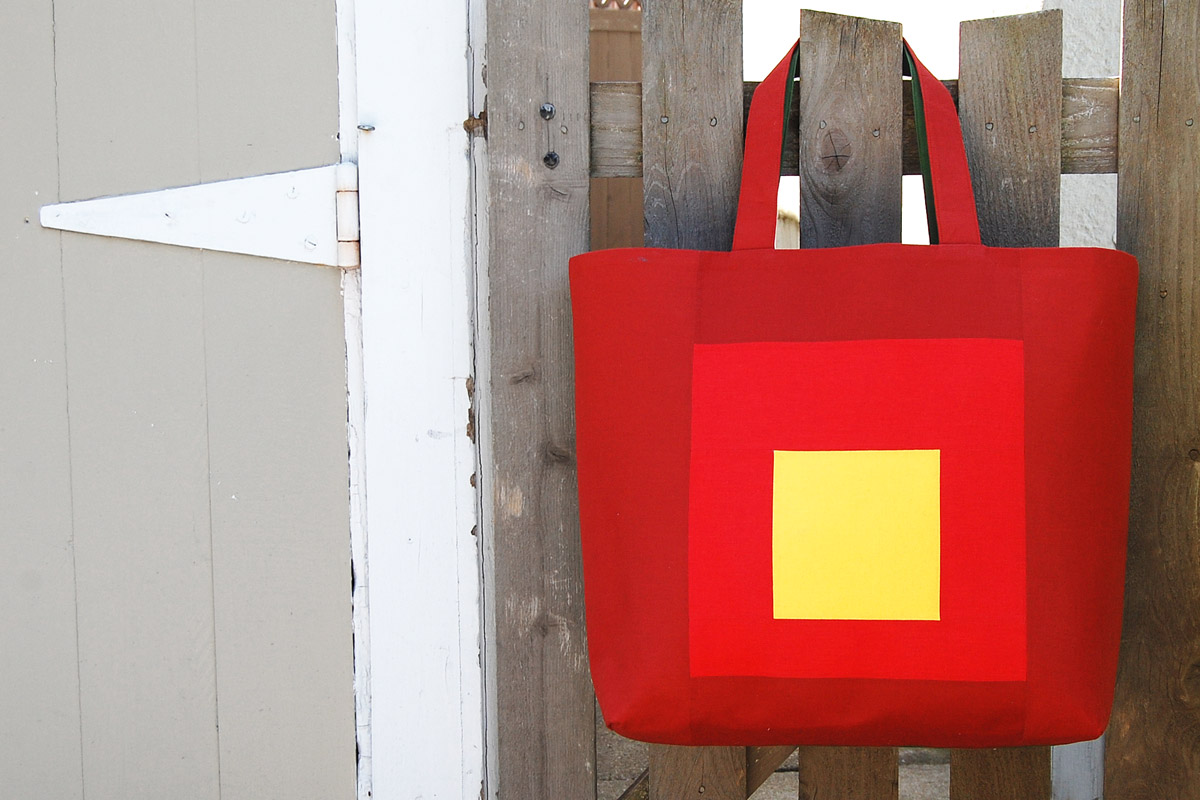
Classic design meets modern twist. This cool tote with boxed bottom can carry anything you throw at (or in) it. The leather strap simplifies the design and accentuates your style. Clean, classic lines mean it’s easy to construct, so you go from zero to tote-and-go in less time. It won’t be long before this becomes your go-to tote.
materials and tools
- 1-1/4 yards of fabric for the bag top
- 18ʺ x 24ʺ rectangle of contrast fabric for the bag base
- 3ʺ x 20ʺ strip of faux leather for the handle
- One package (approximately 60ʺ) of extra-wide double-fold bias binding (or make your own!)
- Clear quilters’ ruler
- Fabric marker
- Thread
- Scissors
Step 1) Prepare the fabric.
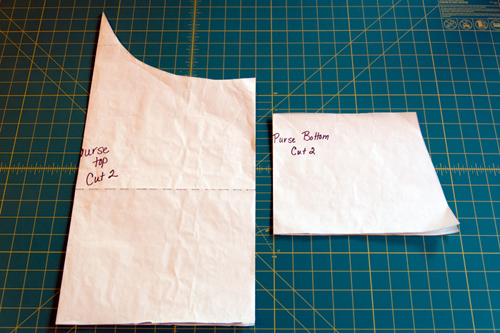
Download and print the pattern piece templates: Leather_Strap_Tote_Bag_pattern_pieces_-_121814.pdf
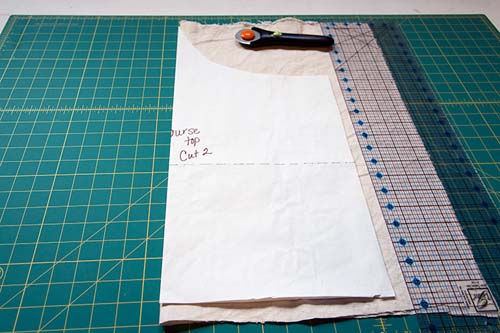
The bag top is split into three pieces; cut them out and tape them together before cutting out your fabric pieces!
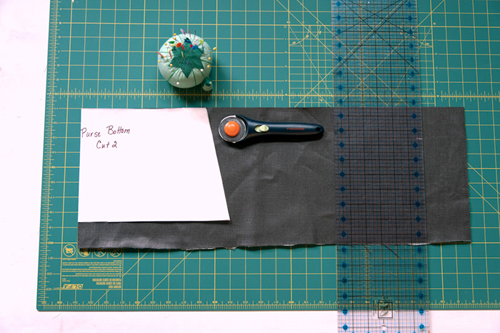
Iron your fabric, then cut out two bag tops and two bag bottoms.
Step 2) Construct the main bag.
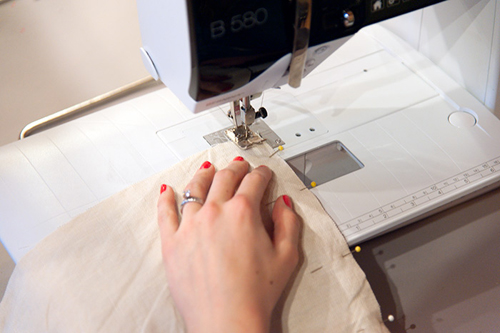
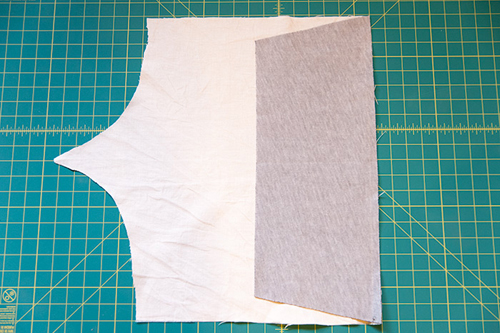
Stitch the bottom to the top for each side of the bag using 1/2ʺ-wide seam allowances.
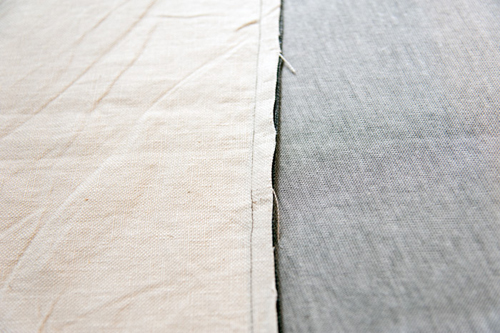
Press the seam allowances towards the bottom of the bag.
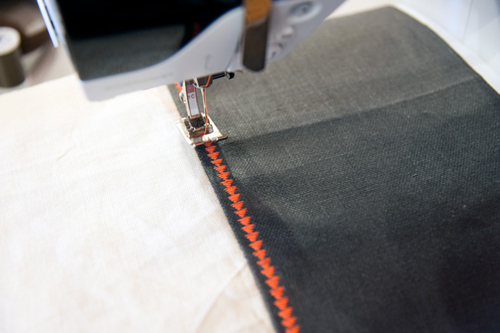
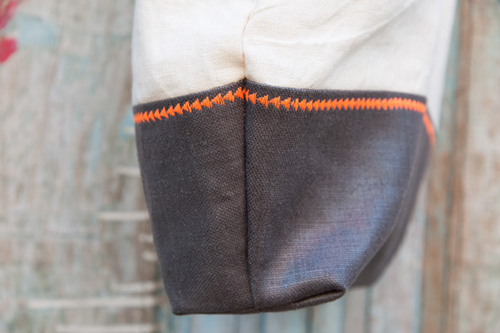
Topstitch the edge of the base seam on each side. I used decorative stitch #401 on my BERNINA 580 E, with a width of 7.1 mm and length of 5.1 mm. Experiment with the decorative stitches on your sewing machine, or keep it simple with just a straight stitch.
With right sides together, stitch the side and bottom edges of the bag using a 1/2ʺ-wide seam allowance.
Press the seam allowances open.
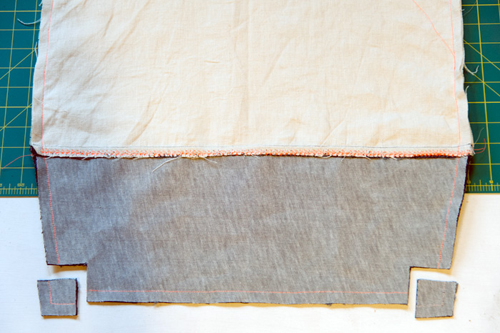
Using a clear quilters’ ruler, measure in 1-1/2ʺ at the corners of the base of the bag as shown; mark with a fabric pen.
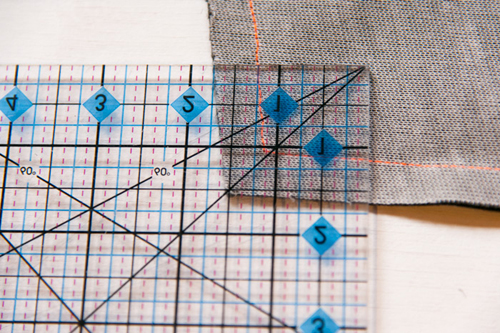
Cut the squares from the corners of the bag base.
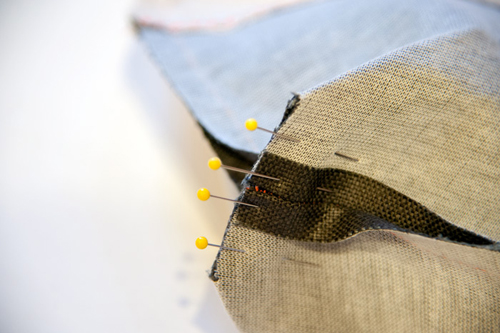
With the bag still inside out, pinch the cut-out edges together as shown, making sure the previously sewn seams are pressed open. Pin in place.
Sew the corner edges together with 1/2ʺ-wide seam allowances. This will create nice boxed corners on the base of your bag.
Step 3) Bind the edges.
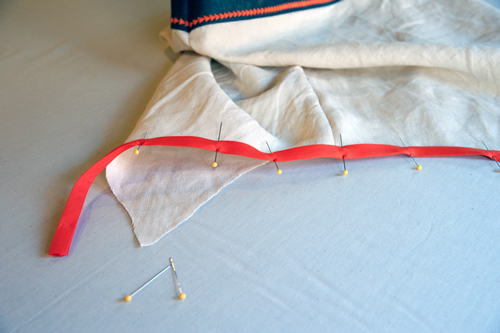
On one side of the top edge of your bag, pin the bias binding in place.
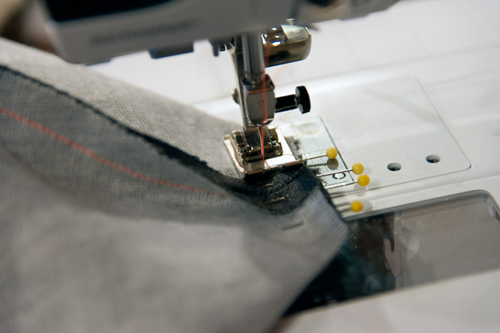
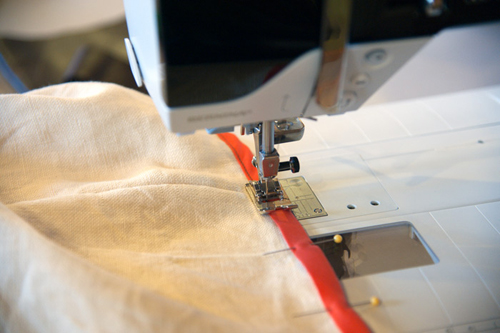
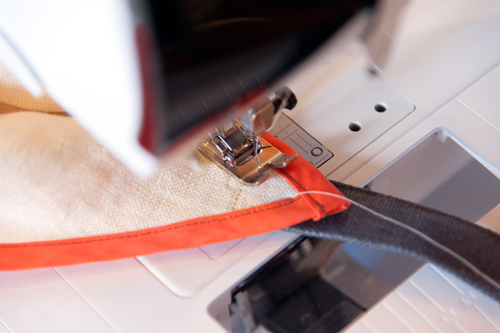
Sew the binding to the bag, stitching close to the edge of the binding (a scant 1/8ʺ away) as shown.
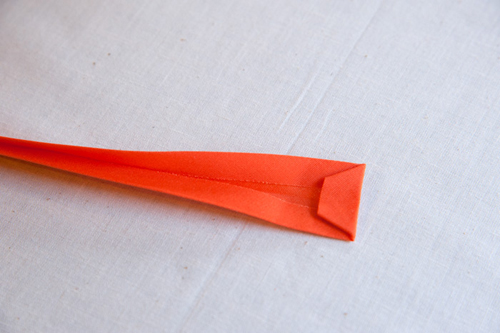
For the second half of the binding, start by opening the binding at its main crease and folding the corners in slightly as shown.
Then fold the end under 1/2ʺ; press.
Pin the binding in place, then repeat the above folding technique once you reach the other edge on the point of the bag, overlapping the ends.
Stitch the binding in place the same way you did earlier.
Step 4) Add the handle.
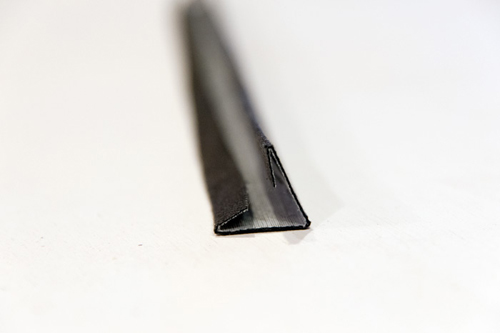
For the handle, fold the leather strip in half lengthwise; press (check a scrap first to make sure it won’t melt). Fold under each outer edge 1/2ʺ; press. Finally, fold press the center crease again with all edges turned under.
Stitch the open edges of the strap together close to the edge (a scant 1/8ʺ away), making sure you catch both sides of the strap in your stitches.
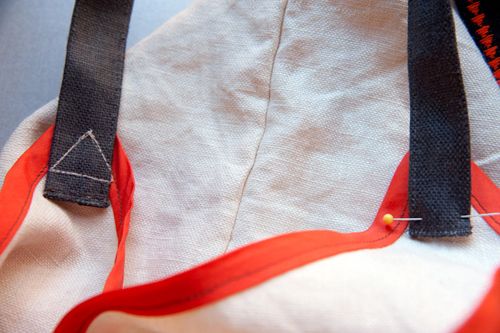
To attach the handle to the bag, pin it to the points of the bag as the desired length.
“Stitch-in-the-ditch” beside the binding and across the bottom of the handle, creating a triangle shape as shown.
To make sure those handles are nice and secure, go over your stitching again about three times.
Voila! Your sweet little market tote bag is complete! Enjoy!
What you might also like
7 comments on “How to Make a Leather Strap Tote”
-
-
This made up in a breeze but caution on the pattern piece for the very top of the bag has the fold on the wrong size of the pattern.
-
That should be the wrong SIDE of the pattern piece.
-
Oh, no! That’s my fault, not Rachel’s. I’ll have a corrected copy posted very soon. Jo
Done!
-
Leave a Reply
You must be logged in to post a comment.












What a beautiful bag! And an even more beautiful door!