How to Make Embroidered Fabric Coasters
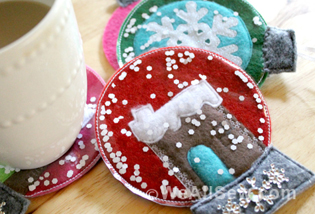
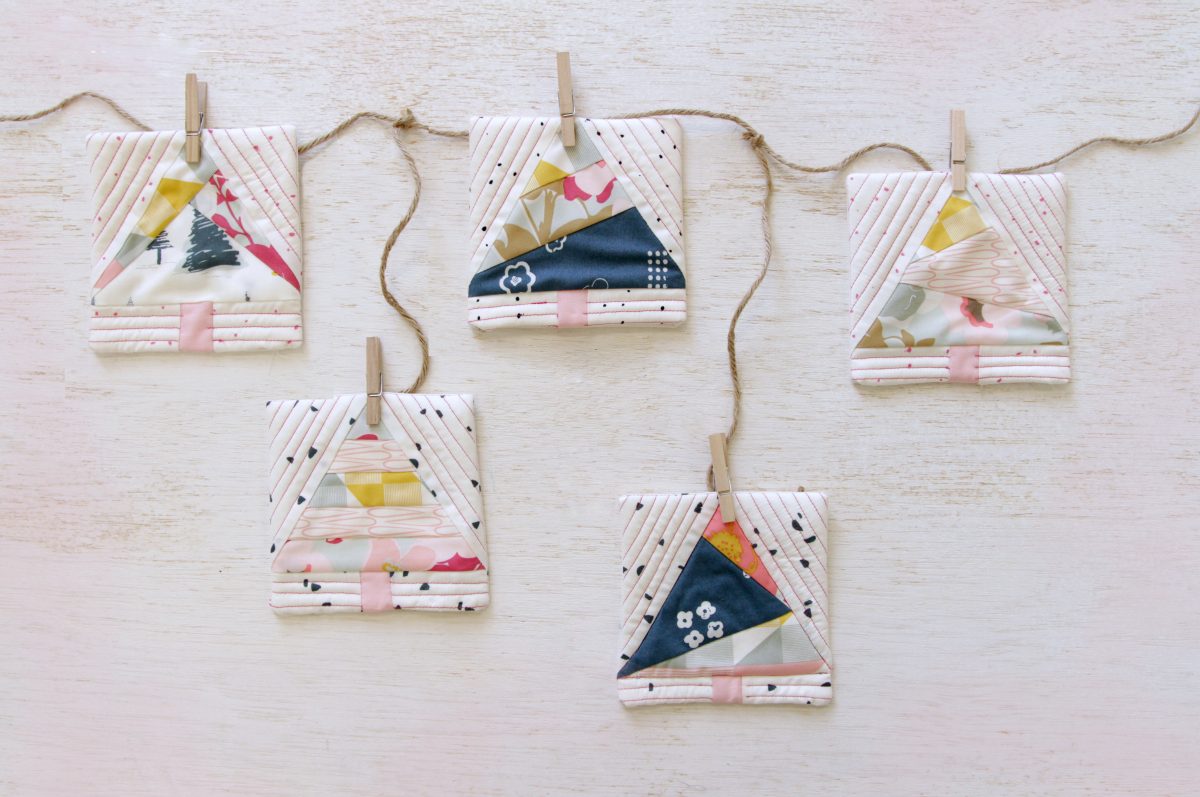
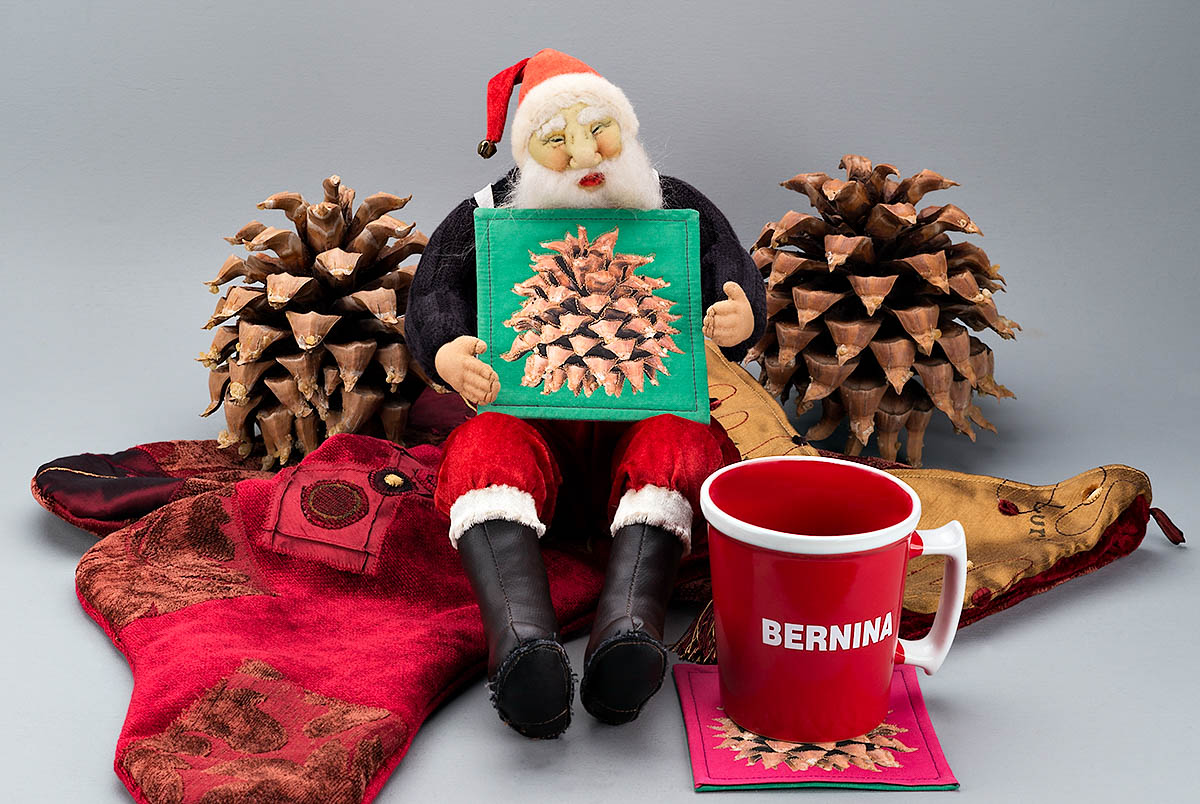
Grab one of these and you can make any place your tea corner. The “sweetener” is how quick they are to make. A perfect use for your fabric scraps collection, where bold prints meet embroidered neutrals. BTW, plain cottons are great for this. Next time you’re invited for tea (or coffee) bring a stack of these as a gift ‒ and look for the smile you’ll get in return.

Grab one of these and you can make any place your tea corner. The “sweetener” is how quick they are to make. A perfect use for your fabric scraps collection, where bold prints meet embroidered neutrals. BTW, plain cottons are great for this.
Next time you’re invited for tea (or coffee) bring a stack of these as a gift—and look for the smile you’ll get in return.
Supplies
- Scraps of plain fabric large enough to hoop for your embroidery machine (or, if you won’t be embroidering them, large enough for cutting 4-1/2″ squares)
- Scraps of a coordinating print fabric large enough for cutting 4-1/2″ squares
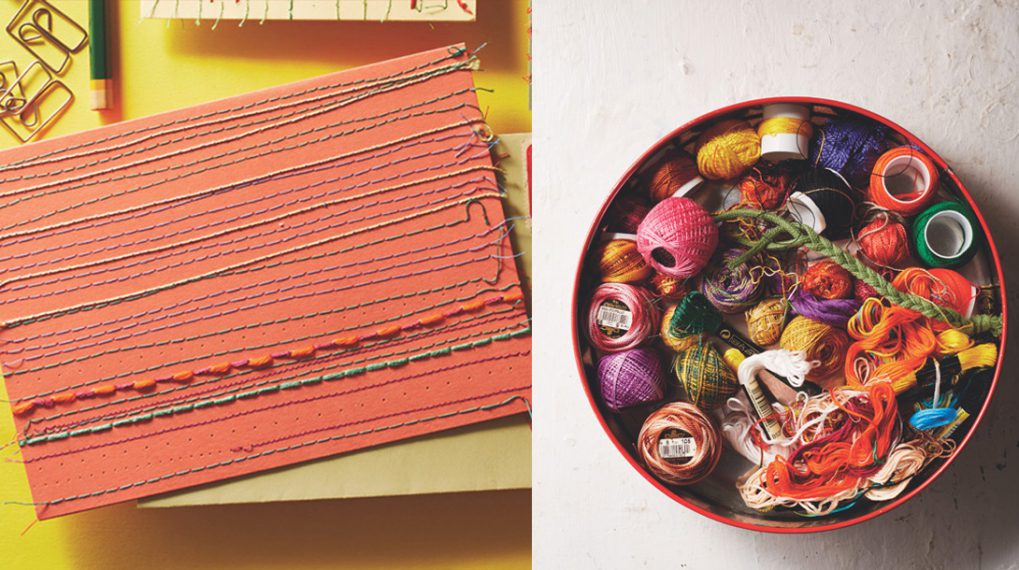
- Isacord or Polysheen embroidery thread
- OESD LightWeight Cut-Away Stabilizer
- Rotary cutter, mat, and ruler (optional)
- Edgestitch foot, such as BERNINA Edgestitch Foot #10
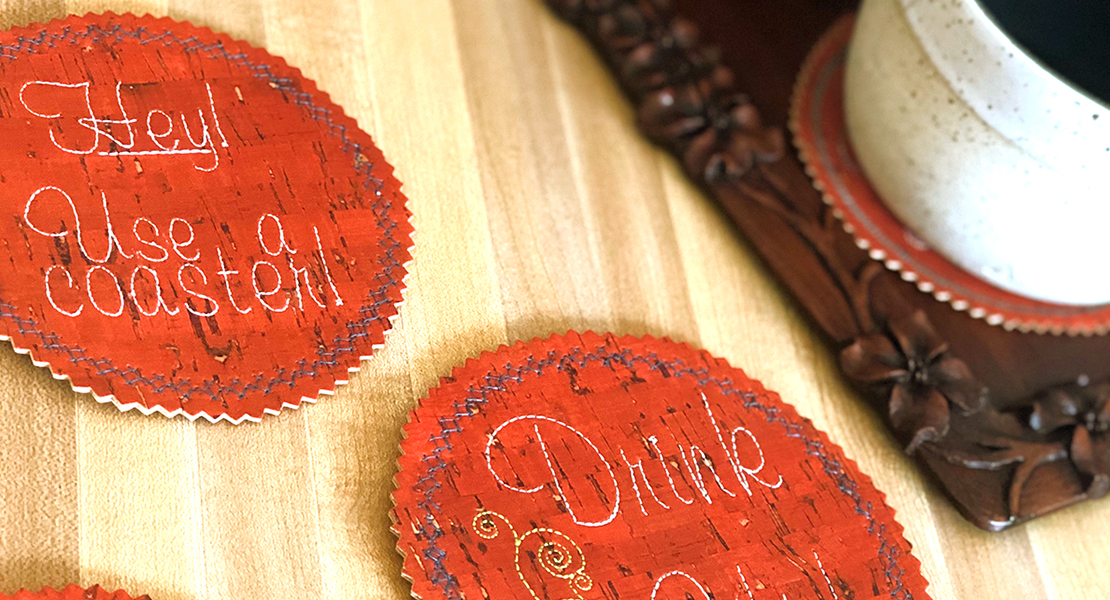
Step 1) Embroider the coaster fabric (optional).
If you don’t have an embroidery machine, skip to step 2.
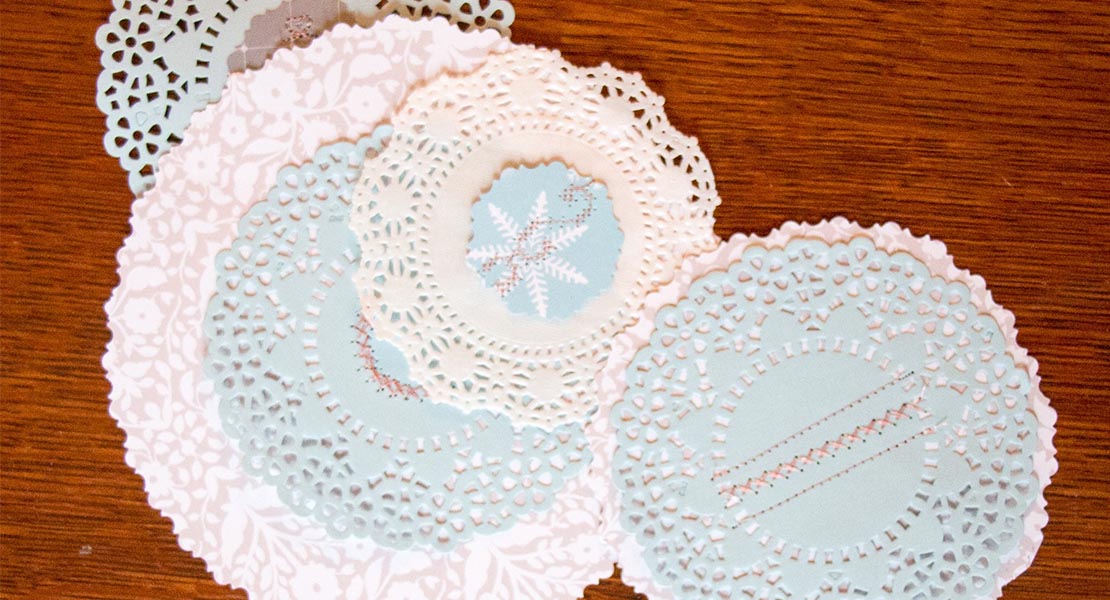
To begin, select some embroidery designs to use for your coasters. Be sure that your design is smaller than the 4” finished coaster, so the edges aren’t too crowded.
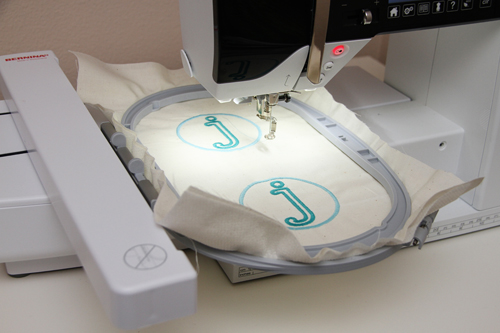
If you have a large enough embroidery hoop, try to fit more than one image within the stitching space, as long as the images don’t crowd the 4-1/2″ square of fabric you’ll need for each coaster.
Bond a sheet of cut-away stabilizer to the wrong side of your fabric using fabric adhesive spray. Hoop the fabric/stabilizer.
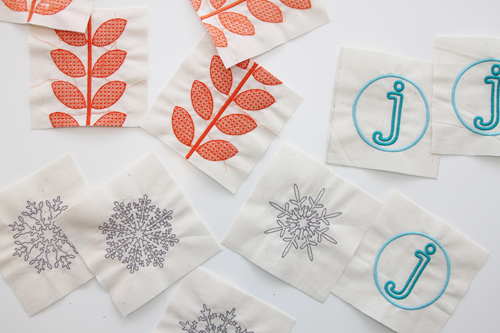
Embroider the designs on your plain fabric pieces, one for each coaster.
Trim the stabilizer about 1/4″ from the completed stitching.
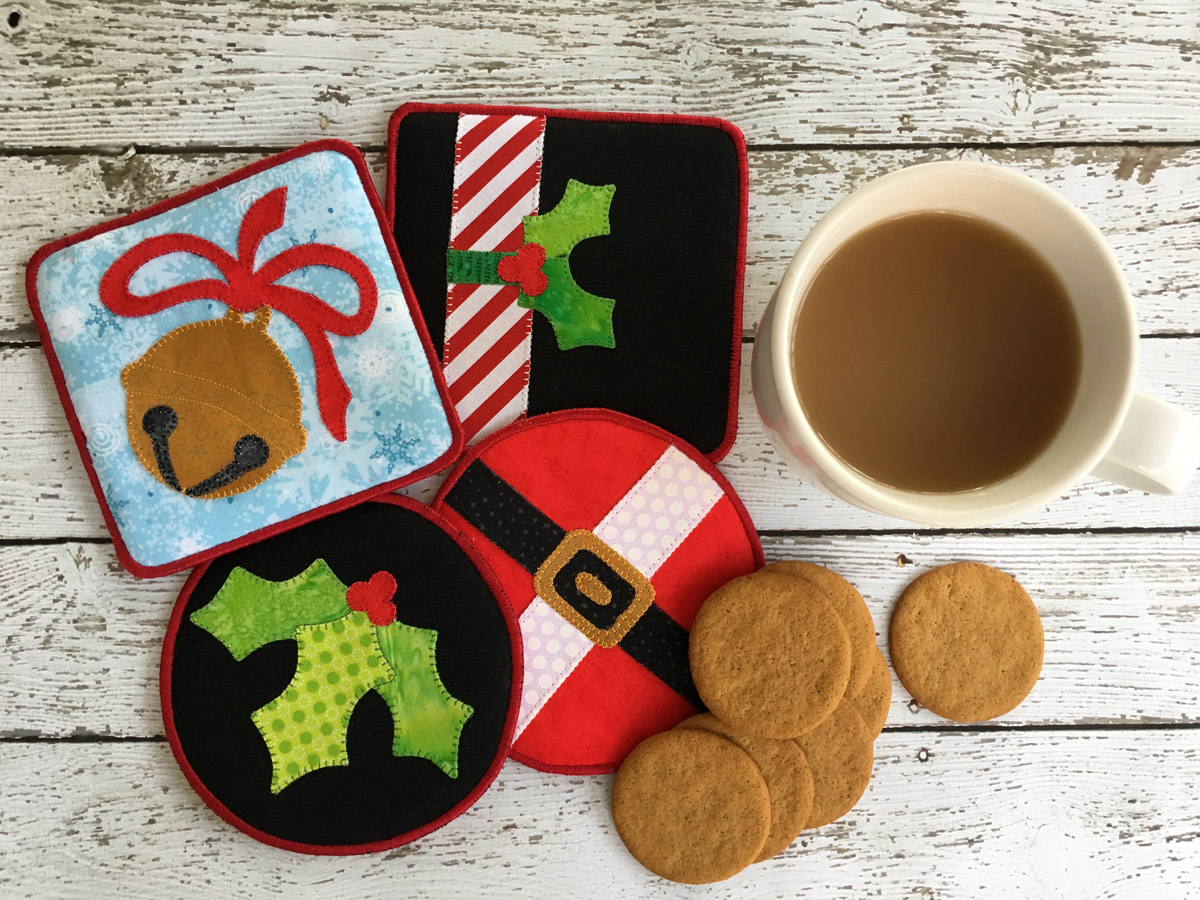
Step 2) Applique the coaster fabric (optional).
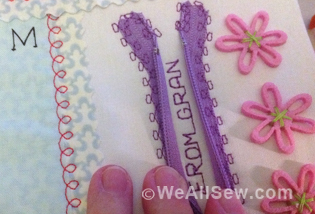
If you don’t have an embroidery machine, or prefer to applique your coasters, apply double-sided fusible web to the wrong side of some fabric scraps and cut out shapes or letters to appliqué to your coasters.
Fuse the shapes to your fabric, leaving space to cut a 4-1/2″ square around each one. Place cut-away stabilizer underneath, then sew the edges with a zigzag or decorative stitch.
Step 3) Construct the coasters.
Mark a 4-1/2″ square around each design, making sure each design is centered. Cut out each square along the marked lines.
For the back of each coaster, cut a 4-1/2″ square from your coordinating print fabric.
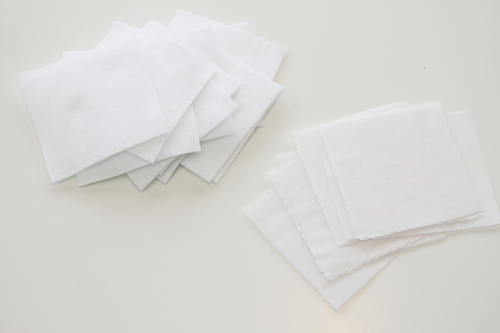
Cut 3-7/8″squares of felt and double-sided fusible web for each coaster.
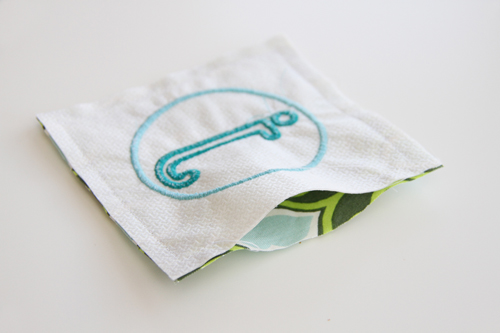
Place one design square and one backing square right sides together.
Sew around the edges with a 1/4″-wide seam allowance, leaving a 2-1/2″ to 3″ opening along one side.
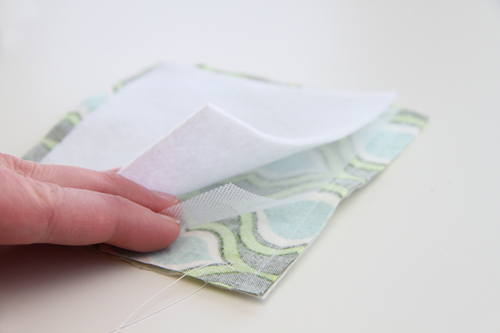
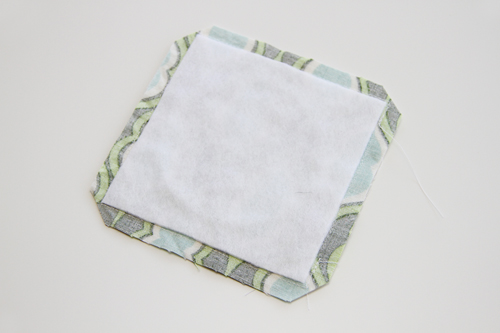
Place a square webbing piece on the wrong side of the backing fabric, and place a felt square on top. Be sure that both are within the seam allowances of the square; trim the felt and webbing if necessary.
Press to fuse the felt to the coaster backing.
TIP: Because of the thickness of the felt, cutting it slightly smaller than the finished coaster helps reduce bulk at the outer edges.
Trim the corners, making sure not to cut through any of your seams.
Turn the coaster right side out and poke out each corner.
Fold the edges of the opening toward the inside of the coaster. Press flat.
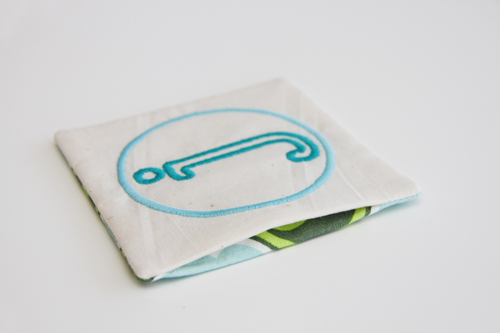
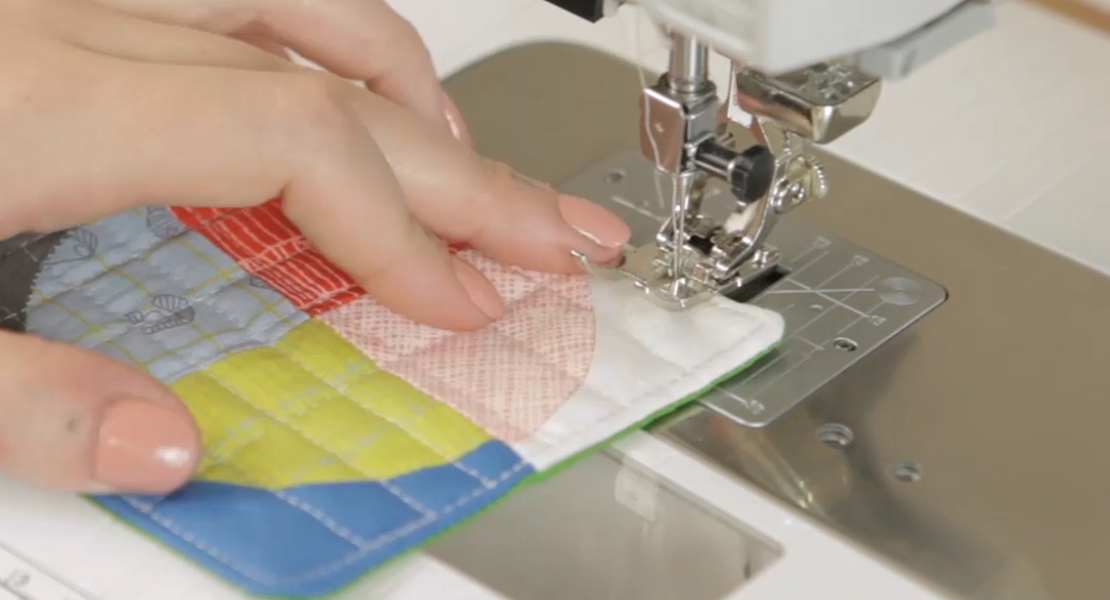
Topstitch around the very edge of each coaster (about 1/8″ from the edge).
TIP: For perfectly placed stitching use an edgestitch foot, such as BERNINA’s Edgestitch Foot #10.


10 comments on “How to Make Embroidered Fabric Coasters”
I noticed that felt and double sided fusible web are required, but not mentioned in materials. Any suggestions on type of felt? Craft Felt? Anything else missing from the materials list? 🙂
Sorry – I’ll go back and proof it to see, but I think you caught both items. I think any type of felt would do. I’d probably use Warm ‘n Natural cotton quilt batting, since I have lots of small leftover batting pieces, but no felt, in my stash. Jo
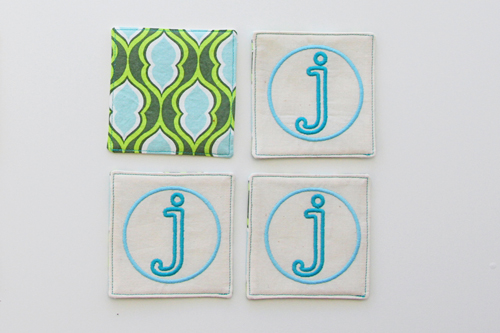
Hi, what embroidery designs are being used? I love them!
Ashley purchased the designs online.
• The “J” coasters are from here: http://www.swakembroidery.com/info/fonts/SWAK_lp_TaylorFont4x4Set.htm
• The vine coasters are from this design: http://www.swakembroidery.com/info/modern-designs/SWAK_md_TechnicolorVine6x10_3Styles.htm
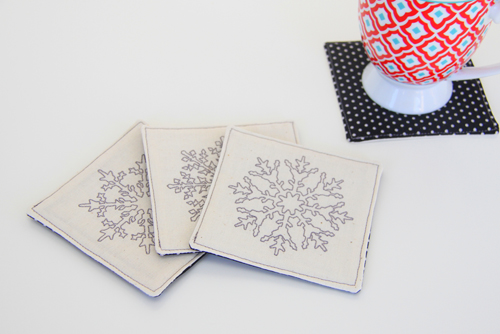
• Snowflake 1: http://www.embroiderydesigns.com/productdetails/Pat-Williams/1/WTSF07.aspx
• Snowflake 2: http://www.embroiderydesigns.com/productdetails/Pat-Williams/1/WTSF04.aspx
• Snowflake 3: http://www.embroiderydesigns.com/productdetails/Pat-Williams/1/WTSF01.aspx
• Snowflake 4: http://www.embroiderydesigns.com/productdetails/Pat-Williams/1/WTSF05.aspx
Thank you! These projects are great. I’m real happy to have signed up with We All Sew.
Super cute project thank you!! What type of webbing is used? I don’t see it on the materials list.
Love these coasters. One question: How do you waterproof them?