How to Sew Decorative “Floating” Rickrack Trim and Insertion
Here’s a pretty way to use rickrack for edgings and insertions from Deb Wagner, author of All Quilt Blocks are Not Square and many other sewing and quilting technique books and articles. She also owns Wagner BERNINA Sewing in Hutchinson, MN, where the current temperature is minus 3. Definitely stay-inside-and-sew weather!
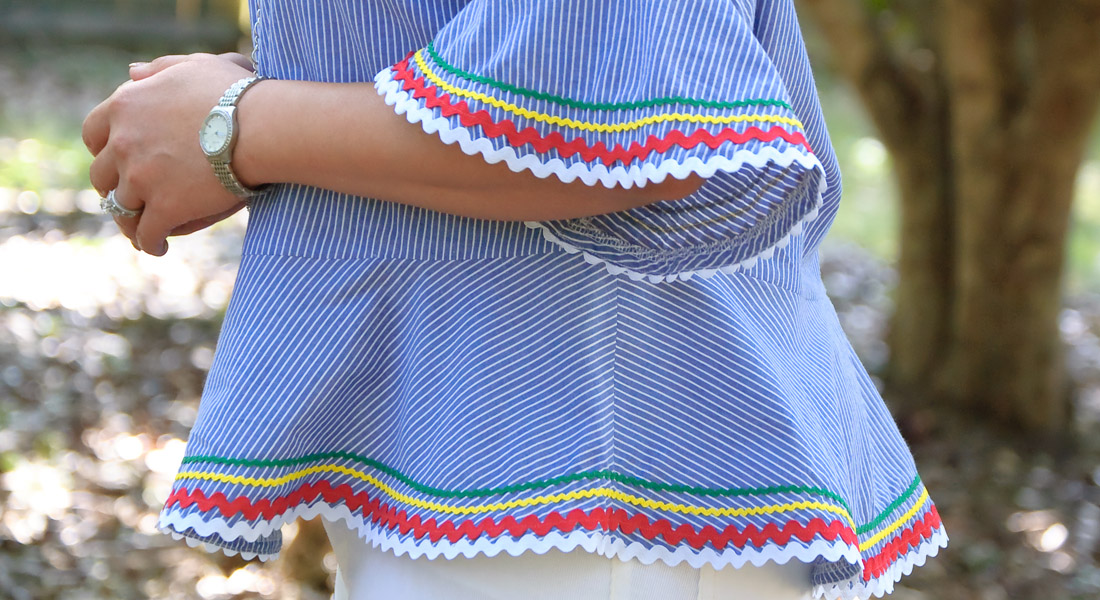
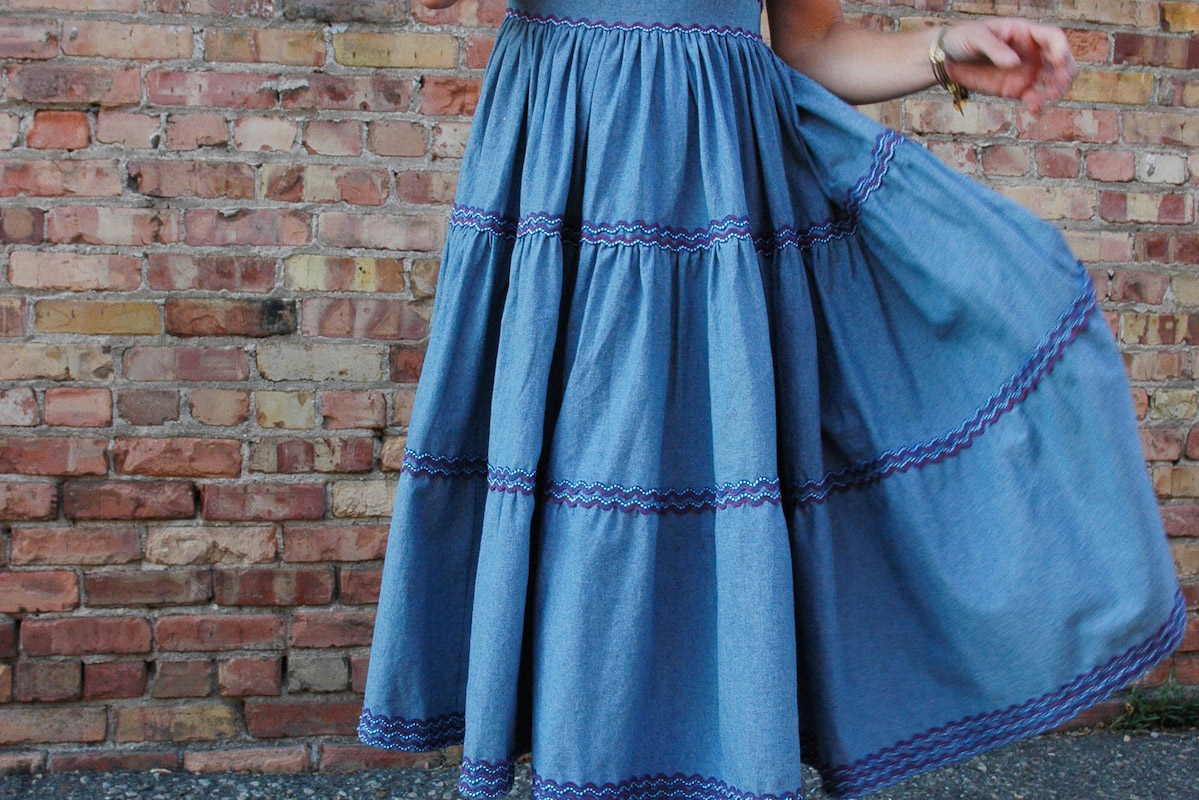
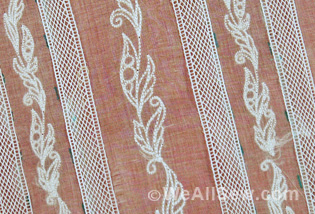
I can picture this clever edging on a variety of projects – rows of large rickrack insertions on a pillow cover, with a contrasting lining peeking through; a pretty finish for kitchen curtains; a substitute for traditional embroidered insertion in heirloom sewn garments; or a fun hem and edge treatment for children’s clothes and women’s skirts and tops. (Wouldn’t this be awesome in combination with the designs in Indygo Junction’s Stitch Style book and OESD’s SoHo Bandana embroidery collection I showed in yesterday’s post?)
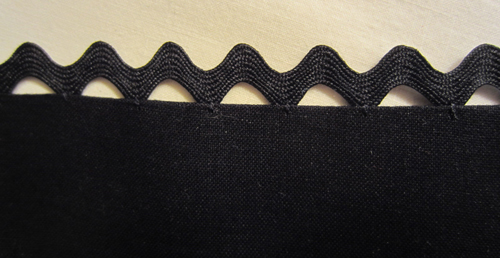
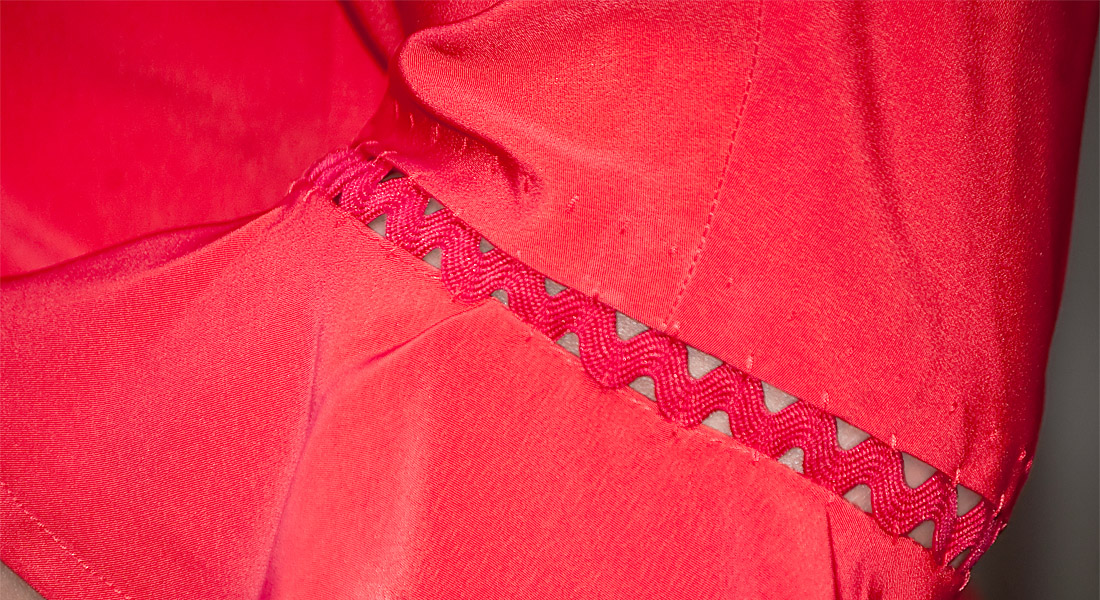
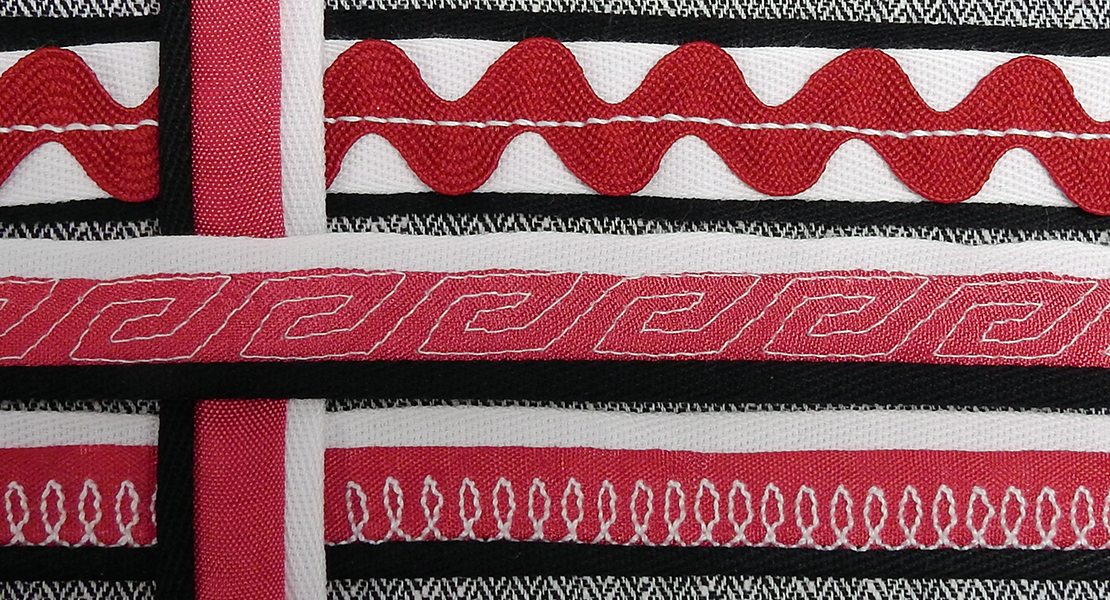
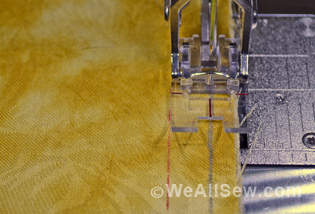
The rickrack is stitched to a flat piece of fabric (or two for insertion) using the blindhem stitch with the “zig” catching the points of the rickrack. Afterward, when the fabric is folded, the rickrack “slides” on the stitches, making it appear that the entire width of the rickrack is magically suspended from the folded fabric edge. The sample shows new large rickrack on black fabric with black stitching.
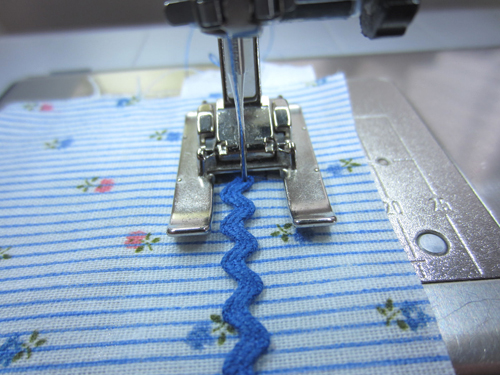
Relatively easy, the trickiest bit is adjusting the stitch length so the zigzags line up with the rickrack points. After that, just sew. I used an open-toe foot, BERNINA Open Embroidery Foot #20/20C.
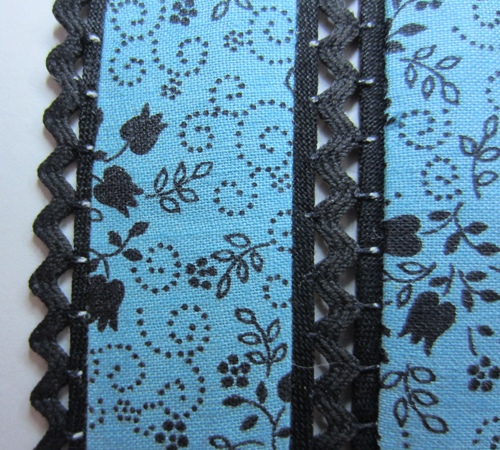
On this blue and black sample I had white thread on the bobbin; you can see it peeking above the medium vintage black rickrack. The exposed stitches, of course, could be an added embellishment! The project I’m working on requires a narrow colored piping on each side of the rick rack before it’s stitched to the fashion fabric, hence the narrow black edging, but it is not required.
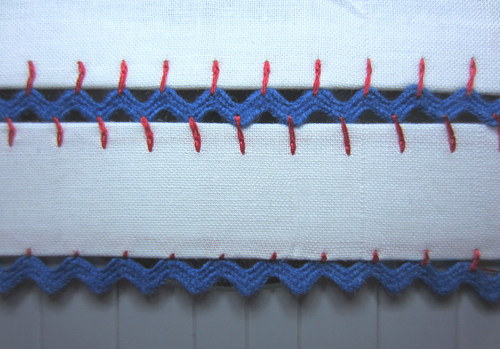
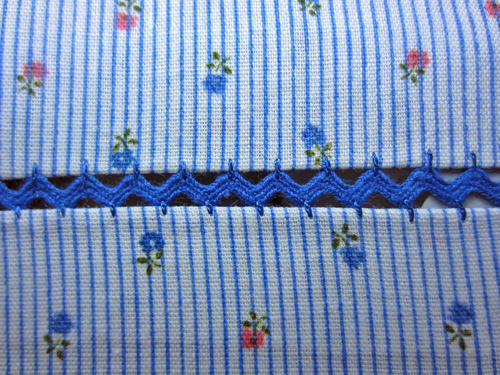
The wider the zigzag width, the more pronounced and decorative the thread will be. If the zigzag is too narrow, the rickrack won’t float. Here I’ve used blue vintage mini-rickrack and thread thread with a 6 mm-wide stitch width.
To try this technique for yourself, follow these step-by-step instructions:
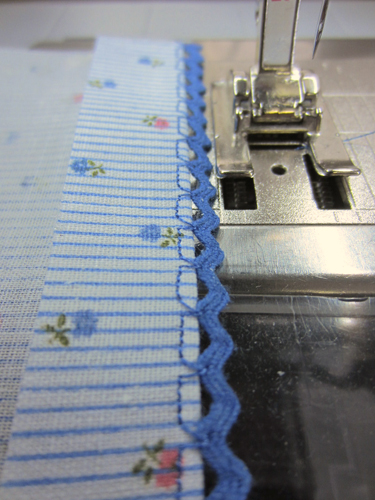
Sew the rickrack to the fabric using a blindhem stitch, catching the points of the rickrack in the zigzag stitches.

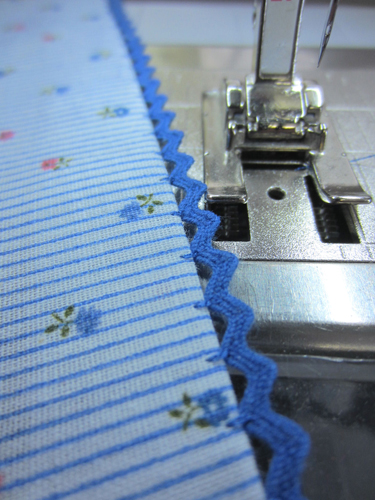
Fold the fabric. The stitches will show on the wrong side,
… and the trim will “float” along the edge on the right side.
To make insertion, attach the free edge of the rickrack to a second piece of fabric, then fold fabric away from rickrack as aboe.


What you might also like


13 comments on “How to Sew Decorative “Floating” Rickrack Trim and Insertion”
-
-
I love me some rickrack! Great idea, love it!
-
I’m a FIEND for rickrack. What wonderful machine insertion techniques! Thanks so much for bringing Deb Wagner’s idea to us.
-
Love this! It was just repost to the Facebook group Sew Classic for Children. It was a big hit!
-
Thank you for sharing this technique. It looks great
-
Pingback: Rickrack Insertion
-
Thanks for sharing..It’s useful for me. I try to make this with using my own ric rac trim.
-
Pingback: WeAllSew « https://weallsew.com
-
you shared such a very useful information. Thank you for posting this ideas. We have shared this info with our colleagues.
-
I love this! Do you have any experience on how well it launders?
-
I used this technique to extend a vintage tablecloth given to me by my mother. I didn’t want to just add an extra piece of fabric as that would have produced bumps right where the plates have to sit. The floating rick-rack worked perfectly and looks like it has always been part of the tablecloth. I am delighted with the results; thank you.
-
Thanks for sharing this technique. It’s such a great idea! I can’t wait to try this on a spring or summer frock!
Terri
Leave a Reply
You must be logged in to post a comment.

Oh wow! This is gorgeous. I will have to think of a way to use this technique soon.