Summer Sparkle Quilt-Along: Part 3
Welcome back everyone! This is Week 3 of the Summer Sparkle Quilt Along. By now you should have at least a few of your blocks pieced. As I mentioned previously, don’t stress out if you do not have all your blocks finished. I know there is a lot of piecing involved! These instructions will be here waiting for you when you are ready.
Click HERE for Summer Sparkler Quilt-Along Part 1, HERE for Part 2.
Today we are going to assemble the blocks into the finished quilt top and talk about quilting ideas.
Week 3: Assemble the quilt.
Join the blocks.
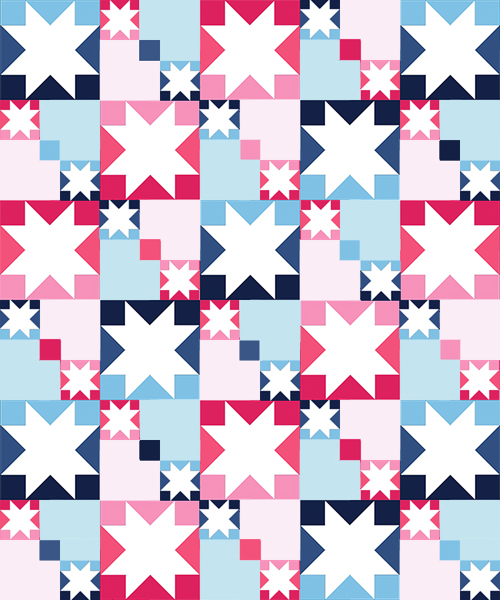
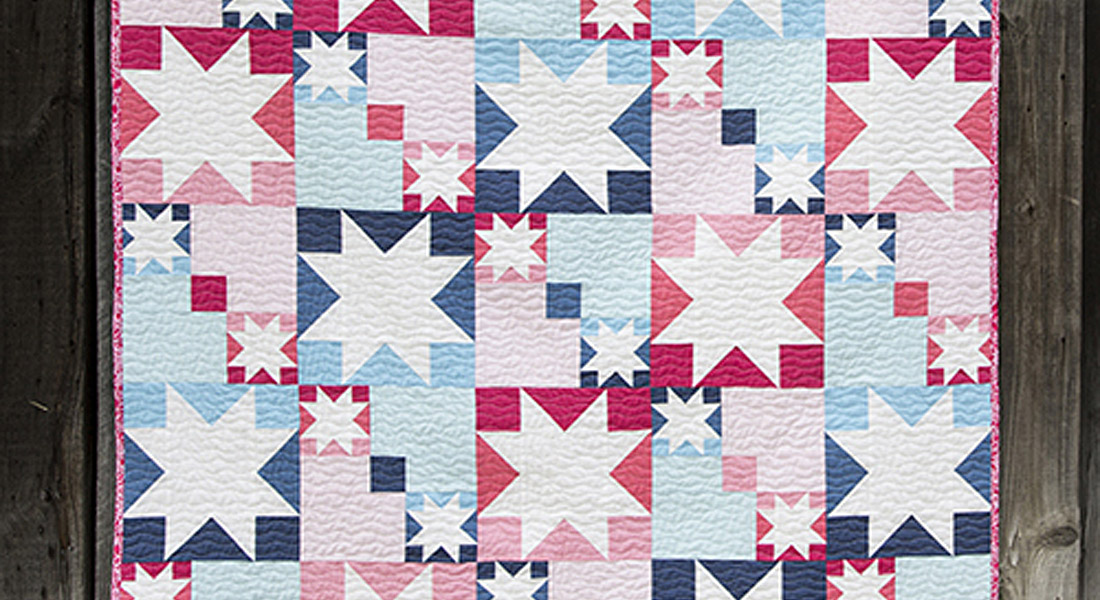
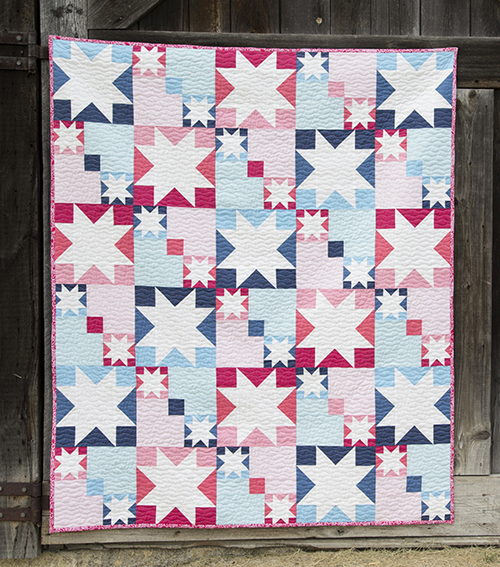
Gather your (15) Block As and your (15) Block Bs. Alternating Block A – Block B – Block A – and so on, lay out your blocks as shown. Notice how I also alternate Pink Block A – Blue Block A, and the direction of both Block A and Block B.
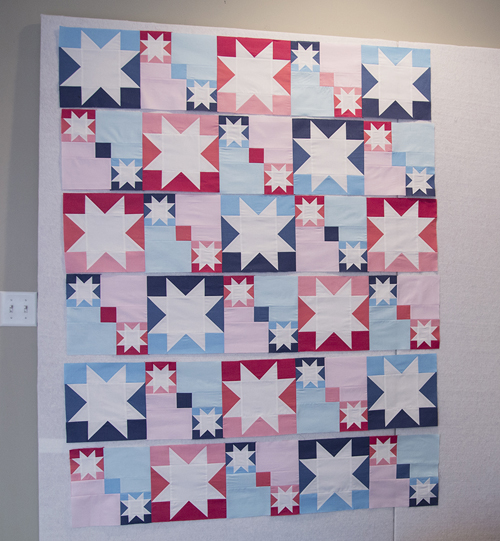
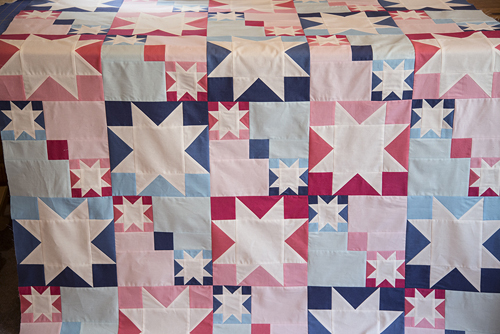
Sew the blocks together into rows, then the rows together to form the finished quilt top.
Quilt the layers.
Create your backing: Cut the (3-1/3) yards of backing fabric in half, resulting in (2) pieces, 42” x 60”. Sew these together along the long side of the fabric, resulting in a backing that measures 60” x 84”. Trim to 60” x 70”.
TIP: I saved the leftover backing fabric and used it for my binding.
Baste the quilt layers together using your preferred method.
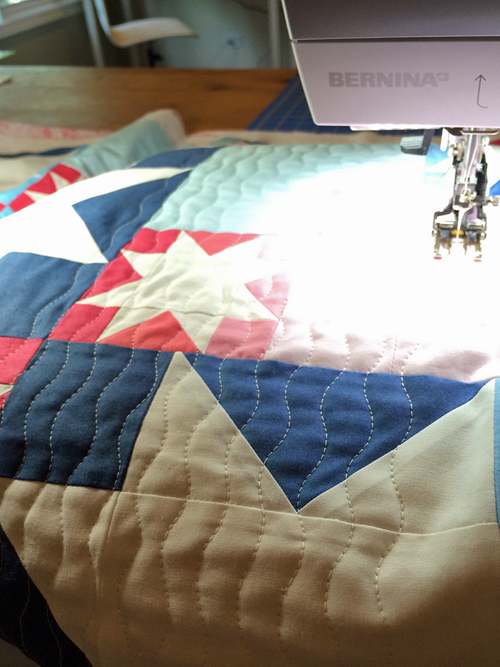
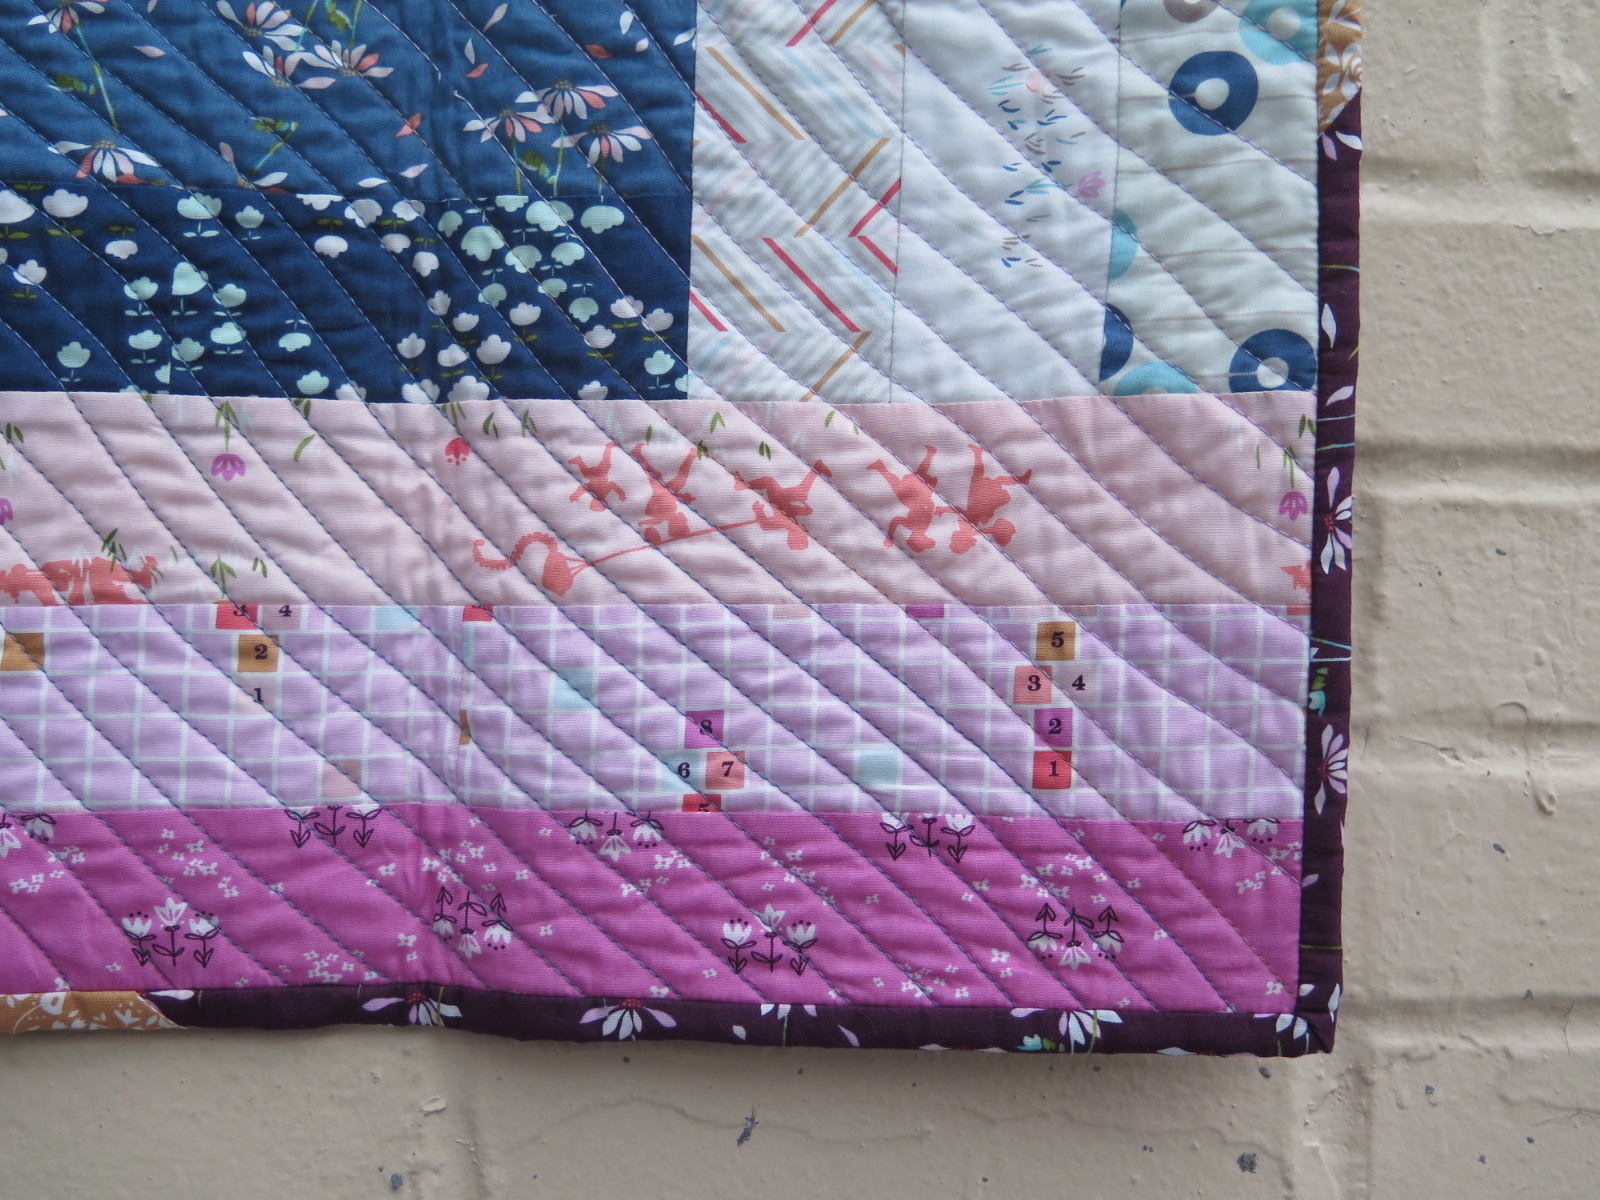
Quilt as desired. Inspired by flags flying in the wind, I chose to quilt mine using wavy lines. This is really easy to accomplish on my BERNINA sewing machine.
Select the running stitch (#4 on many BERNINA models). Leave the width as is and set the length to 3.5 mm. I love how the screen on the BERNINA 750QE visually shows the stitch change.
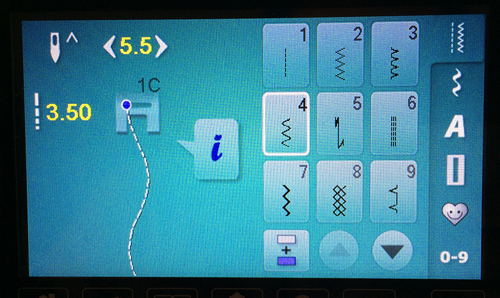
TIP: Make sure you are using an appropriate foot and stitch plate. (If you had switched to your quarter-inch foot (BERNINA Patchwork Foot #37) and a single hole straight stitch needle plate for piecing, now is the time to remove those and put on your regular stitch plate and foot.)
I used the edge of my foot as a guide and, starting in the middle row of my quilt, quilted wavy lines horizontally through my quilt.
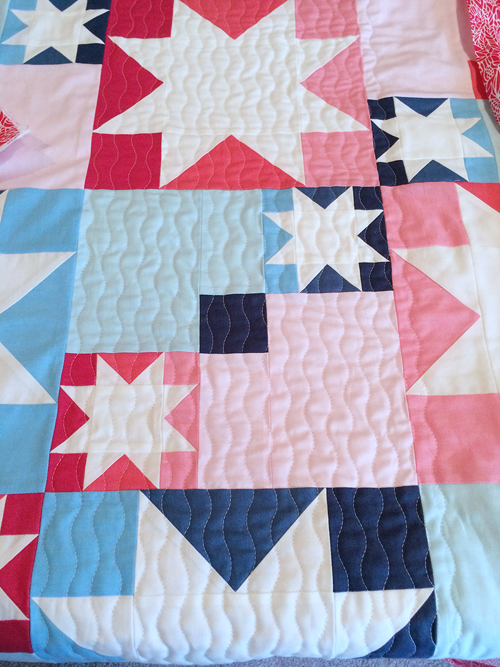
TIP: When quilting using this technique, I never mark lines on my quilt. Wavy lines are very forgiving. Instead of stressing over marking my quilt, I follow occasional block seams to self-correct any drifting while quilting.
Bind the edges.
Cut (6) strips of fabric for your binding, 2-1/4” x 42” (width of fabric). Create your binding and bind the quilt.

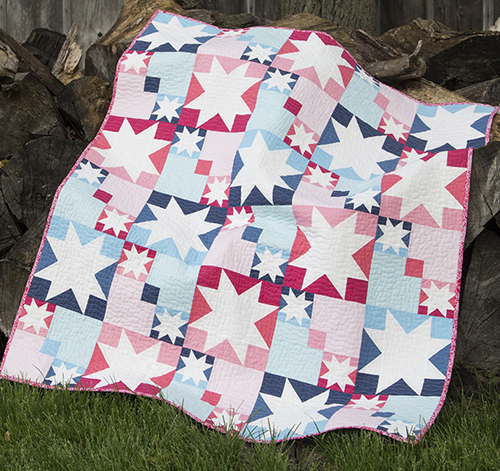
You are now finished with your Summer Sparkle quilt! I hope you enjoyed quilting along with me here at We All Sew. I’d love to see your finished quilts! Leave a link to your photo in the comments to share with everyone.


3 comments on “Summer Sparkle Quilt-Along: Part 3”
Hi Faith, I noticed you used walking foot for quilting. Do you not use the dual feet?