DIY Free-Motion “Faceted Fabric” Panel iPad or Tablet Cover
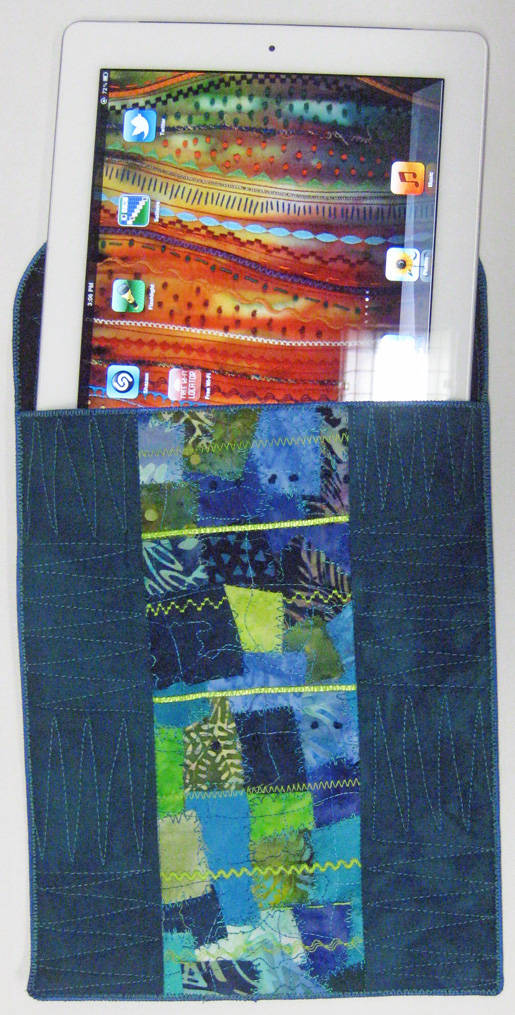
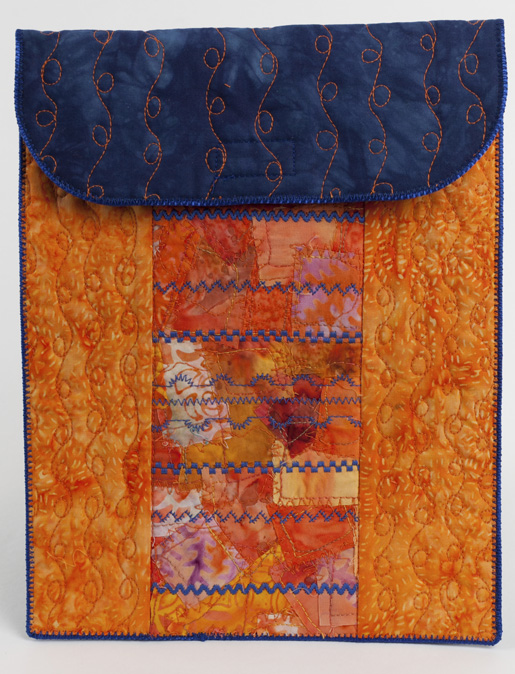
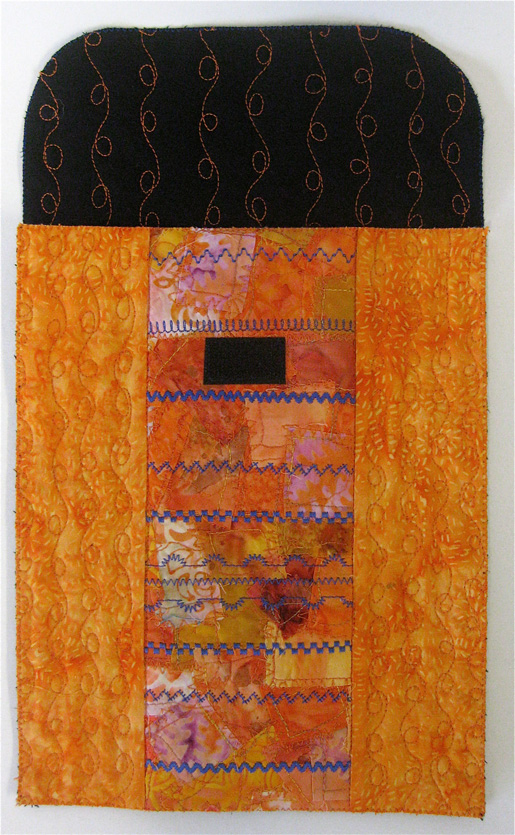
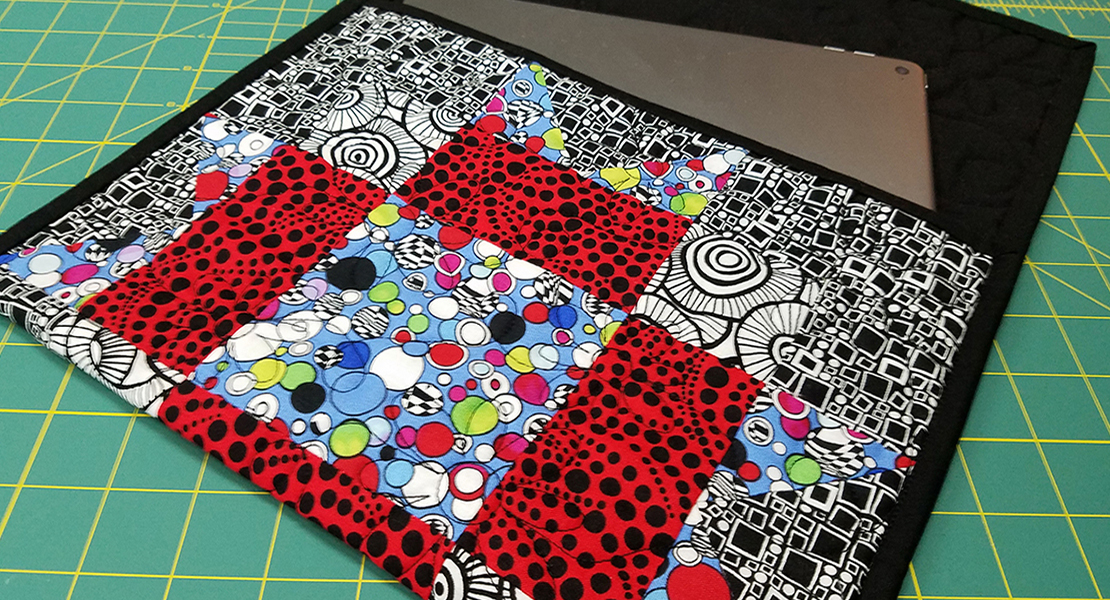
Another fabulous fabric-play project from Carol Ann Waugh! Turn a pile of fabric scraps into a shimmering faceted panel evocative of quartz and opal crystals, then use it to make a padded cover for your iPad or tablet. Select fabrics in your favorite colors – cool blues and greens or fiery oranges and yellows – and be sure to add some accent colors to the mix, such as the lime green in the blue cover and primary blue in the orange one.
Supplies
1 fat quarter (18″ x 22″ rectangle) of cotton fabric
Coordinating fabric scraps
1 fat quarter of fabric for backing
Fusible interfacing
Batting
Contrasting and/or coordinating thread
Invisible thread
Hook-and-loop tape (sewable, not sticky)
Rattail cord
Step 1) Prepare the “faceted” fabric panel.
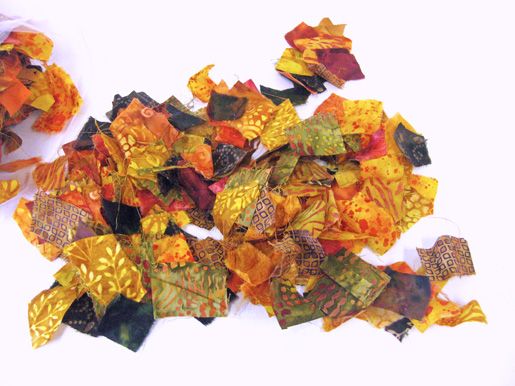
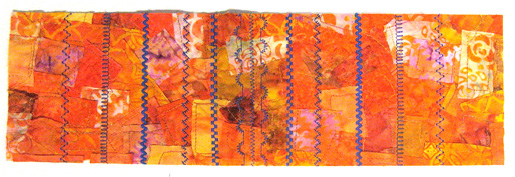
Prepare your focus fabric by selecting some fabric scraps and cutting or ripping them into squares measuring about 1-1/2″ square.
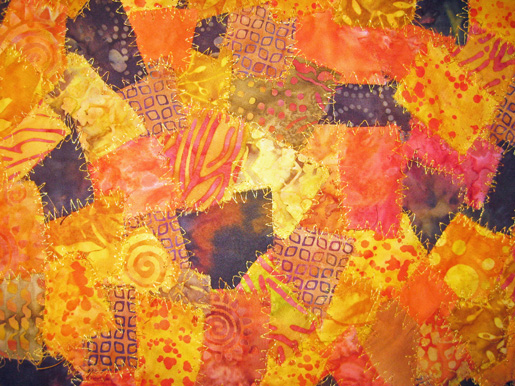
Cut a 6″ x 12″ rectangle of interfacing. Lay the interfacing on your ironing board, glue side up. Arrange your squares, overlapping the edges, into a pleasing pattern. Be sure to cover the entire surface of the interfacing so you don’t get any glue on your iron. When finished, fuse the squares to the interfacing.
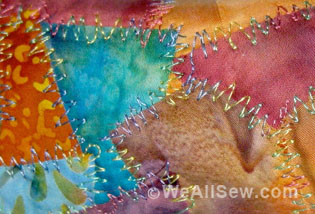
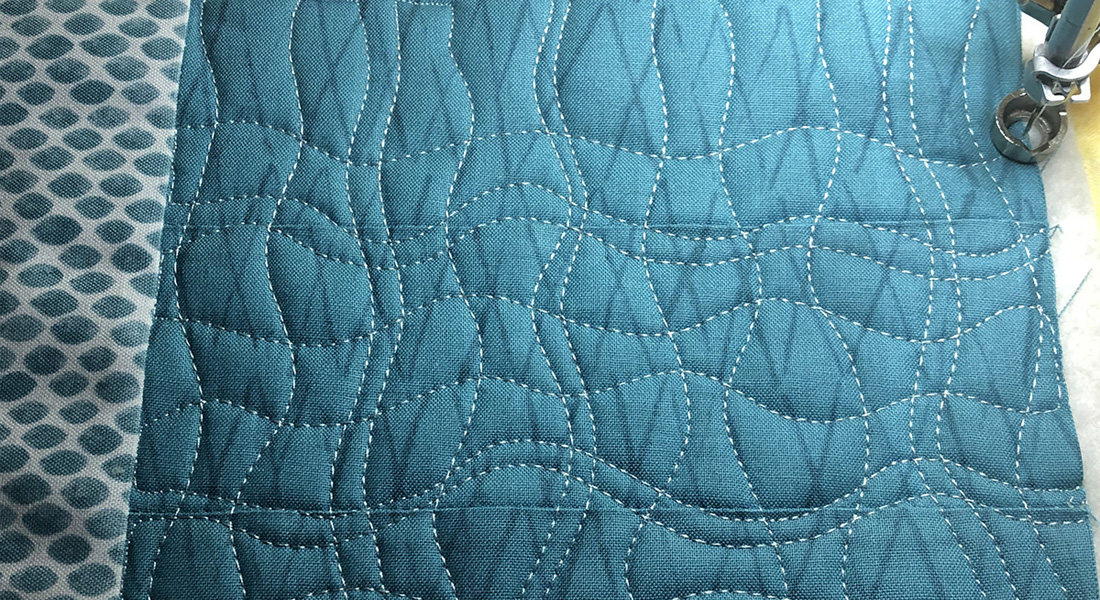
Set up your machine for free-motion stitching and stitch down all the edges using a coordinating or contrasting thread. I used a simple zig-zag motion but you can use any type of stitching you like.
Add some decorative machine stitches to your fabric. I used a complimentary color scheme for mine (orange fabric with blue stitching.
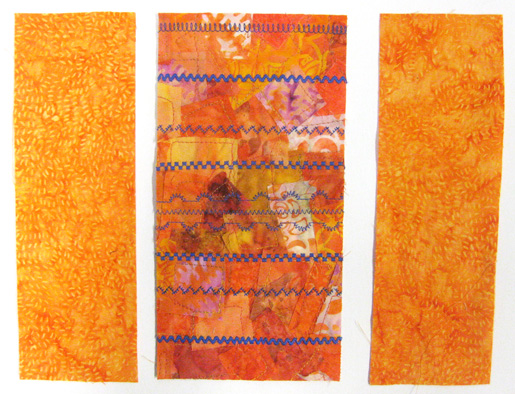
Trim this fabric to 5″ x 11″.
Step 2) Assemble the front panel.
Cut two 3″ x 11″ strips from coordinating fabric scraps or from a fat quarter and sew one strip to each side of your focus fabric. Press.
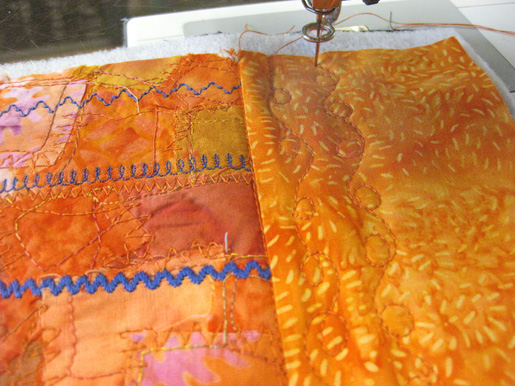
Make a quilt sandwich using batting and a backing and free motion machine stitch the layers together.
Trim the front to 8″ x 10″ and zig-zag all around the edge with invisible thread.
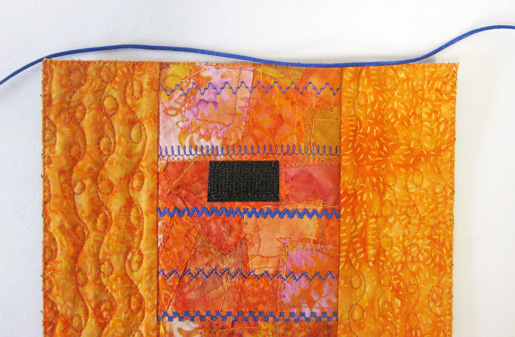
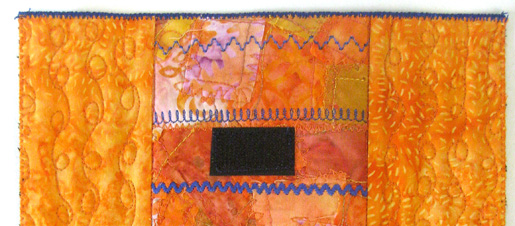
Add the rattail cord to the top edge using a wide zig-zag stitch.
Tip: Visit my website, NAME, to see a video demonstration of Carol Ann’s Rattail Binding technique.Click on the Video tab, then scroll down to the video.
Cut the hook-and-loop tape to 1-1/2″ long and sew one half of the strip to the front of the case, about 1″ from the top edge.
Step 3) Make the back panel and flap.
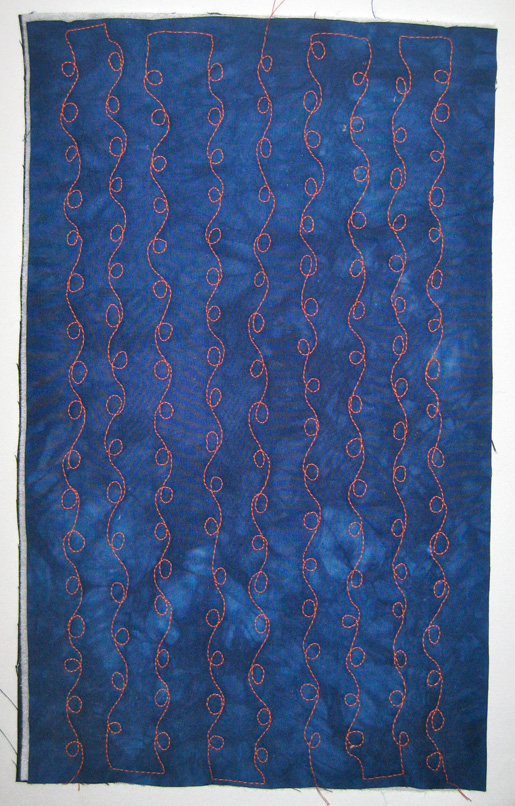
Free-motion machine stitch the sandwich layers together. You can use any design; I used a squiggly stitch to match the stitch I used on the front panel.
Trim the back to 8″ x 13-1/2″.
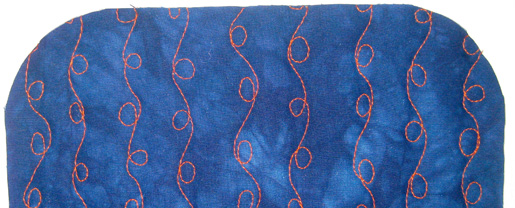
To round the corners, use a cup or circle tool to mark the fabric and then cut the corners with scissors.
Zig-zag around all the edges with invisible thread.
Step 4) Assemble the cover.
Put the front on top of the back, wrong sides together, and sew the bottom together with invisible thread using a wide zigzag stitch and a size 14 needle. Sew the sides the same way.
Add rattail cord all the way around the edges.
Turn down the flap and position the second half of the hook-and-loop tape and sew it in place.
You’re done!
Visit Carol Ann’s blog at CarolAnnWaugh.com, and watch for her classes at Craftsy and lectures and workshops around the USA.
