Recycled Jeans Purse Tutorial, Part 1
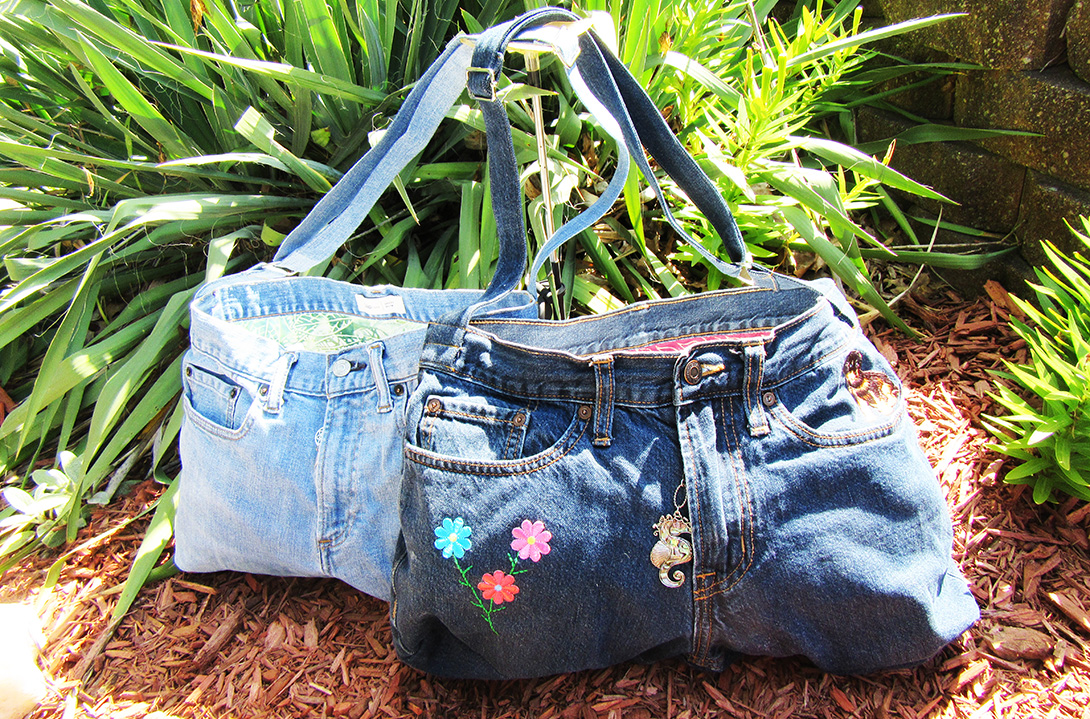
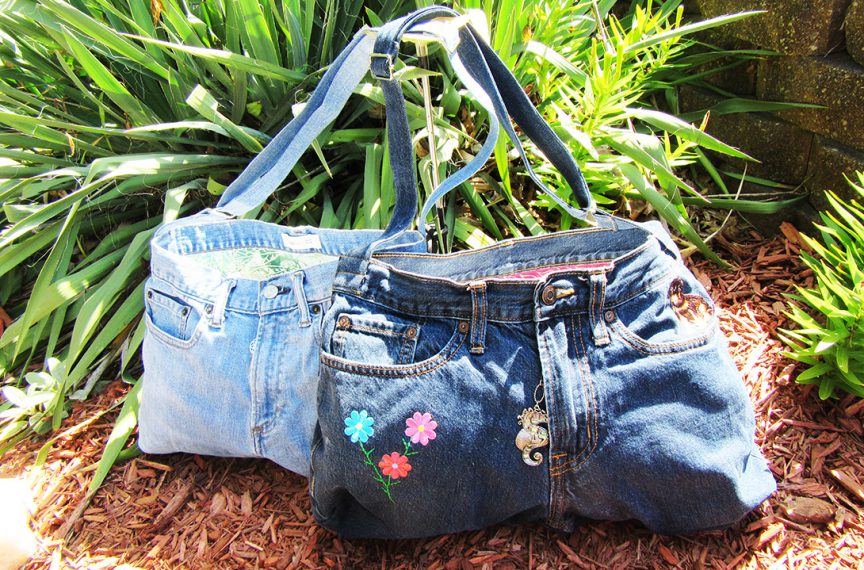
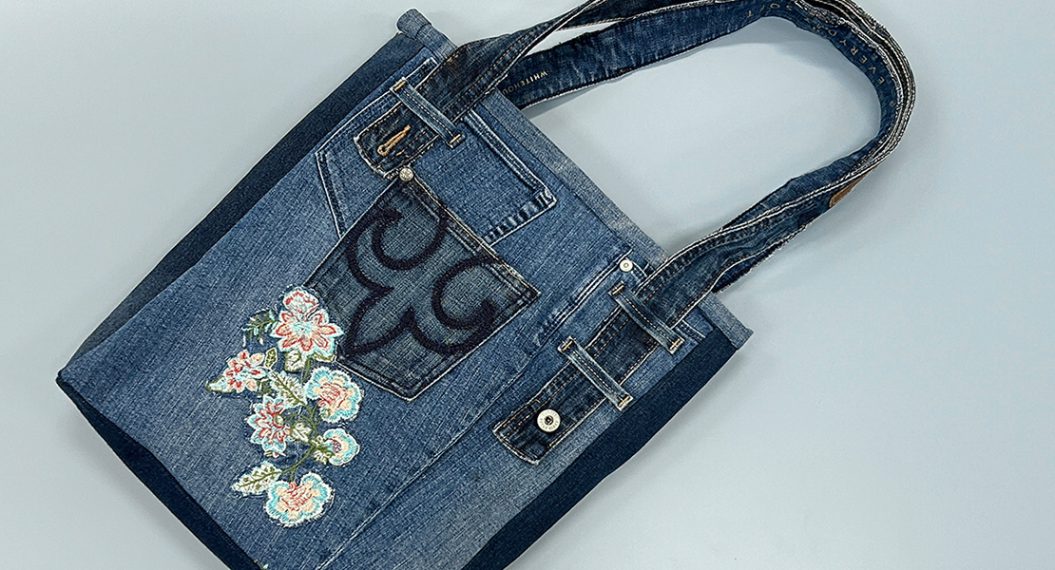
In this tutorial, I will walk you through how to make a quick and easy recycled jeans purse. Then come back and join us for part two (coming soon!) where I’ll show you how to line your purse or add extra embellishments.
I love the idea of reduce, reuse and recycle. Especially when it comes to fabric. It makes me sad to throw away material, so I am always looking for ways to repurpose old clothes. Jeans in particular. I’m a bit of a klutz, and I have more than a few pairs of jeans with ripped-out knees. I’m past the age where I would want to make them into cut offs and needed a new way to make them useful again.
I love pockets in my purses and bags, and I thought what would be better than a jeans purse. The pockets are already made and in just a few hours you have a great new purse, and all you need is a “D” ring and a slider!
Materials To Make A Recycled Jeans Purse
- 1-pair of old jeans
- 1-“D” ring 1.5 inches
- 1-Slider 1.5 inches
- Thread- blending thread for sewing jeans and contrasting thread for top stitching
Step 1:
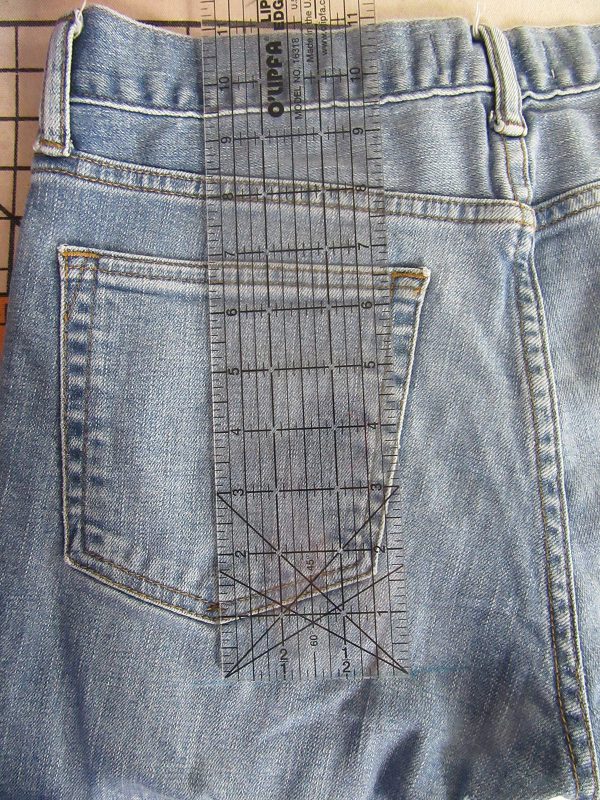
Measure from the top of the waistband to approximately 1 inch below the back pockets. Using your ruler, mark this measurement all the way around the jeans. Flatten the front area under the zipper as much as possible to get a straight line as you are marking.
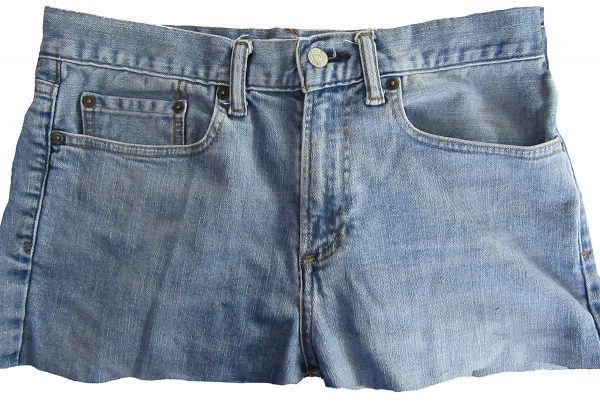
Cut along this line. Be careful not to catch the fabric of the front pockets. You should now have basically a skirt. Set the cutoff legs aside as you will need these in the next step.
Step 2:
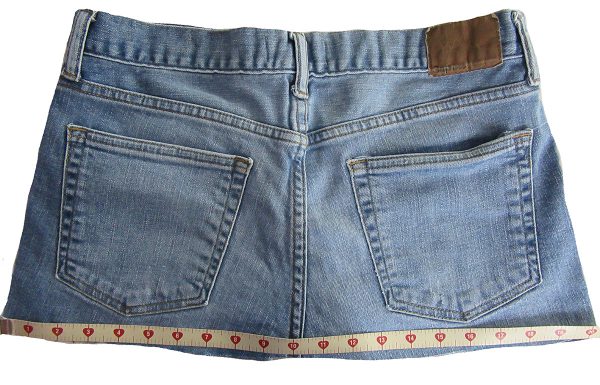
Flatten and smooth out the bottom of the jeans along the line you just cut. Measure all the way around the bottom. (Do not measure the waistband, as this will be smaller than the “bottom” of your bag. If your denim has spandex in it, be careful not to stretch it). Divide this number by two. This measurement will be the “Length” that you will use to figure out the size to cut the bottom of your bag.
Using one of the legs cut off in step one, carefully cut along the seam opening the leg so that it lays flat. Make sure to cut next to one of the seams so that you have the most usable fabric available.
To determine the size of the bottom of your bag take the length you determined above and subtract 2. For example, your jeans measure 22 inches from side to side. 22-2=20. Cut a strip 5 inches wide by whatever Length you determined. Using the example above your strip would be 20 inches by 5 inches. Fold this strip in half bring short edges together and then fold in half again bringing long edges together. Mark a gently rounded corner on the corner edge that DOES NOT have any folds, trim along mark.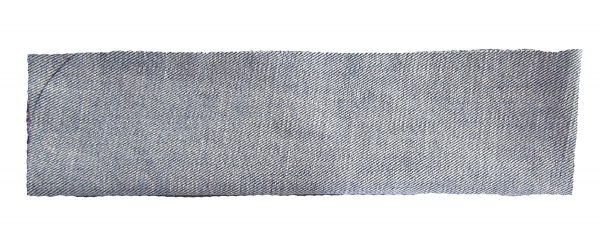
Step 3:
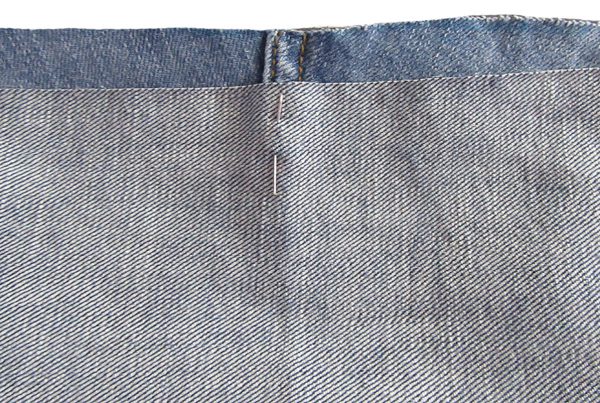
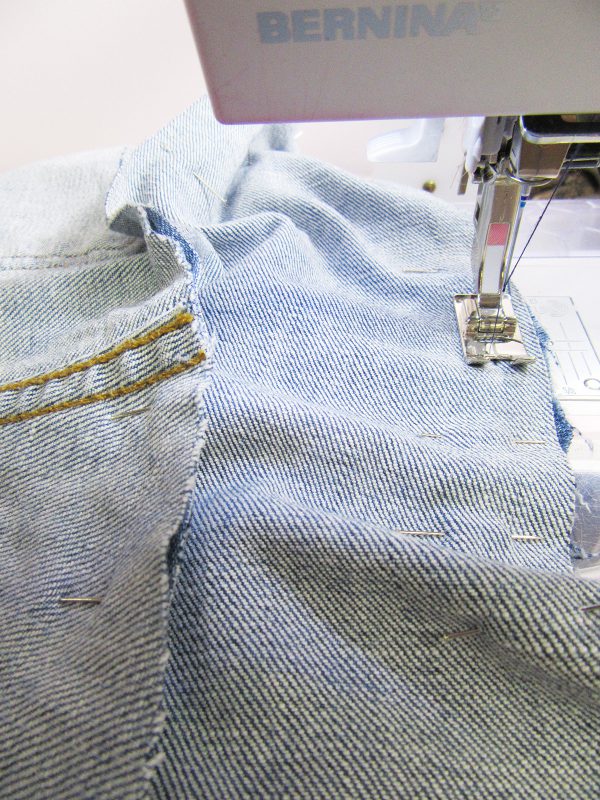
Find the center of one of the long sides of the rectangle cut in step 2. Mark with a pin. Line the pin up with the center back seam of the cutoff jeans. Pin rectangle to jeans top right sides together. Gently easing jeans around curved corners of bottom piece.
Sew pinned section together using a 5/8-inch seam allowance. Take care not to catch front pockets in seam. Press seam towards bottom section away from cutoff jeans to reduce bulk. (Tip: sew with bottom section facing up to help with easing in any extra fullness in the jeans section.) (See Your Sewing Machine, How to work with it, Not against it, for a more detailed explanation)
Step 4:
Using the remainder of the leg section used in step 2, cut a strip 3 ½ inches by 26 inches. From the remaining leg section cut a strip 3 ½ inches by 18 inches. You may have to adjust the length slightly depending on how long your jeans are. You need at least 44 inches combined between the two pieces. (If you want to make the more advanced version in Part 2, start from the top when you are measuring. This will preserve the bottom 5- 6 inches with the hem on it.) Cut one additional strip 3 1/2 inches by 6 1/2 inches.
Join the short ends of the two longer strips together and sew with a ½ inch seam allowance. Press open.
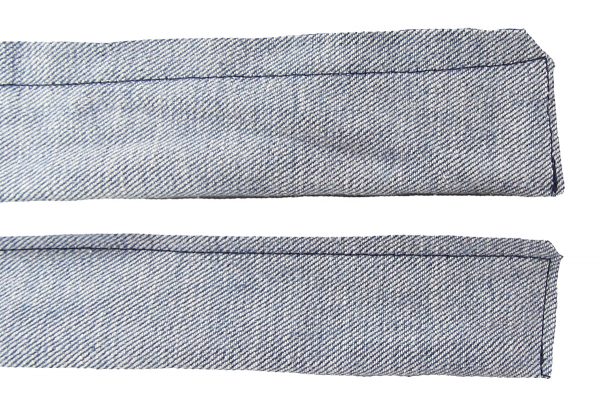
Fold attached strip in half, right sides together, lining up the long raw edges. Stitch long edges together and top of shortest strap section using a ½ inch seam allowance. Trim corners being careful not to cut seam. Turn right side out and press. Repeat with 6 1/2 inch strip.
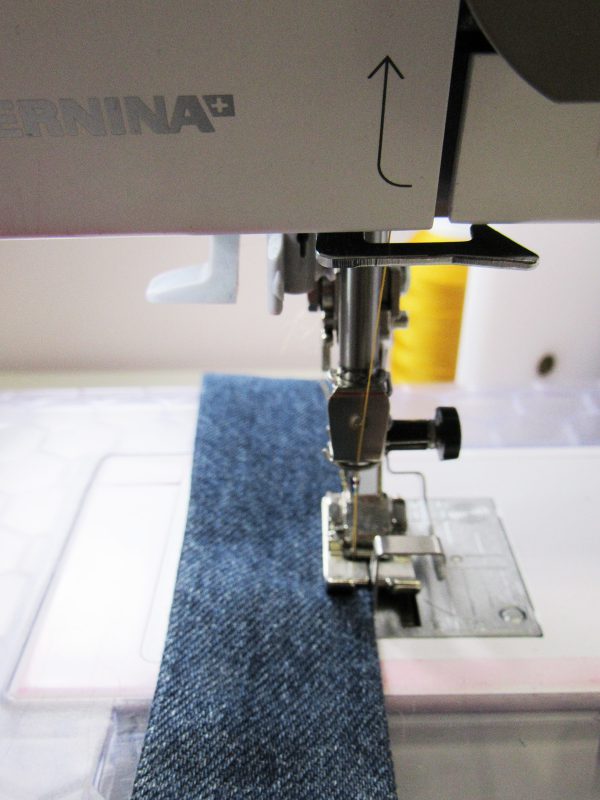
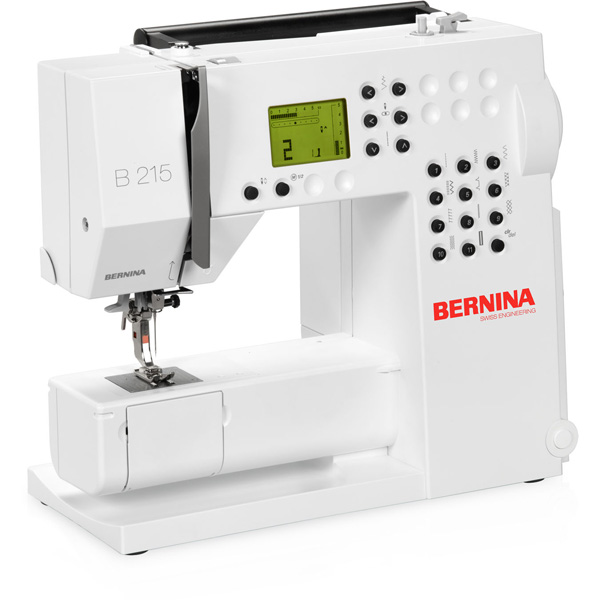
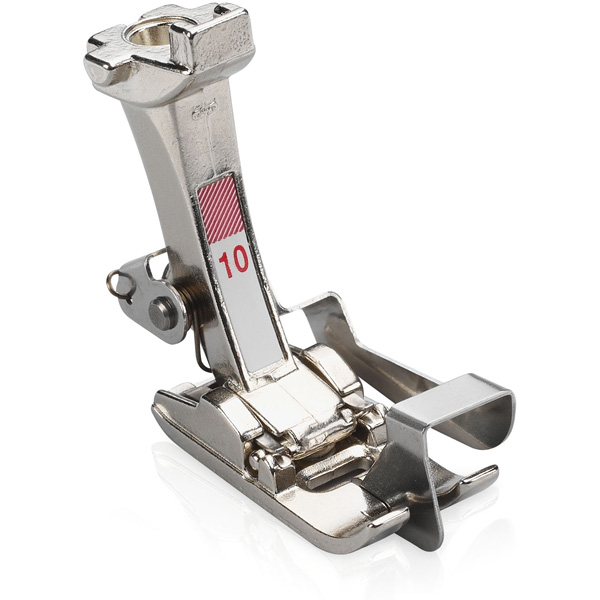
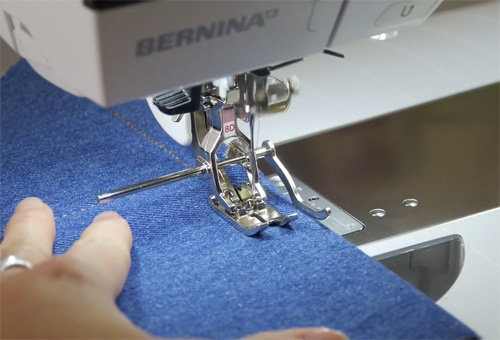
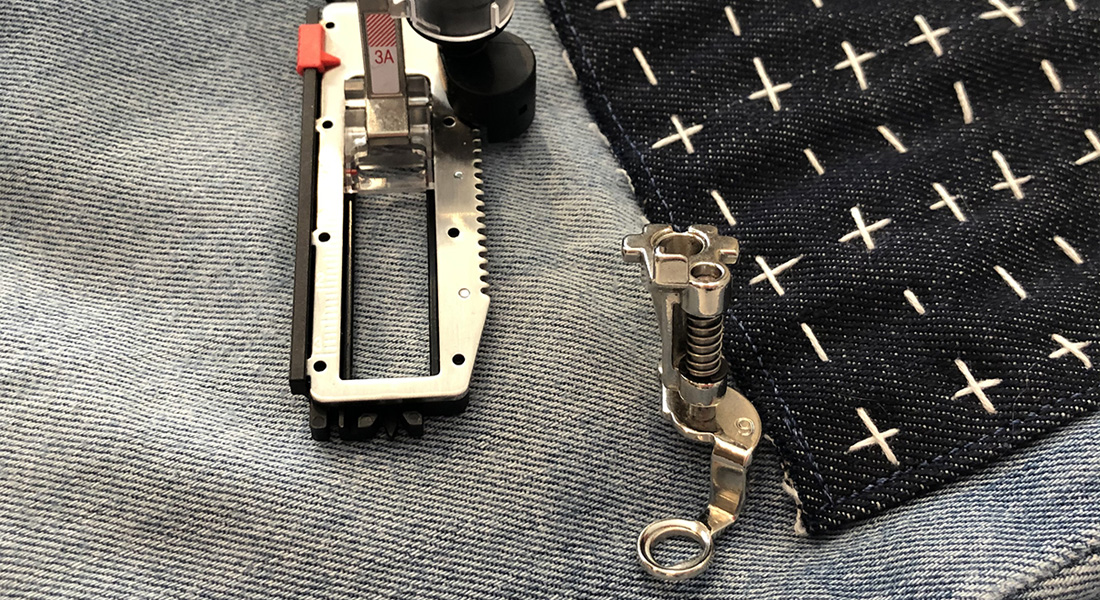
Using the contrasting thread and your BERNINA Edge Stitch Foot #10 top stitch along sides and top edge of long joined strap section and short strap section.
Step 5:
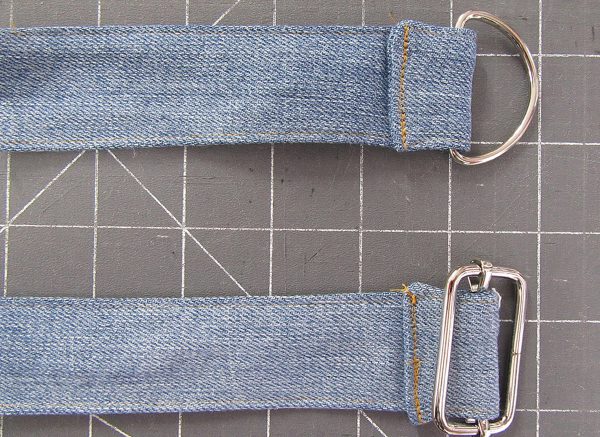
Insert “D” ring onto finished end of 6 1/2 inch strap section. Sew strap together along previous topstitching.
Insert slider onto finished end of long strap section. Sew strap together along previous topstitching.
Step 6:
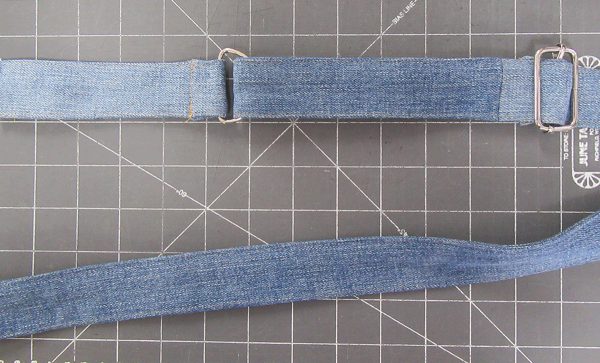
With right side both strap sections facing up, slide raw open end of long strap section through “D” ring. Run unfinished end through slider taking care not to let strap twist.
Step 7:
Remove the belt loops on the sides of the jeans, as these are located where you want to attach the shoulder strap.
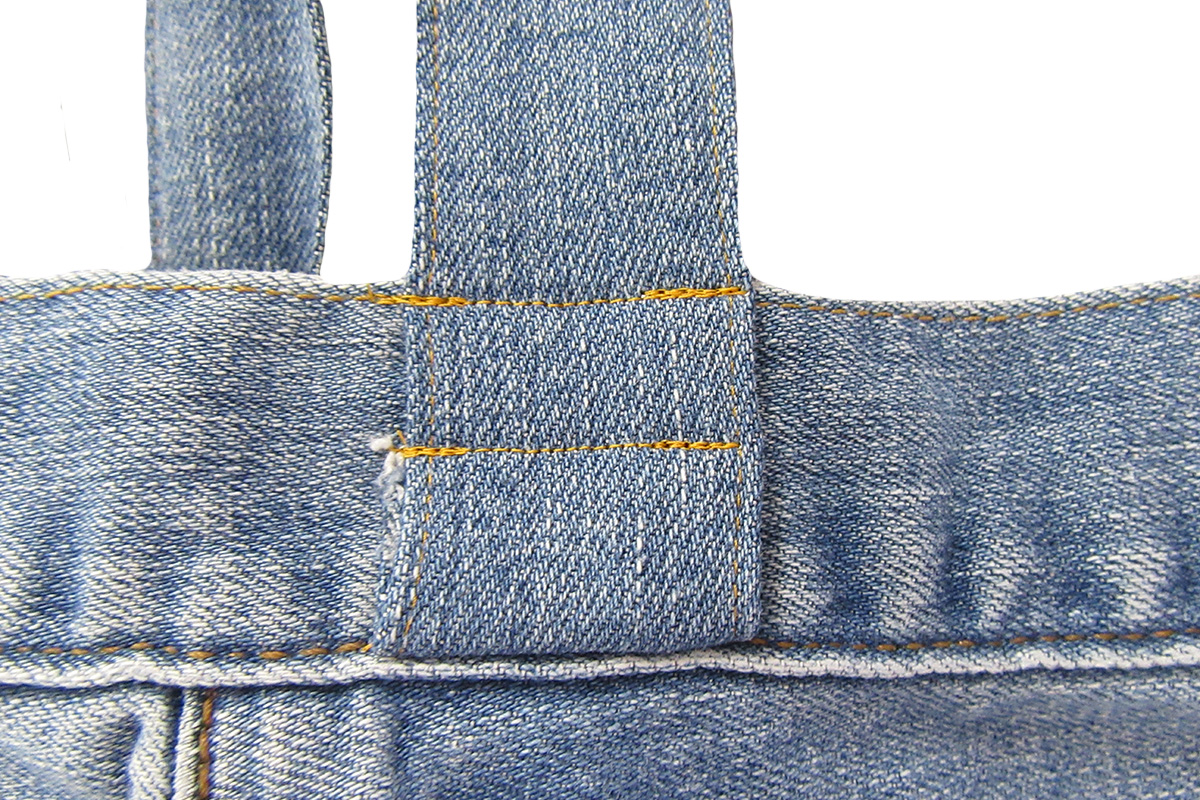
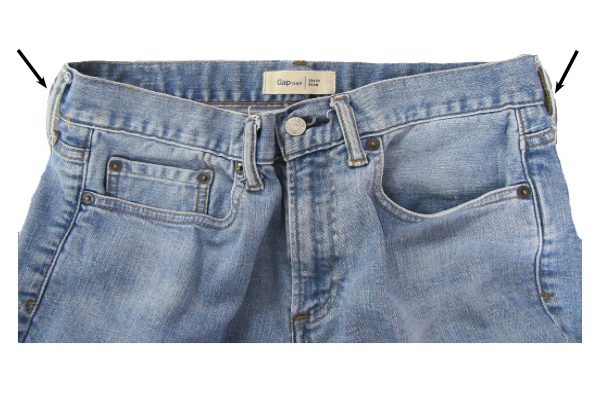 Center strap about approximately 3/4 inch above waistline and over the section where you previously removed the belt loop. Sew along the top stitch line of the waist band.
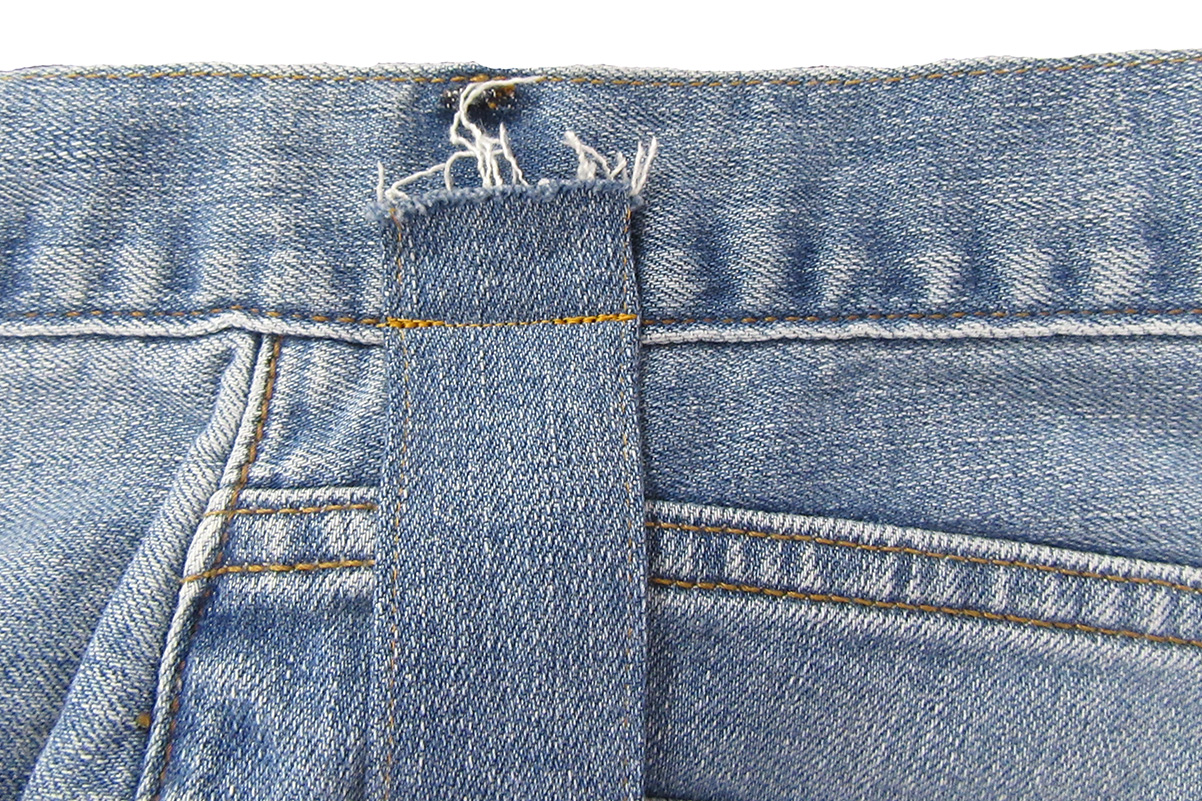
Fold strap up and stitch along upper top stitch line at top of waist band and again approximately halfway between top and bottom of waist band.
Repeat the steps above to attach the opposite end of the strap. Make sure that the strap is not twisted before attaching.
Enjoy your recycled jeans purse! For instruction on how to add bling, or insert lining, see Recycled Jeans Purse Part 2. I’d love to see photos of your finished bag in the comment section.
What you might also like
2 comments on “Recycled Jeans Purse Tutorial, Part 1”
-
-
I think it’s really neat that you taught him how to make his own instead of just doing it for him. That’s a really nice big sister move. Would love to see a picture.
-
Leave a Reply
You must be logged in to post a comment.

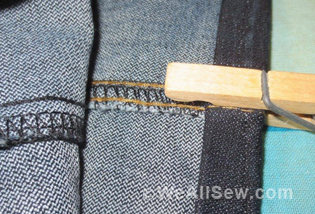


I taught my nerdy brother to sew by dismantling two pairs of old jeans to make a workshop apron. We discussed threads and needles. The almost-best part was when we put in a double needle and sewed the hem from the right side (keeping our needles straddling the turned under edge. The look on his face when he saw the finished hem edge on the wrong side was priceless (what?? how??). The best part was when he tried it on and the look of delight at what he’d done!