Stitching the Southwest, Part Two: Cowboy Hat
Good morning, and a warm welcome to all participants of the “Stitching the Southwest” Quilt Along, and of course, to everyone who is still thinking about joining us. 🌵
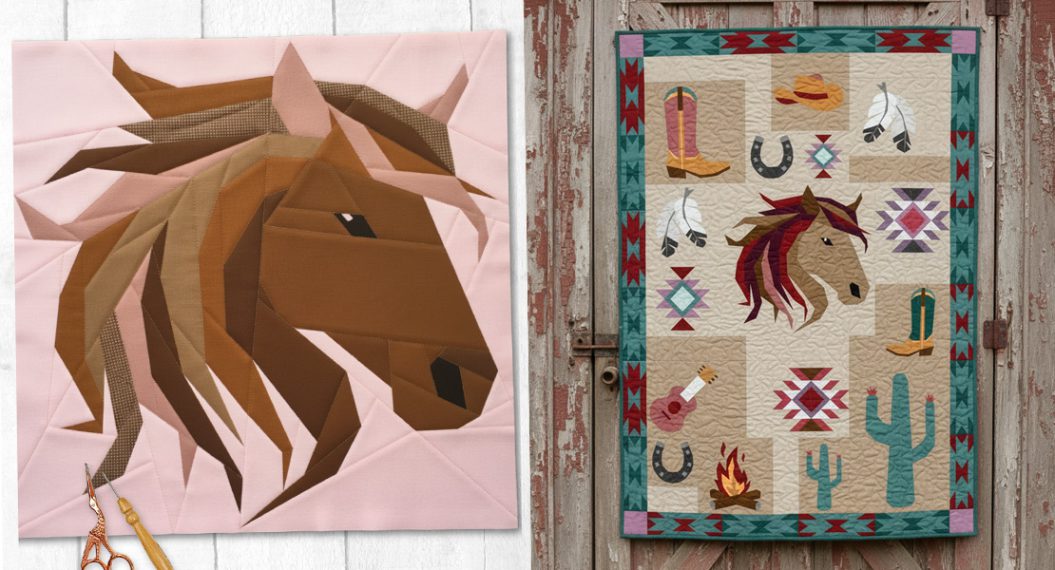
Today, I get to introduce a very special block, one that represents the west, horses, riding, and freedom like no other: we’re sewing the cowboy hat.
Cowboy Hat Quilt Block Pattern
Sewing the Cowboy Hat — It’s Best Done Together
Before we begin, I want to thank you from the bottom of my heart. Your photos, comments, and posts in the WeAllSew Community Section and on social media are simply wonderful. It’s so beautiful to see how many different interpretations can come from one single pattern. That’s exactly what makes sewing together so special.
There’s a saying from the Southwest that fits this perfectly:
“Ride fast if you must, but ride together if you want to reach the horizon.”
I can’t think of a better motto for our Stitching the Southwest Quilt Along.
New Here?
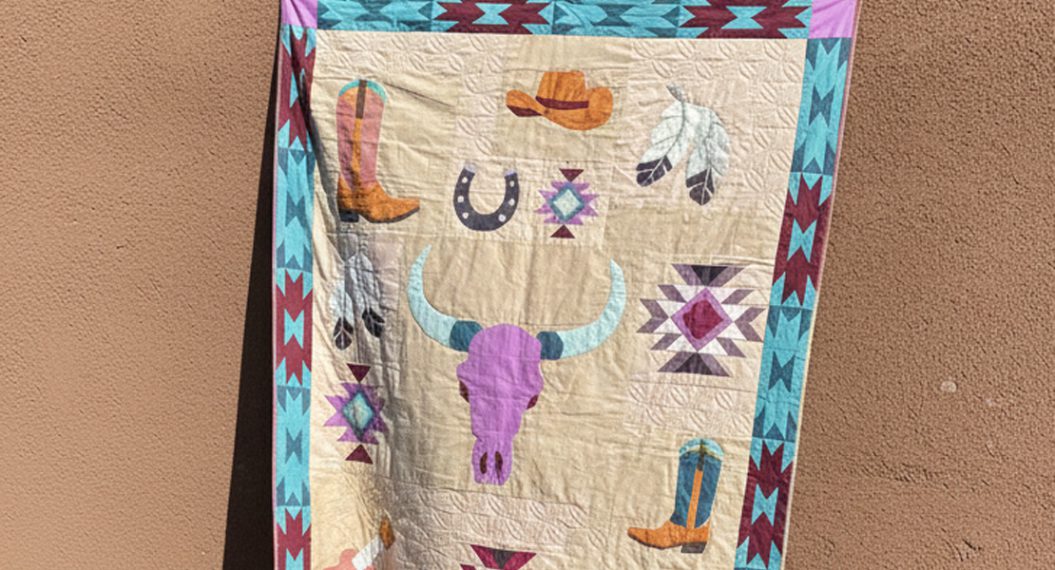
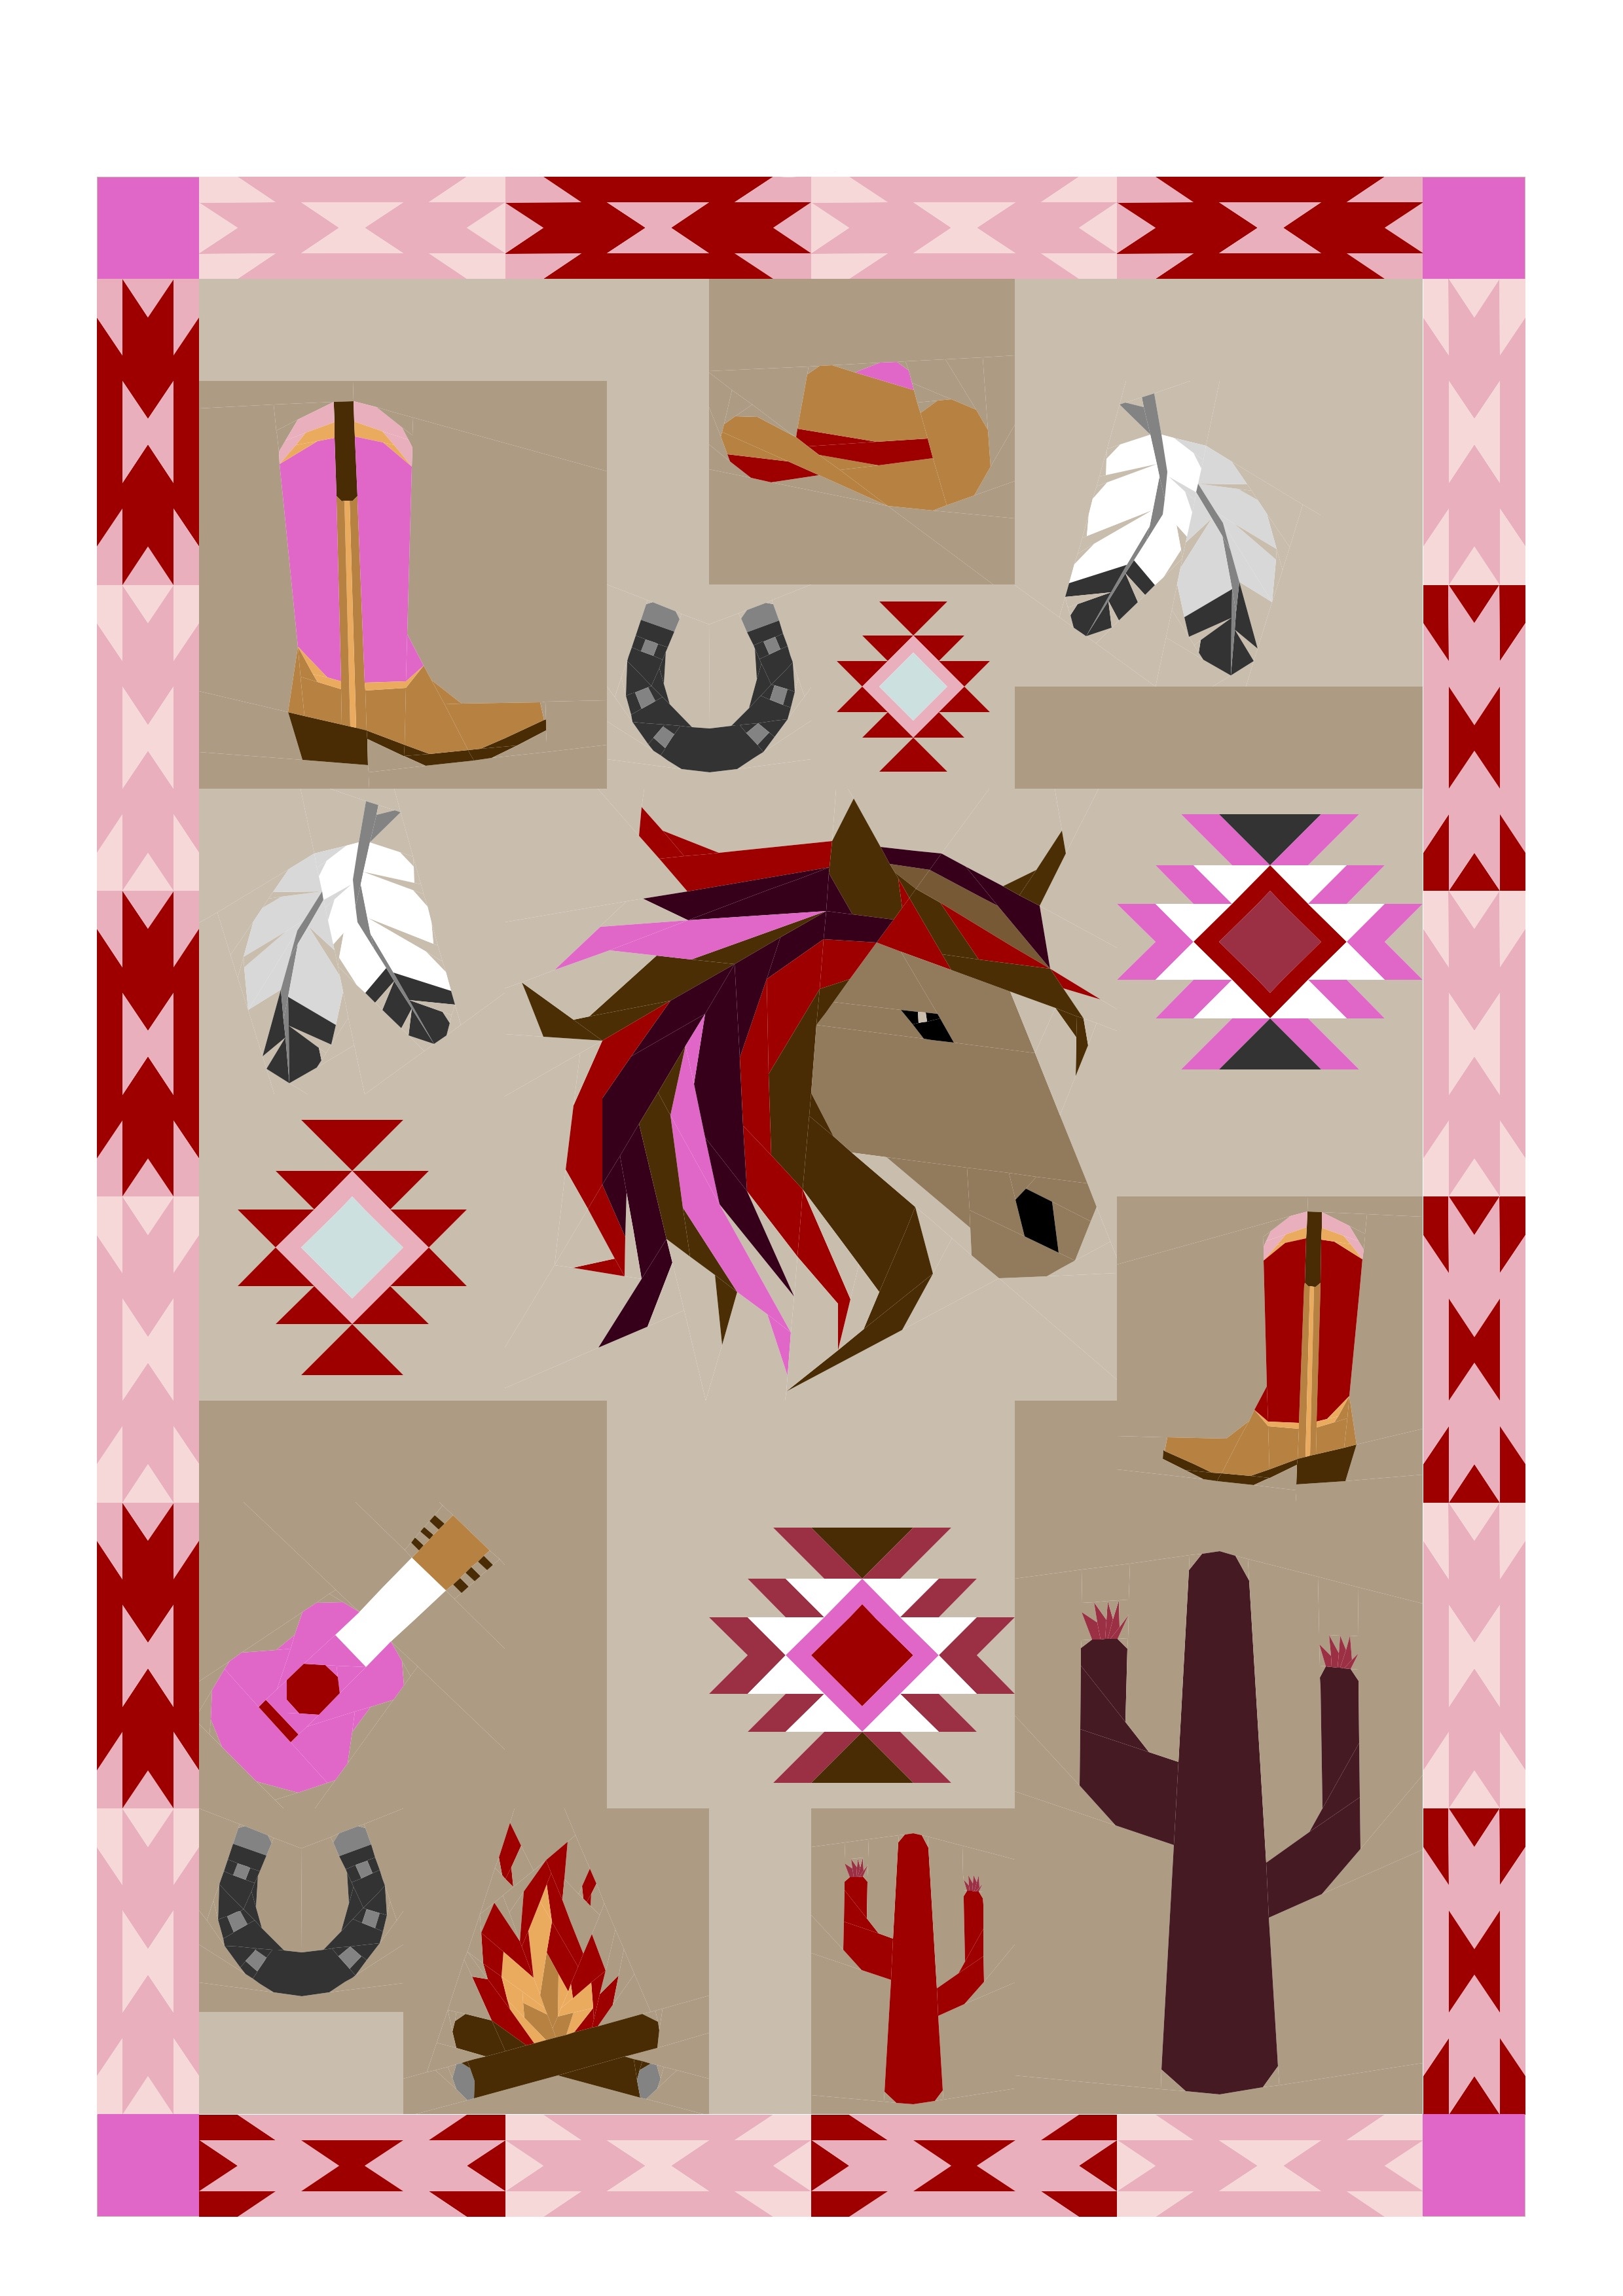
Are you reading about Stitching the Southwest for the first time? No worries, you can join at any time. Together, we’re creating a quilt made from FPP blocks inspired by the motifs, shapes, and symbols of freedom, horses, and the Southwest. You can find the full pattern here.
Quilt-Along participants receive 20% off with the code SOUTHWEST.
All tutorials are published block by block here on the WeAllSew Blog.
It’s best to start with the very first post, where all important information is summarized. And don’t worry, there’s no time pressure. You’re sewing your way through this textile desert landscape at your own pace. 🌵☀️
Let’s Continue — Sewing the Cowboy Hat
Today we’re creating our next block: the Cowboy Hat. This motif simply has to be part of the series because it connects craftsmanship, history, and symbolism.
The cowboy hat is far more than just a fashion accessory. It was originally designed in the 19th century as a practical work hat for cowboys, ranchers, and cattle drivers. It protected them from sun, rain, and wind, and in an emergency could even be used to scoop water for their horses. The classic felt hat became especially famous through the Stetson company, whose hats quickly became the standard.
Over time, the cowboy hat became a symbol of freedom and adventure, values that perfectly match the spirit of our quilt.
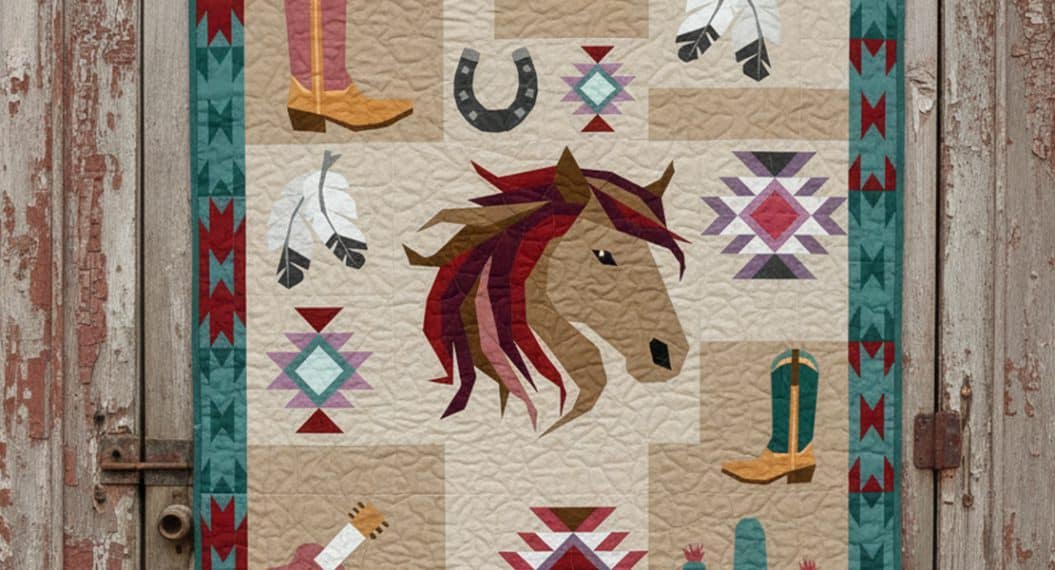
The Cowboy Hat in the Southwest Quilt
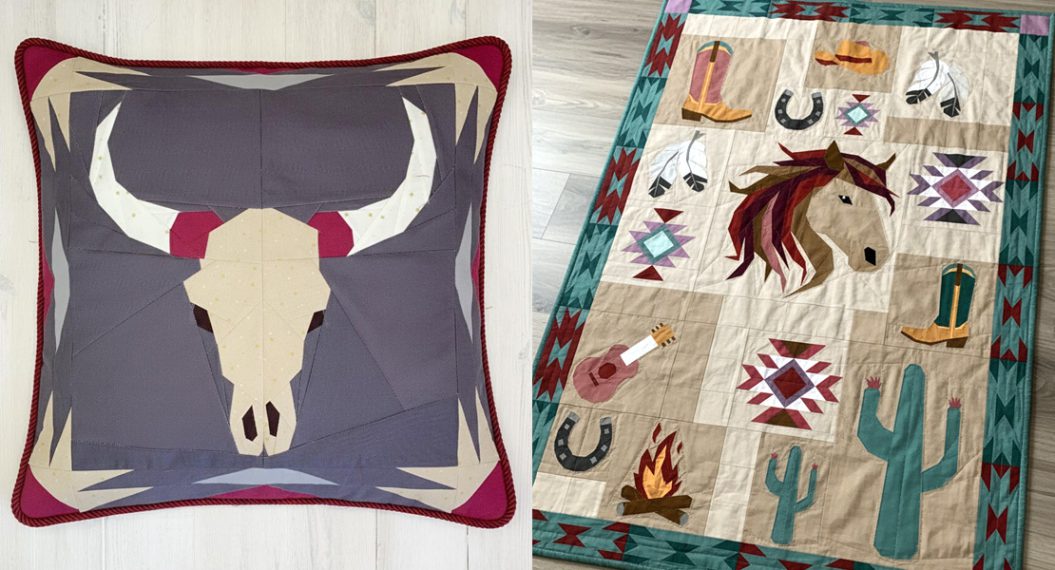
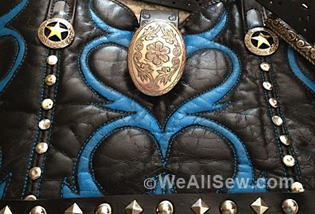
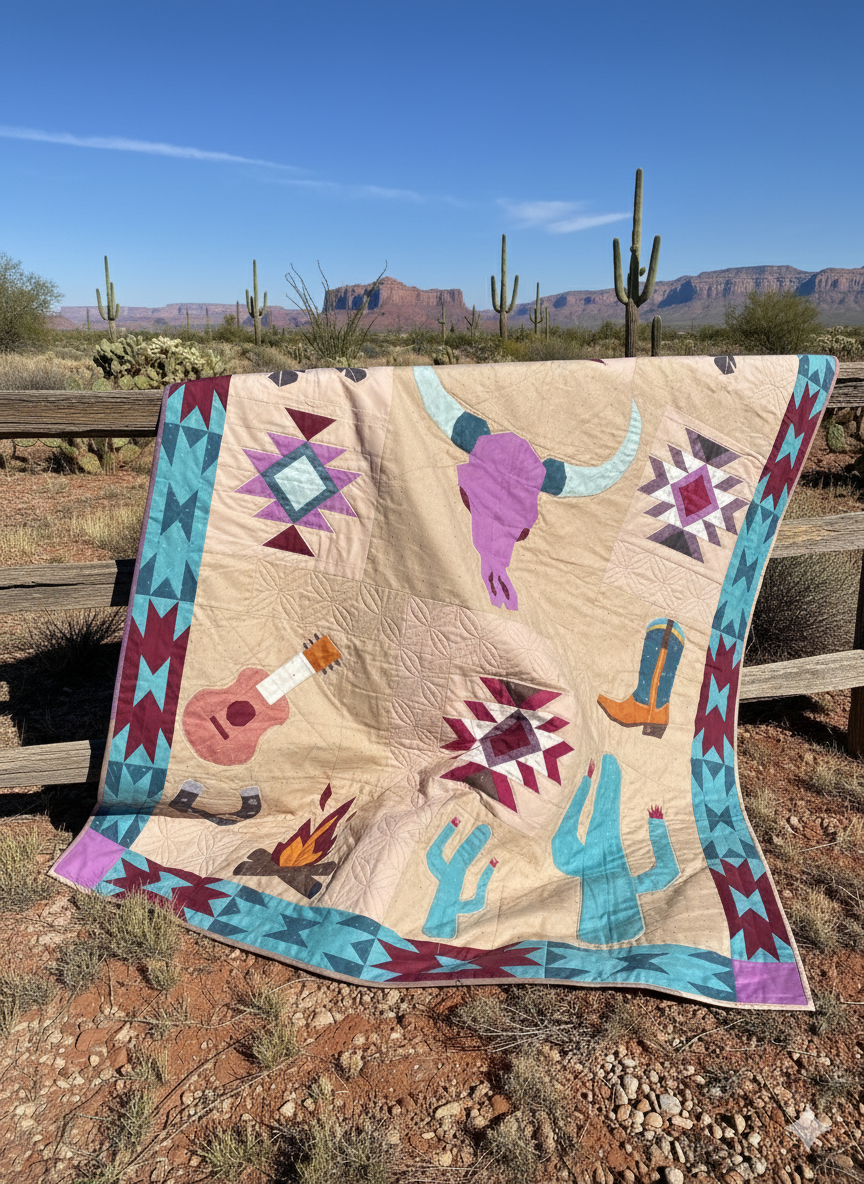
In our Southwest Trails Quilt, the cowboy hat appears as a bold stand-alone block. It adds calm, grounding, and a touch of Western romance to the overall design and works beautifully with warm natural tones or bold accent colors.
This block isn’t just for the quilt — it also looks fantastic as:
- a pillow cover
- a mini wall quilt
- a bag panel
- or a statement block in a larger project
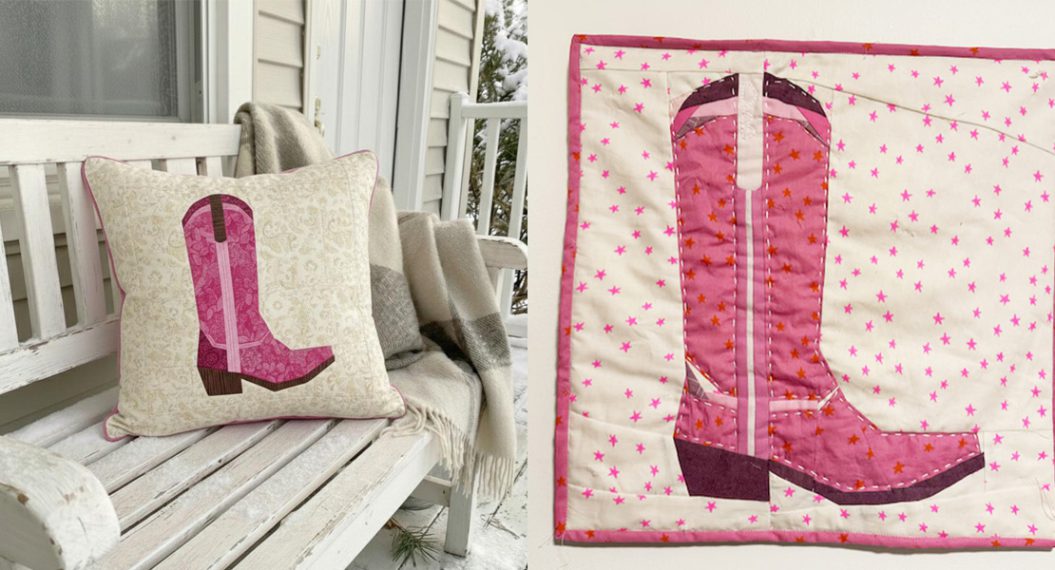
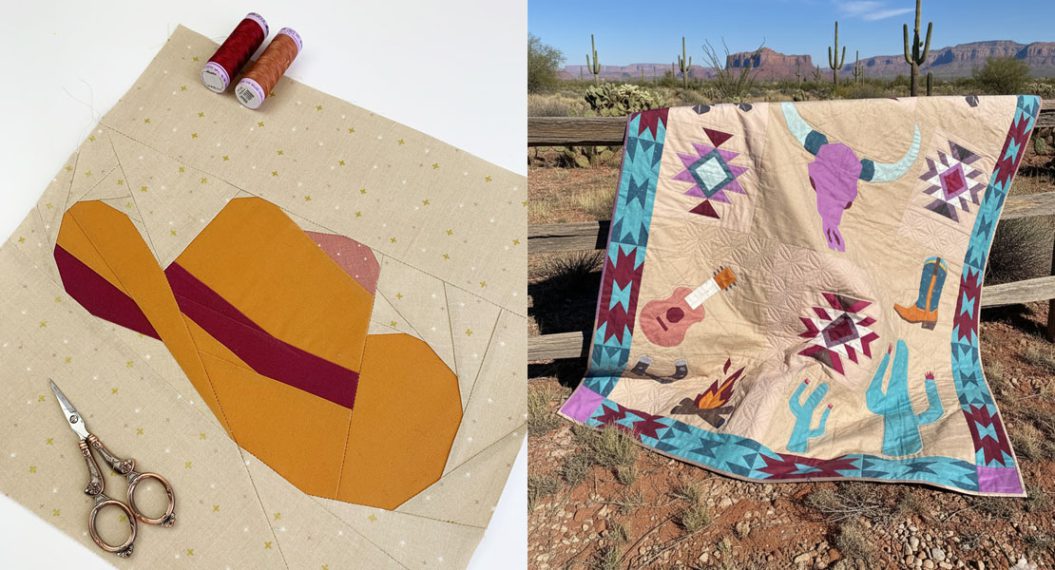
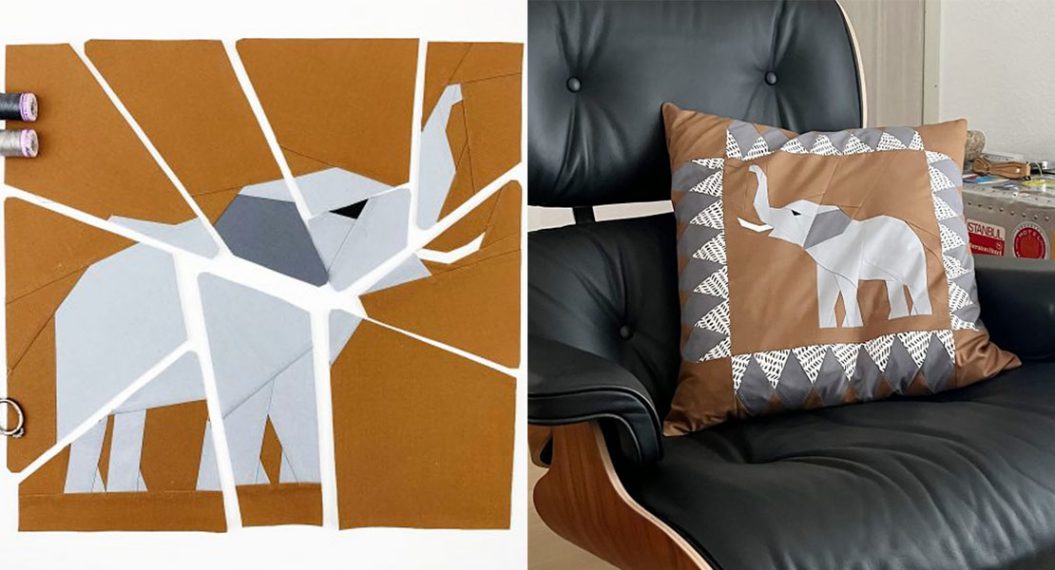
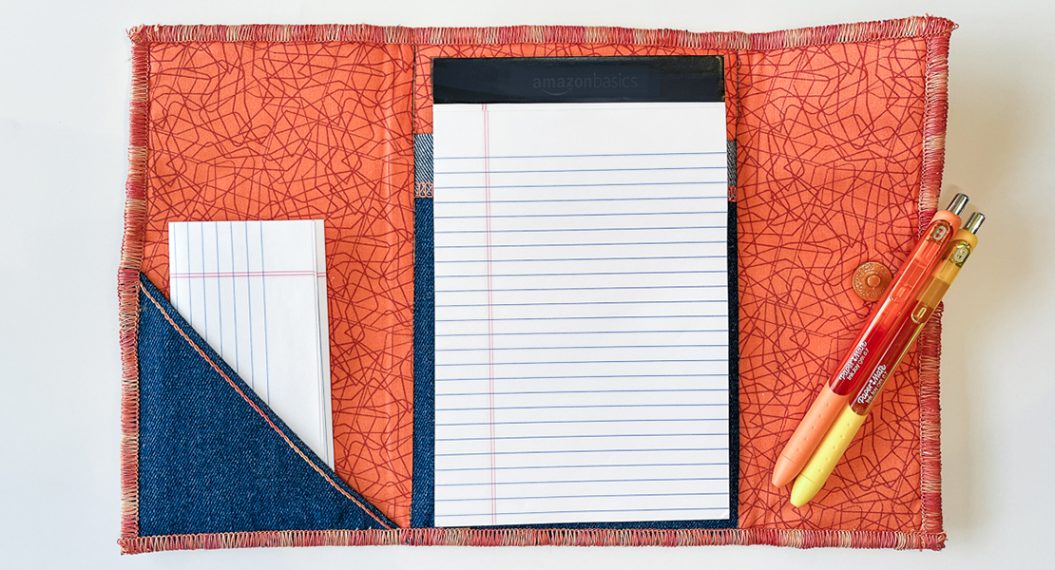
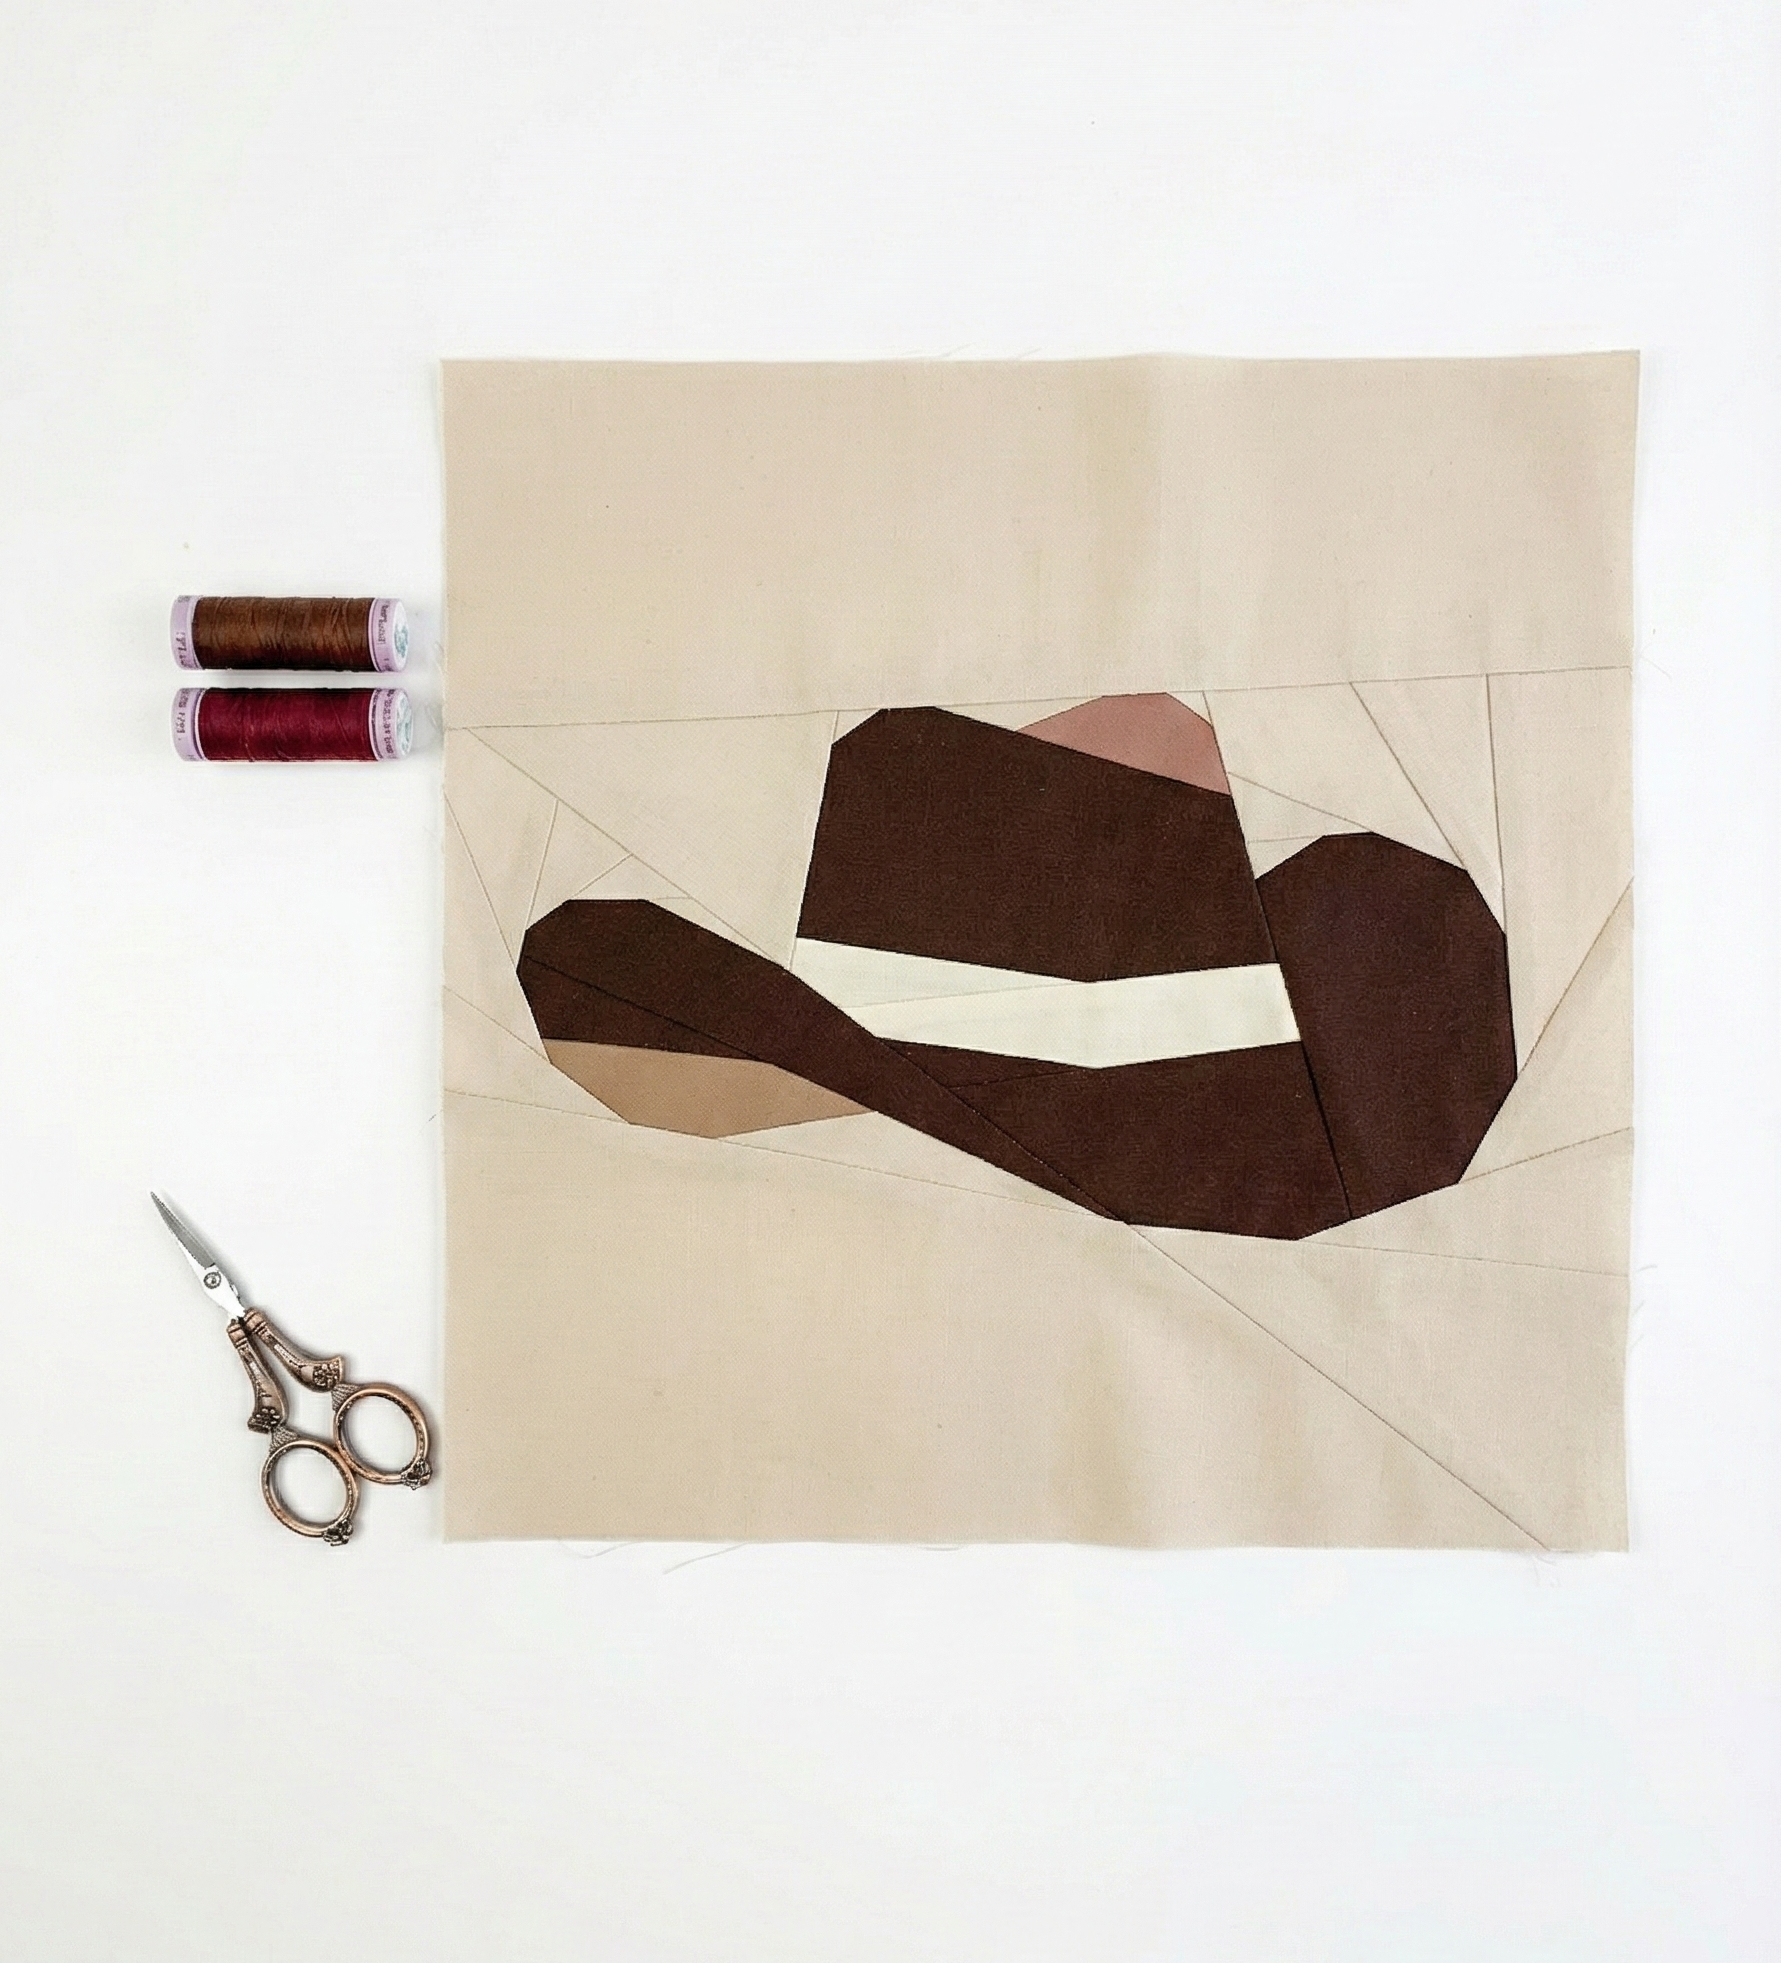
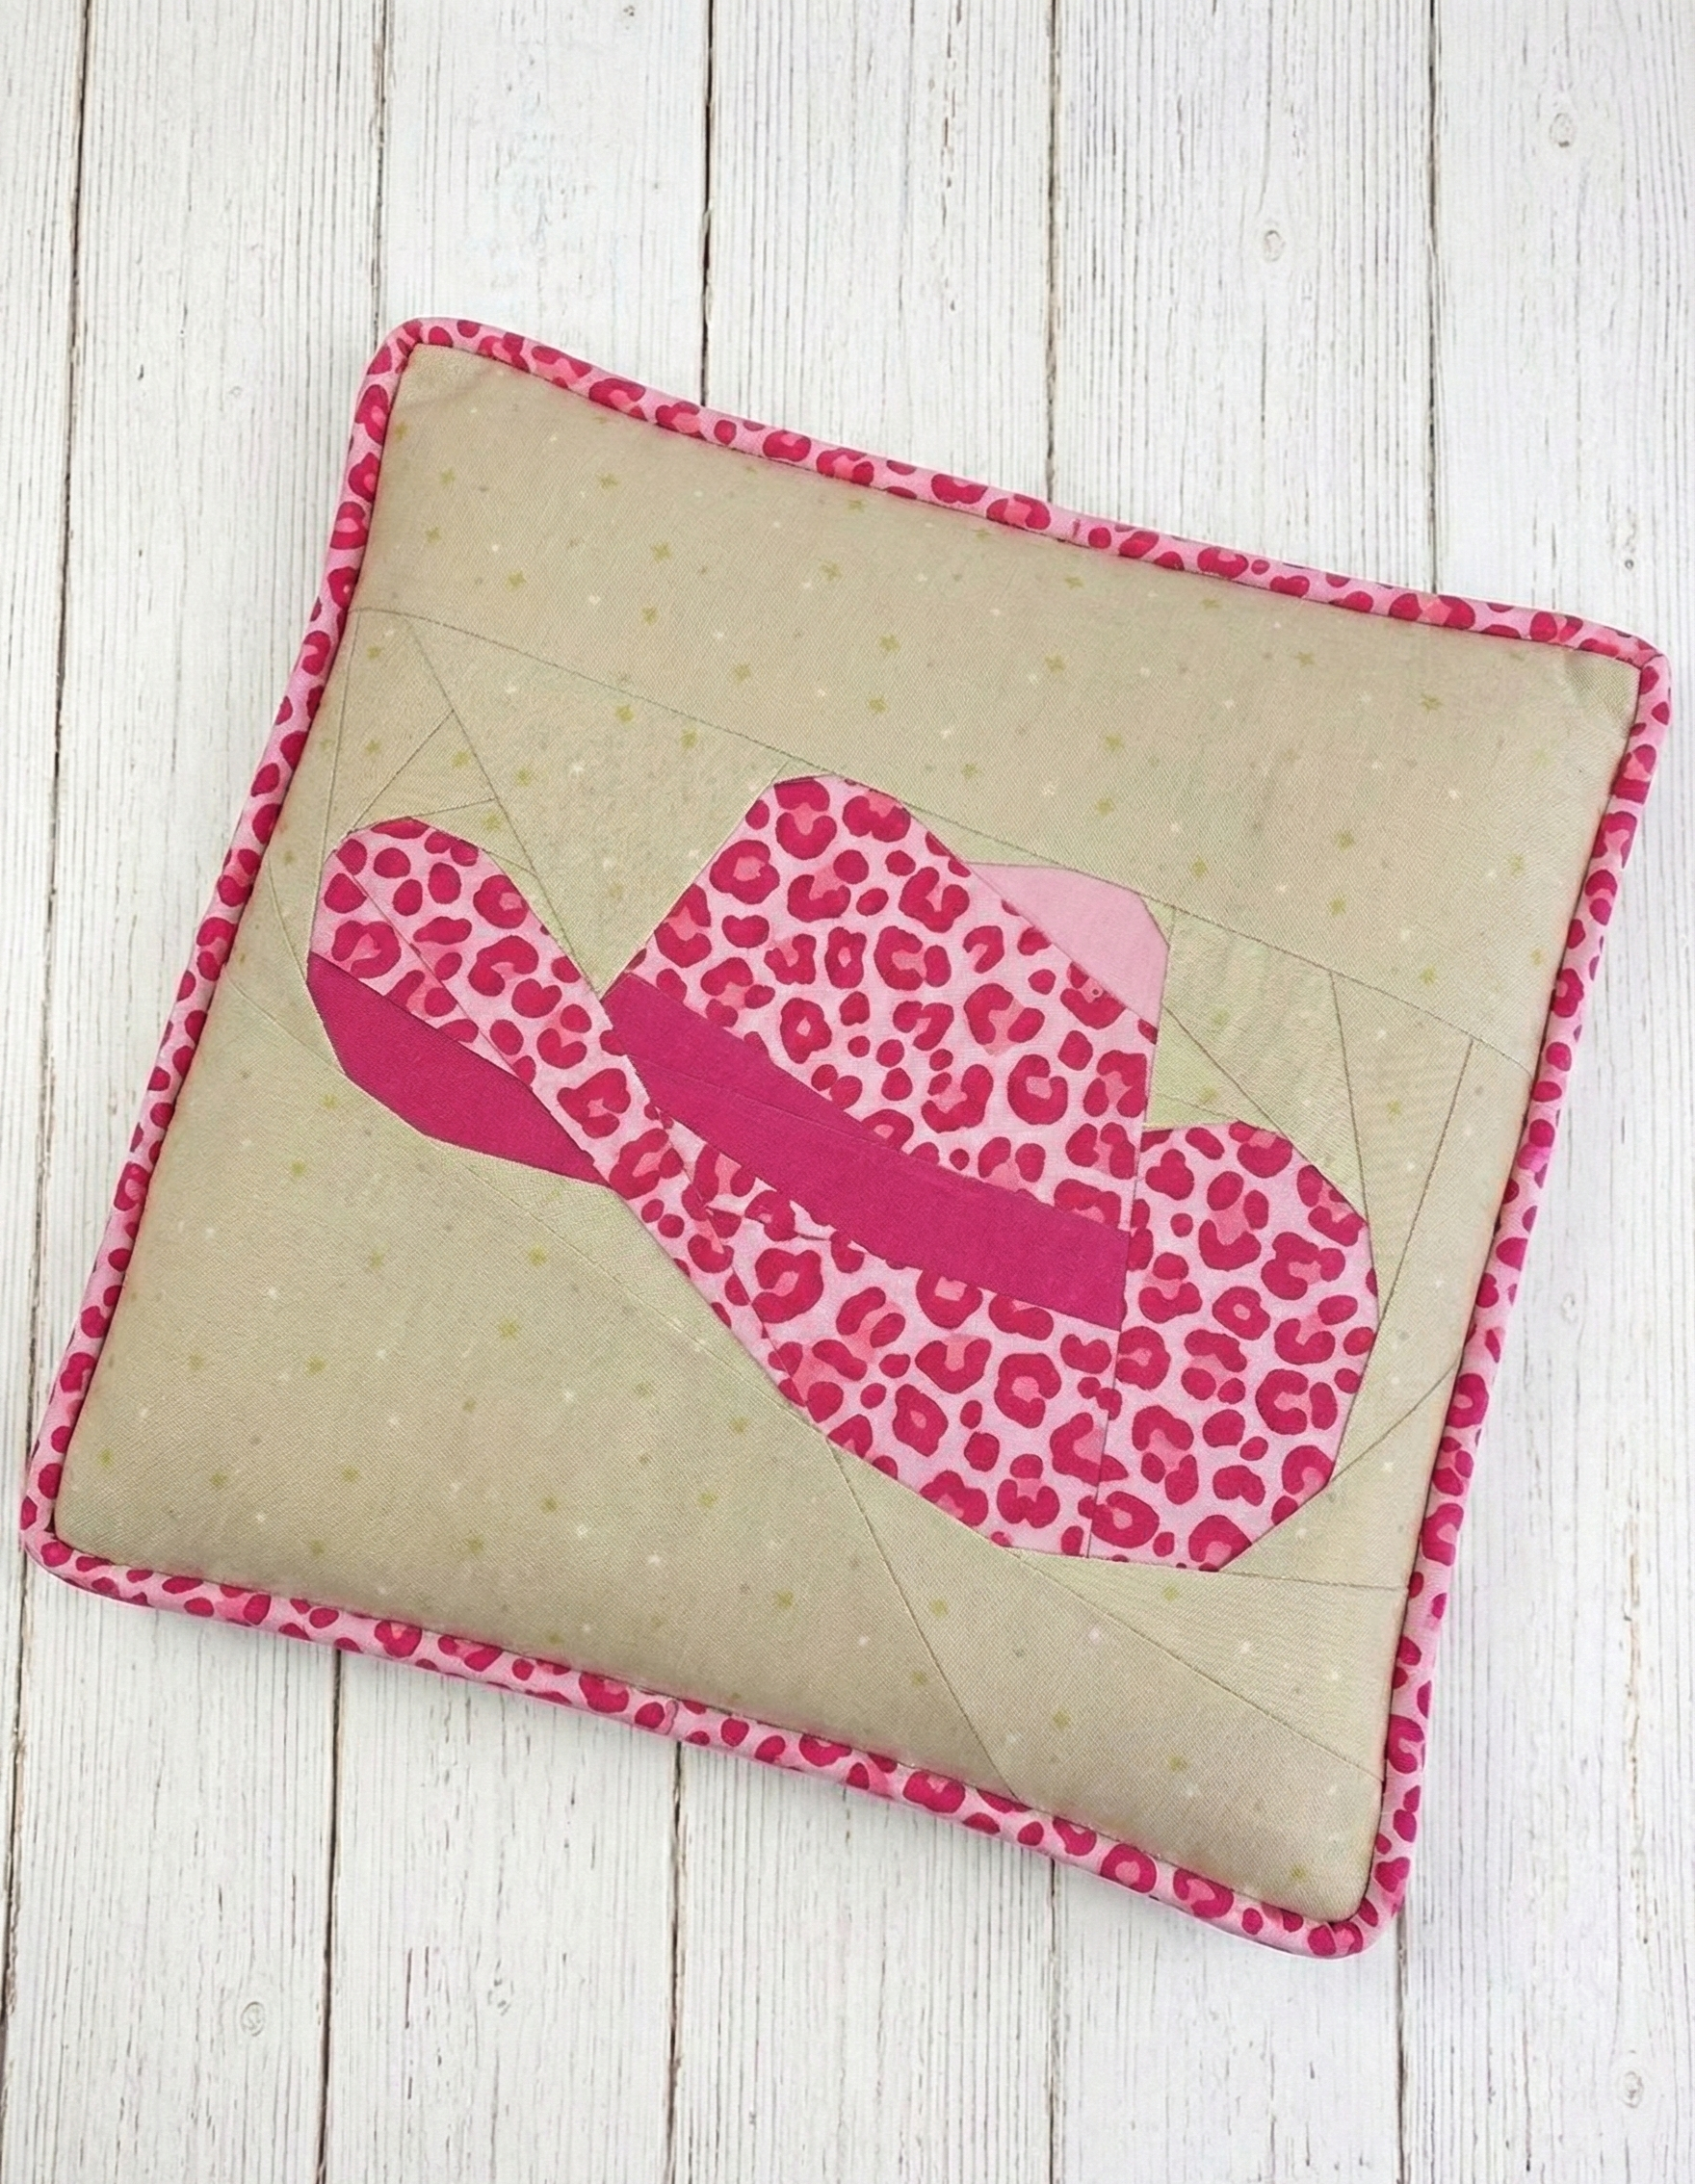
If you’d like, you can also sew the cowboy hat on its own to practice foundation paper piecing (FPP) or to create a small Southwest-inspired project — like the pillow shown below.
Here is the individual cowboy hat pattern.
Fabric Choices for the Cowboy Hat
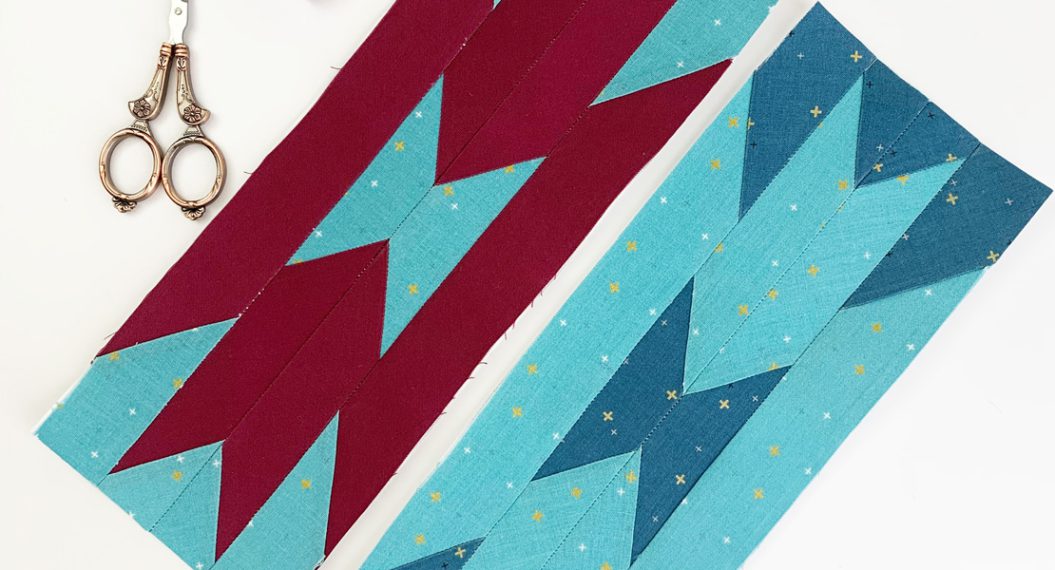
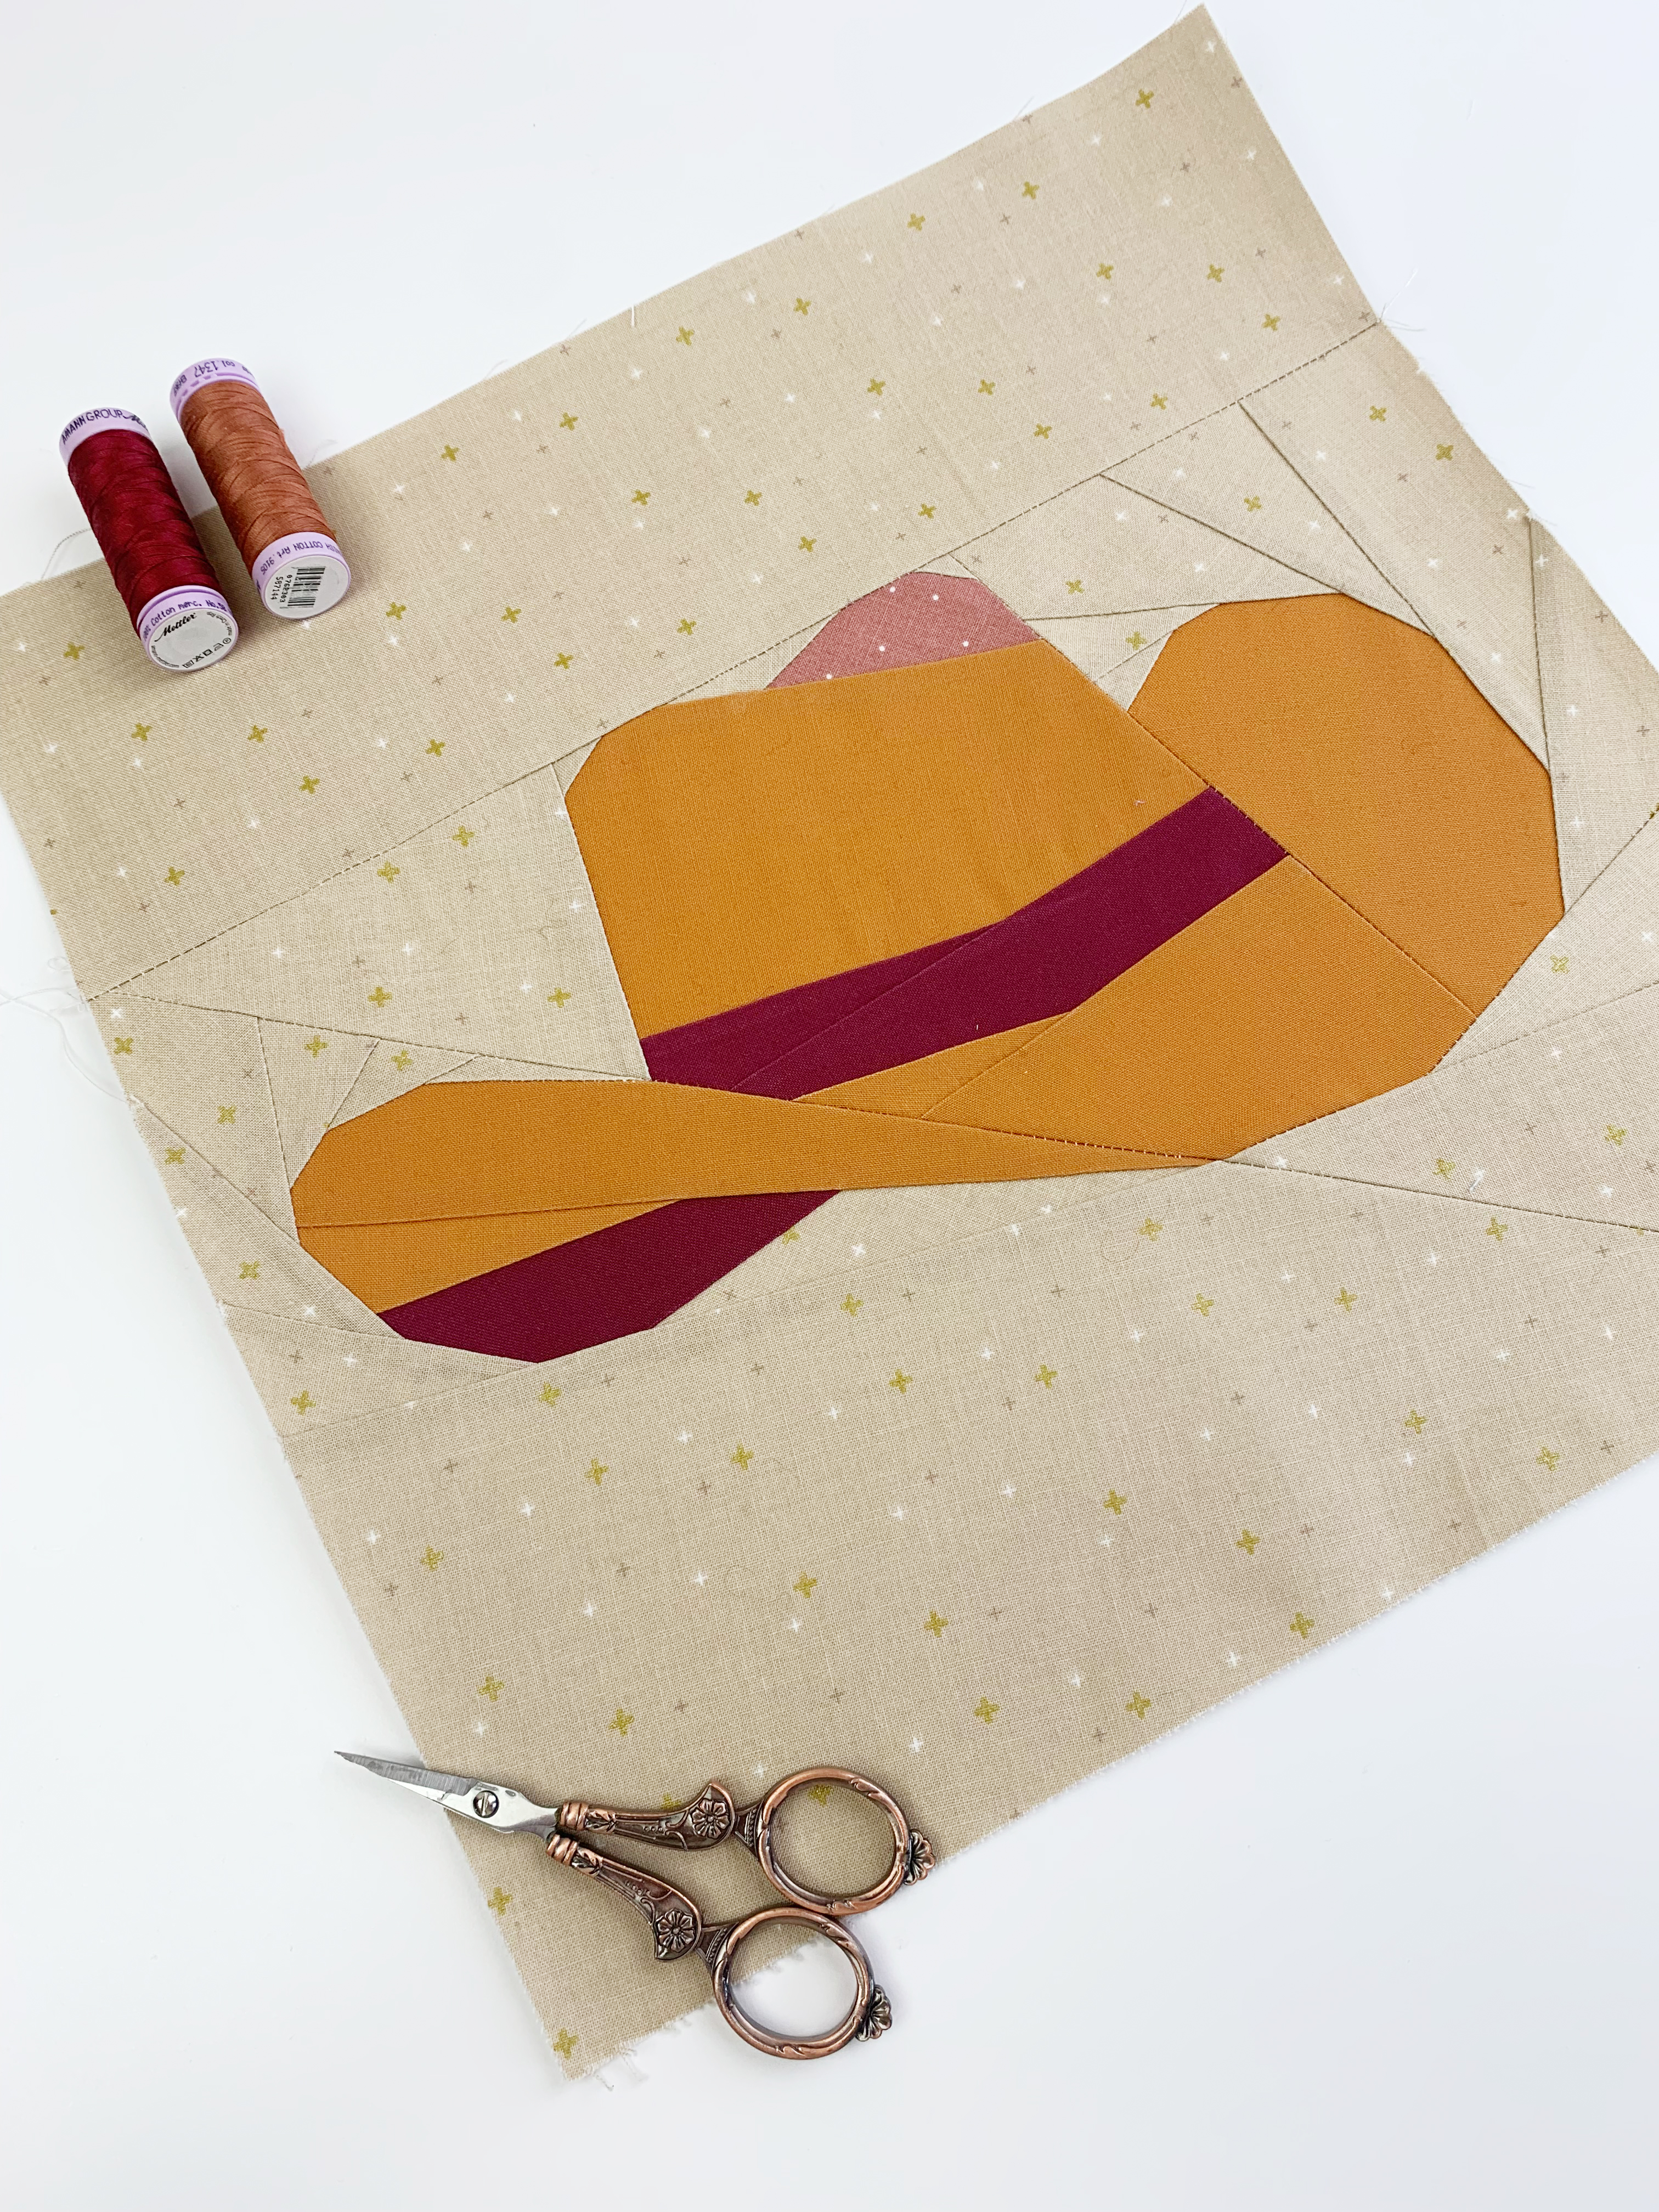
For my cowboy hat block, I used calm, solid fabrics to emphasize the clean silhouette of the hat. These are the Riley Blake fabrics I used:
- Sparkler Beach – background
- Cinnamon – hat
- Burgundy – band and underside
- Canyon Rose Dapple Dot – top fold of the hat
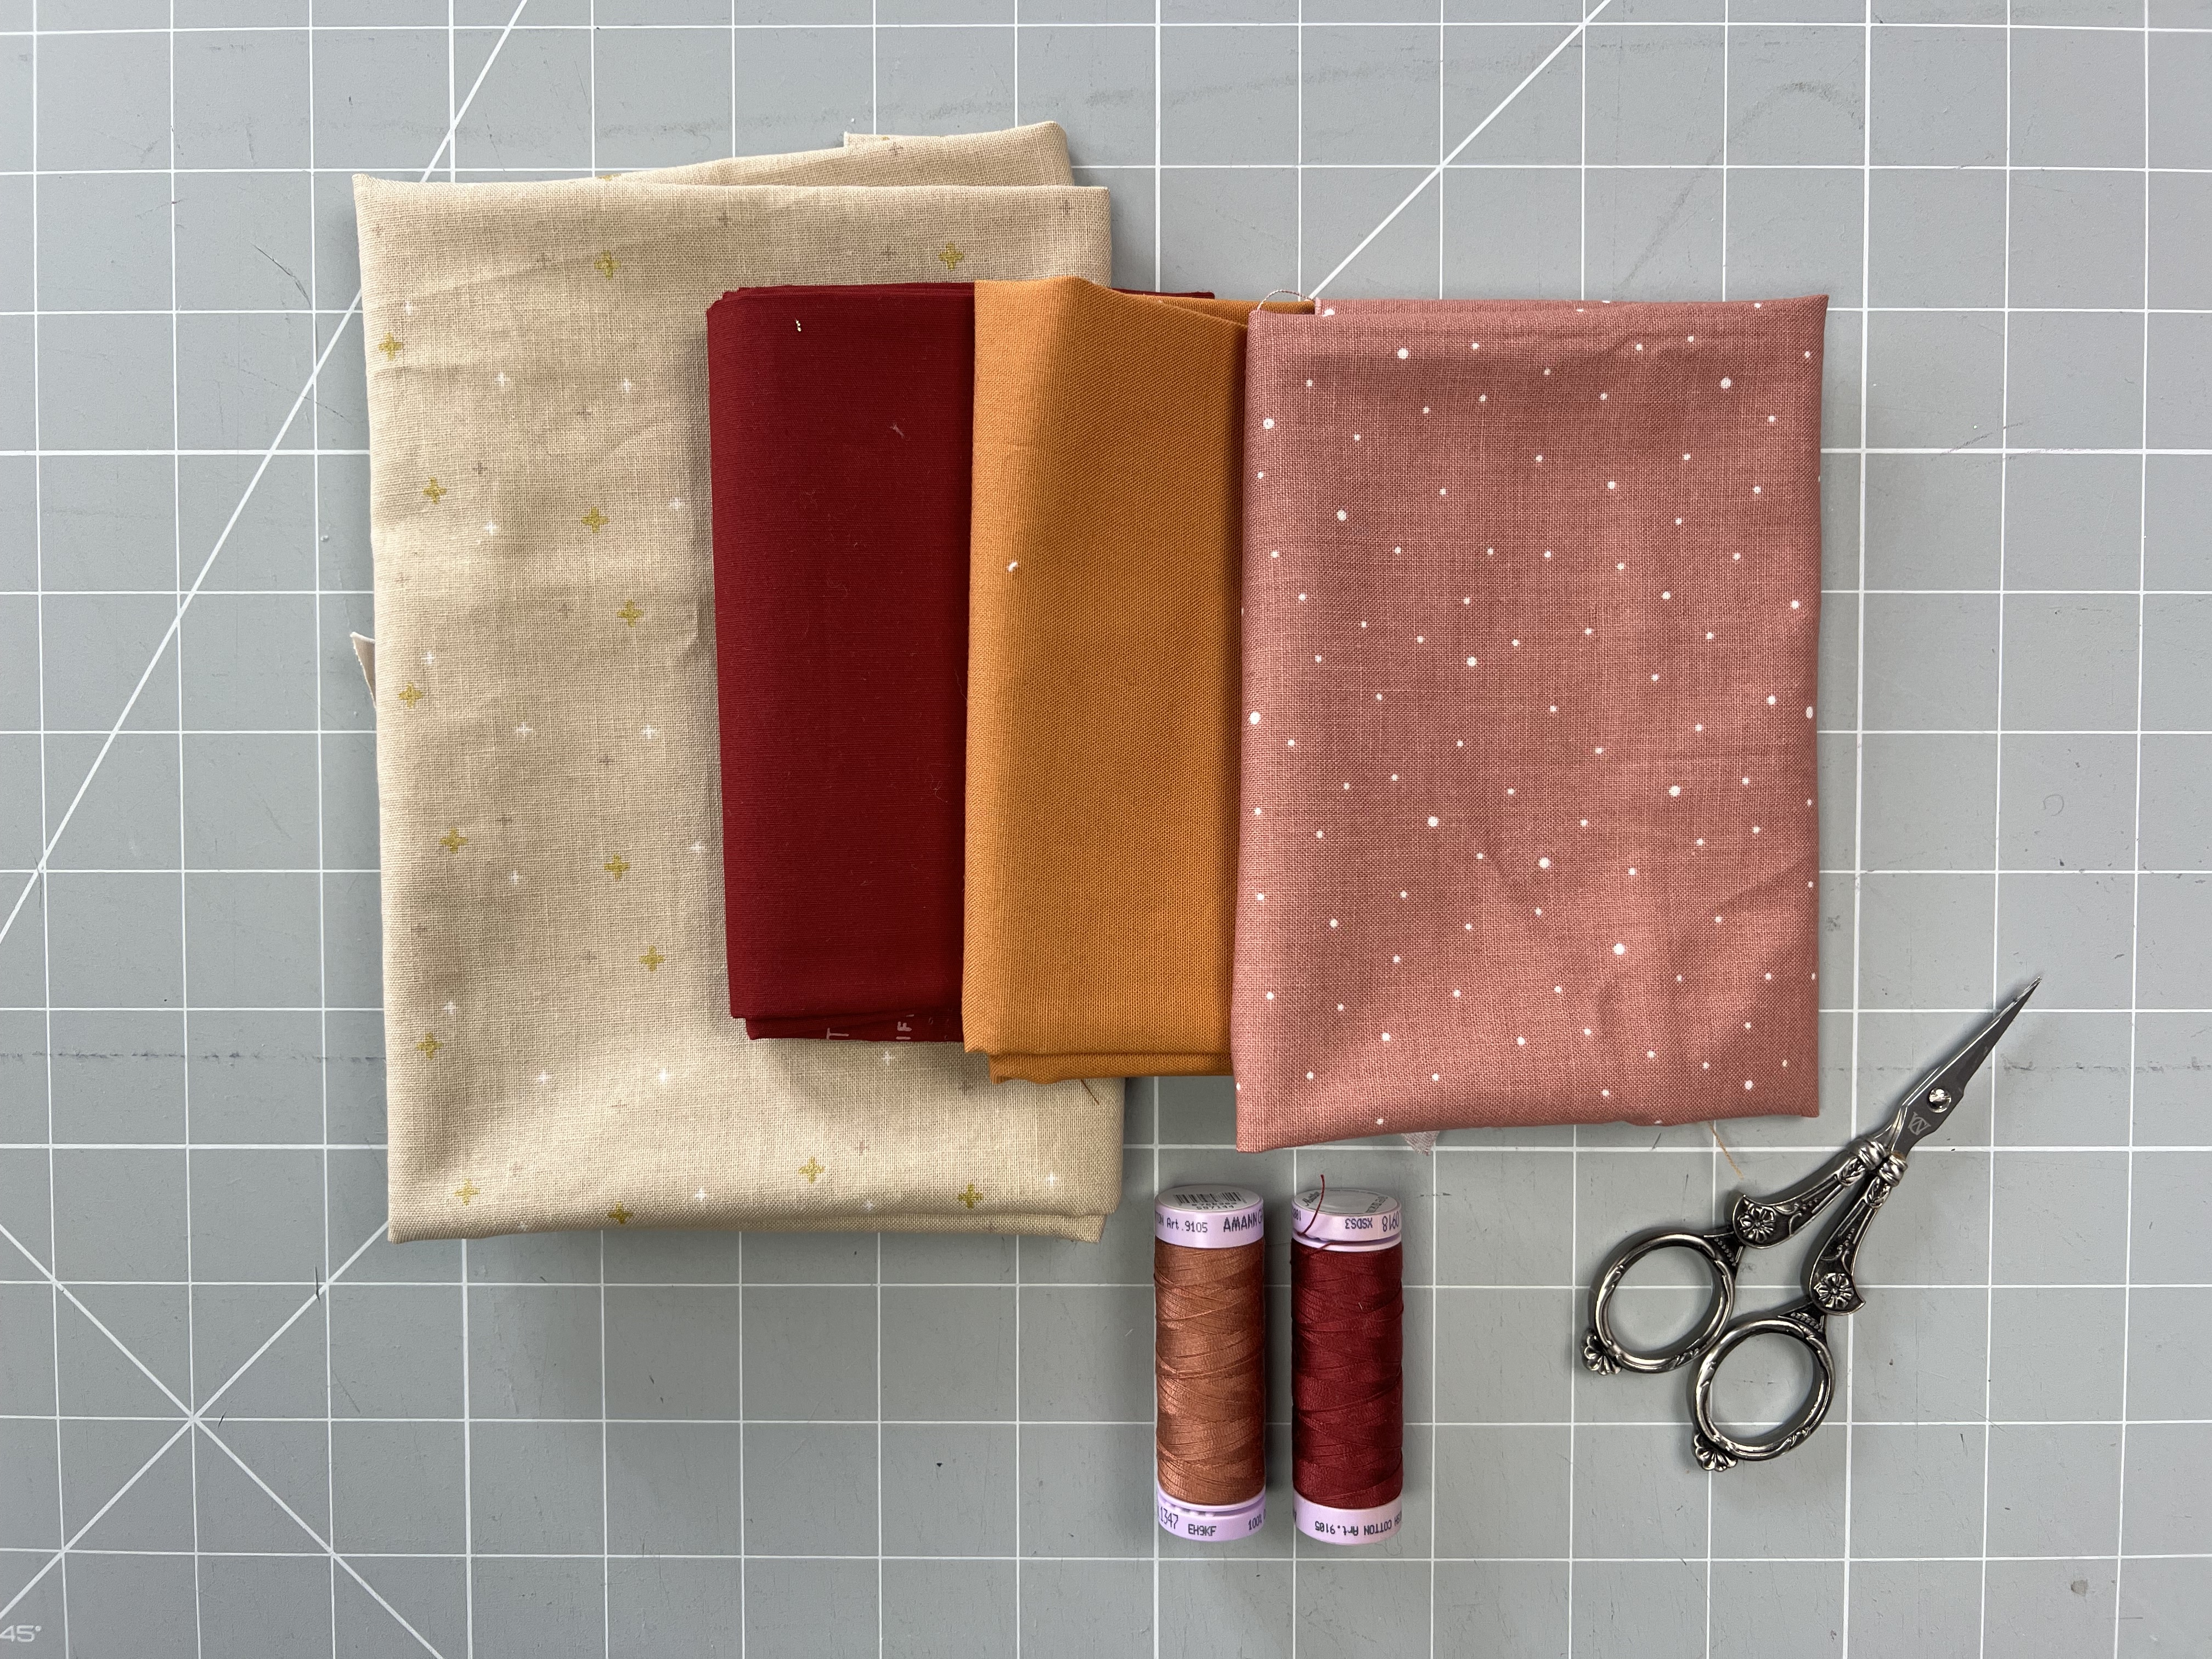
If you’re working from your own fabric stash, here are some classic color combinations that work beautifully:
- warm browns and beiges
- sand and khaki tones
- cream for highlights
- black, burgundy, or dark brown for details
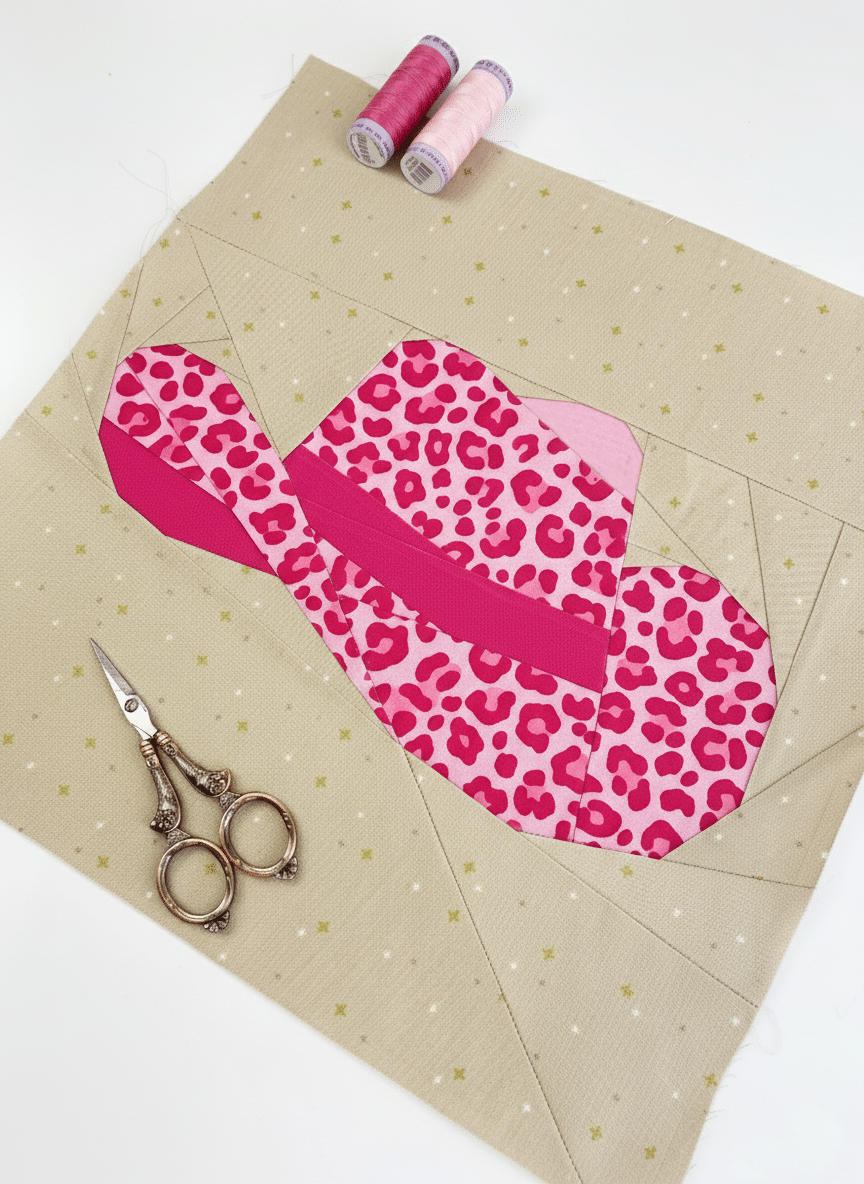
As always, these are just suggestions. Stitching the Southwest is all about your creativity. Use whatever you love and have on hand. I’m about to sew another one in leopard print, very on-trend right now, haha!
Cowboy Hat Sewing Instructions (Quick Overview)
1. Print the pattern pieces. The cowboy hat consists of 4 pages — two pages need to be taped together for each section. Please use simple craft glue, not tape. You’ll be ironing these pieces, and tape sticks to the iron… trust me, I’ve learned this the hard way 😅
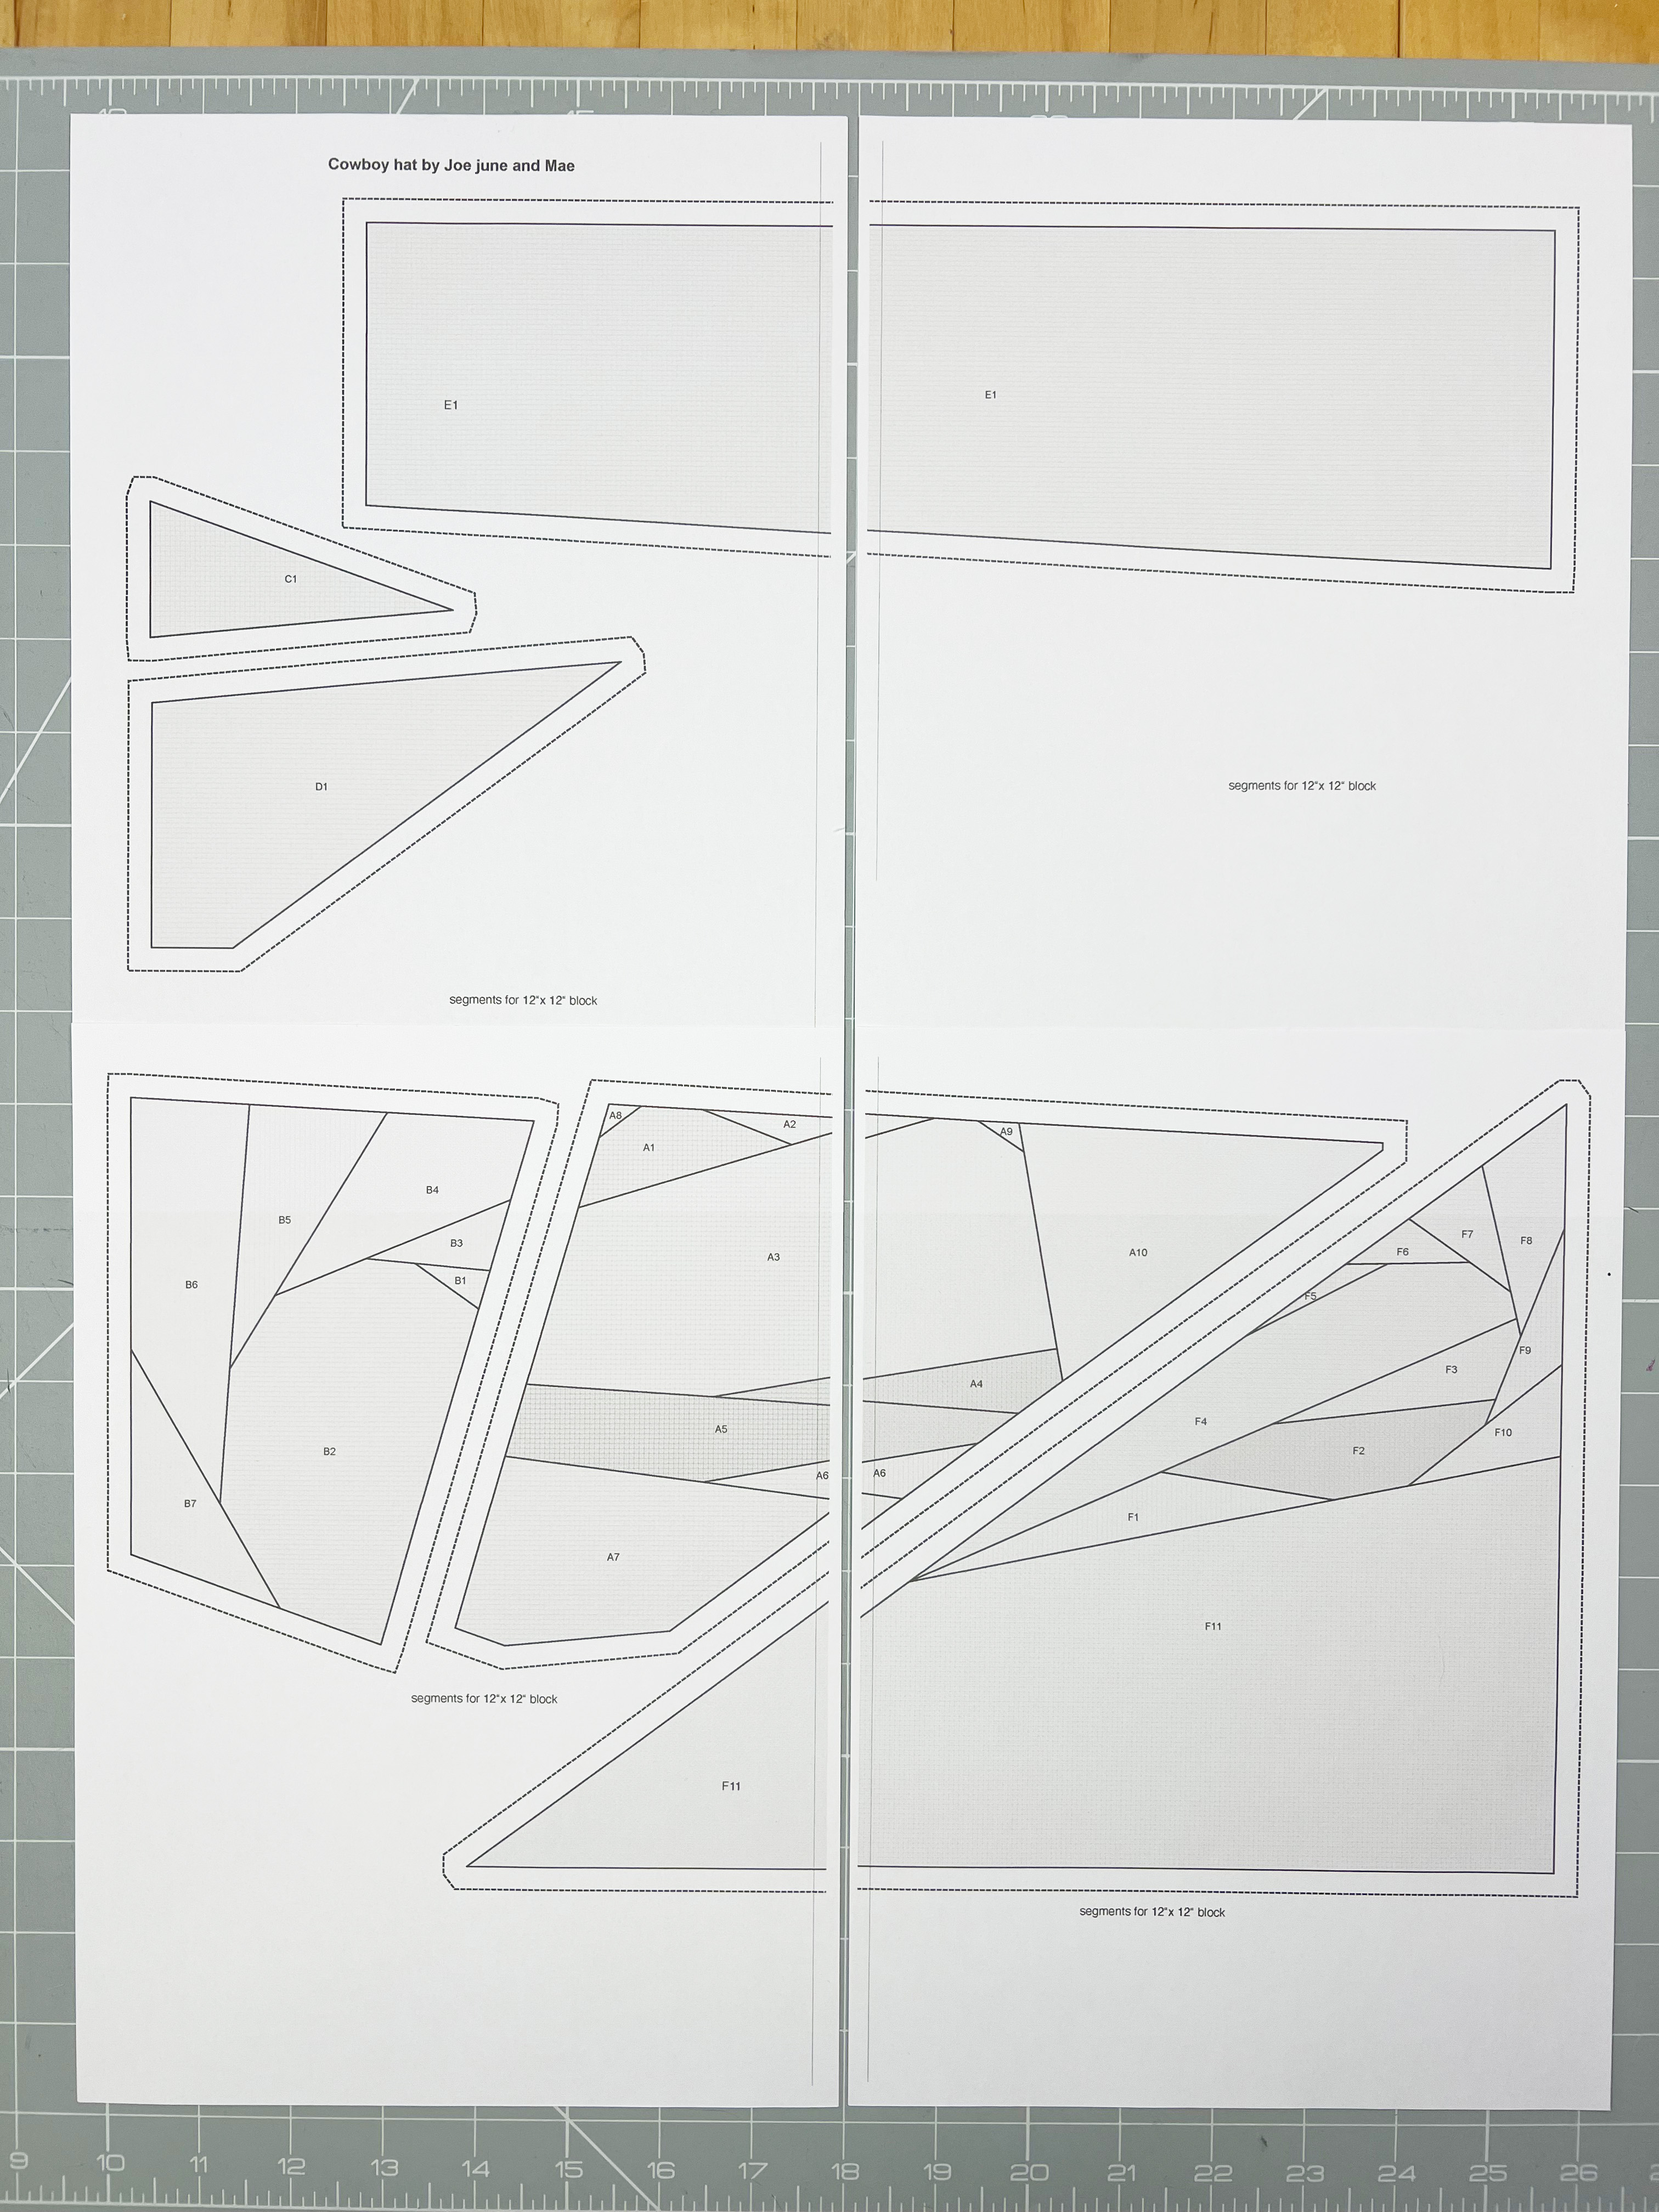
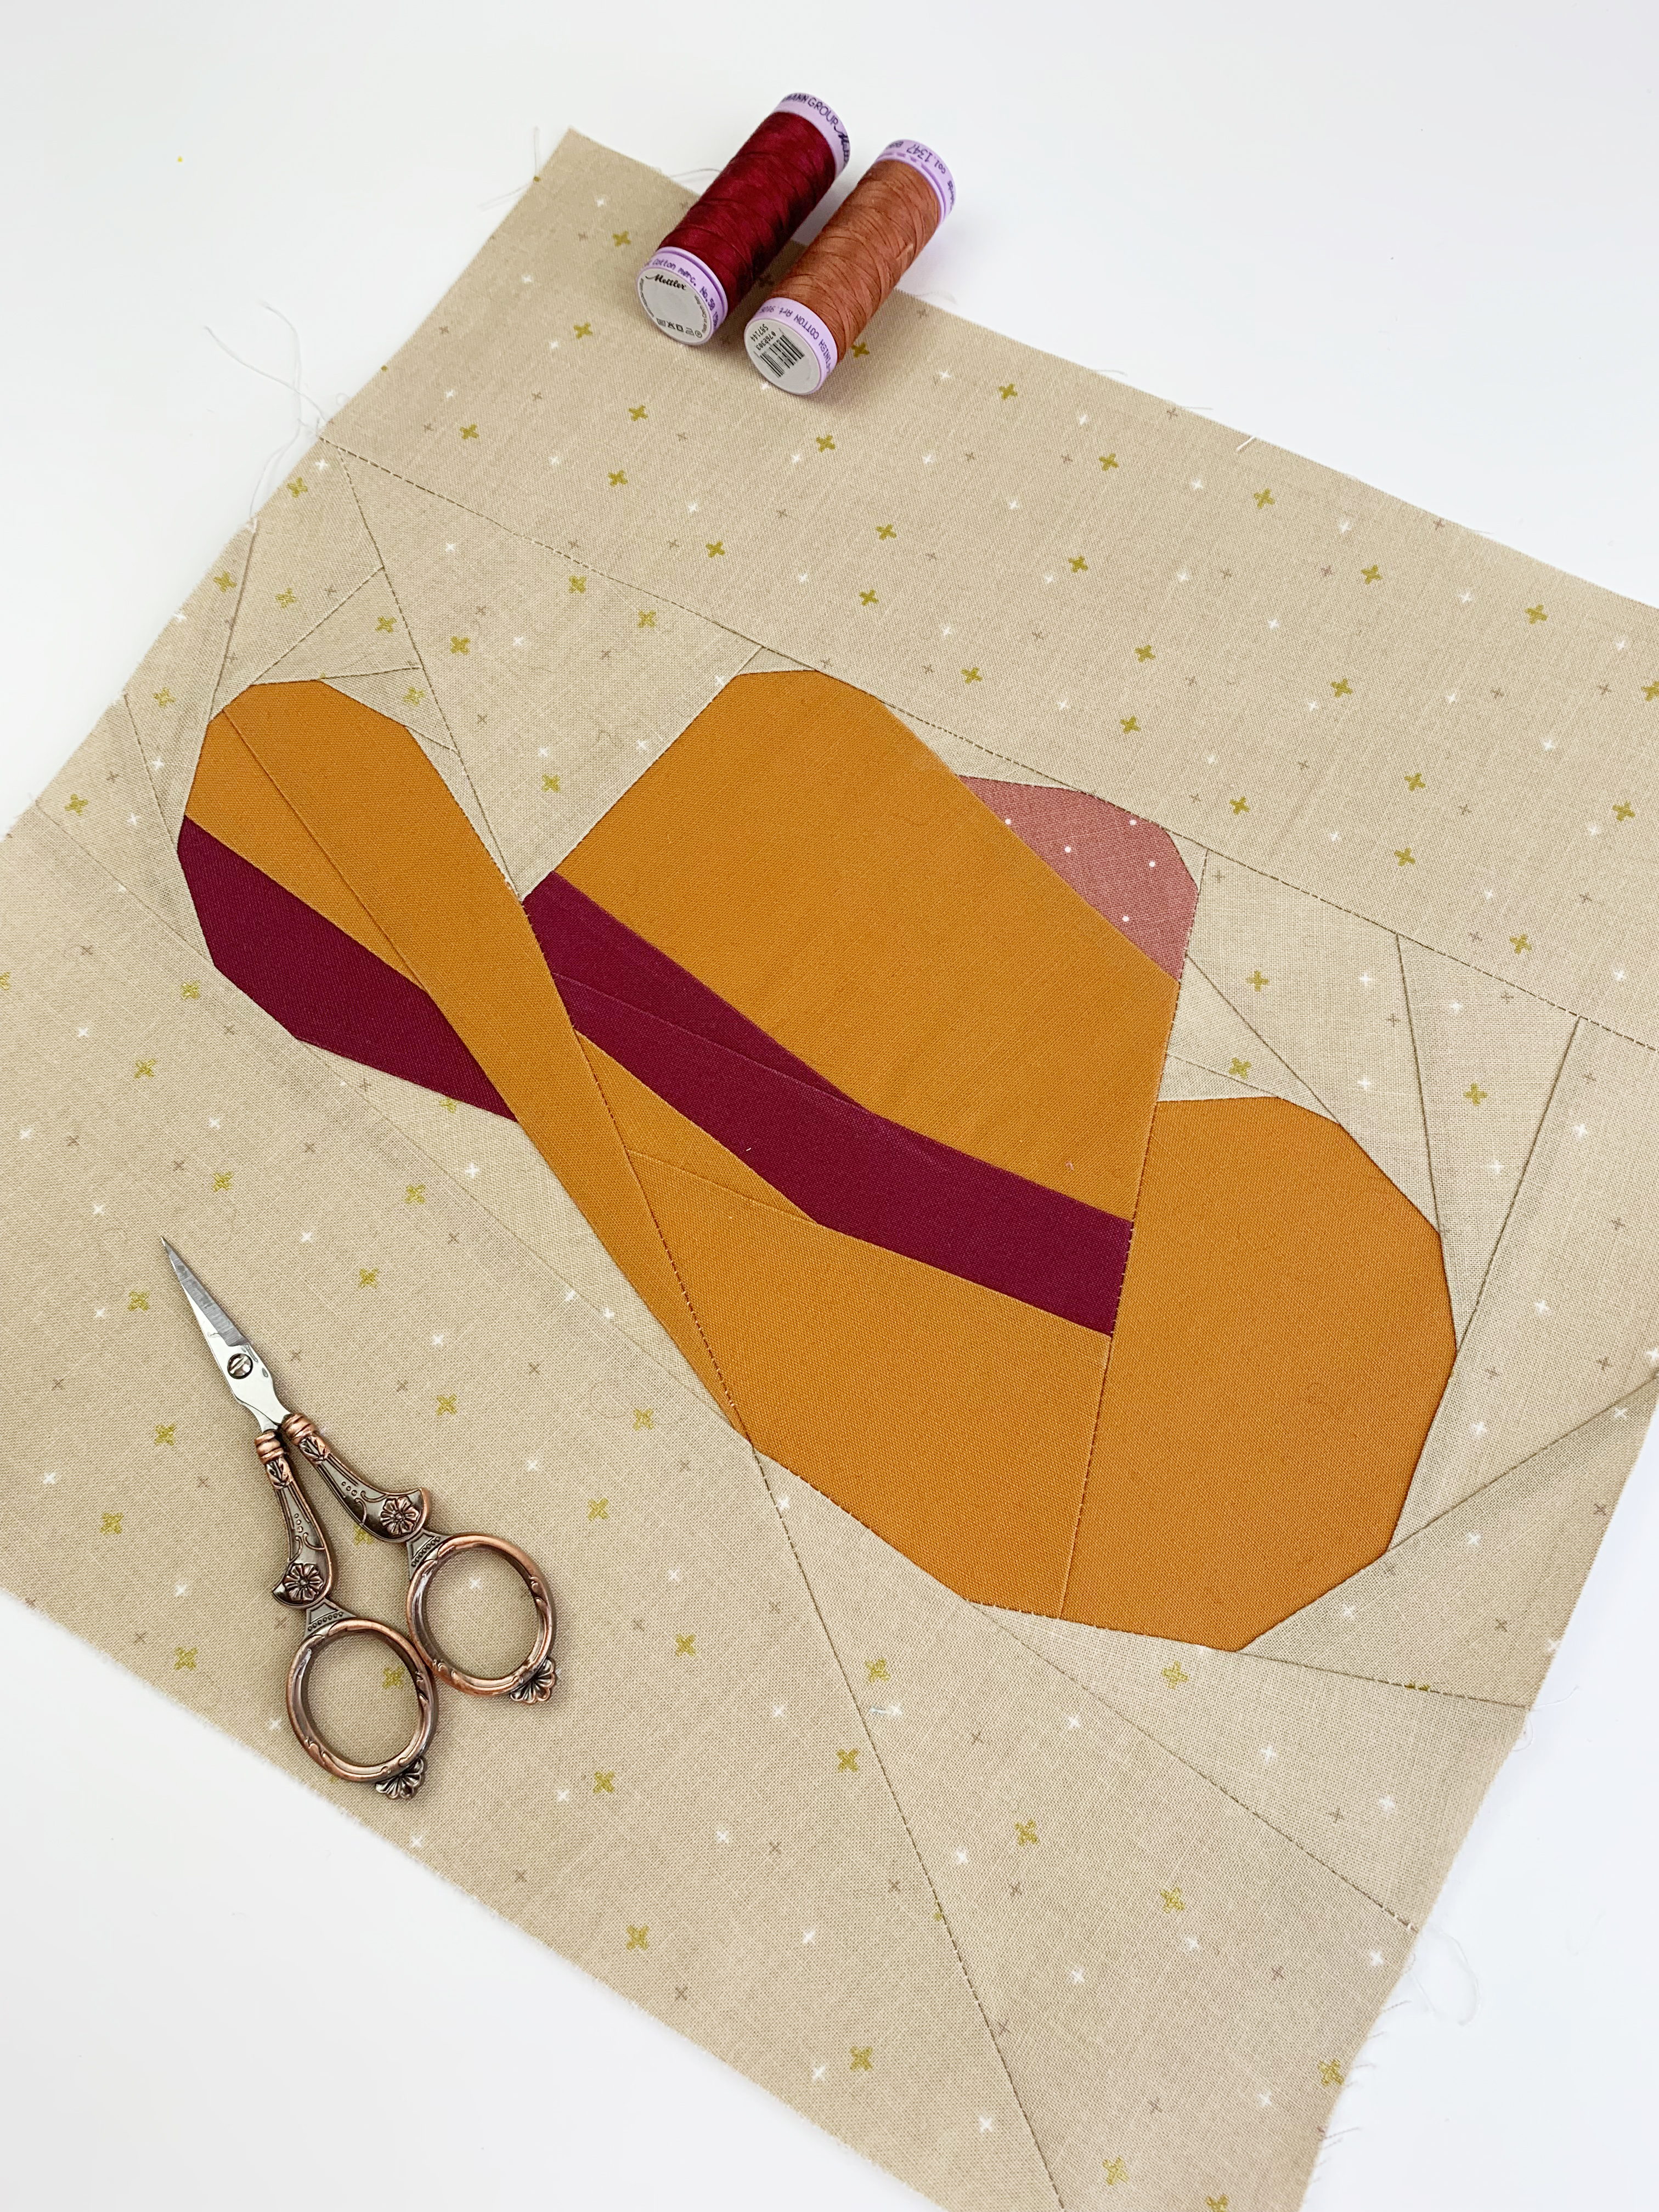
2. Lay out all segments before sewing to make sure everything is complete and aligned correctly.
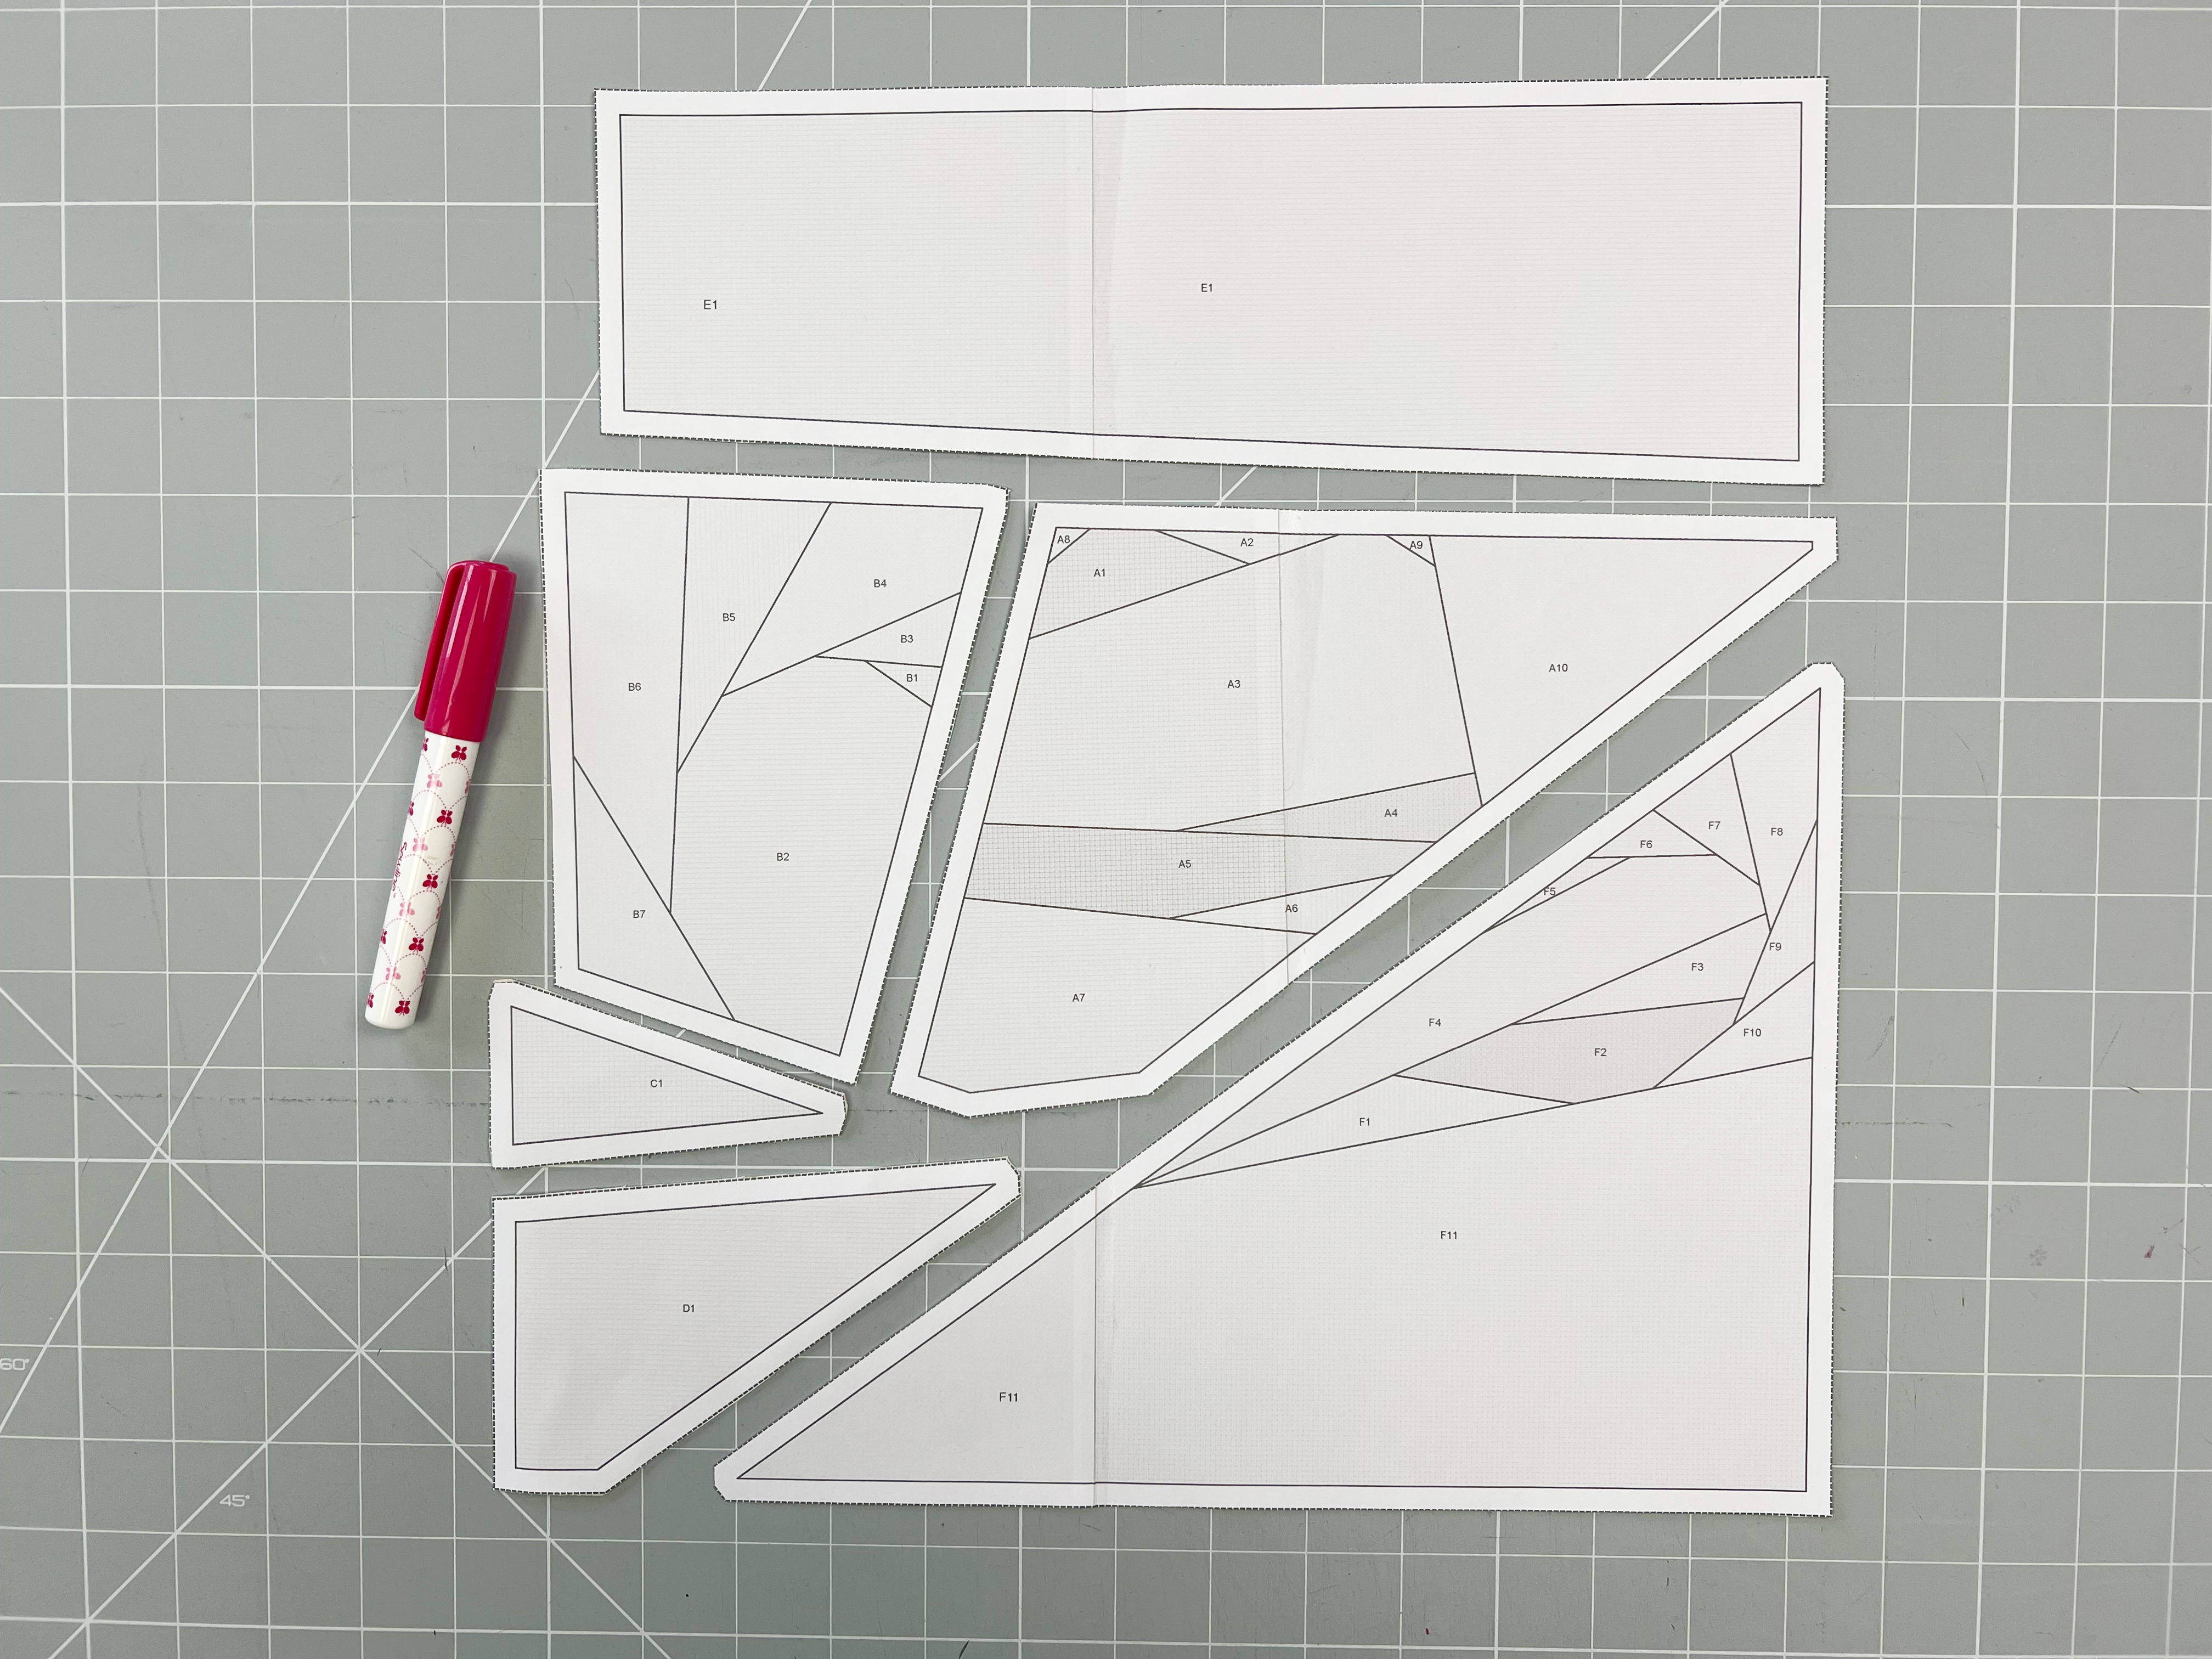
3. As you can see in the photo, there are three pieces that don’t have seams. There are several ways to handle them:
- Pin the fabric right sides together — downside: you’ll get little bumps from the pins
- Stitch around them in the seam allowance — downside: unnecessary seams and harder paper removal
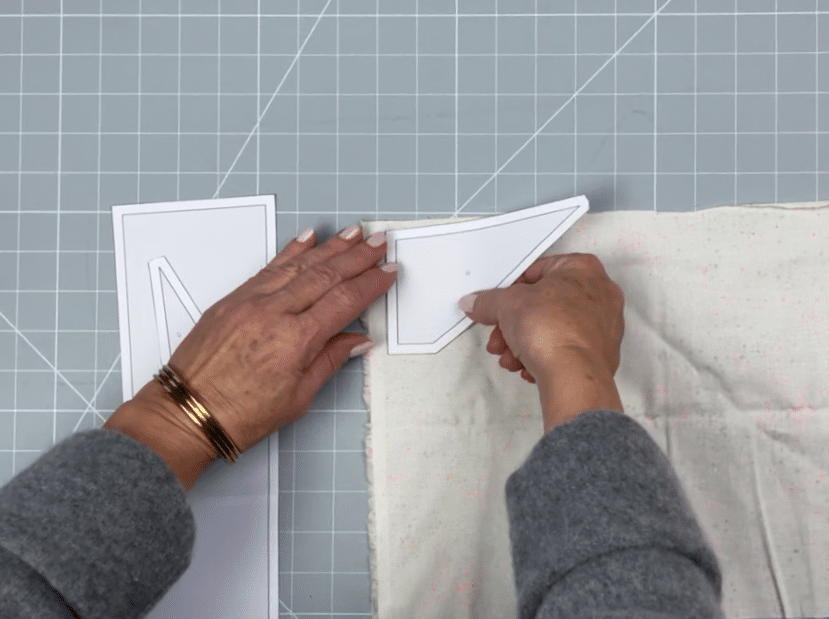
- My favorite method: simply glue the piece wrong sides together — that means the unprinted side of the segment to the wrong side of the fabric. Done.
Downside: none 😄
4. Sew the pieces step by step using the foundation paper piecing technique, just like with the first block, Desert Peaks, and then join the segments together.
I have to admit… I’d love to have this pink leopard cowboy hat in real life 🤠💕 Until then, the pillow will have to do!

Who’s coming over for coffee on my (still a bit chilly) patio? Or maybe a punch instead?
I can’t wait to see your cowboy hats, classic, modern, wild, colorful, or traditional. Please use the hashtag #SouthwestQAL on Instagram and tag @BERNINAUSA and @joejuneandmae so we can see your creations. You can also share them in the WeAllSew Community Section and in the comments.
Let’s keep sewing our way through the Southwest, stitch by stitch, block by block. 🤎🧵
See you next week,
Ingrid