DIY Badge Holder with Tracker Charm: Easy Sewing Tutorial
Convention season is gearing up, and what better way to show off your style than with a custom badge holder? Whether you’ve spent the last few months making a new cosplay, quilt, or any crafting project you’ll be showing off at a convention, you’ll surely have scraps of fabric leftover. With fabric scraps, you can coordinate your custom-made badge holder to go with your project or convention outfits. If you’re like me and love to have more than one purpose for everything, this also makes a great oversized luggage tag.
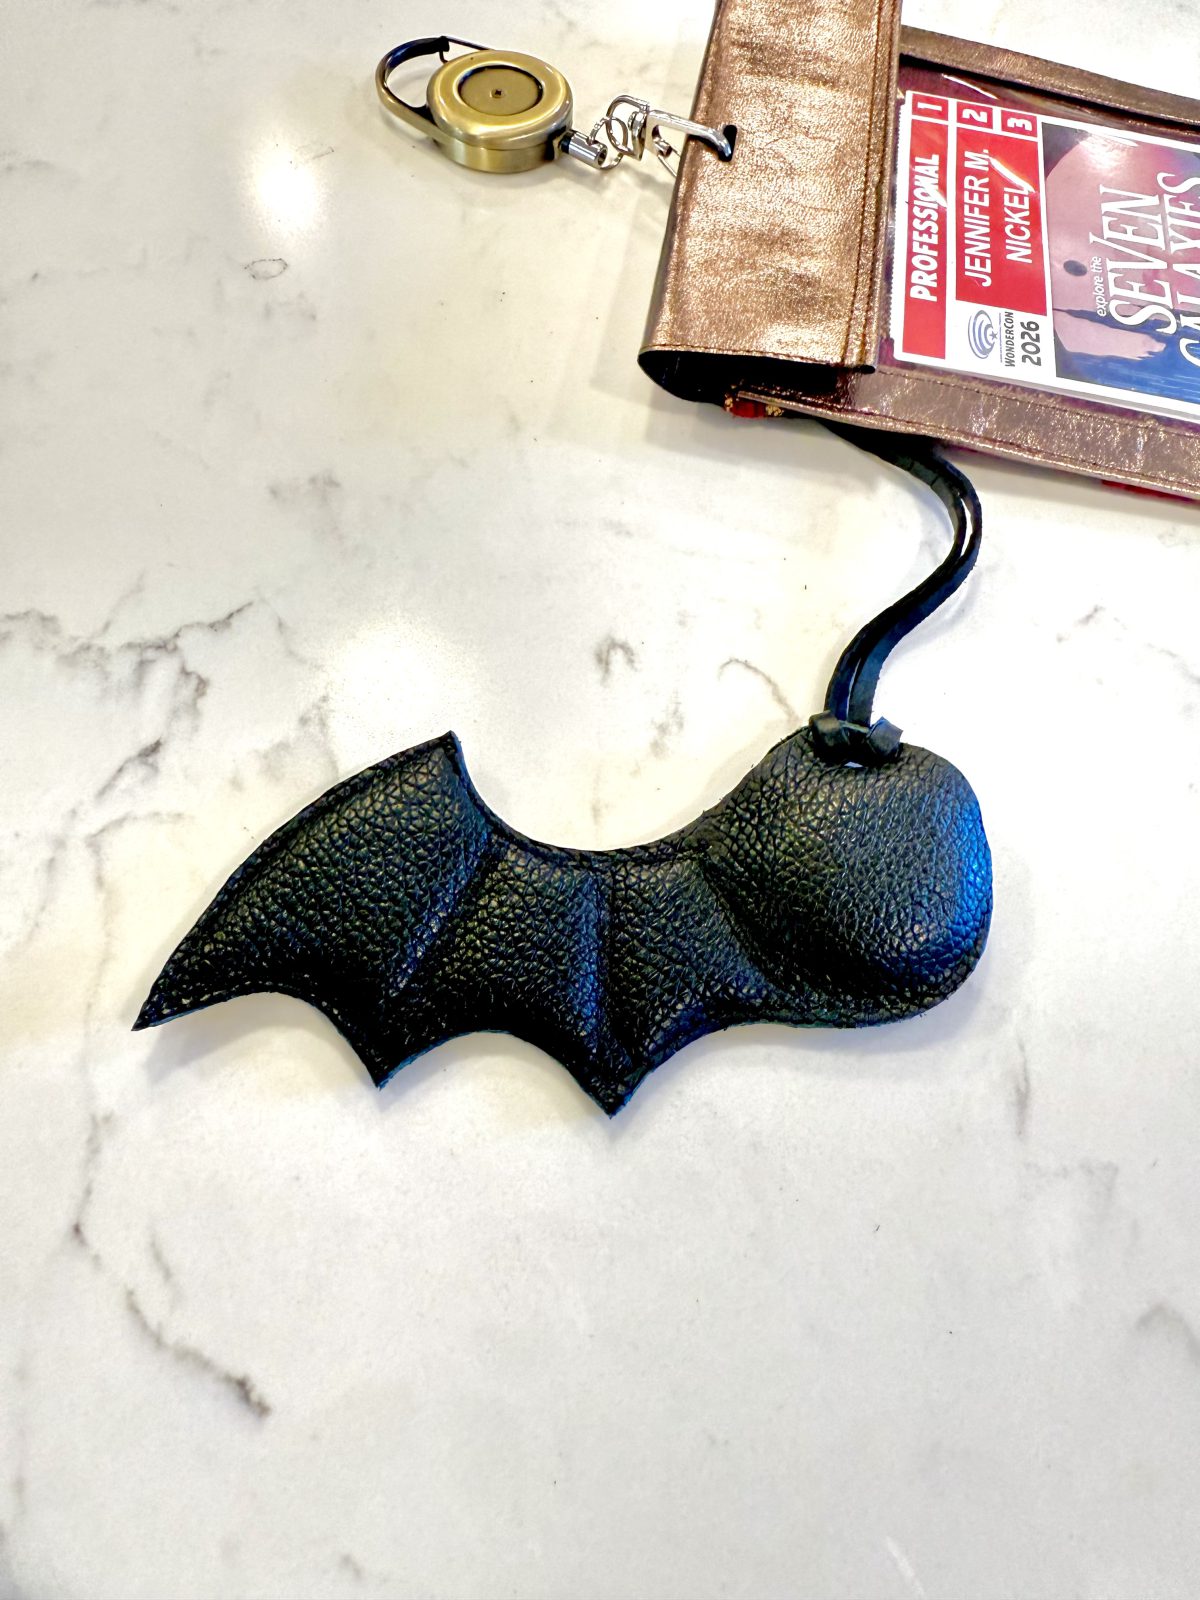
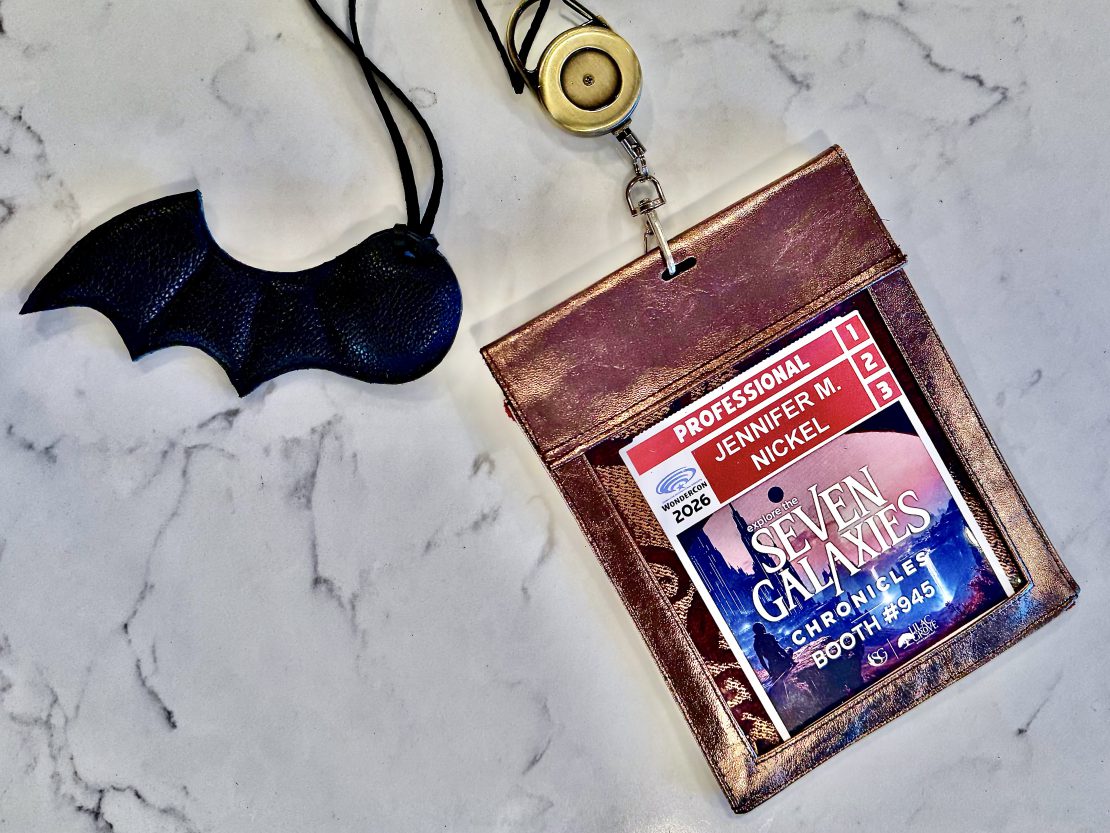
As a special treat for this tutorial, I’ve included a super cute tracker charm that I designed. It is adorable and gives peace of mind for tracking in case a bag gets misplaced or lost at sea in the convention hall.
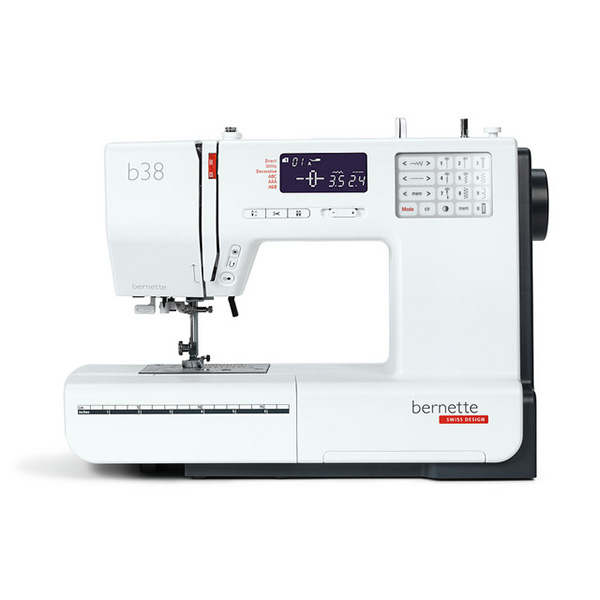
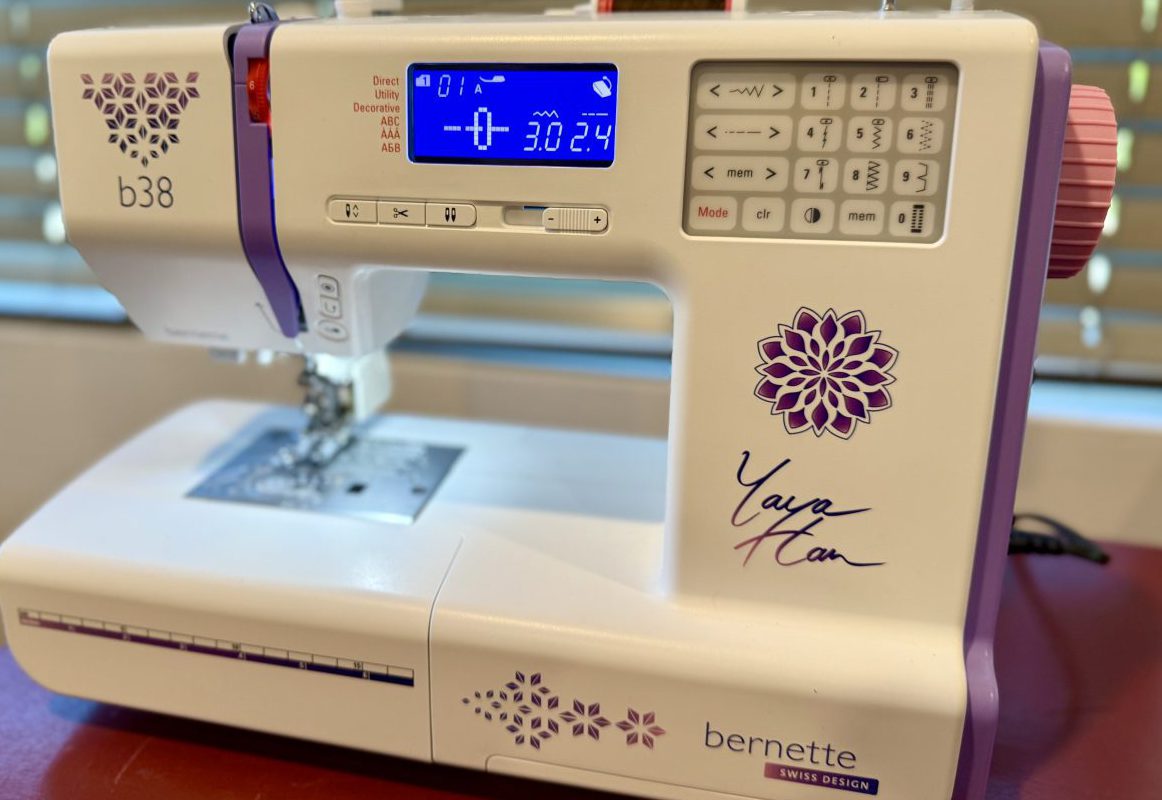
This project is the perfect way to get to know the new bernette 38 Yaya Han Edition. It’s quick, easy, and utilizes materials that most likely anyone already has. Yaya’s favorite foot for this machine is the Walking Foot. Now I understand why, and it’s my favorite now, too. It makes working with a variety of materials a breeze, especially vinyl, leather, and foam, all of which are a part of these projects.
For my badge holder and tracker, I went with a theme and style that can encompass multiple fandoms, but also looks cute on its own. My badge holder style easily fits within any style from Elizabethan to Art Nouveau, so whether I’m dressing up as a Vampire, someone from Middle Earth, a witch, or from Westeros, it works. The tracker charm is designed in a way that, depending on the colors and leather you use, it could be a dragon wing, a bat wing, or, for dinosaur lovers–a pterodactyl wing!
I had so much fun making these two projects and getting to know the b38 Yaya Han Edition that I’m already getting ideas for my next leather project to do a tutorial on. I hope you enjoy working on these as much as I have, and can’t wait to see what you all make and how you personalize them!
Materials Needed to Make the Badge Holder
Badge Holder
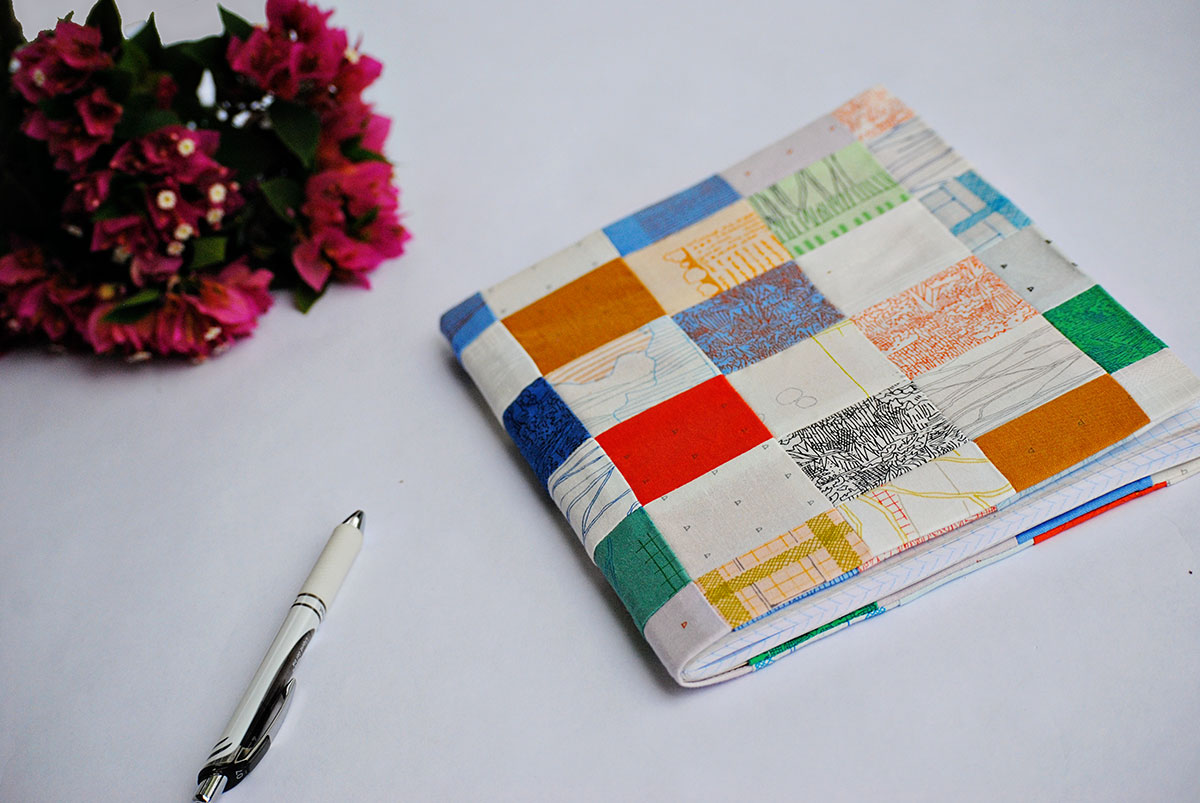
- Scrap Fabric: I used a lovely tapestry-like fabric that looks beautiful on both wrong and right sides of the fabric.
- Scrap Leather or pleather
- Clear Vinyl

Tracker Charm
- 1 piece of mid to heavyweight leather for the base
- 1 piece of softer, pliable leather for the top leather
- (Optional) 1 sheet of craft foam
![]()
Tools
- Clear Ruler with guide lines
- Scissors or Rotary Cutter
- Thread
- Machine Needle (I used what came with the machine, the Organ 90/14)
- Hole Punch
- Chalk or Patterning Pen
- b38 Yaya Han Edition
- Walking Foot
- Organ 90/14 Sewing Needle
Optional Tools:
- Wonder Clips
- 1/8” double sided tape or acid-free glue
- Seam Roller
- Seam Turner
- Sandpaper
Patterning Instructions
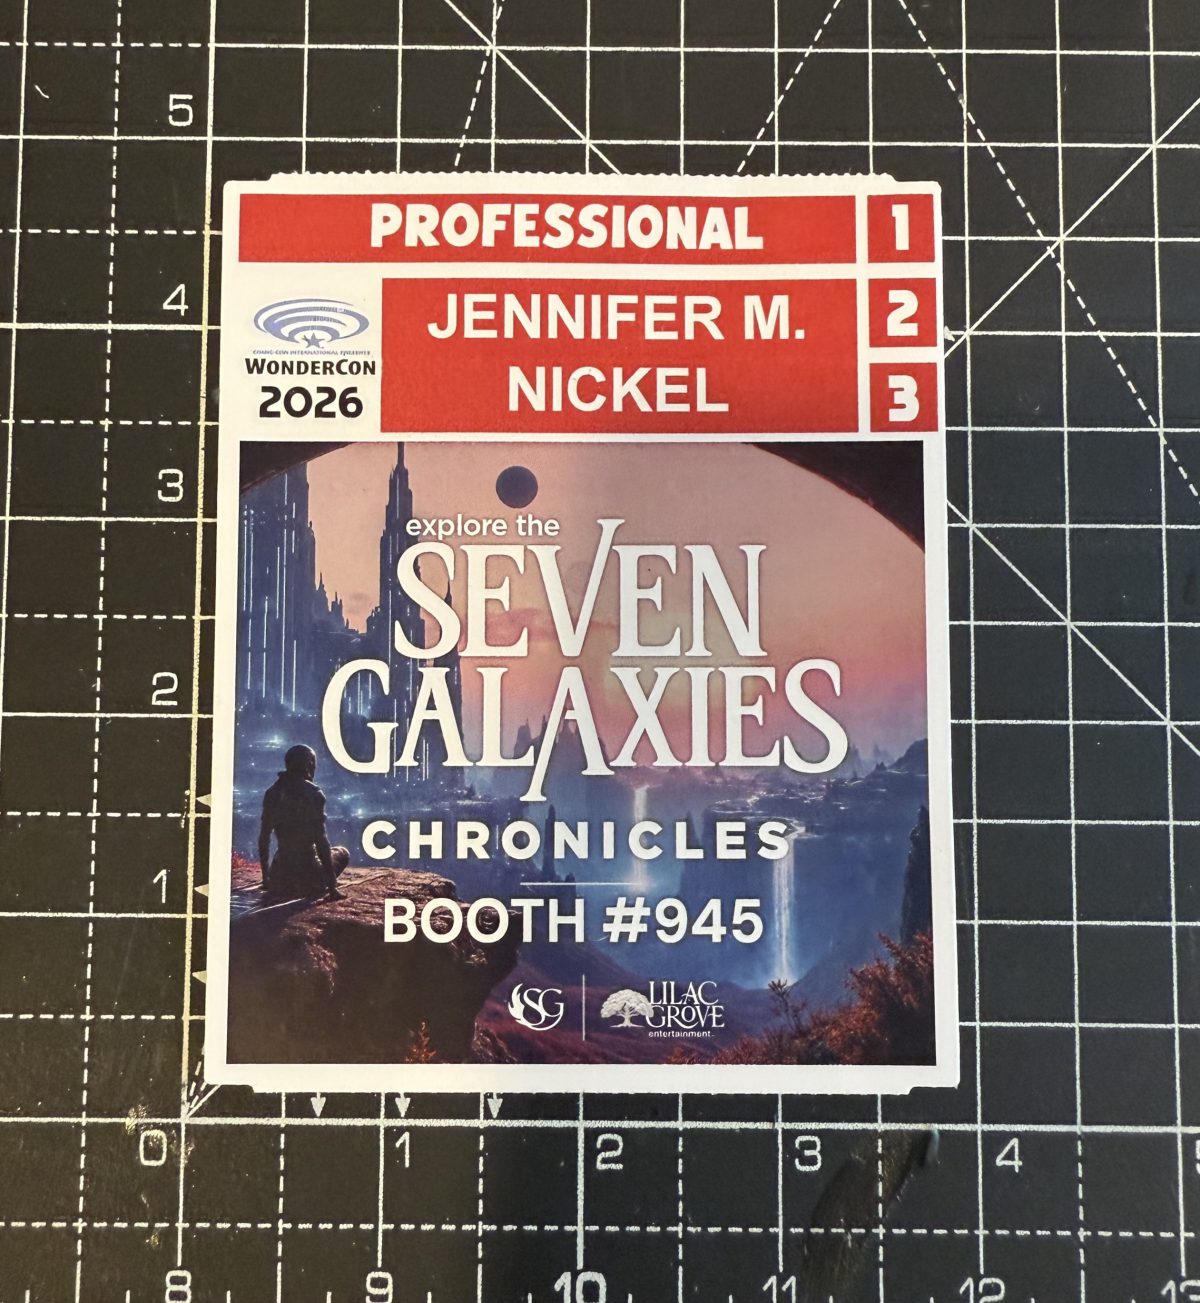
- Measure your Convention Badge. Often these are standard, uniform sizes, but every once in a while, you get a surprise size. My badge was roughly 4.75” H x 3.75” W, so I rounded up to 5” H x 4”W, which I suggest you do too for ease. *If your badge is roughly the same size, make sure to download my pattern for this project and quickly read through here to understand each piece before moving on to construction.*
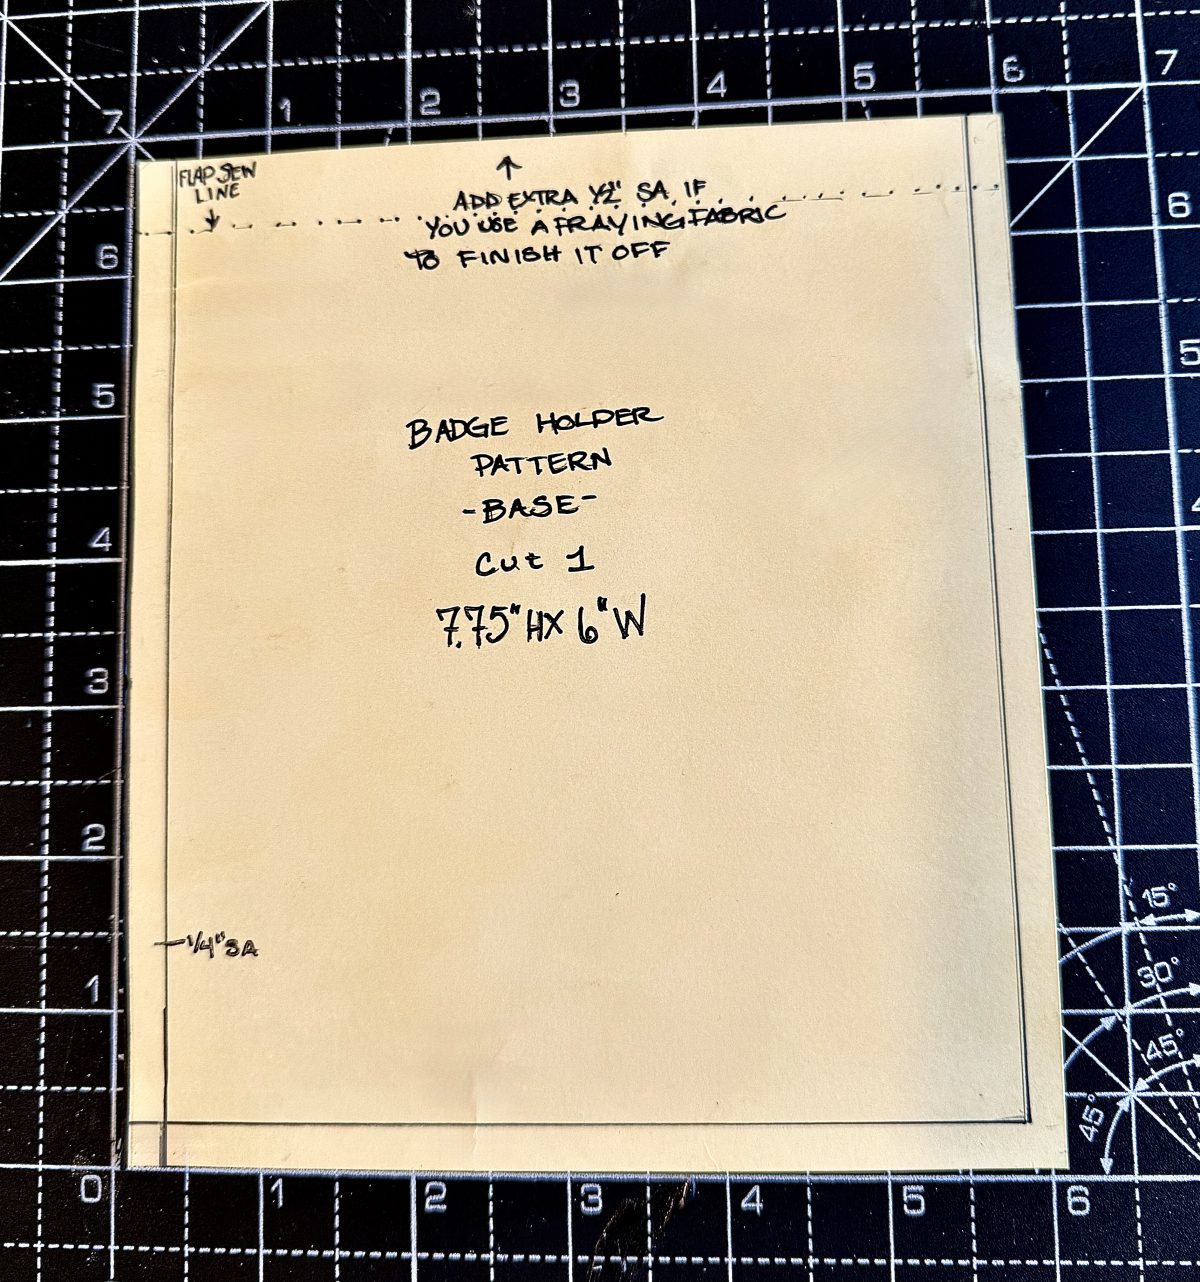
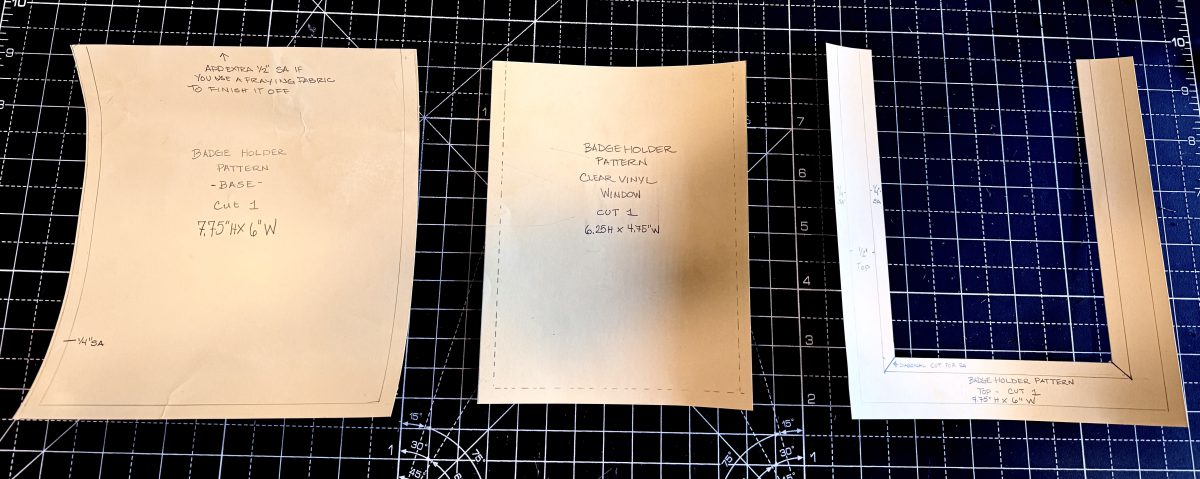
- From here I was able to determine how big I wanted the finished badge holder to be, and how much seam allowance I would need to make this basic, rectangular pattern. I decided to go ahead and make a full pattern for this, because I know I’ll want to make new badges to coordinate with my convention outfits for the years to come – and my husband is already asking when I’m making his. So, I have a feeling once your friends and family see your badge holder, there will be a sign up list for you to make them. I suggest going with a 1/4” seam allowance for the outer edge, unless you have a thick/bulky fabric, then you might want to make it 1/2” seam allowance. For ease of following along, my pattern has 1/4″ seam allowances. The base pattern measures out to 7.75” H x 6” W.
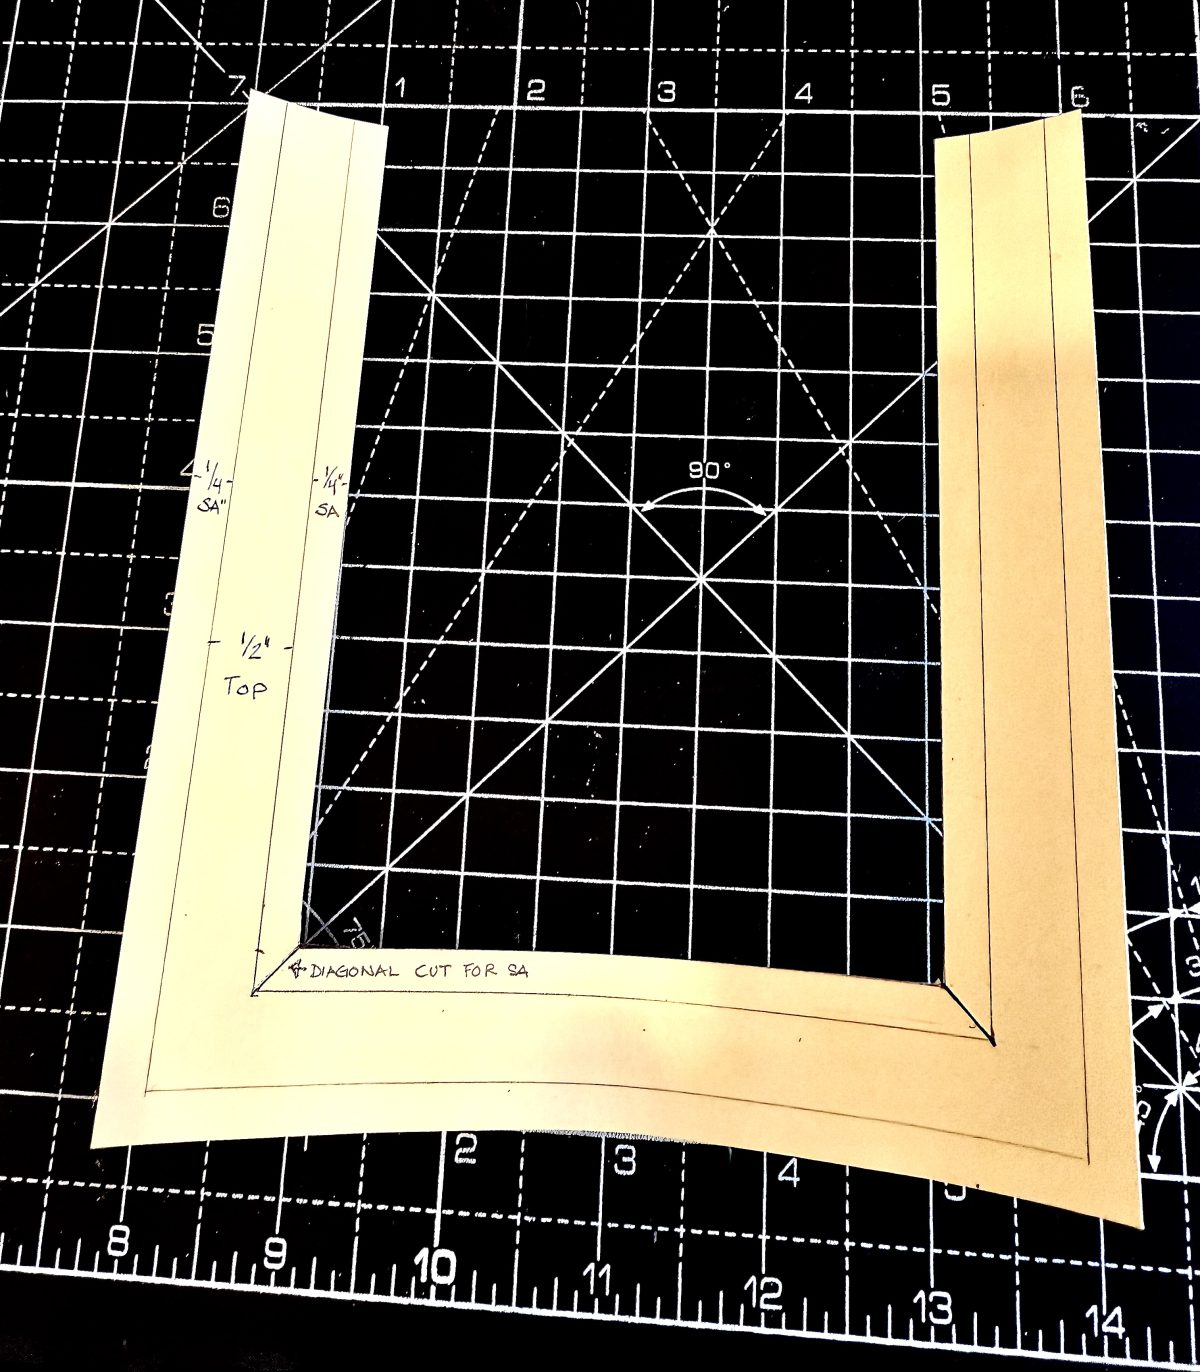
- Next, I started to make my pattern piece for the leather front. It is also 7.75” H x 6” W, but has a U-shaped cutout for the clear vinyl. To make this, I added the 1/4” seam allowance, the 1/2” finished top leather, and another 1/4” seam allowance on the inner U where it will get topstitched to the vinyl. *Note the diagonal notches at the seam allowance, which will allow the leather to have a crisp, clean finish when it’s turned under and stitched.*
- The next pattern piece is for the clear vinyl window of the badge holder. If your badge came in a clear vinyl holder, and you want to use that, feel free to skip this step. I’m making my badge holder a tad roomier to hold business cards or stickers I get, so I’m cutting a piece of vinyl to size. The dimensions for this pattern piece are 6.25” H x 4.75” W.
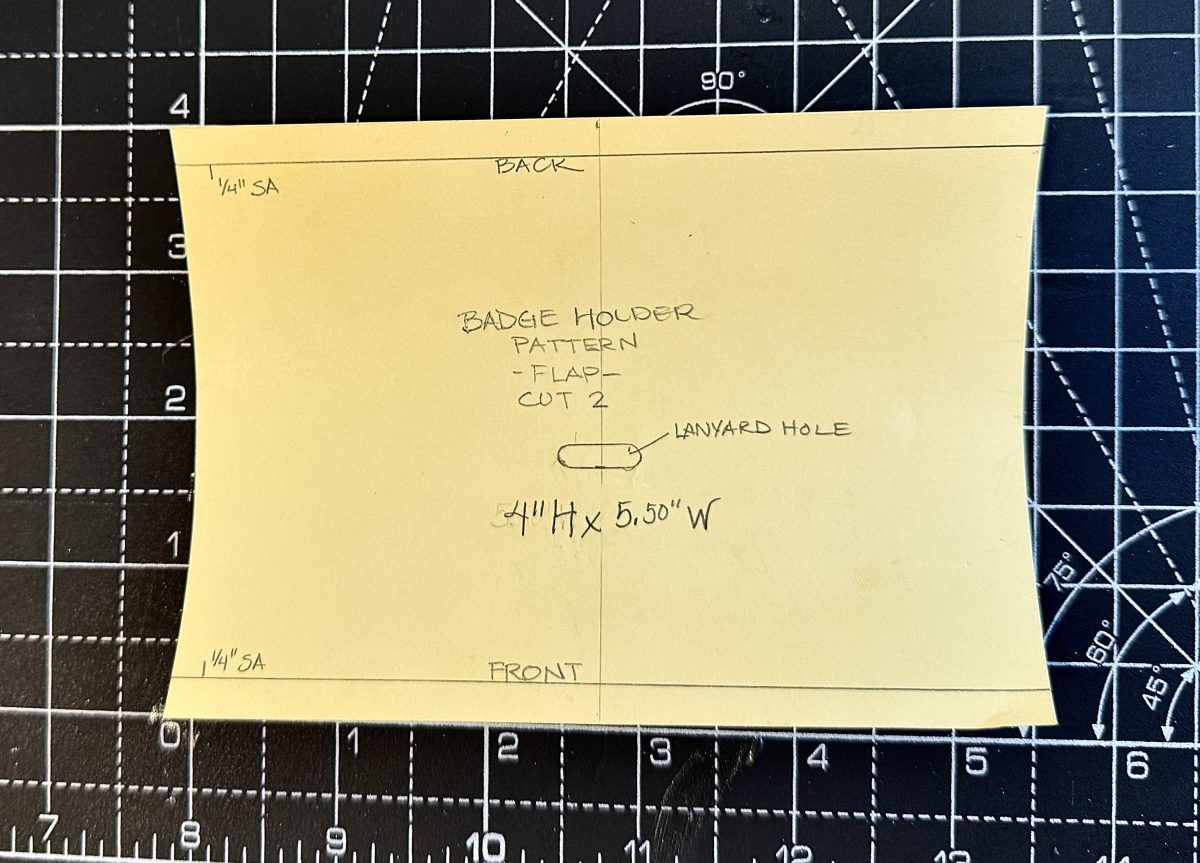
- Now you can go straight into construction, or get a little extra fancy here and add a top flap for your badge holder. I’m using a lightweight leather, so I’m going to cut 2 pieces here to give the flap a little extra structure, but if you’re using a heavier weight leather or non-fraying fabric, you can get away with just one piece. To give it a nice, substantial fold over, I have the pattern piece at 4” H x 5.50” W, including 1/4” seam allowances for the top and bottom edges. I like having a crisp edge for this lightweight leather. Again, if you’re using something heavier with a sturdy structure, no need to have any seam allowance.
Construction
Now that the pattern is done, on to the fun part of construction!
- Cut out your pieces according to your pattern.
- We will start with the leather “Frame” piece of the badge holder. First, we’re going to fold under the inner “U” seam allowance. If you have not already cut the 2 diagonal notches for the seam allowance, now is the time to. For folding the leather under, I highly recommend using a 1/8” double stick tape, leather tape if you have it, but scrapbooking double-sided tape works just as well. If you don’t have that, then I recommend an acid-free, no-odor glue. And don’t worry – neither the tape nor glue will gum up the b38, this machine takes both like a champ. Once you’ve folded the leather under, do a quick press of it using a seam roller if you have one. I’ve used rolling pins in the past for this purpose, too!
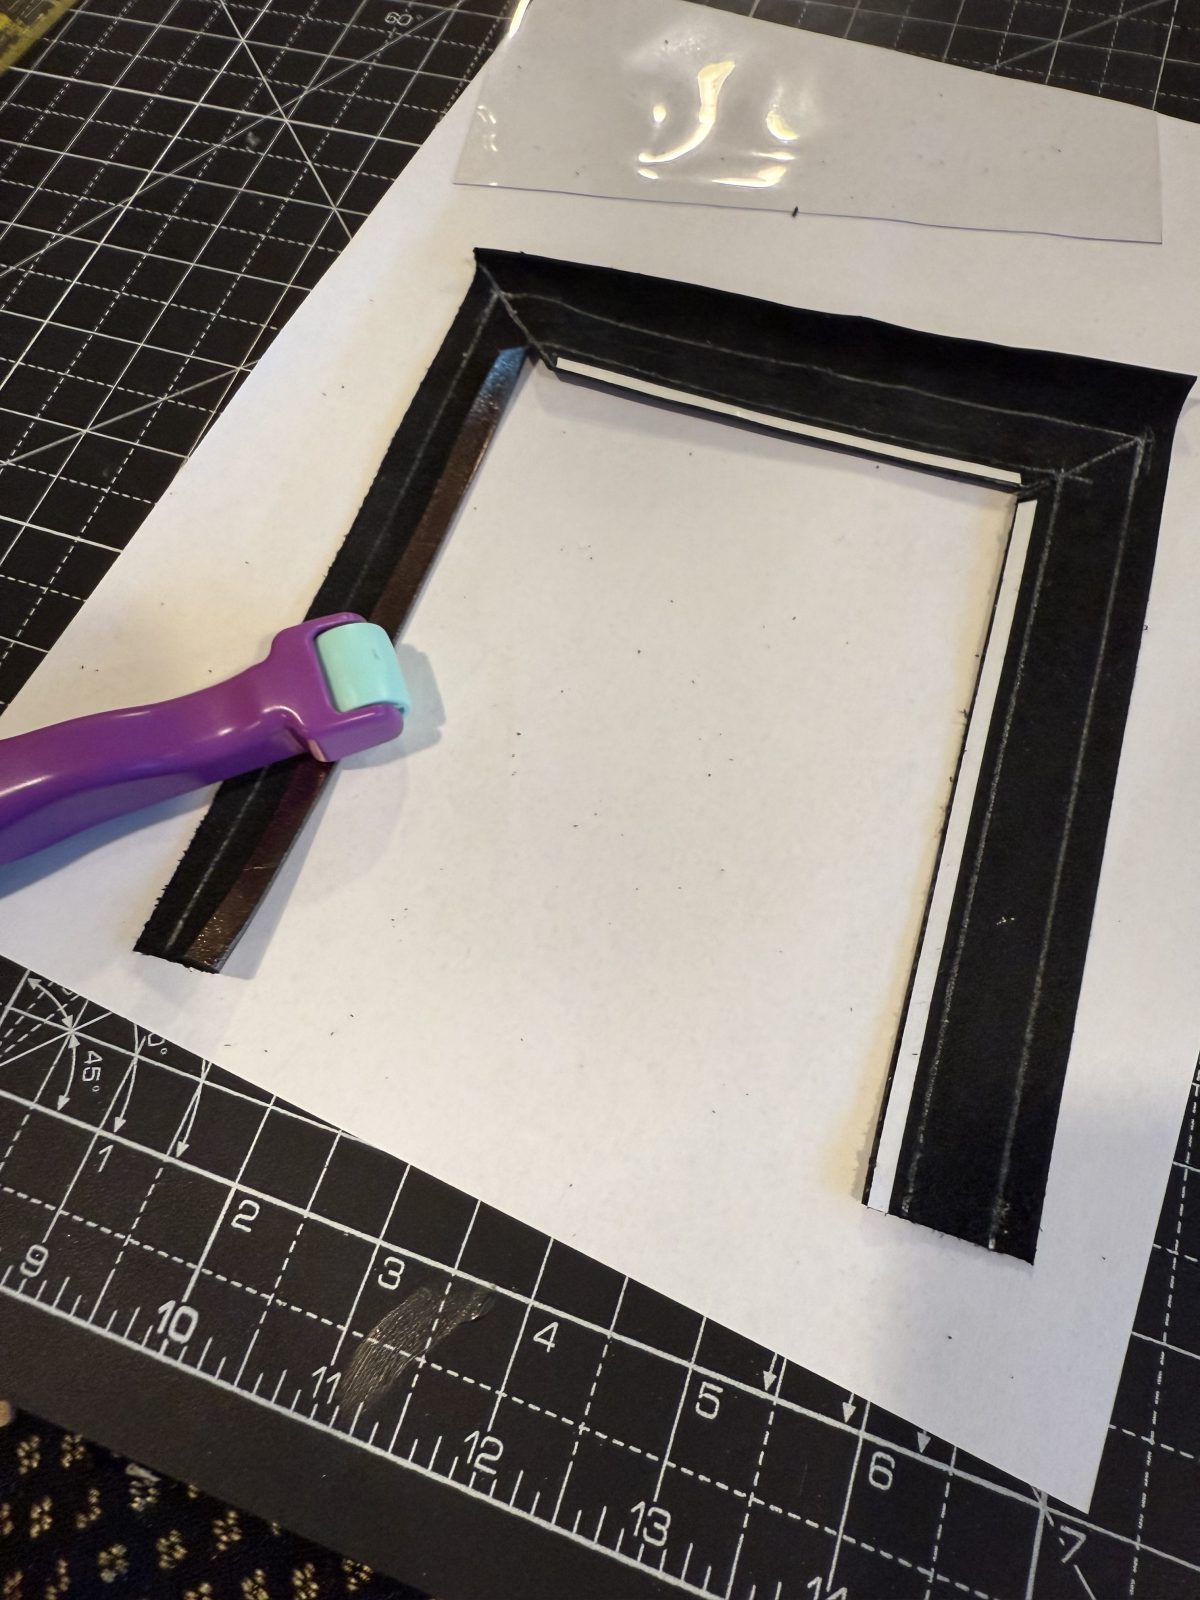
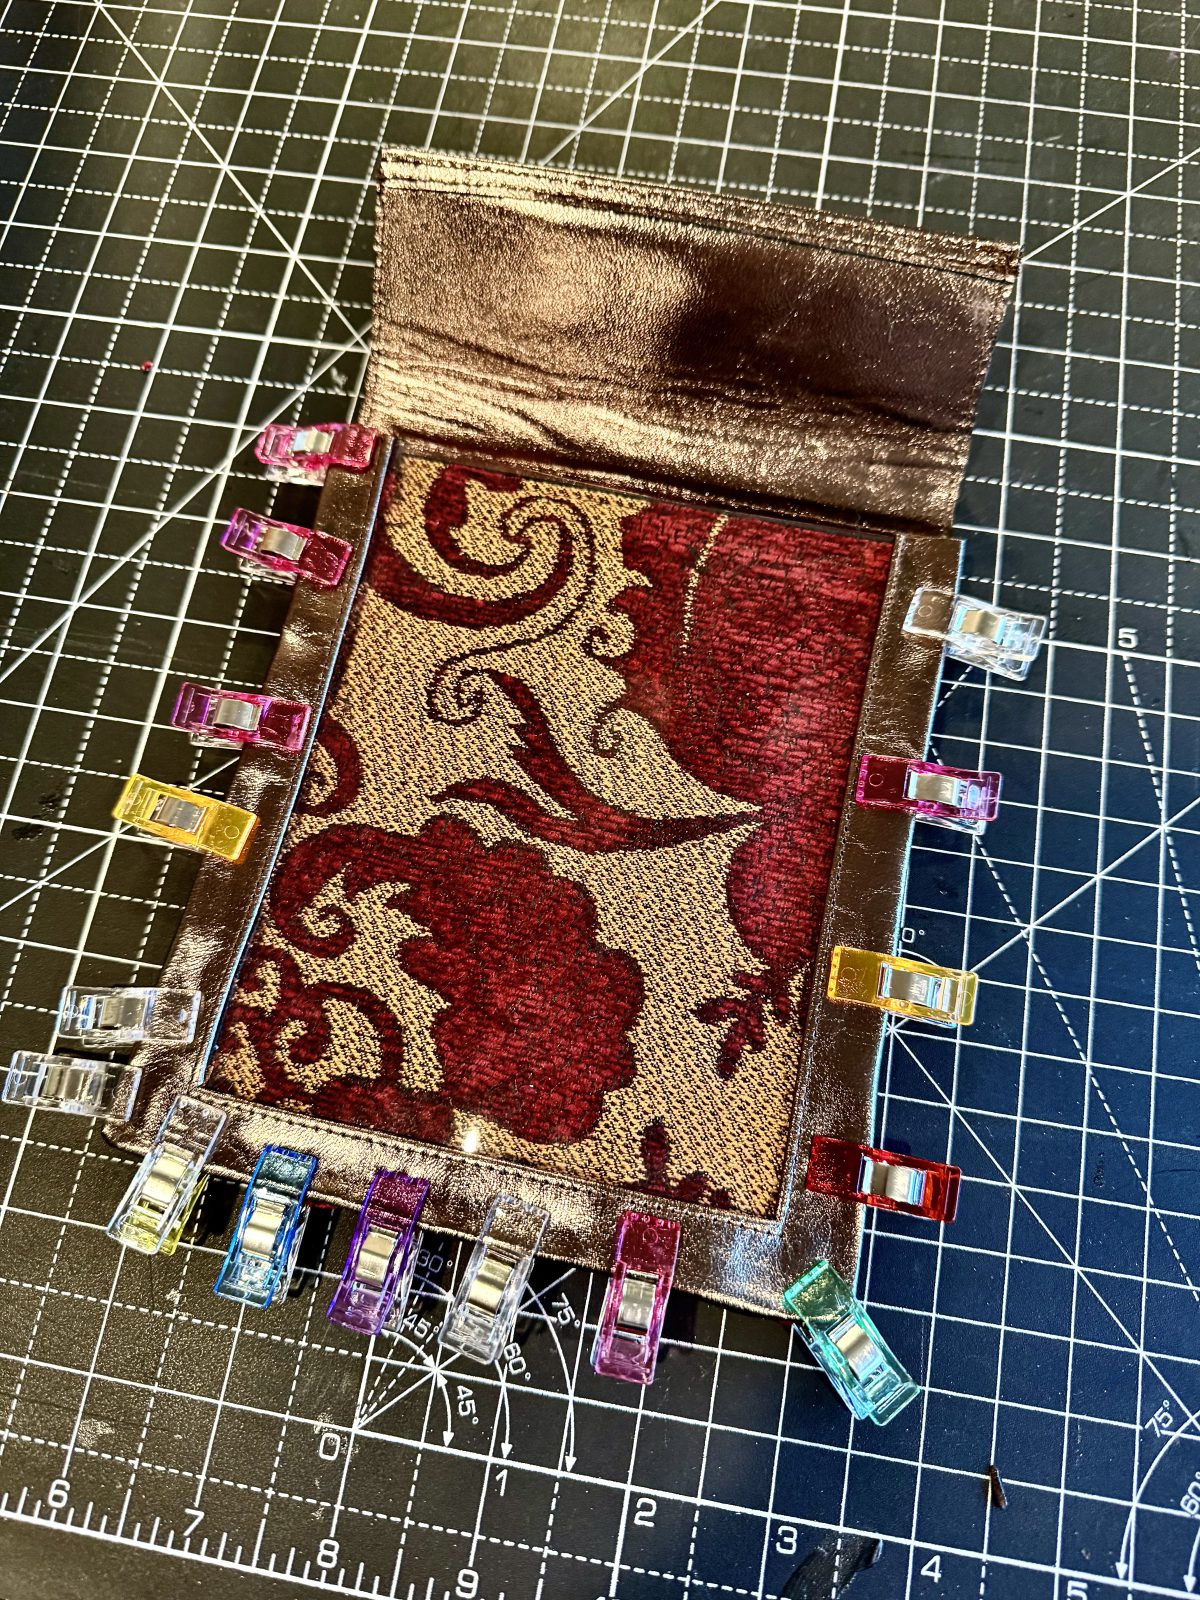
- With the leather pressed, it’s time to join it up with the clear vinyl “window” piece. You can freehand it here or use wonder clips to hold the pieces together as you sew.
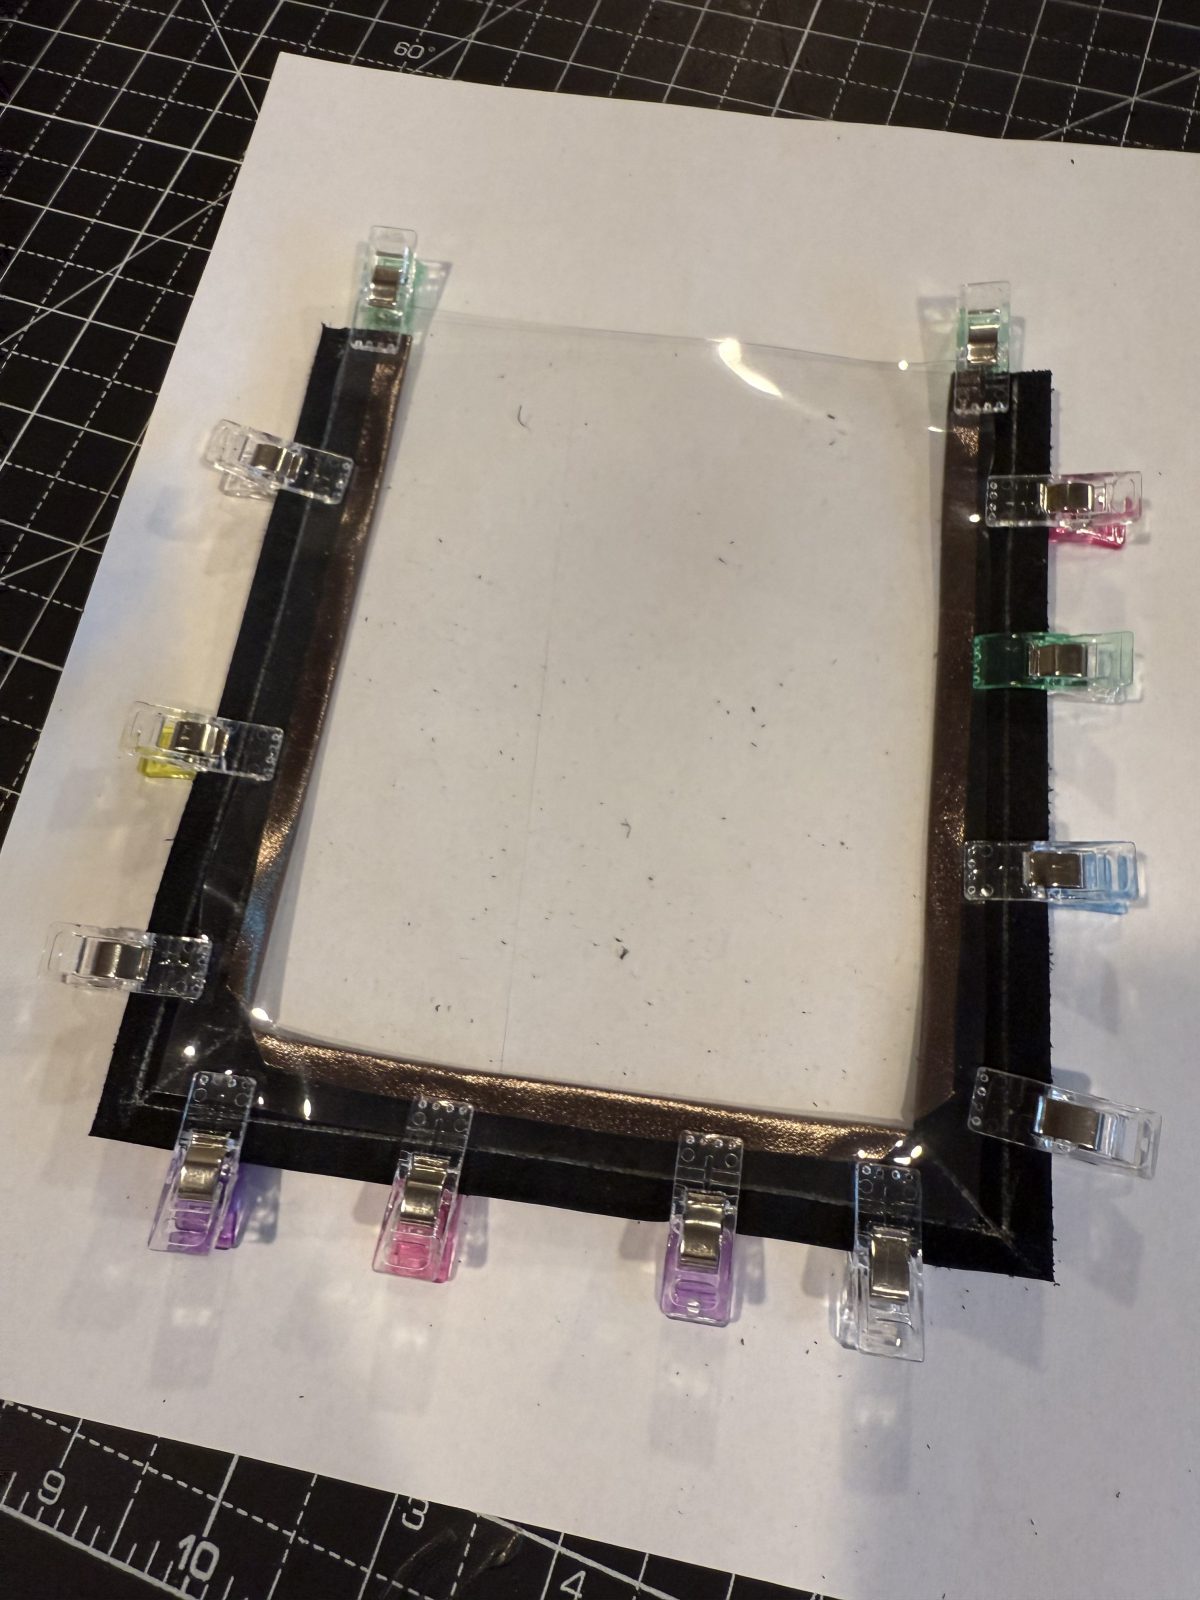
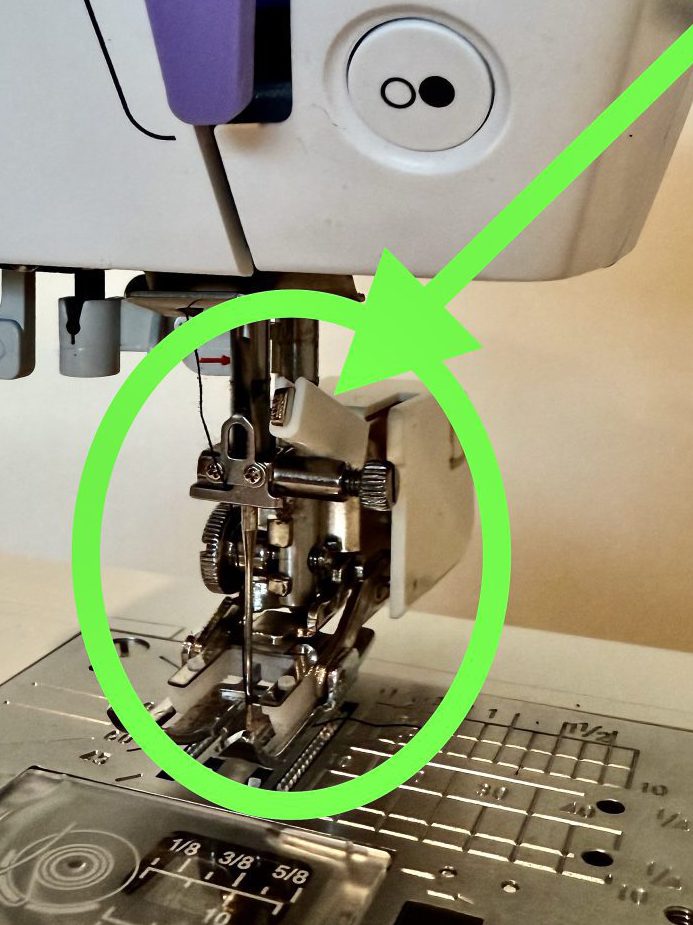
- Before turning your machine on, install the Walking Foot. If you are not accustomed to using a walking foot, make sure that the right-hand lever of the walking foot is above the needle clamp screw. If it is not, you won’t be able to sew. Click here for installation instructions.
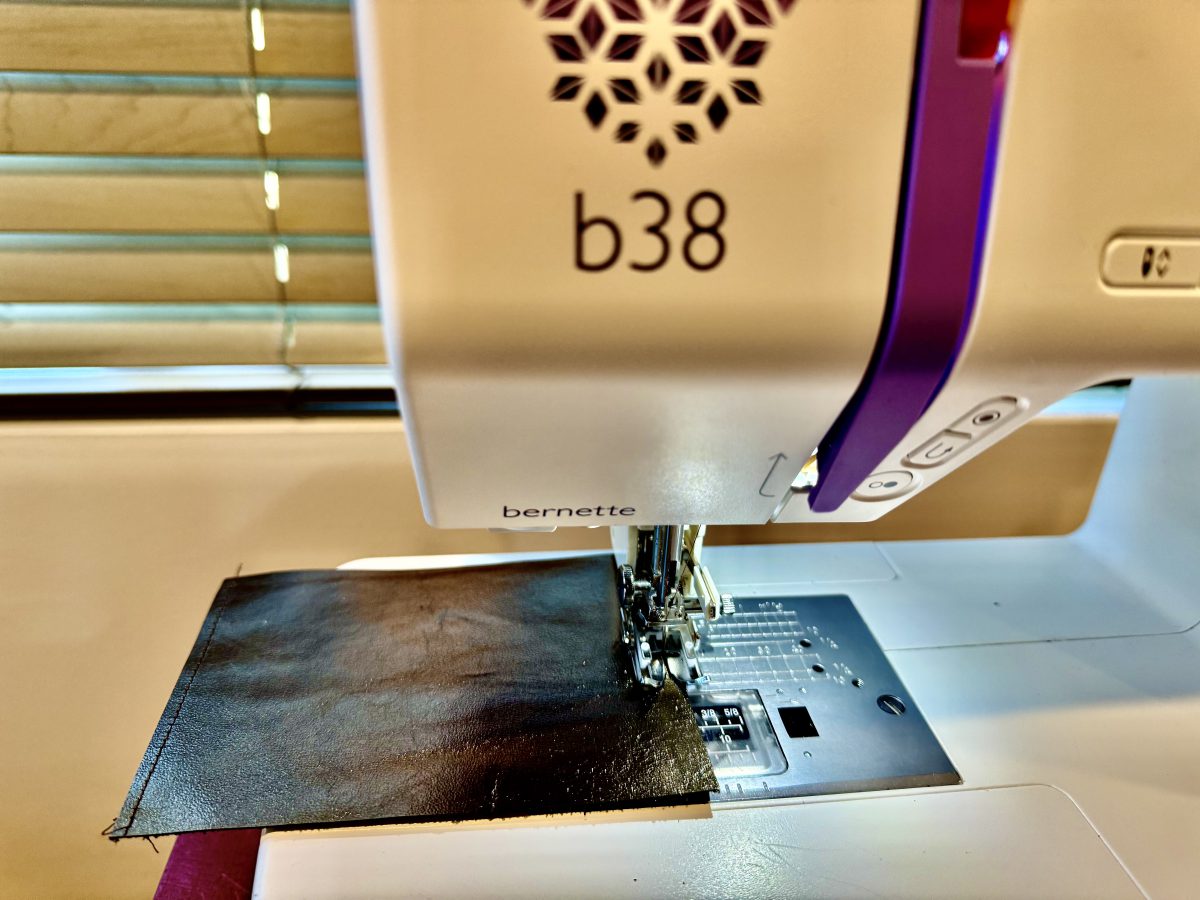
- Turn the machine on, and set the needle to the middle position (3.0) and the stitch length to 2.4. Start sewing. You’ll be amazed at how easily the machine topstitches the leather to the vinyl. It gives such a nice, clean edge.

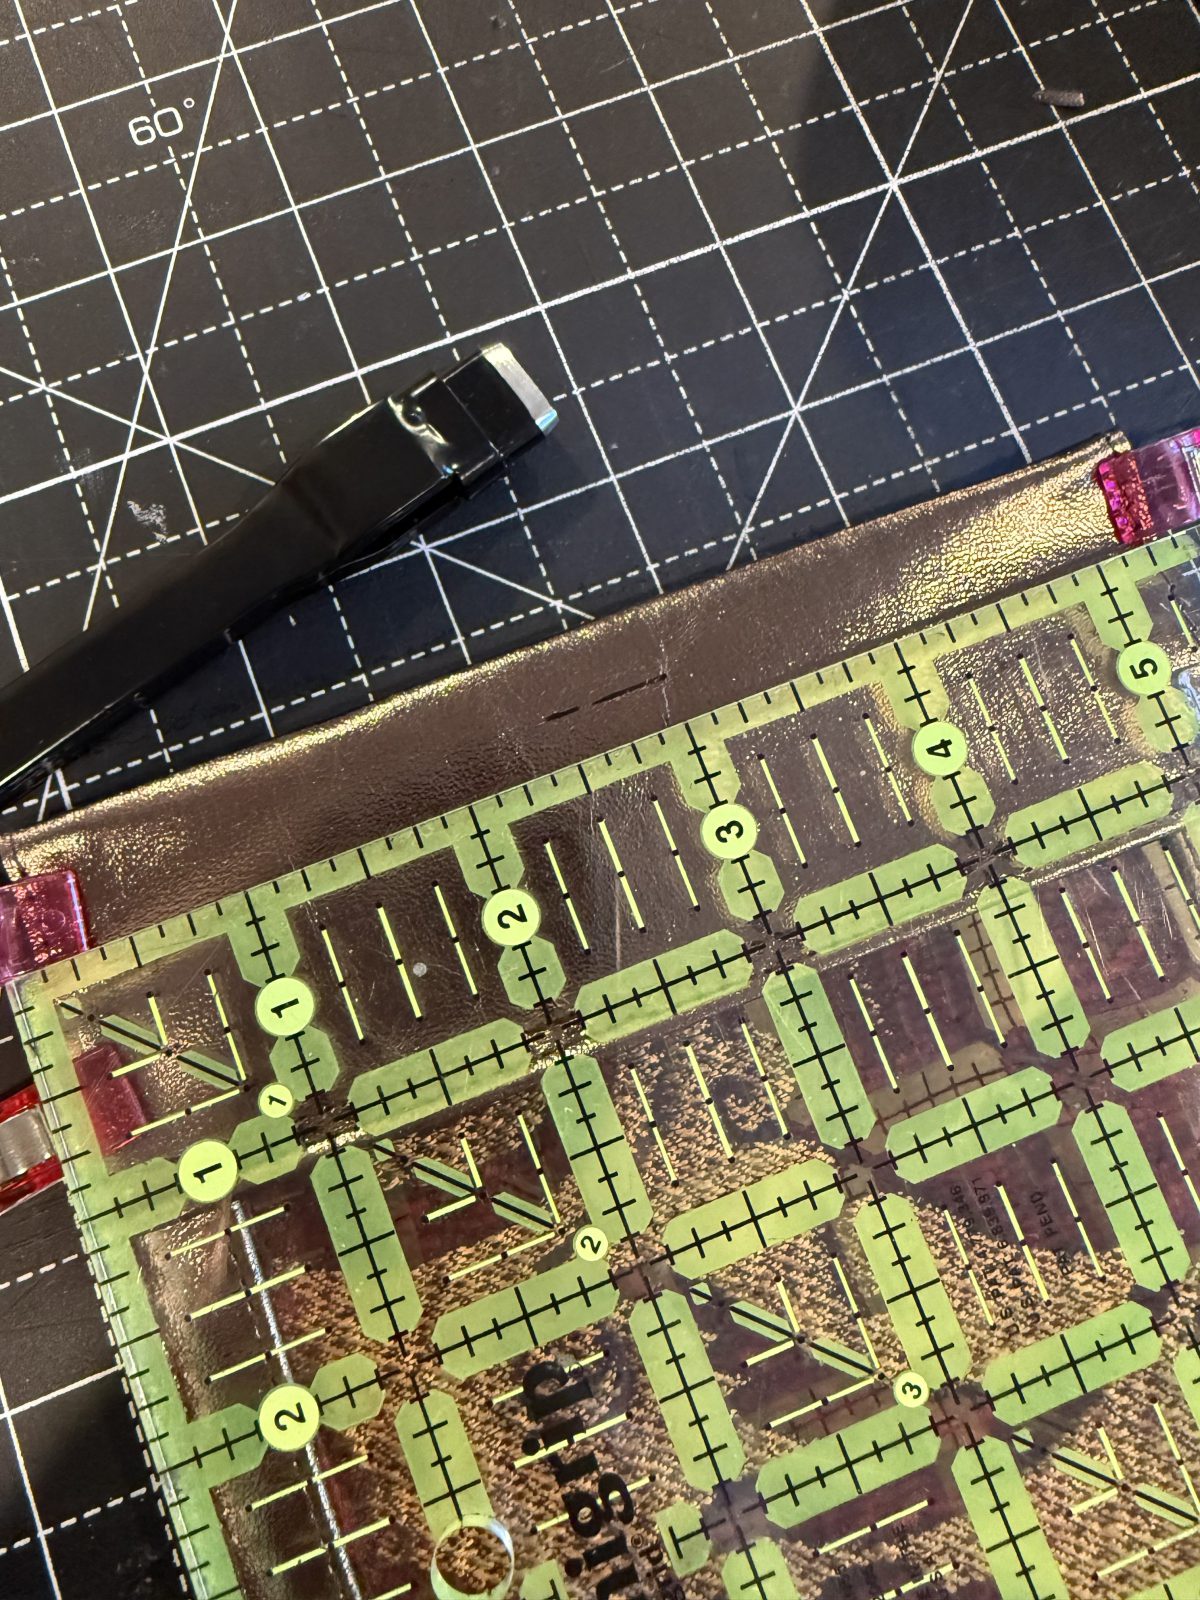
- Now onto the base piece and the flap. For the flap, if you’re using a lightweight leather, first attach the two pieces of leather together and sew the raw edge side seams together. Next, fold under the front edge seam allowance and topstitch the seam. Use double-sided tape or glue for extra stability if needed. To give it a nice finished look, I sewed two lines. The first at 1/8” and the second at 1/4”. One of the features of the b38 I love is all of the seam guide lines, which makes it so easy to know you’re at the correct width.
- Once you’ve finished the front, fold under the back seam allowance. If you have tape or glue, use it here, then set aside this piece.
- For the base, if you’re working with a fabric that frays, you’ll want to finish off the top edge. Fold the top edge 1/4” down, and then another 1/4” down to conceal the edge. Pin the seam, and sew. Now it’s time to attach the Back of the flap to the back of the base. Topstitch the leather flap to the base 1/2” down from the base’s top edge. Then sew an addition line 1/2” on the leather at the base’s top edge.

- It is time to piece the base and leather together. I love this walking foot so much that I just folded the seam allowance on the base and leather. Then I clipped them together and top stitched away. Again, I stitched it at 1/8” from the edge. It made for a quick, clean edge. And now your badge is fully assembled!
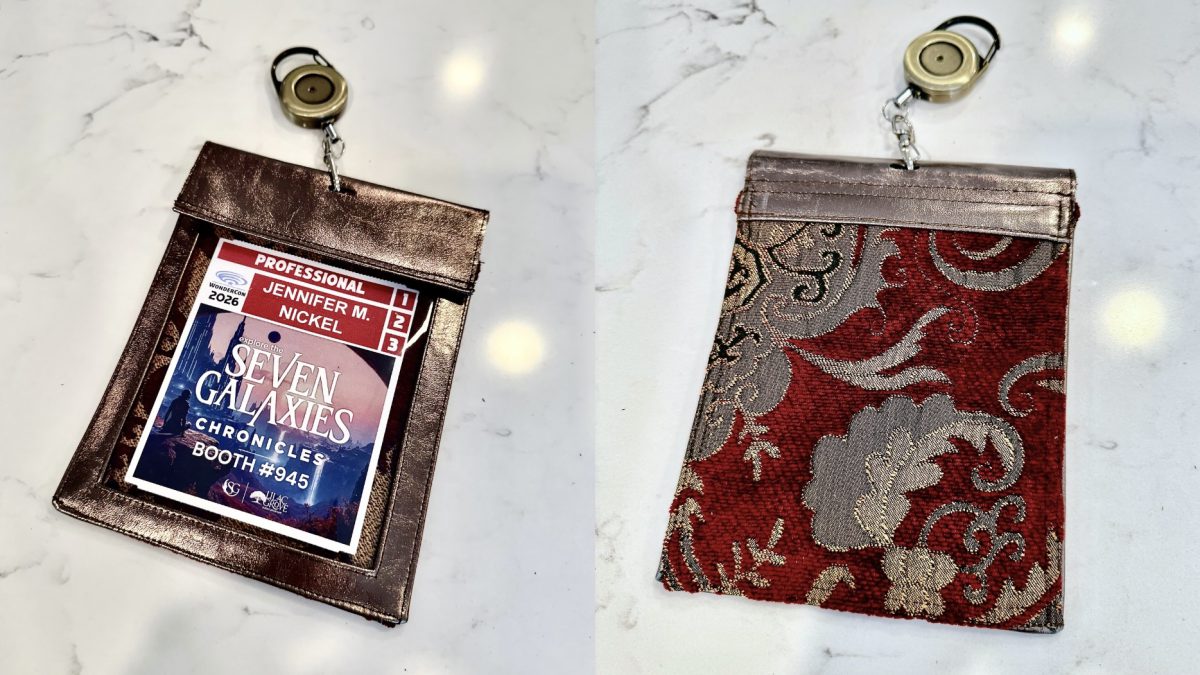
- The last step is to punch your hole in it for the lanyard clasp. For my hole, I used a 1/2” oblong punch, but a regular circle punch works just as well. If you made the badge holder without a flap, have your hole punch centered 2.75” from the side endge and 3/8” down from the top edge. If you made it with the flap, make the punch 2.75” from the side edge and 2” up from the front flap edge. Again, make sure you when punch this hole, that you go through both the front and back of the flap. Attach your lanyard, slip your badge in the holder, and you’re ready to go!
Bonus Bluetooth Tracker Charm
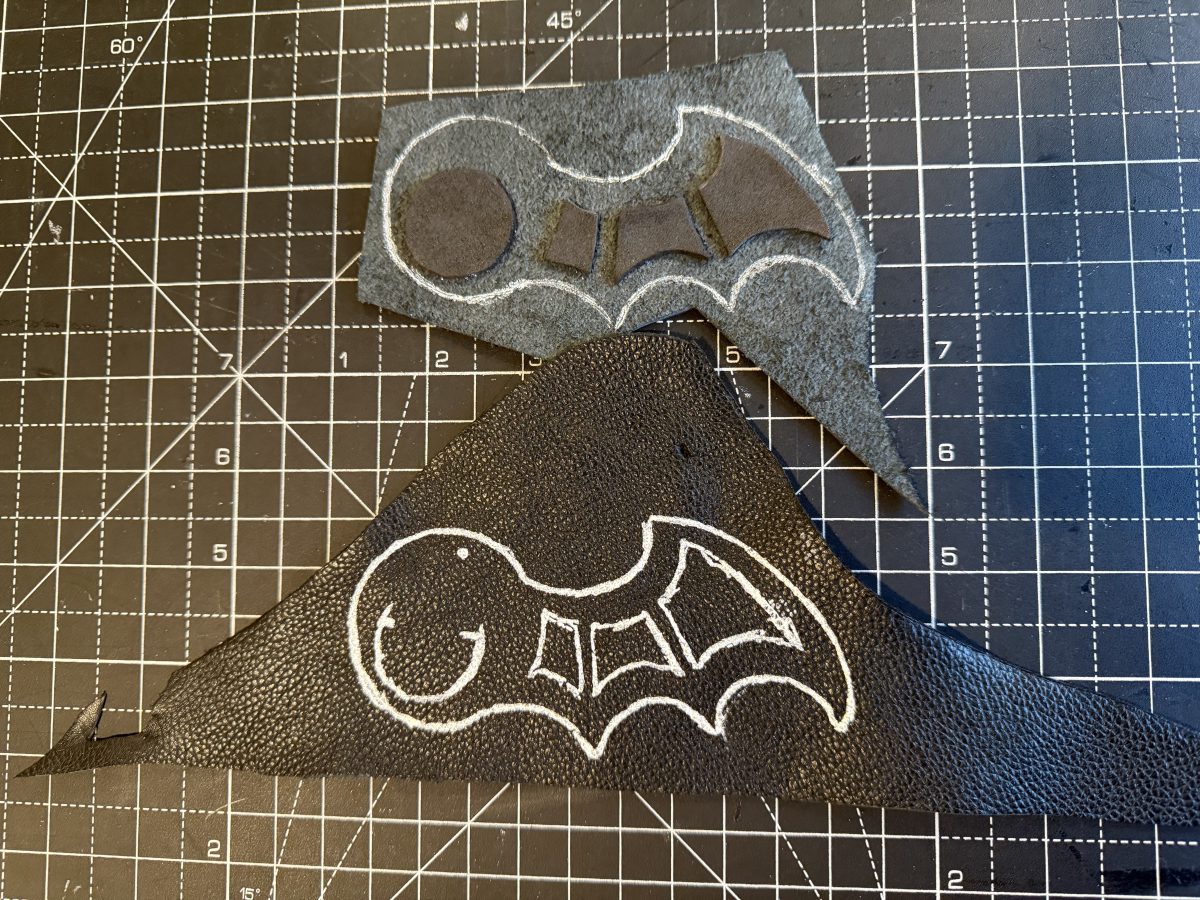
- Print out 3 copies of the pattern on 8.5 x 11 paper. For 2 of the copies, cut out just the full outline. For 1 copy cut the circle and 3 small shapes on the bat/dragon wing. *Double-check the circle pattern against the tracker that you have to make sure it will fit. Mine is from a company that’s name is also a type of fruit, but sizes can vary with other manufacturers.*
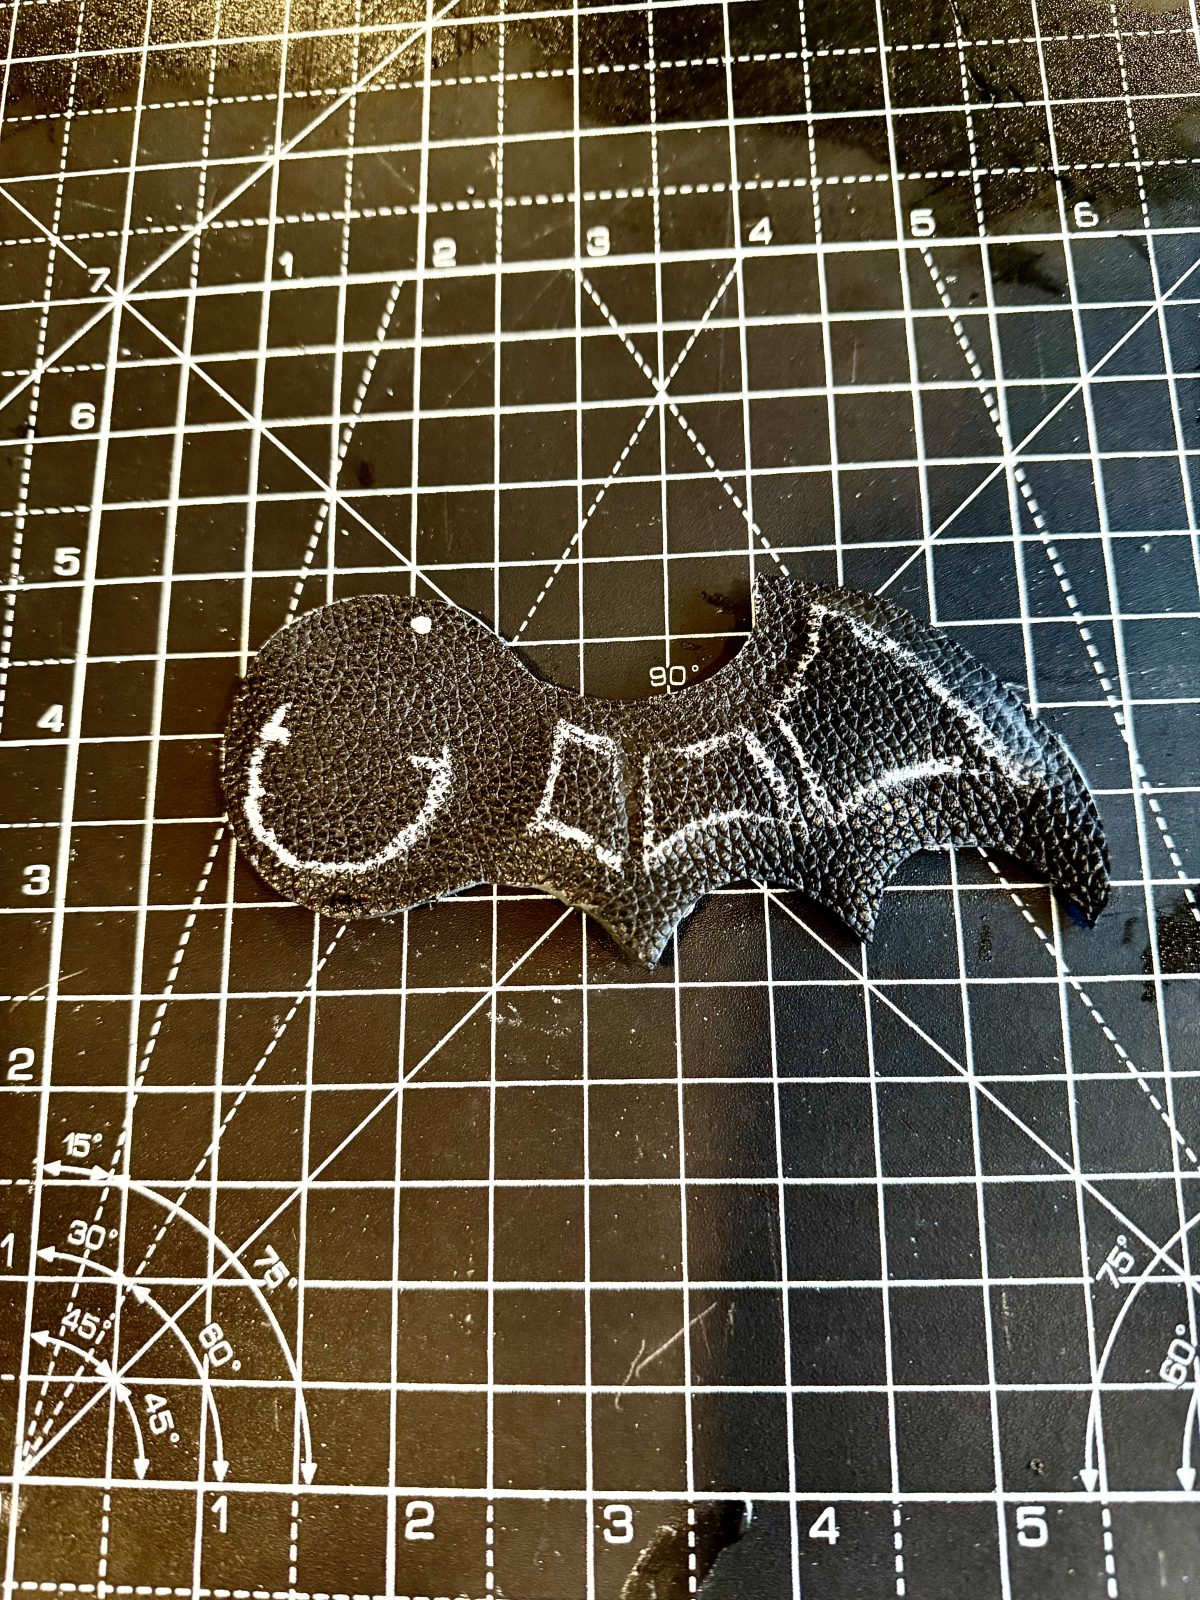
- Place each outline on each of your leathers and trace around the edge with chalk or a patterning pen. For the heavyweight leather, trace on the wrong side of the leather. For the pliable leather, trace the larger outline on the right side of the leather. Then, take the smaller circle & 3 wing pieces and trace them onto the right side of the same leather. Make sure to mark an opening on the circle to be able to slip the tracker in and out of the charm. *Please test the chalk or pen on the leather first to make sure they don’t leave a permanent mark*

- For the pliable leather, you will cut along the outline edge. For the bottom, heavyweight leather leaves at least a 1/2” seam allowance around the edge of the leather. Having this extra seam allowance will help make sewing it easier with all of the tight curves. Also, the added seam allowance gives the extra leather needed to do the next optional step.
- Optional – if you want to give the charm a fun, plush tactile element, add foam here. Trace the circle and wing pieces onto a thin sheet of craft foam and cut them out. Once they are cut out, glue them into place on the wrong side of the heavyweight leather.
- Next, I suggest you glue the wrong side of each leather together, assuring that the pattern outlines match up. If you used the foam in between the two layers, now it’s time to crease! Use a tool to create a crease in the spaces where there’s only leather-on-leather. You can use a seam turner, the rounded end of a paint brush, a chopstick, etc. Doing this will compress the leathers together while keeping the foam raised and creates a 3-D element to the charm. You may need to retrace the pattern lines after creasing to help guide you as we move on to sewing.

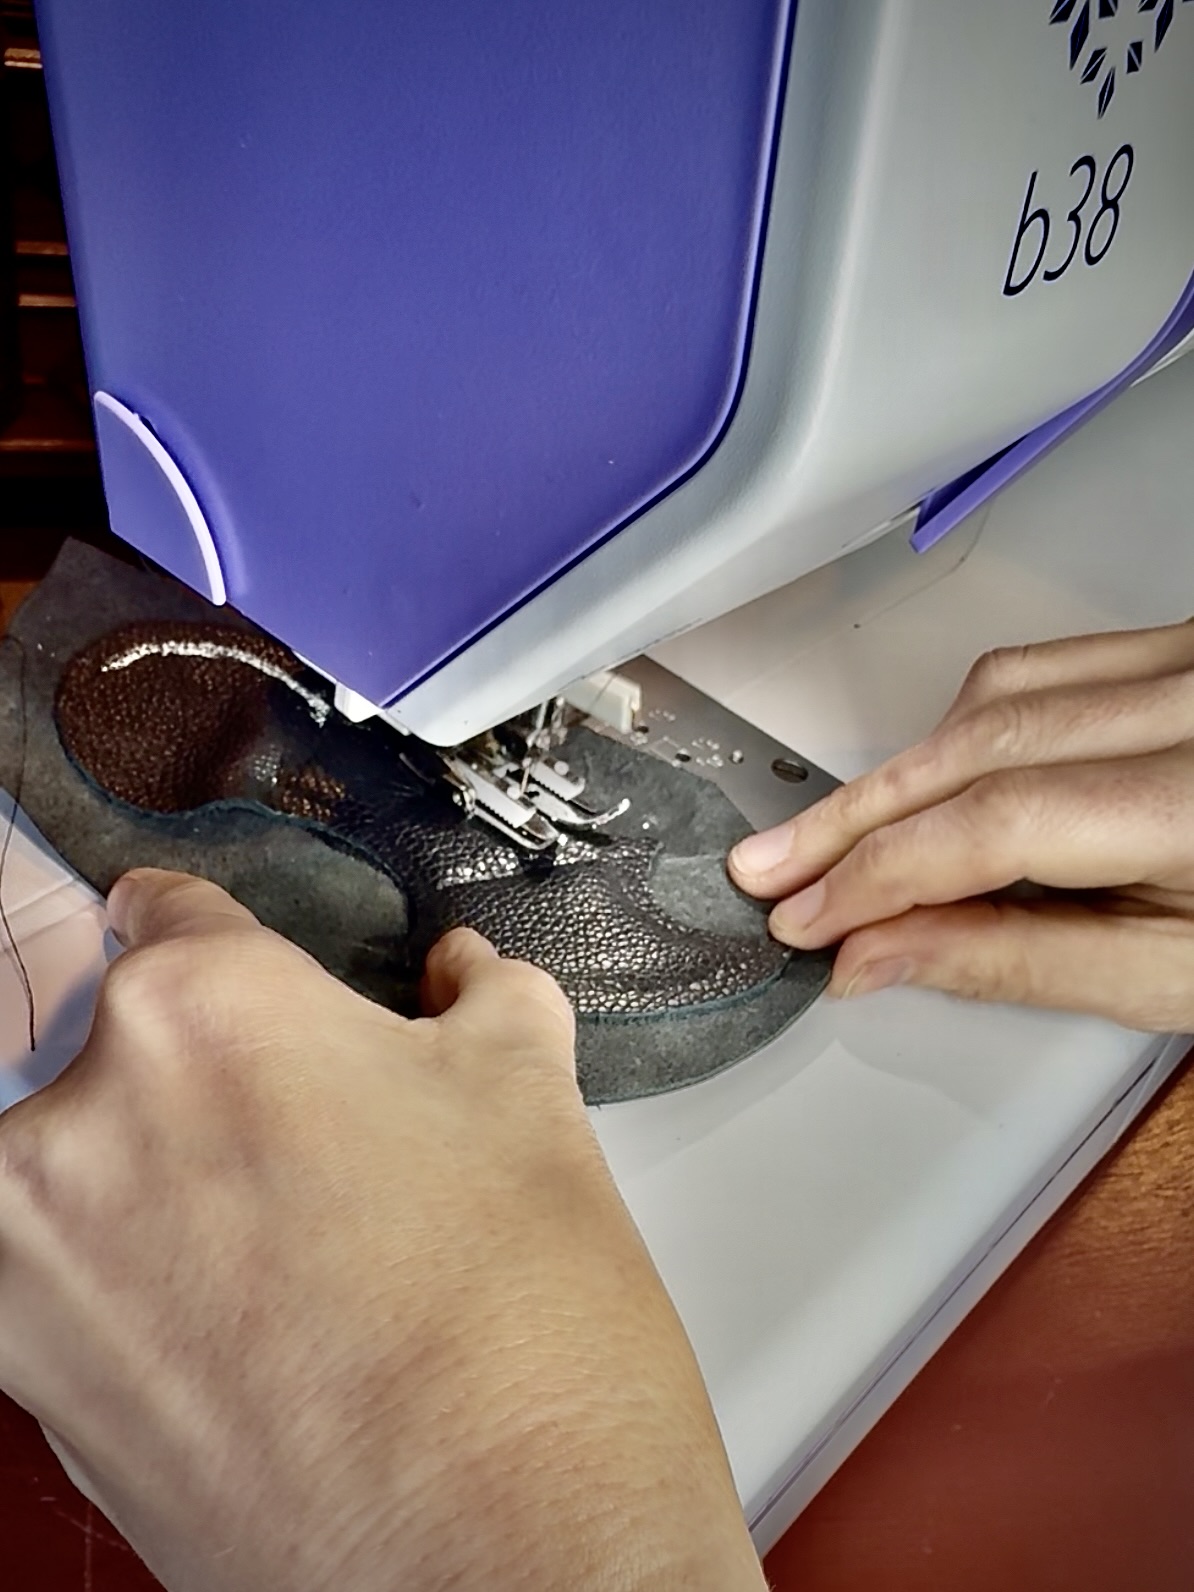
- Time to sew! Make sure your walking foot is still on the machine and in working order. The easiest way to start is to sew the outer edge first. Don’t forget to keep the top part of the circle open for slipping the tracker in and out. Once you’ve done the outer edge, then sew along the inner tracing lines of the wings.
- Once you have completed sewing, trim down the pliable top leather to match the bottom leather.
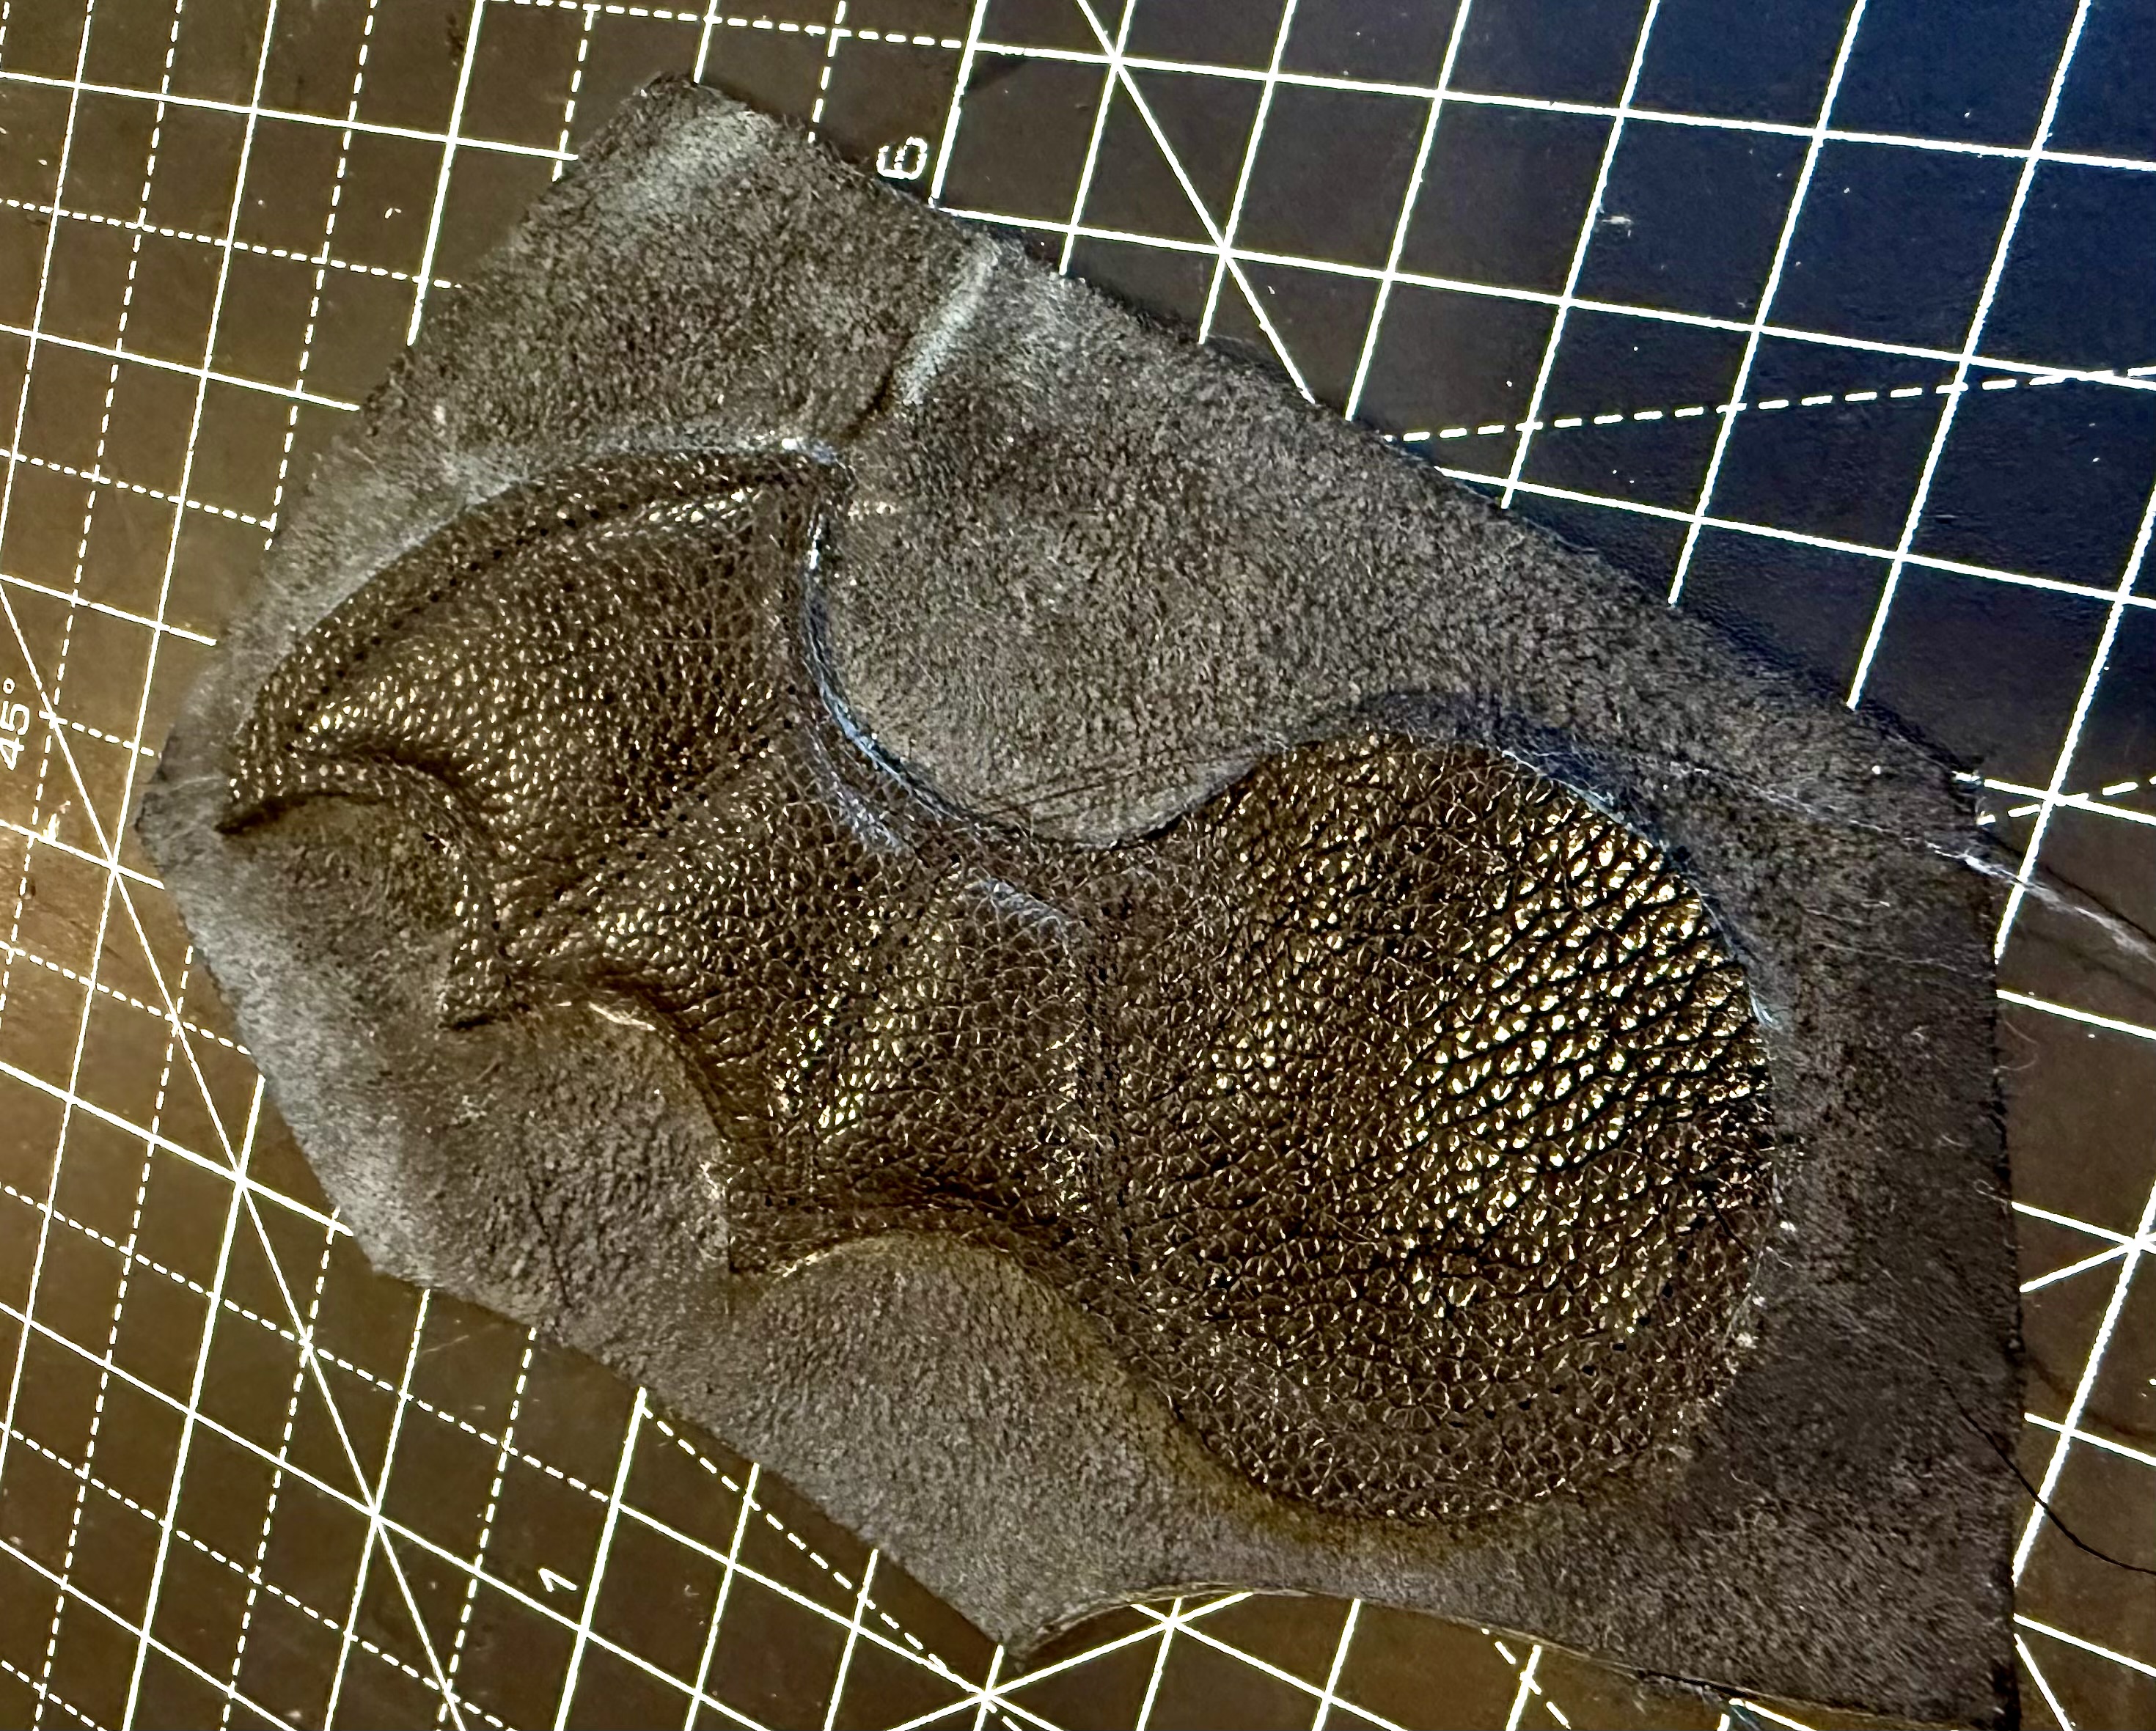
- Punch a hole through both layers of leather at the top of the circle (see pattern). Now your charm is complete! Put your tracker in and attach it to your badge holder, bag, keychain, whatever! If you want to go the extra mile here, use sandpaper to smooth the outer edges.
- Enjoy your adorable new charm!