Bunny Easter Egg Holders
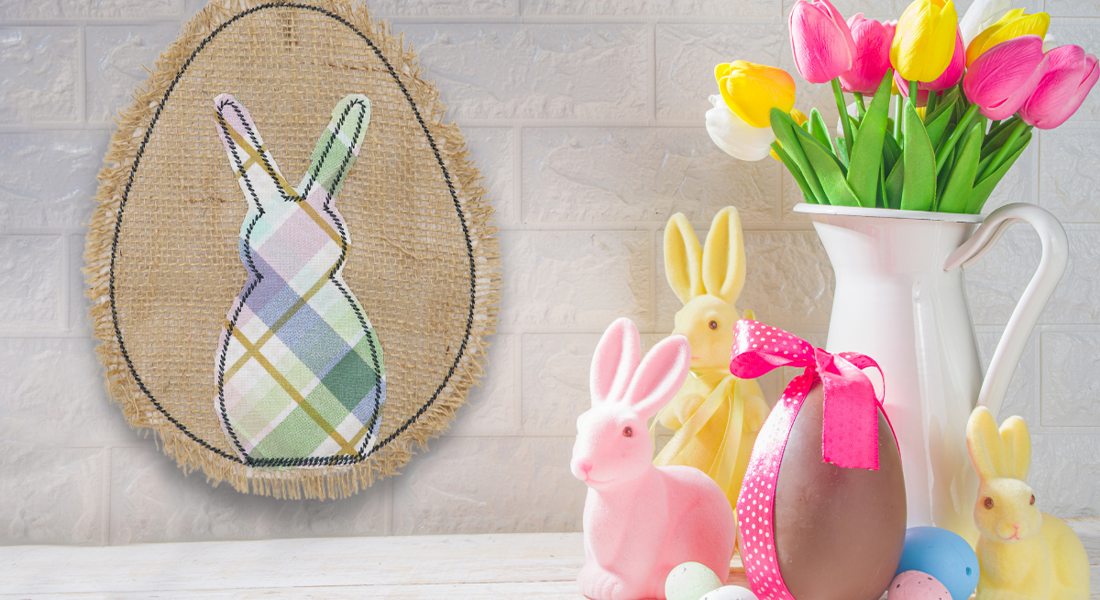
Spring is in the air and Easter is right around the corner. I love this time of year when the flowers start to bloom (at least in North Carolina, where I live) and the colors around us seem to shift from greys to pastels. One of my favorite spring traditions is dying Easter eggs with my children, then enjoying the lovely colors we created together. This year, my daughter and I are starting another Easter tradition—this time in my studio, when we spend some Mommy/Daughter time together stitching a sweet set of Bunny Easter Egg Holders to display on our Easter table. I hope you enjoy stitching your own set and start a new family tradition of your own!
Bunny Easter Egg Holders are made right in the hoop of your embroidery machine. I love using wool-blend felt with my ‘in the hoop’ projects since it cuts cleanly, embroiders beautifully, and keeps its shape, plus it will hold up for many more Easter Celebrations! Ask your local BERNINA store if they carry wool-blend felt so you can give it try and see for yourself.
For an extra-special touch, you can personalize your Bunny Easter Egg Holders using BERNINA Embroidery Software. You’ll want to add the name or monogram after Stitch Sequence 2.
Let’s get started!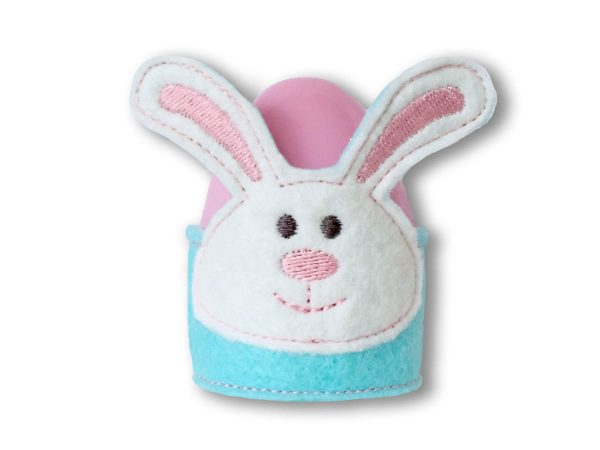
Materials to sew an Easter Egg Holder
- Large Oval Hoop
- 2 pieces of felt for the base of the egg holder, cut to 7” x 4”
- 1 piece of felt for the bunny, cut to 4” x 3”
- Thread to coordinate with each color of felt, plus grey and pink
- Tearaway Stabilizer
- Bunny Easter Egg Holder Embroidery Design
Note: All measurements are listed width x length
Instructions how to create a Easter egg holder
Step 1
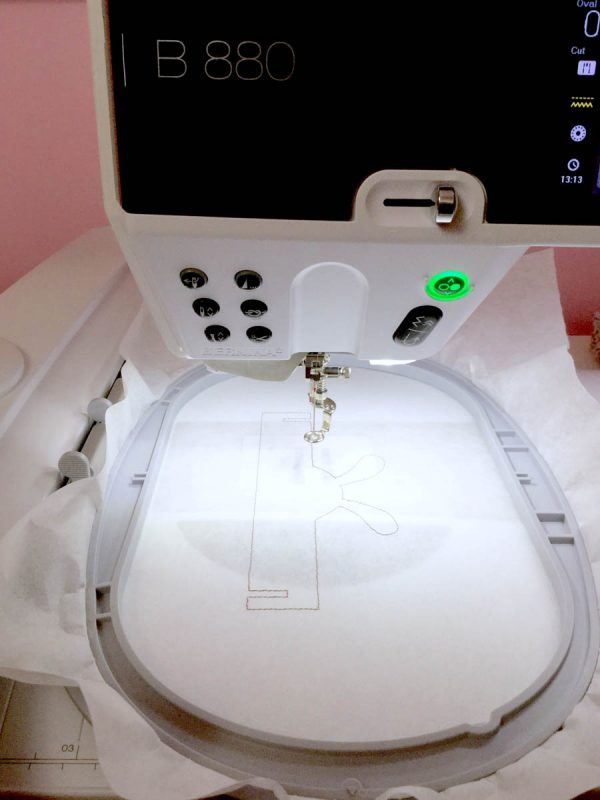
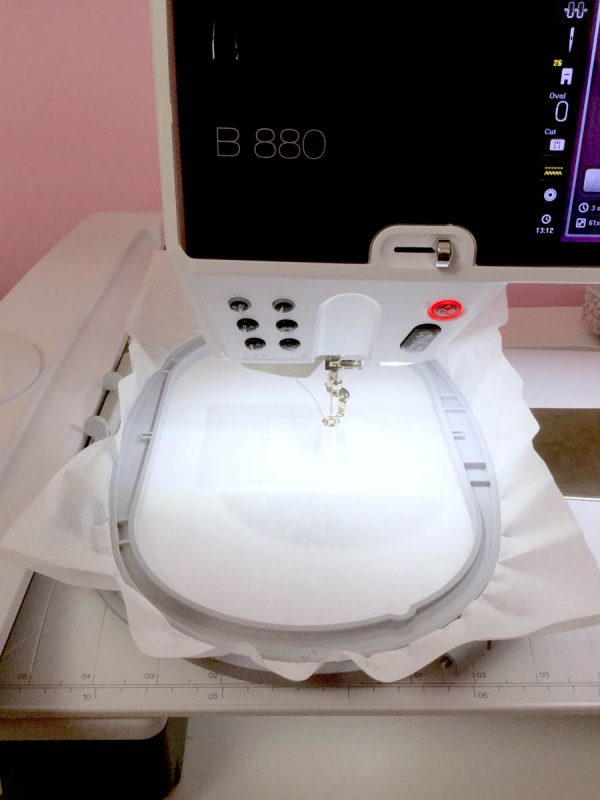
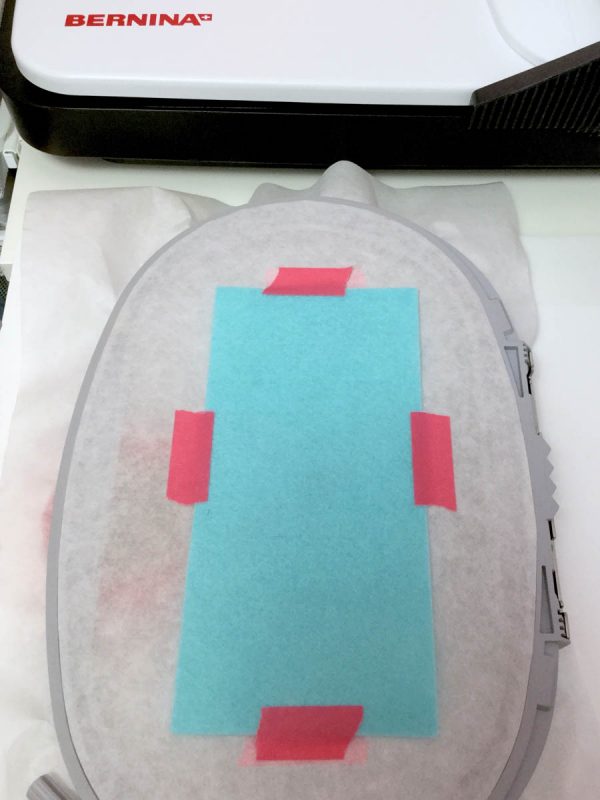
Hoop a piece of tearaway stabilizer in your Large Oval Hoop.
Step 2
Using thread to match your base felt color, sew Stitch Sequence 1 to create a placement line
directly on the stabilizer.
 Step 3
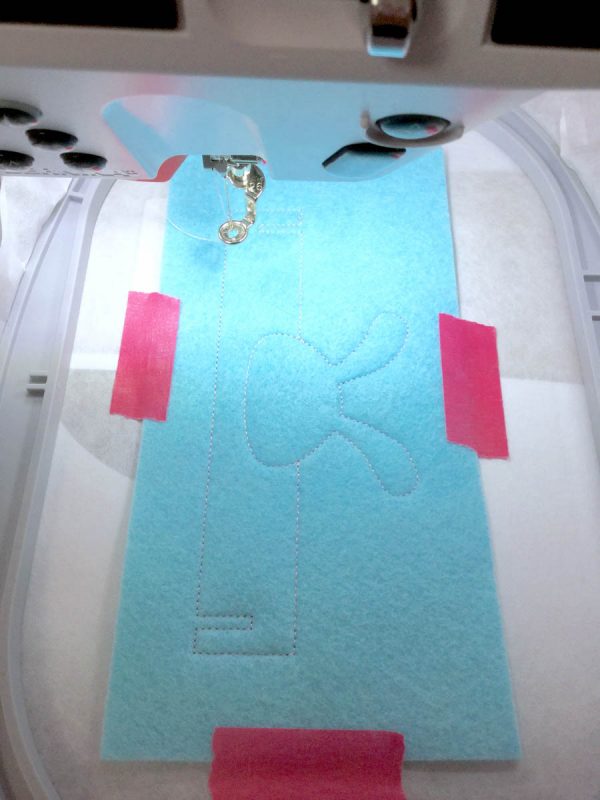
Center one 7” x 4” piece of felt over the placement line, making sure the felt is covering all of
the stitches. Tape in place. Sew Stitch Sequence 2 to tack down the felt and create a bunnyshaped
placement line.
Step 4
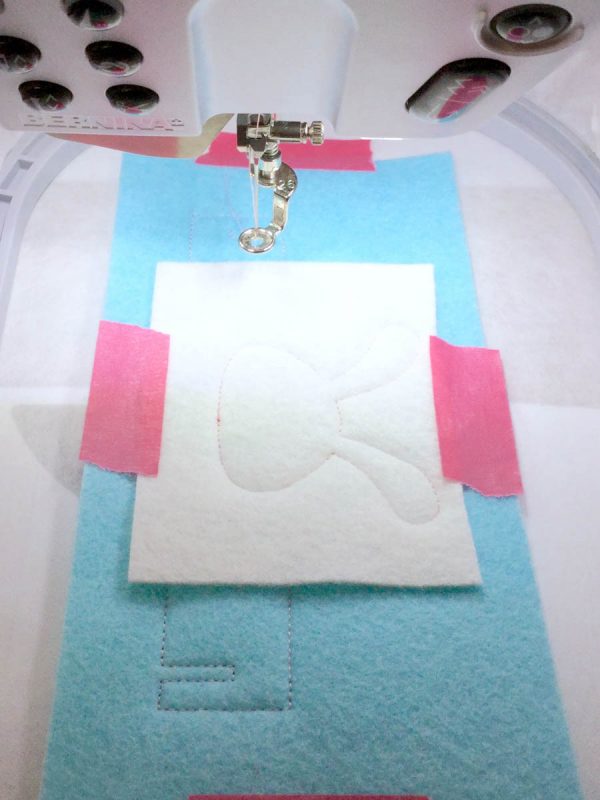
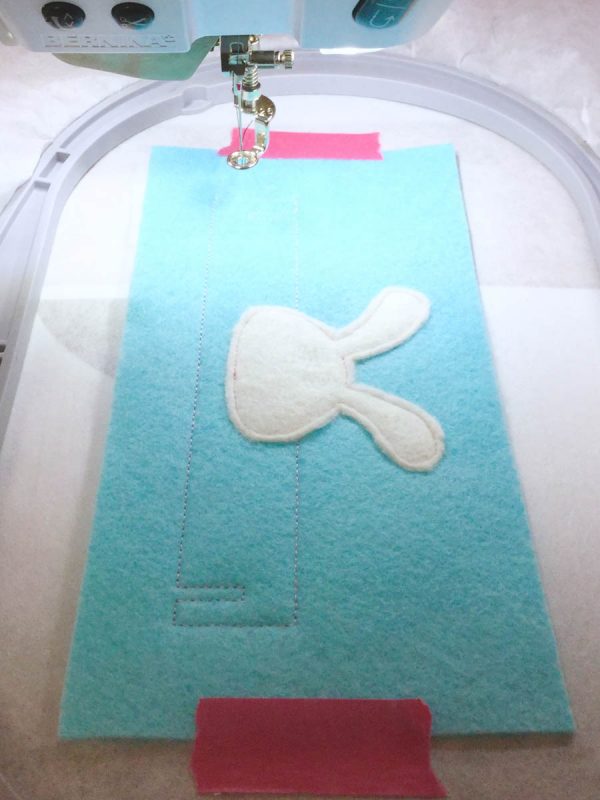
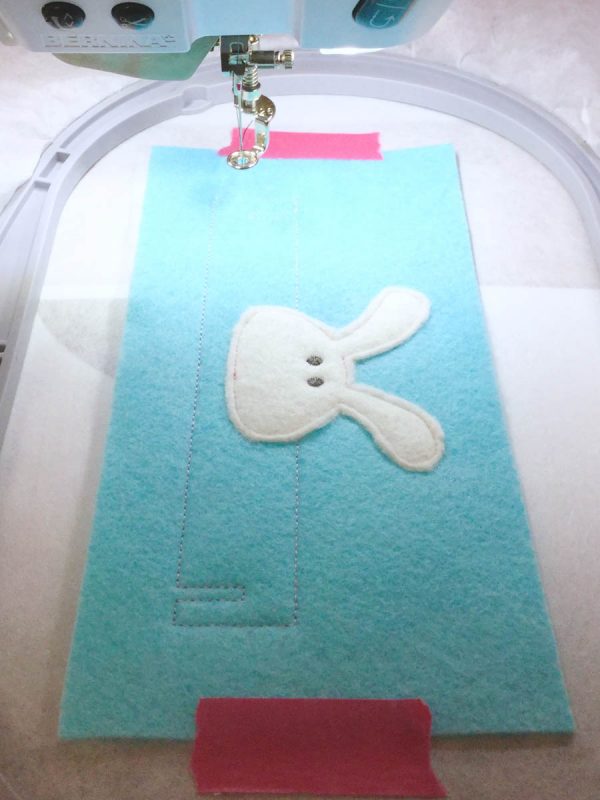
Place the small piece of felt over the center of the project, covering the bunny-shaped
placement line. Tape in place. Sew Stitch Sequence 3 to create a cutting line.
Step 5
Remove the hoop from your machine, leaving the project hooped. Trim around the bunny
cutting line, being careful not to snip the stitches.
Step 6
Replace the hoop on your machine. Using grey thread, sew Sew Stitch Sequence 4 to create
the bunny’s eyes.
Step 7
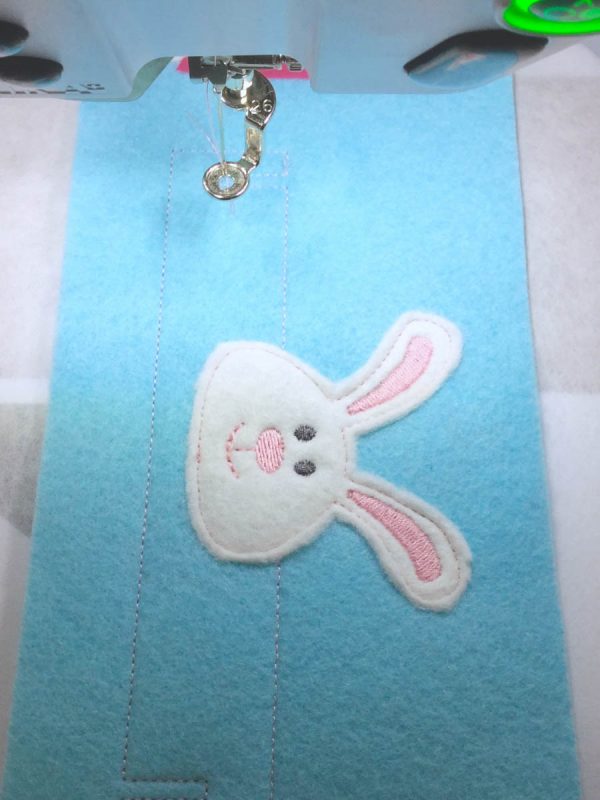
Using pink thread, sew Stitch Sequence 5 to create the bunny’s mouth, nose, and ears.
Step 8
Remove the hoop from your machine, leaving the project hooped. Turn the hoop over to the
back. Place the final piece of felt over the placement lines and tape in place.
Step 9
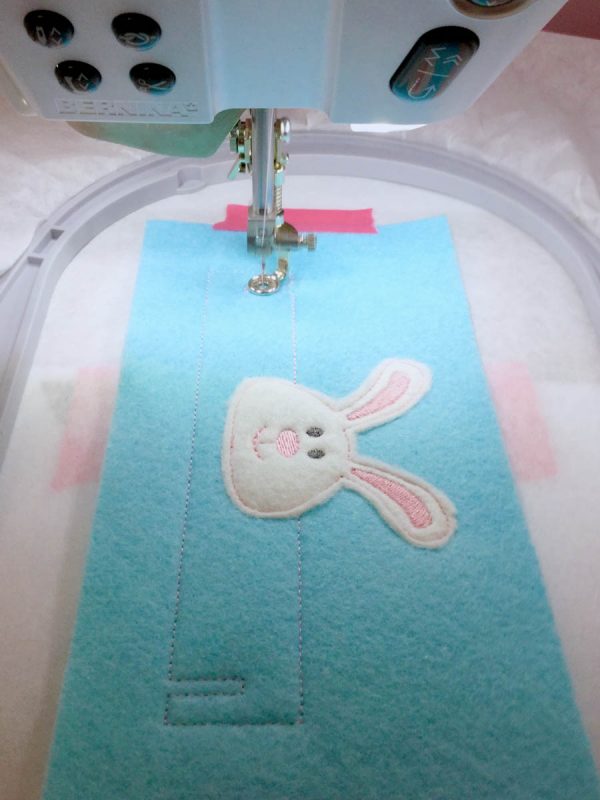
Replace the hoop on the machine. Sew Stitch Sequence 6 to complete.
Step 10
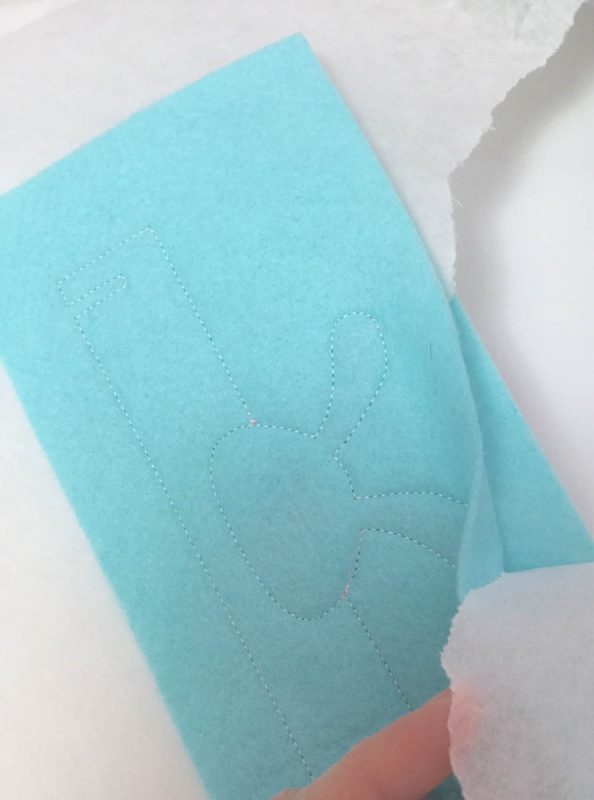
Remove the project from the hoop and tearaway the excess stabilizer.
Step 11
Trim around the project leaving a small border.
Step 12
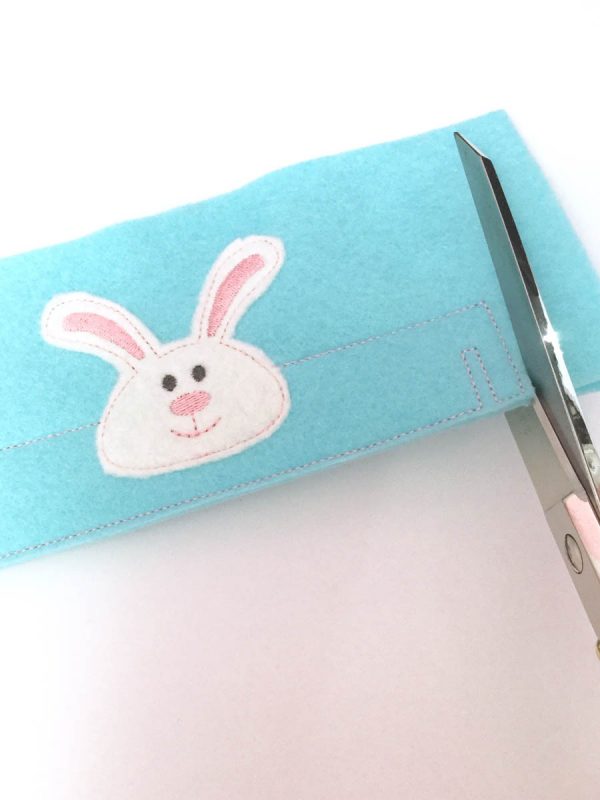
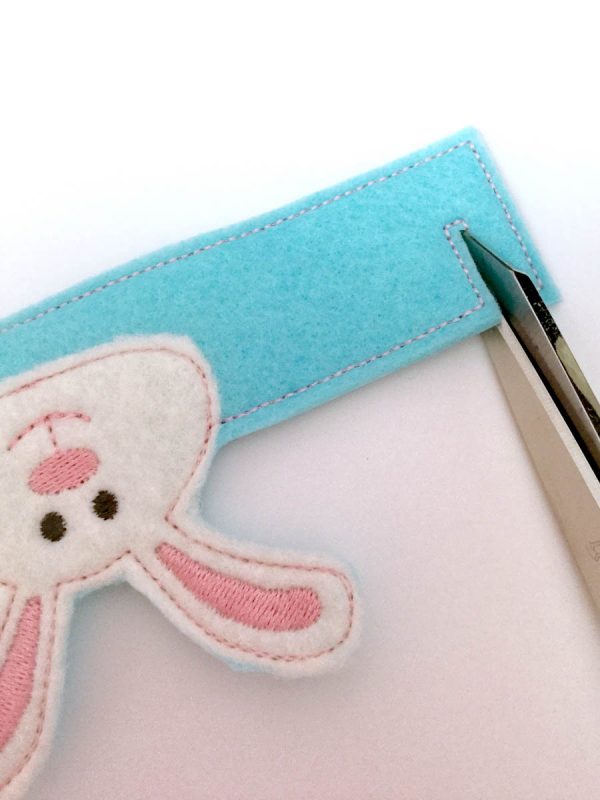
Clip a line into the stitched notches on each side of the base, as shown, being careful not to
cut through the stitches.
Step 12
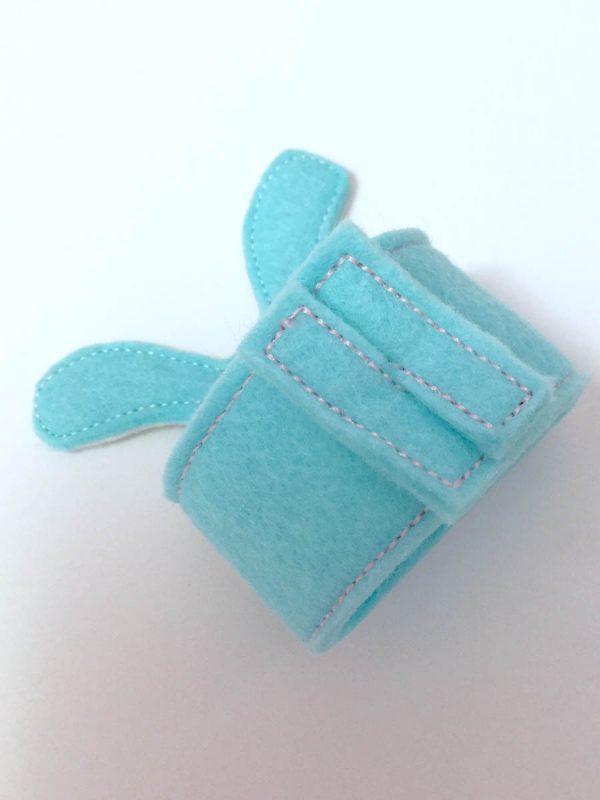
To finish, pull the ends of the base toward the back and slide one notch into the other to
create a stand.
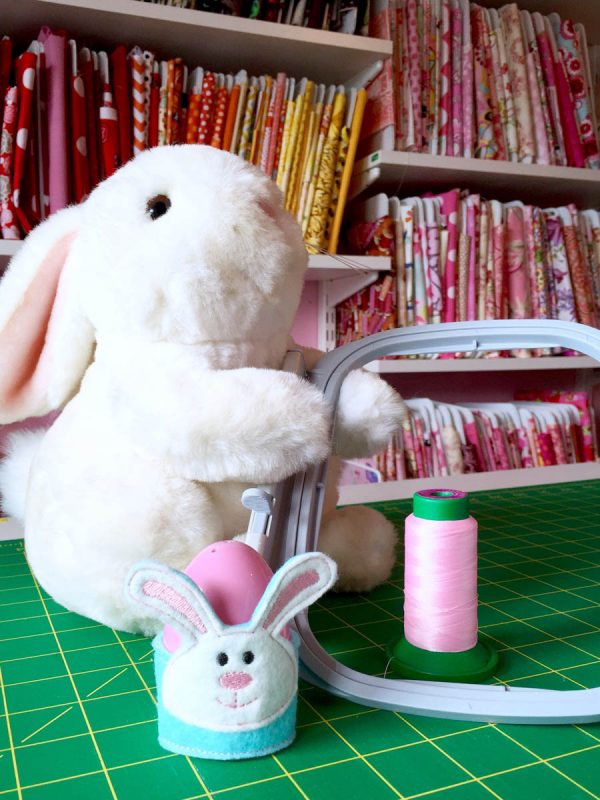
Pop a pretty Easter Egg inside your adorable Bunny Easter Egg Holder!
Easter Egg Holder by Lisa Archer, BERNINA Ambassador, Home Embroidery Spokesperson, and owner of Pickle Pie Designs.
What you might also like
5 comments on “Bunny Easter Egg Holders”
-
-
In this case, it’s length x width.
-
-
This was my very first “In the Hoop” project. I had so much fun! sewweall – I am not sure how to respond to your question. Wish I could help. It doesn’t seem to matter which is width and which is length. I did use pink thread for everything except the eyes – made it easier!
-
I cannot get it to download to my USB stick.
How do I unzip it. I can see it on my downloads but it in a zip file-
Hello Bonnie, you must unzip the folder and save the designs to a regular folder before transferring the desings to your BERNINA for embroidery. You might find a few tips to transferring designs in our free, downloadable eBook here: https://www.bernina.com/en-US/Learn-Create-US/Projects/Embroidery-Projects/Embroidery-ebooks/Just-EMBROIDER-It-Sending-Designs You can also connect directly with your BERNINA store for questions about transferring embroidery designs to your BERNINA embroidery machine. Happy embroidering!
-
Leave a Reply
You must be logged in to post a comment.







In your instructions it states “Note: All measurements are listed width x length” I’m confused because it looks like the base is 7″ length and 4″ width. Please advise. Thanks