The Farm Fresh Apron {for kids}
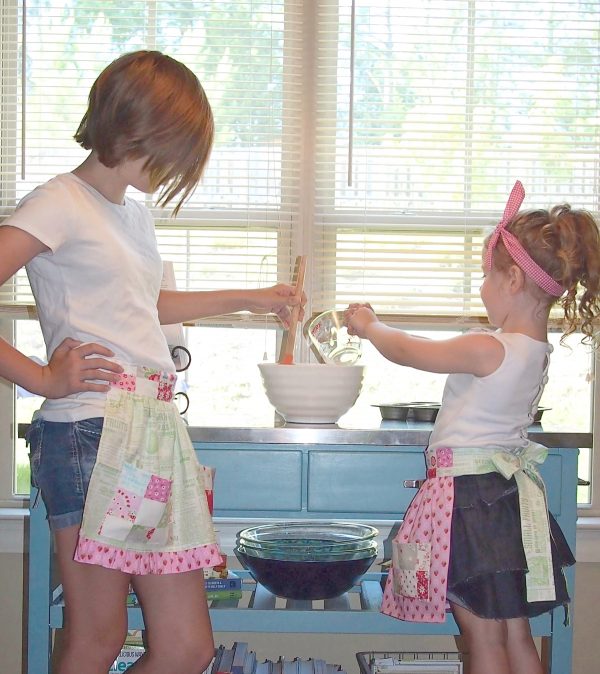
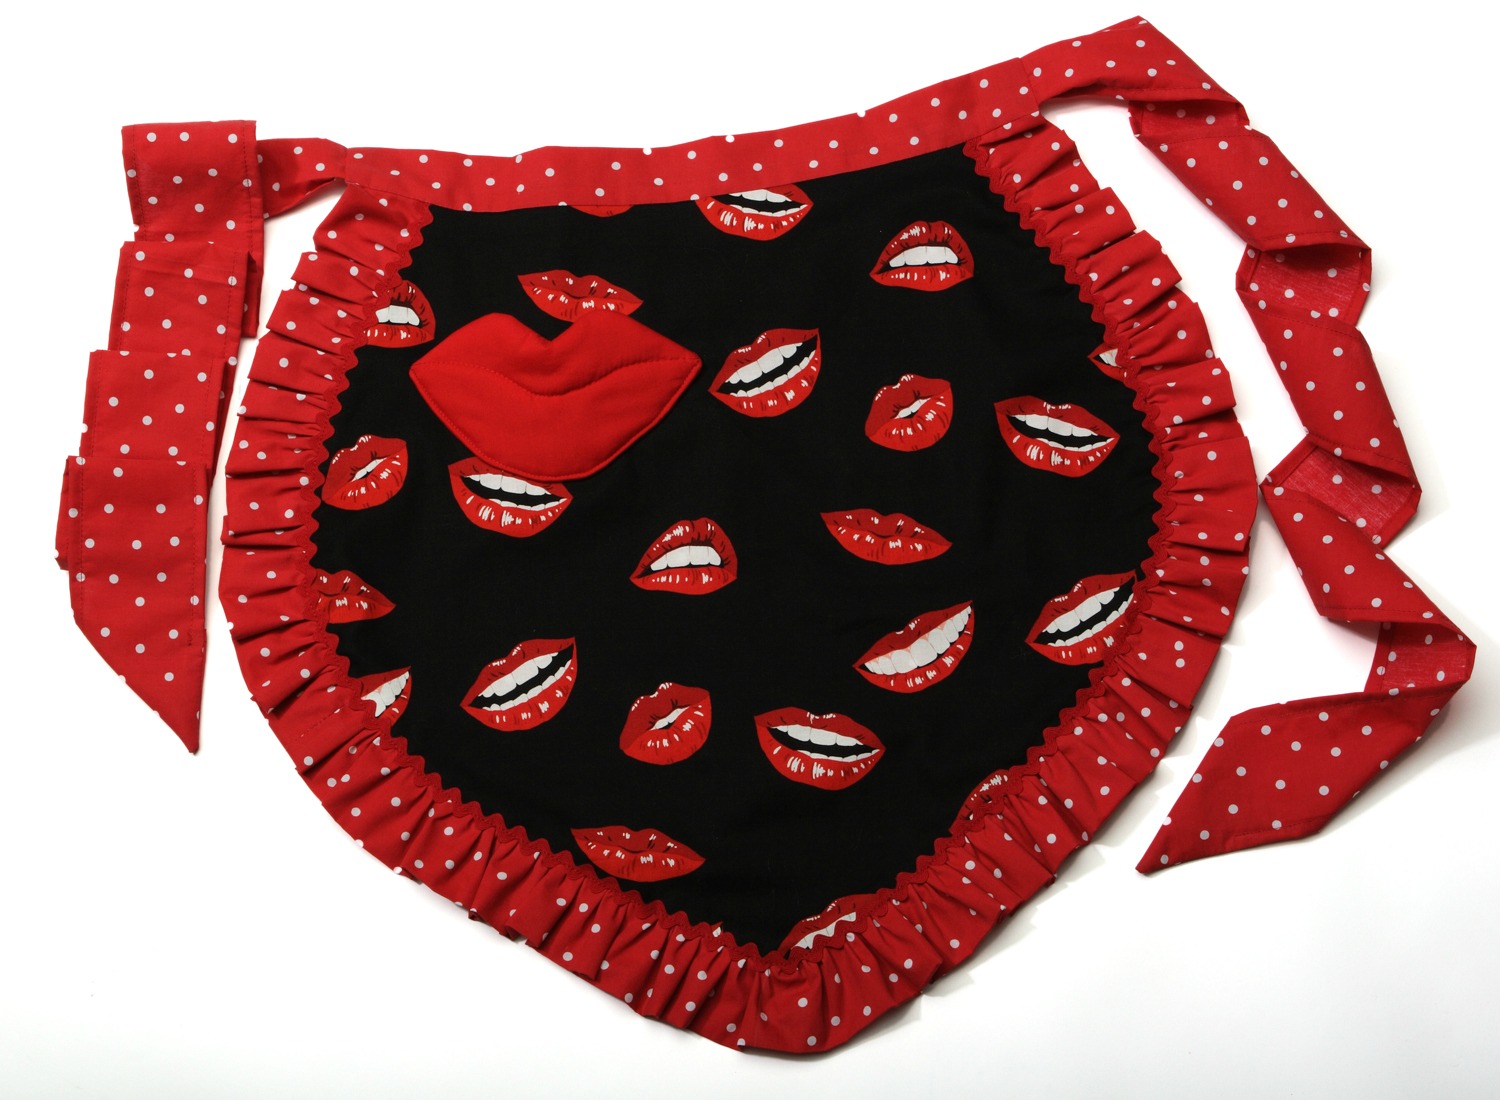
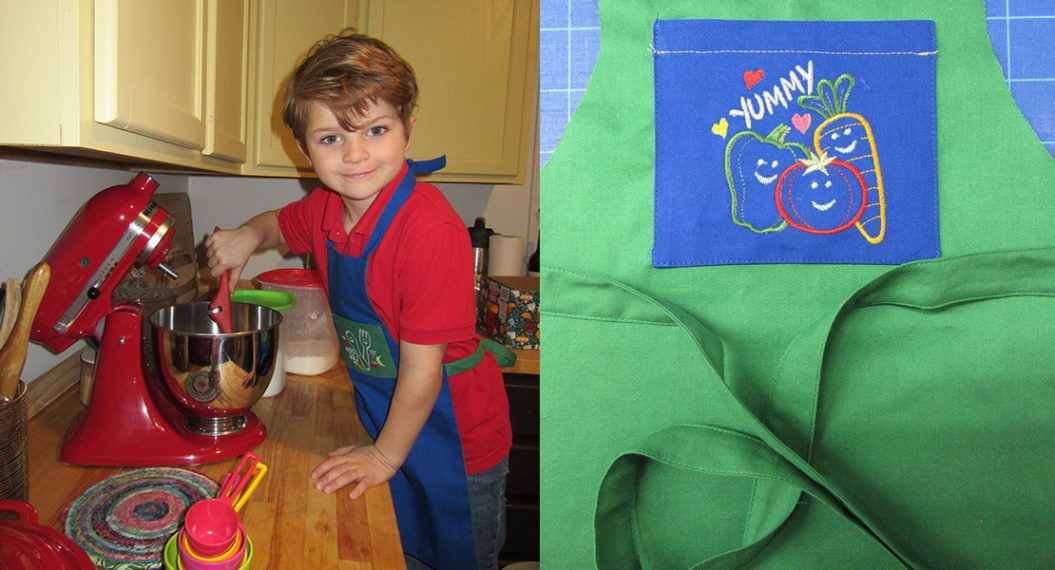
When school lets out for the summertime we typically find ourselves spending a lot more time in the kitchen. We take advantage of the extra time we have in the mornings, so we make muffins, pancakes, or smoothies for breakfast. For desserts we make fruit pies and occasionally try our hand at some homemade ice cream. Our kitchen creativity necessitates some cute aprons (we have to protect our handmade wardrobe!) and we decided to share this tutorial so everyone can make one!
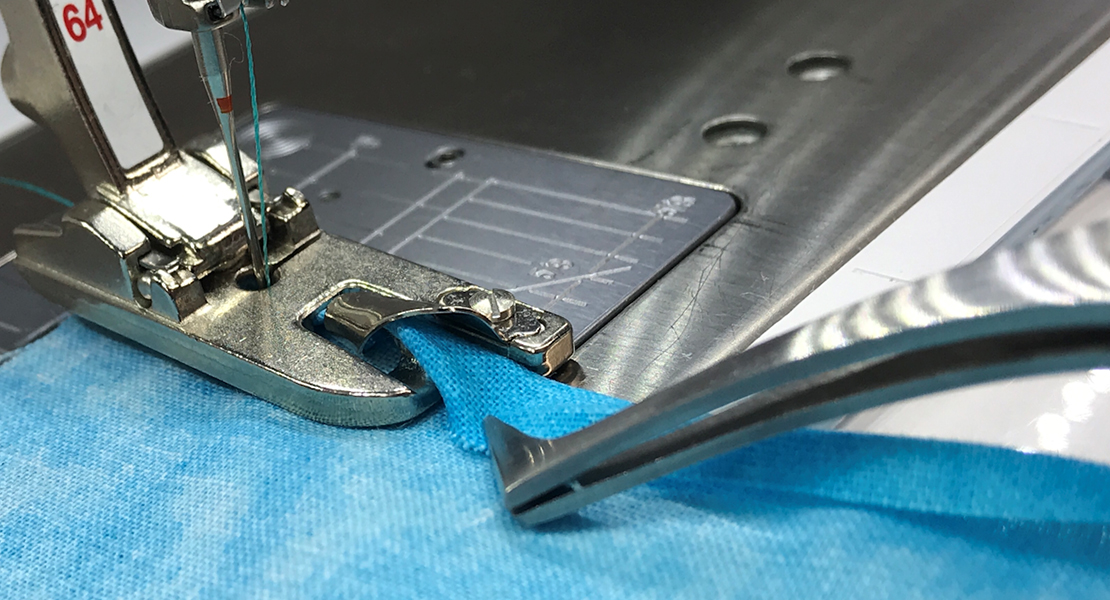
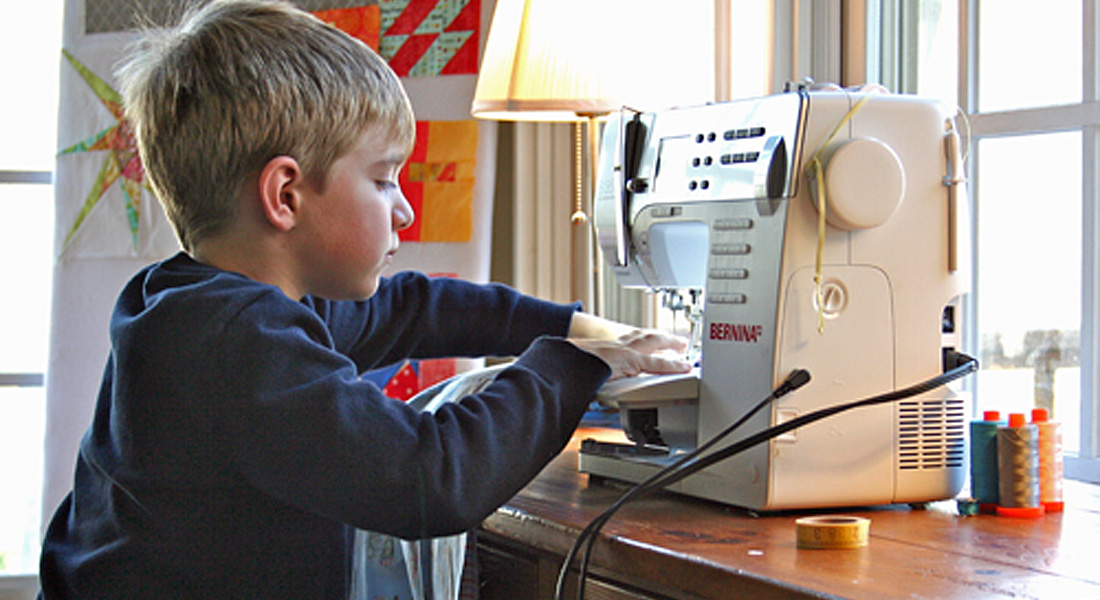
To create the Apron we used our BERNINA 560. We used the Reverse Pattern foot #1/#1C/#1D, the Edgestitch foot #10/#10C/#10D, and the Narrow straight stitch hemmer foot #64. These three presser feet are our “go to” feet for almost every sewing project. The Edgestitch foot makes topstitching look neat and even every time. The Straight Stitch Hemmer foot is a time saver. You can use it for hems, finishing the edges of ruffles and flounces, and with practice it can even be used to hem a circle skirt. It’s nice to spend more time sewing and less time ironing.
Materials to make a Farm Fresh Apron:
- Sewing Thread—We continue to recommend Aurifil Thread for its beauty and durability.
- Sewing pins or wonder clips
- Scissors
- Tube Turning tool
- Rotary Mat and Cutter
- Iron
- Your sewing machine
Fabric Recommendations for the Farm Fresh Apron:
- Cotton, cotton blends, linen
Fabric Requirements for the Farm Fresh Apron:
- 1/2 yard for apron and waist band
- 5/8 yard for ties and ruffle
- 1/4 yard for pockets
Finished Measurement Chart:
| 2T-3T | 4-5 | 6-7 | 8-10 | |
| Waistband (without ties) | 10″ | 10″ | 11″ | 11″ |
| Length | 10 1/2″ | 12 1/2″ | 13 1/2″ | 14 1/2″ |
Cutting Chart:
| 2T-3T | 4-5 | 6-7 | 8-10 | |
| Apron Skirt (Cut 1) | 20″ x 10″ | 20″ x 12″ | 24″ x 13″ | 24″ x 14″ |
| Apron Waistband (Cut 1) | 11″ x 5″ | 11″ x 5″ | 12″ x 5″ | 12″ x 5″ |
| Side Ties (Cut 4) | 3″ x 26″ | 3″ x 26″ | 3″ x 32″ | 3″ x 32″ |
| Pockets (Cut 4) | 7″ x 5″ | 7″ x 5″ | 8″ x 6″ | 8″ x 6″ |
| Optional Ruffle (Cut 1) | 40″ x 4″ | 40″ x 4″ | 44″ x 4″ | 44″ x 4″ |
NOTE: If you choose to make the apron with the optional ruffle please reduce the length of the apron skirt piece by 2”. {For example a size 2T-3 apron skirt piece would be 20” x 8”.}
Sewing Instructions:
All seam allowances are 1/2″ unless otherwise noted. Read through instructions before beginning.
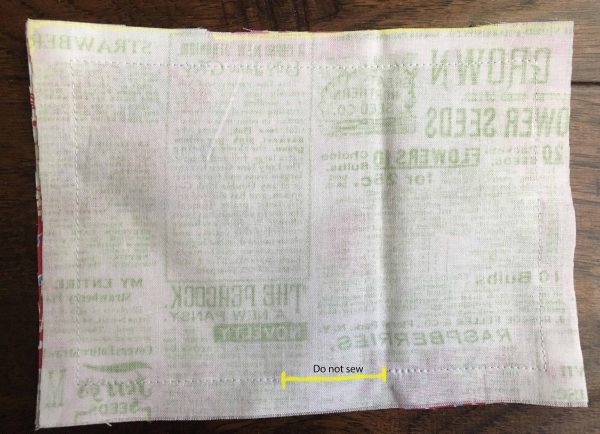
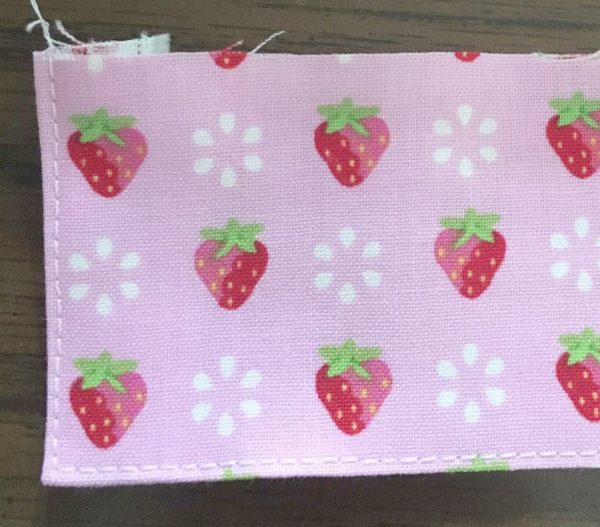
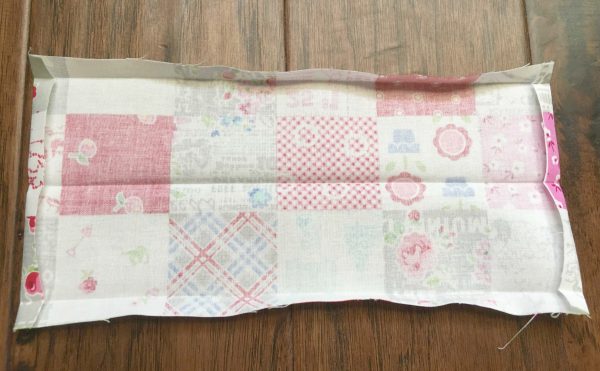
1. Place two pocket pieces right sides together and pin. Sew along edges leaving a 1-2″ opening along the bottom to turn pocket right side out. Repeat for remaining pocket pieces. Trim seam allowance and clip corners. Turn right side out and press. Do not topstitch at this time. Set aside.
2. Place two tie pieces right sides together and pin. Sew along both long sides and one short side, leaving one short end open for turning right sides out. Repeat for remaining tie pieces. Trim seam allowance and clip corners. Turn right side out using a tube turner, make sure to work out the corners so they look nice and press. Top stitch along sewn edges using the Edgestitch foot #10C.
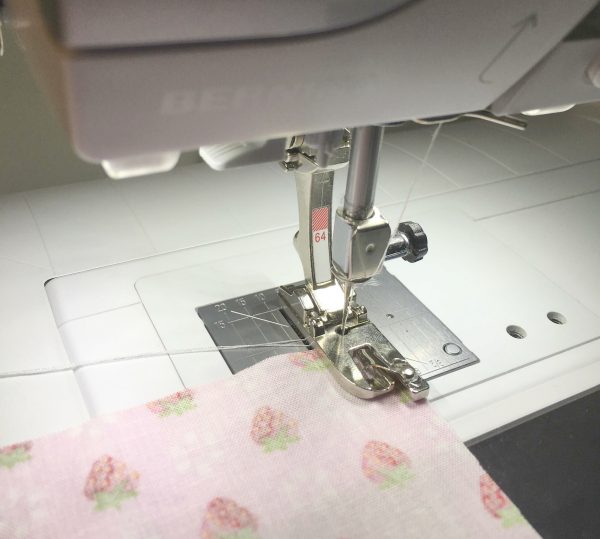
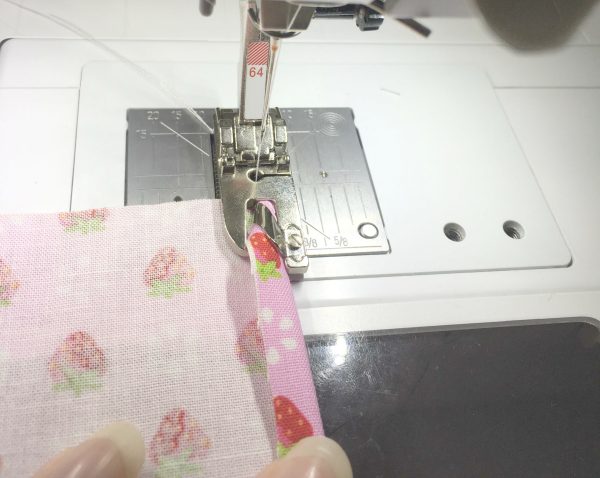
3. Create a narrow hem on both short sides of the apron skirt piece using the Straight Stitch Hemmer foot #64. Begin by placing your fabric, right side down under the presser foot with the edge of the fabric aligned with the edge of the foot. *Your bobbin thread will show on the right side of the fabric so it may be necessary to change to a matching color.
Sew 4-6 stitches, stop, lift needle and presser foot, do NOT cut threads. Gently pull fabric and thread away from the needle about 2 inches.
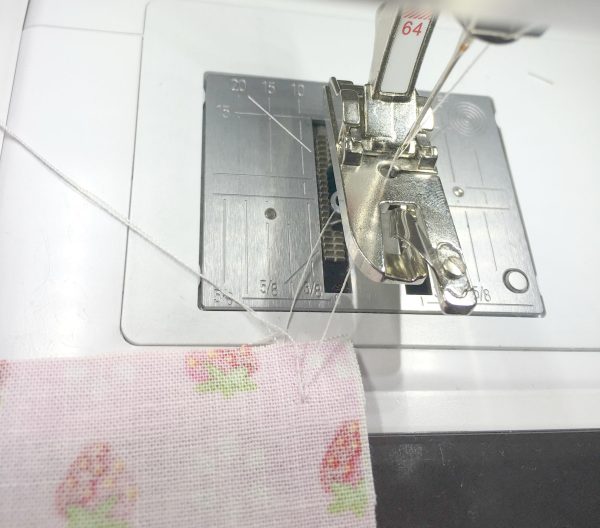
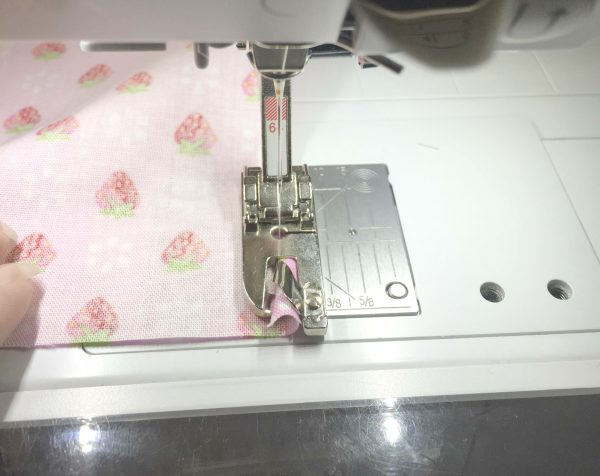
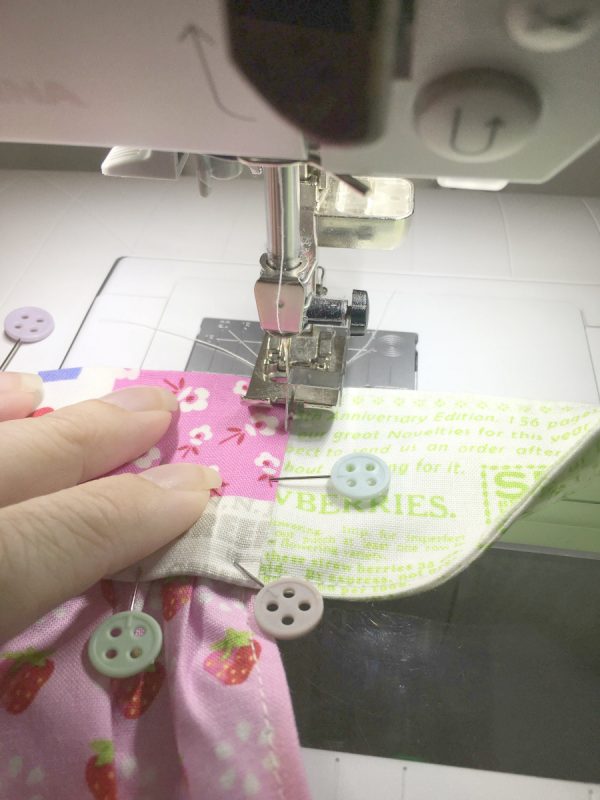
Using your threads as a guide, pull the fabric into the fold guide on the presser foot. The stitches you made will be guided into the outer channel on the foot. The edge of the fabric will be pulled under the upper curved channel on the foot to create a neat finish. Sew slowly and keep the raw edge of the fabric aligned with the guide on the presser foot. It’s always good to practice a few times on a scrap piece of fabric. For a more detailed video tutorial go here.
How it will look as you sew:
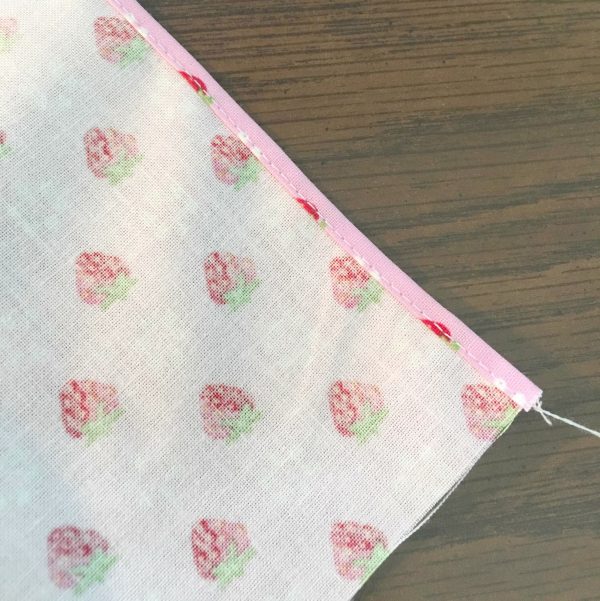
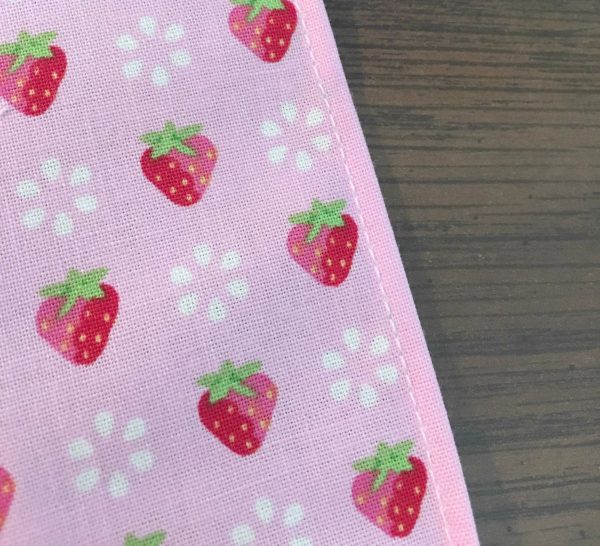
The finished hem:
4. If you are not adding the optional ruffle, hem the bottom of the apron skirt. Turn the bottom edge up 1/2″ and iron flat, turn up another 1/2″, enclosing the raw edge in your fold, iron flat. Sew along the ironed edge.
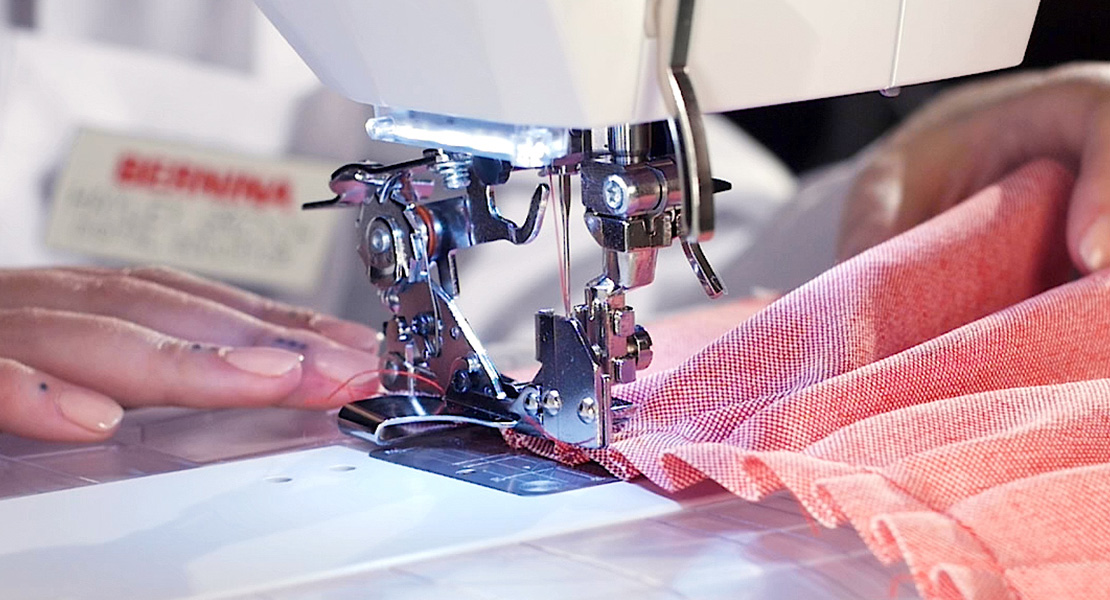
If you are attaching the optional ruffle, press the ruffle piece in half lengthwise with the wrong sides touching and the raw edges lining up. Open it back up and iron each narrow end in 1/2″.
Now fold the ruffle back down in 1/2″ along the crease made in the previous step and edge stitch around both short sides and the long folded edge. Sew a gathering stitch along the long raw edge.
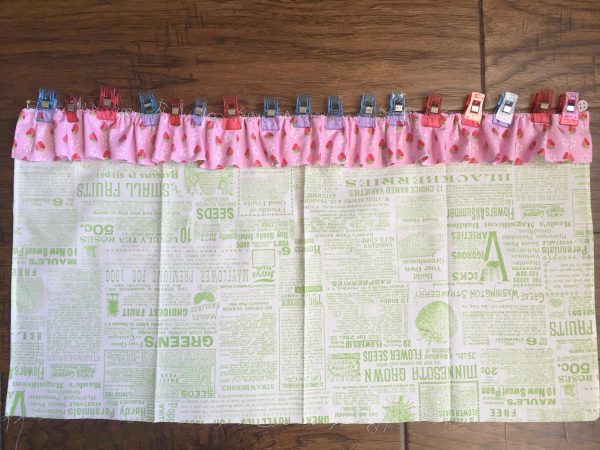
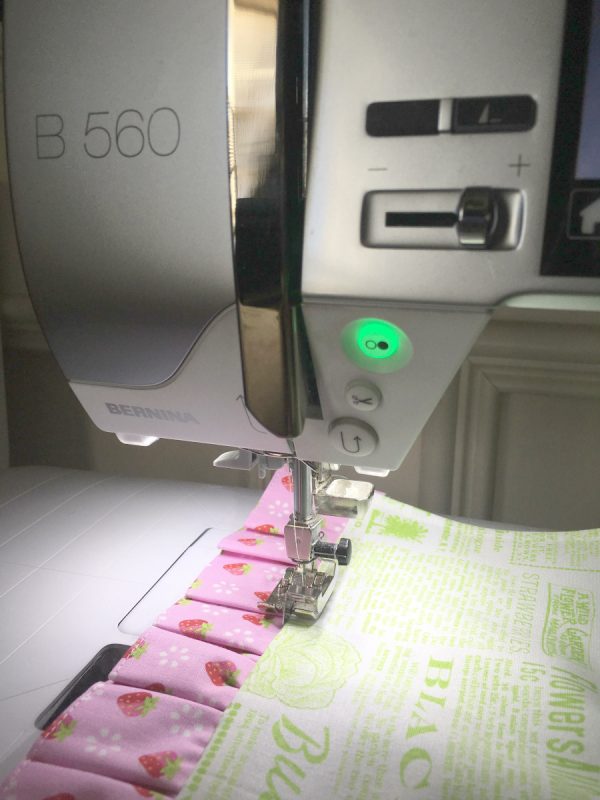
5. Gather the ruffle piece to the width of the skirt. Place the ruffle on top of the skirt with the right sides touching and pin to secure. Sew along the pinned seam with a 1/2″ seam allowance. For a professional look, serge or finish the seam with a narrow zig-zag stitch. Iron the the seam towards the skirt and topstitch.
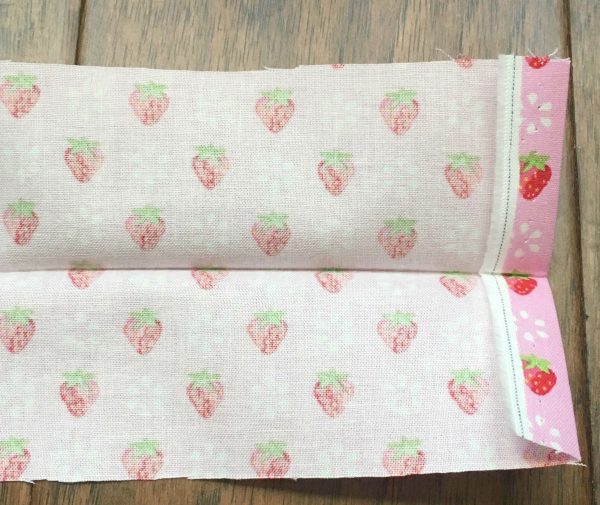
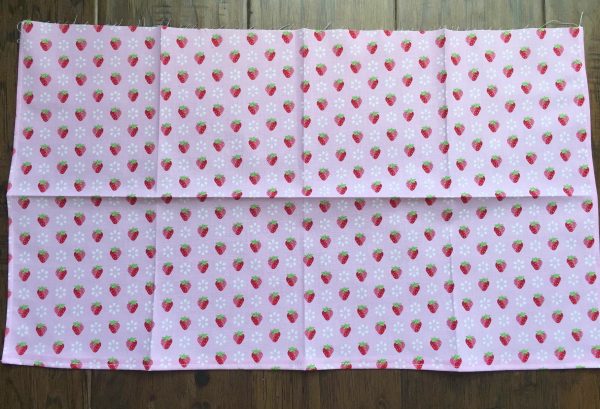
6. Create a guide for pocket placement. Fold the apron skirt in half and iron flat. Then fold it in half the opposite direction and iron flat. Now, fold the short side ends in to meet at the center and iron flat. The apron skirt will now have the below crease marks.
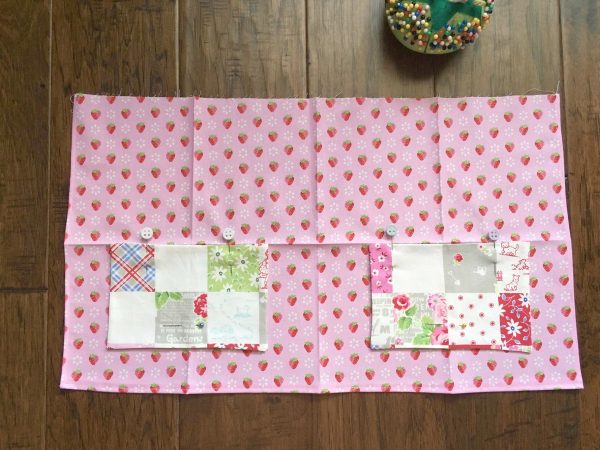
Place the pockets on the apron skirt. The pockets should be centered on the outermost fold lines and the top edge should be lined up with the long center fold line. Pin to secure.
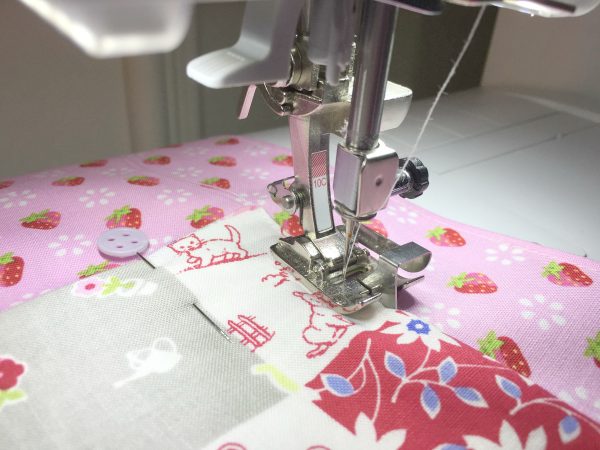
Sew along the sides and bottom of the pockets using the Edgestitch foot #10. (This step has also closed the opening in the pocket left open earlier for turning.)
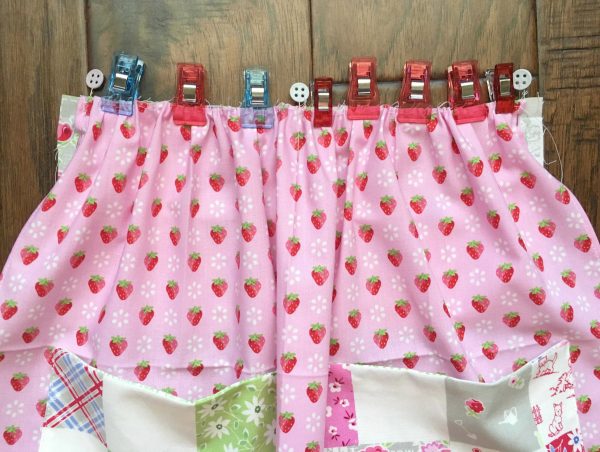
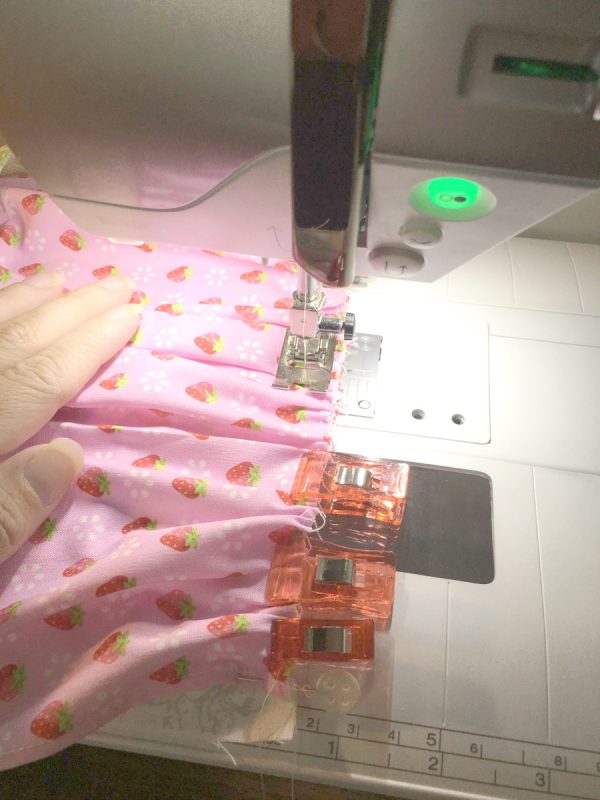
7. Sew a gathering stitch along the top raw edge of the apron skirt and set aside.
8. Prep the apron waistband. Fold the waistband in half lengthwise and iron flat. Open it back and up and fold the short ends in 1/2″ and iron flat. Now fold the long raw edge in 1/2″ and iron flat.
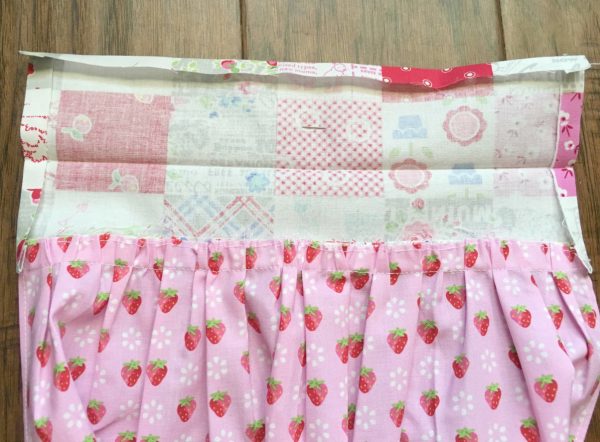
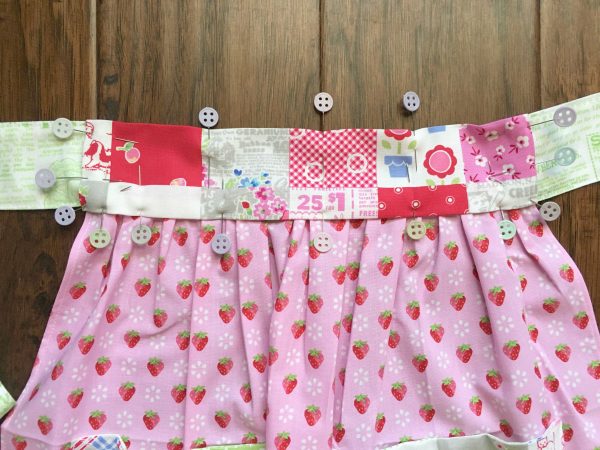
Open the waist band up and lay it in front of you with the right side facing up. Place the gathered apron skirt on top of the waistband. The wrong side of the apron skirt should be touching the the right side of the waistband. Evenly distribute the gathers along the waistband. The apron skirt should stop at the 1/2″ ironed crease on each side of the waistband.
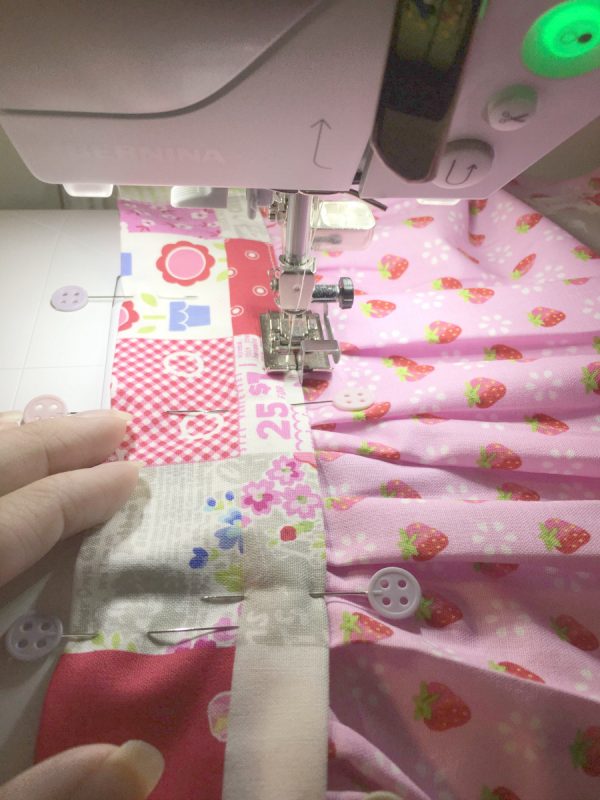
Sew the the apron skirt to the waistband using a 1/2″ seam allowance.
Flip the waistband up, iron the seam allowance up towards the waistband. Fold the narrow sides of the waistband in along the crease lines and iron flat.
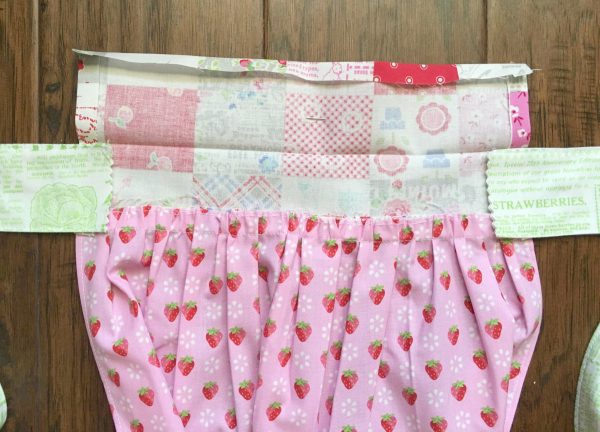
9. Place the raw edges of both ties into each side of the open waistband. They should be placed about 3/4″ into the waistband.
10. Place the side ties on top of the open waistband. The side ties should be inserted so that 3/4″ of the raw end of each side tie extends in the waistband.
Fold the waistband down enclosing the ties and all folded edges. Pin to secure.
11. Top stitch all the way around the waistband using the Edgestitch foot #10C. This step will close the waistband and secure the side ties.
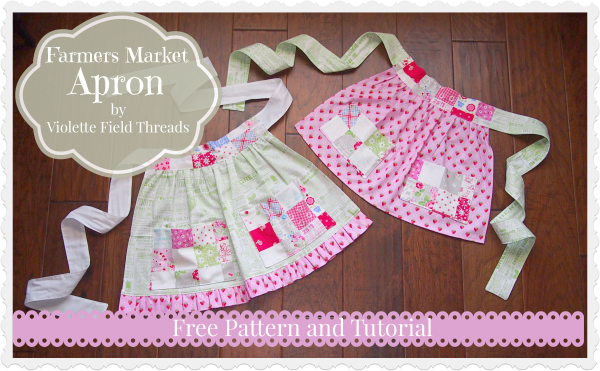
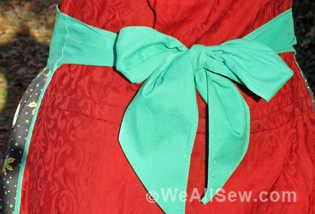
Congratulations! You have now made the Farm Fresh Apron!
What you might also like
One comment on “The Farm Fresh Apron {for kids}”
Leave a Reply
You must be logged in to post a comment.










I love you these aprons are adorable.
I’m a beginner sewer and wanted to make my 2 yr. Old a cute ruffle apron. I love how you have all the sizes exact measurements and the tutorial is easy to follow and turns out beautiful. Thank you