Quick and Easy Handmade Leather Gifts
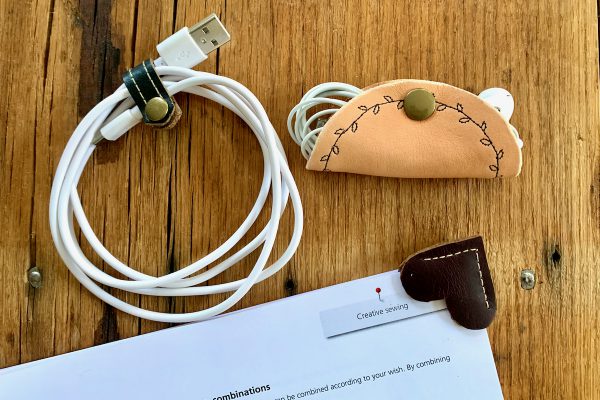
With the holidays fast approaching, many of us are looking at a very long to do list, and wondering how to handle it all. How about some quick and easy handmade leather gifts that we can use for stocking stuffers, for teacher appreciation gifts, or to have on hand when someone brings you a gift unexpectedly! Here are three projects that you can whip up in no time at all that will still let the recipient know that you took the time to make them something special. (If you haven’t worked with leather before, you can check out my introduction post right here.)
1. Headphone Taco
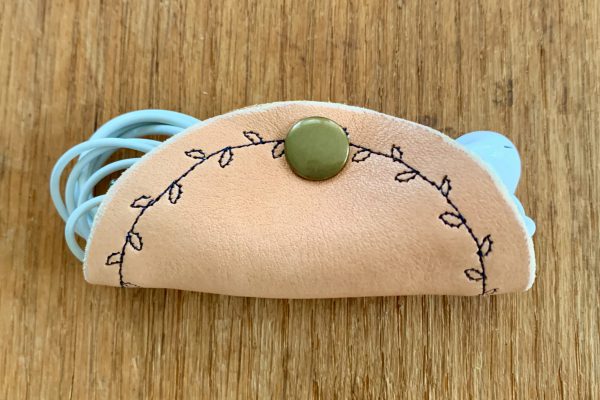
We all know how irritating it is to reach into your bag to get your headphones, only to find them tangled around your keys, a pen, the twist tie that has been floating around down there, and a loose receipt. This headphone taco will keep your buds tangle free and safe from damage.
Materials to Make a Headphone Taco
- 4″ square scrap of thin leather
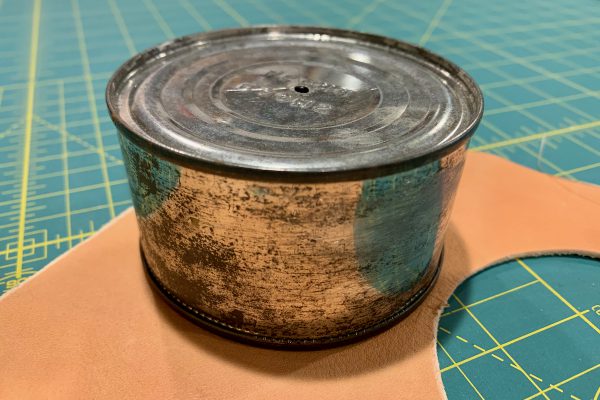
- 3.5″ round template (the bottom of a tin can works well)
- Heavy duty scissors or utility knife
- Awl
- 1 snap and snap setter tool
- #1 (3/32″) hole punch
- Polyester thread
- Leather needle (size 16)
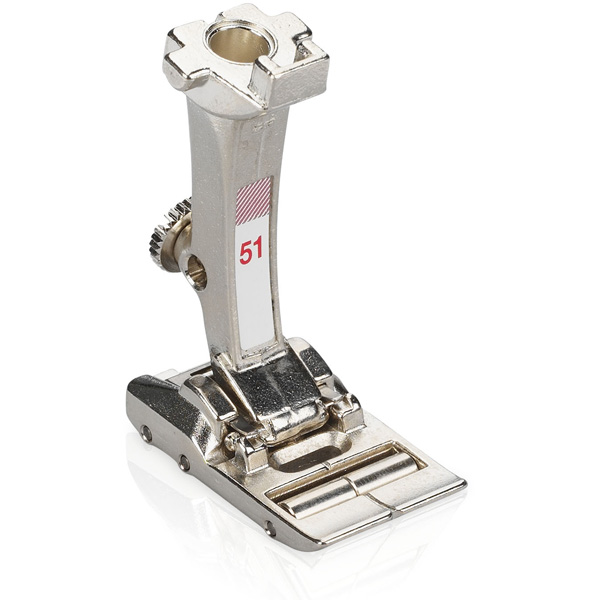
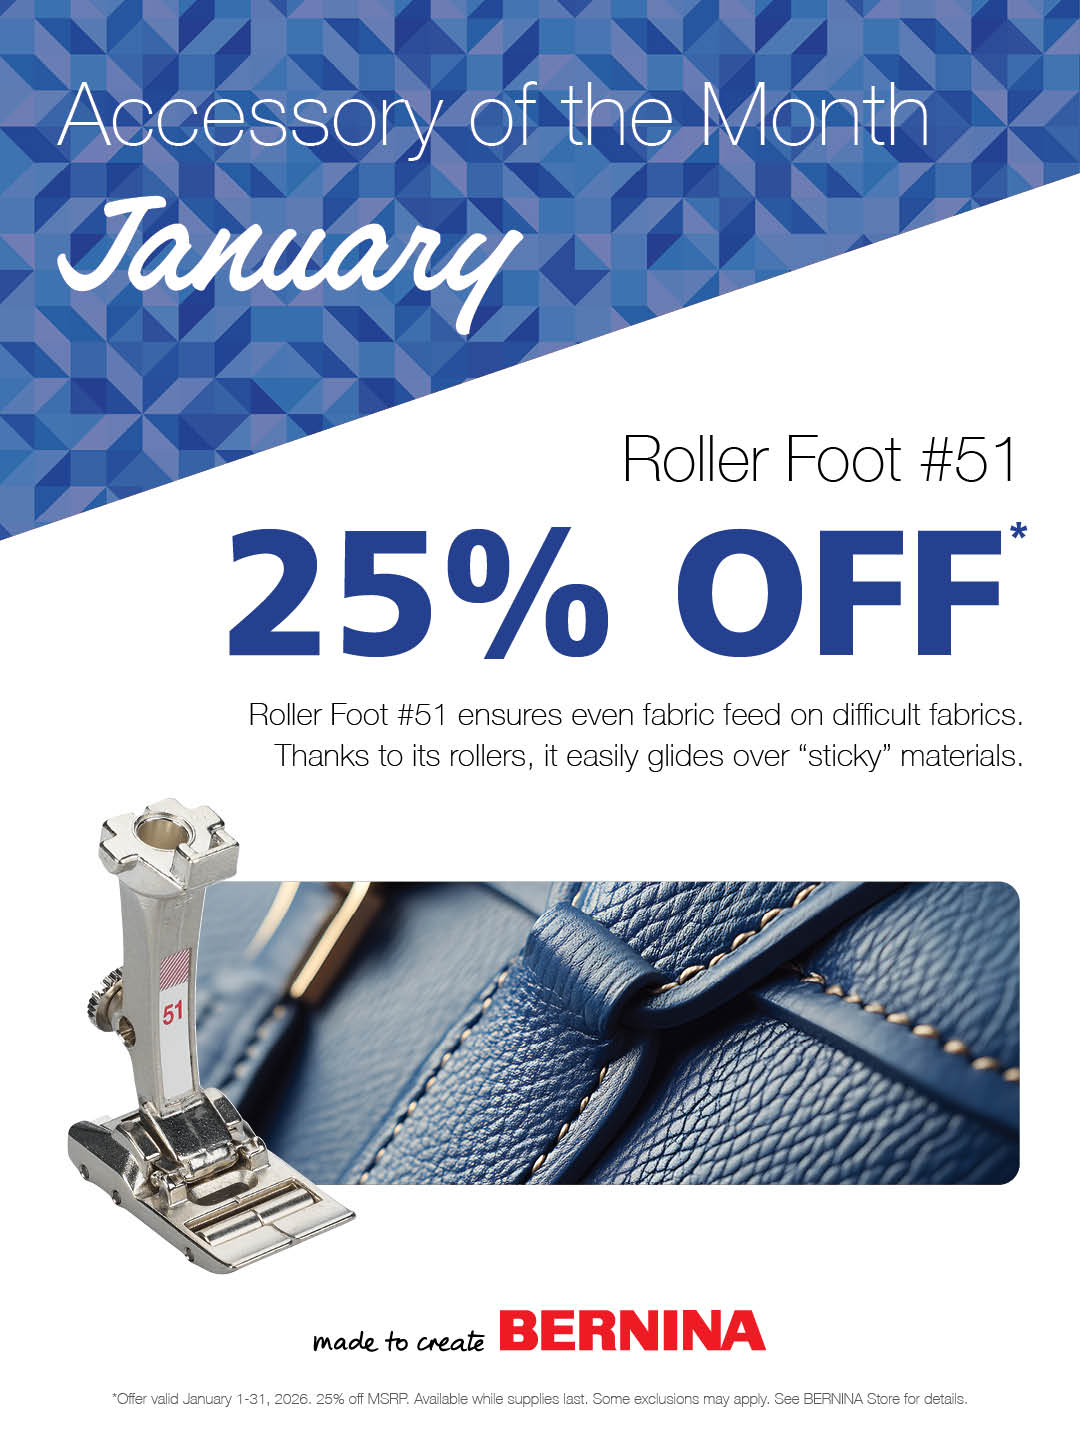
- Roller foot #51
- Optional: edge beveler
Instructions to Make a Headphone Taco
Step 1: Cutting
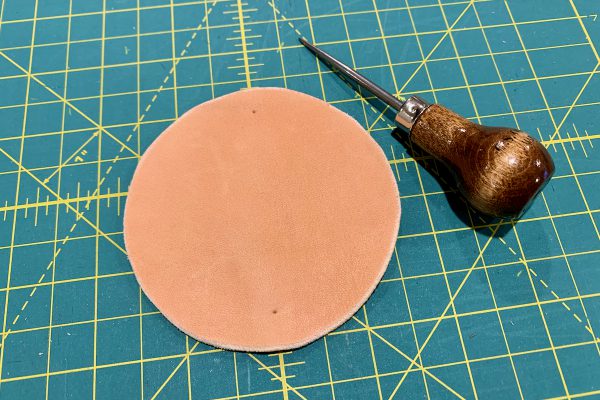
Trace a 3.5″ circle onto your leather using the template of your choice. I like to use the bottom of a tin can. An awl is a great tool to trace with to ensure to you do not have pencil lines showing on your project.
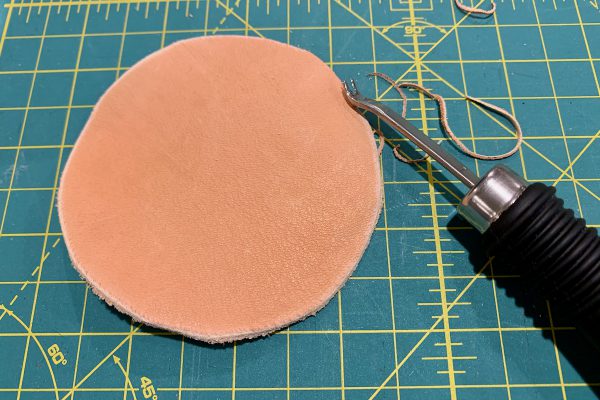
Using either heavy duty scissors or a utility knife, cut out your circle.
Optionally, use your edge beveler to round out both the top and bottom edge to give it a smooth look.
Using an awl or a pencil, mark two spots 3/8″ in from the edge on opposite sides of the circle.
Step 2: Sewing
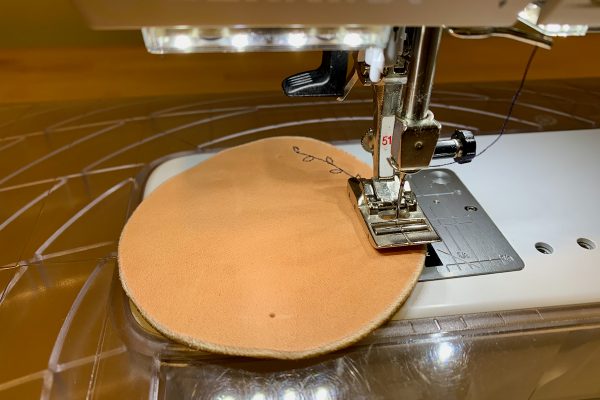
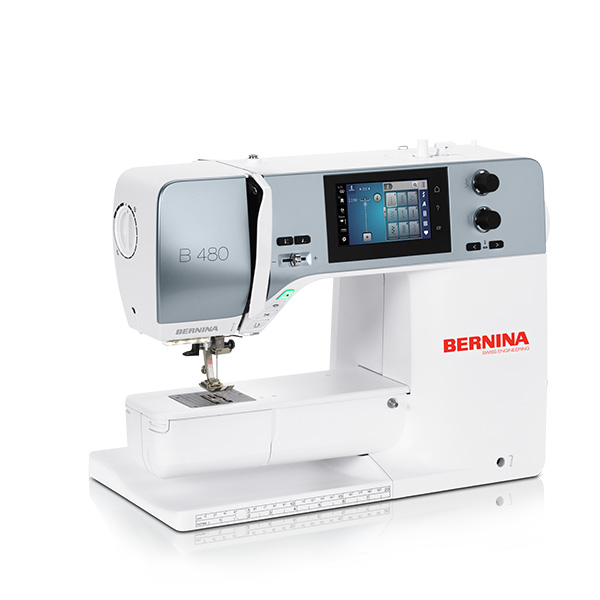
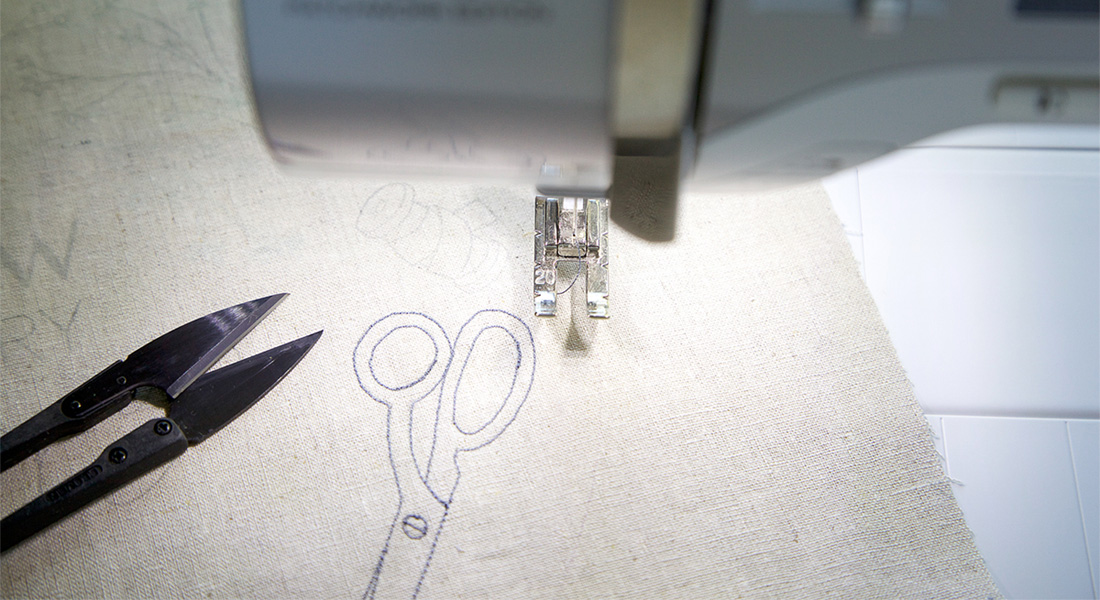
Load a leather needle into your BERNINA along with polyester thread in the color of your choice for both the top and the bobbin thread. (Please note: normally for sewing with leather it is better to use heavy duty upholstery thread, however for decorative stitching it is too thick and will cause the machine to bind up as it stitches back and forth.) You will also need to put the zig zag stitch plate on your BERNINA along with the Roller foot #51.
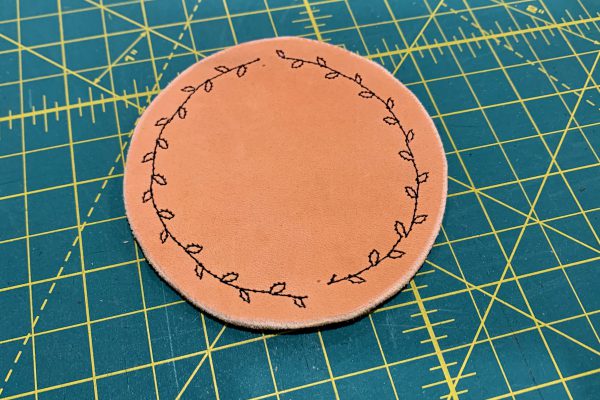
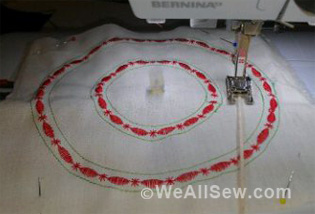
Stitch a fun decorative pattern onto your taco! You could do a name, a leaf pattern, zig zag, the possibilities are almost endless. I suggest trying out some different options on scrap leather before you stitch on your taco. I found that lowering the presser foot pressure allowed the leather to slide back and forth under the roller foot smoothly and keep the pattern aligned.
You will want to make sure not to stitch over the two marks that you placed on the leather earlier. This is where you will be punching a hole for the snaps, and you do not want to break the thread when you do so.
Step 3: Finishing
Add your snap at the two marks you make earlier. For specific instructions on snap setting, please see the instructions from this post.
And voila! One completed headphone taco!
2. Cord Organizer
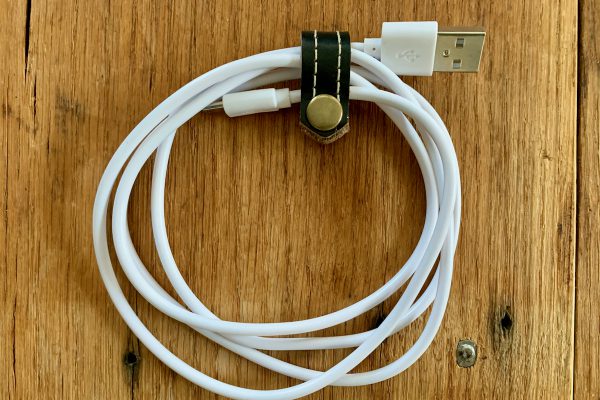
Along with headphones, everyone seems to be carrying numerous different cords and chargers with the for work, school, or when traveling. This simple little clip will keep them from ending up as one big tangle.
Materials to Make a Cord Organizer
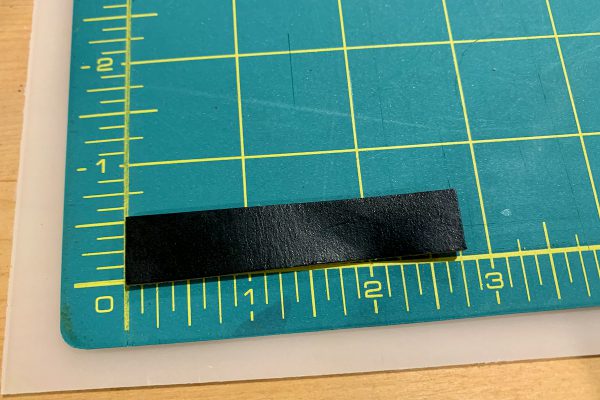
- 0.5″ x 2.75″ scrap of thin leather
- 1 snap and snap setter tool
- #1 (3/32″) hole punch
- Upholstery Thread
- Leather needle (size 16)
- Roller foot #51
Instructions to Make a Cord Organizer
Step 1: Cutting
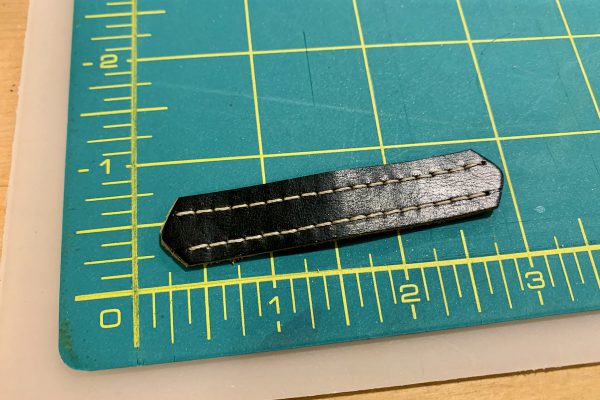
If you haven’t already, cut your strip of leather to 0.5″ x 2.75″. Optional: You can round the ends of the strip to give it a different look.
Step 2: Sewing
Moving to your BERNINA, load a leather needle along with upholstery thread in the color of your choice for both the top and the bobbin thread. You will also need to put the single hole stitch plate on your BERNINA along with Roller foot #51.
Stitch down both sides of the strip using a 3.5mm stitch. You may also find that increasing the top tension will help with nice, even stitches.
Step 3: Finishing
Using the instructions from this post, add your snap. And that’s it! Now go make more for all of your cords.
3. Corner Bookmark
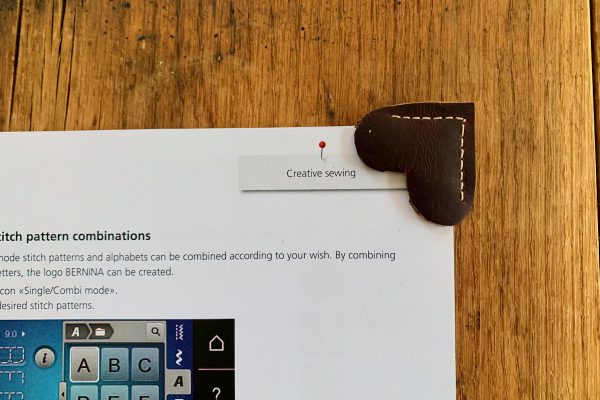
This handy little bookmark is so quick to make, that you can whip out a handful in no time flat. They are the perfect DIY leather gift! I love to use mine to keep track of often used pages in my BERNINA manual.
Materials to Make a Corner Bookmark
- Scraps of thin leather
- Heavy duty scissors or a utility knife
- Upholstery Thread
- Leather needle (size 16)
- Roller foot #51
- Leather glue
Instructions to Make a Corner Bookmark
Step 1: Making the Template
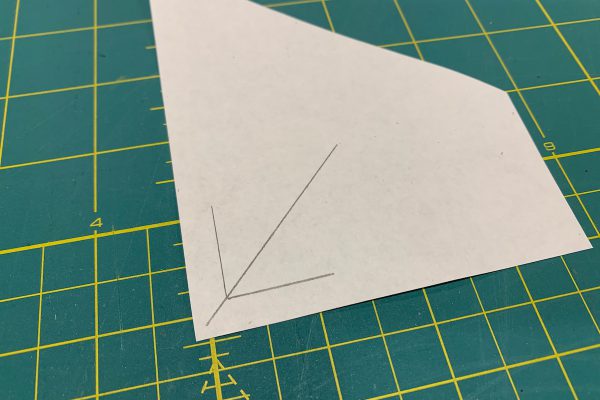
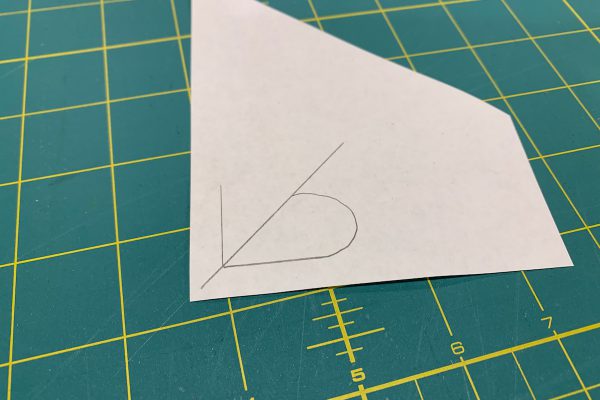
Using a piece of scrap paper, mark a 90 degree corner with 1″ sides. Divide that angle in half (45 degrees)
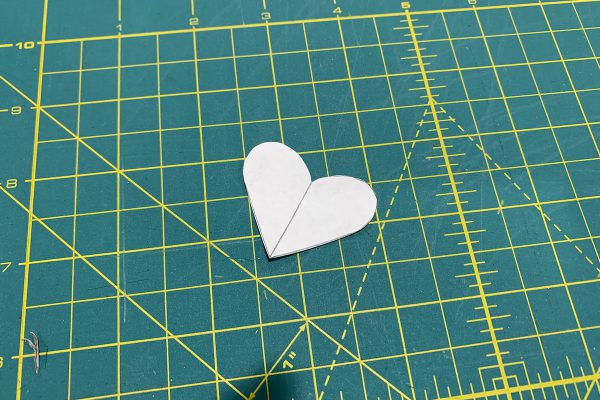
Draw any shape you like between the 45 degree angle and one of the corners. I made a curve in order to create a heart shape.
Fold the paper in half along the 45 degree line, and cut out your shape.
Step 2: Cutting and Gluing
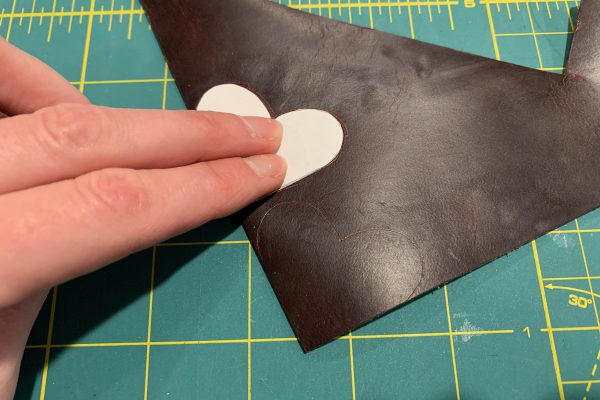
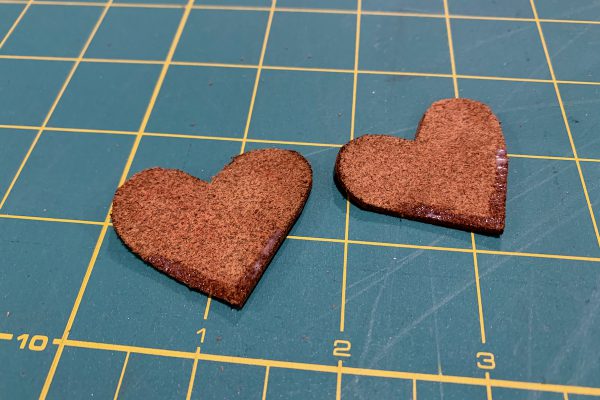
Using an awl, trace two of your shapes onto the leather, and cut out using scissors or a utility knife.
Place a tiny bit of leather glue just along the straight edges of the shape, and stick the two sides together. Make sure not to get any glue on the curved part of the shape, because this will need to be open to fit over the pages.
Step 3: Sewing
At your BERNINA, load a leather needle along with upholstery thread in the color of your choice for both the top and the bobbin thread. You will also need to put the single hole stitch plate on your BERNINA along with Roller foot #51.
Stitch down the two straight edges of the shape, pivoting at the corner. And that is it! Your cute little bookmark is all finished.
I hope that these quick and easy handmade leather gifts will help you not only practice your leather work, but check some items off your giving list at the same time!
