Beginner-friendly Rectangle Textile Tutorial for Fashion
This beginner-friendly rectangle textile tutorial for fashion will show you how you can create this fabulous design. Begin with the reference sample that I created several years ago for a class I lead in Arizona. Then we will move into the components that help decide the size of your rectangle pattern such as embellishments and fabric choices. Last but certainly not least, we will discuss how to begin cutting and assembling your design. Be sure to pay close attention to the sewing directions provided in this tutorial. It is not a complicated pattern, but there is a certain rhythm to stitching all of your pieces together. Use this tutorial as a supplement to learn how to sew.
The Process
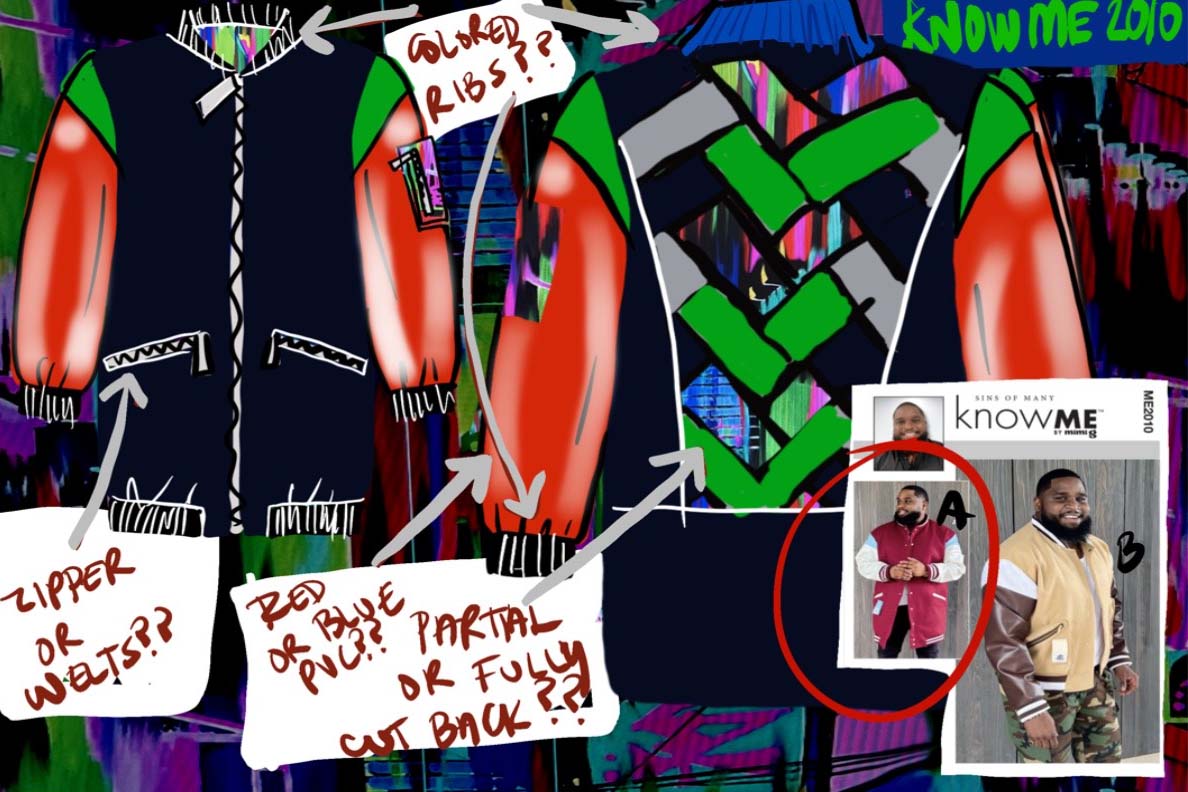
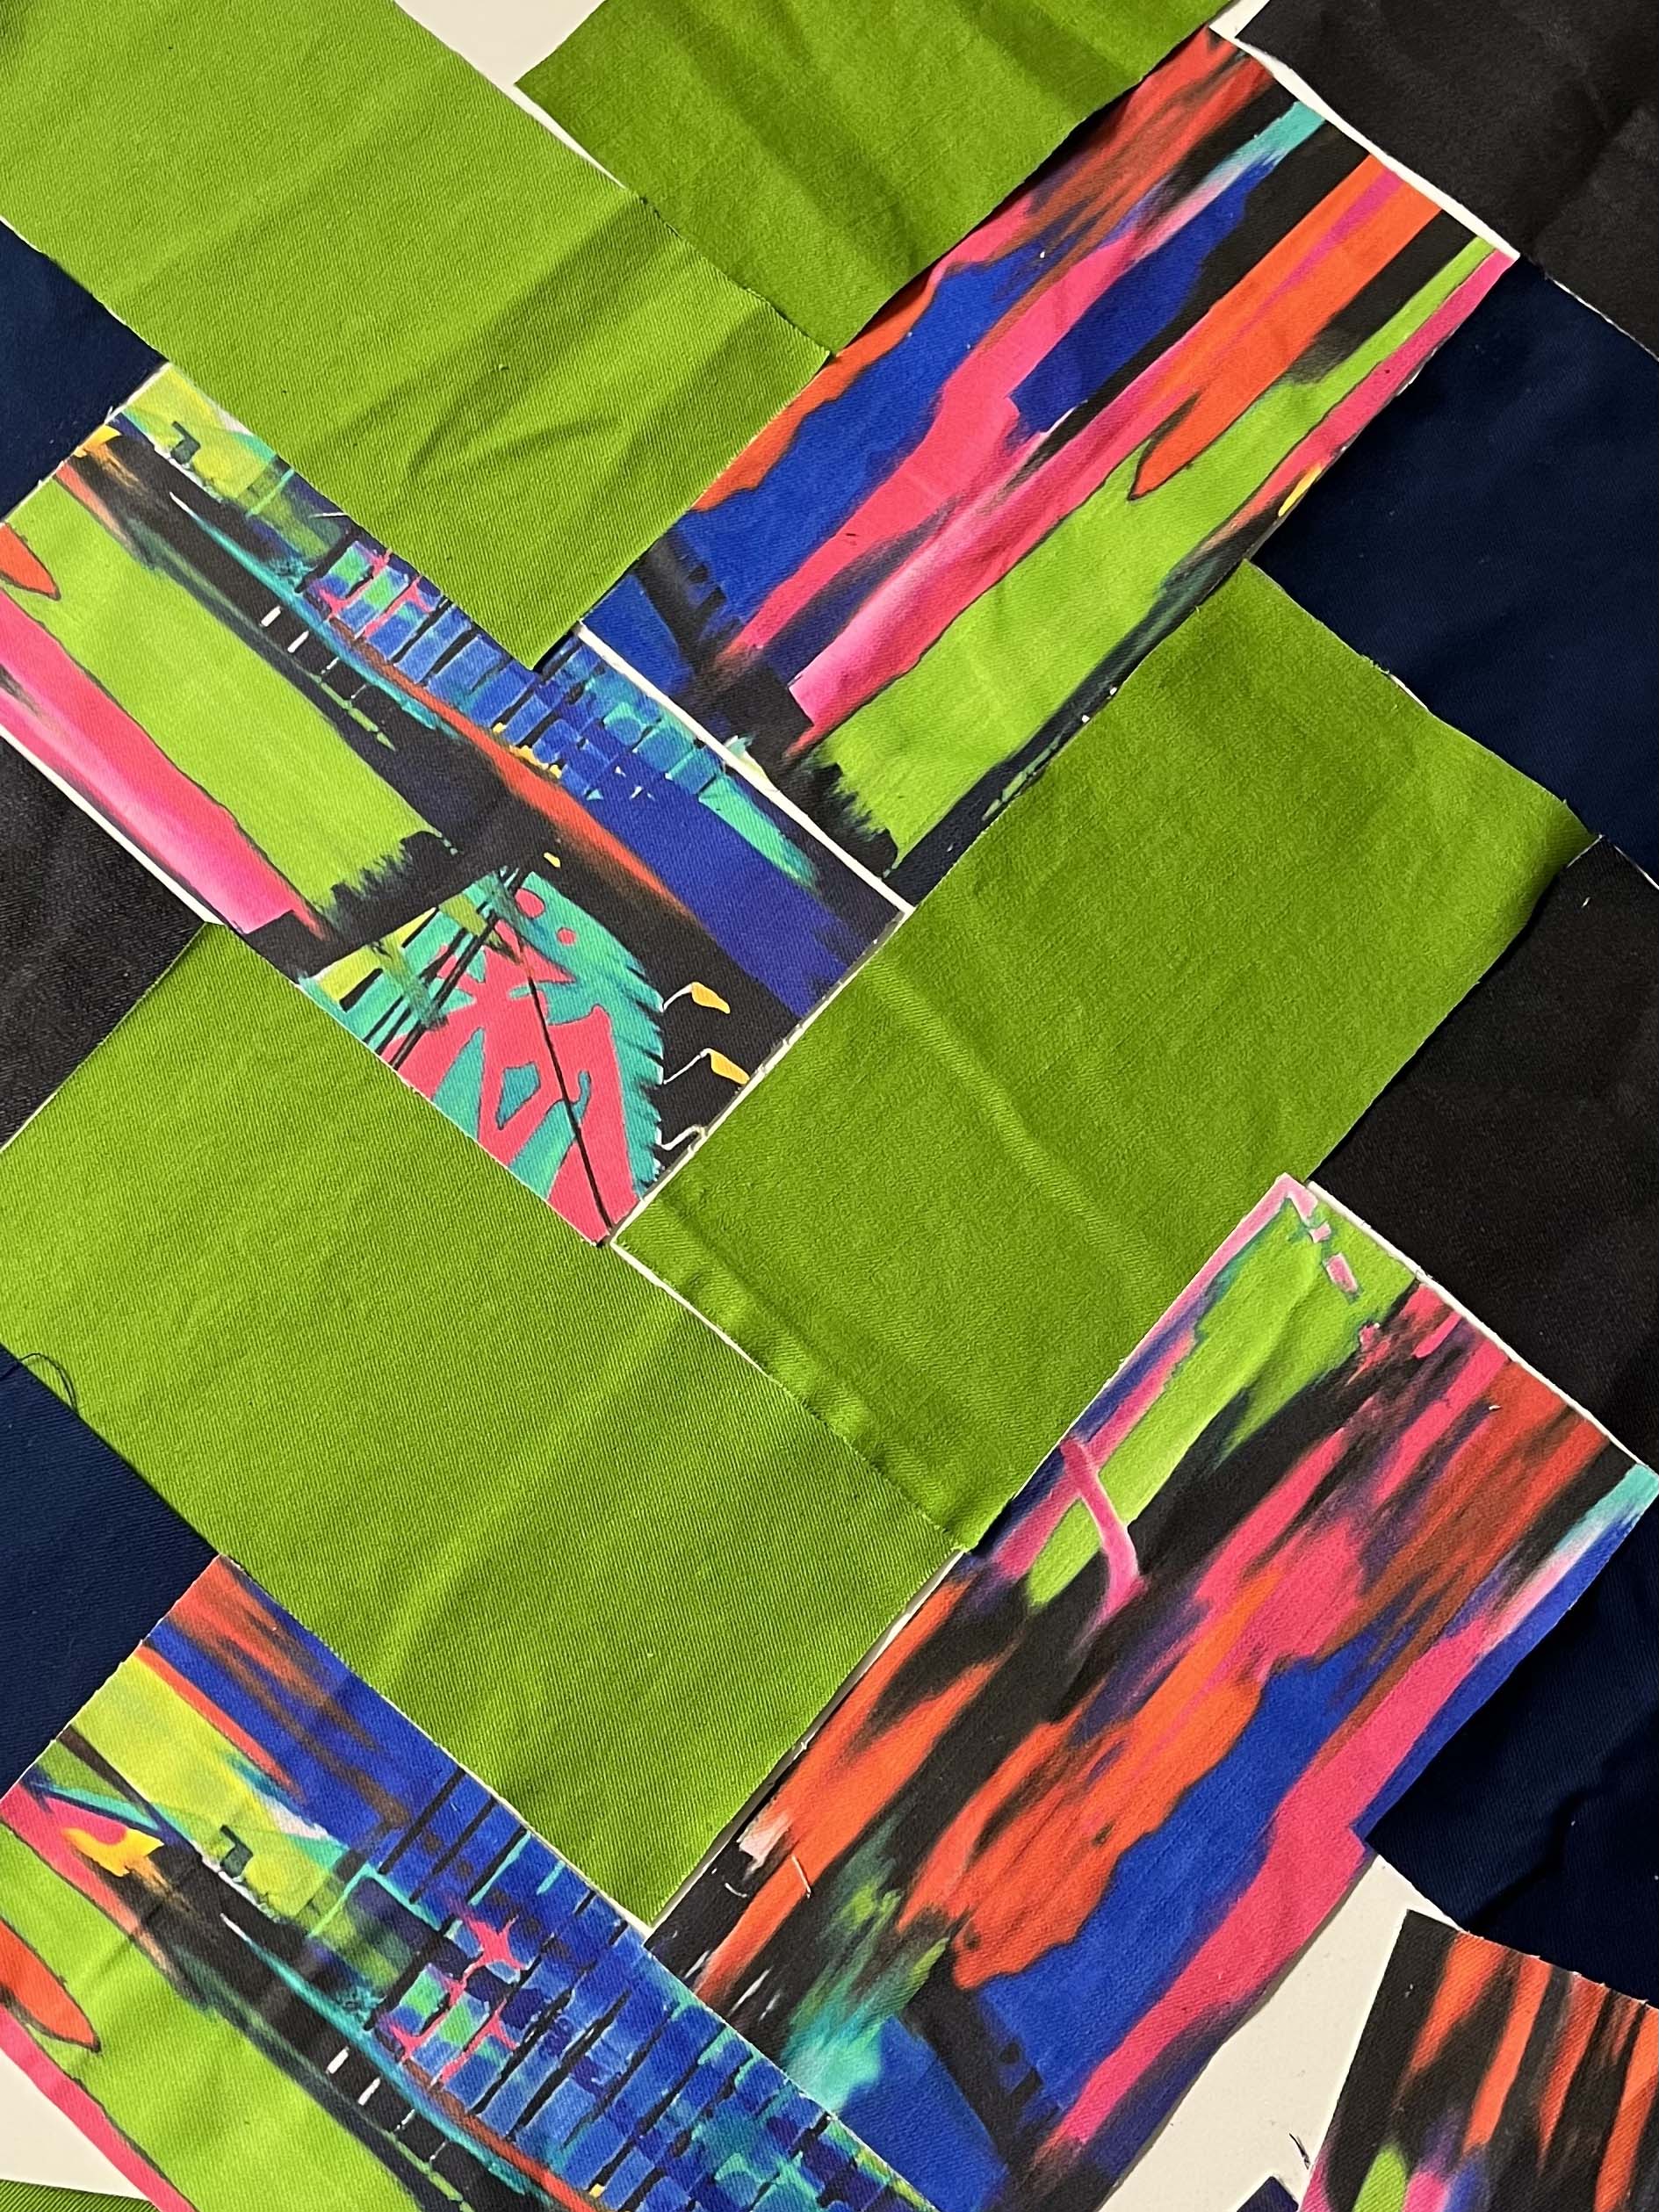
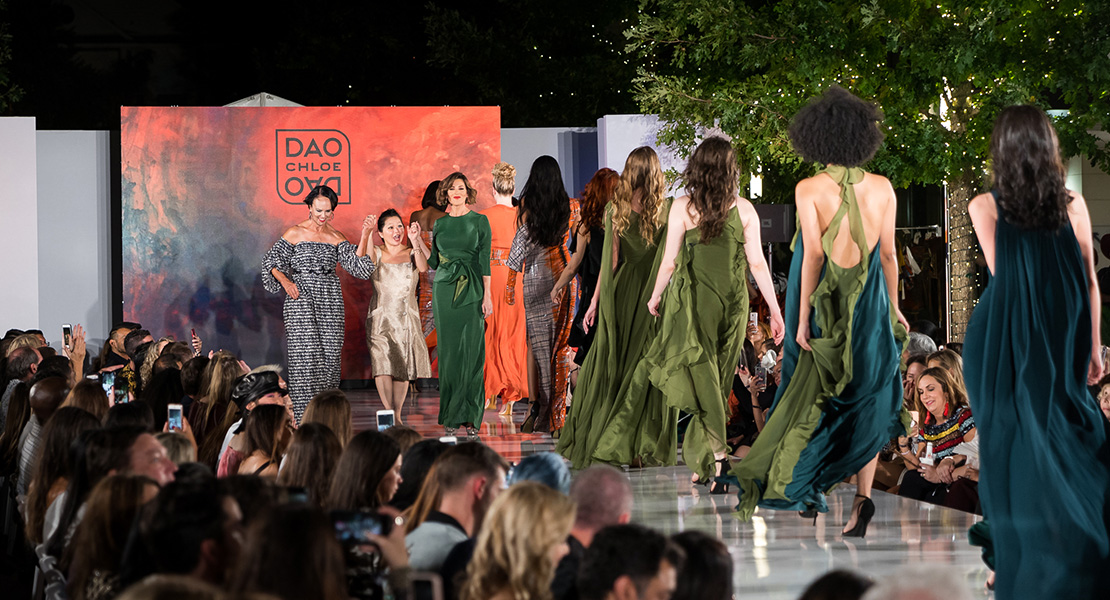
For my particular design, I created a colorful color-blocking effect with a custom print I designed in 2022 for my New York Fashion Week Presentation. I incorporated solids that coordinate with this print. For the garment, I decided to cut the back of View A from fellow BERNINA Ambassador, Scorpio’s KNOW ME Pattern #2010. I love the elongated silhouette of this one. I will be cutting two sizes bigger in order to achieve an oversized fit. I sketched out a few ideas but this is the goal I am trying to reach. As with any piece I create there is always room for growth and evolution.
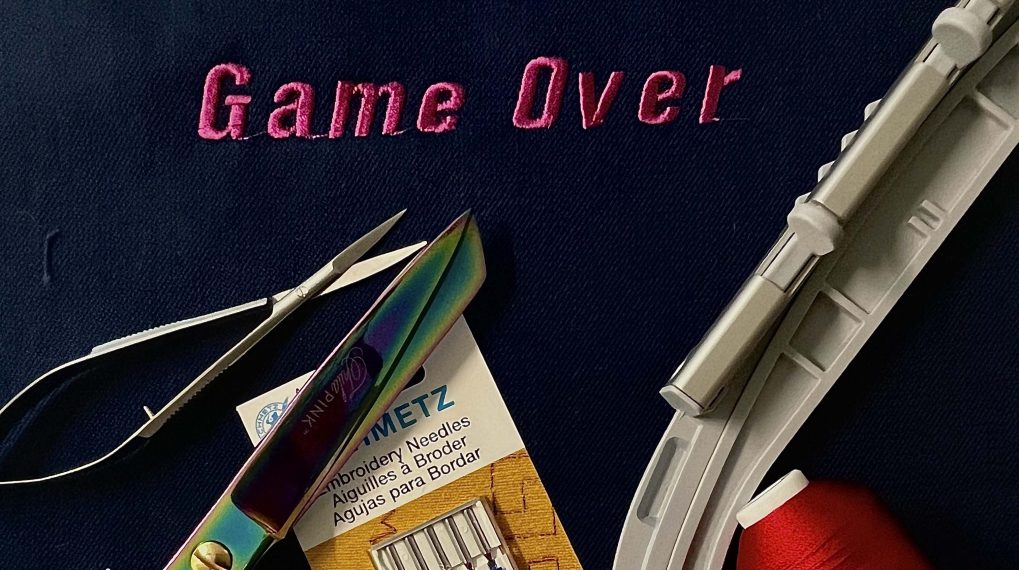
Just an FYI, I will be taking this jacket into my next post which will be all about how to stitch your first embroidery design on a garment. The final result of this jacket will be shared later. I will also be documenting the process of creating this jacket on my social media channels.
Deciding the layout of your pieces can seem daunting, but I strongly suggest thinking about all of the possibilities for your own design. For mine, I wanted to create an illusion that my print is peaking through my solids. This variation creates a point of view and adds depth. You may also consider using decorative stitches with contrast or tone-on-tone threads to create interesting textures. You may also use ribbons and other unique trims to embellish your rectangles. This is a beginner-friendly sewing project. You can make this is as simple or intricate as you would like.
Sewing
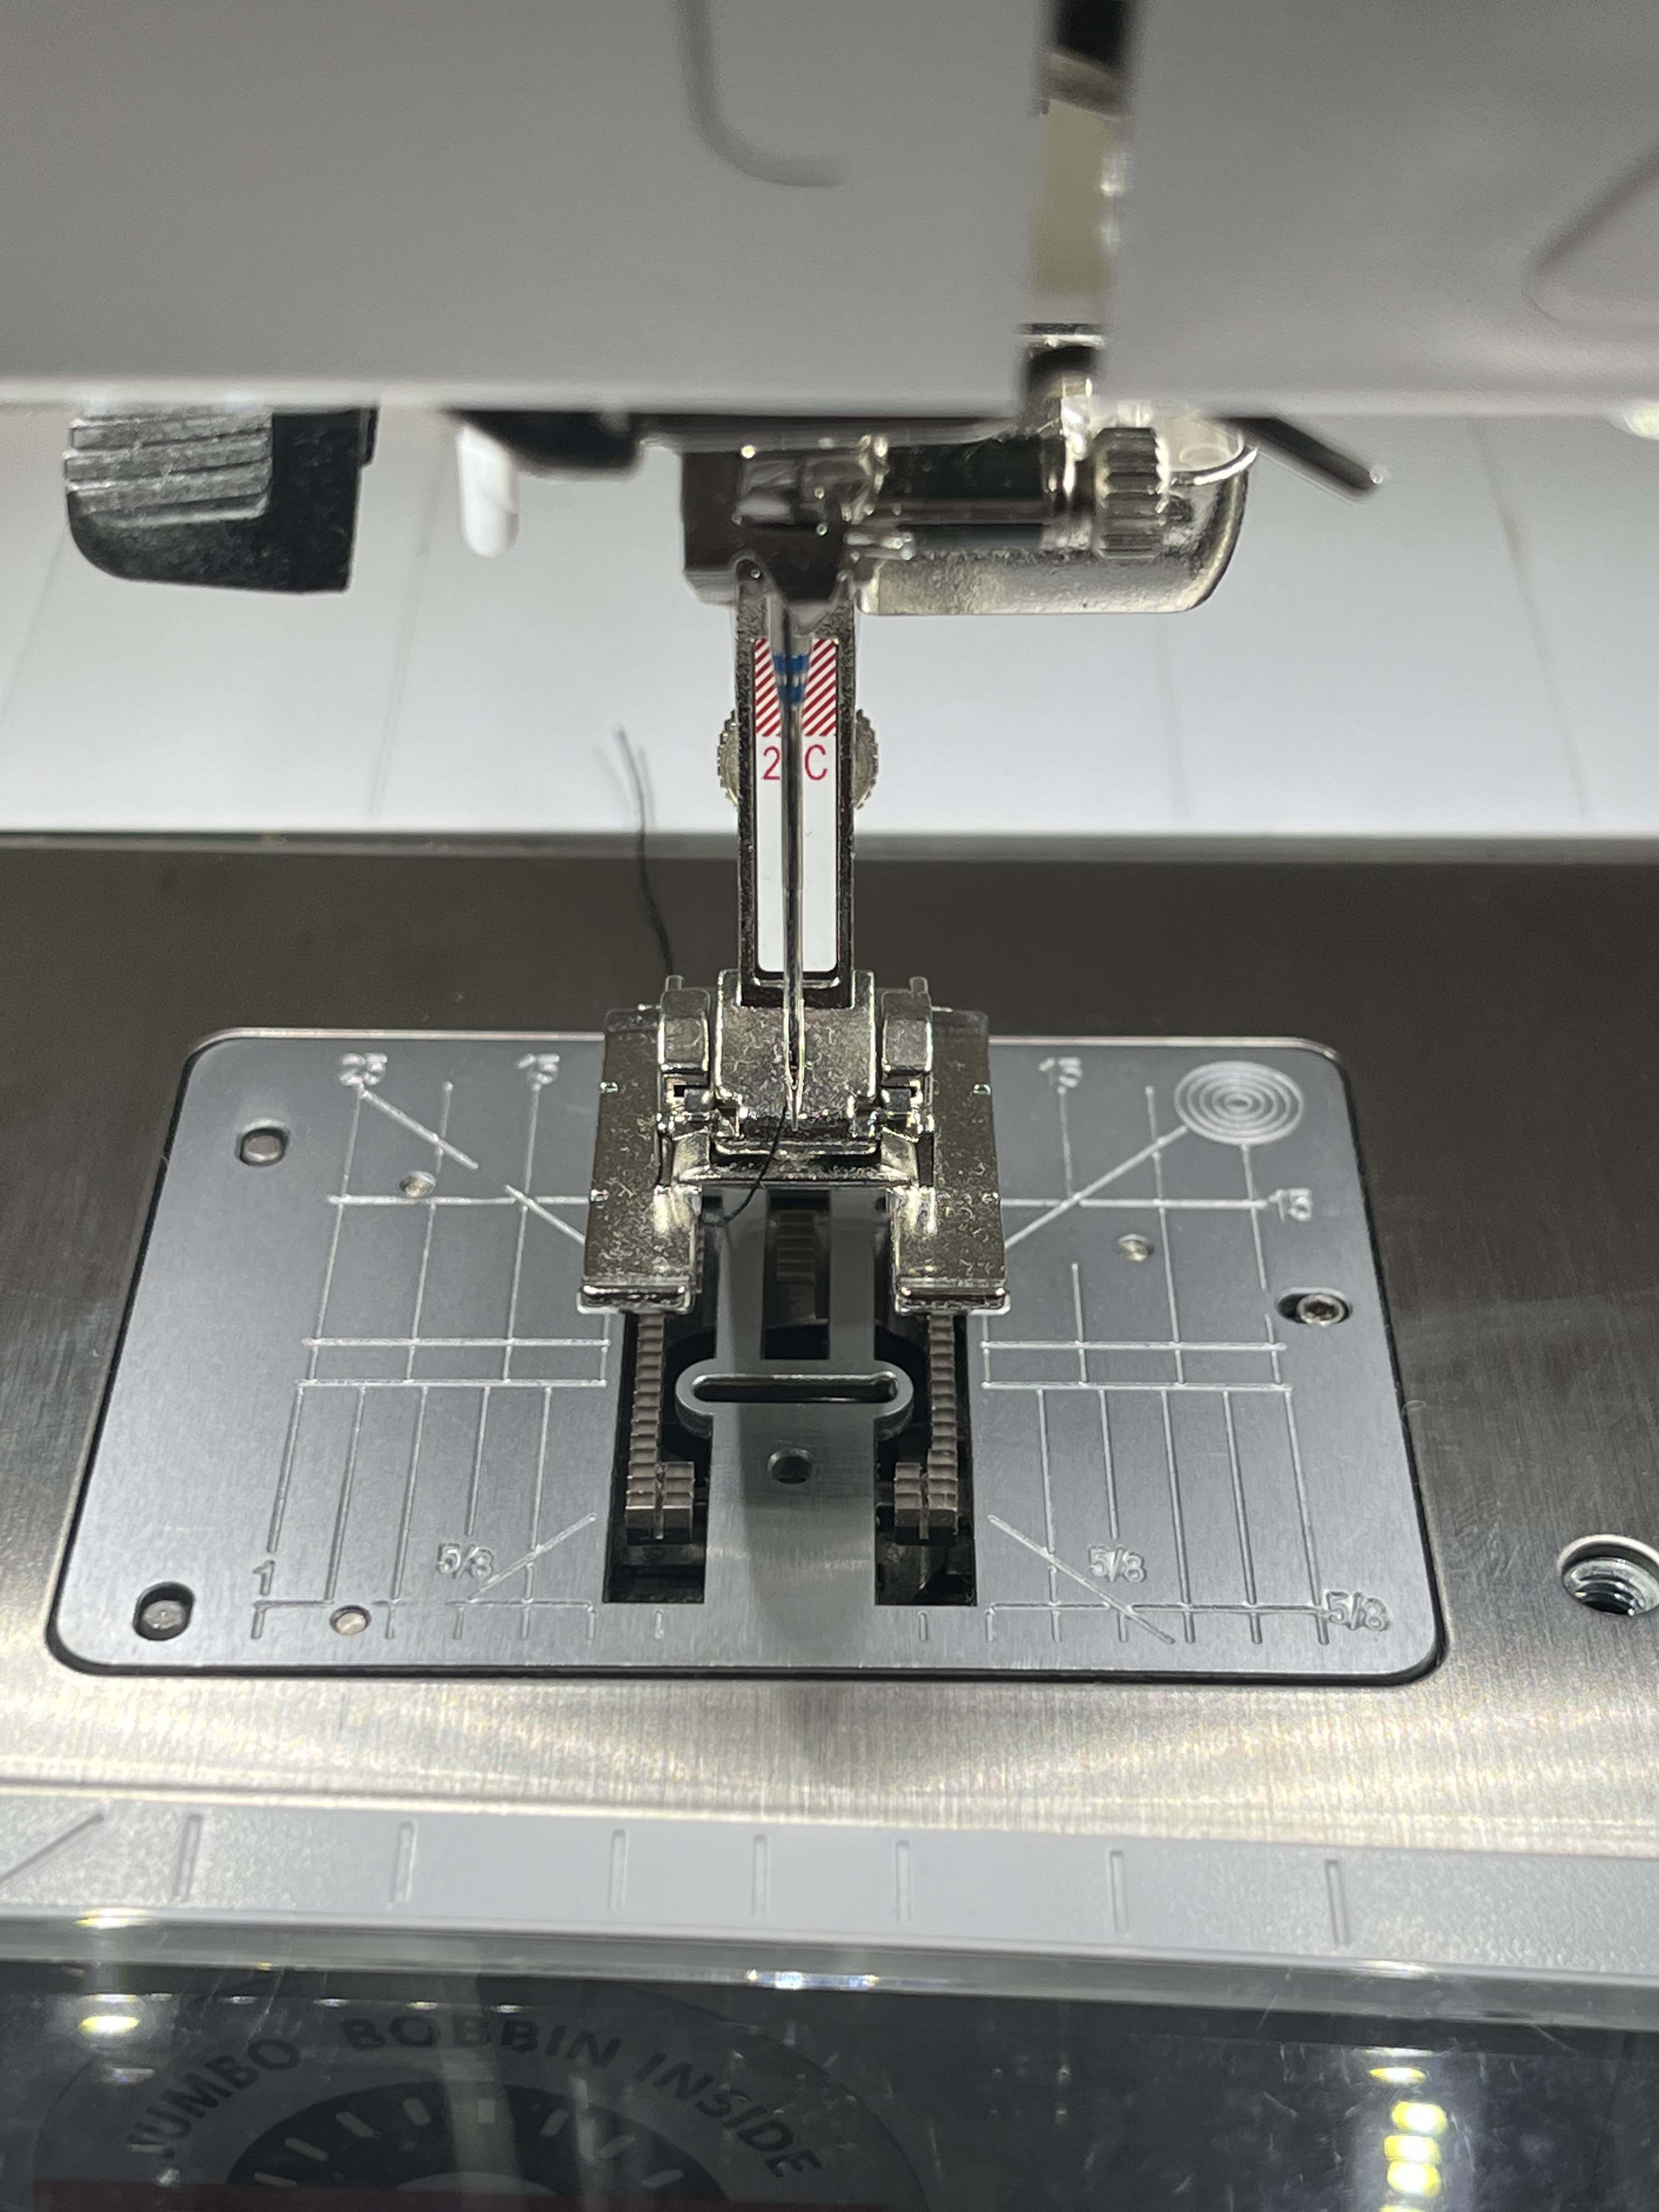
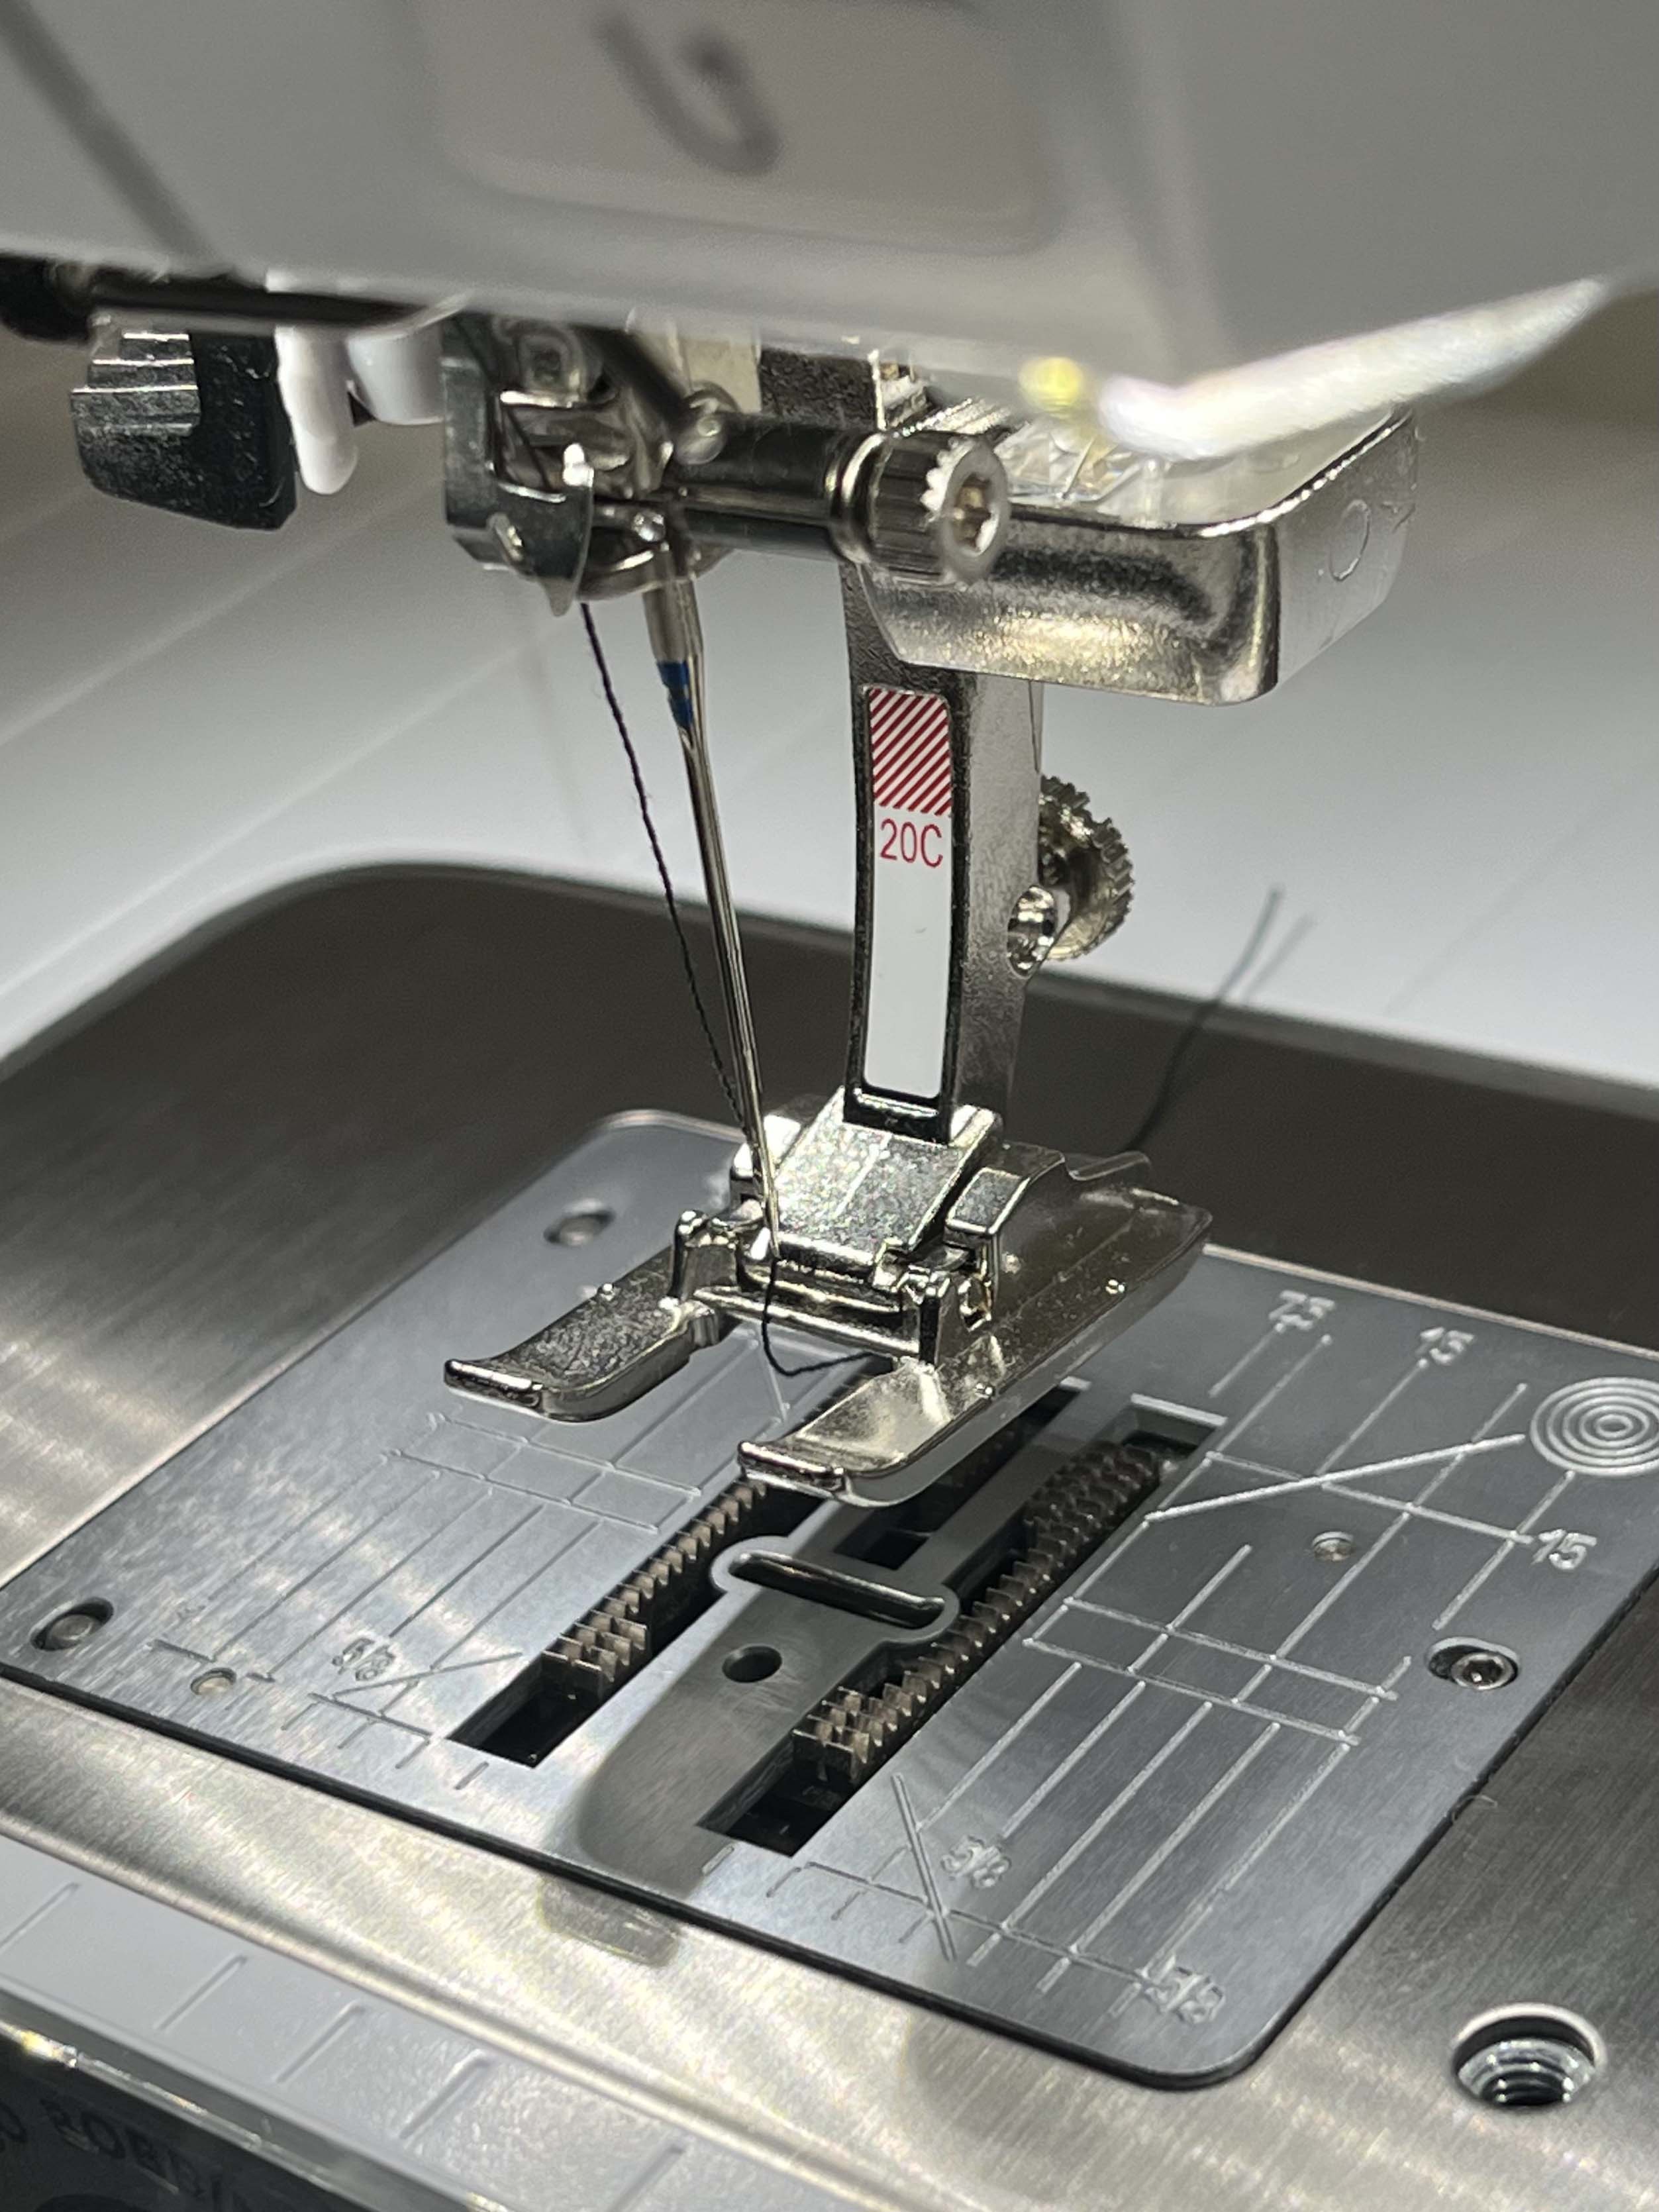
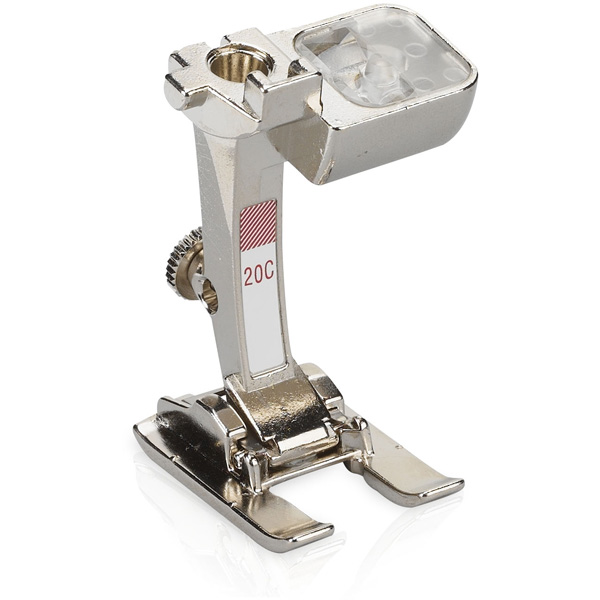
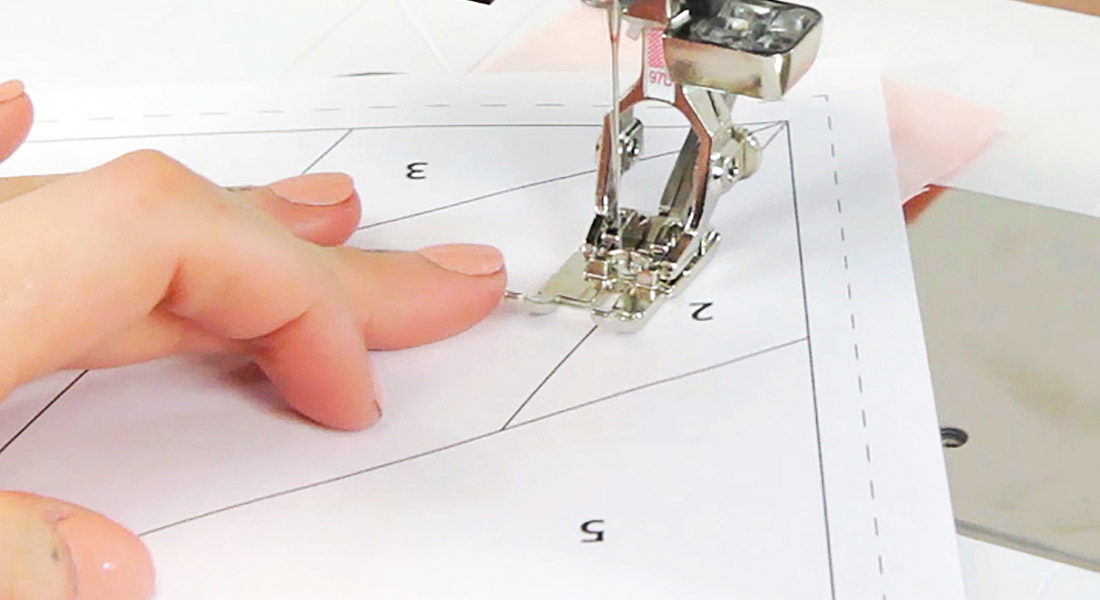
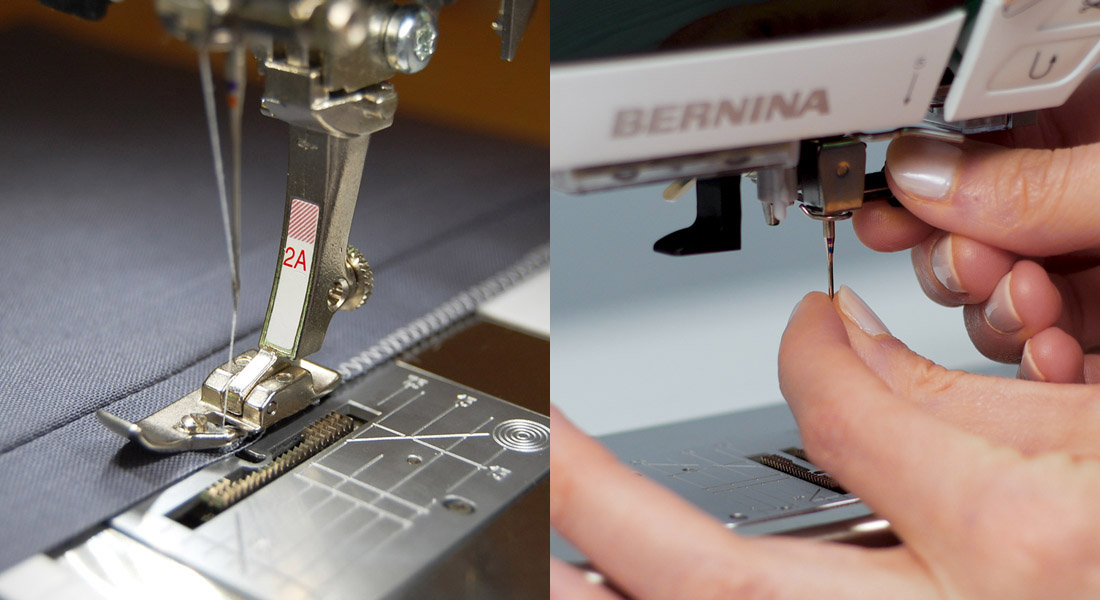
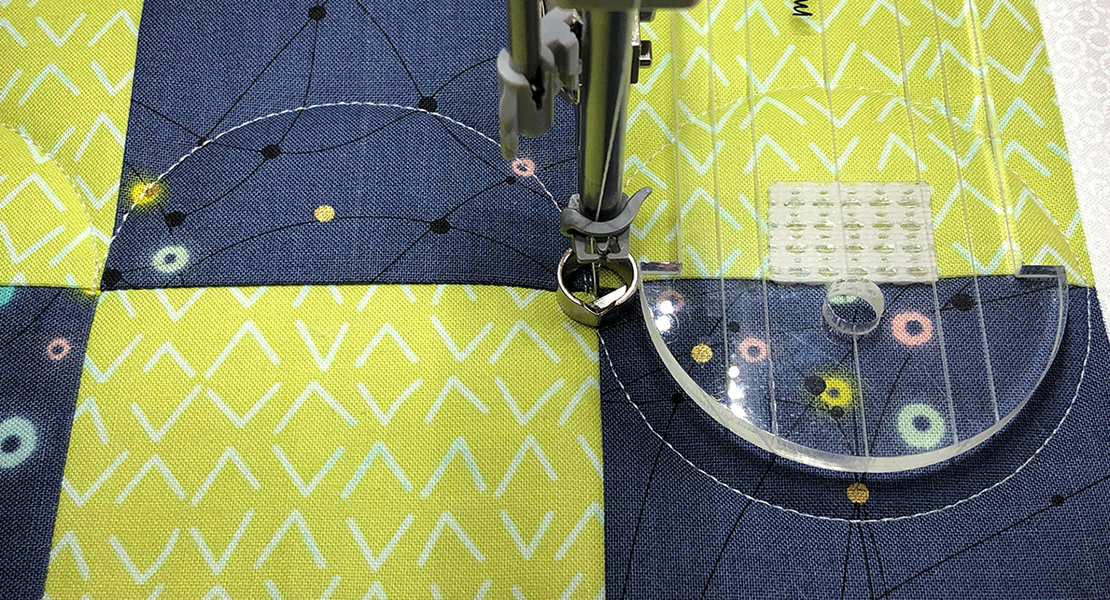
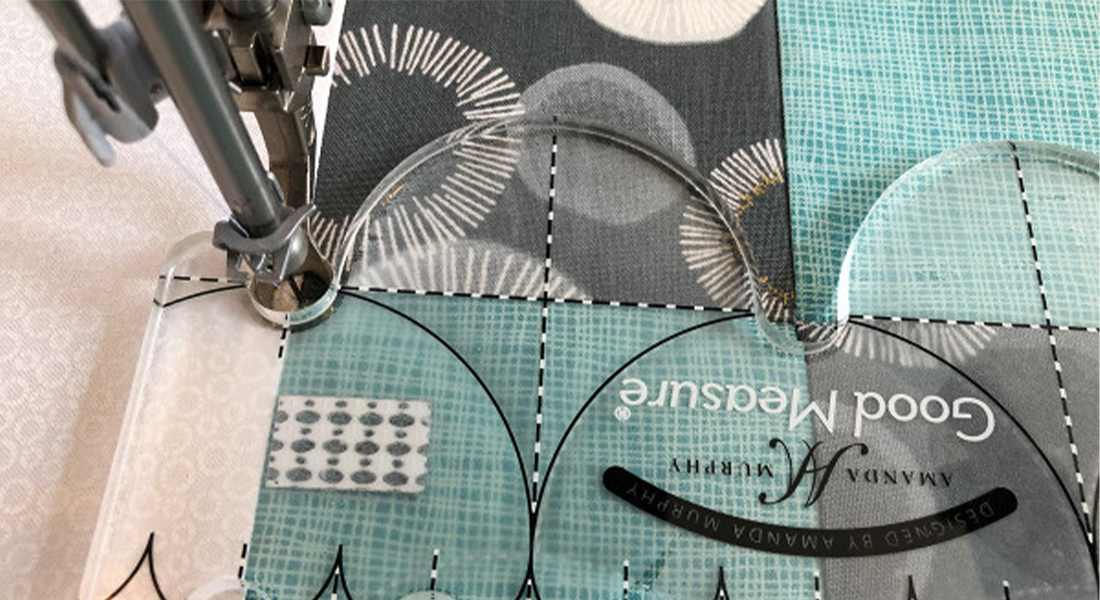
Using BERNINA Presser Foot 20C made stitching a breeze. Since it is the open embroidery presser foot, I can clearly see where I need to stop stitching. Remember, there will be areas of stitching where you will need to stop 3/8 inch from the raw edge, while meeting already sewn lines in other places. This foot allows you to see where exactly to start and stop stitching.
Whichever foot you find helps you to conquer the task of stitching your rectangles together; Be certain to let your machine know what foot it is (if your machine allows). I always use this feature on my BERNINA 790 PLUS. My second choice for stitching would be presser foot #97. It is a single hole foot and in combination with the 0mm needle plate, it makes for quite the dynamic duo for this patchwork and keeps your sewing machine from eating the fabric.
I hope you found this beginner-friendly sewing project to be enjoyable. I have more posts such as this on the way. Feel free to follow me on Instagram and Tiktok for new tutorials, tutorial updates and more!
Happy Sewing!!
