Casserole Carrier
Hello fellow makers,
Thanksgiving is around the corner and you’re probably planning ahead on what food to make for your family and friends, I know I am! This year, I’m in charge of bringing something savory. I’m thinking about making mashed potatoes or green bean casserole, but I want to make sure that can bring my casserole safely to the event without accidentally spilling.

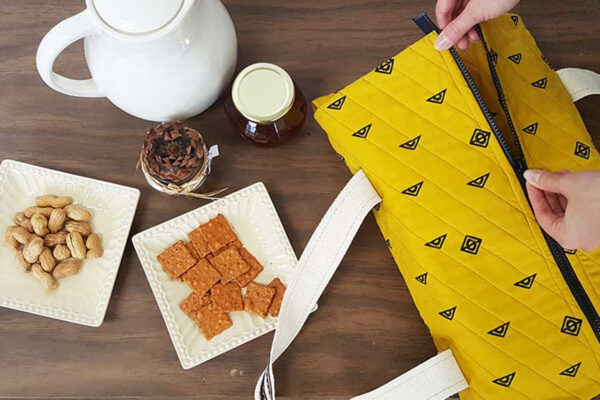
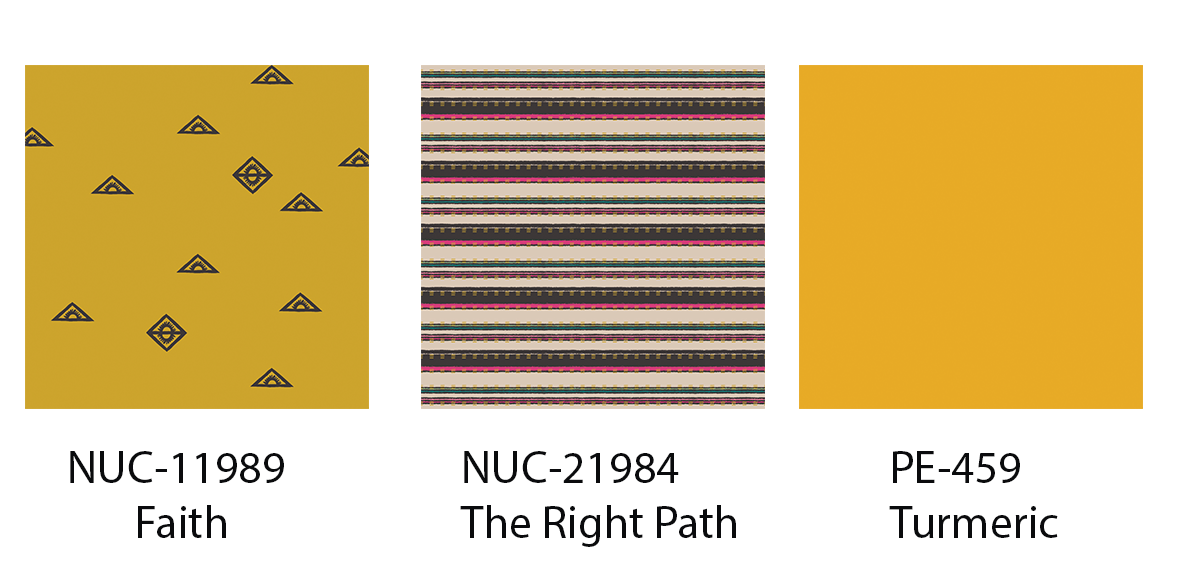
I decided to create a casserole carrier with my fabric collection called Nuncia. This collection is very special to me because it was inspired by the relationship with my mother and the amazing lessons she left for me. Because I’m going to be cooking this year and and making this casserole carrier with my fabrics, it means a lot to me! I decided to use “Faith” as the main print for the Casserole Carrier and paired it with “The Right Path” for the handles and the Art Gallery Fabrics Pure Solids, Turmeric, for the lining of the carrier. I tried out something different for the construction of this project, which you will see on my step by step tutorial. Hope you have a delightful holiday and enjoy making your own Casserole Carrier!
Materials to Make a Casserole Carrier
- Hard Fusible Interfacing
- Quilting and Sewing thread
- Batting
- 17” Separating Zipper (depending on the size of your casserole carrier)
- Quilt Basting Spray
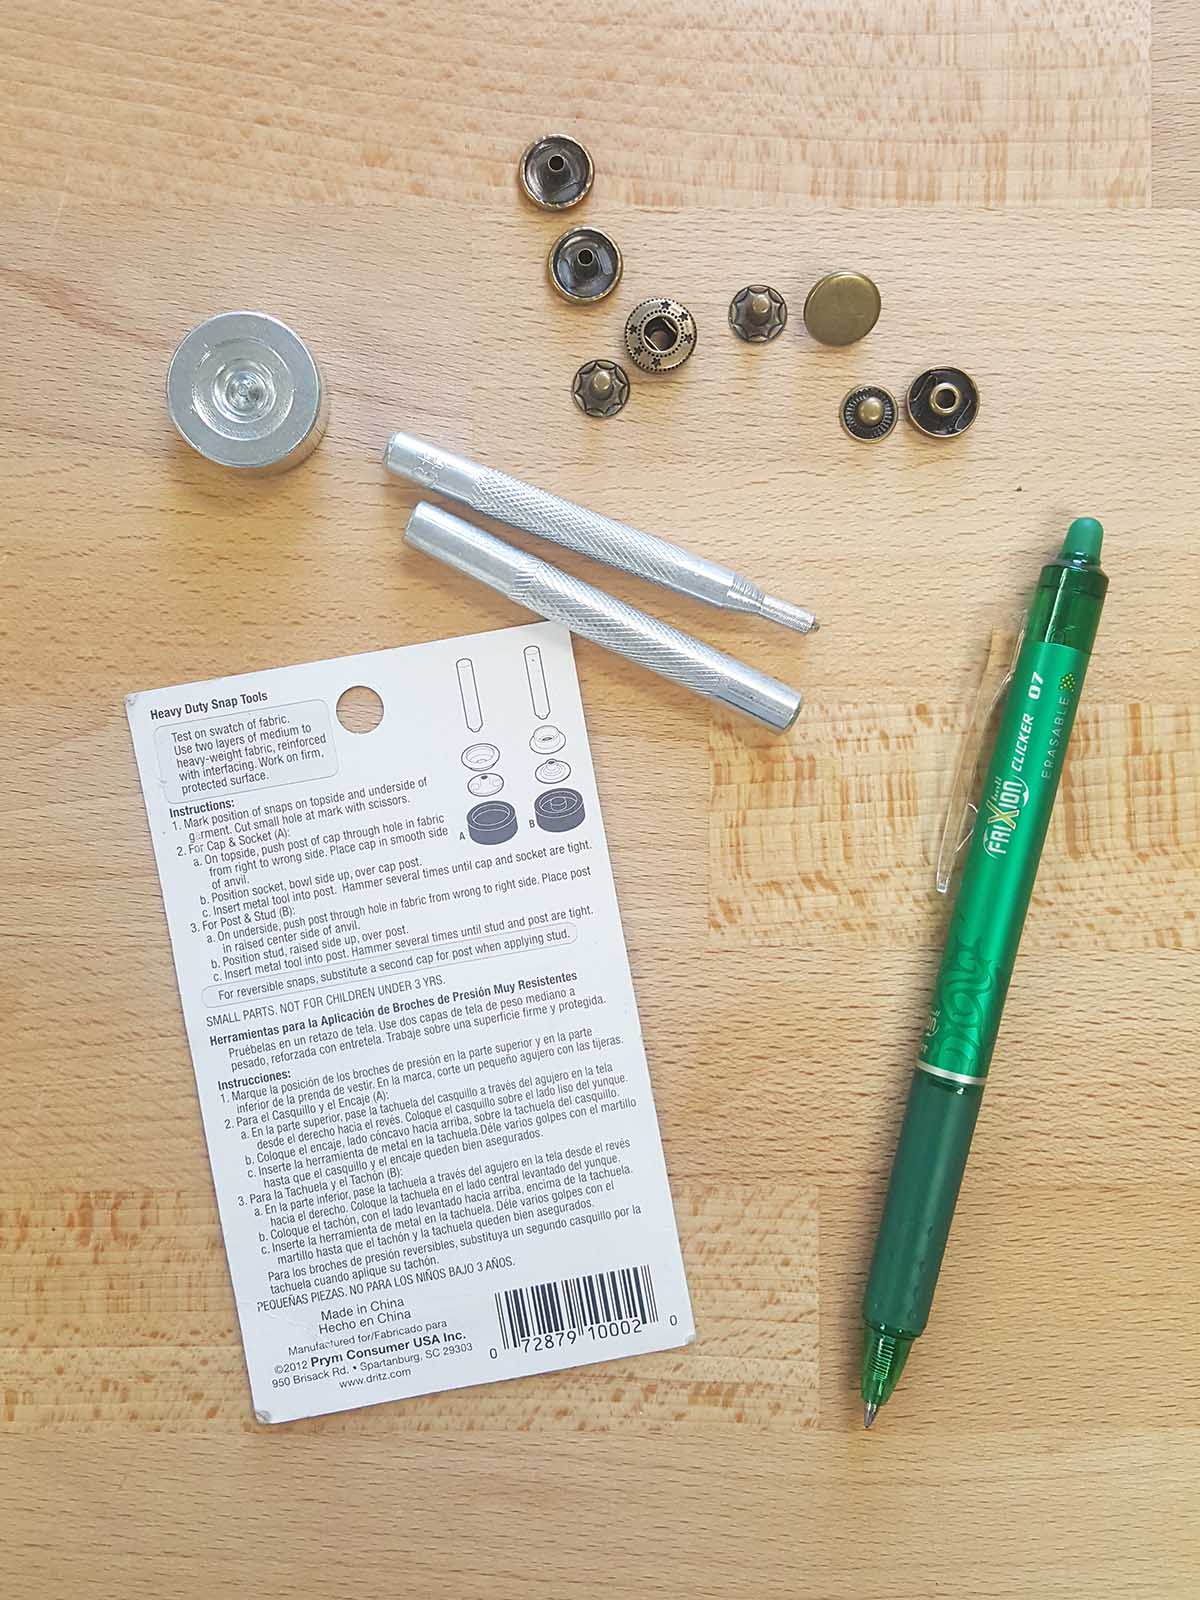
- Snap Fastener kit
- Reverse Pattern foot #1D
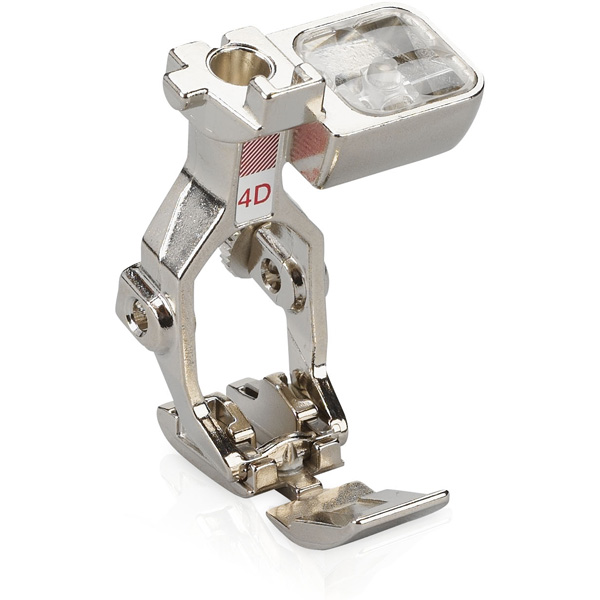
- Zipper foot #4D
- 70” Cotton webbing
Cutting Directions to Make a Casserole Carrier
Cut the fabrics as follows:
- One (1) 36 1/8” x WOF (width of fabric) from Fabric A and Fabric C
- One (1) 36 1/8” x 42” of batting
- Two (2) 9 1/2” x 15 1/2” rectangles from Fabric A
- One (1) 9 1/2” x 15 1/2” rectangle from Hard Fusible
- Two (2) 2” x WOF strips from Fabric B
Note: The size of the Casserole Carrier is based on the size of a casserole I own. Feel free to modify the measurements given in order to adapt to your own casserole.
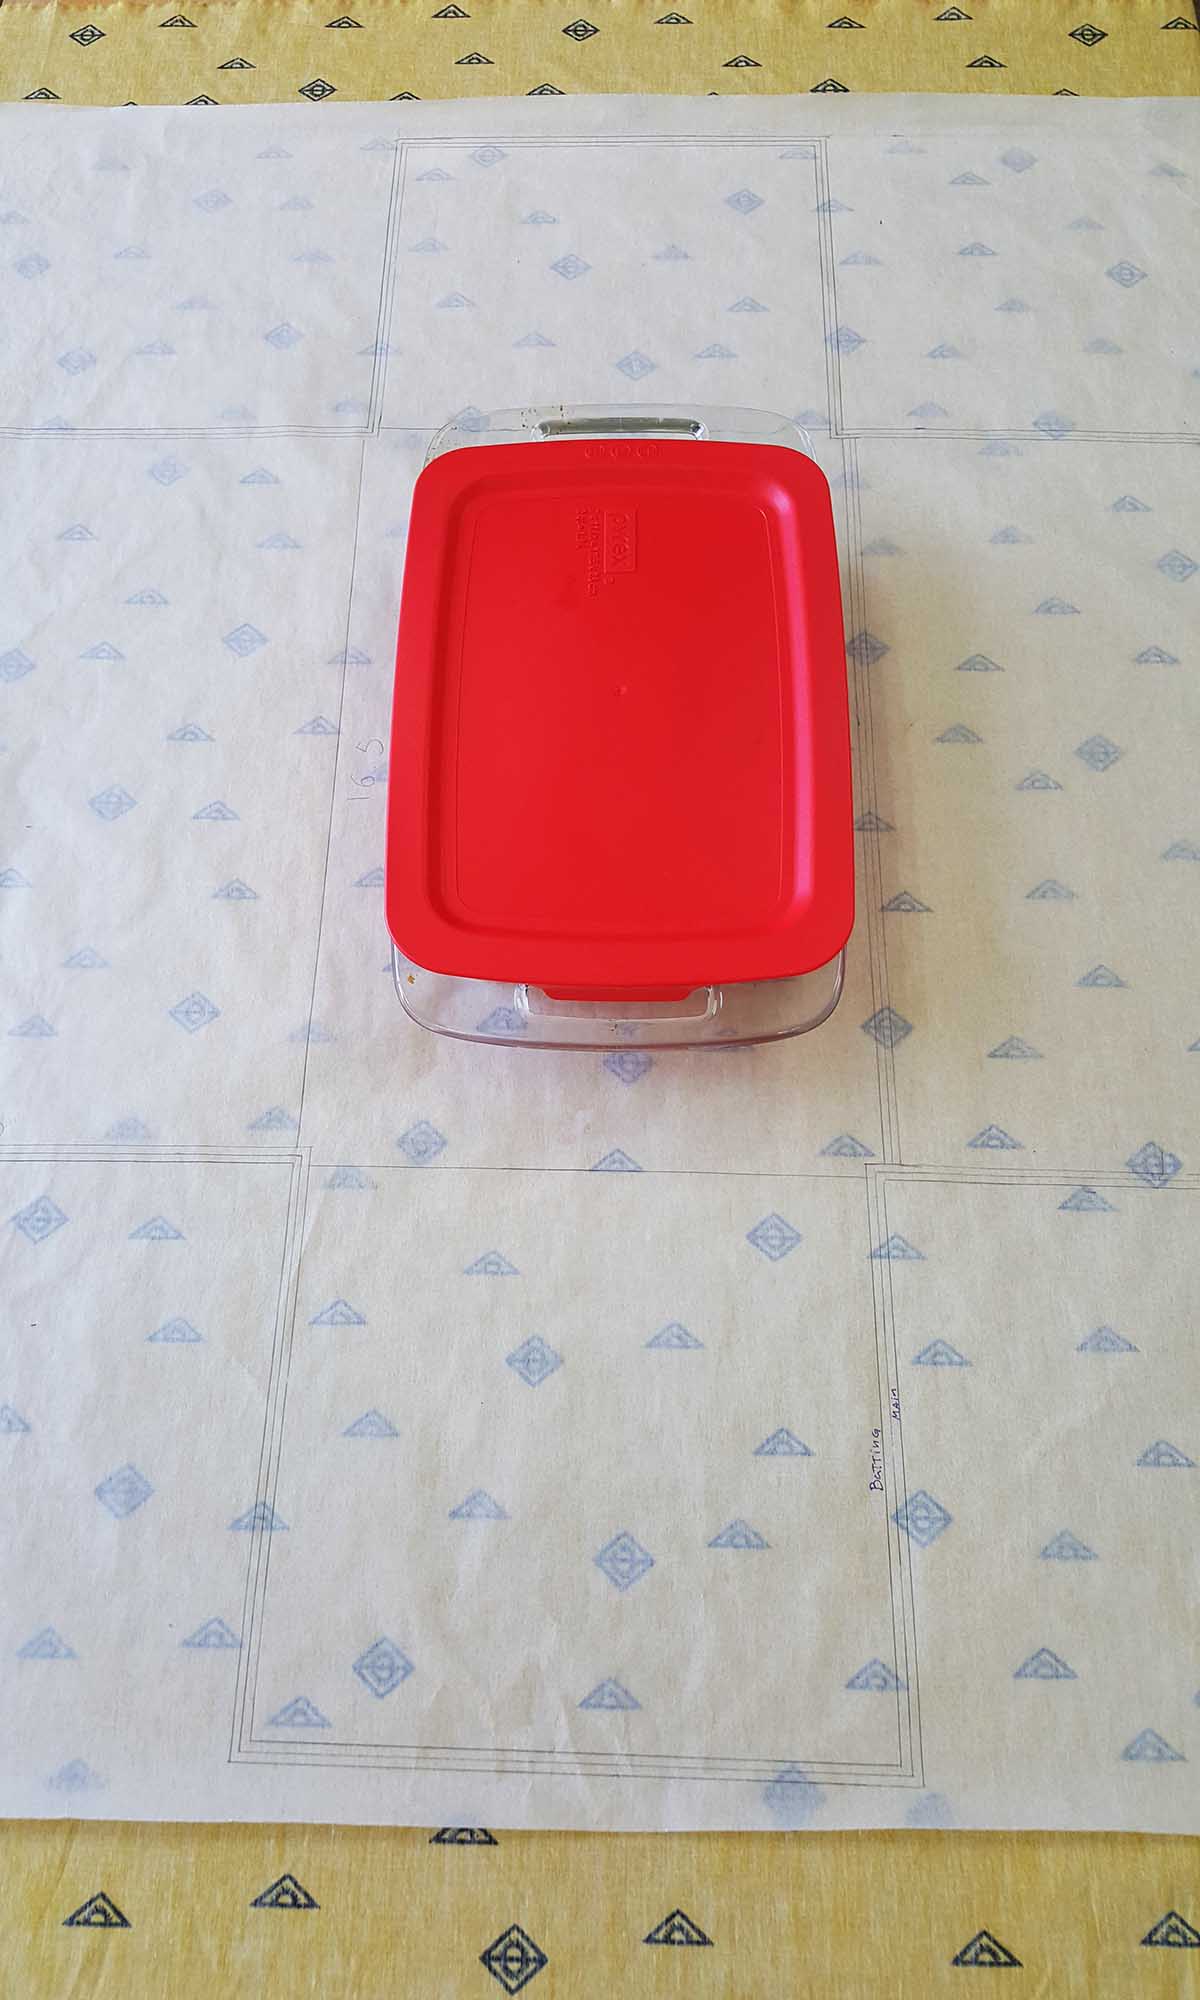
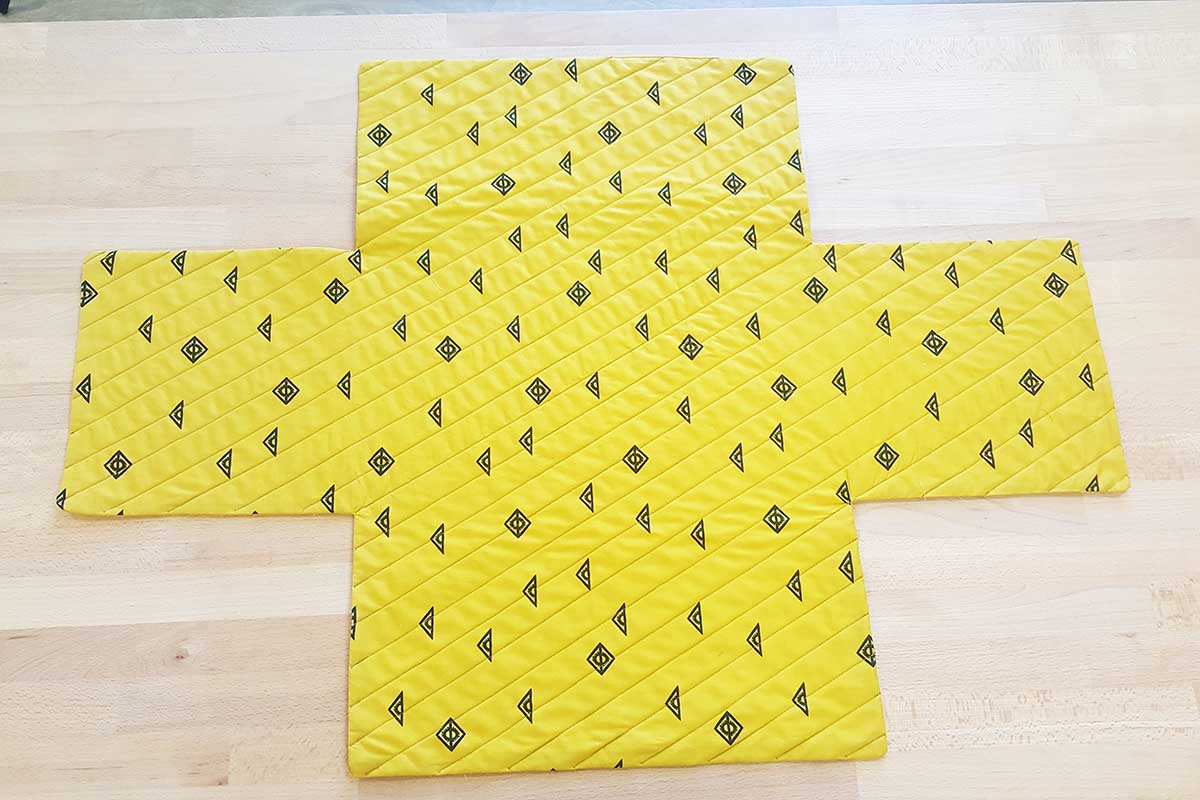
Step One: Cutting your pieces
Take your desired casserole and measure all around. The size that I used was an 8” x 13”. Add about 2”-3” for the height and 1”- 1 1/2” for the width, for the right and left flaps. The top and bottom flaps, I reduced the height to 9 1/2” x 9 1/2”. Once you have traced the template, place it on top of Fabric A.
Note: Feel free to add or reduce these measurements according to your casserole.
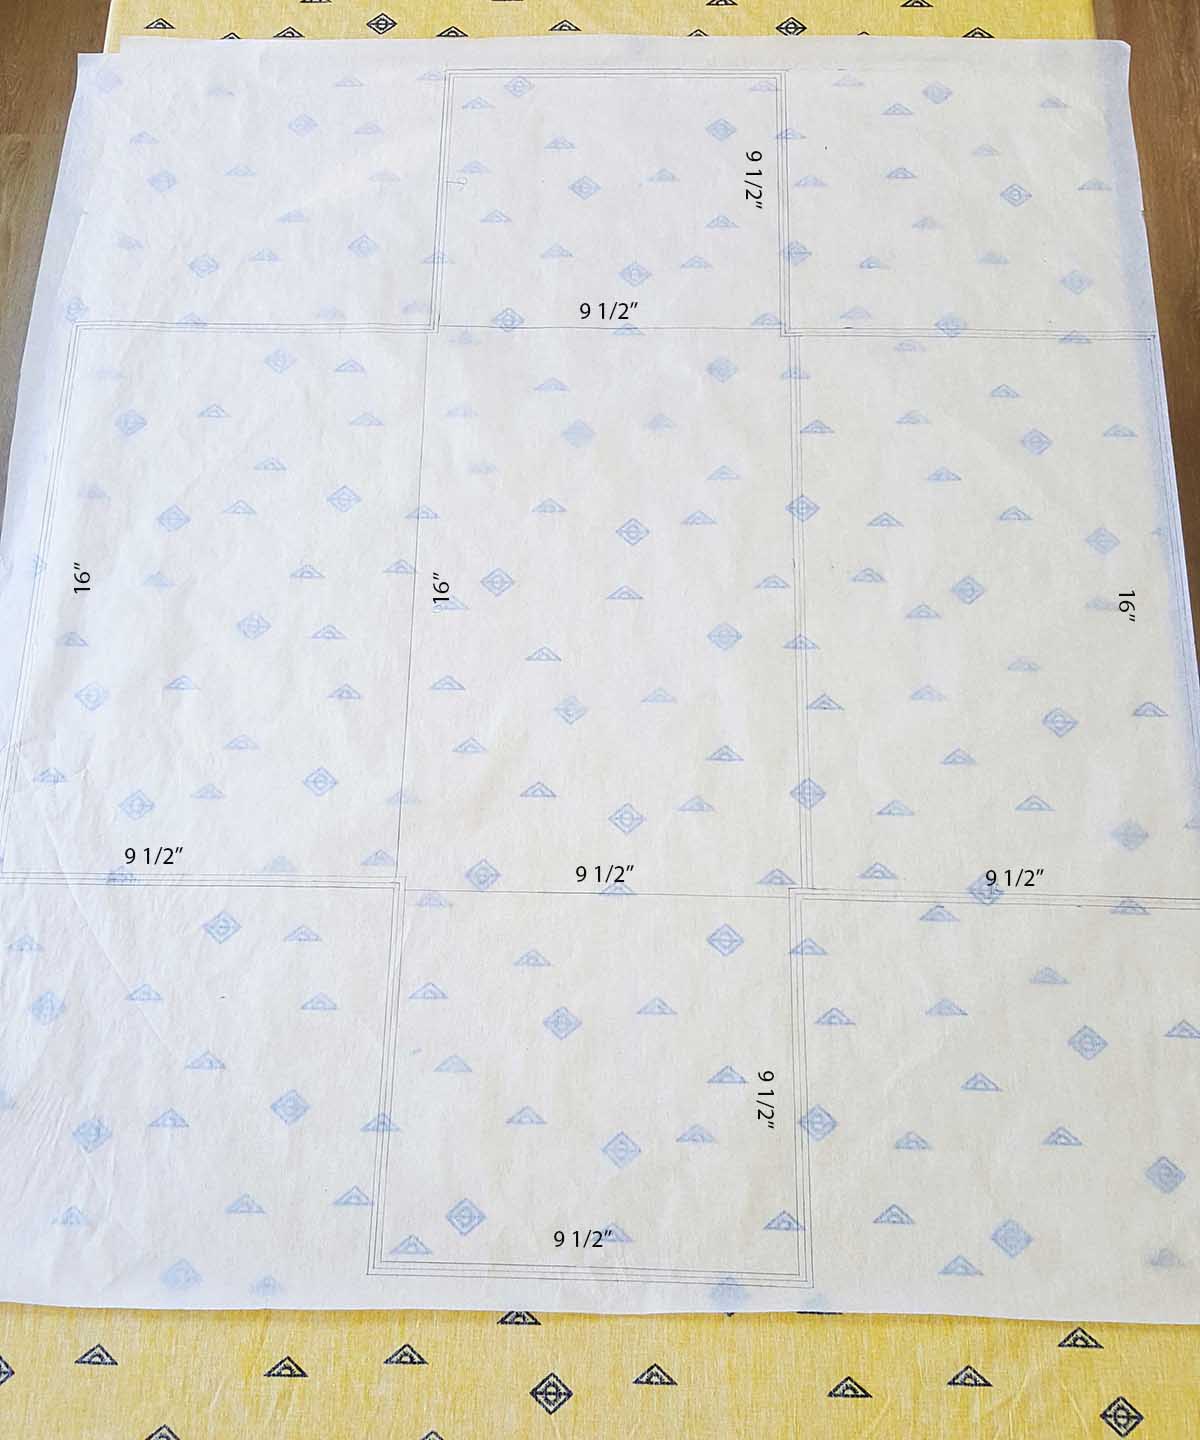
Pin your piece all around and use a ruler and rotary cutter to cut your template.
Repeat the same for Fabric C lining piece.

For the batting, I decided to cut 1/4” smaller. Use your template to mark and guide yourself when cutting. The reason for cutting it smaller is because I wanted to avoid bulky seam allowance when making this casserole carrier.
Step Two: Applying Quilt Basting Spray
Once you have all three pieces cut out, place Fabric A and Fabric C right sides facing and on top of Fabric C place the batting.
Now, we are going to use the Quilt Basting Spray.
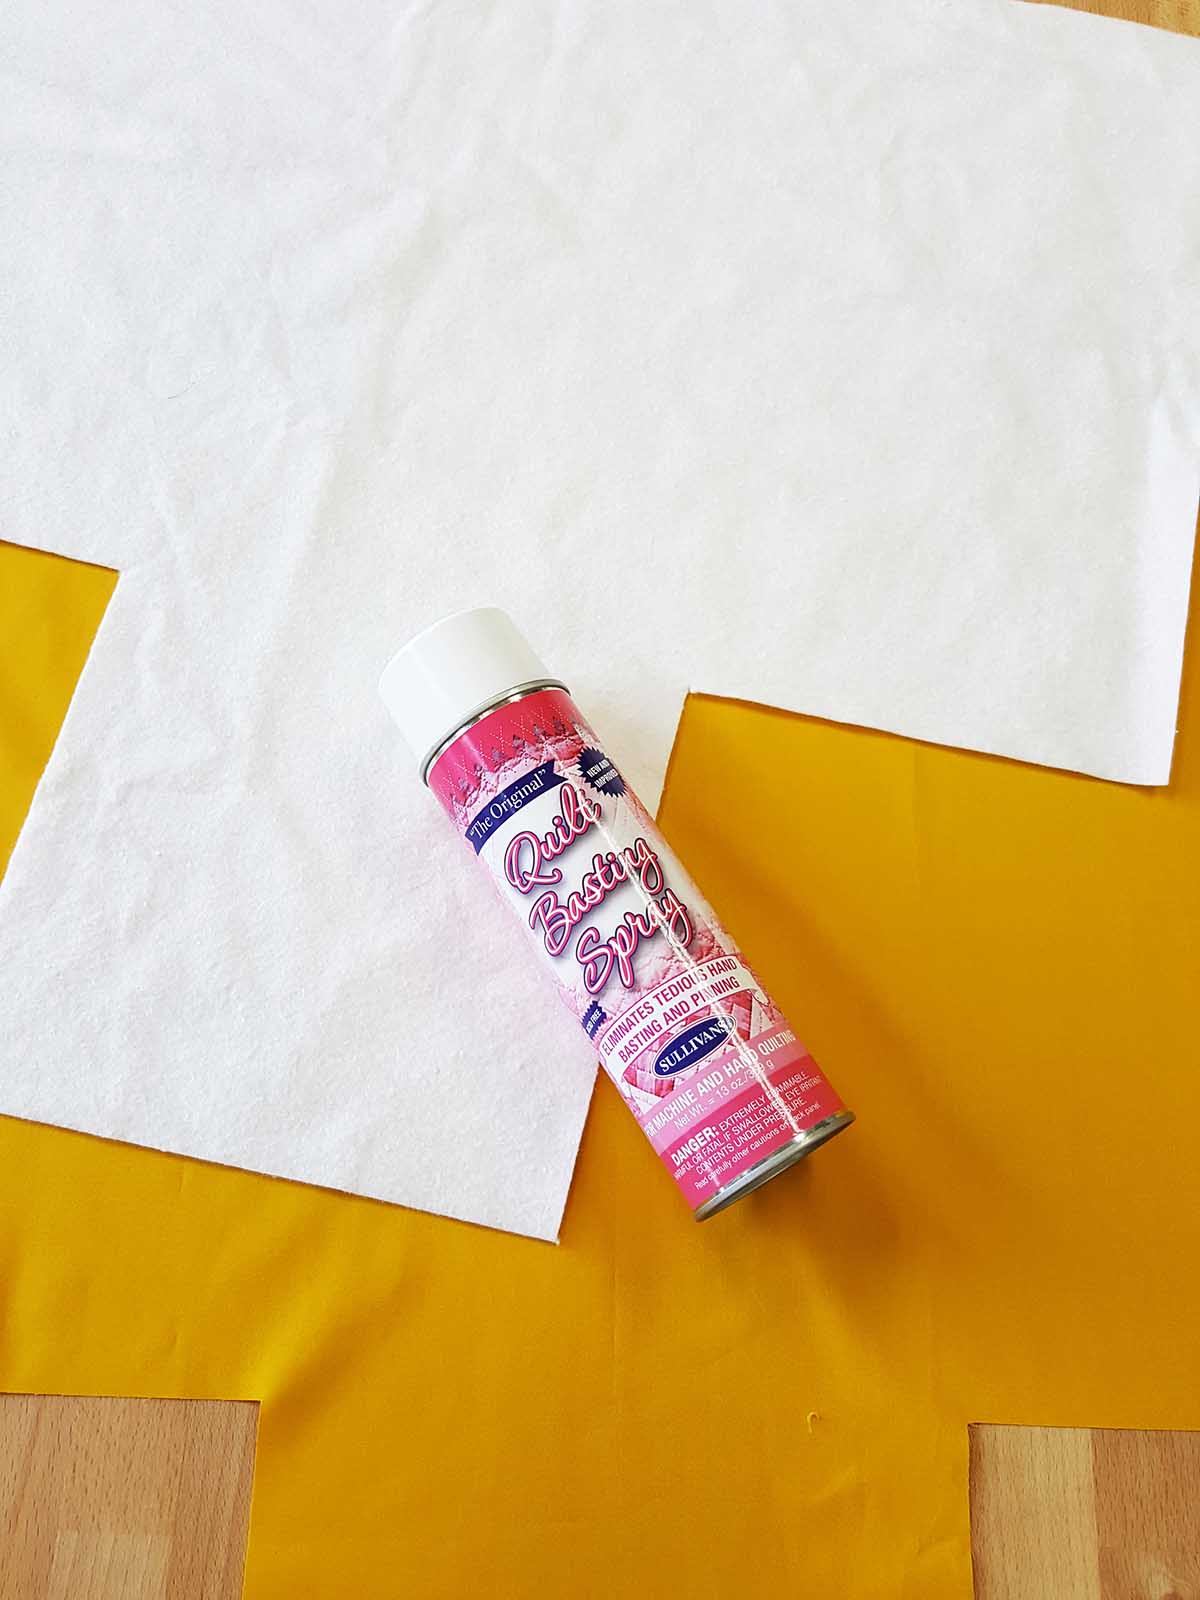
Follow the instruction on using the basting spray and start applying on the fabric. I sprayed the lining fabric on one side of the unit, from the center out and using my hand I slowly placed the batting on top of the sprayed side of the fabric. Repeat again on the other half of the unit.

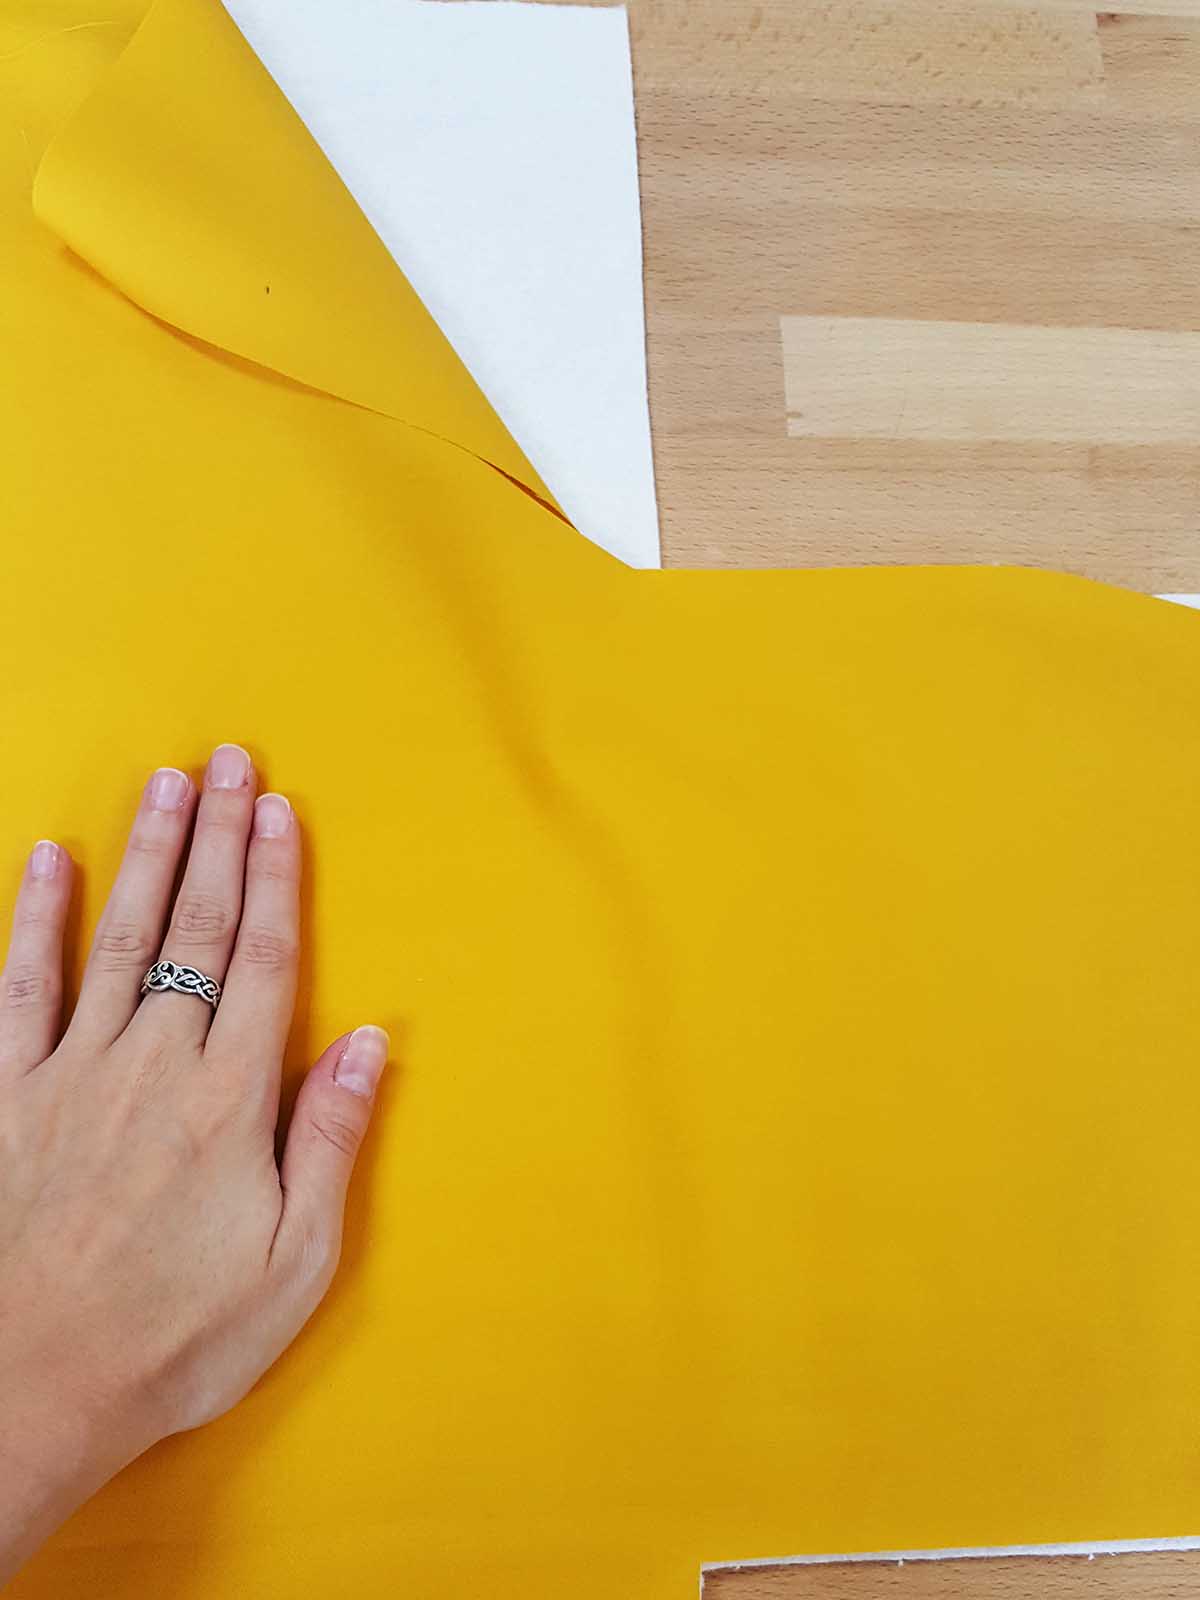
Steam lightly with an iron.

Note: If you are not confident on using the spray, just pin all your pieces together.
Step Three: Sewing your piece
Start sewing all around the unit at a 3/8” seam allowance, leaving a 4” opening on one side of the piece so you can turn inside out.

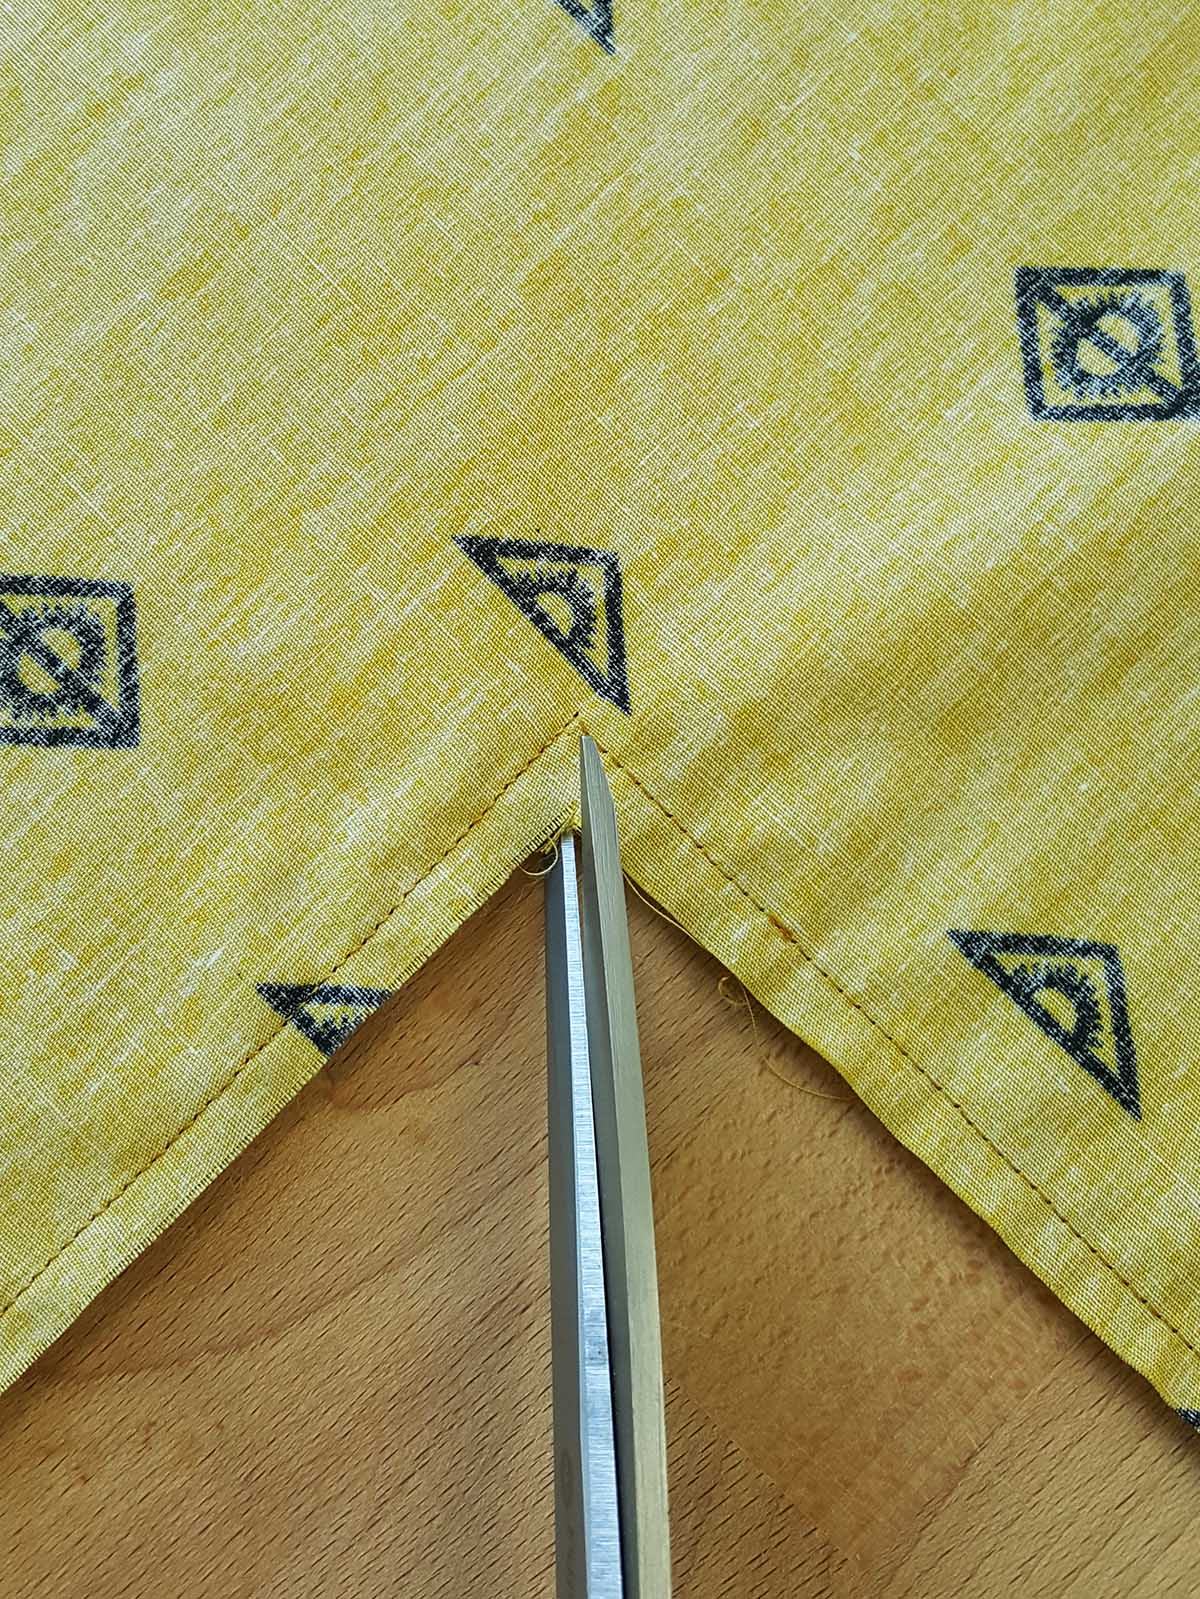
Once you finish sewing all your sides, trim the corner edges close to the stitching. This will release the tension of the corners when you turn your piece.
Flip your piece inside out, and press.
Machine or hand stitch the opening closed.
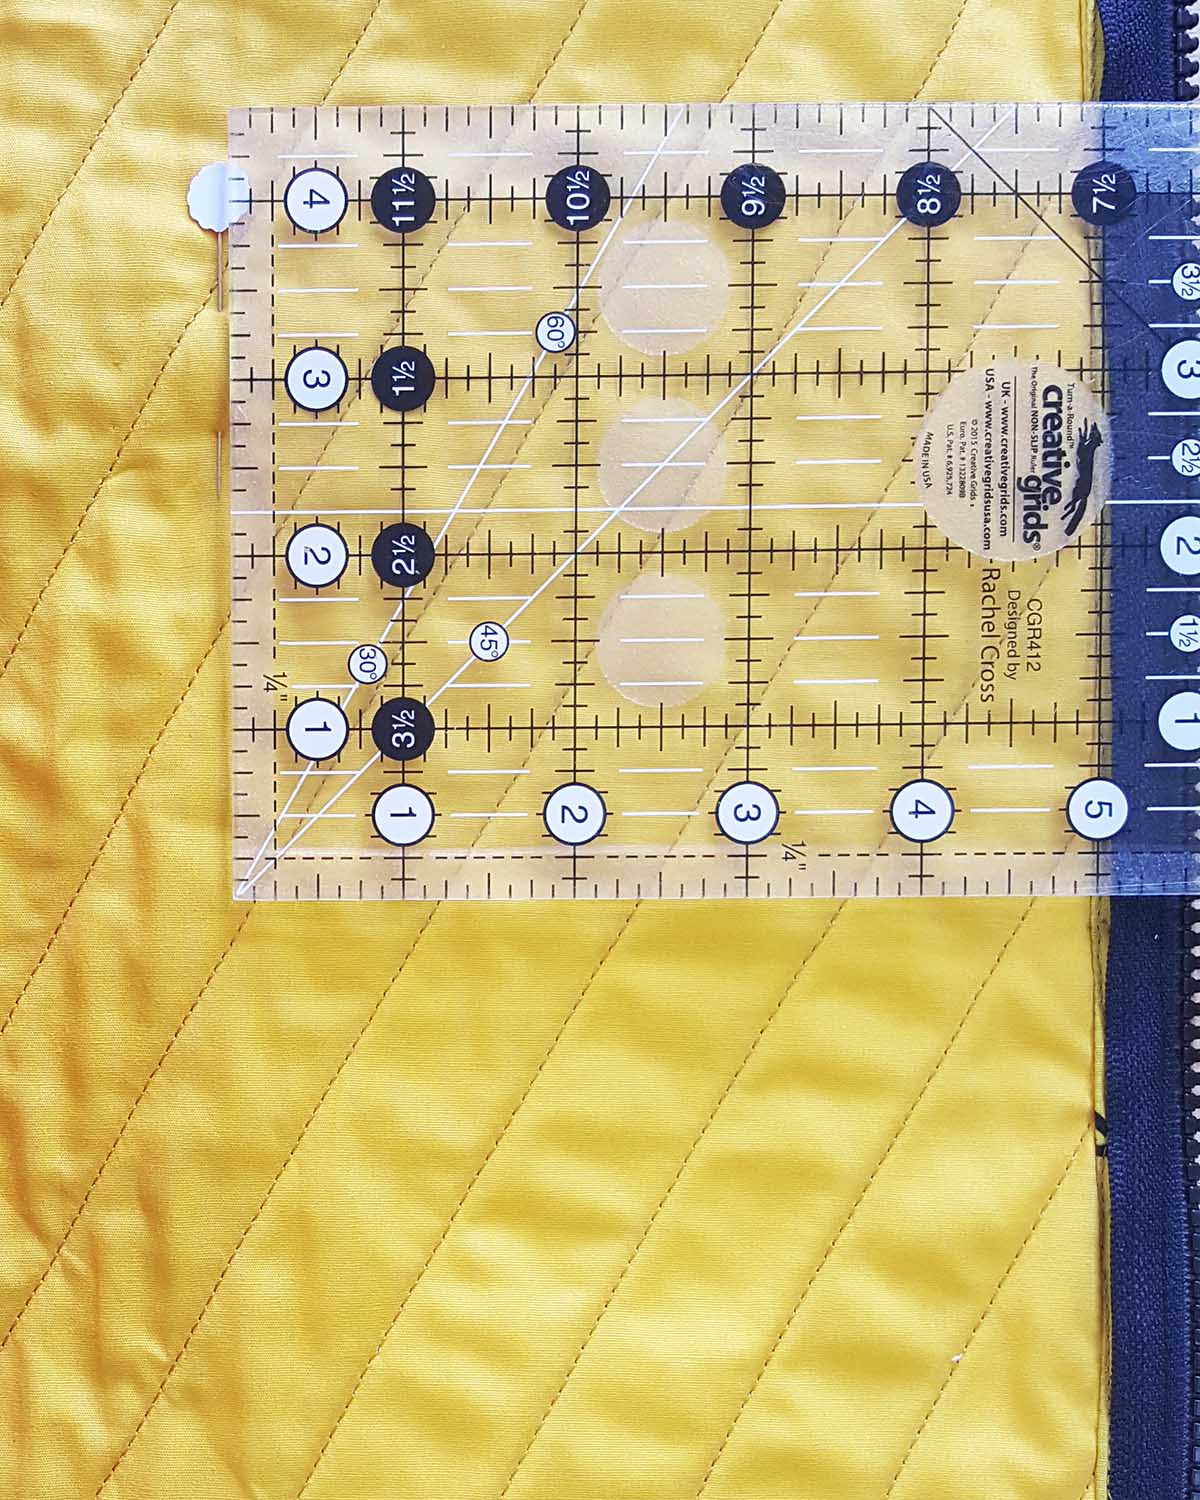
Step Four: Quilting your piece
Mark your quilt motif. In this case, I decided to do diagonal lines on one direction every 1”. I marked all the lines with water soluble pen which later disappears when pressing with the iron. Using the Reverse pattern foot #1D I was able to make perfect stitch lines.
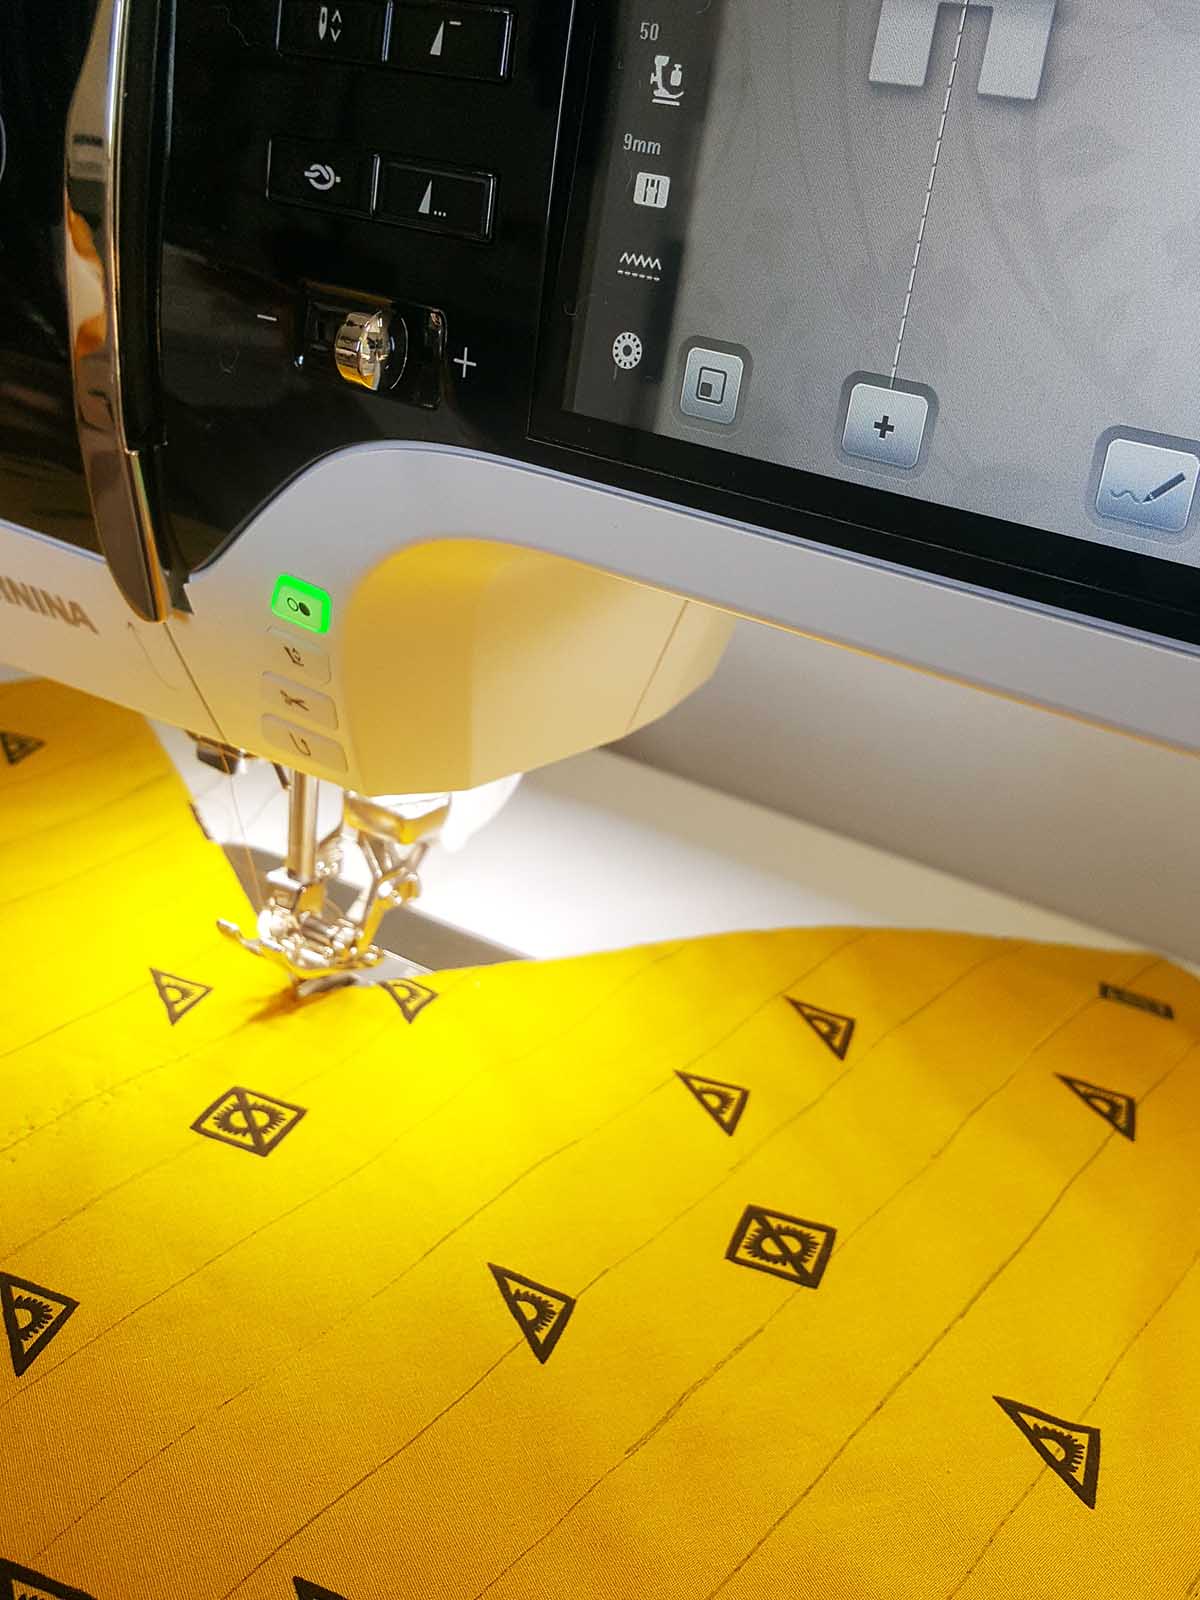
Make sure your piece is flat and that there is no extra fabric. Because your are quilting on a finished product, back stitch on the beginning and end of each line. Trim your threads.

Press your piece. Now you have your piece all quilted on both sides. This technique makes it faster to build your casserole carrier since your are quilting your main and lining fabric at the same time while having a clean finish at the same time.

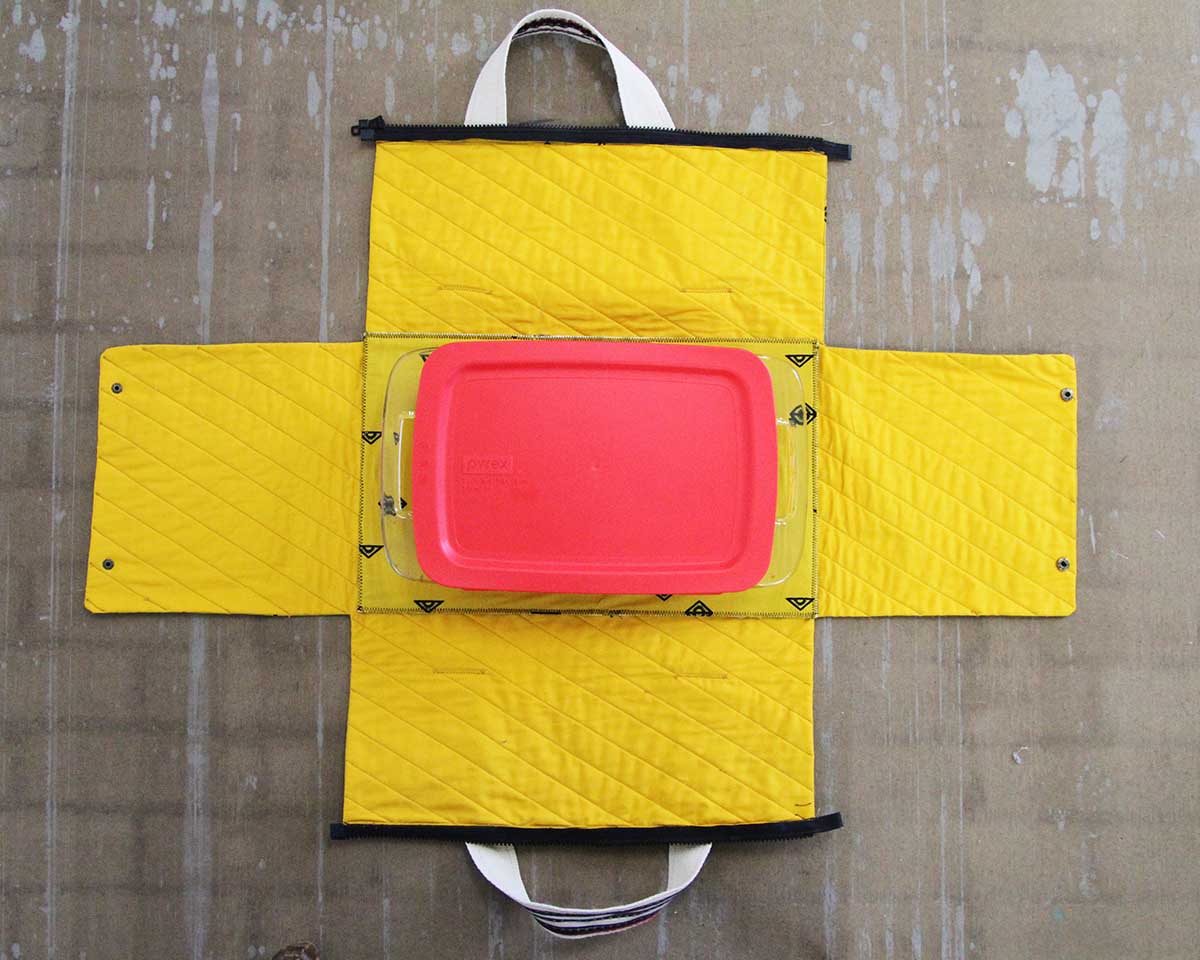
Step Five: Placing the Snaps Fasteners
Follow the manufacturer’s instructions, apply the snap fasteners.
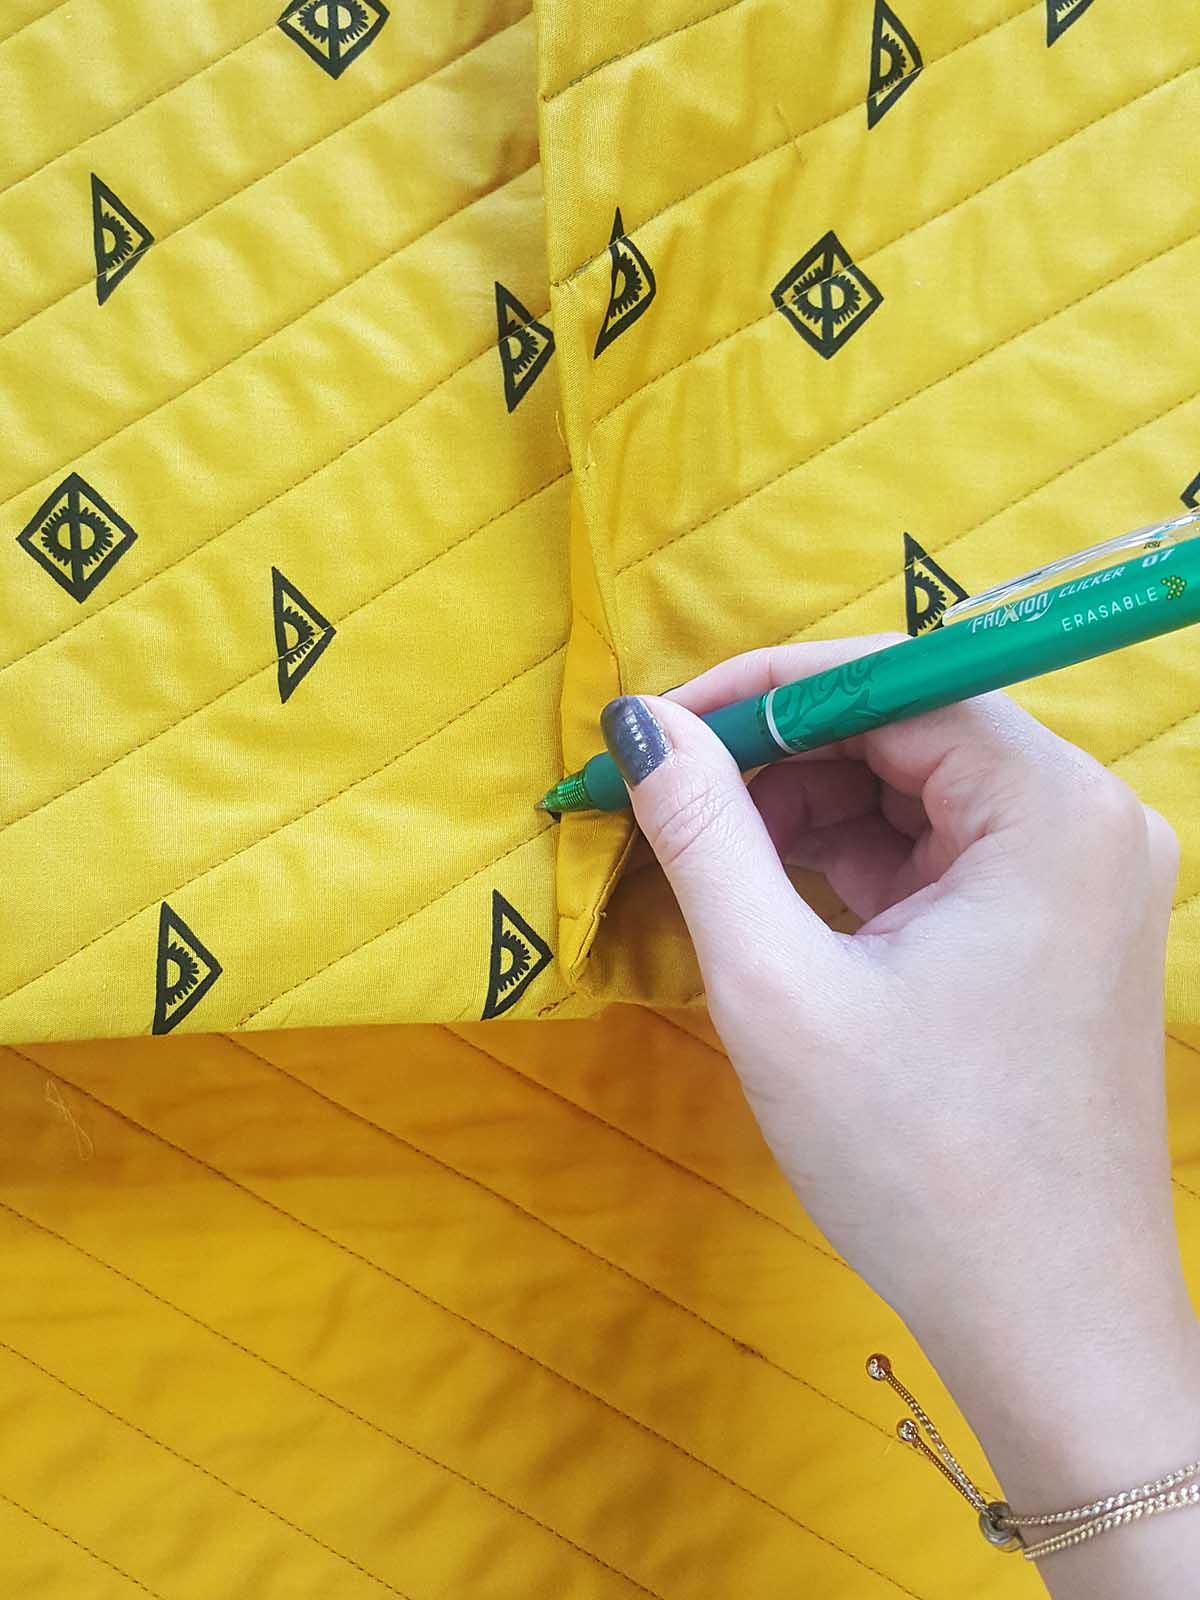
Take your casserole and place it on your casserole carrier grabbing the smaller flaps to calculate your snap placements.
Use a water soluble pen to mark four dots and making sure they are marked in the same position.

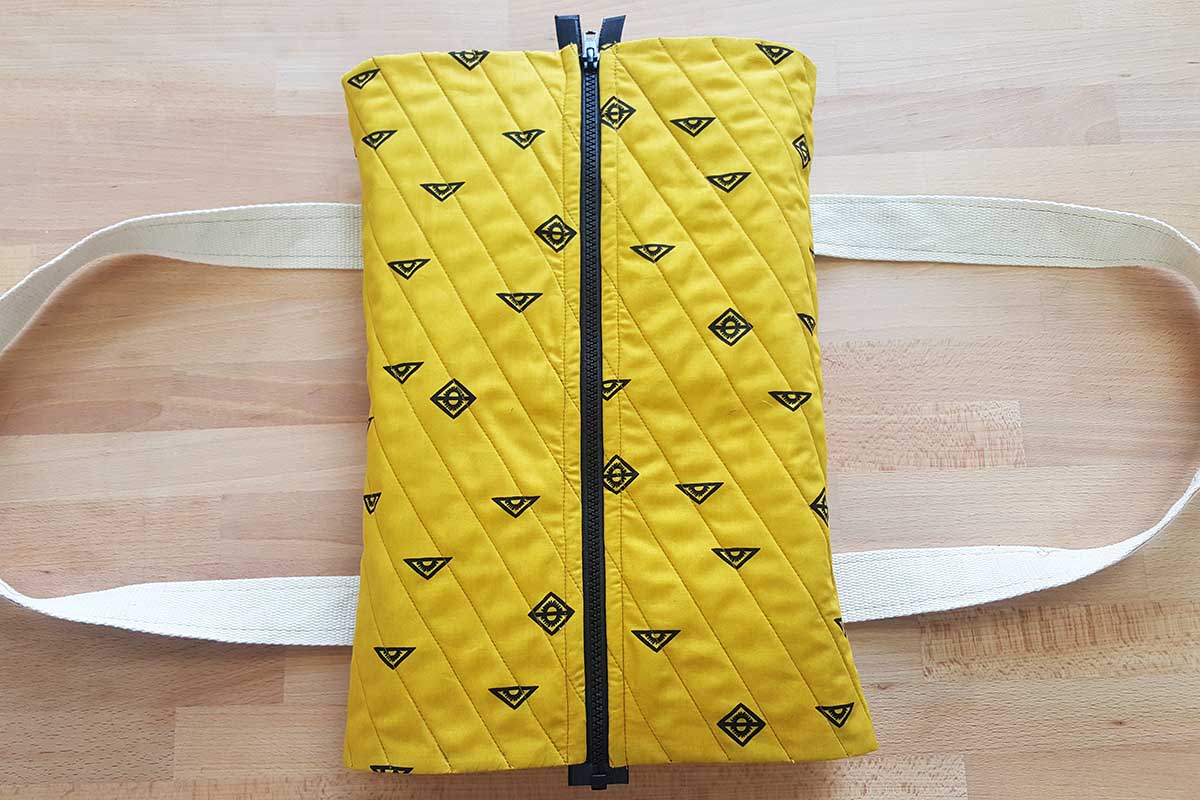
Step Five: Applying your Zipper
Using the Zipper Foot #4D, sew the separating zipper on the longer flaps parts of the casserole carrier.

Edgestitch your seam allowance to your lining piece to make sure it won’t get in the way when you zip and unzip your zip.
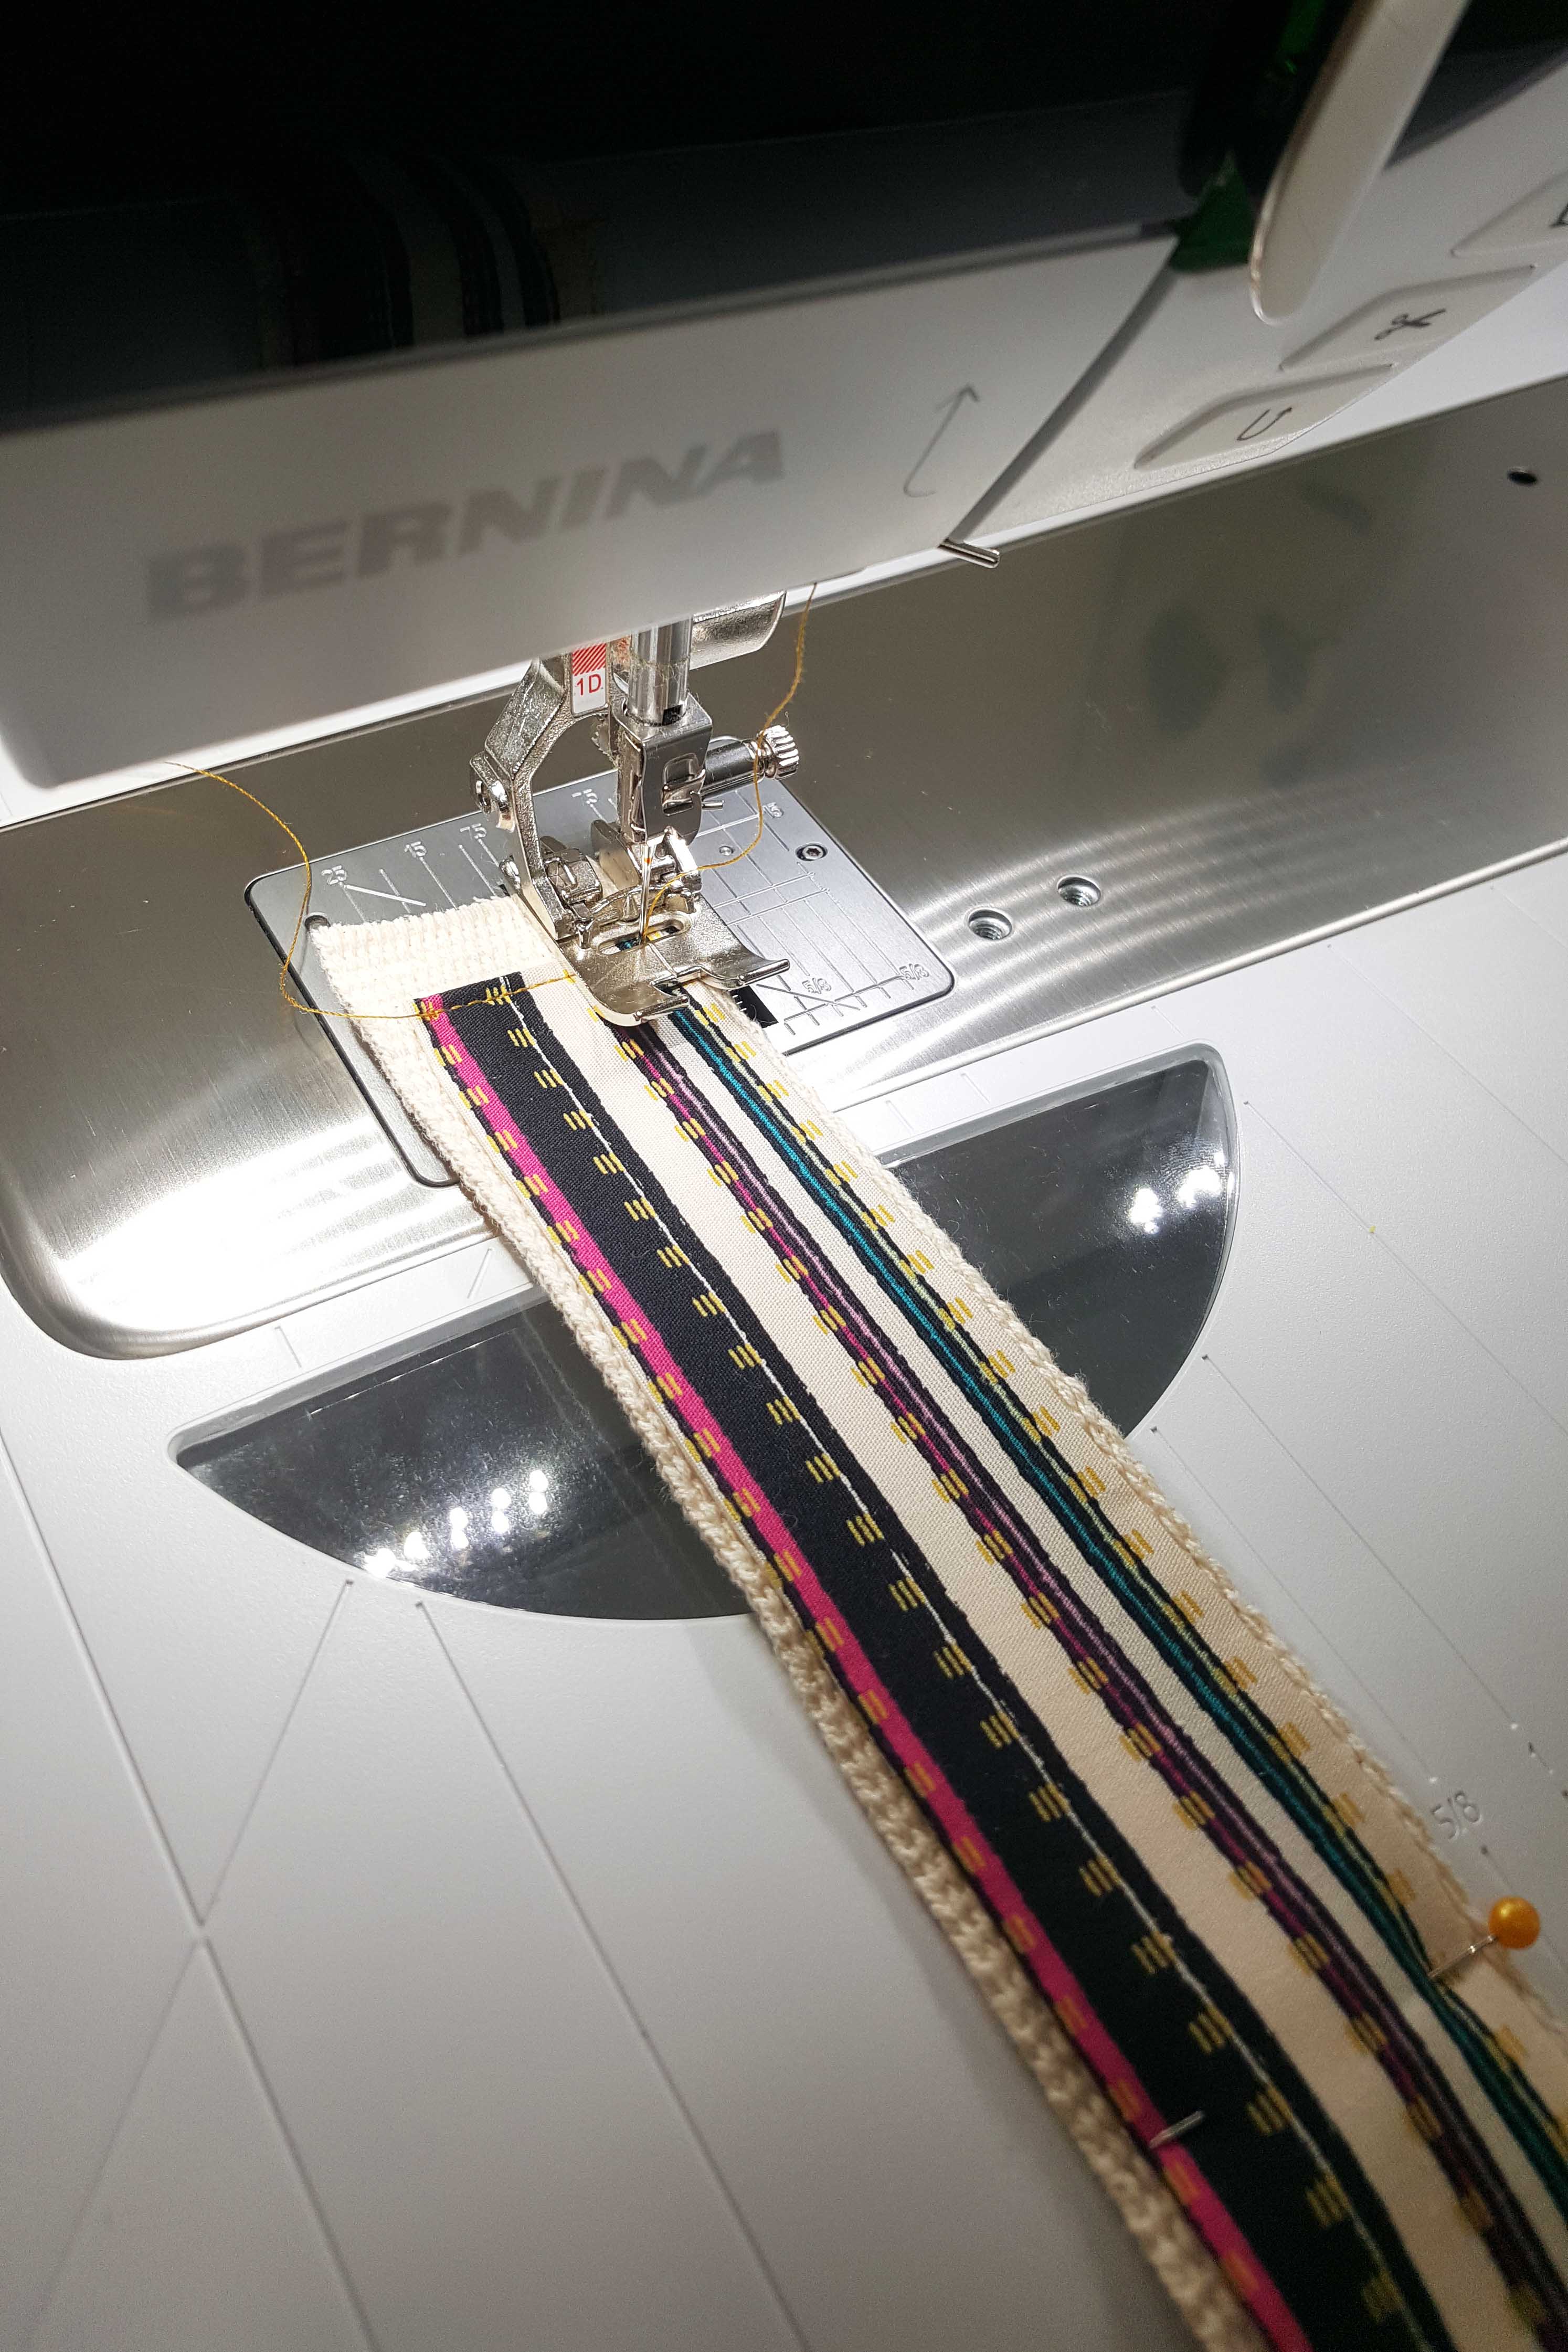
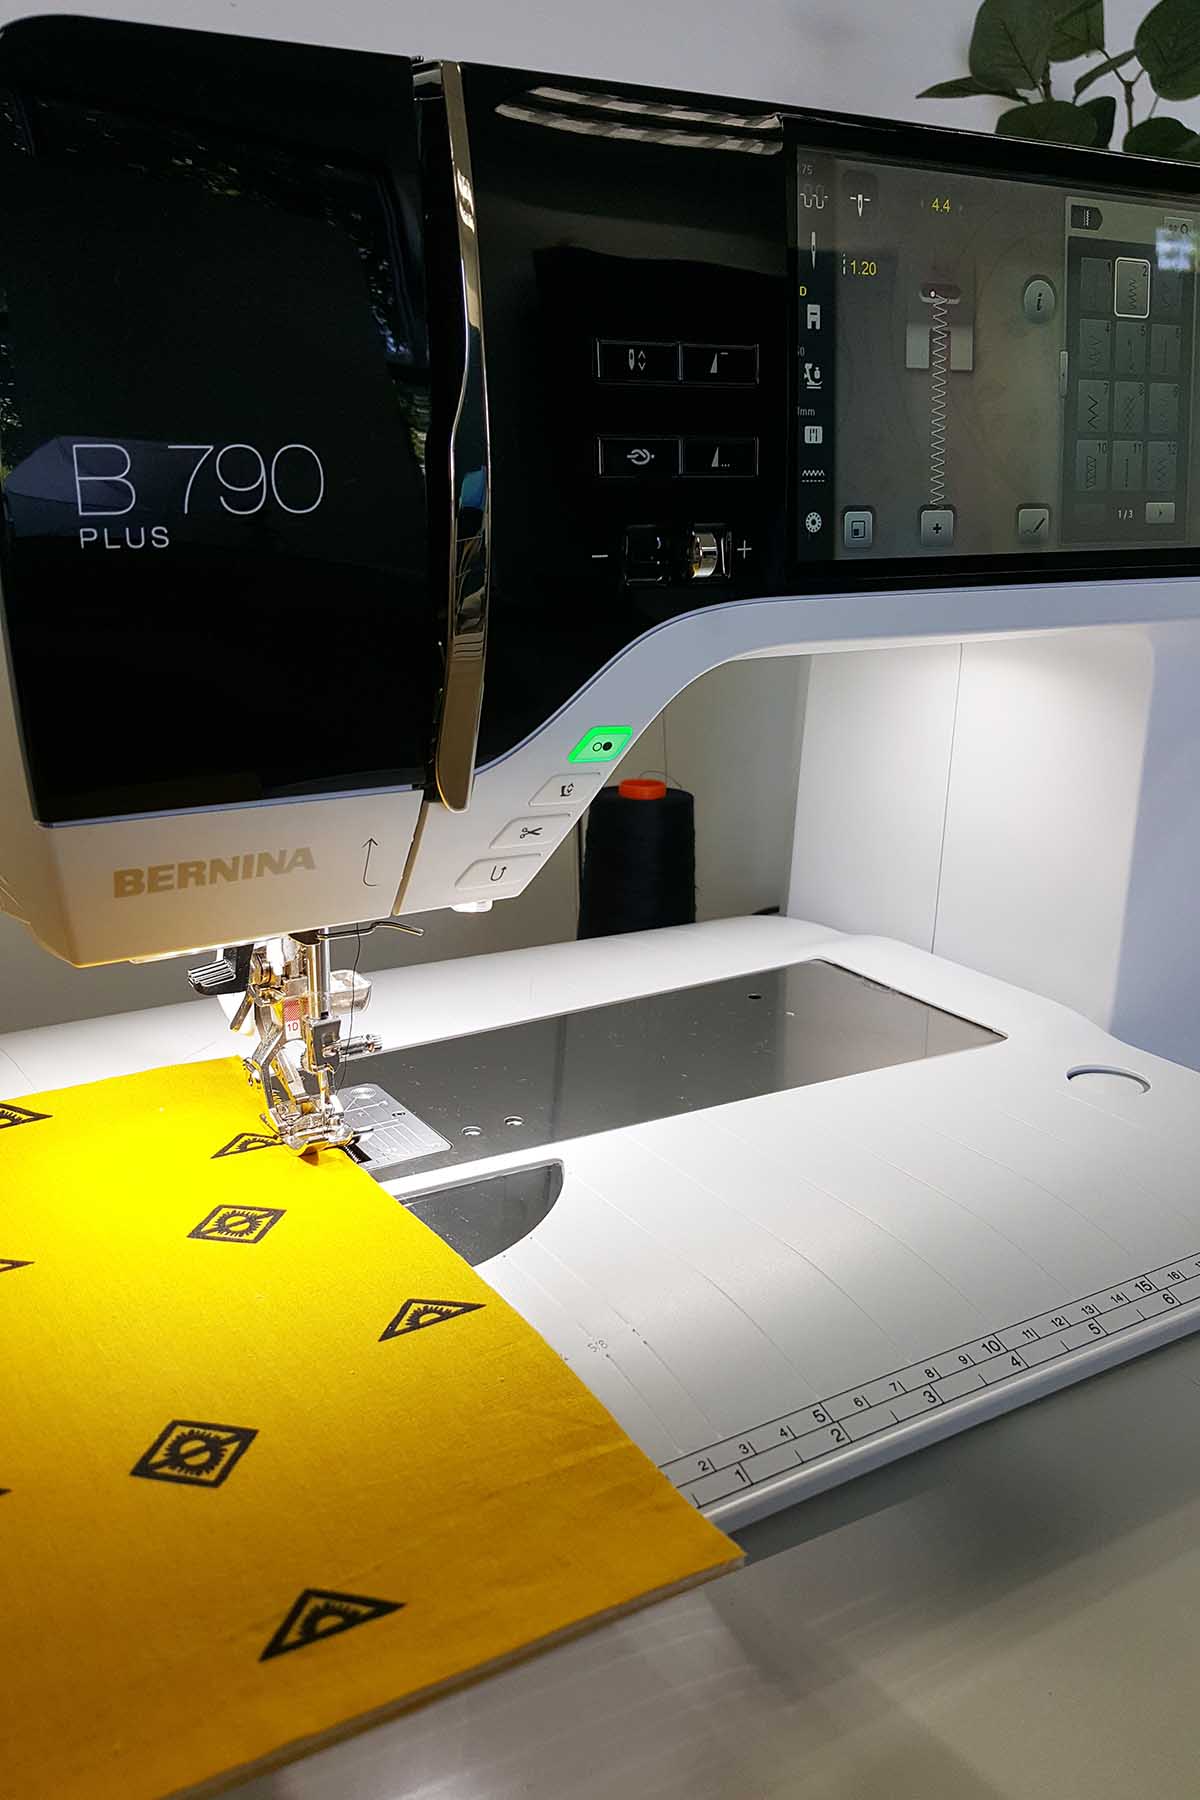
Step Six: Sewing the straps
For the straps, you will use 70” cotton webbing and two 2” strips from Fabric B

Take Fabric B strips and join them at the end, creating one long strip.
Fold the edges about 1/4” and press.
Pin Fabric B on one side of the cotton webbing strap and edge stitch all around.
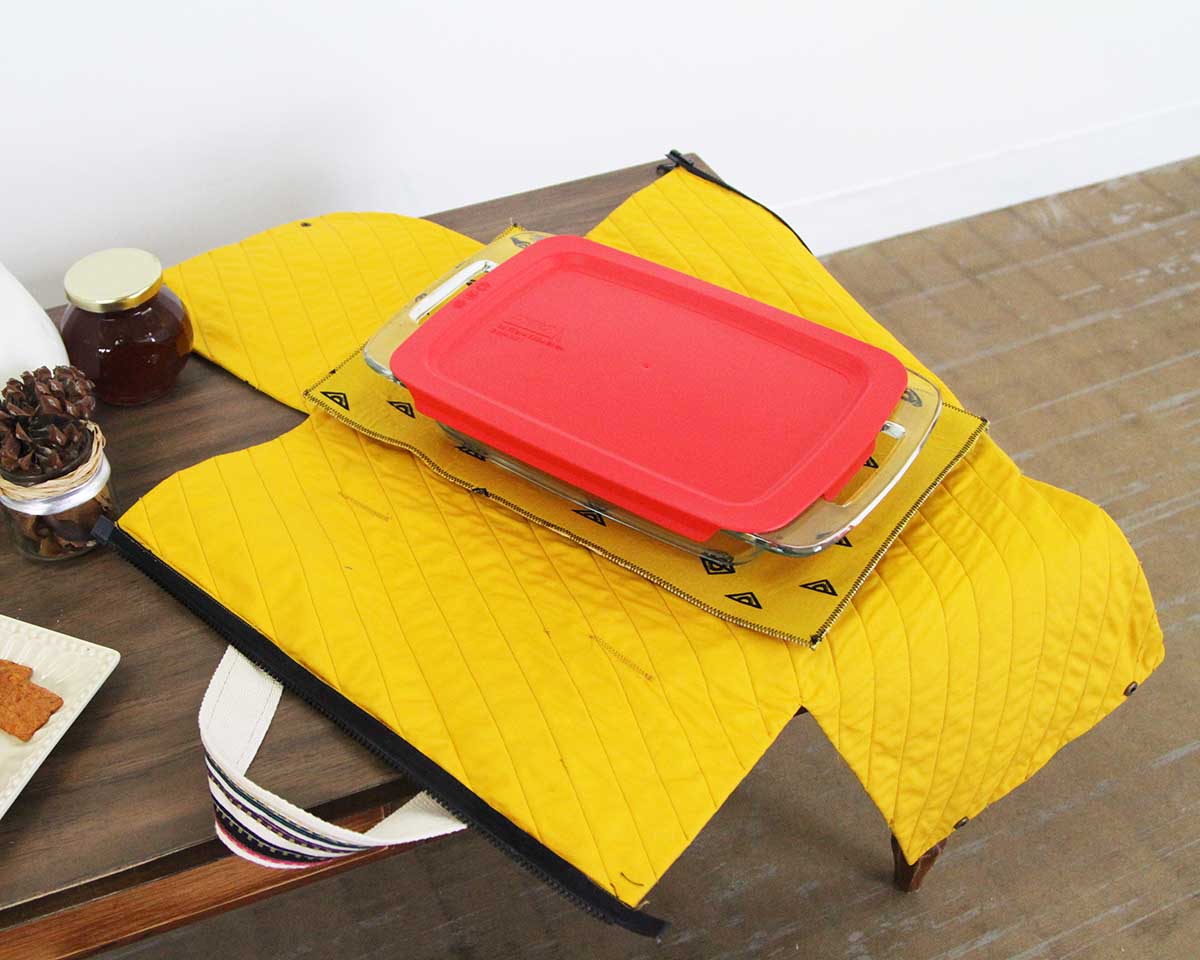
Lay your strap on a flat surface and place the casserole carrier on top.
Make sure the carrier is laying centered on the straps and pin the straps on the sides. I measured from the zipper to the center 5” and placed the pins, so they are sewn evenly. Pin the bottom and secure your straps with a zig zag stitch or any preferred stitching.
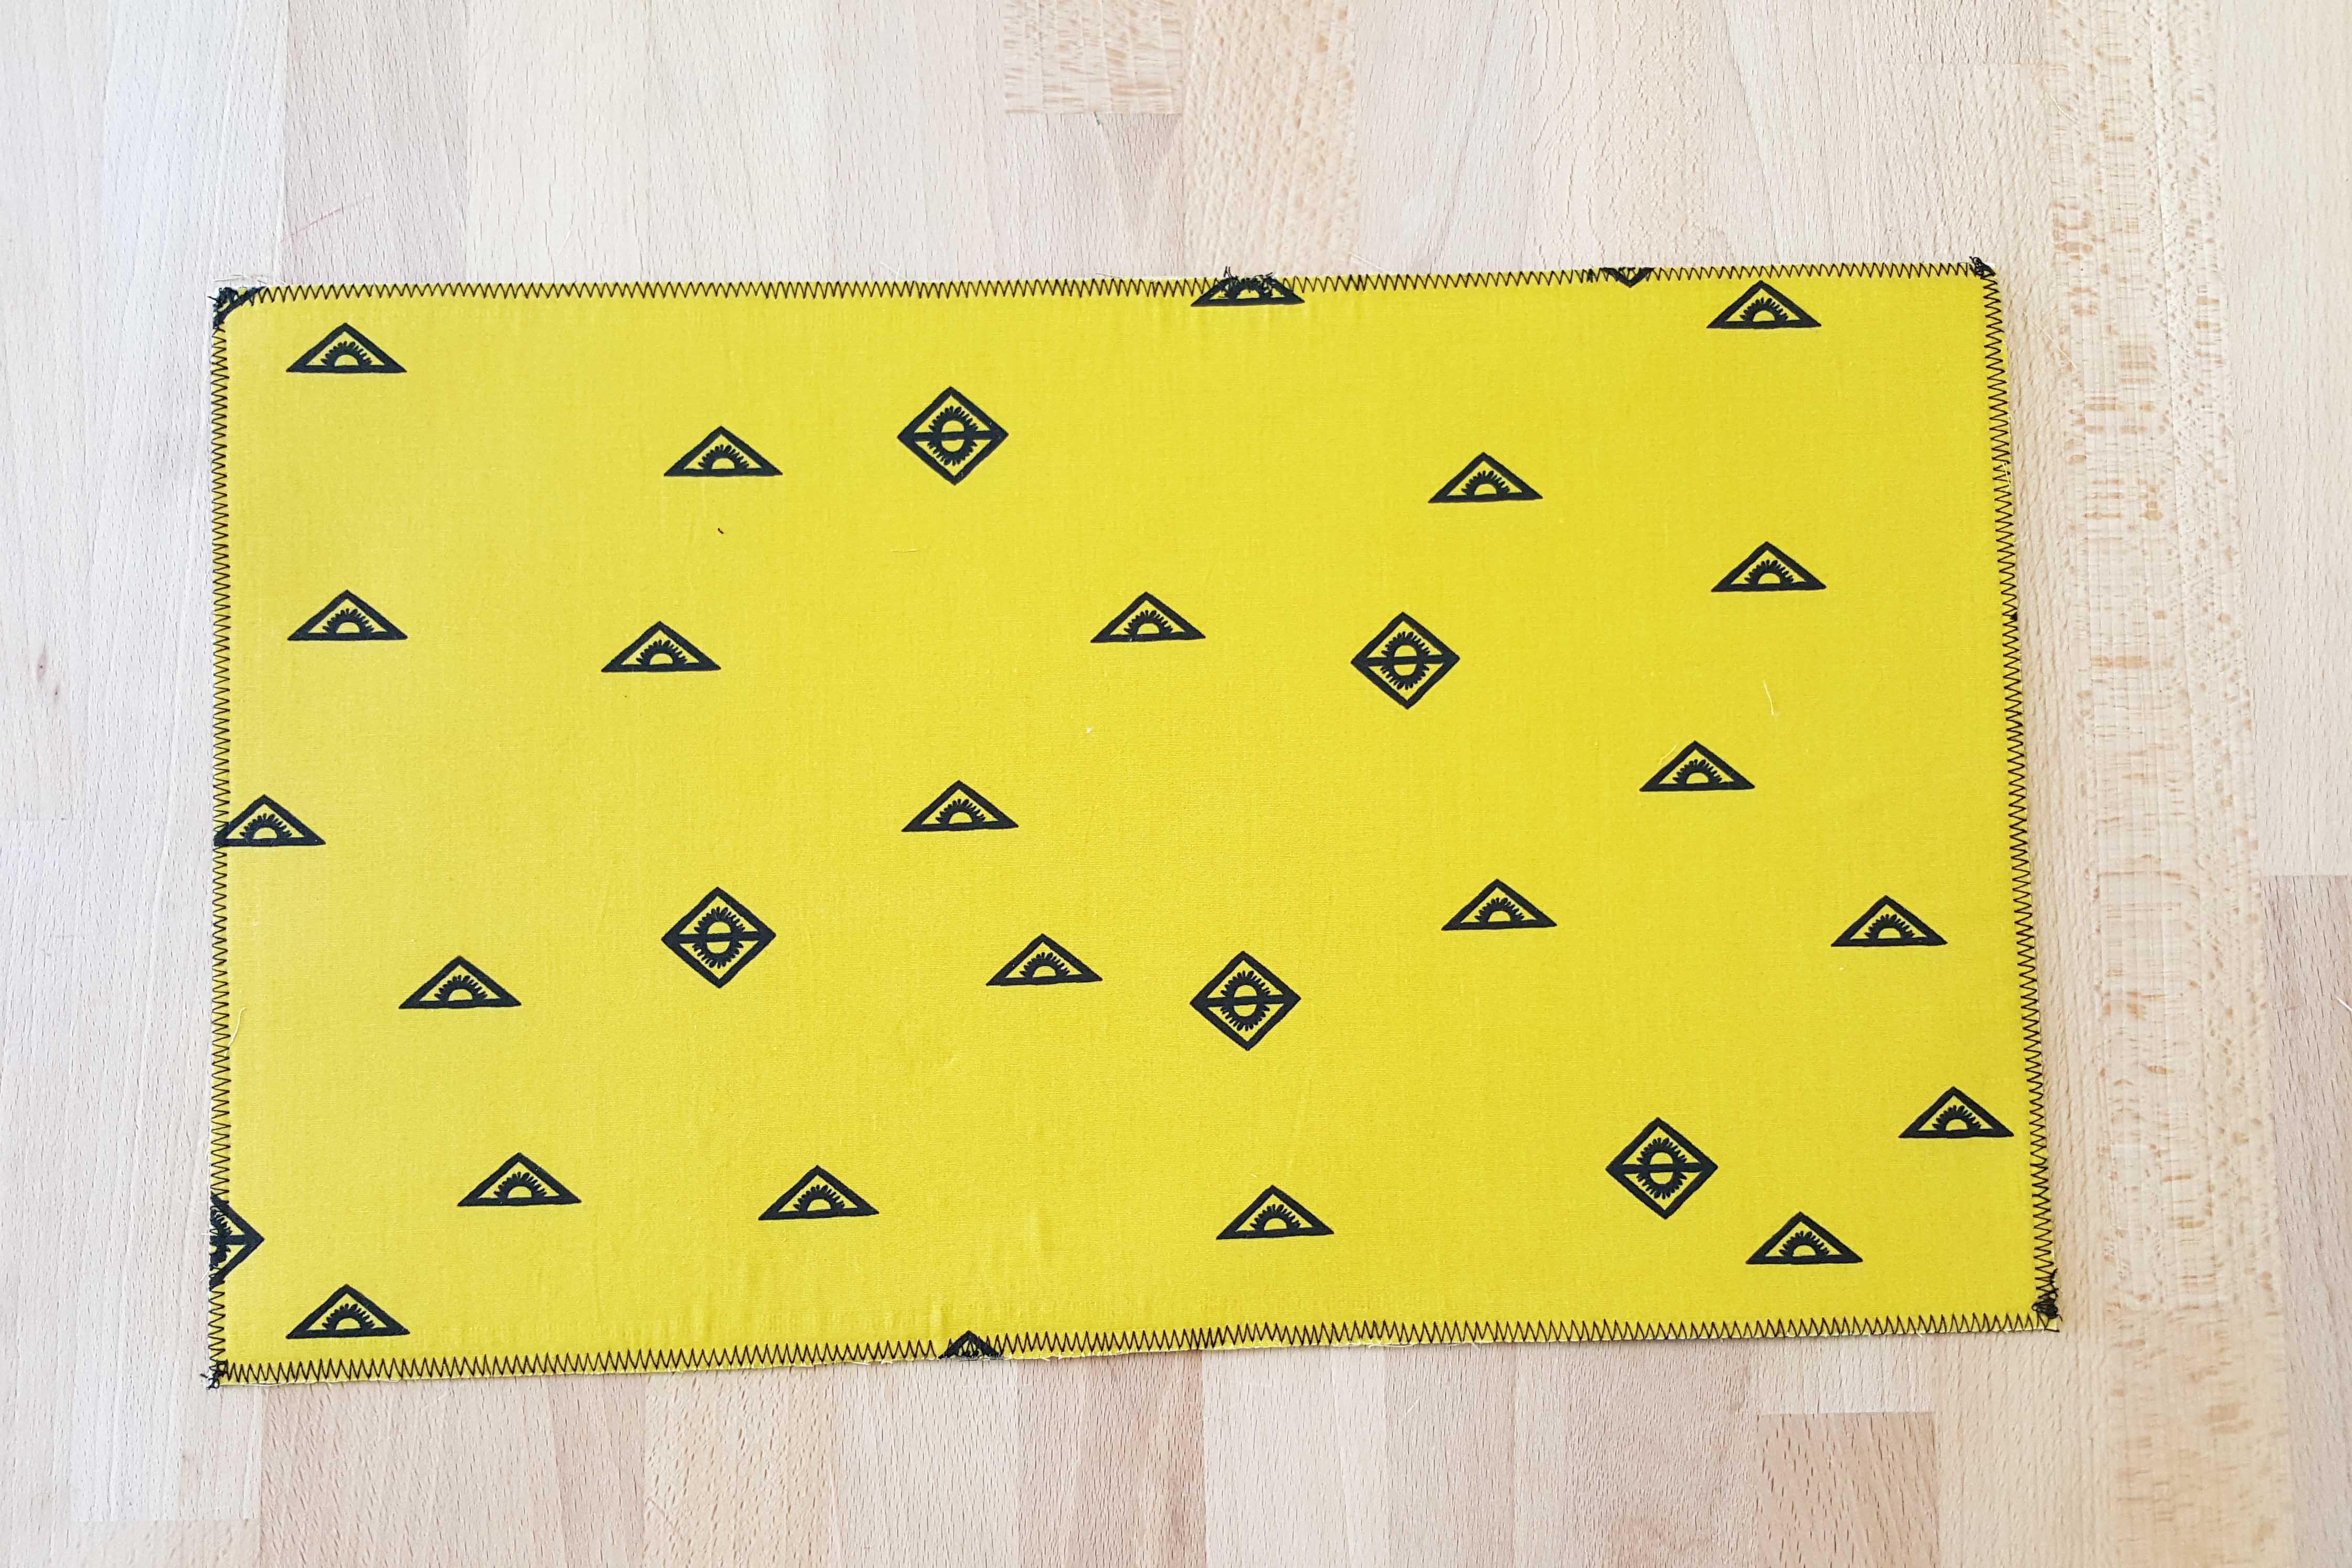
Step Six: Creating a base board
I wanted to create a base board so I could keep the shape of the casserole carrier, and since I couldn’t introduce it before flipping my piece inside out I decided to add this separately.
Note: This base can also be substituted with an insulator instead of hard fusible.
Place one 9 1/2” x 15 1/2” rectangles from Fabric A, wrong side facing up, one 9 1/2” x 15 1/2” hard fusible and one 9 1/2” x 15 1/2” rectangle from Fabric A wrong side facing down.
Pin your pieces and set your machine to zig zag and stitch all the edges.
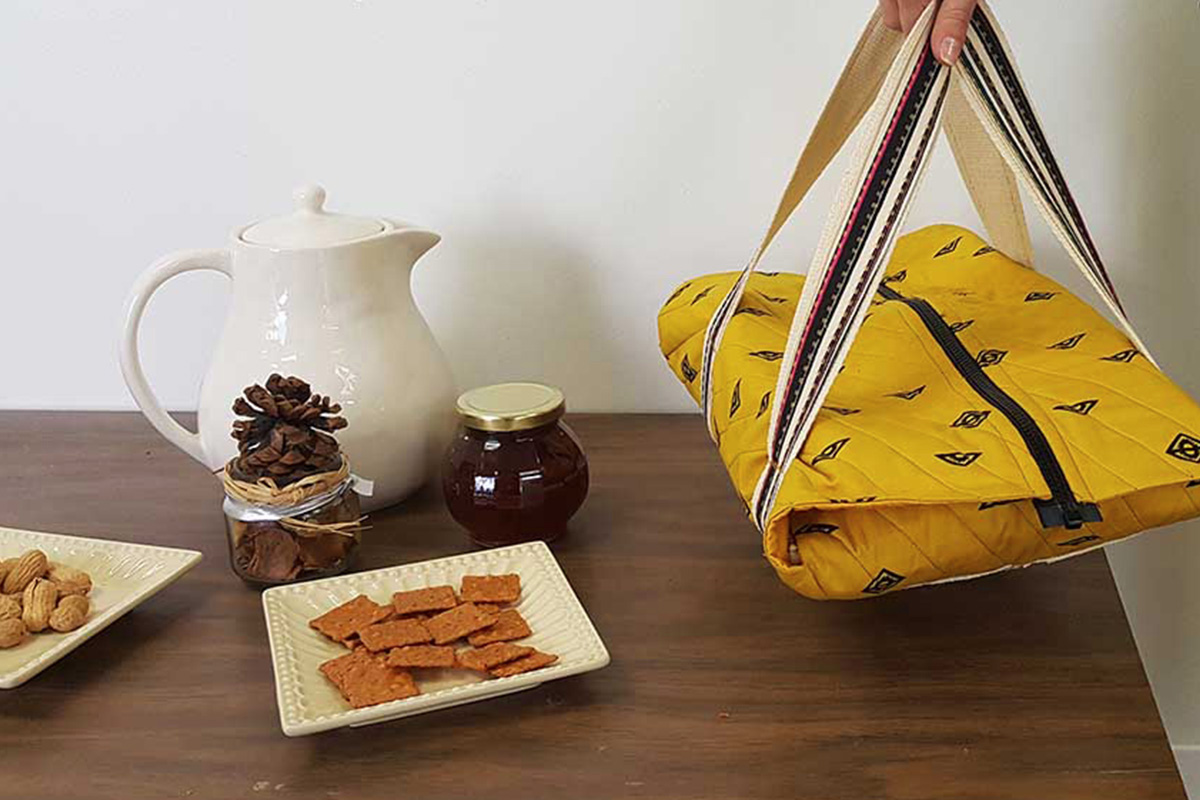
Place the base on the center of the Casserole Carrier, place your casserole and now you are ready to bring your delicious casserole dish to your Thanksgiving dinner!.


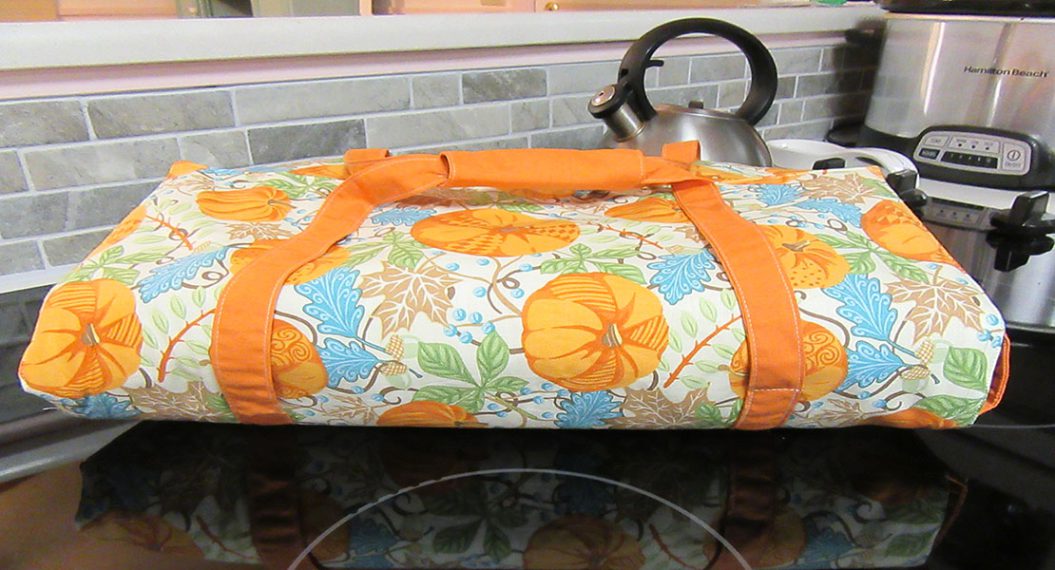


Love the fabric line & the turmeric color is very Autumn/Thanksgiving like.