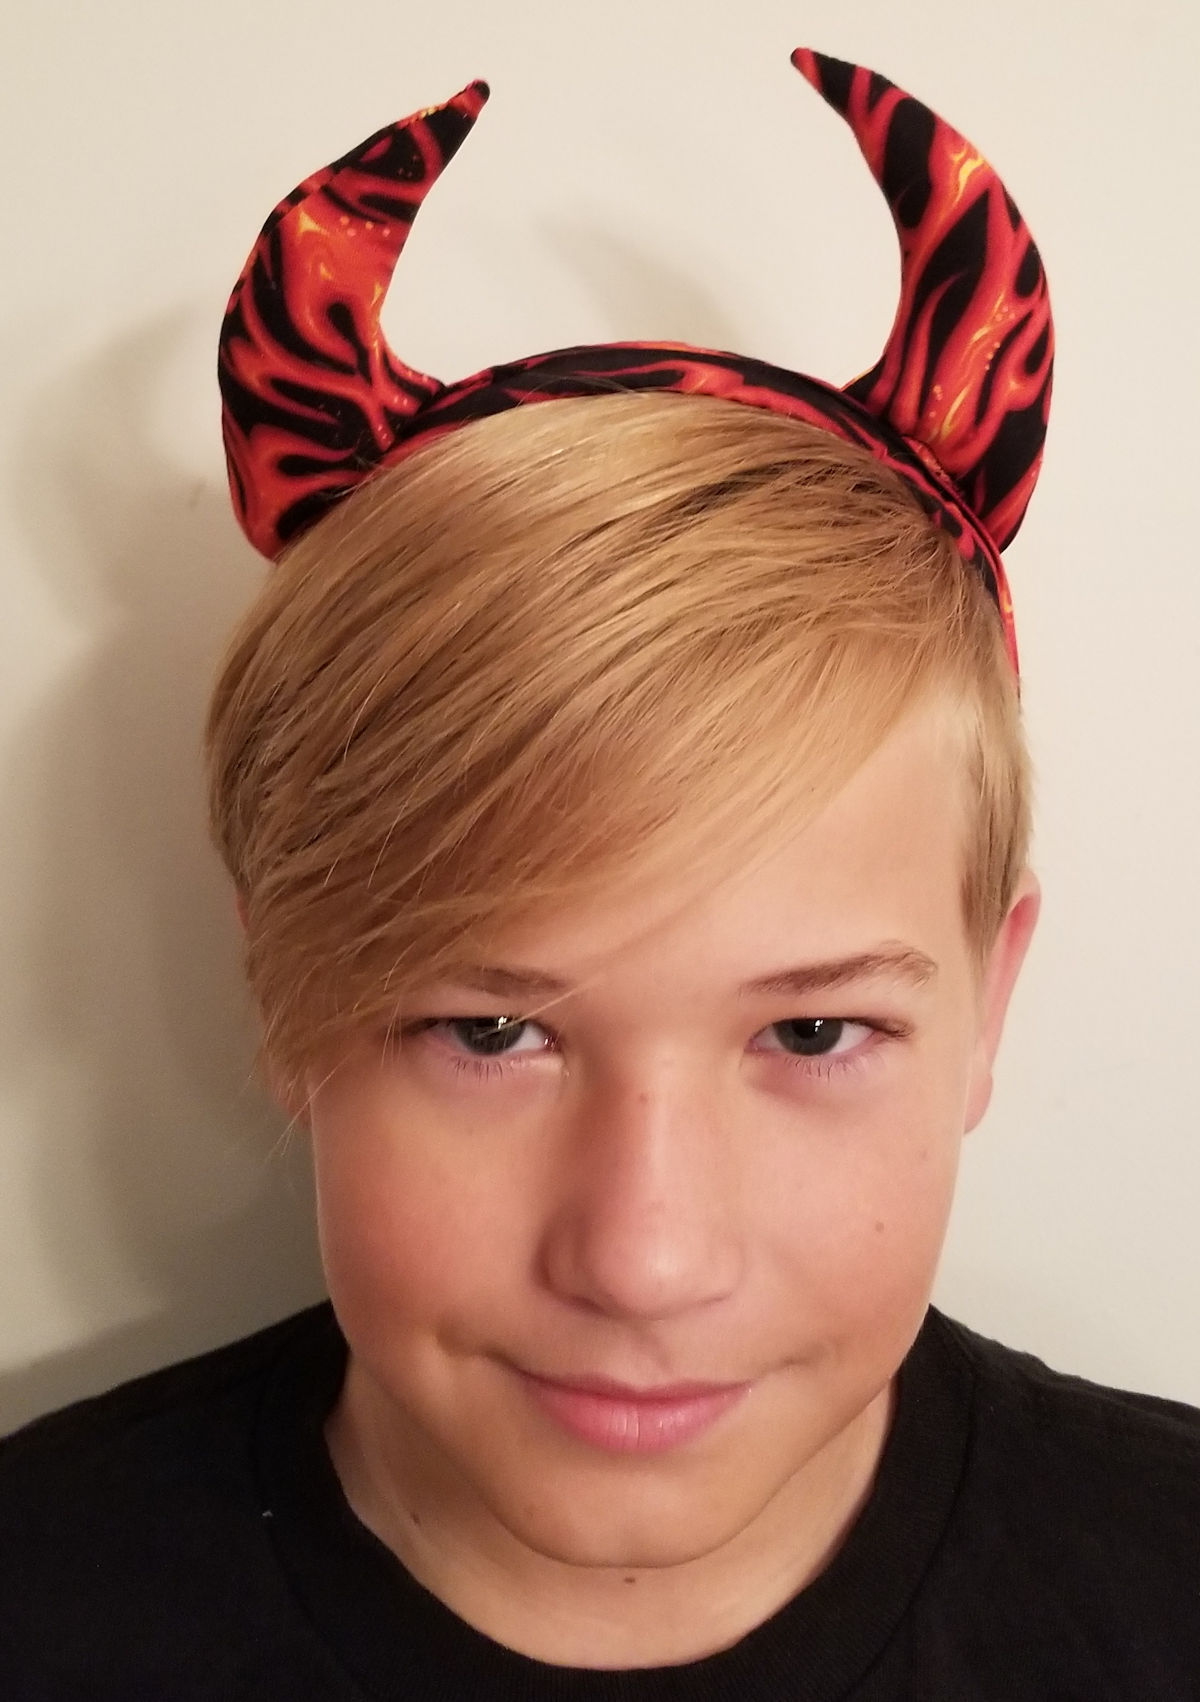
Devil Headband
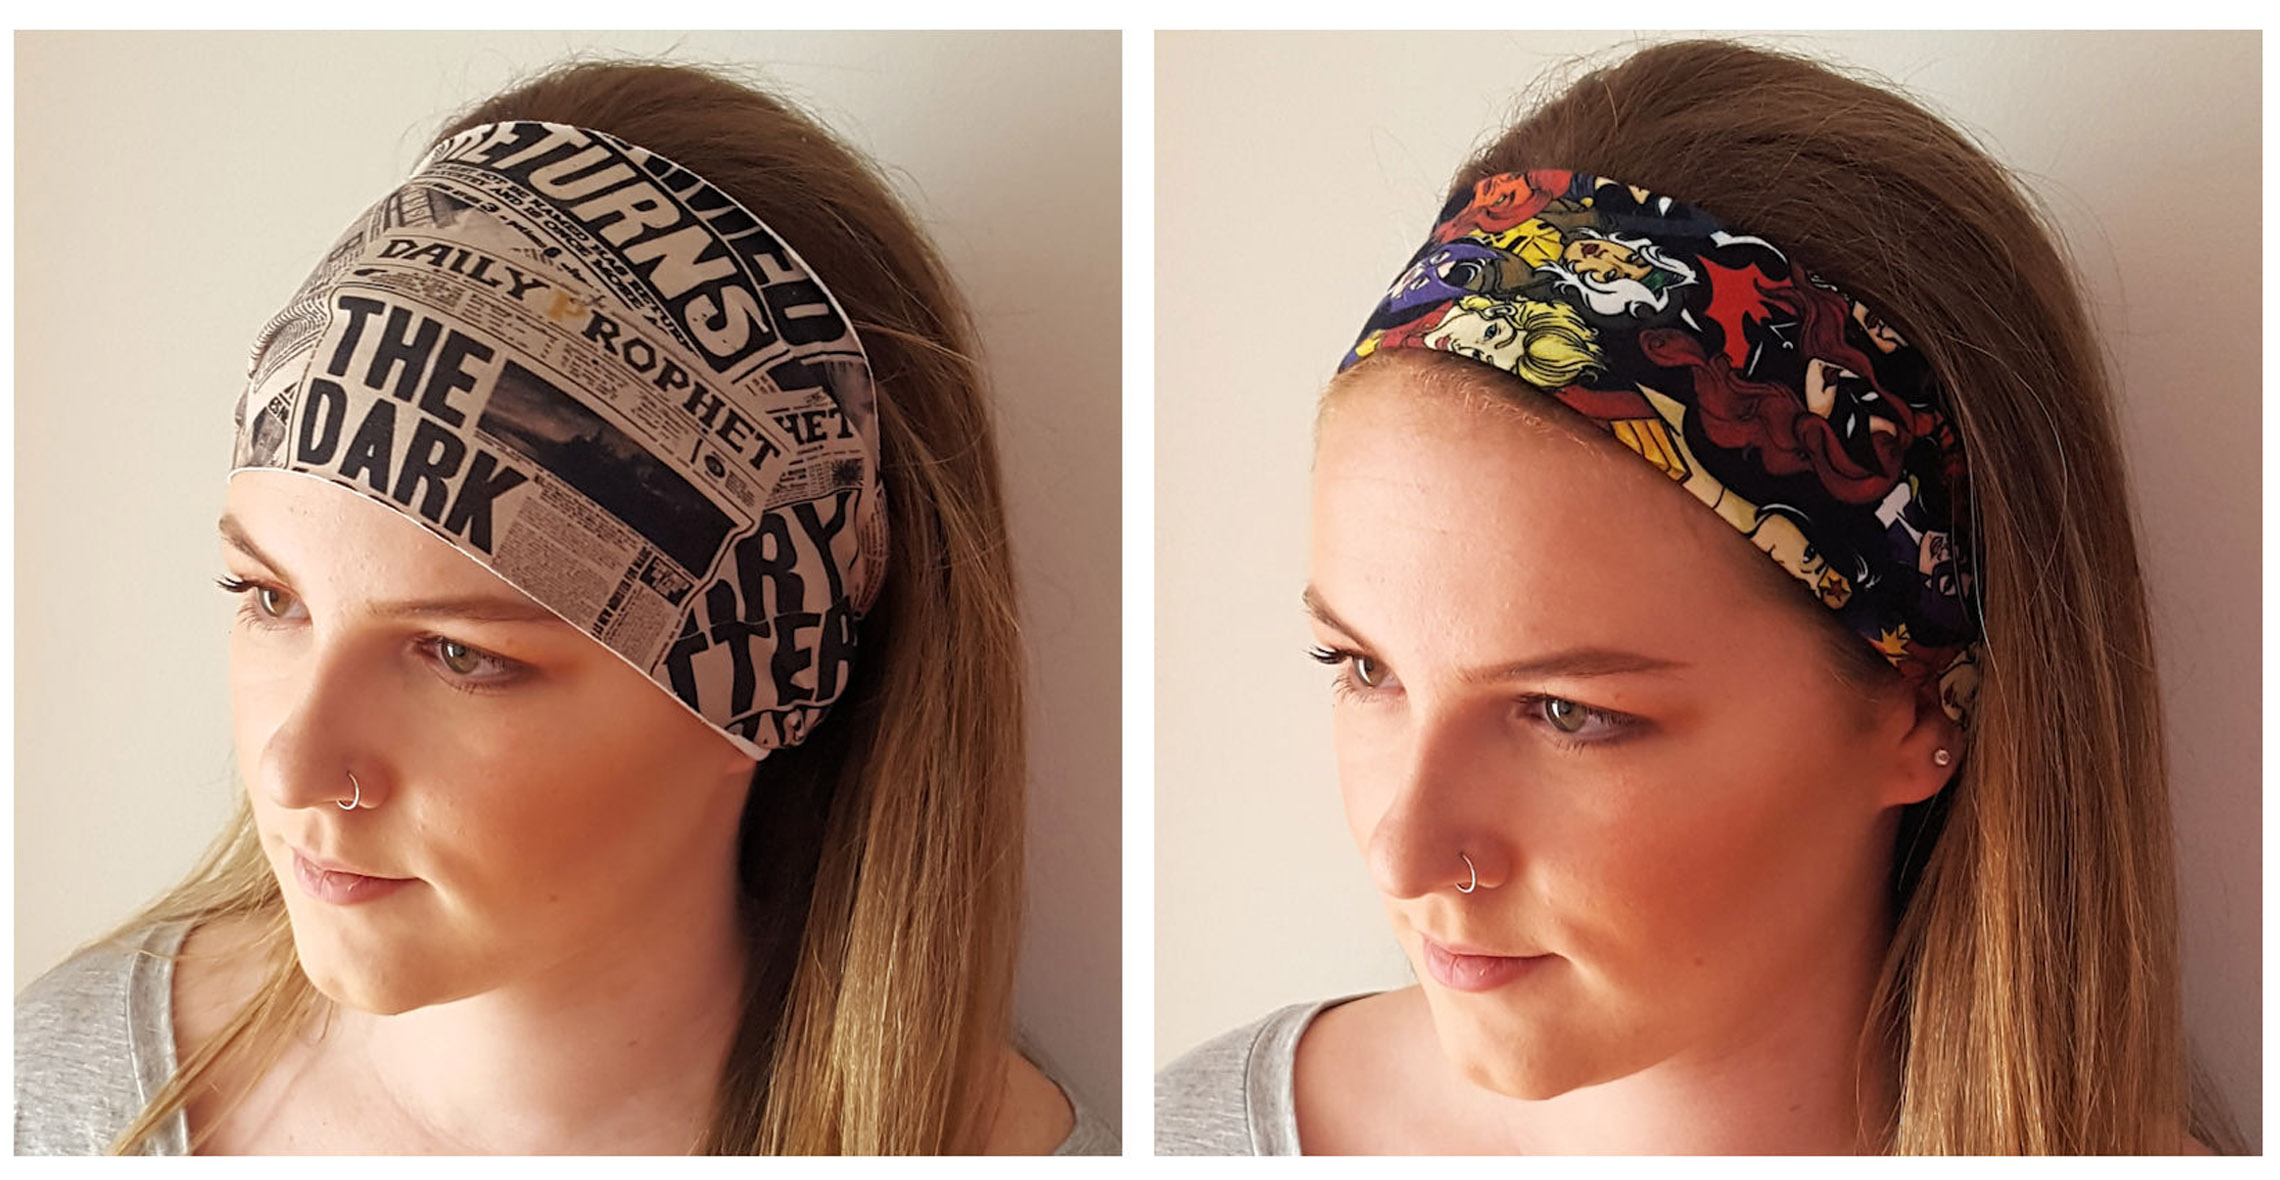
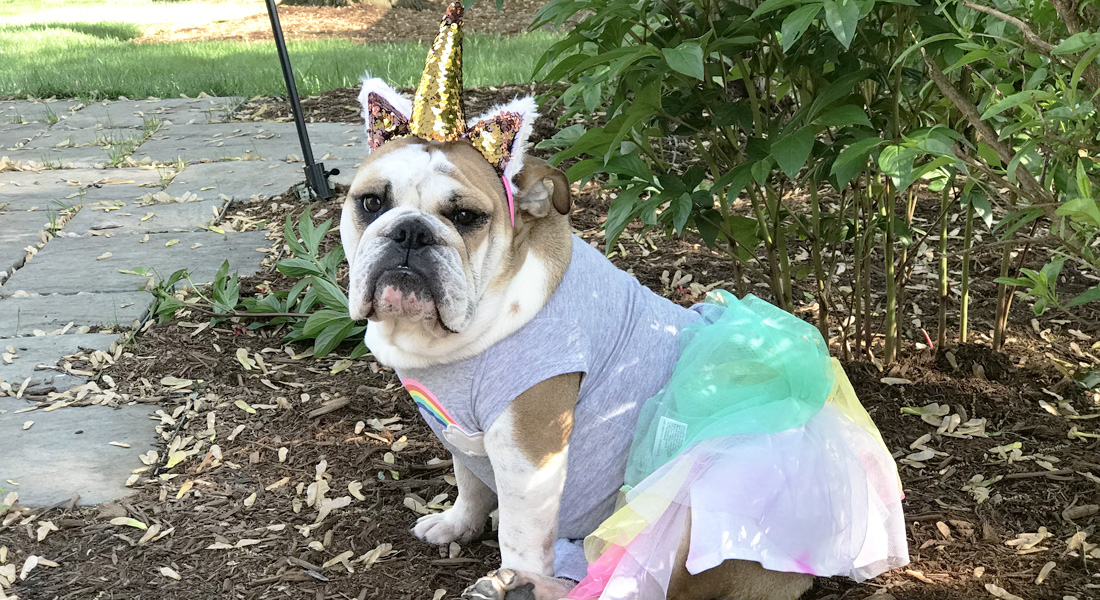
Hi again, it’s Stacy from StacySews here today with a fast and easy Halloween accessory that you can make for just about anyone: the Lil’ Devil headband. I don’t know about you, but it seems like someone in my family is always needing a last minute holiday item. This project is an easy way to not only use up fabric scraps, but makes for a quick costume – just throw on a cape and you’re set! Don’t need horns? Change up the shape of the horns to any style ear or add a single cone shape for a fun unicorn look!

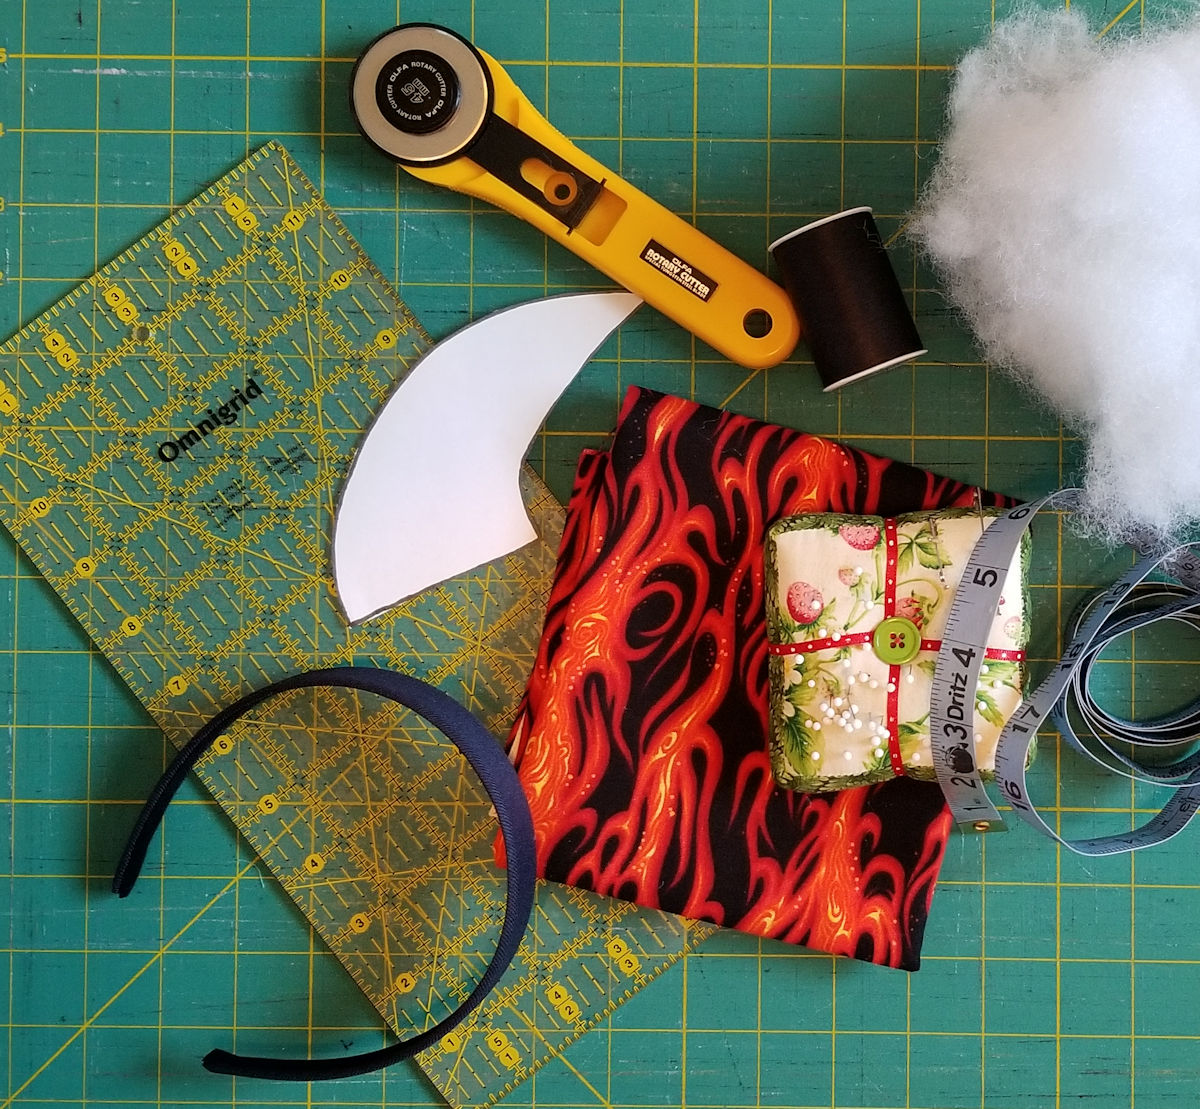
Materials to make the Lil’ Devil Headband
- 1/4 yard fabric (or fabric scraps)
- Headband (smooth, without “teeth”, and preferably one that is the same size throughout)
- Polyester fiberfill
- Thread to match
- Hand sewing needle or hot glue gun
- Flexible tape measure
- Ruler
- Download the Devil Horn Template
OPTIONAL:
- Rotary cutter & Mat
- #37 1/4″ foot
- #4 zipper foot
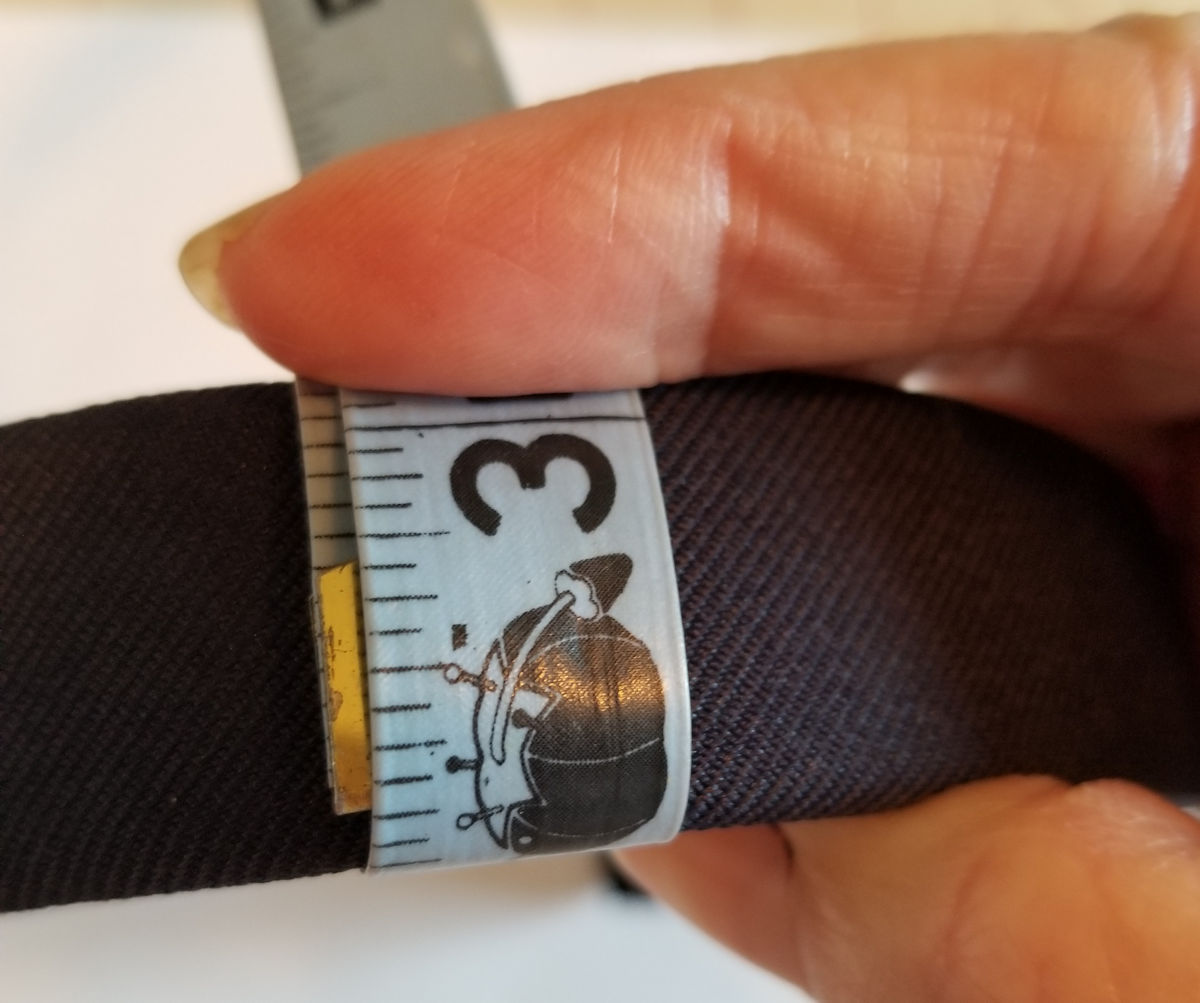
Measuring Your Headband
To determine what size to cut your fabric for your headband, you’ll need to take a few measurements. First measure the headband’s width, making sure that your measuring tape completely wraps around the widest part of the headband. Add 3/4″ to your number. For example, my headband’s width was 2 1/4″ wide, so my final number would be 3″.
Next measure your headband length, adding 2″ to your measurement. For example, my headband was 14″ long so my new number would be 16″.

Cutting The Headband
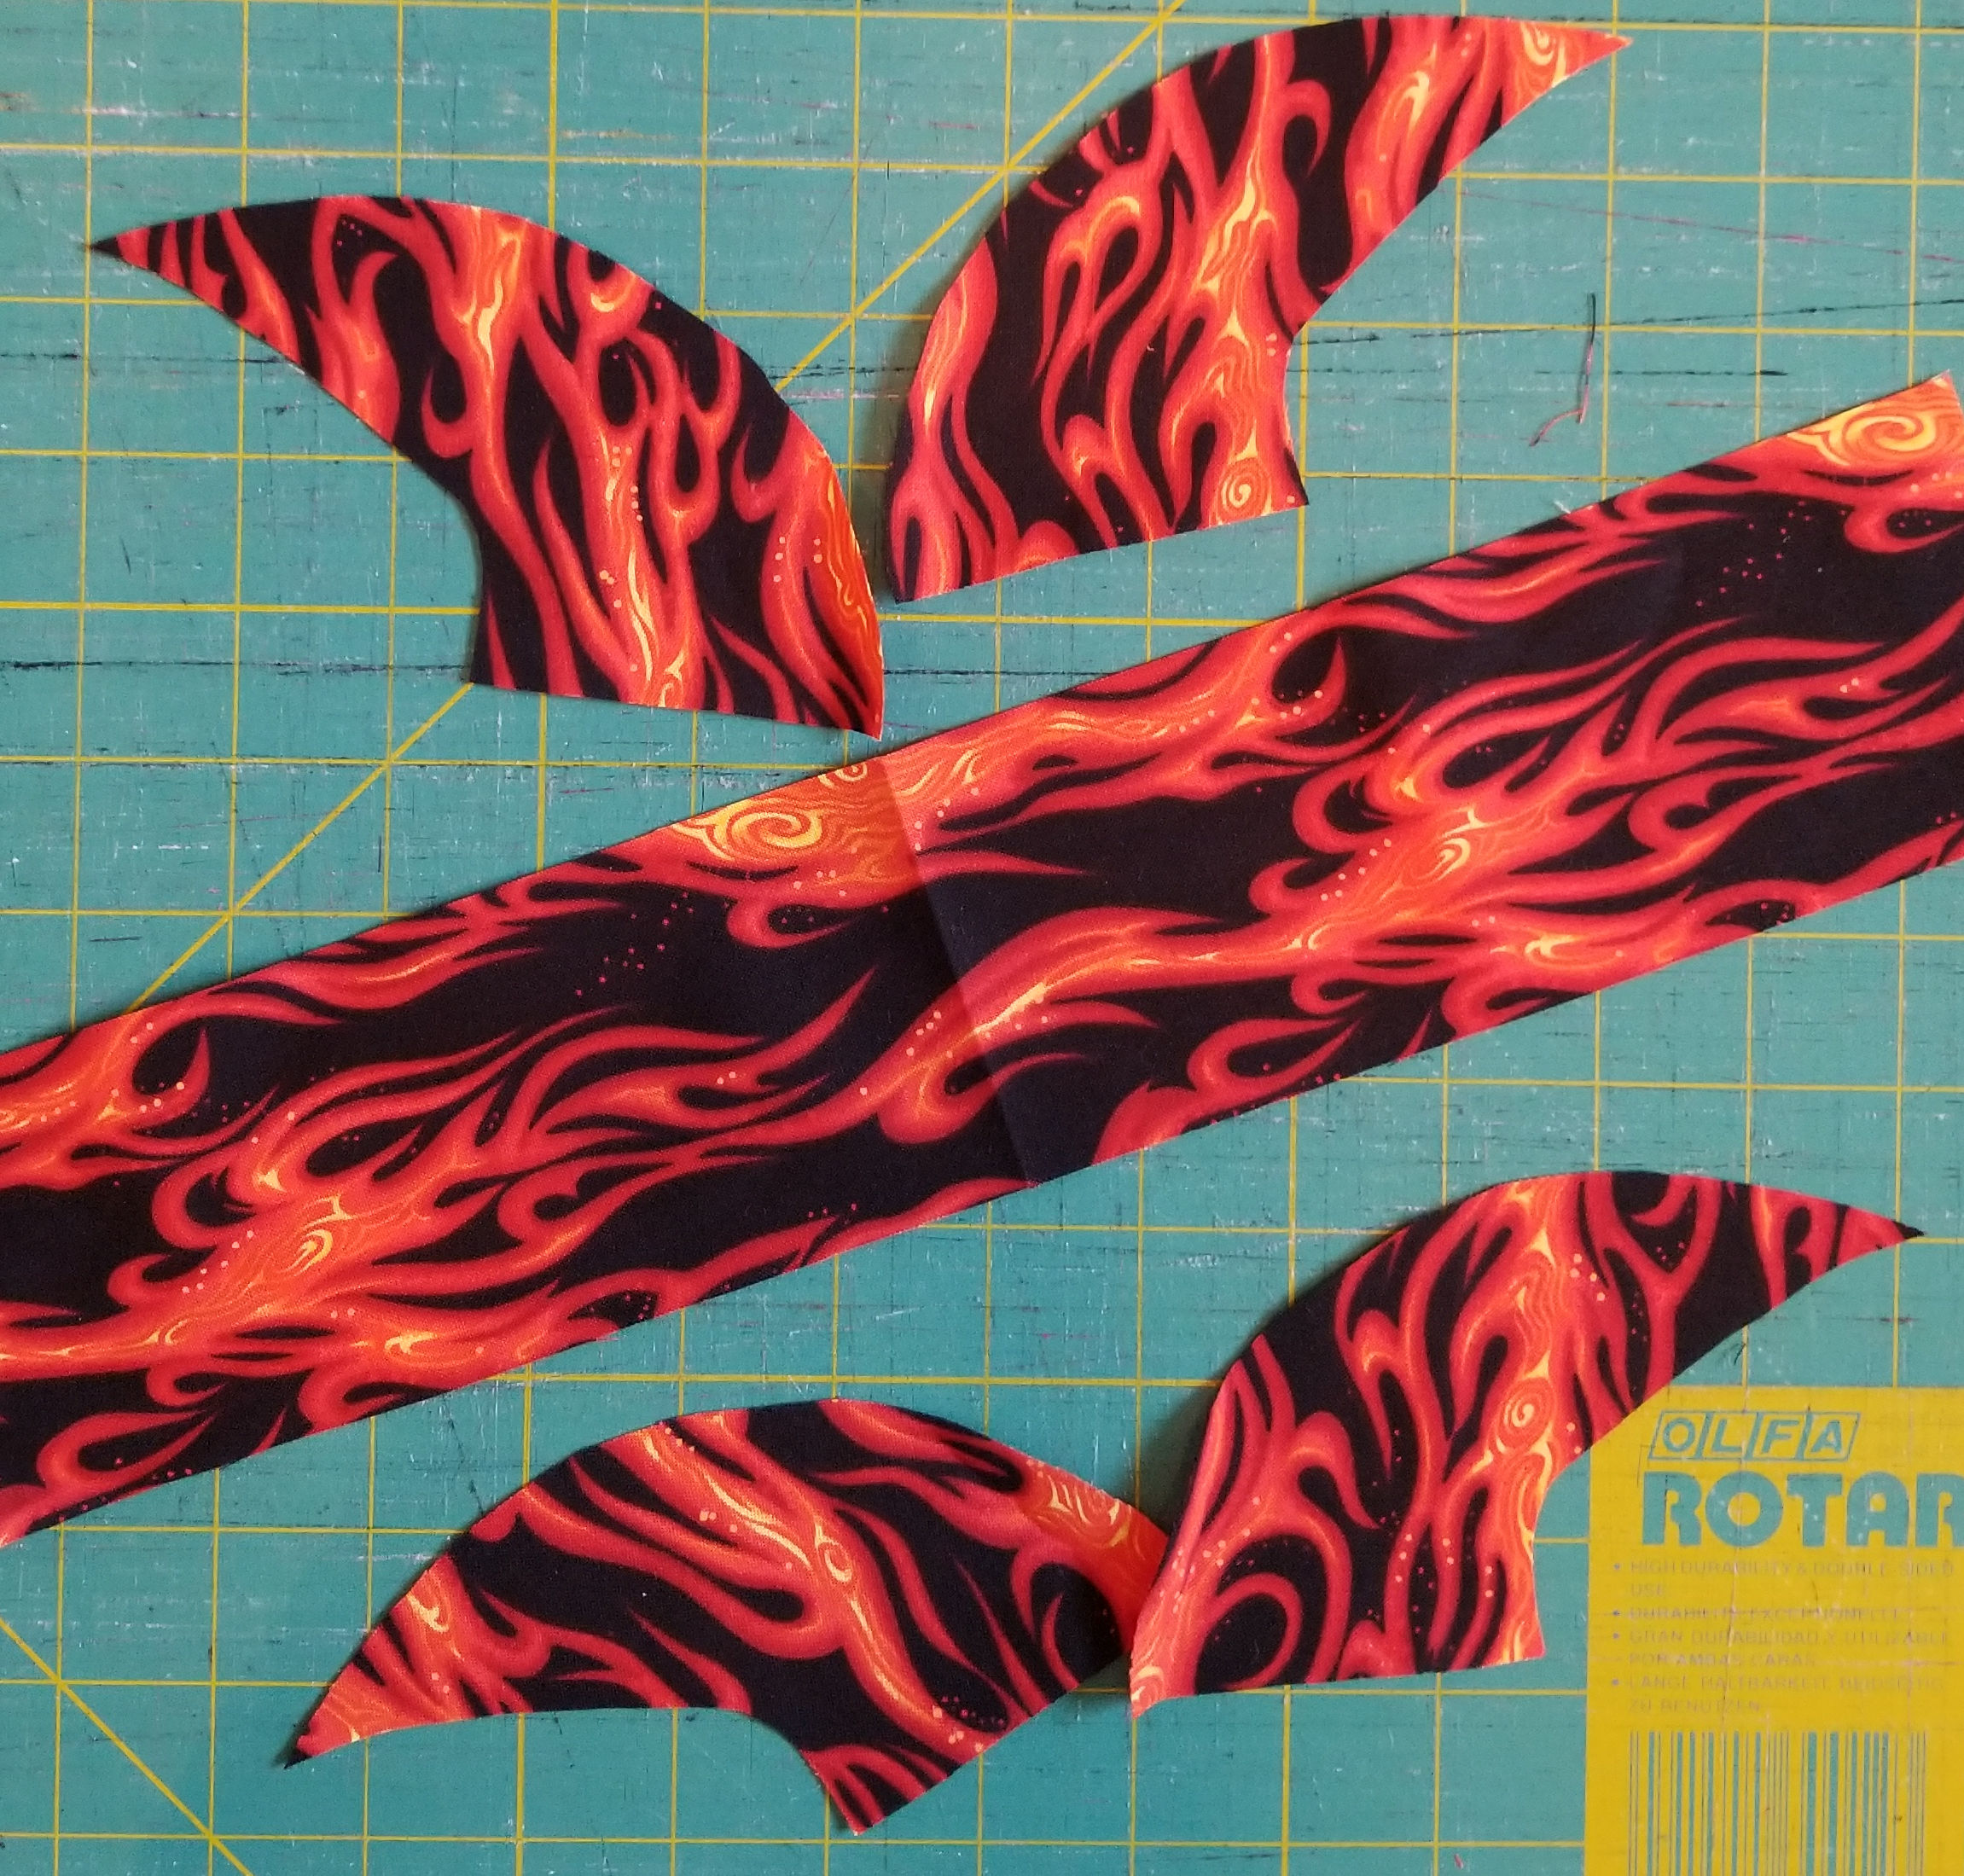
Using the measurements above (mine was 3″ x 16″), cut a rectangle from your fabric. This will be your headband covering piece. Additionally, cut 4 horn pieces using the template provided.
Making your Lil’ Devil Headband
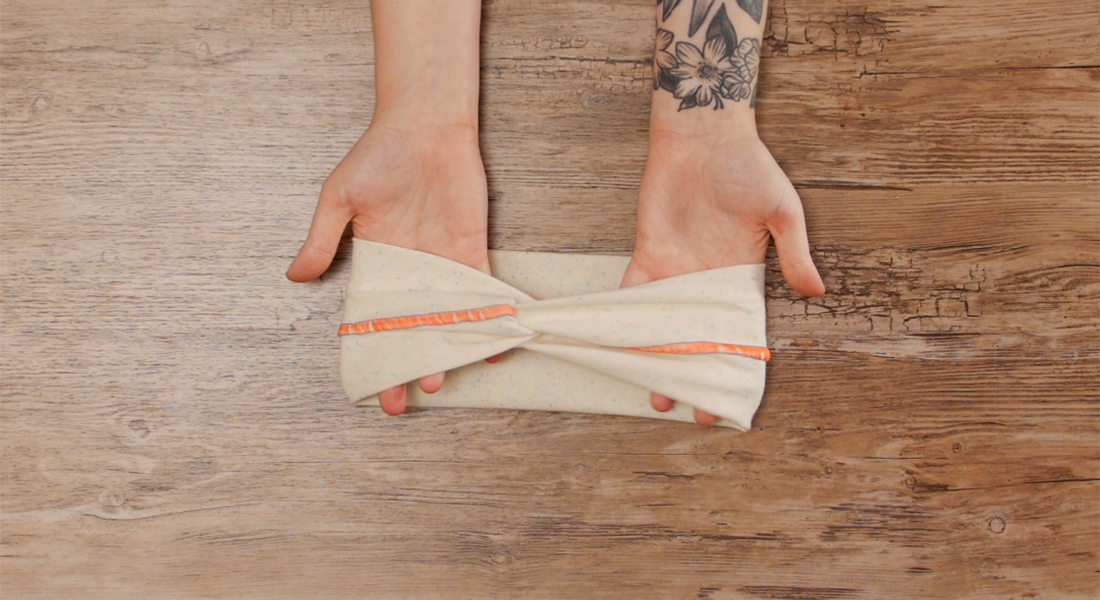
- Fold under 1/4″ on the long edges of the headband covering piece and press in place.
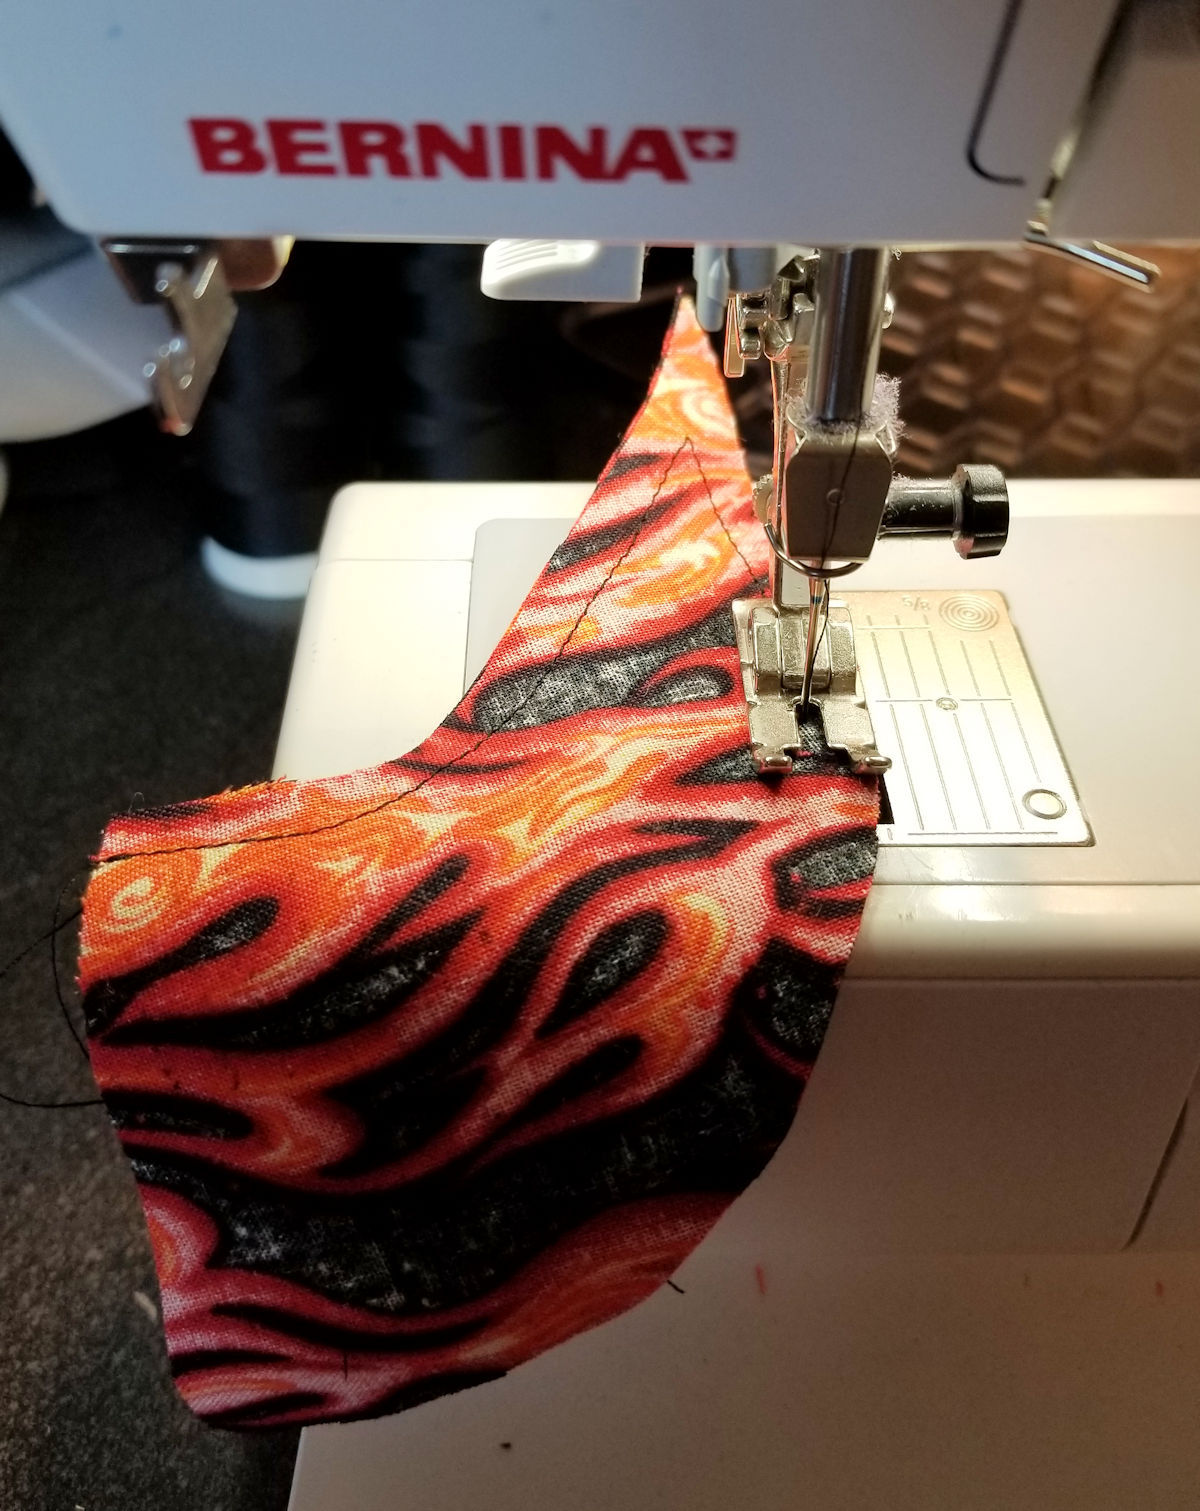
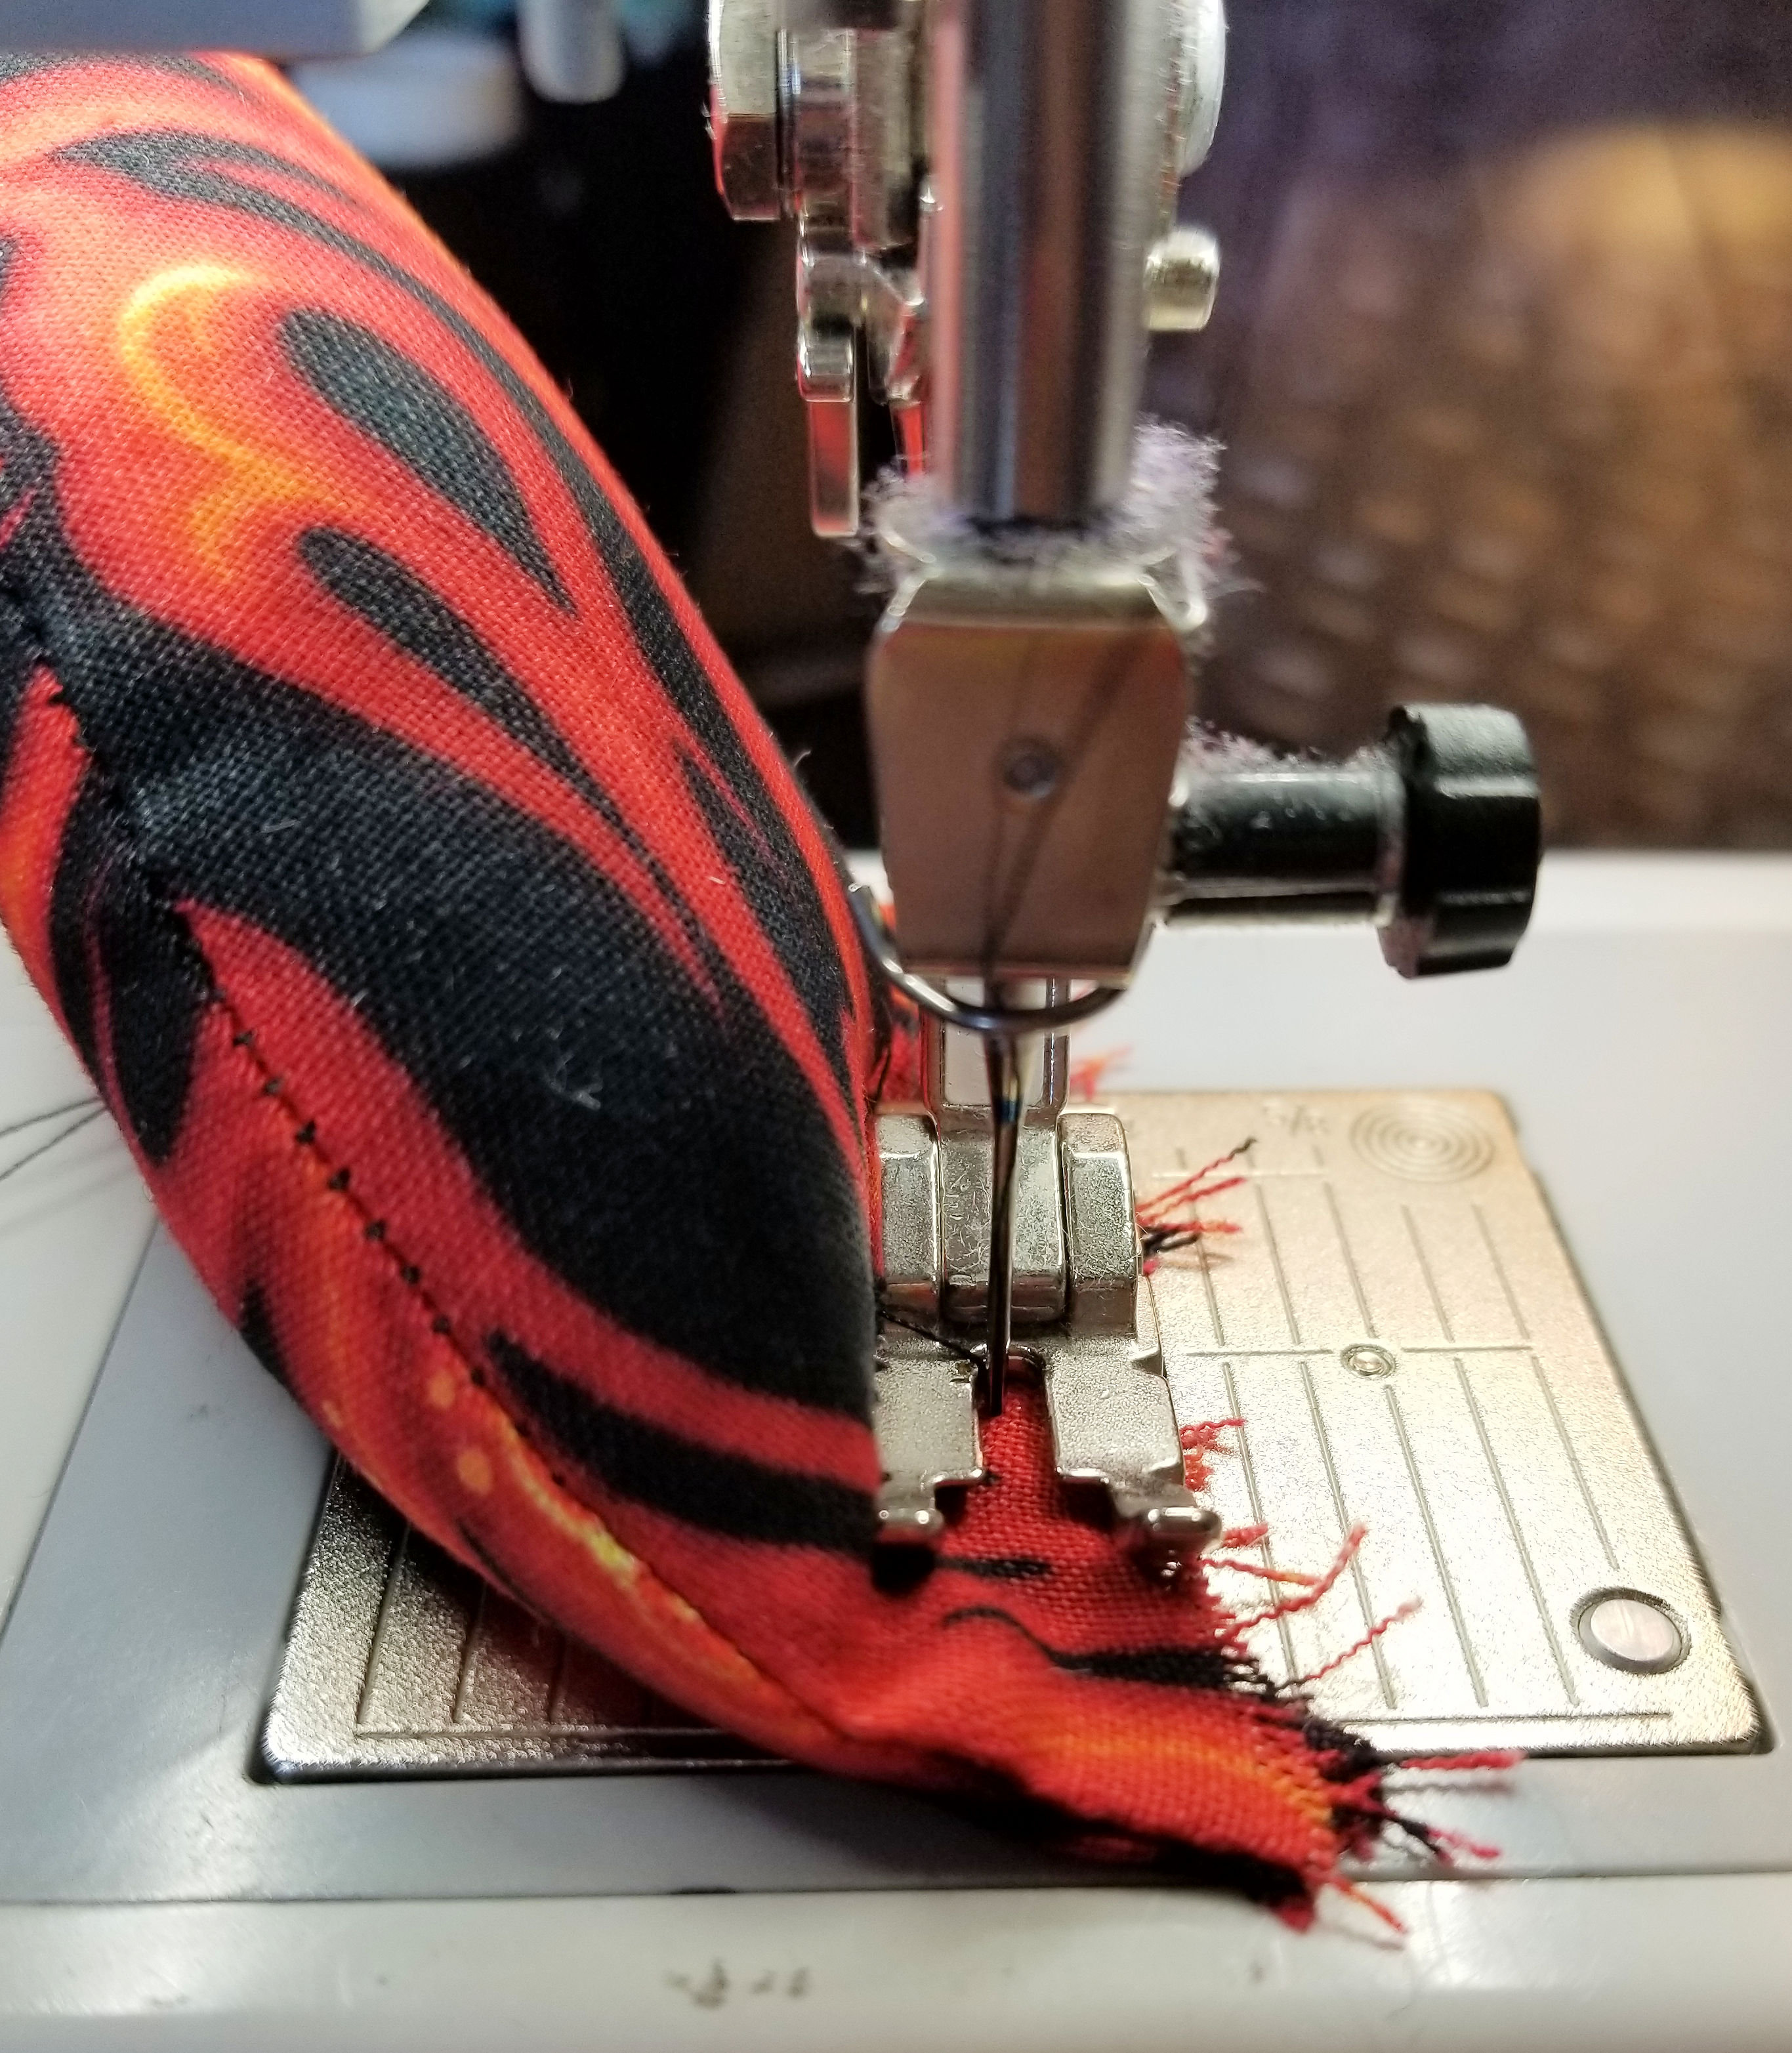
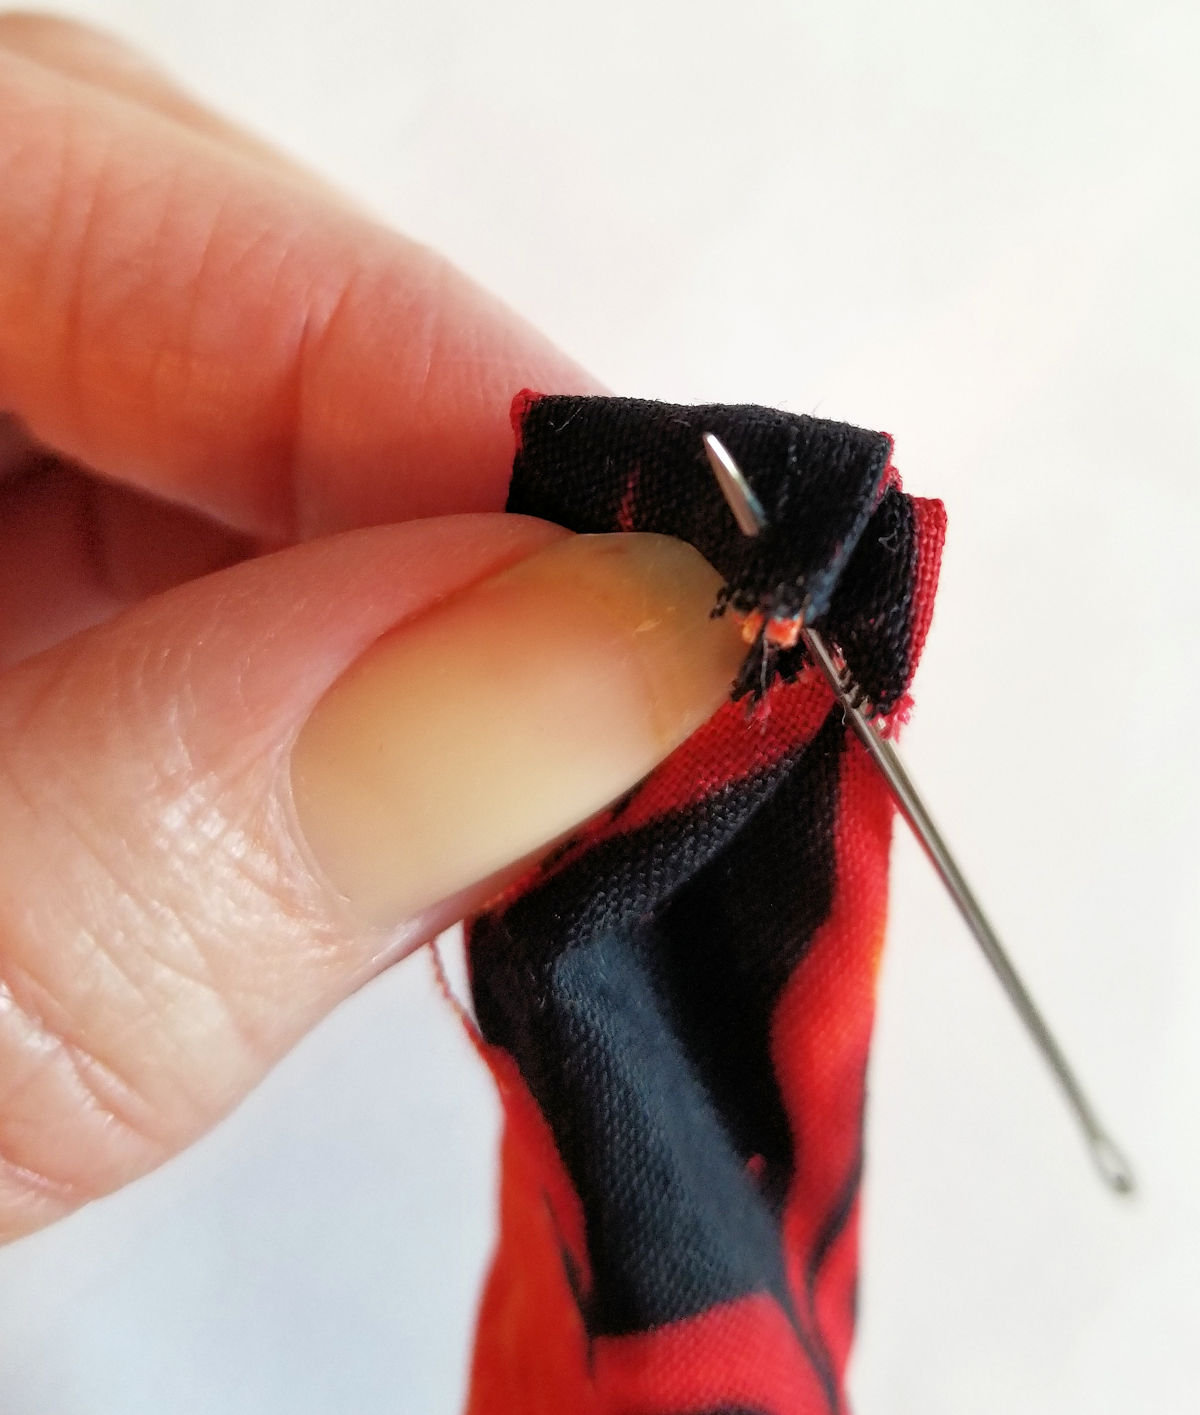
2. With right sides together, sew two horn sections together using a 1/4″ seam allowance. Be sure to leave the the bottom edge open for turning. To make crisp points, trim the top edge to a scant 1/8″. Turn right side out. Repeat for remaining horn pieces.
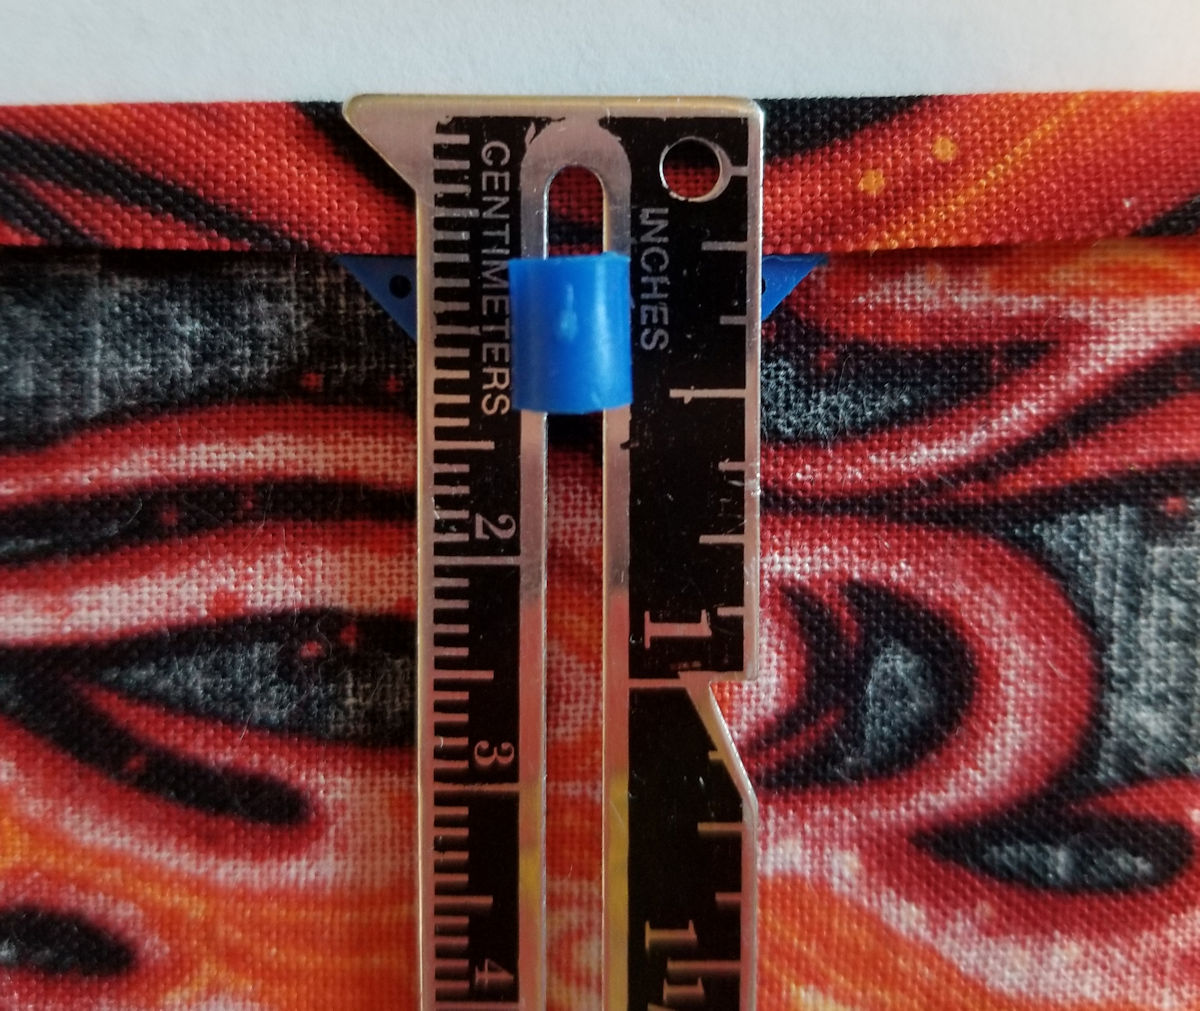
3. Stuff the horn firmly with fiberfill (it’s important to stuff it firmly so that they stay upright when worn), leaving 1/4″ of the bottom edge free. Baste raw edges together and repeat for second horn.
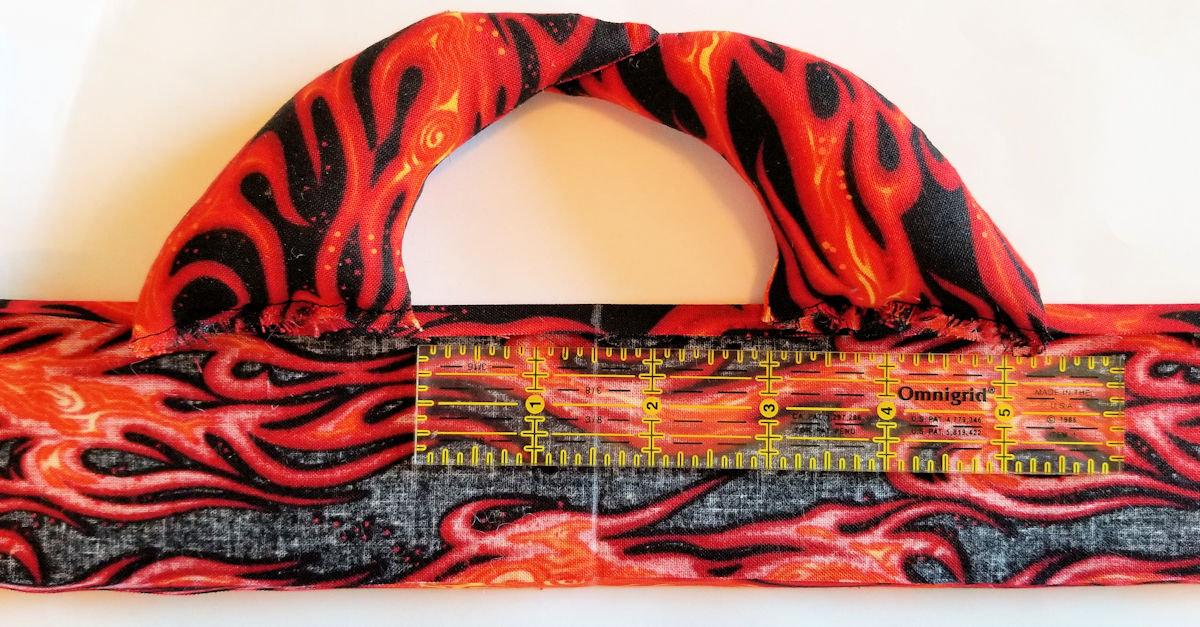
4. With the wrong side up, find the center of the headband and mark. Place one edge of the horn section 1 1/2″ away from the center mark – aligning the horn’s basting stitches with the creased edge of the headband covering. Repeat for second horn.
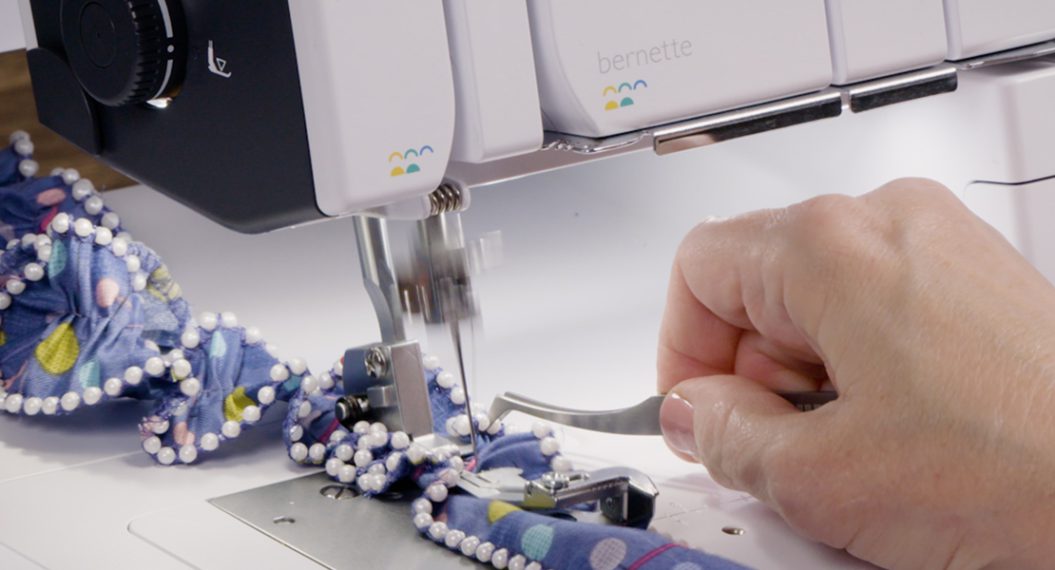
5. With wrong sides together, fold the headband in half lengthwise so that the finished edges are even. Sew close to the finished edge. You may find it helpful to switch to a zipper foot to stitch this portion of your project.
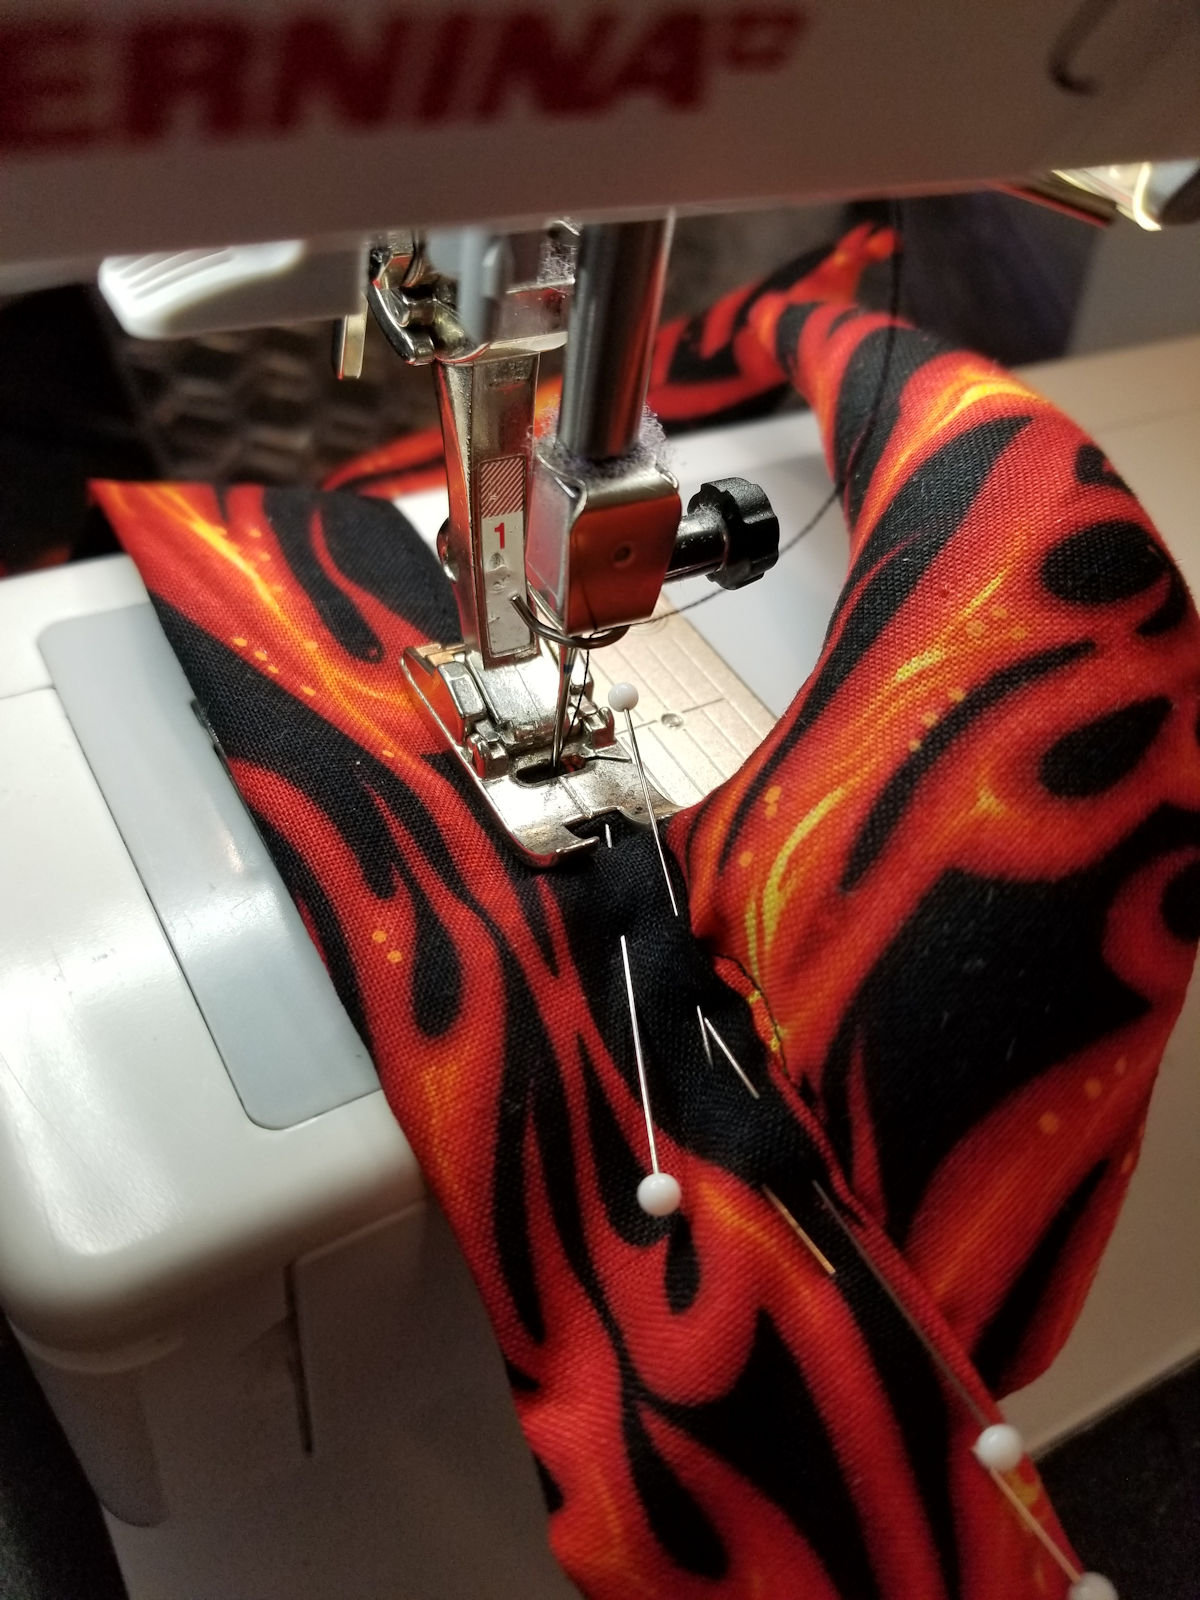
6. With the seam centered on the middle, top portion of headband, slide your covering onto the headband until the horns are in the desired position.
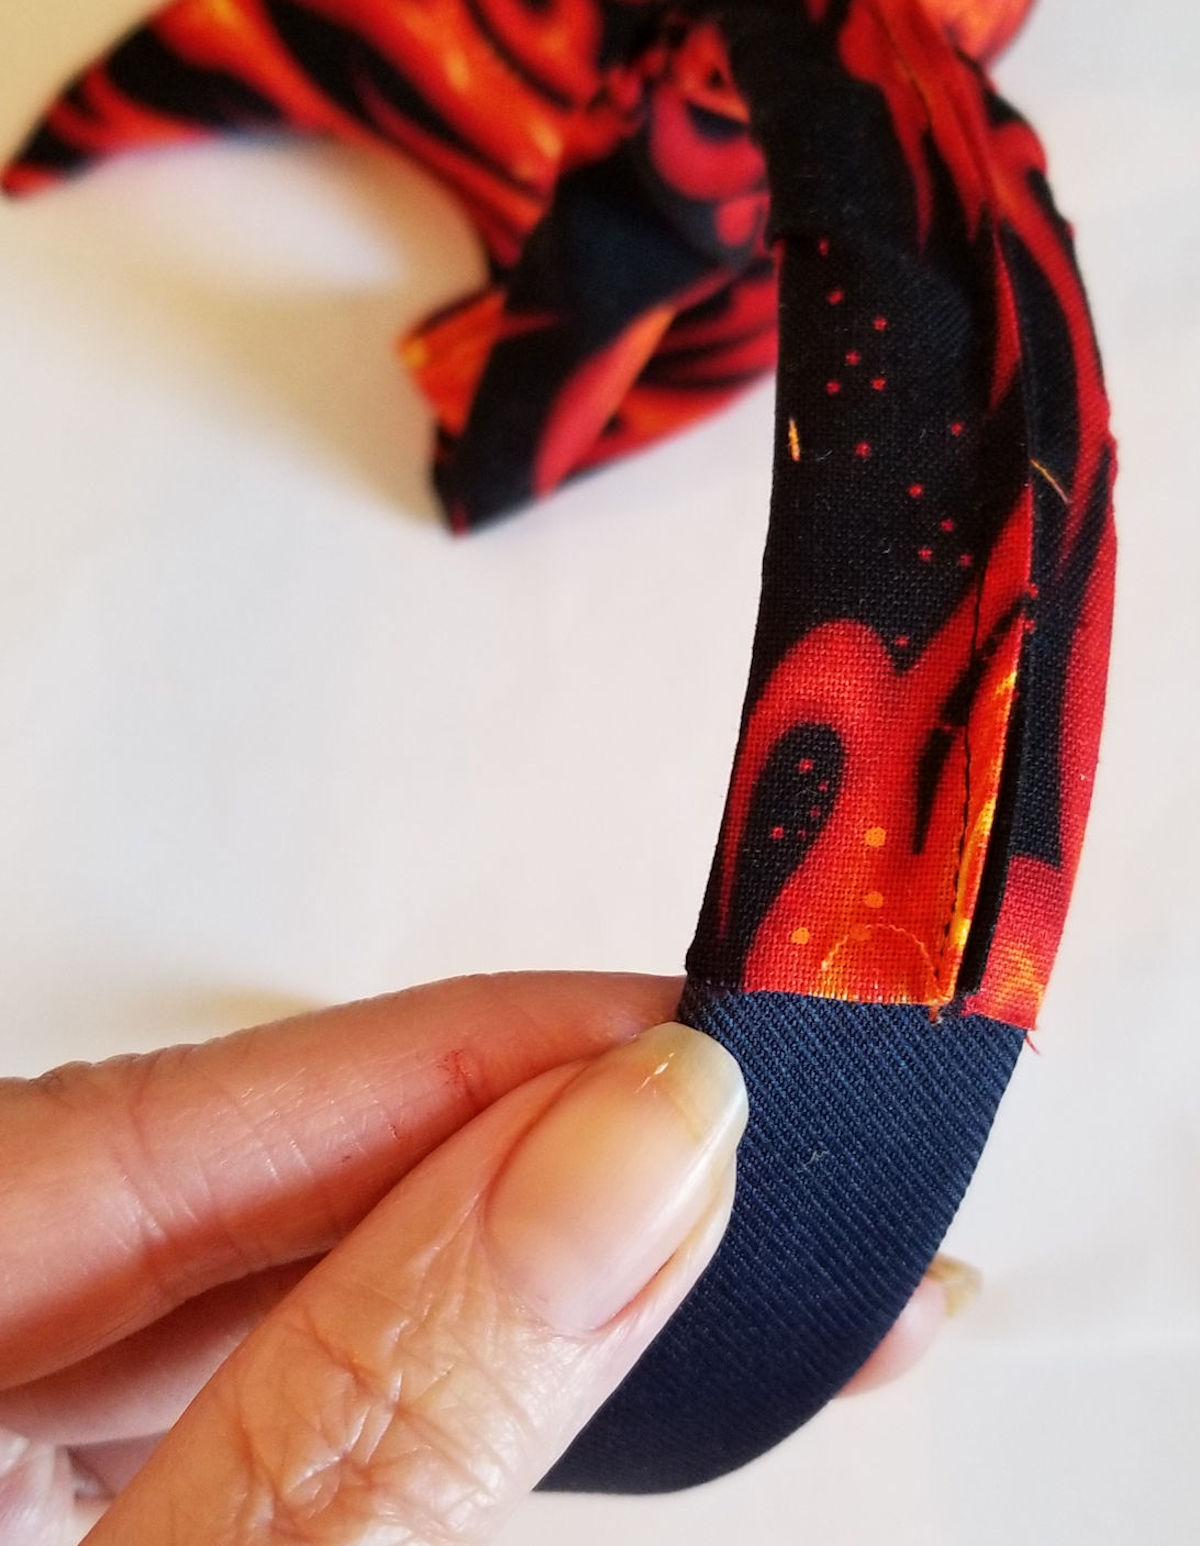
7. Fold under the raw edges of the headband covering to the wrong side. Hand sew or hot glue the folded section in place. If your headband is not a consistent width (e.g. the top edge is wider than the bottom) you can take in the fullness on the wrong side of headband by folding over excess material and stitching\gluing in place.
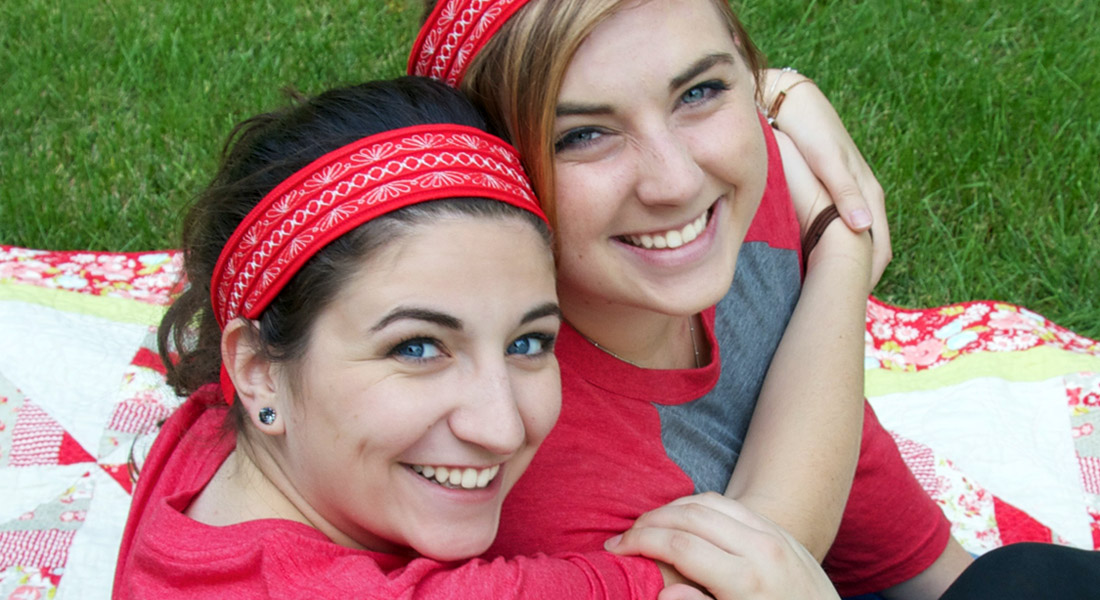
8. Wear and head out for bunches of candy!