DIY Unicorn Costume
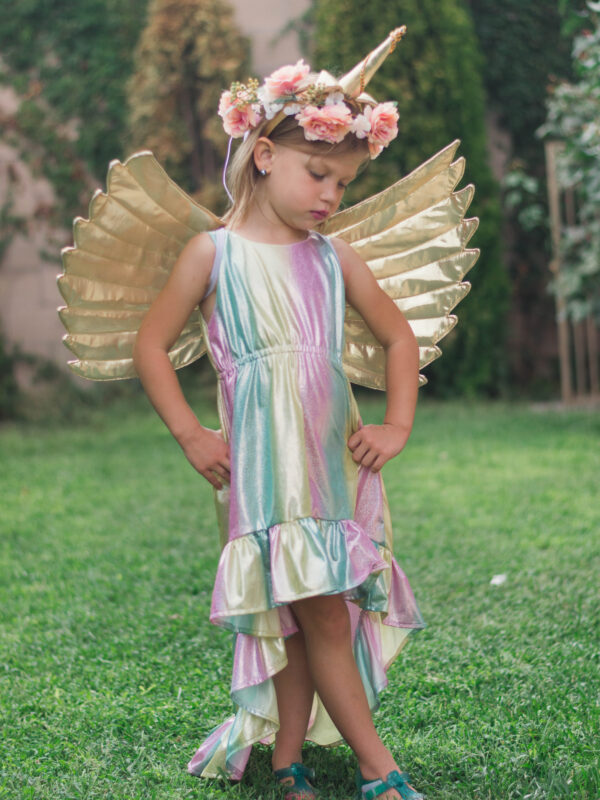
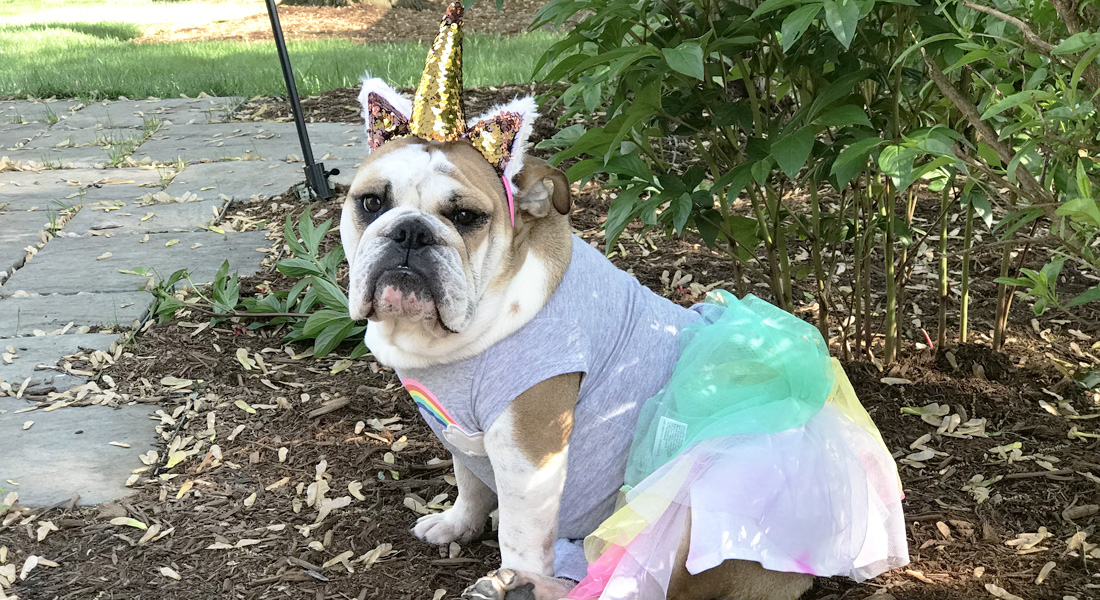
Hello everyone! Becca Plymale here from Simple Life Pattern Company with a fun DIY Unicorn Costume tutorial. My kids are at ages where they’re anticipating the holidays in advance, and we’ve been talking about what they want to be for Halloween for months! One of my favorite things about Halloween is the creativity that comes from making costumes. My kids both chose very simple costumes using things we already had at home but when my best friend’s daughter said she wanted to be a unicorn I jumped at the chance to make her a costume. So grab your supplies and lets get started!
Materials to Make a DIY Unicorn Costume
- 1 yard gold fabric
- Heat N Bond Interfacing
- Heat N Bond Fusible Fleece
- 1/2″ Elastic
- Coordinating Creme Brûlée Aurifil Thread
- Unicorn Wings & Horn Pattern
- Download your Unicorn Costume Pattern Here
- Fiberfill
- Hot Glue Gun
- Headband
Cutting the pattern pieces:
- Gold Fabric
- Ears: Cut 4, mirrored
- Horn: Cut 1
- Wings: Cut 2 on the Fold
- Fusible Fleece
- Ears: Cut 2, mirrored
- Horn: Cut 1
- Wings: Cut 2 on the Fold
- Interfacing
- Wings: Cut 1 on the Fold
- Elastic
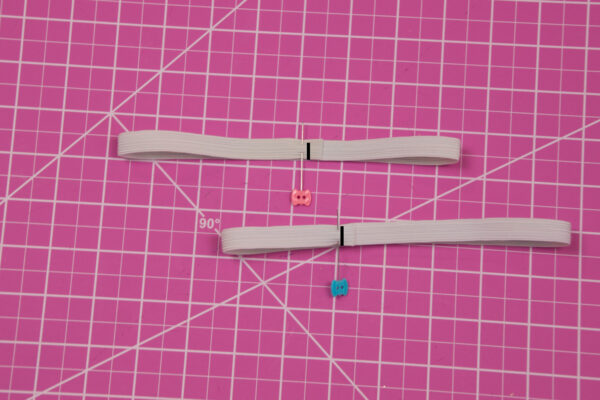
- Cut 2 16″ elastic pieces
Note: All seam allowances are 3/8″ unless otherwise noted.
Prepare the Pattern
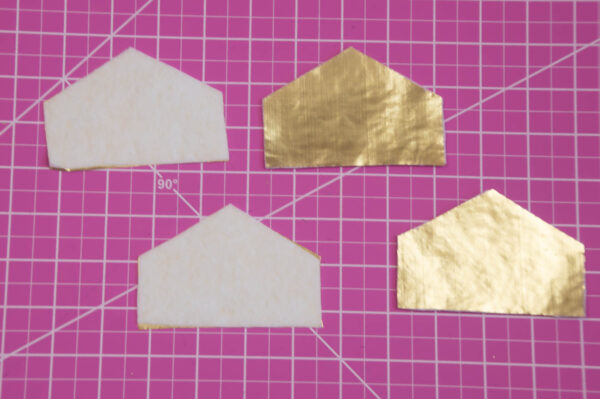
Step One: Using your preferred heat source, attach the fusible fleece to all four ear pieces.
Step Two: Place two ear pieces together, right sides together. Using a 1/4″ seam allowance, stitch around the ear leaving the bottom open. Clip the corners and trim the seam allowance to 1/8″. Repeat this step with the other ear.
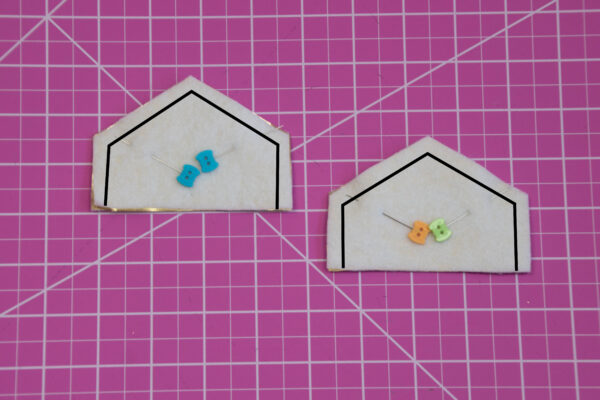
Step Three: Fold the two layers in the opposite direction so that the side seam ends are now touching. Stitch along the bottom edge, leaving a small opening. Repeat this step with the other ear.
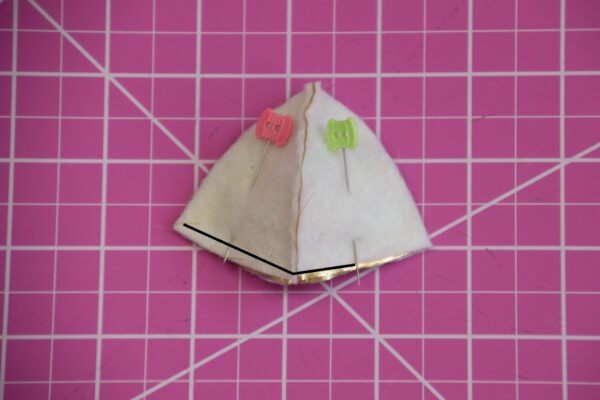
Step Four: Turn the ear right side out and press. Topstitch all the way around the edge of the ear closing the opening. Repeat this step with the other ear.
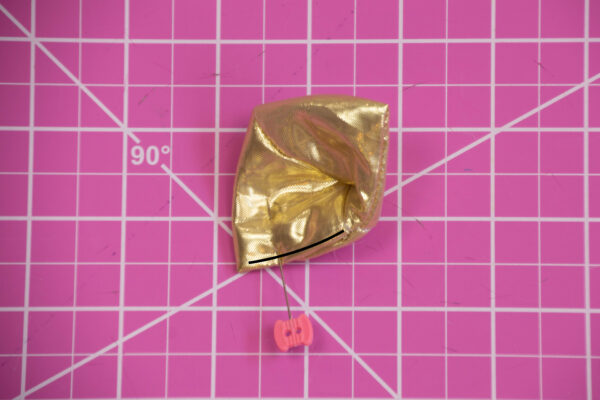
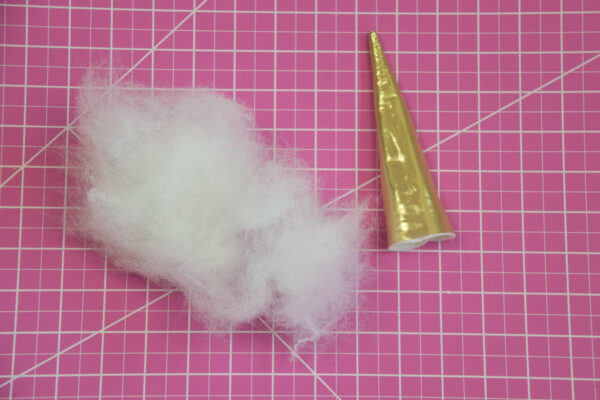
Step Five: Fold the horn in half and pin. Using a 1/4″ seam allowance, sew the opened from bottom to top. Clip the corner and trim seam allowance to 1/8″. Turn the horn right side out.
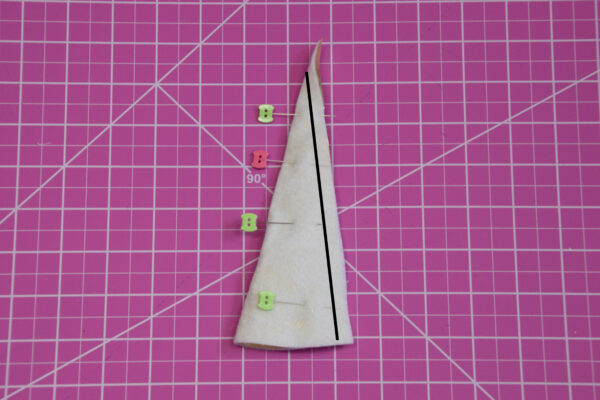
Step Six: Stuff the horn with fiberfill. Hand stitch the bottom of the horn up.
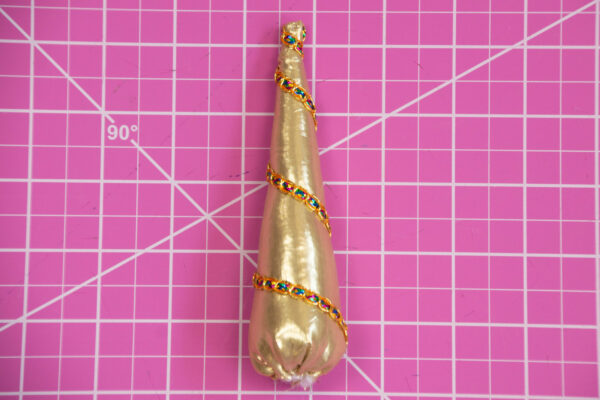
Step Seven: Wrap a small piece of trim, ribbon, or thread around the horn in a spiral, pulling firmly but not too tight. Secure the trim to the bottom edge.
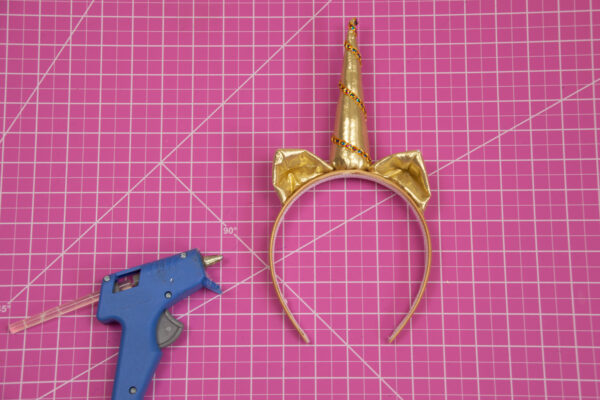
Step Eight: Attach the horn and ears to the headband using a hot glue gun.
Step Nine: Place the wing pieces together, right sides together. Stitch all the way around the wings leaving a 2-3″ opening at the bottom. Clip the corners and trim the seam allowance to 1/8″. Turn the wings right side out and press. Topstitch 1/8″ away from the edge all the way around the wings to close the opening.
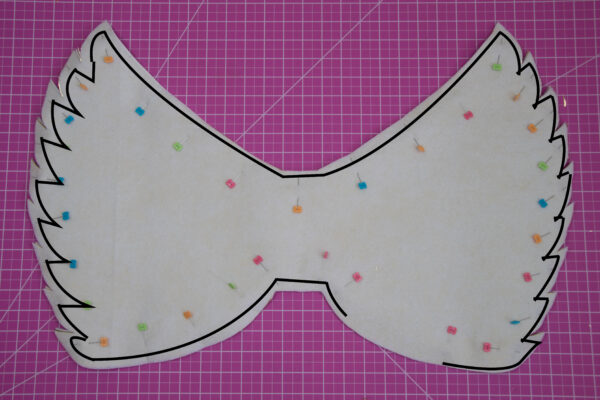
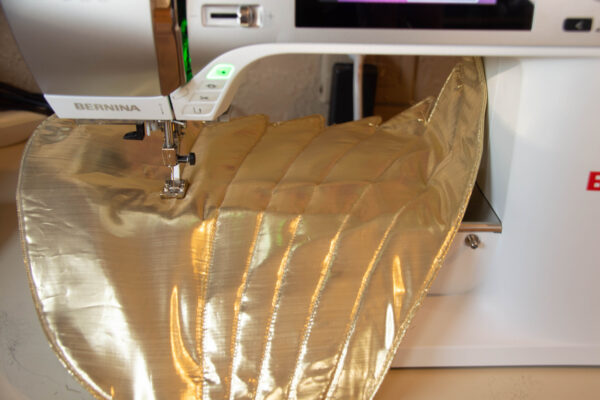
Step Ten: Sew a line from the edge of the wings to the center creating a feathered look. Continue this for each point on the wing. Repeat this step for the other side of the wing.
Step Thirteen: Overlap the elastic by 1/2″ creating a loop. Sew a few zig-zag stitches to secure.
Step Fourteen: Place the elastic loop on the inside of the wings and pin. Sew a few zig zag stitches to attach.
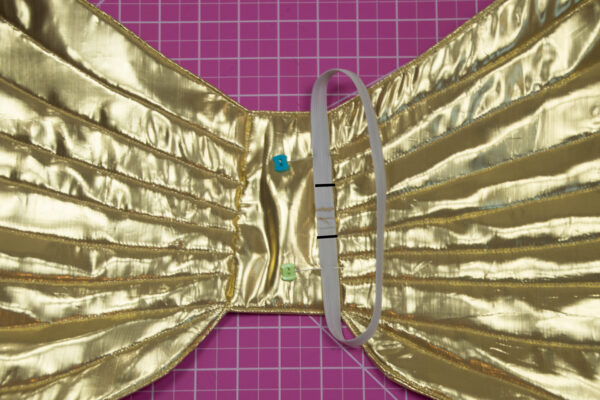
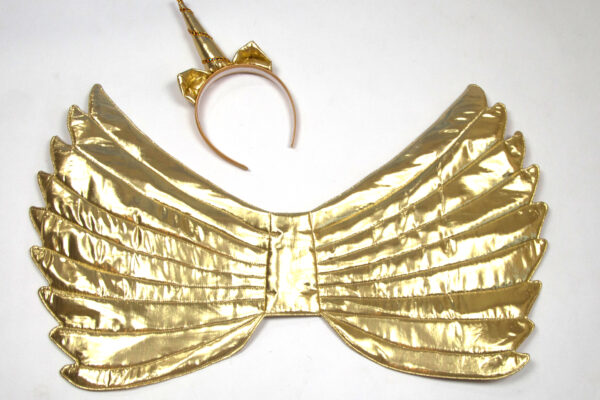
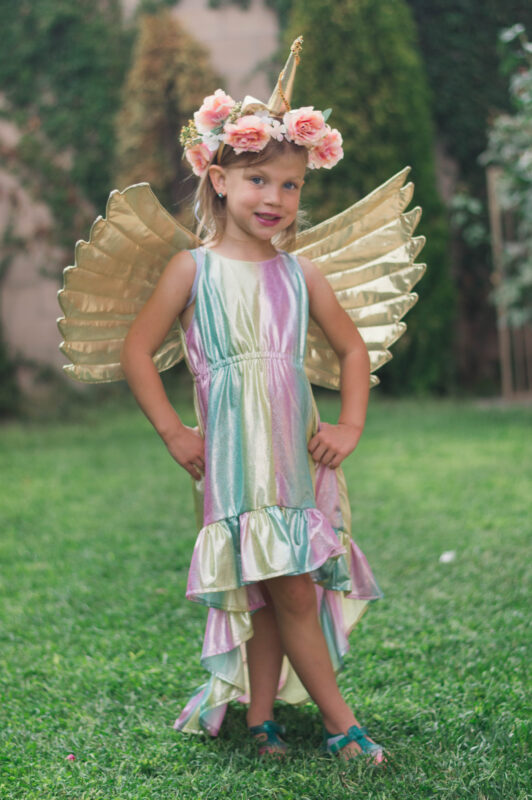
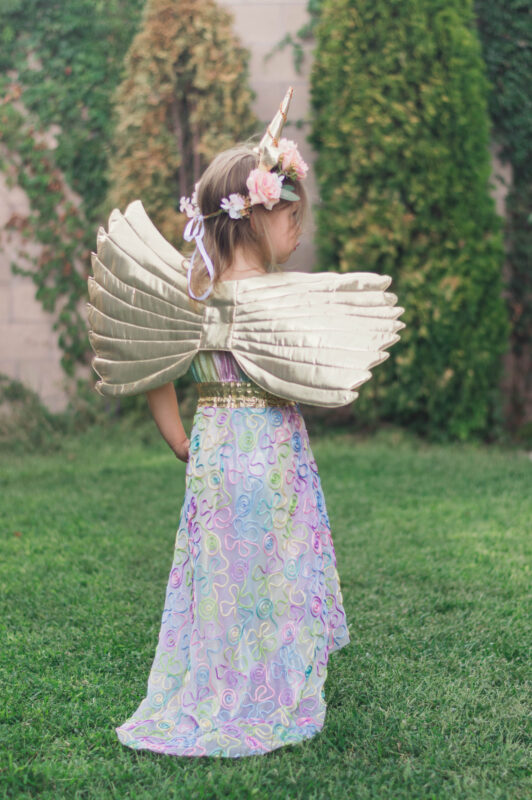
I made the SLPco Harmony dress to go with these fun wings and now she’s ready for all the trick or treating fun. Thats it! How easy was that! This is such a fun and easy sew, I hope you give it a try!
xoxo- Becca
What you might also like
5 comments on “DIY Unicorn Costume”
-
-
There is a link for the wings and horn pattern under supplies. For the dress I used the Harmony pattern from our shop. I have attached a link below
-
-
Where is the pattern to download ?
-
You can find it under the Materials to Make… section. It is the Unicorn Wings & Horn Pattern
-
-
Cute idea! Just one question:
We skip from step 10 to step 13 – Am I missing something?
Leave a Reply
You must be logged in to post a comment.




Hi Becca, where would I go to download the unicorn costume pattern? I don’t see an active link. My granddaughter would go crazy over this!