Embroidery Basics 2: “Hooping” Without a Hoop
There are times when hooping fabric and stabilizer together as a unit for embroidery is impossible. This is the case with very small articles such as collars, edges of clothing, napkin edges, etc.
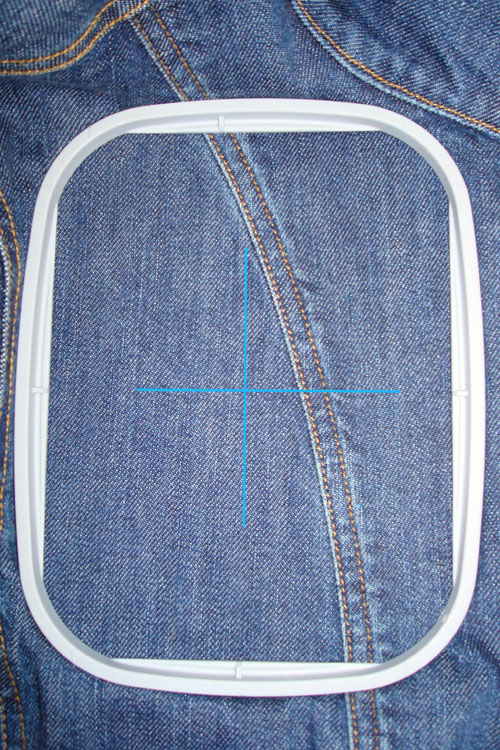
Also if the project has varying thickness or seam allowances on one side of the hoop, it might be better not to hoop the project. For example, see the thick seam on the back of the denim jacket below.
Even though this area would fit in the hoop, the screw on the hoop would only tighten to the thick seam allowances, leaving areas on the left and right sides with less tension than the top and the bottom. This could cause distortion, resulting in mismatched area in your stitched design. Other items that are too thick to be hooped include very thick towels and quilts.
To Embroider an Item Which Cannot be Hooped
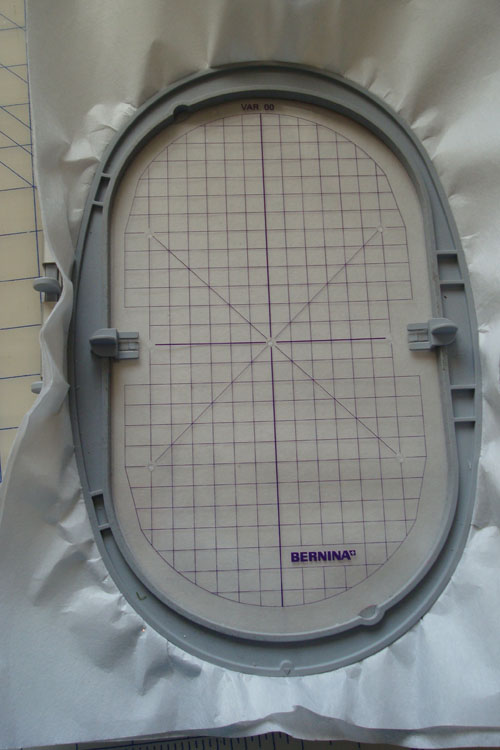
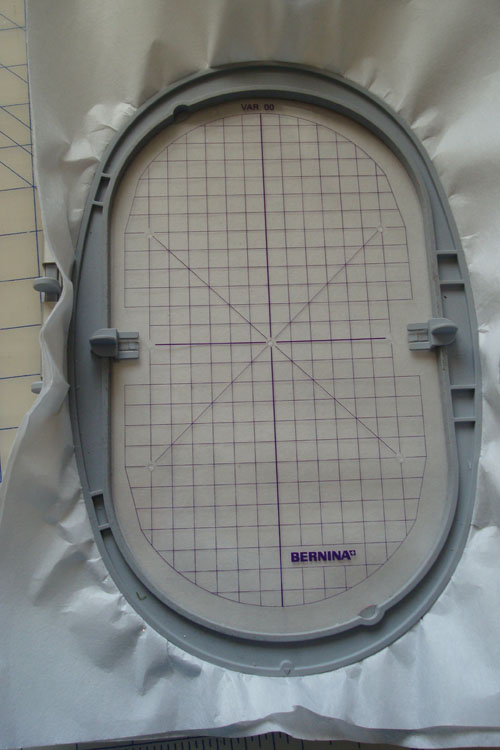
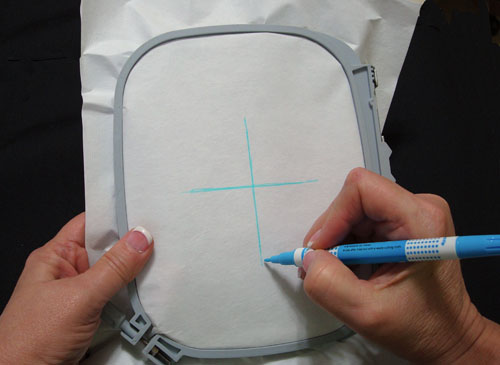
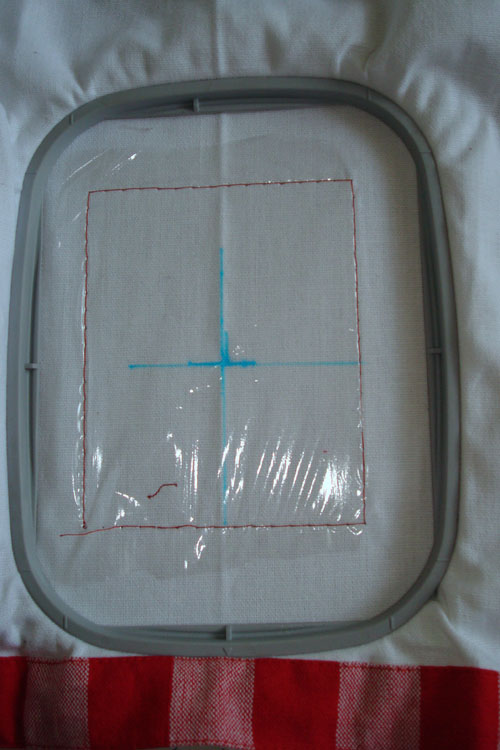
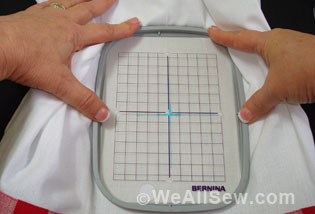
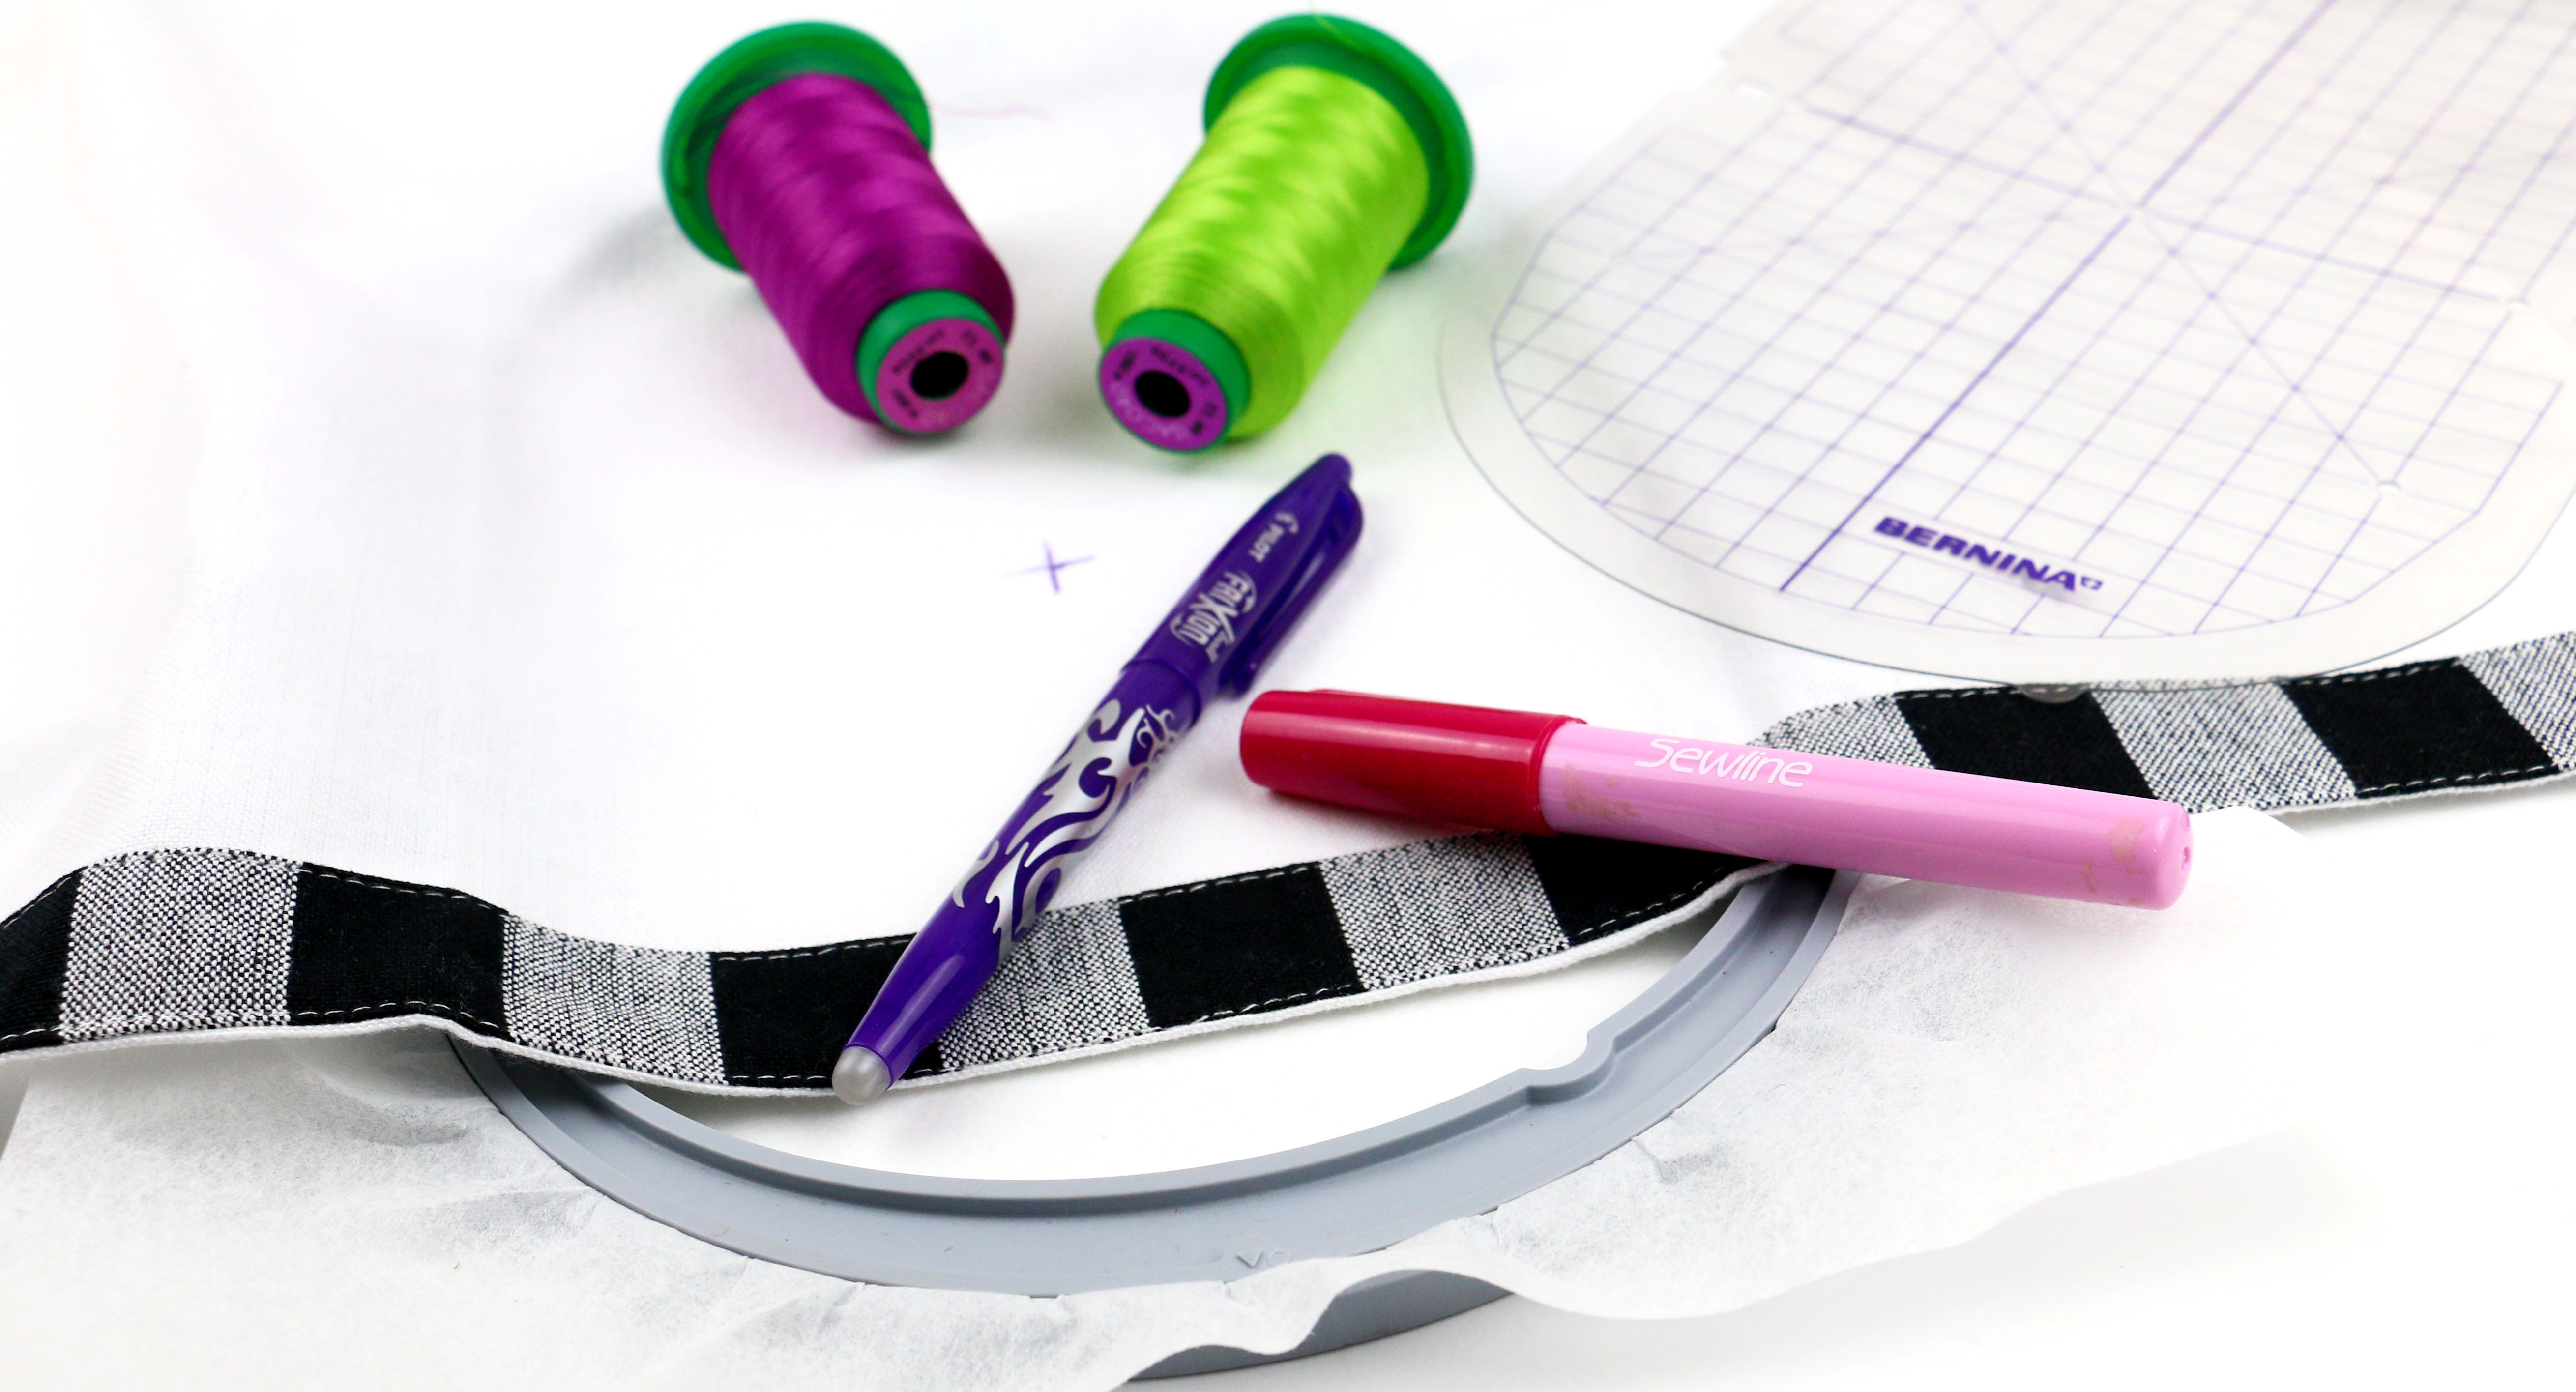
Hoop the appropriate stabilizer layer(s) alone in the hoop. Use your hoop’s plastic template to mark the horizontal and vertical center lines of the hoop.
Remove the plastic template and spray the top of the hooped stabilizer with temporary adhesive spray.
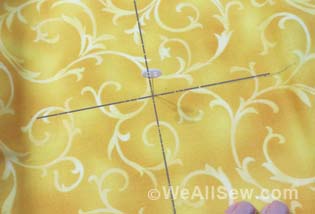
Mark the horizontal and vertical lines of the design on the project, or pin the embroidery design’s paper template into position on the project. An easy way to position the project correctly is to align the hoop’s plastic template (just the template, not the inner ring) over the marked lines on the project. Pick up the project and template as one unit, and place it over the hooped stabilizer.
Remove the hoop’s plastic template and the paper template (if used) before attaching the hoop to the machine. Embroider the design.
Specialty Stabilizers to Aid in Hooping Difficult Items
If the item to be embroidered is bulky, using a temporary adhesive spray sometimes does not provide enough adhesiveness to affix the item to the stabilizer and hold it in place during the movement of the hoop. Specialty stabilizers have been created to aid in the hooping process for hard-to-hold items. These items are also helpful for those who might have sensitivity to sprays.
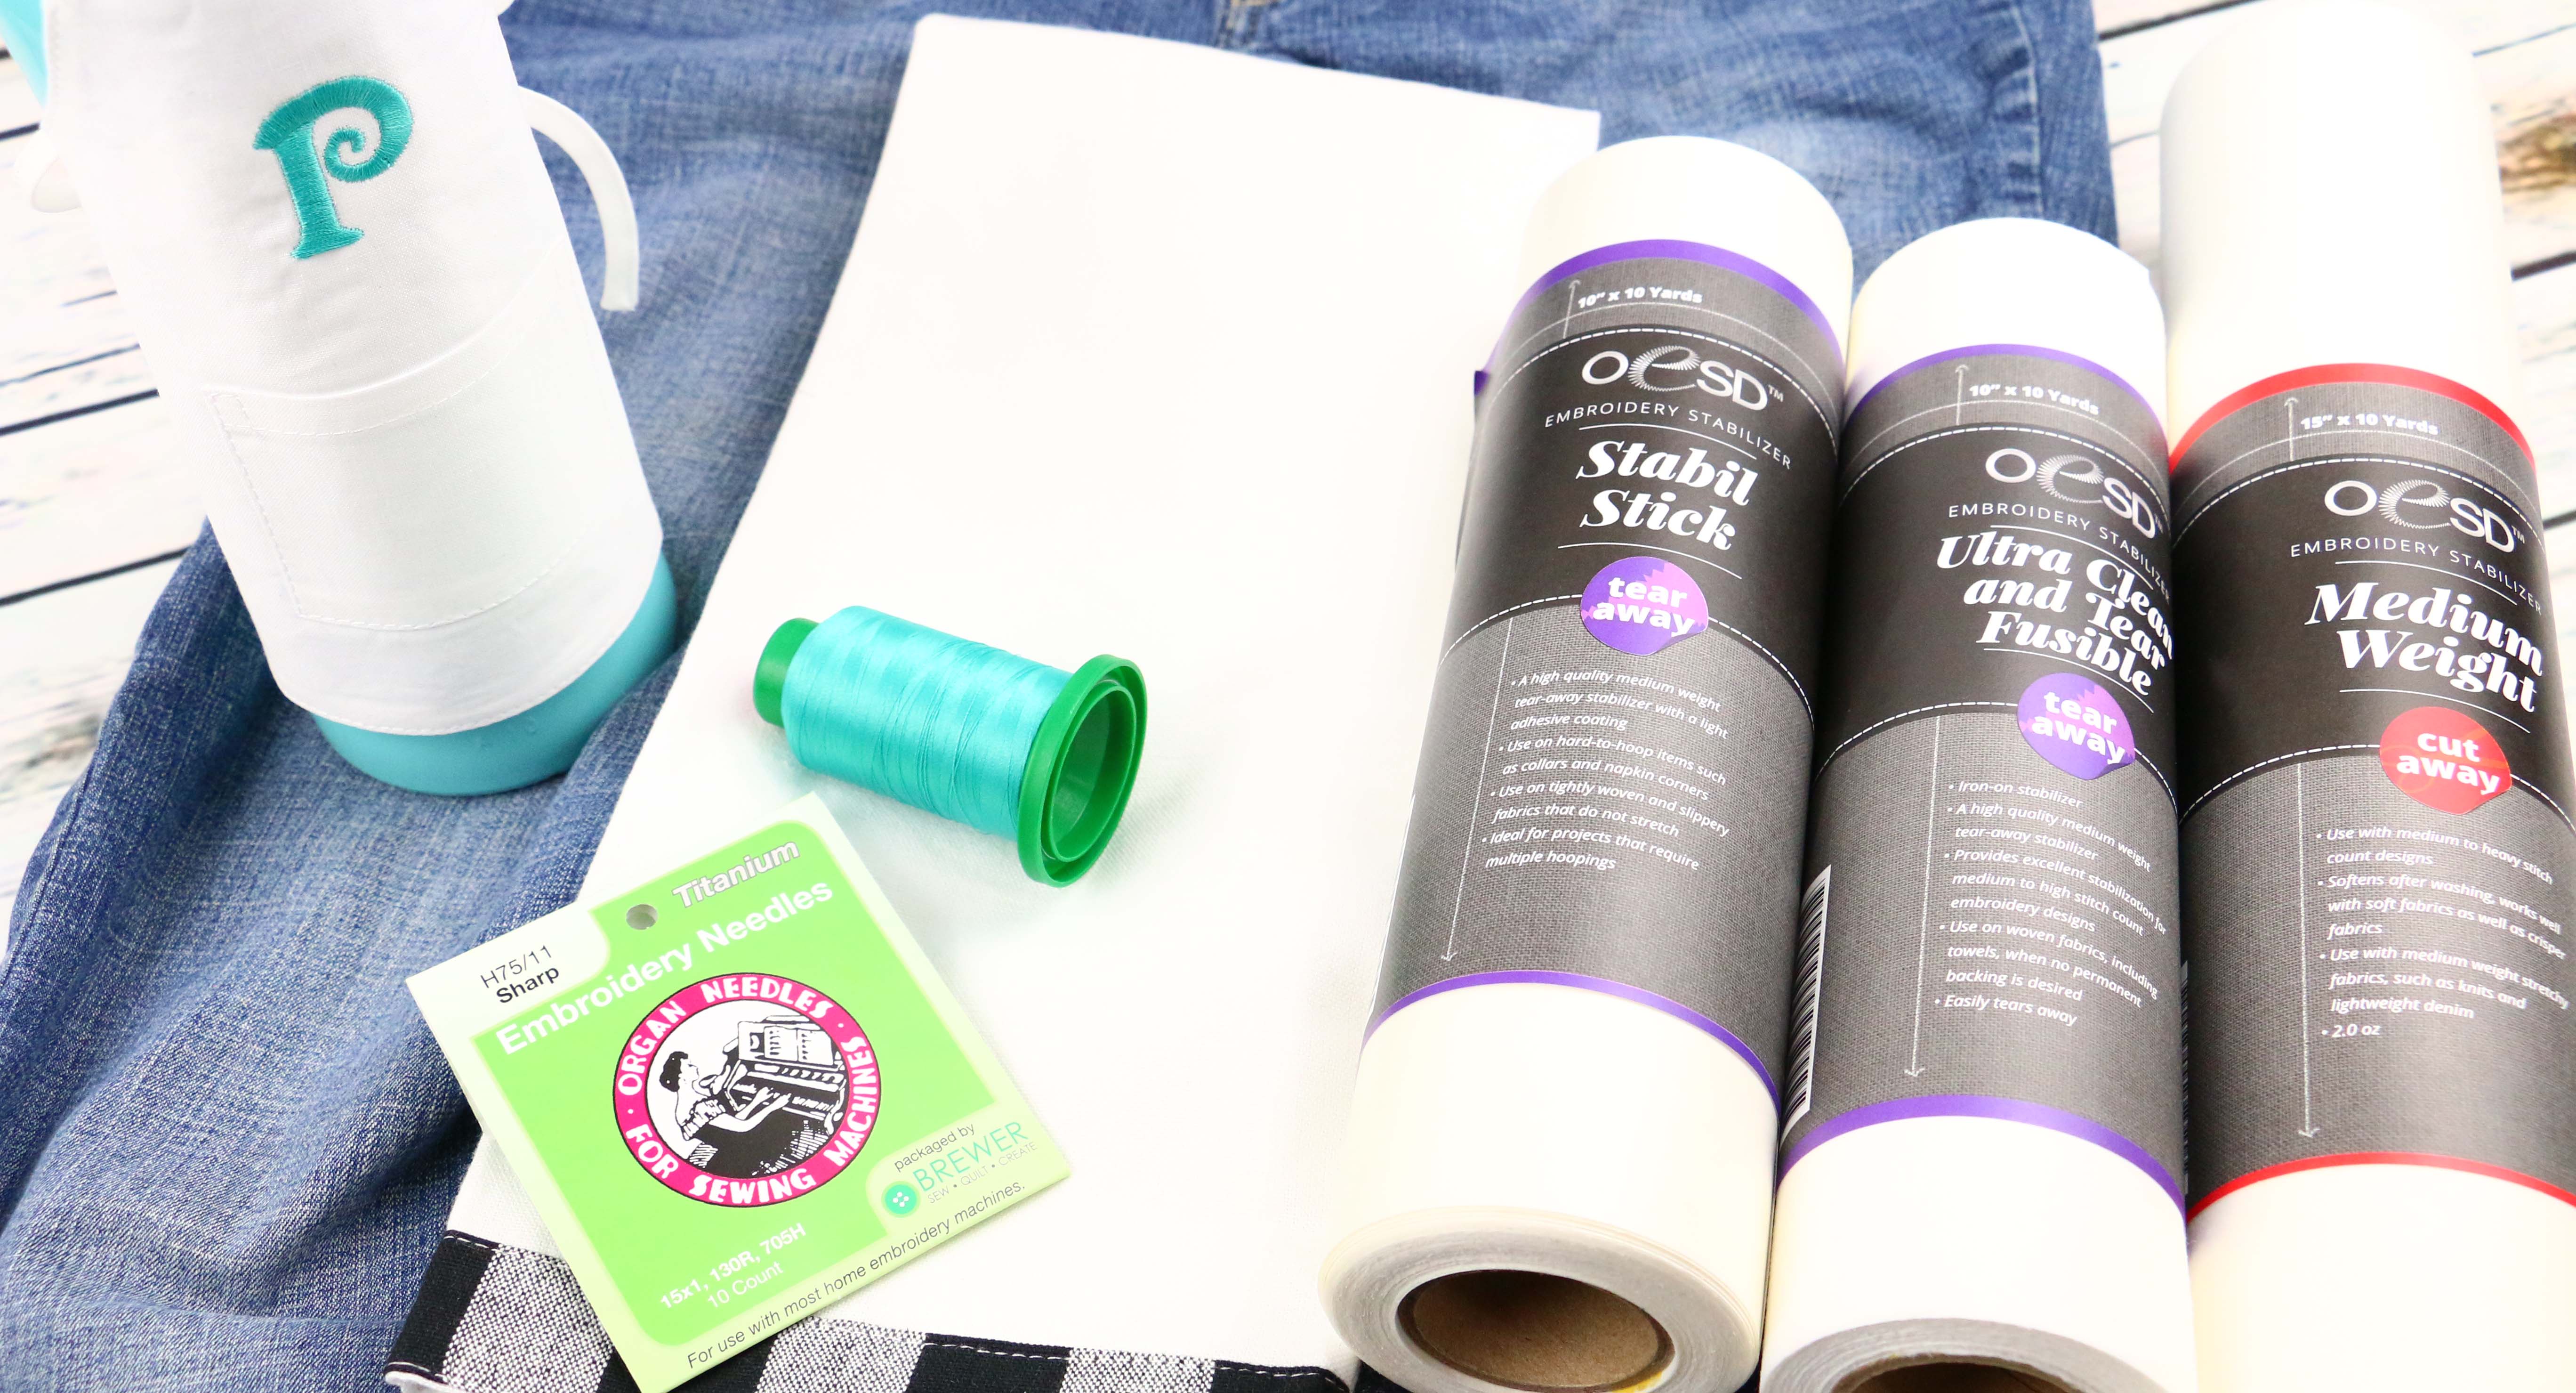
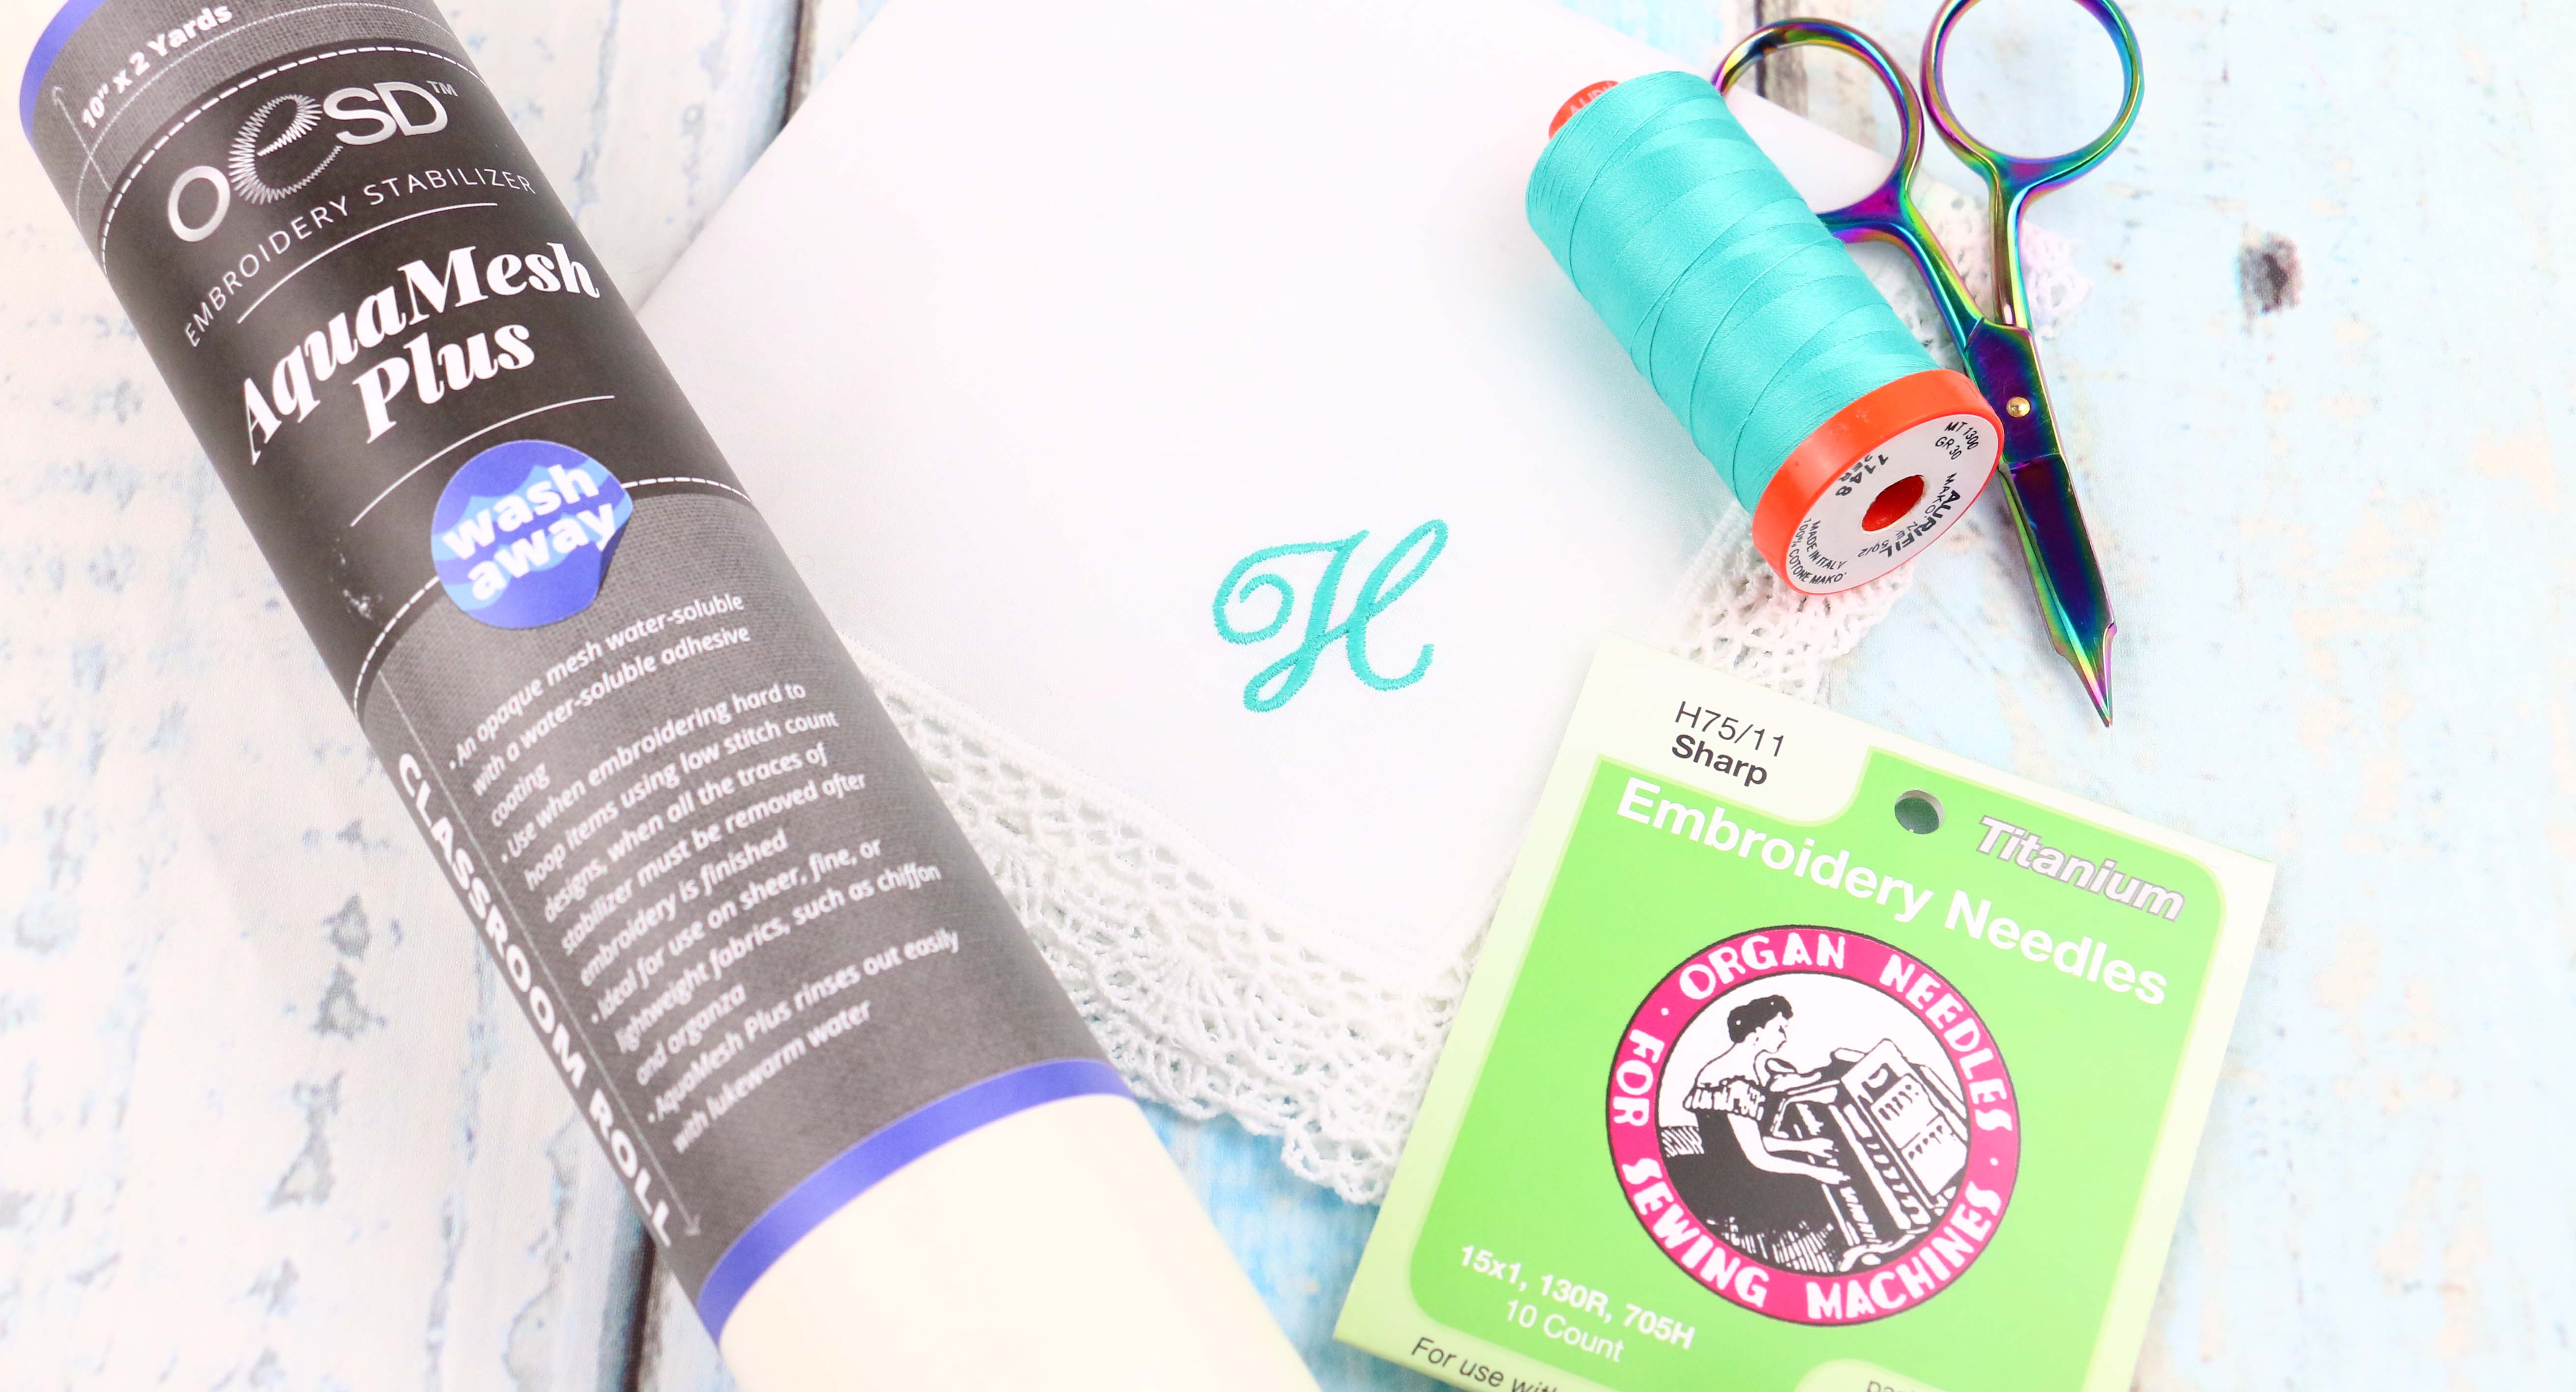
Paper-backed pressure-sensitive adhesive stabilizers are a good alternative to using sprays, and in many cases hold items in place better. There are cut-away, tear-away and wash-away versions of this product: OESD Stabil-Stick Cut-Way, OESD Stabil-Stick Tear-Away, and OESD AquaMesh Plus.
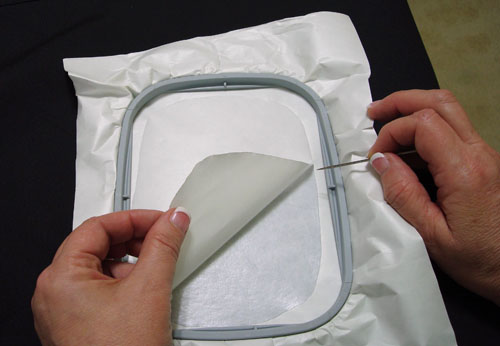
Hoop the stabilizer with the paper side up. Use your hoop’s plastic template to mark the horizontal and vertical center lines onto the back of the hooped stabilizer.
Use a pin or an awl to score just the paper.
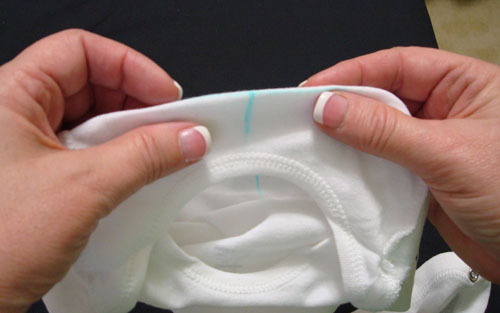
Remove the paper. Align the horizontal and vertical lines of the project with those marked on the stabilizer (you should be able to see the lines through the stabilizer; if not, remark the lines onto the sticky side of the stabilizer). When stitching a very small item such as the onesie, turn the garment wrong side out after marking the position of the design on the front. It is helpful to re-trace the horizontal and vertical centering lines onto the backside of the garment.
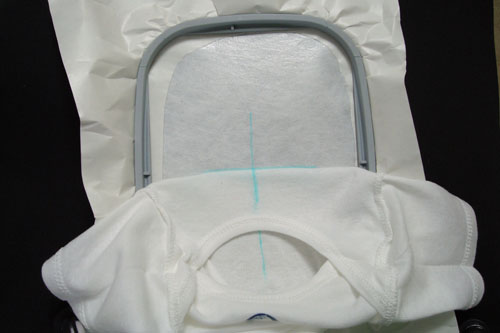
Fold the item right sides together along the horizontal line.
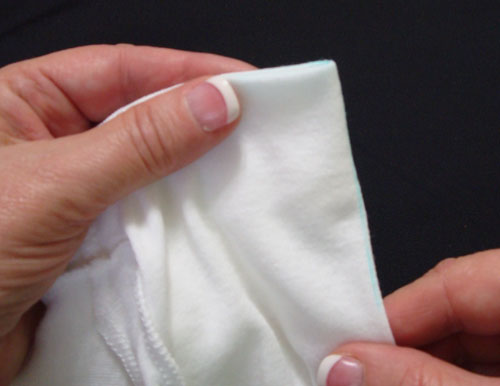
Fold again to the left along the vertical centering line.
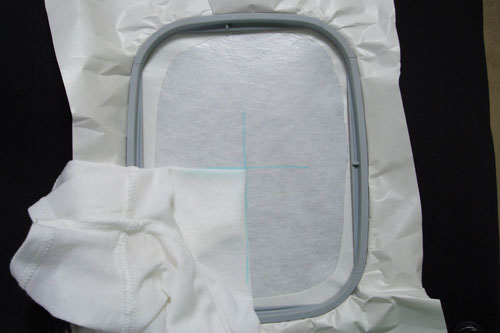
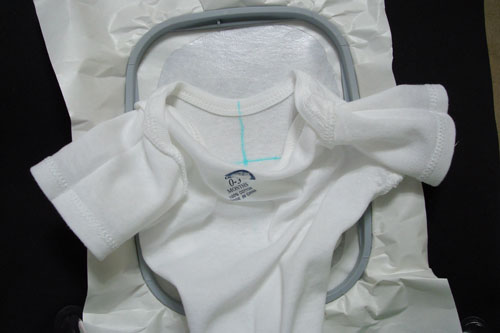
Position the folds into the bottom left side of the marked stabilizer.
Unfold the last fold of the onesie…
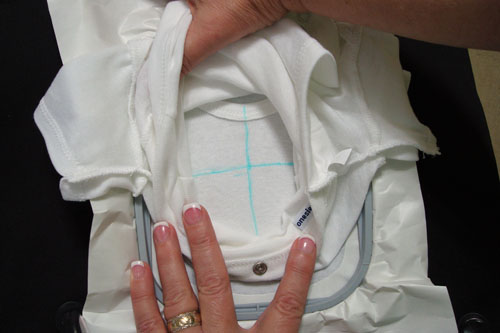
…and then unfold so that the onsie is in proper position.
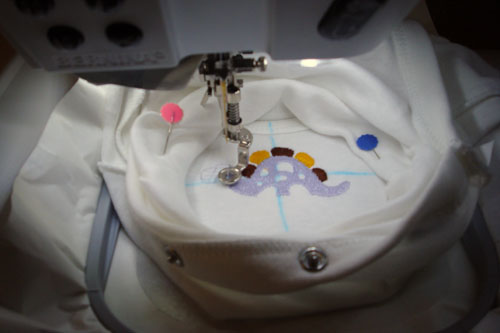
Smooth the item into place, and then reach in through the bottom snap opening and pull the excess fabric out of the way.
Attach the hoop to the machine and stitch the design.
After the embroidery has been completed, gently pull the stabilizer away from the project and remove the excess.
Tips
• A water-activated adhesive stabilizer, such as OESD’s Hydro-Stick stabilizer, works very well for “hooping without a hoop.” This tear-away stabilizer has a water-activated adhesive applied to one side of stabilizer. Hoop the water-activated stabilizer alone with the adhesive side (shiny side) up. Use your hoop’s plastic template to mark the horizontal and vertical axis of the hoop onto the back of the stabilizer. Moisten the top of the hooped stabilizer with water to activate the adhesive. Align the marked horizontal and vertical lines on the fabric with those marked on the hoop. Allow the adhesive to dry for one to two minutes depending on the humidity. Embroider the design. To remove the item from the stabilizer, you must lift and moisten, and lift and moisten until the item is released.
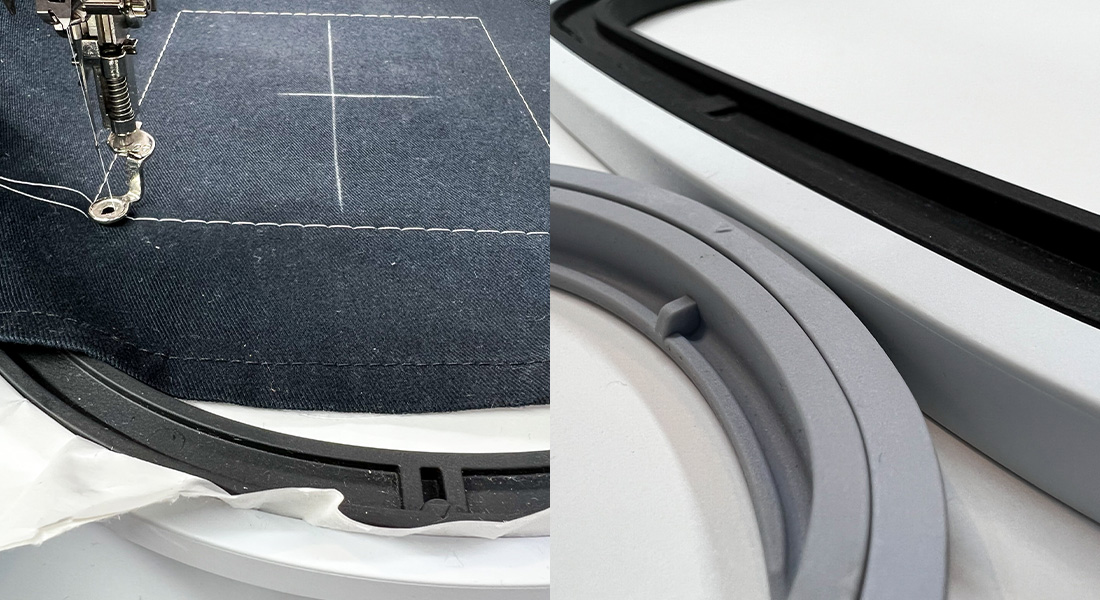
• An additional aid in keeping the fabric and stabilizer secure in the hoop is to stitch a hoop-basting outline. This is a rectangle of long stitches around the design or following the shape of the hoop. Open the basting outline file in the machine and then add the design to be stitched so that the outline stitches prior to the design stitching. Check with your machine manufacturer to see if a basting outline is available for your hoop.
Basting boxes can also be created in embroidery software programs such as OESD Explorations or BERNINA Designer Plus Embroidery Software 6. Some machines have a pre-programmed basting outline. If you use software you will be able to create a basting outline closer to the design if you choose.
After the design has stitched, remove the basting stitches. A helpful tip is to thread the needle with water-soluble thread when stitching the basting outline. The basting stitch can then easily be removed with water.
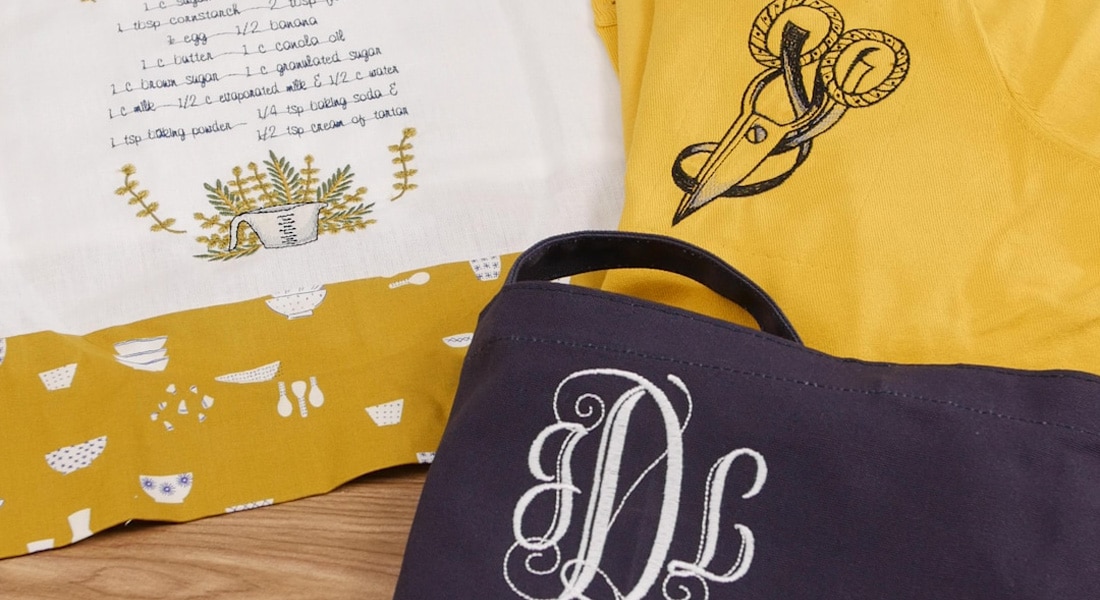
What you might also like
3 comments on “Embroidery Basics 2: “Hooping” Without a Hoop”
-
-
Pingback: WeAllSew « https://weallsew.com
Leave a Reply
You must be logged in to post a comment.




I took a class where we used Stabil-Stick Tear-Away and basted the box. It worked great. I think we used damp paper towels and pressed the design to get rid of the stable stick. It beat using water.
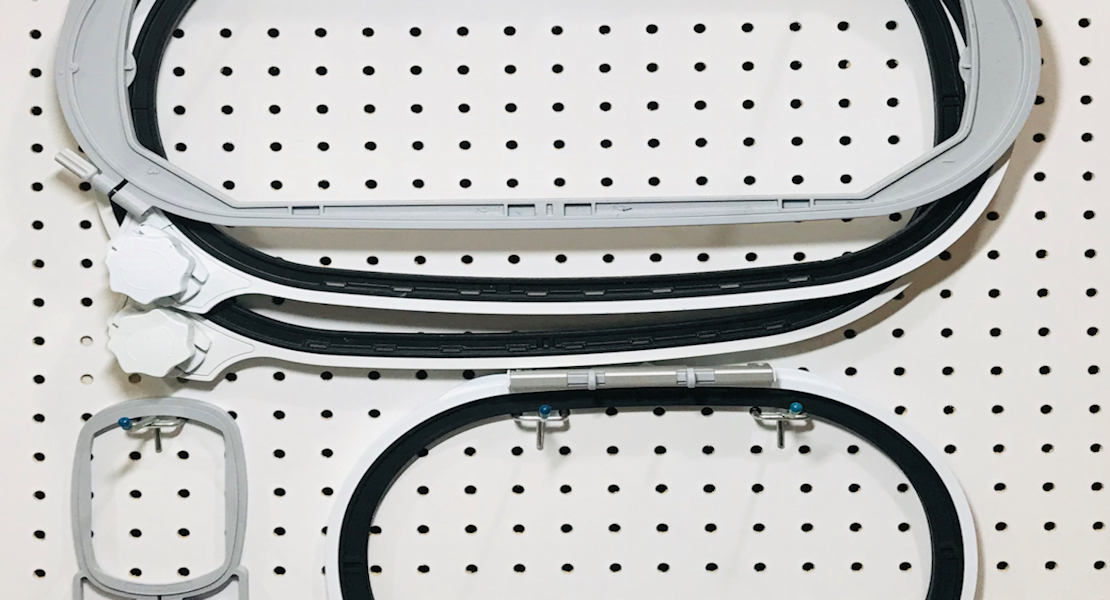
My instructor gave me the basting design for the 3 hoops that I have.