Fabric Collage Note Cards
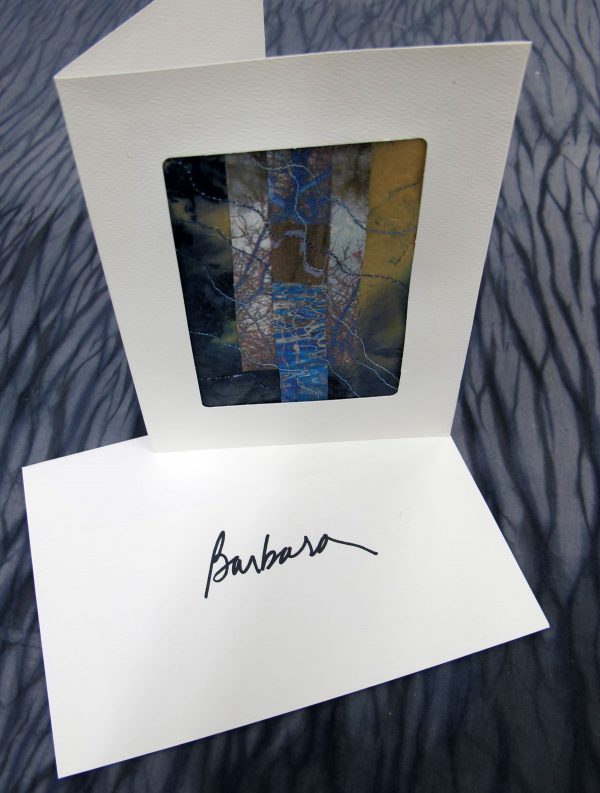
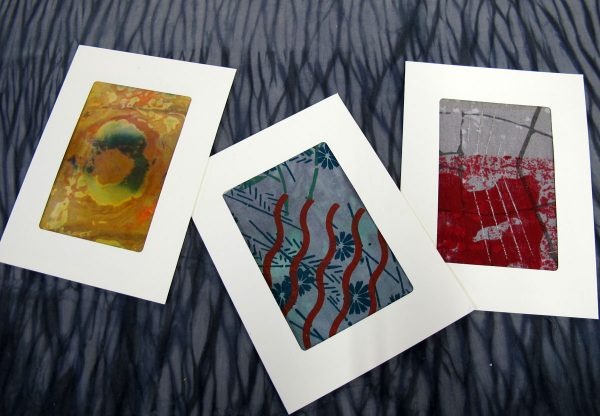
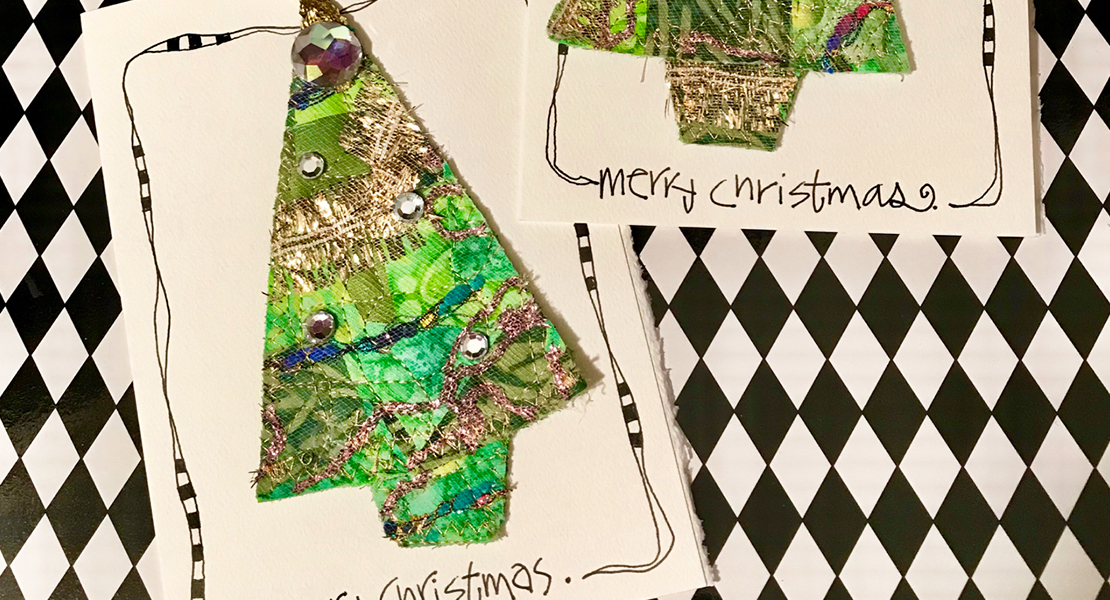
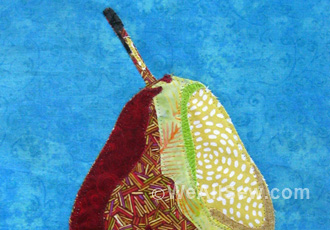
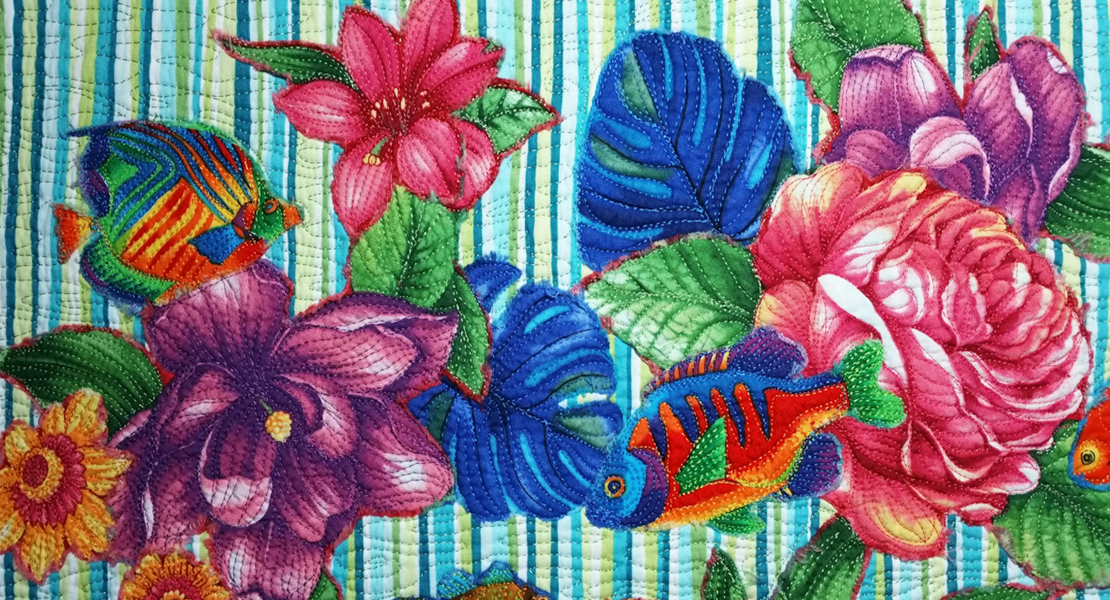
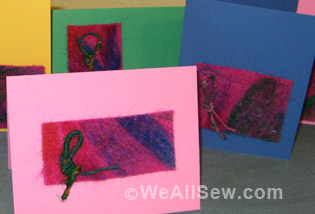
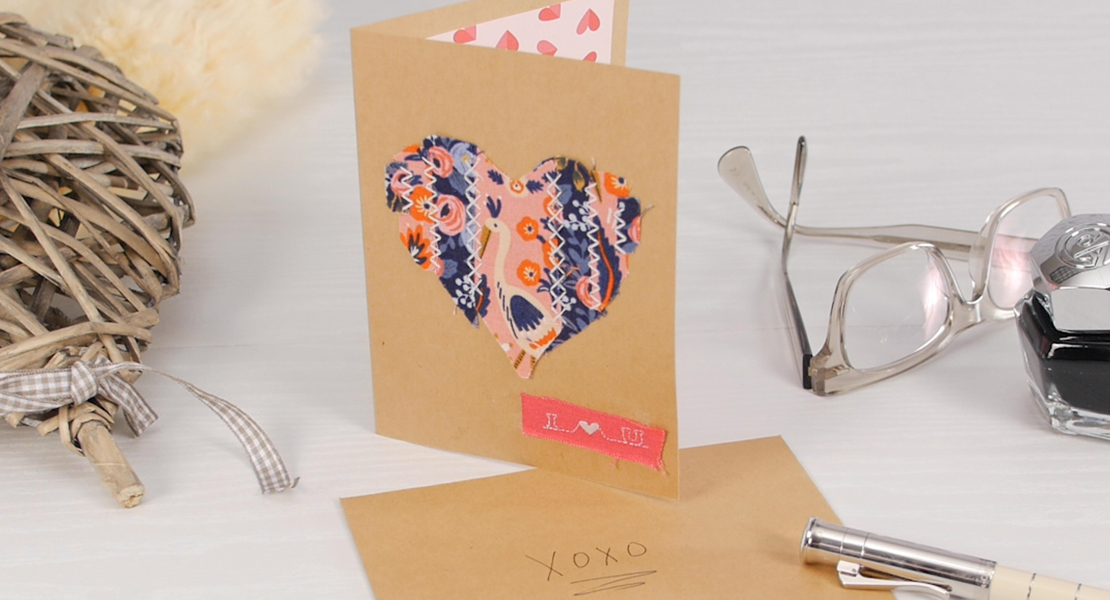
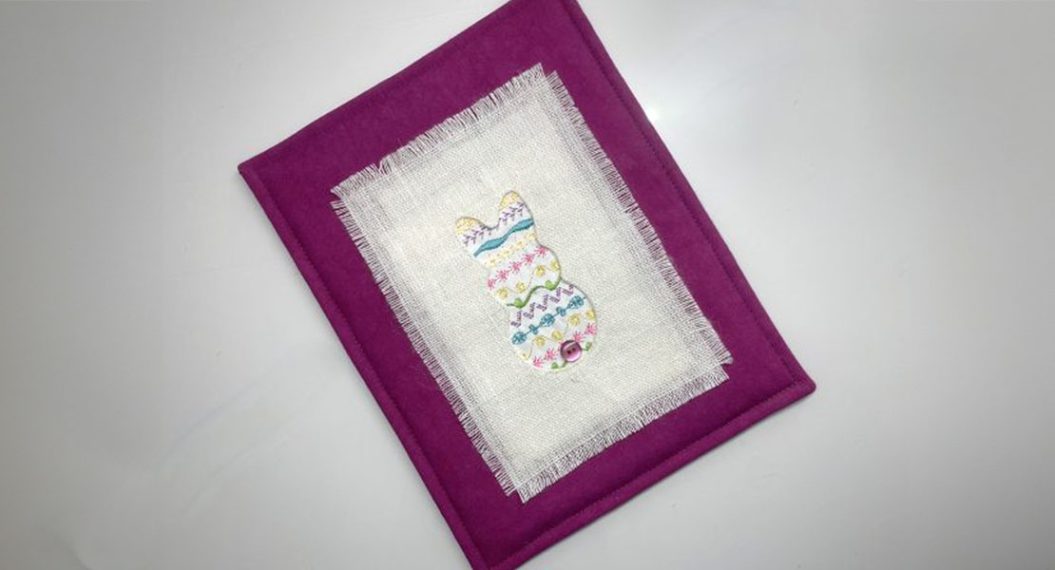
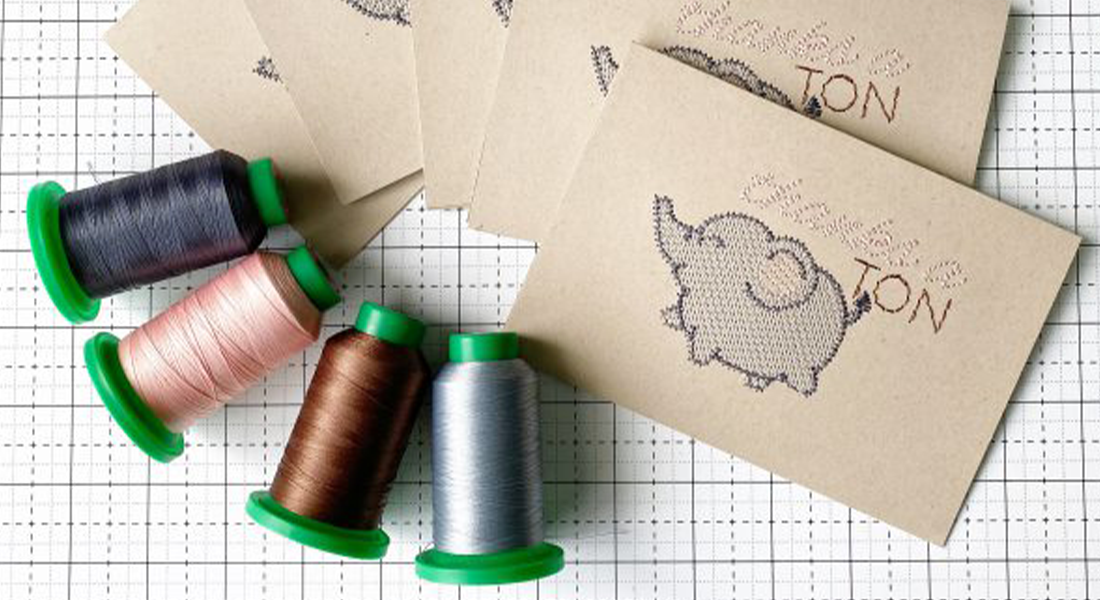
Make one of a kind note cards collaged with fabric scraps, bits of paper, and anything else of interest you may have in your scrap bin! I like to use up smaller pieces of fabrics and specialty papers to create personalized note cards. I use Strathmore photo mount cards which are acid free and have an open frame that your textile sits in.
Materials to make a Collage Card
- Cutting mat, decorative rotary cutter blades, Xacto knife
- Note card blanks (I recommend Strathmore Photo card blanks, available form Blick Art supplies and other art and craft stores)
- Tissue or tracing paper to make template
- Glue stick
- Fusible web
- Iron and ironing surface
- Sewing machine (I use a BERNINA 750 QE)
- Reverse pattern foot #1/#1C/#1D
- Scissors
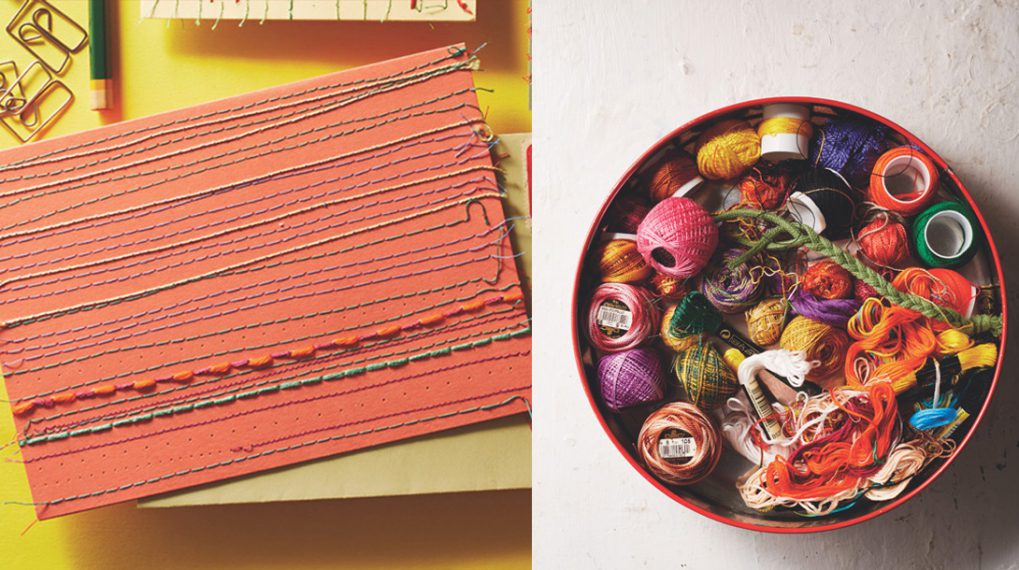
- Decorative threads
- Decorative papers, fabric scraps, old
- Optional: Open embroidery foot #20/#20C/#20D to add decorative stitching, Embroidery foot #15 or BERNINA Stitch Regulator to add free-motion stitching
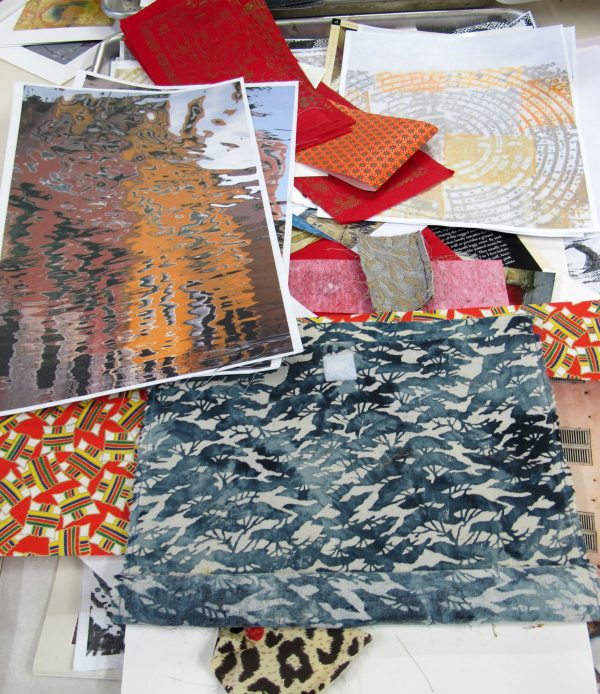
Gather up your paper scraps, small piece of fabrics and other fun stuff. You can use old water color papers, postcards, decorative papers, magazines or advertising, anything that is of interest to you.
Do the same with your fabrics—use scraps from various projects, some that have stitching on them already, samples from fabric suppliers, anything can work! Pieces that are already cut up can be even more interesting to use in your design.
Lay out your samples and see what appeals to you to work with. If you choose a background PAPER it should be relatively sturdy. If you choose a background FABRIC it should be fused to another piece of fabric to make it sturdier.
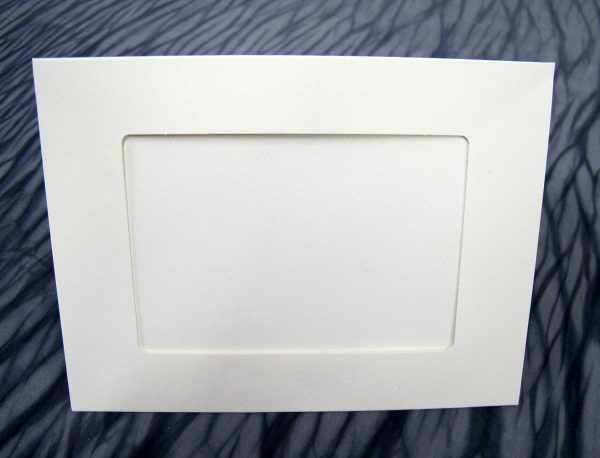
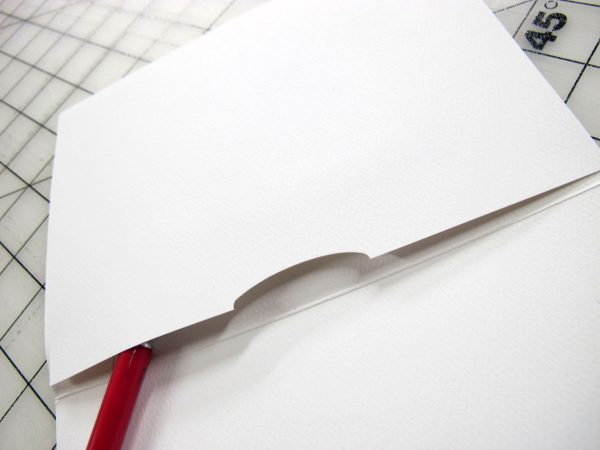
This is the blank card with the open frame. The artwork you create slips into the envelope that is created between the back of the card and the open frame.
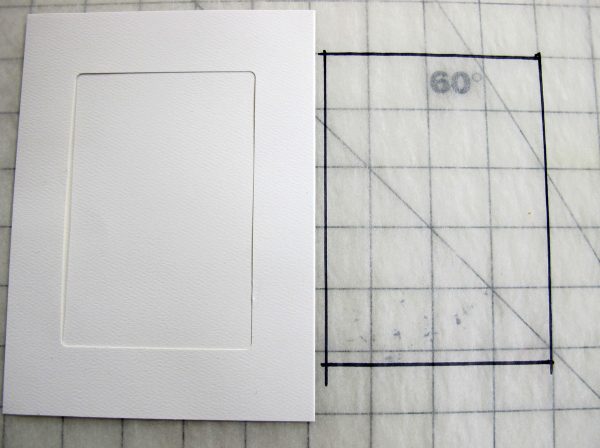
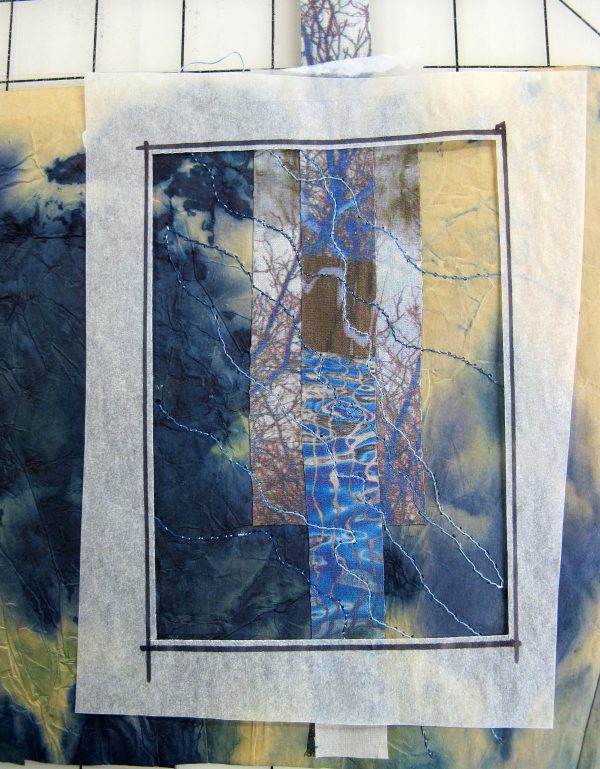
Create a tissue paper template by tracing the open frame of the card onto the tissue. Cut the tissue just inside the marked frame so that you can see how your art will look.
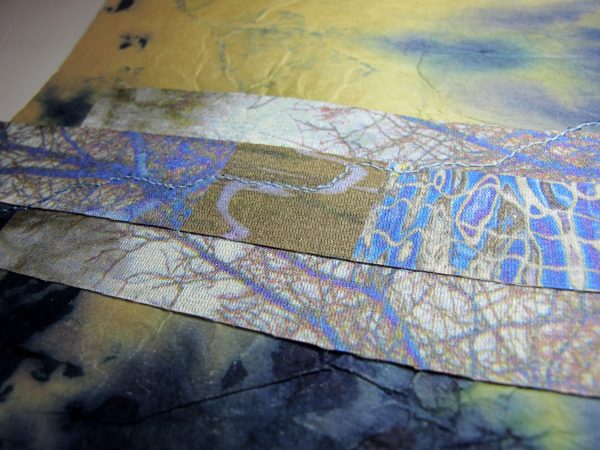
Start to assemble your collage on a piece of plain white paper. Use a glue stick to tack things together once you decide that your design works.
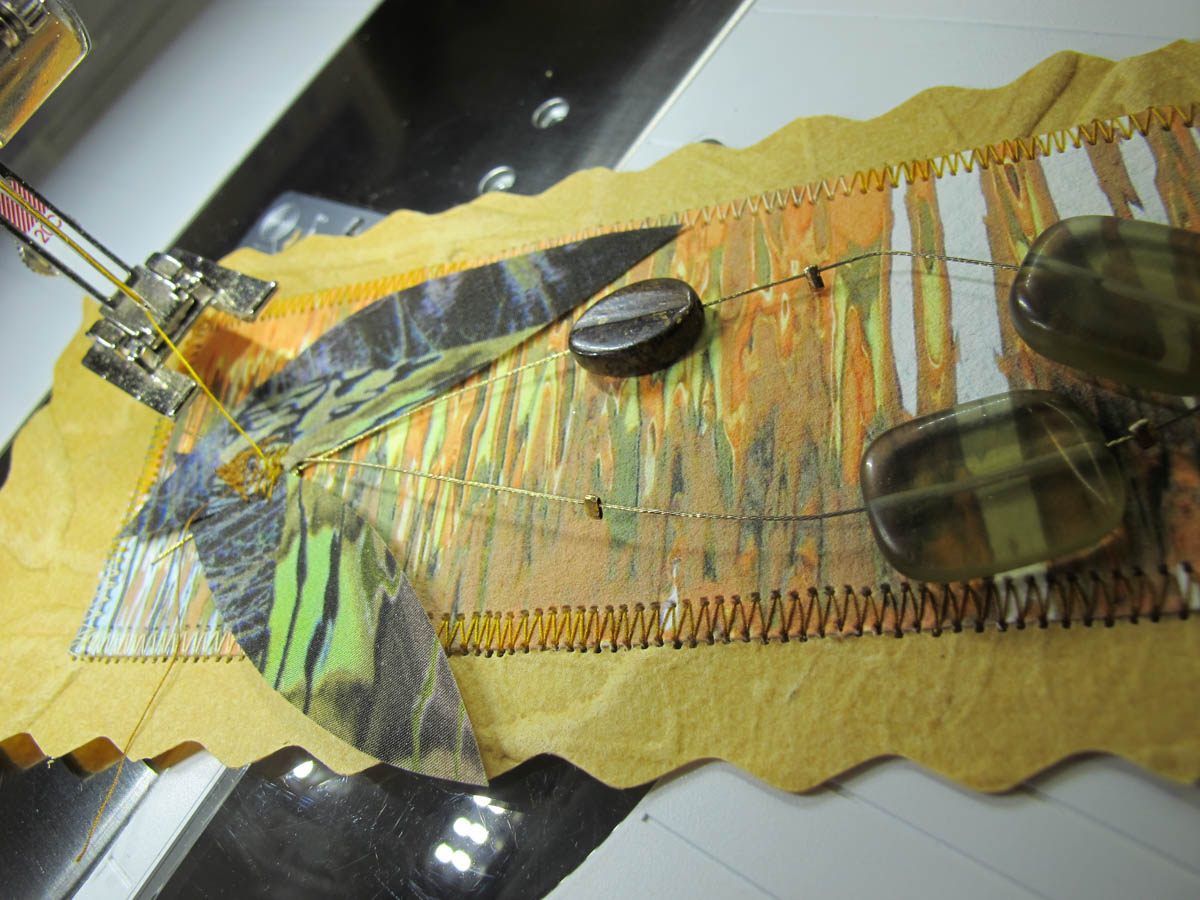
Once you have your design worked out you can add more interest by adding decorative stitching using your BERNINA specialty feet and stitches.
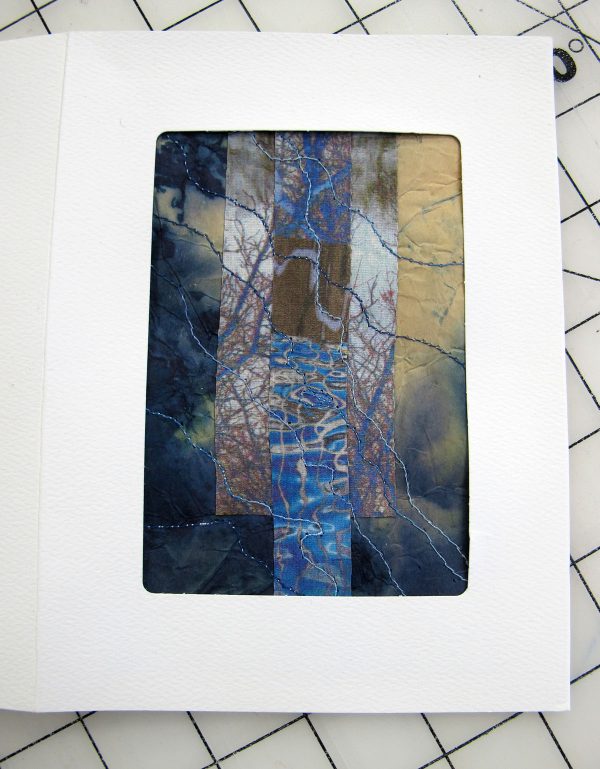
Trim your design about ½ inch larger then your open frame so that it will sit neatly inside your envelope. The cards come with small stickers that allow you to hold your art securely in place. Hold your frame/envelope open with a pencil or chopstick so that you can easily slide your artwork inside.
Admire your finished card. Make more! I hope this will give you some ideas to begin making some creative use of your scraps and having a collection of notecards available.
