Fast Forward Quilt Along, Part Three
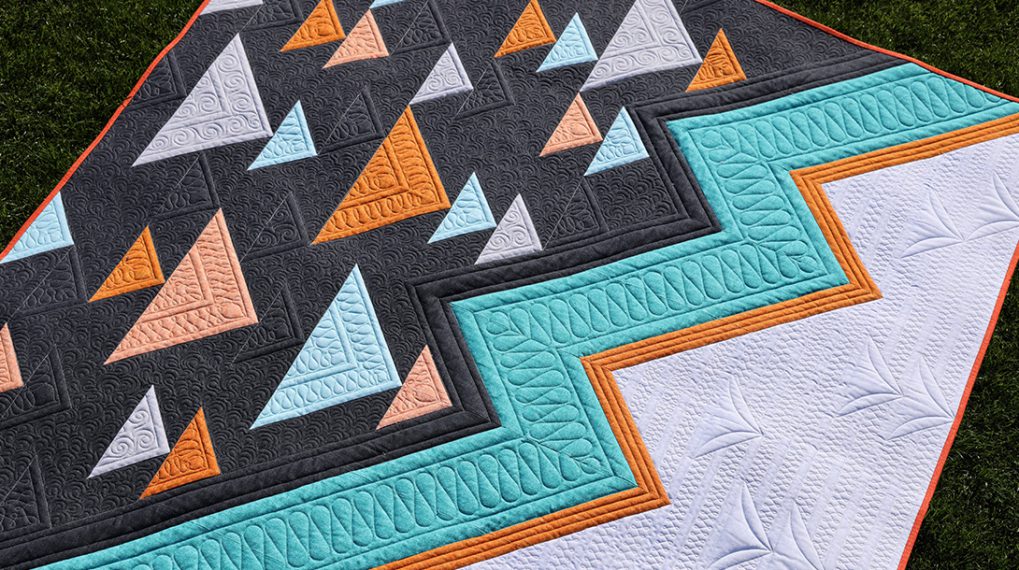
So, BERNINA-enthusiasts – are you ready to QUILT? I’m BERNINA Expert Amanda Murphy and this month I’ll begin to show you how to quilt this modern design.
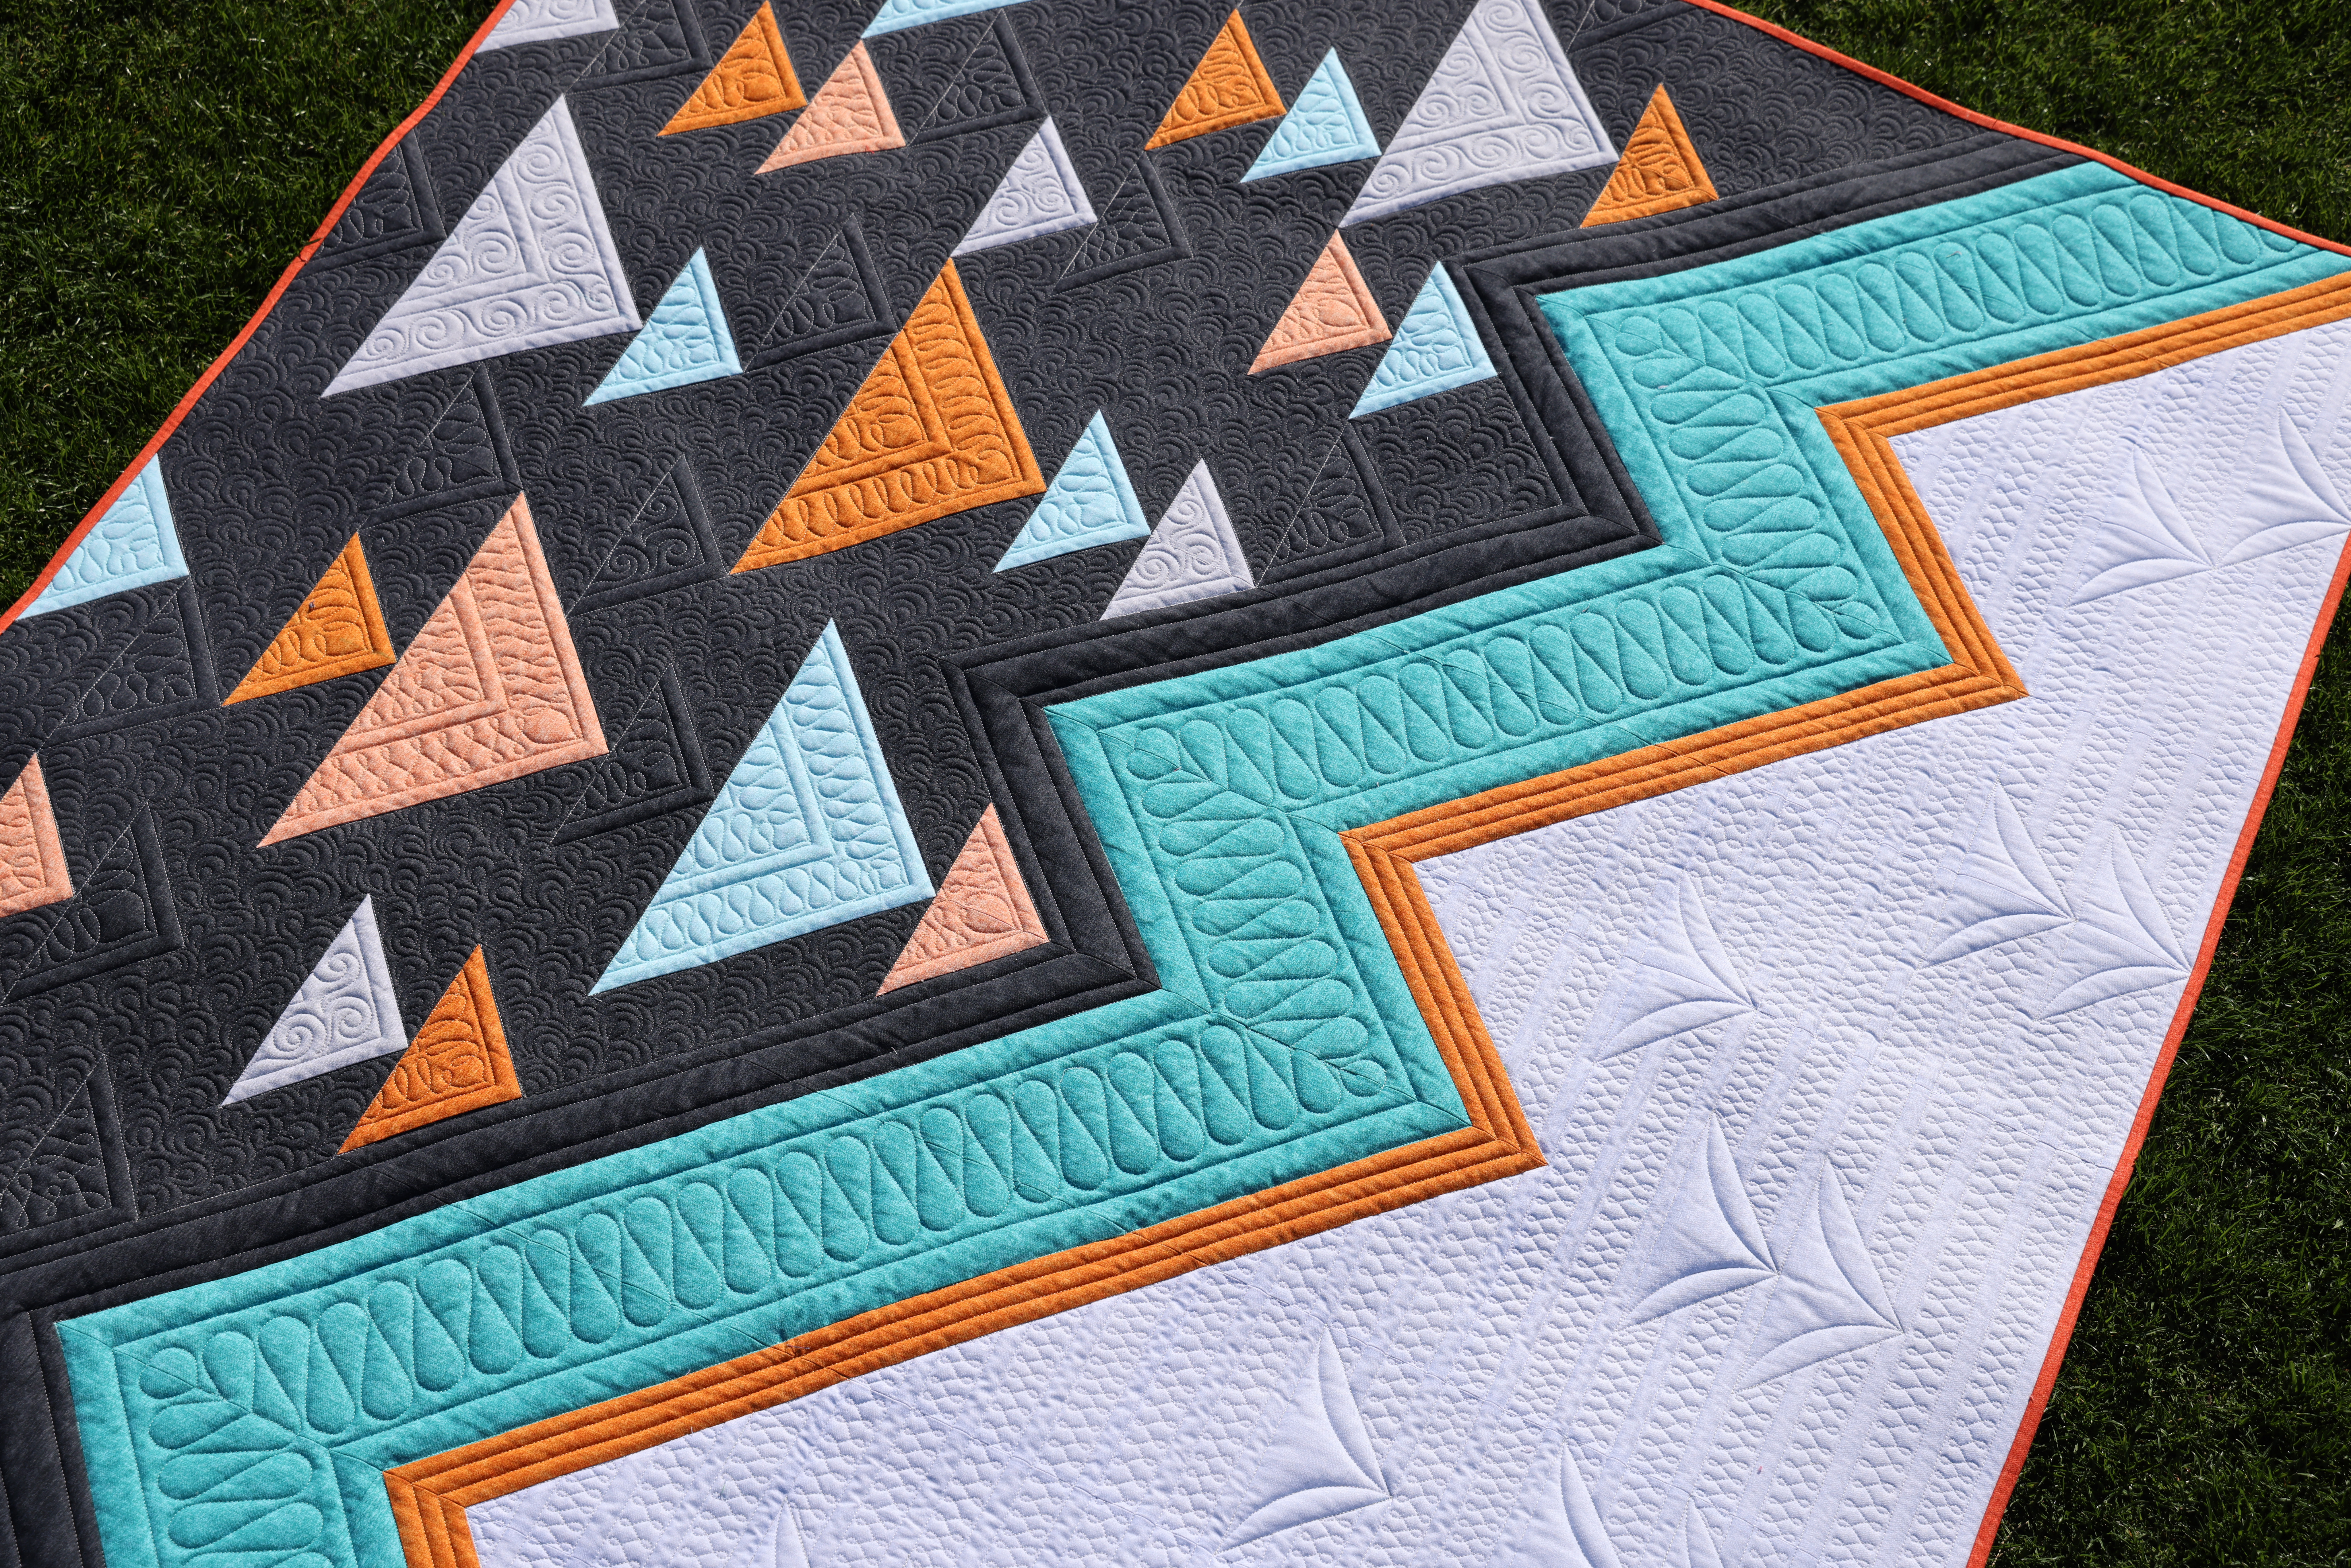
Fast Forward
If you missed the previous posts which give you yardage and piecing directions you can find them here:
- Fast Forward Announcement and Yardage Requirements See note below on suggestions where Cotton Shot is available.
- Fast Forward Post 1
- Fast Forward Post 2
Watch this video for helpful tips on the quilting for this month.
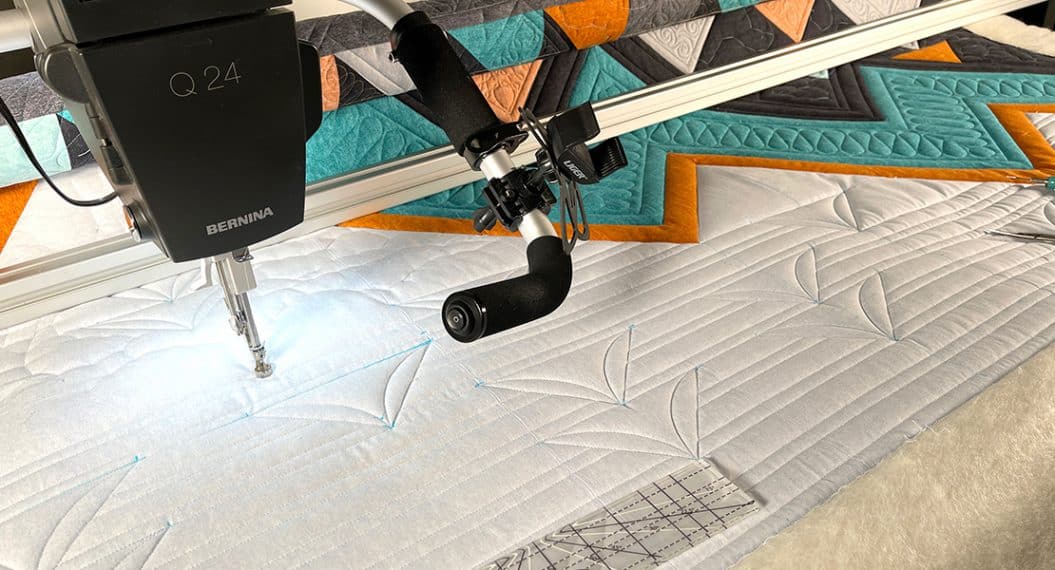
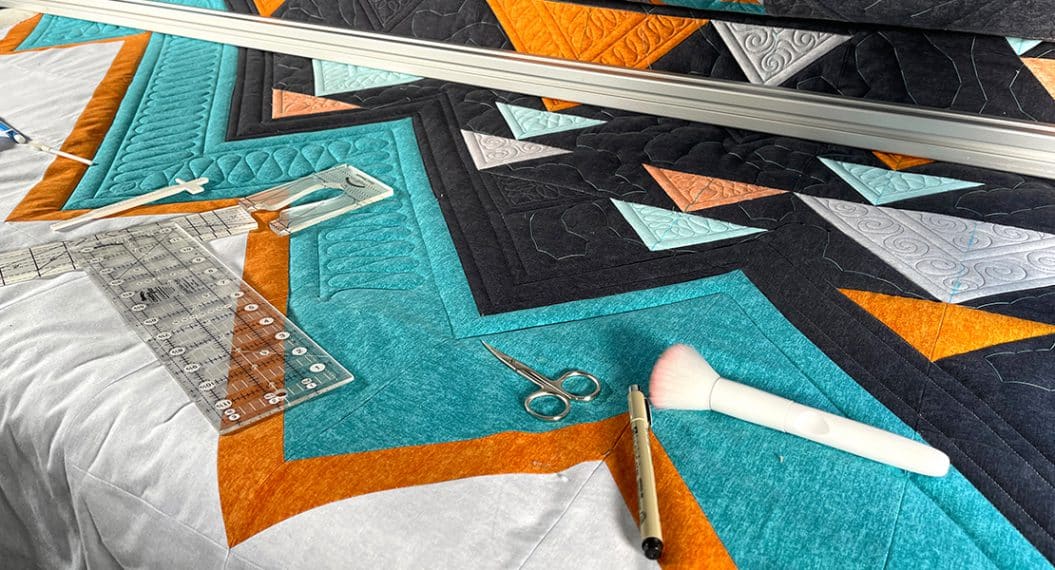
I filmed the quilting of Fast-Forward on my BERNINA Q 24 on the Pro frame. I turned my quilt top and backing 90 degrees during set-up to minimize thread changes and ensure that I was completing as much of one section of quilting as I could before moving on. (You really can see the benefits on a deeper throat space on a design like this in that you can complete more quilting in one pass, but it is definitely still do-able on a smaller machine, like the Q16 on the Studio frame.)
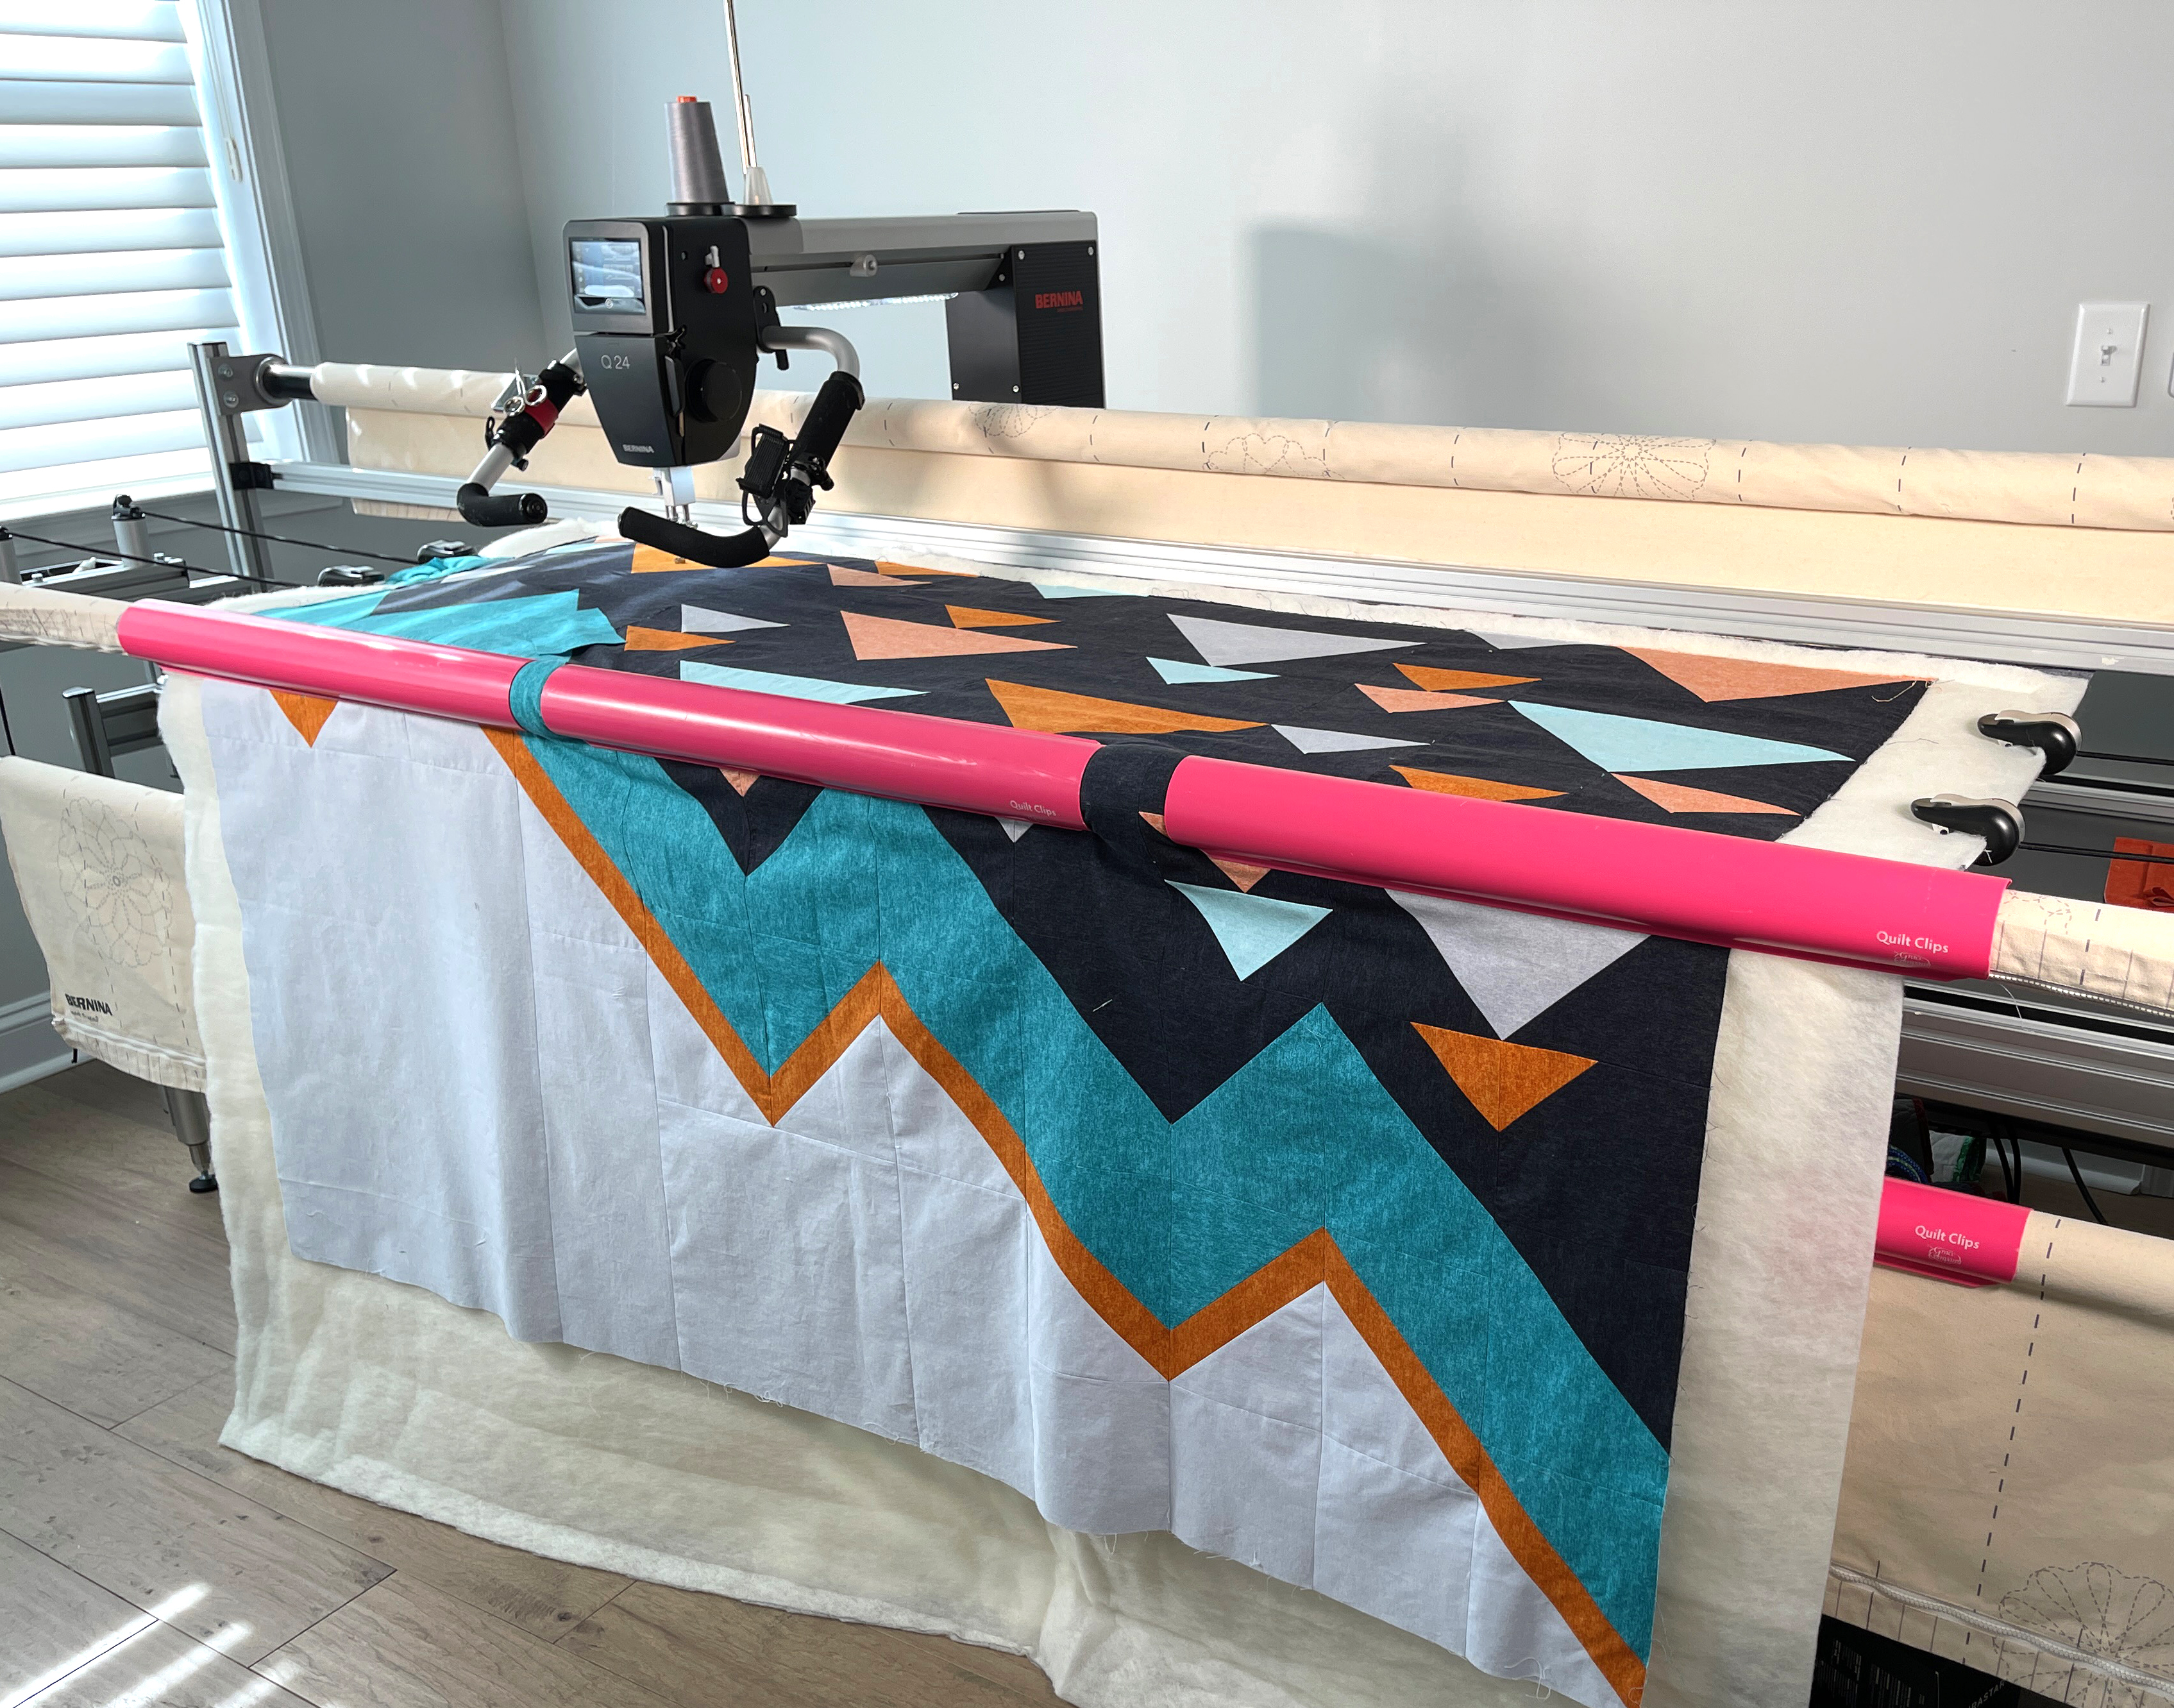
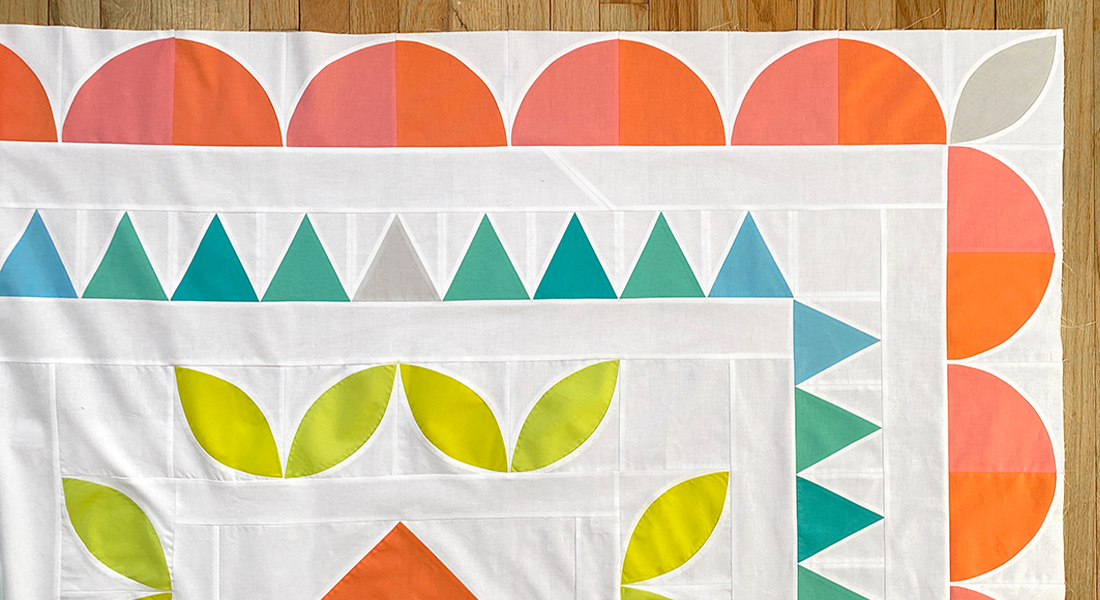
The Fast-Foward quilt top and backing, mounted on the BERNINA Pro frame. I prefer to float my quilt tops when custom quilting, using quilt clips on the Backing Bar as shown, but if this makes you nervous you can, of course, mount the quilt top on the bottom bar instead.
When quilting on a frame, you must fill the quilting area with enough quilting (or at least enough basting) so that your fabric doesn’t folder on the bars when you roll the quilt to the next section. For this reason, if you are quilting on a frame you should only quilt down to the zigzag section this month. (See the PDF instructions for details.) Because of the diagonal nature of the design, this means that you won’t get all of the triangles quilted this month and THAT IS OKAY! We’ll baste the background and come back to it at the end of the quilting process.
On a sit-down machine (domestic or Q-Series) you can do all your stitching-along-the-ditch around the major elements, including down the sides of the main zigzag element, and then fill in the quilting on ALL the triangles this month.
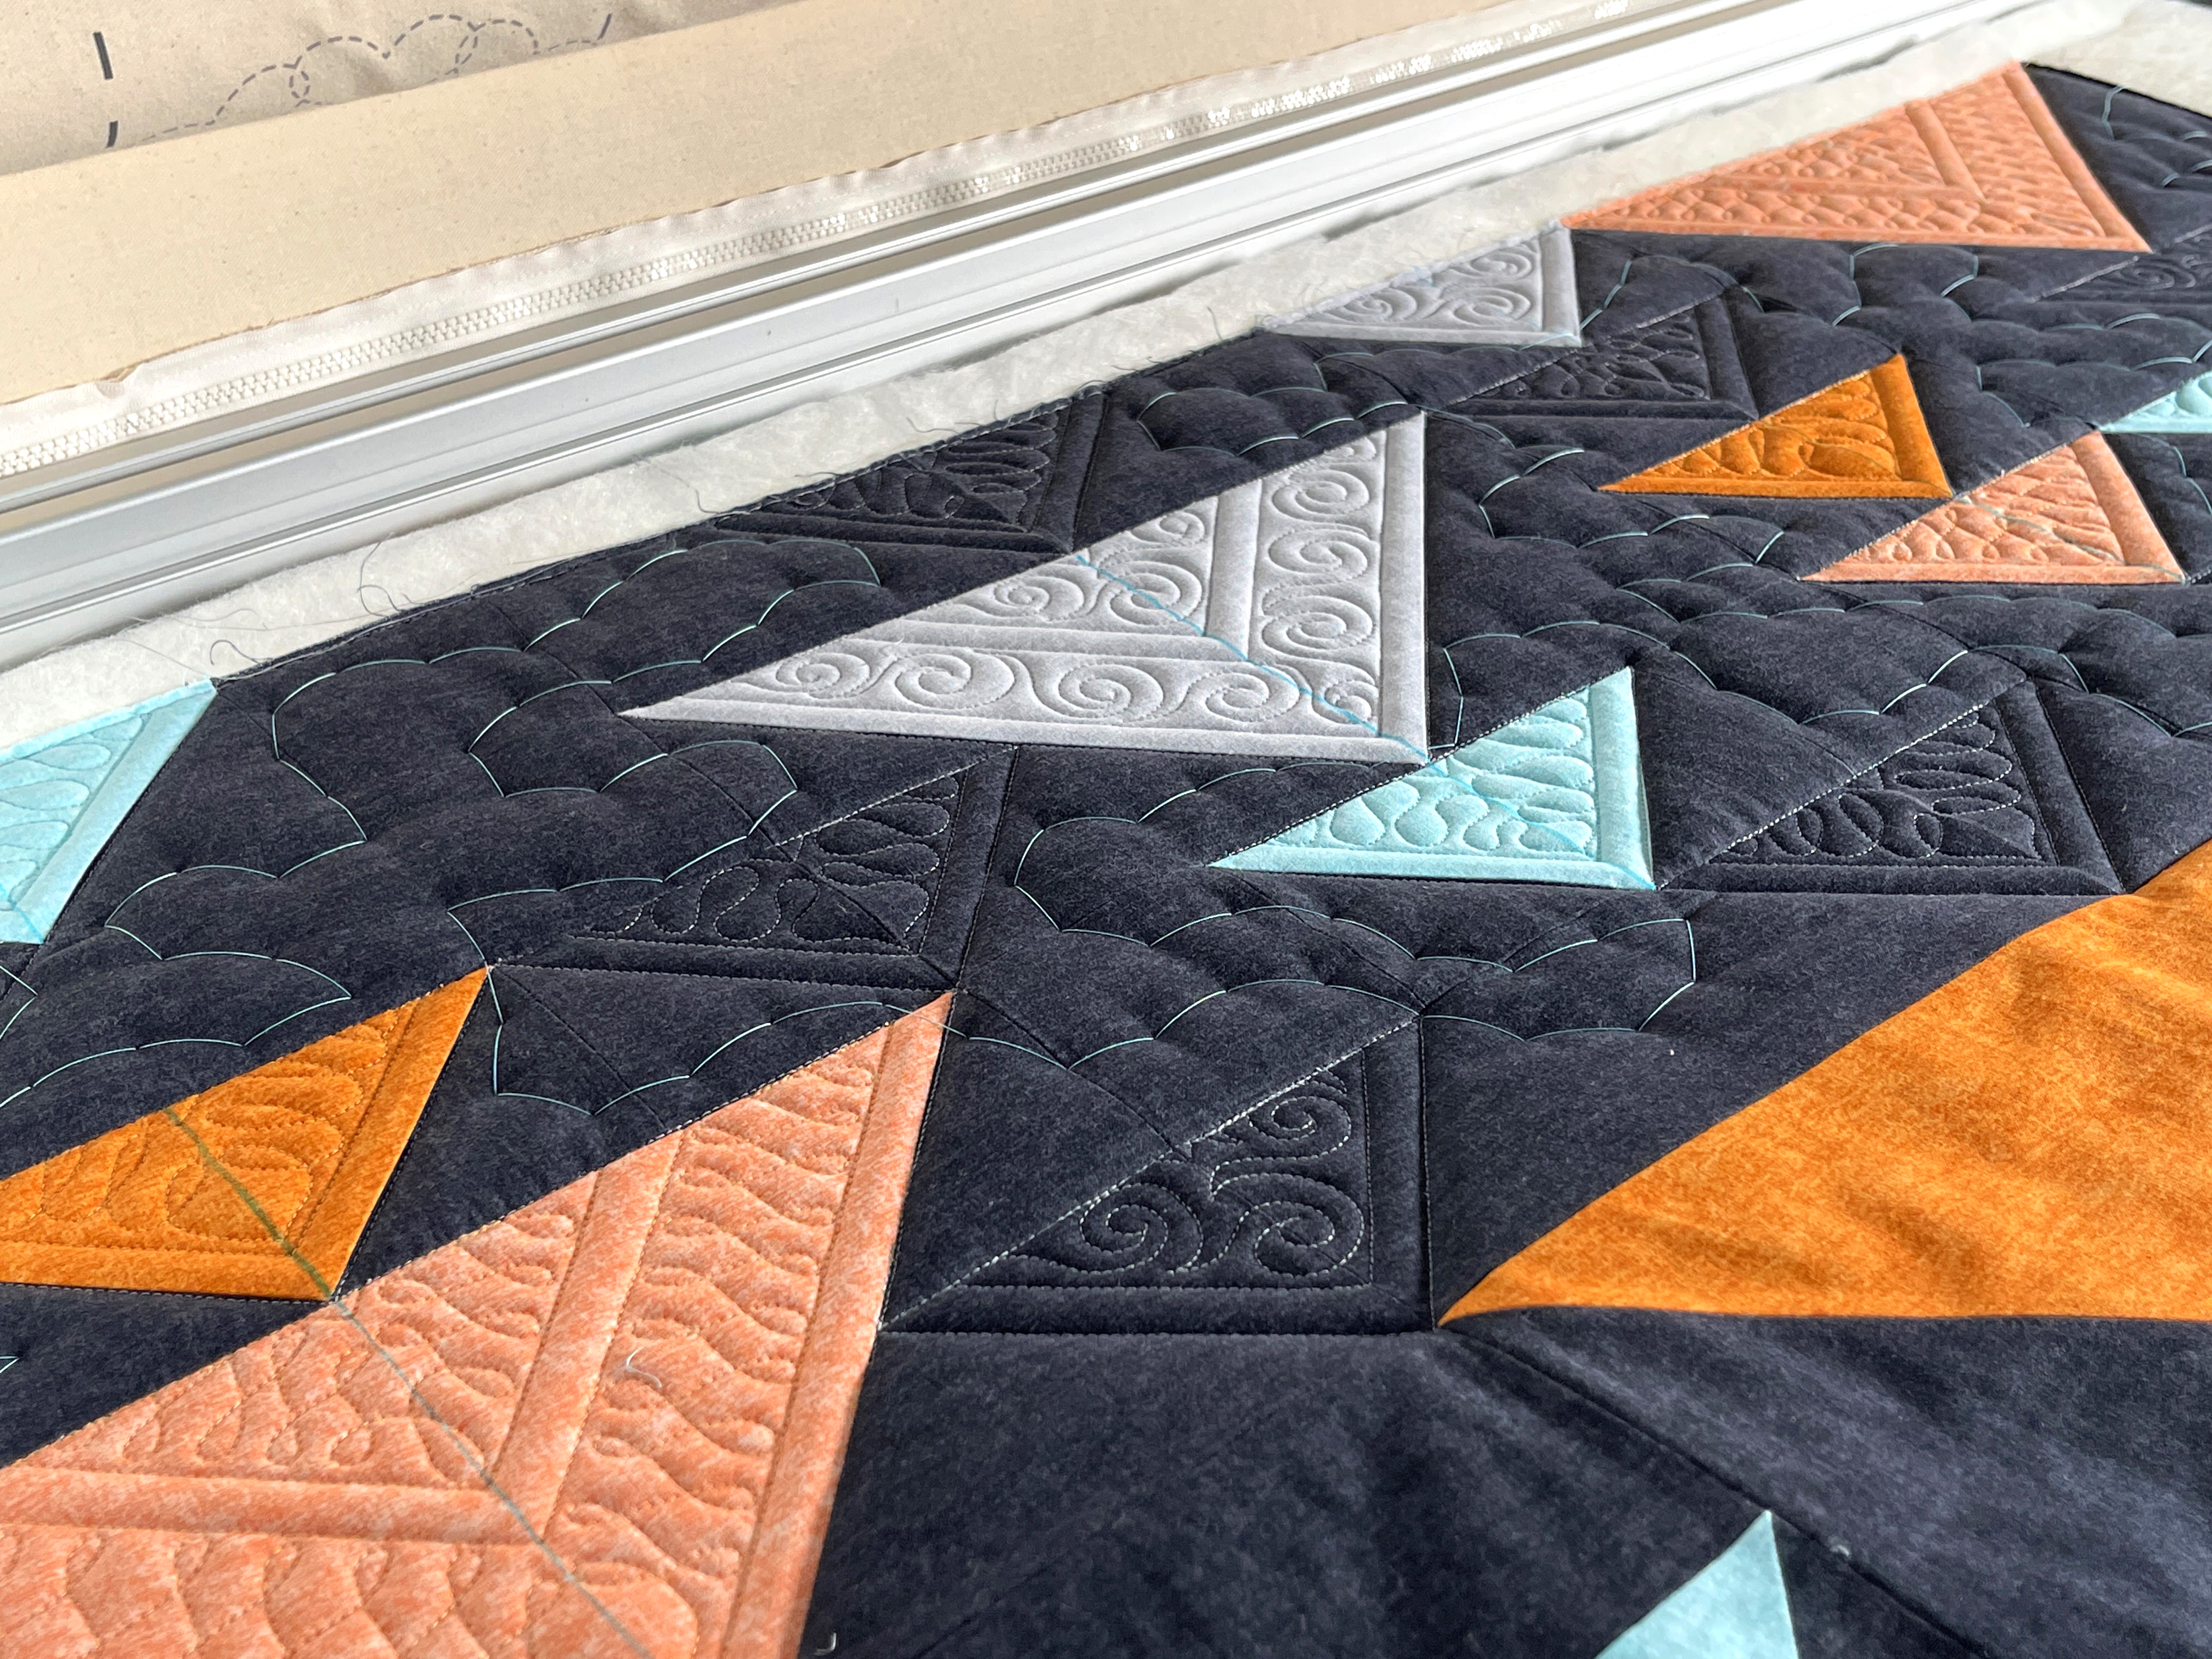
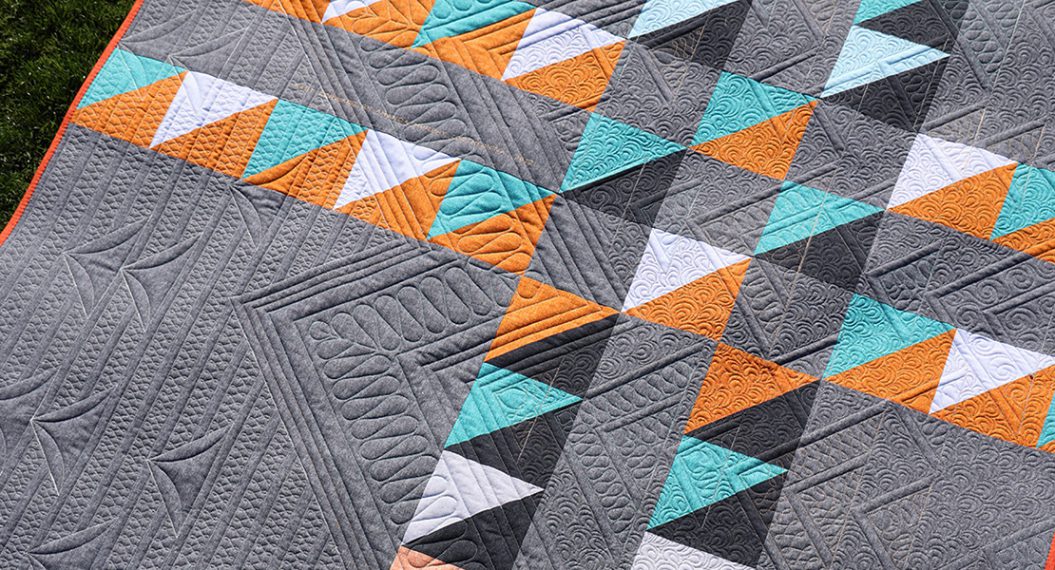
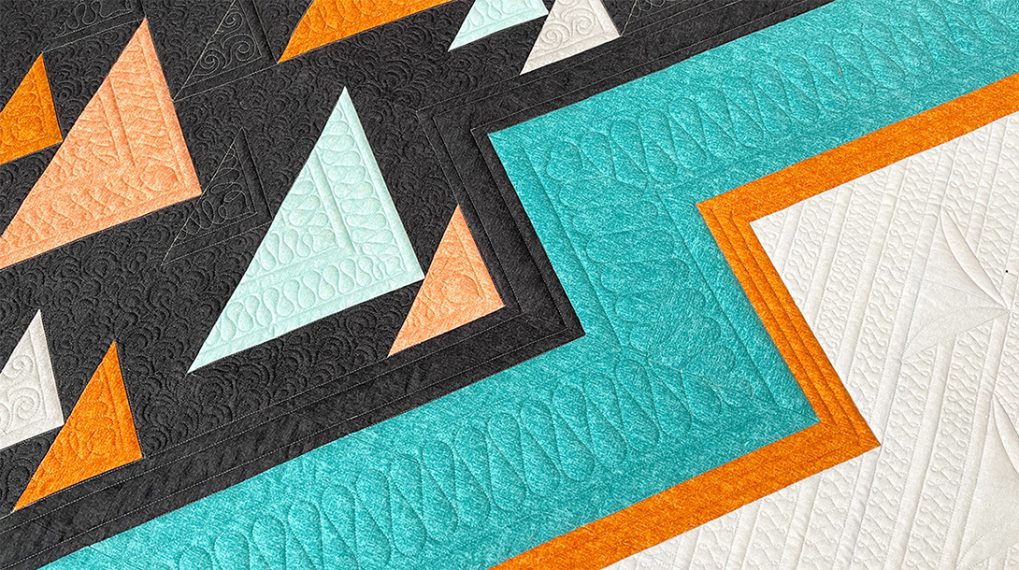
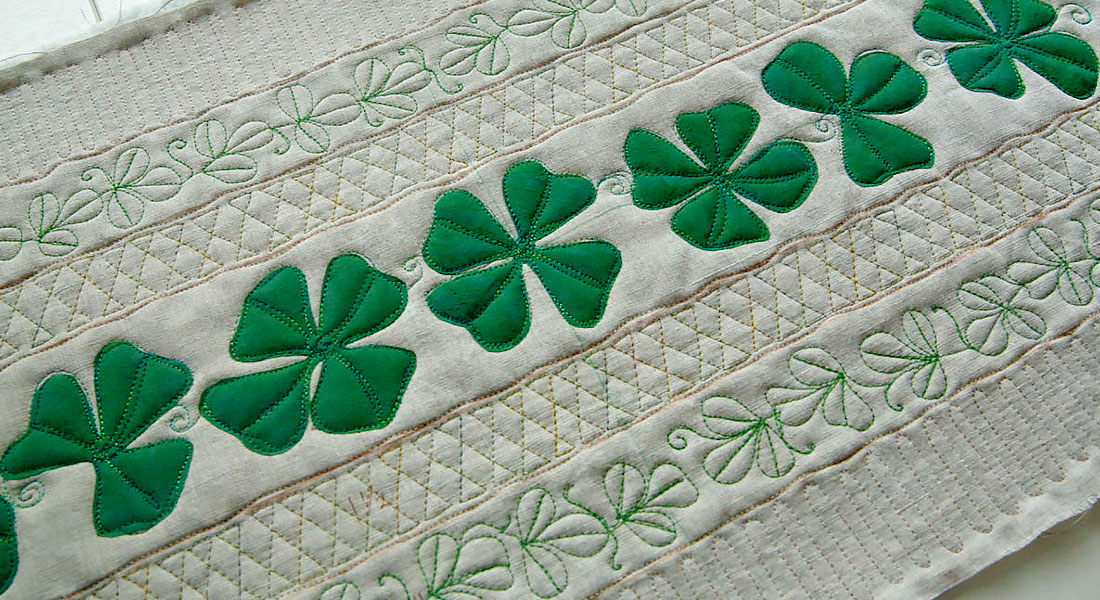
Detail of the quilting this month. How much you finish will depend on the depth of your machine’s throat.
For more quilting tips, join my Facebook Group, Quilting with Amanda Murphy, and follow me on YouTube!
Post your progress on social media and don’t forget to tag @berninausa and @amandamurphydesign because we can’t wait to see what you make!
Happy assembly to all of you!
Amanda
P.S. For those who have been looking for Cotton Shot fabric, these are BERNINA of America that have bought a significant amount from Benartex in the first half of this year:
- Aurora Sewing Center – East Aurora, NY
- B-Sew Inn – Muskogee, OK
- Bobbin & Bolt – Richmond, VA
- Chestnut Ridge Sewing – Millersburg, OH
- Hoover’s Bernina Sew – Mifflinburg, PA
- Idaho Sewing & Vacuum – Boise, ID
- Rossville Quilts – Rossville, IN
- Material Girls – La Plata, MD
- Montavilla Sewing Centers – Portland, OR
- Nuttall’s – Salt Lake City, UT
- Once Upon A Quilt – Ft.Lauderdale, FL
- Paramount Sewing & Vacuum – Eugene, OR
- PJ’S Quilting & Longarm Studio – North Fort Myers, FL
- Quality Sewing & Vacuum – Kirkland, WA
- Quilters Quest – Downer’s Grove, IL
- Rocking Bobbin Quilt Shop – Garland, TX
- Sew Much Fun! – Lowell, NC
- Sew Smart – Wausau, WI
- Sew Special Quilts – San Antonio, TX
- Sewing Machines Plus! – Mandan, ND
- Sewing Studio – Hudson,IL
- Stitchin’ Heaven – Quitman, TX
- Sun Valley Quilts – Sun City, AZ
- The French Seam – Stuttgart, AR
- The Presser Foot – Longmont, CO
- The Stitchers Quest – Mary Esther, FL
What you might also like
5 comments on “Fast Forward Quilt Along, Part Three”
-
-
It is a big red button underneath the first photo in this post.
-
-
On page 34 of month 3, it states that “eventually you will quilt additional channels next to the zigzag area”. I don’t seem to find instructions of the distance of the first line next to the ziagzag, and the distance to the 2nd line. I assume the first line is 1/2″ from the zigzag seam, and the second line 1″ from the first stitched line (= 1 1/2″ from seam). Is this correct?
-
Because it is on the diagonal, it isn’t EXACTLY an inch, so what I’d recommend is extending the lines off the small flying geese (that are closest to the zigzag) to establish the first quilted line, and then each quilt 1/2” in from both sides of the resulting channel.
-
Thank you.
-
-
Leave a Reply
You must be logged in to post a comment.




Where is the pdf file mentioned in the video between minutes 7 and 9 (of the video included in Part three above)? Thank you. My quilt top is beautiful and I am looking forward to quilting it on my Q20.