How to Bind a Quilt with a Walking Foot
Hi! It’s Jen Belnap from The Smitten Chicken. Today I am sharing my favorite way to bind a quilt…with a walking foot! Don’t get me wrong, I LOVE the look of hand binding. Ain’t nobody got time for that! I am going to share my favorite tips and tricks for a full binding that is done super quick!
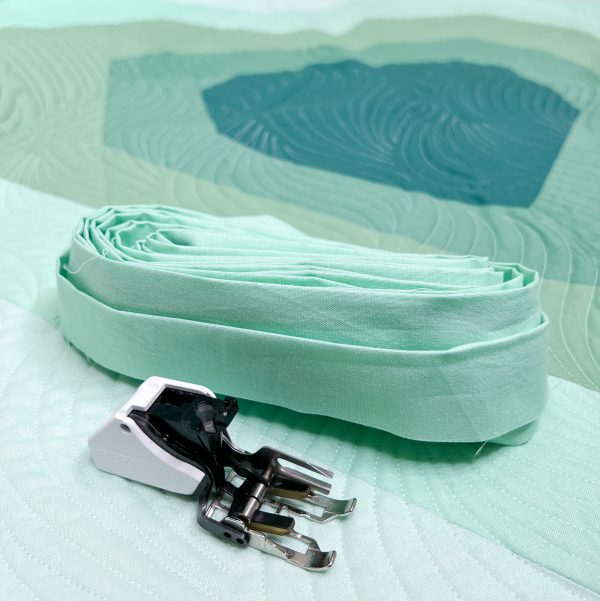
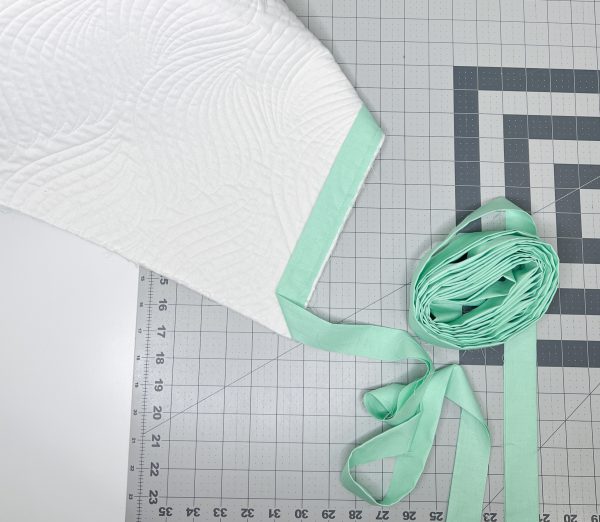
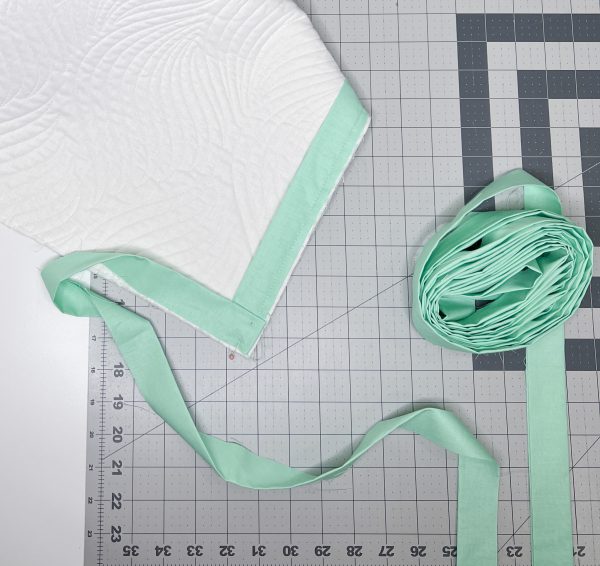
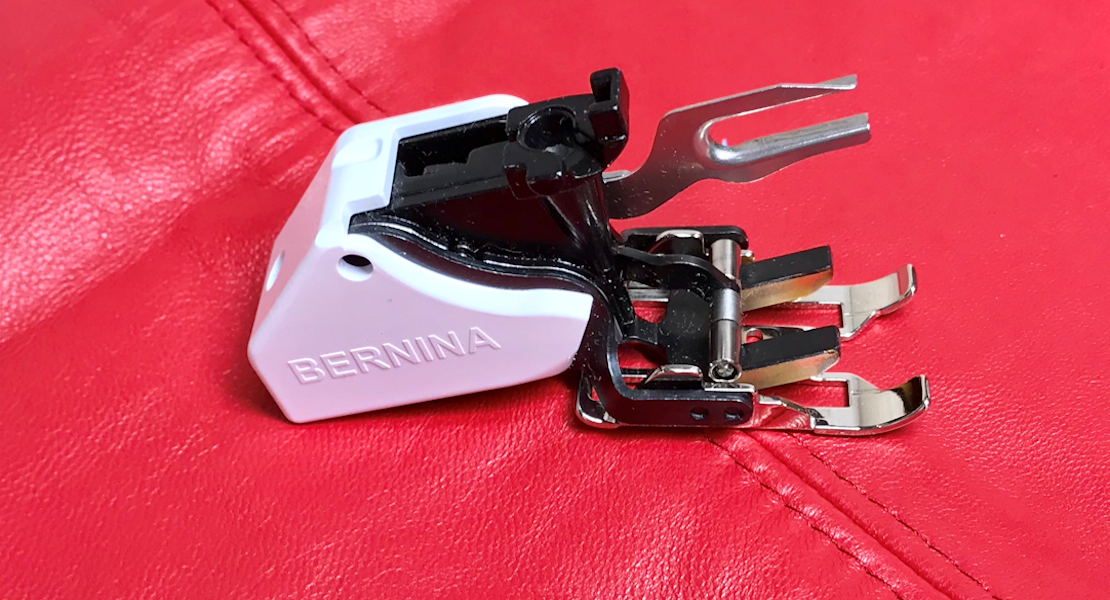
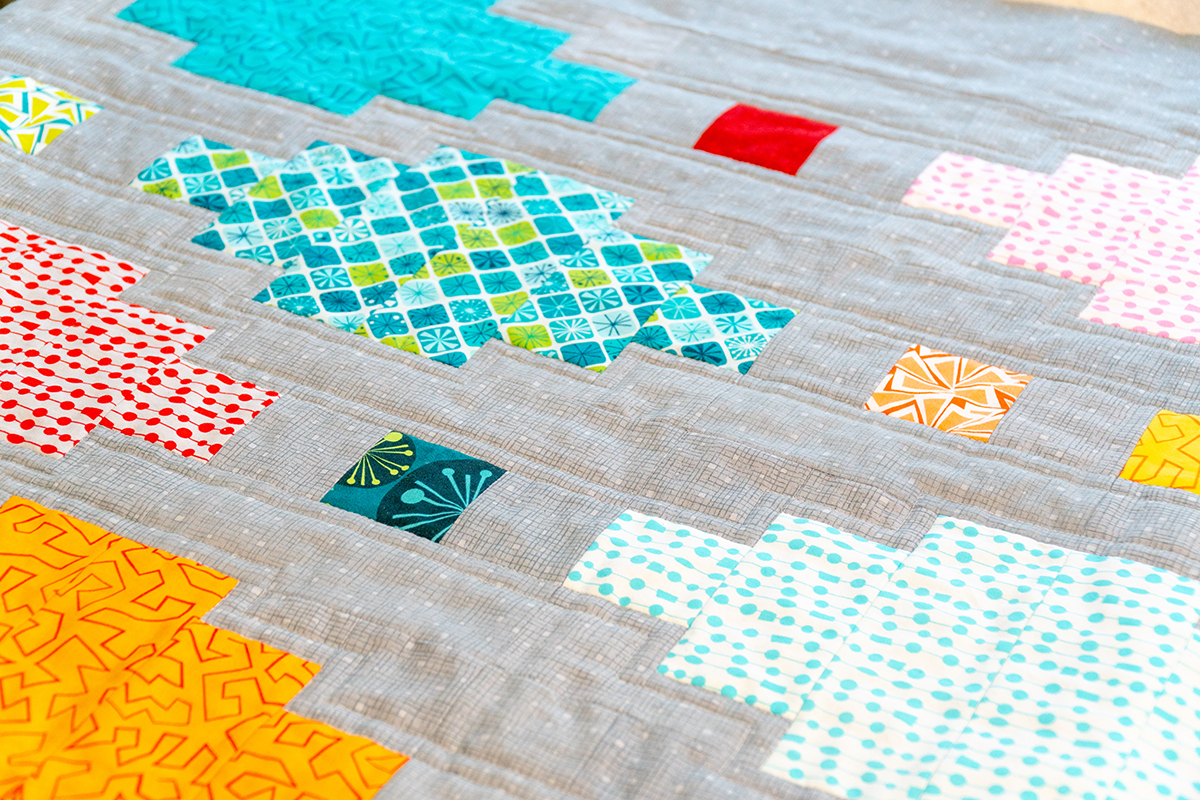
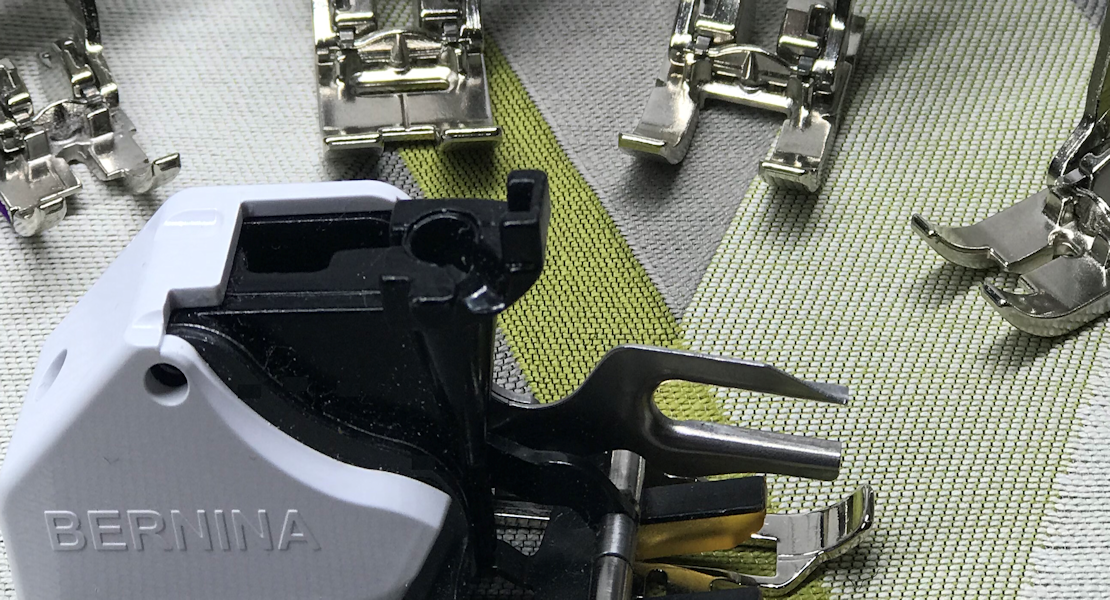
I will be binding my Alma Quilt. The amazing quilting is done by my friend Jaree at Girl Gone Quilting. I am using Riley Blake Design’s Confetti Cotton Sweet Mint for a 2.5″ binding. And the star of the show is the BERNINA Walking Foot #50.
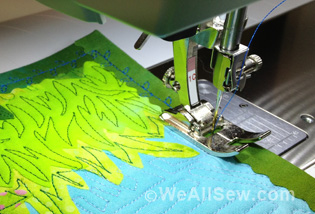
Have you ever been sewing your binding on and it starts to bunch? Does your binding have a hard time laying flat? Using the walking foot can eliminate all of these frustrations with binding.
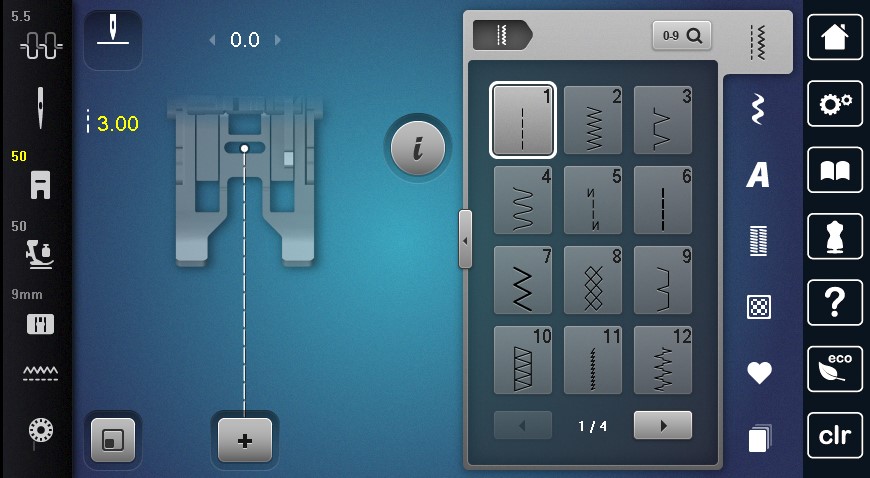
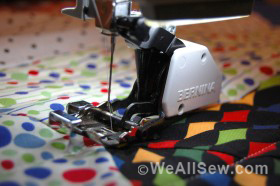
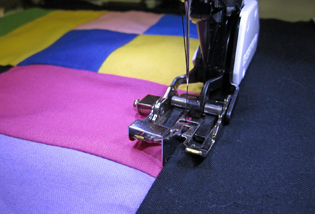
Set your machine to use the walking foot. I lengthen my stitch length to 3.0. This is because I am stitching through numerous layers including thick batting.
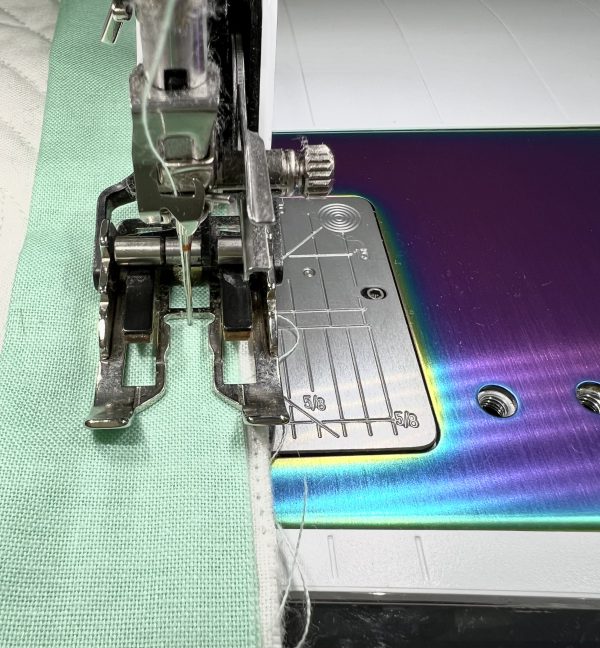
Sew the Binding to the Top of the Quilt
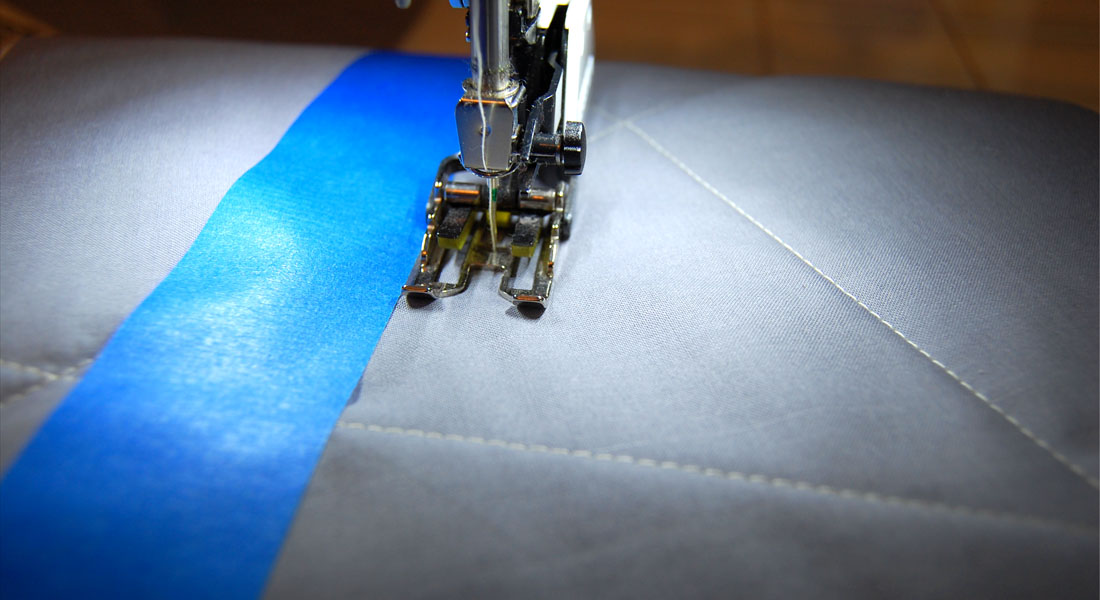
I really like a full binding on my quilts. I don’t like it when the binding is floppy. To create this full look, I line up the quilt on the 3/8″ line of my machine. I then line up the binding on the 1/4″ line on the walking foot. This gives a little bit of extra quilt to fit into the binding, making it nice and full. Stitch the binding onto the FRONT of the quilt.
Mitered Corners
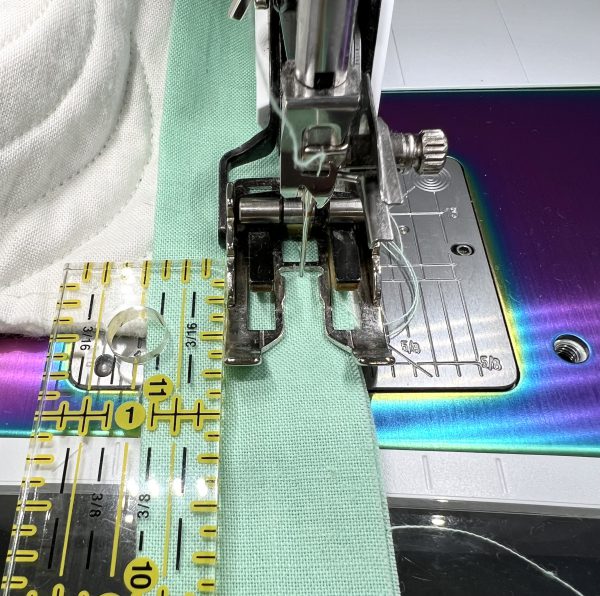
To miter the corners, you need to stop stitching at 3/8″ away from the edge of the quilt. Don’t forget to backstitch!
After you have sewn to 3/8″ to the edge of the quilt, fold the binding to the right of the quilt.
Then fold the binding towards the edge of the quilt and pin in place. This creates the mitered corner. I leave 1/8″ of the quilt extended beyond the binding to give the ‘full binding’ effect. Continue stitching the binding to the front of the quilt.
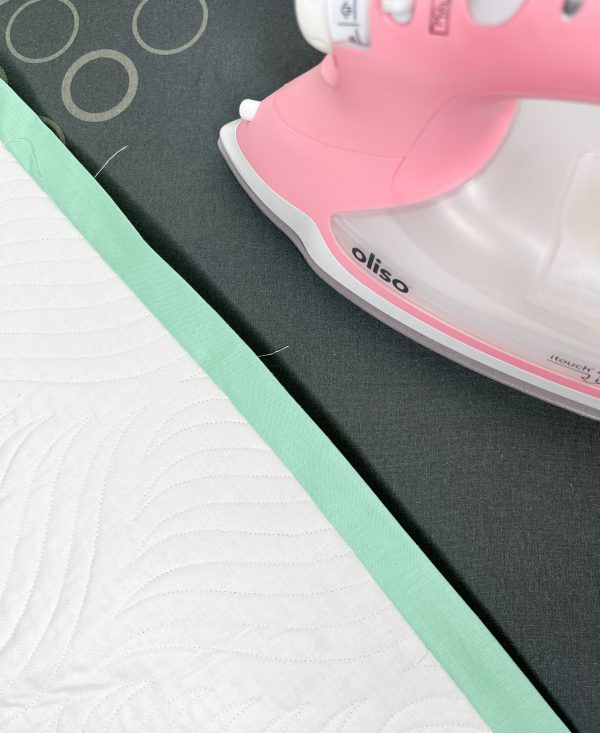
After the binding is stitched to the front, press the binding away from the quilt. I use my favorite Oliso iron. It gets super hot and my binding lays super flat. And it’s PINK!!!
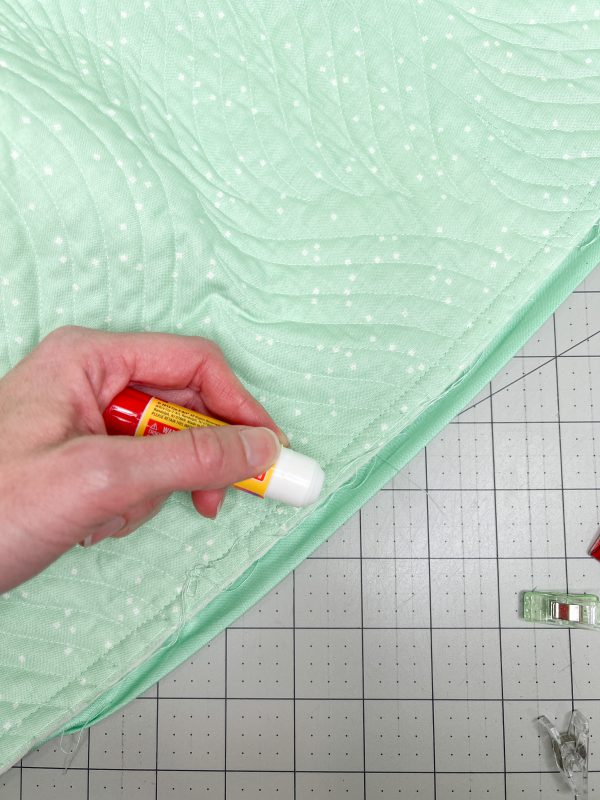
Next, fold your binding to the back of the quilt. I will often glue my binding in place to help secure it. The glue washes out and I’ve never had my needles gum up when I use basic glue sticks. And my binding sticks in place!
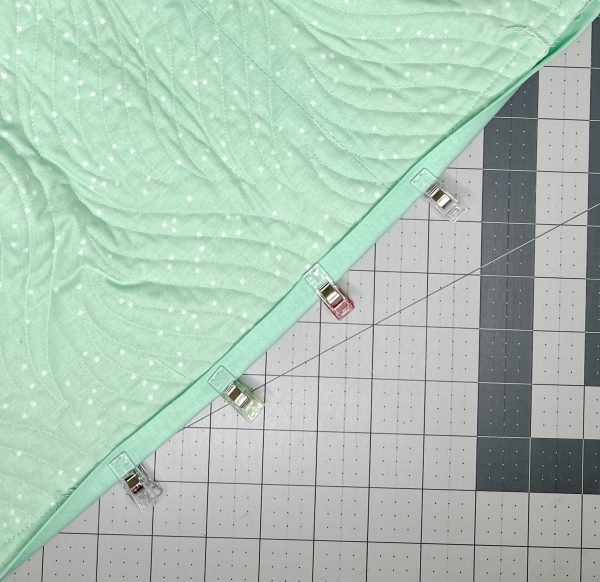
Then I use binding clips to help hold the binding in place.
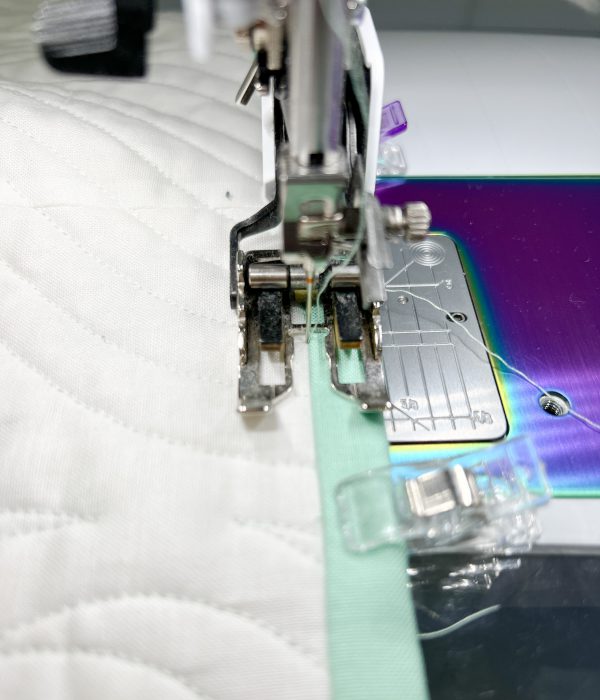
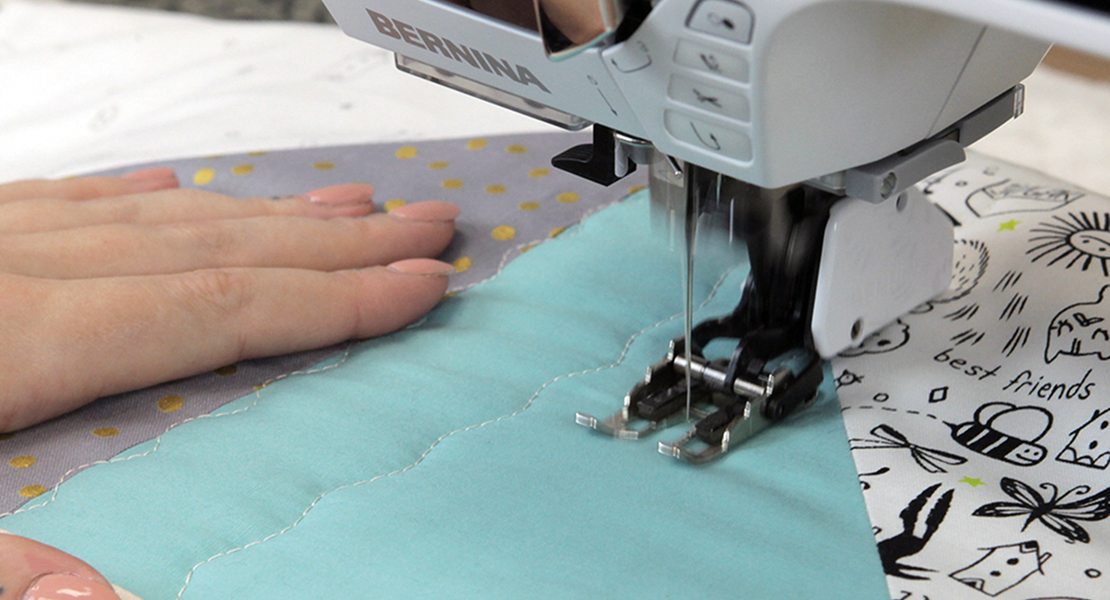
Sew the Binding to the Back
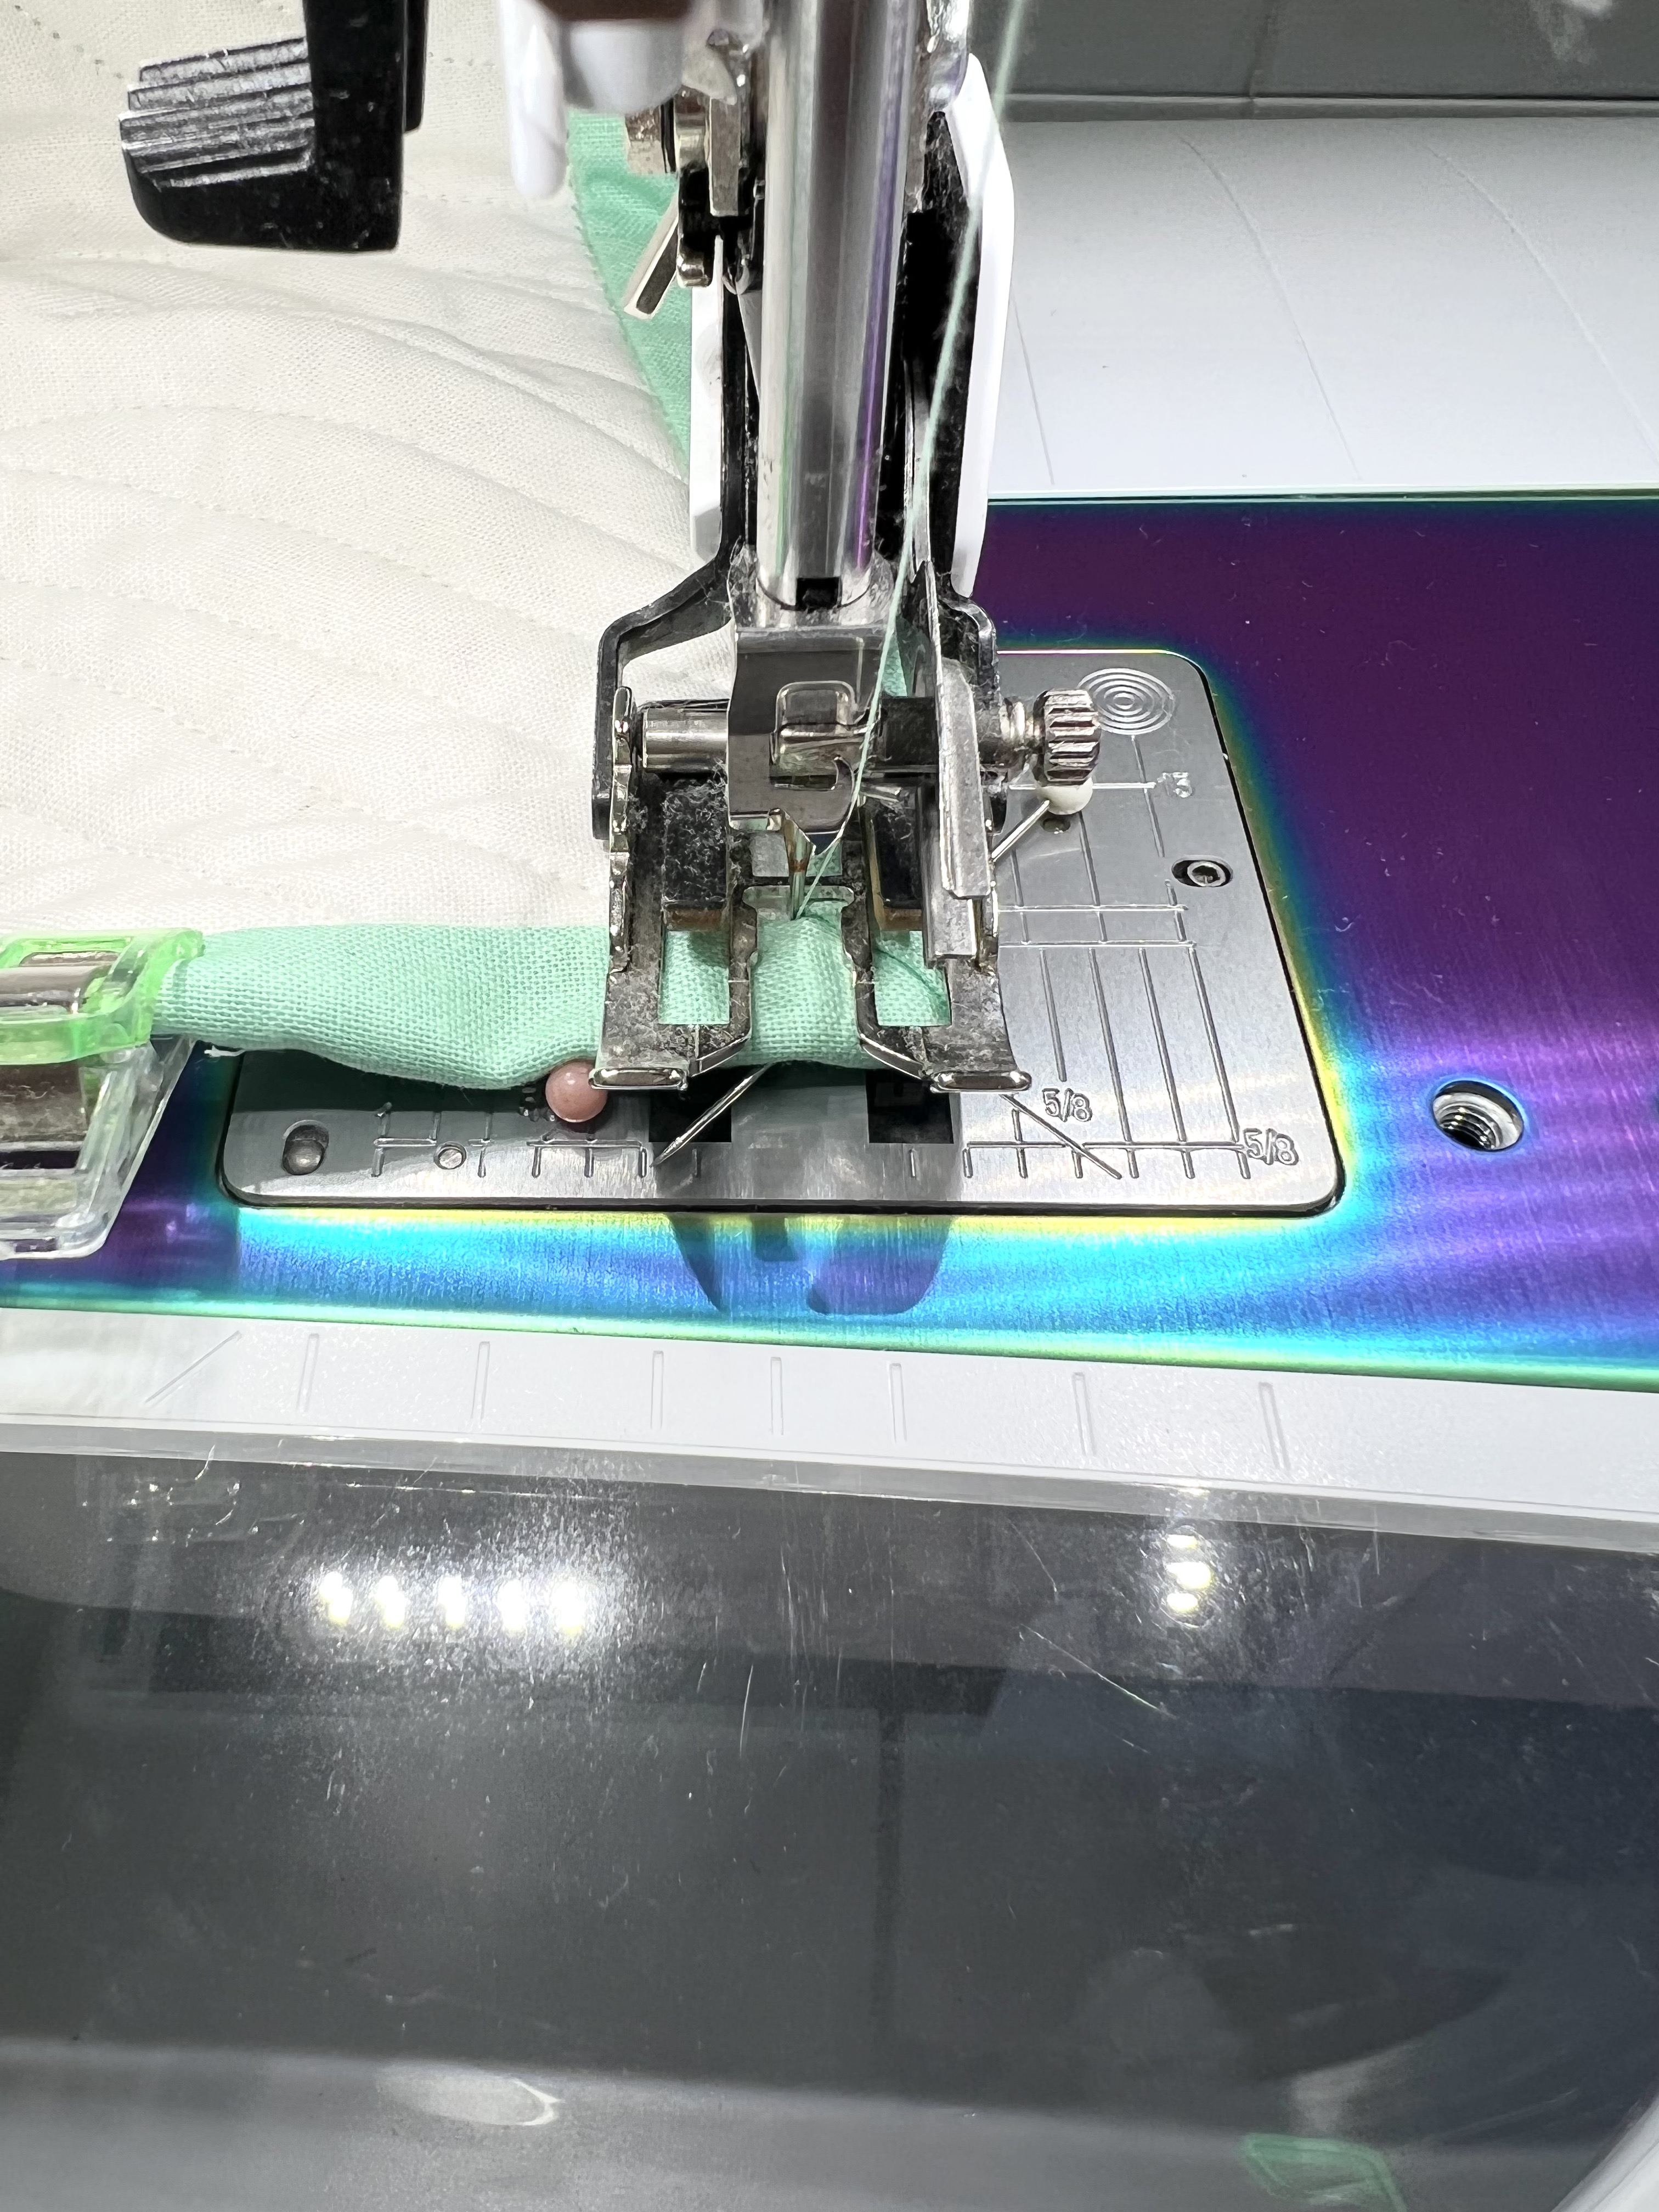
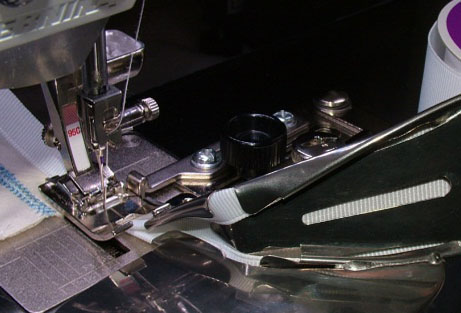
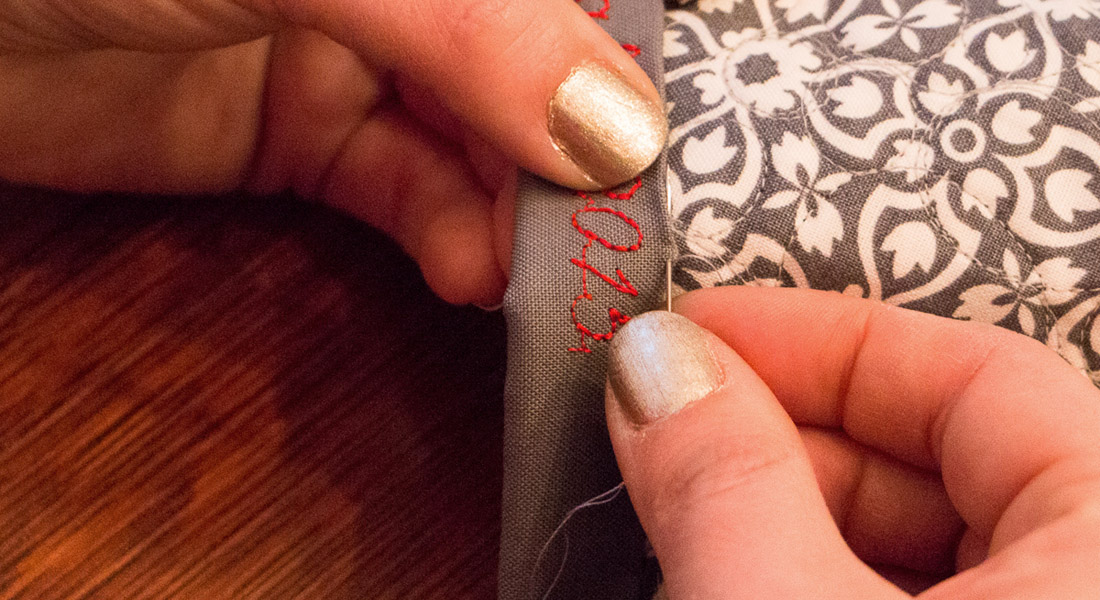
To sew the binding to the back of the quilt, you will actually stitch it down from the front. You will be attaching the binding using the ‘stitch in the ditch’ process. Do you see where my needle is? That is where you will sew your binding.

When you get the corner, you will fold a mitered corner. I always make sure to glue and pin it in place.
Then, using the hand crank, I slowly stitch to the very corner of the binding. Then lift the presser foot and start stitching the other side of the binding.
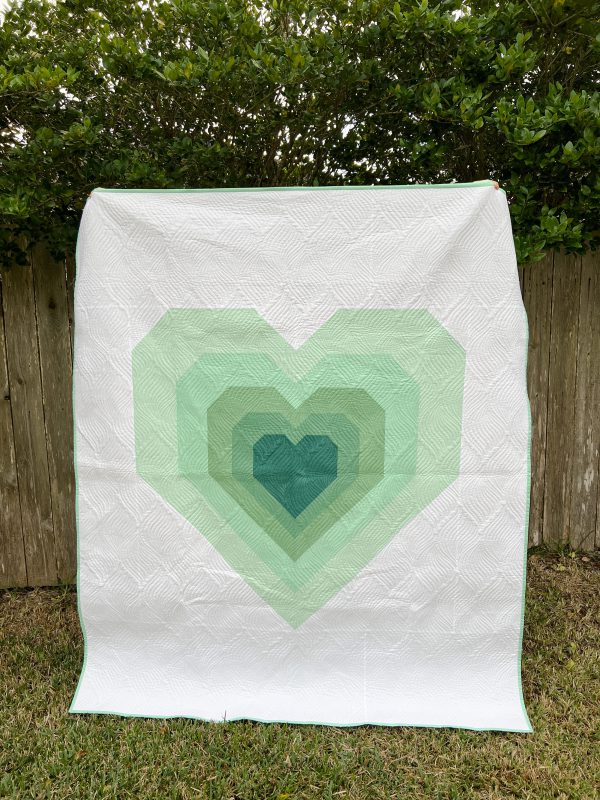
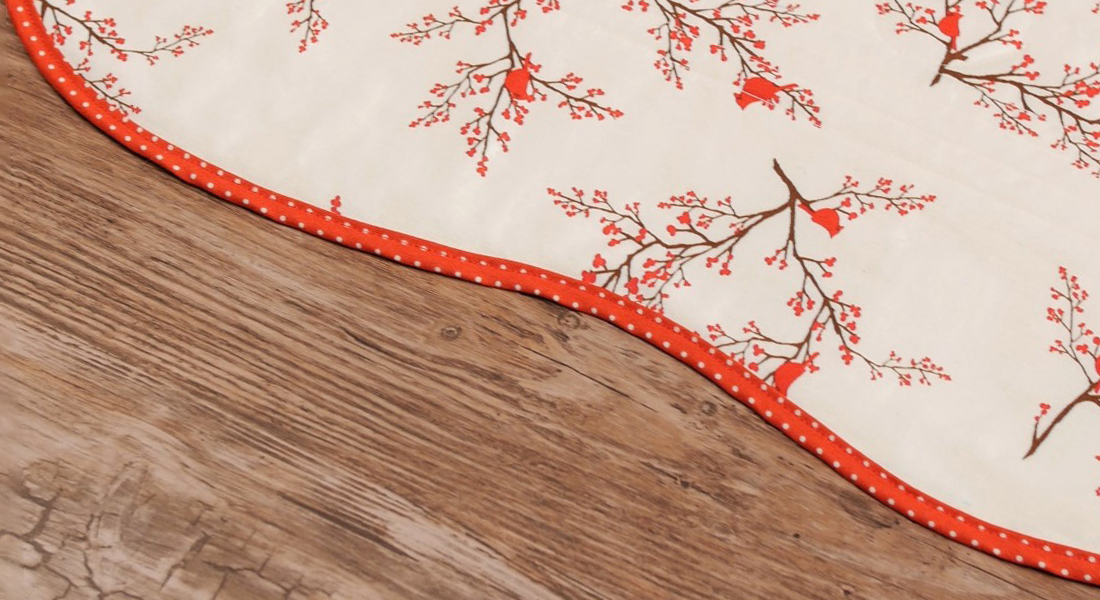
DONE!!!
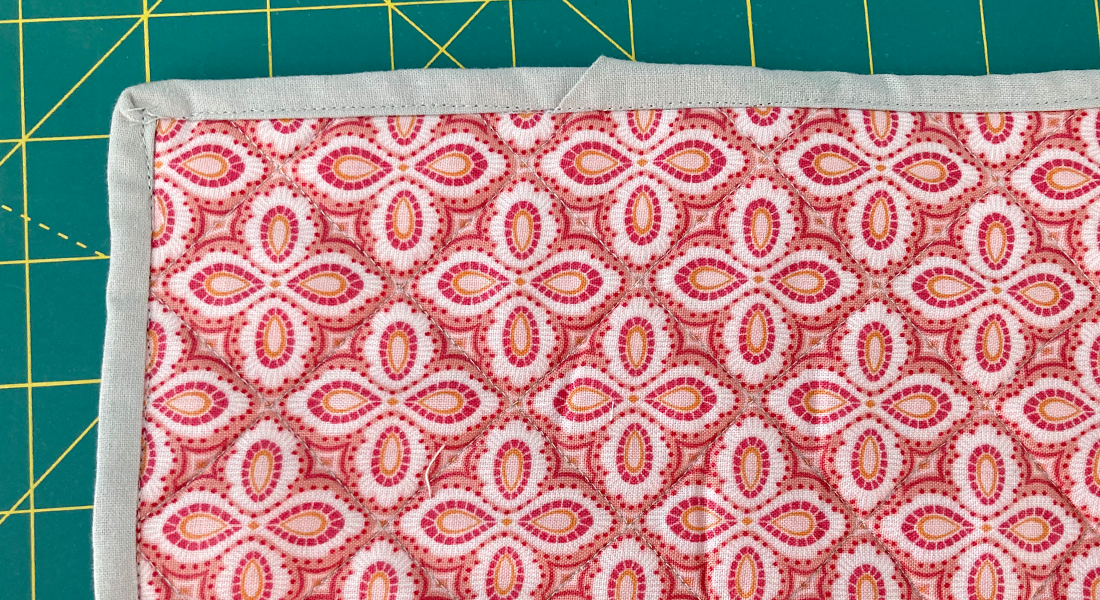
And my quilt is bound and ready for snuggles. This quilt is my Alma Quilt pattern and is so fun to stitch up and even more, fun to bind quickly! Have you ever tried machine binding??
Thanks for following along with me today. If you would like to see more of what I am up to you can stop by my blog, follow me on Instagram, Facebook and Pinterest, and subscribe to my YouTube Channel.
Chirp Out!
Jen
Used Products


What you might also like


7 comments on “How to Bind a Quilt with a Walking Foot”
-
-
These are very good instructions and photos, always helpful. I use this process up to the point of doing the final sewing of the binding. I enjoy the hand-stitching part. But, then I top stitch the binding because I like the look of the top-stitching.
-
Could you post a photo of what the binding looks like on the back?
-
Sew the Binding to the Back – my answer to the 2 questions before me.
To sew the binding to the back of the quilt, you will actually stitch it down from the front. You will be attaching the binding using the ‘stitch in the ditch’ process. Do you see where my needle is? That is where you will sew your binding.
See the first line “you will actually stitch it down from the front.” The binding on the back is slightly wider than the front so when you sew FROM THE FRONT SIDE in the ditch, you are stitching down the binding on the back. Try making a small sample and you can see how this works.
Using the walking foot is a great idea so the fabrics don’t move. Thanks for the tutorial.
Leave a Reply
You must be logged in to post a comment.
I don’t understand how it is sewn down ?? Did you use a blind hem stitch ? On the back you stitched in the ditch so I didn’t understand ..sorry