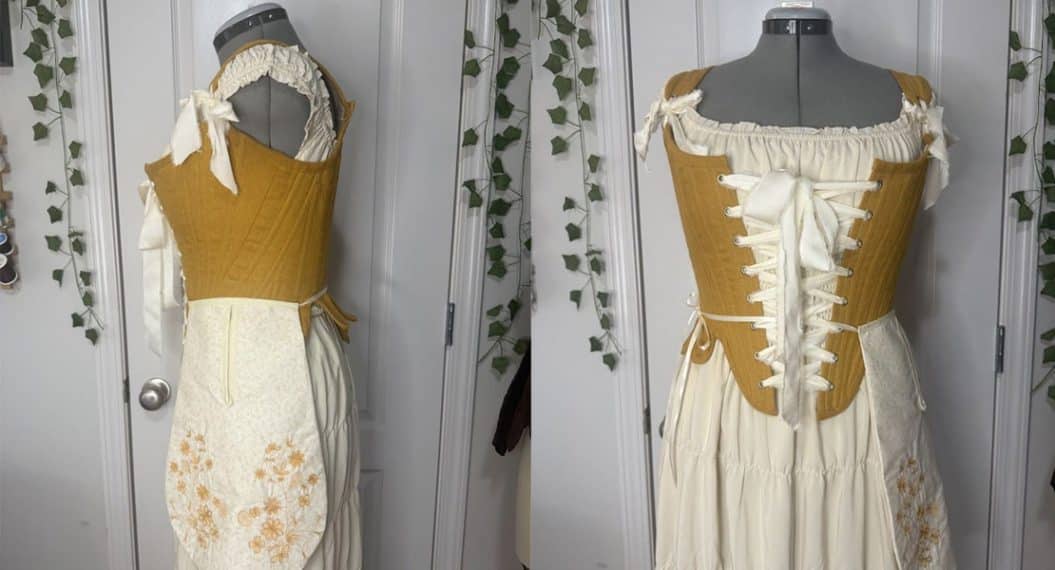
How to Make a Minimal-Waste 18th-Century Ruffle Skirt
Being savvy with fabric, using the entire yardage of the textile, making sure there is minimal to no waste, is not just part of the upcycling, eco-conscious perspectives of the modern century, but it has been a part of both quilting and historical clothing making for as long as people have been creating.
Many historical clothes tend to use all of the fabric, including the selvage sewn into seams or waistbands, with minimal waste, and this is because fabric has always been an expensive and highly valued commodity.
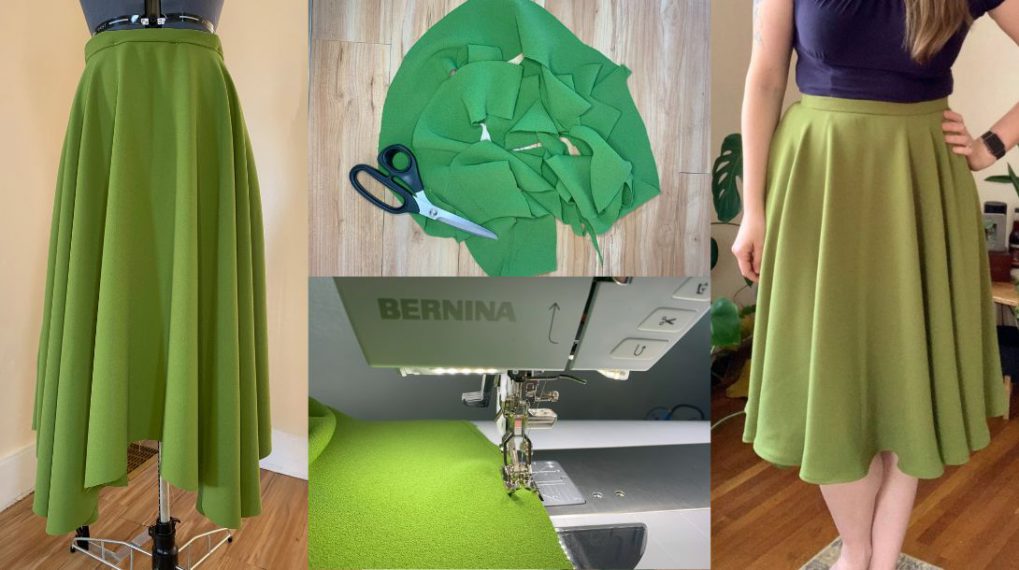
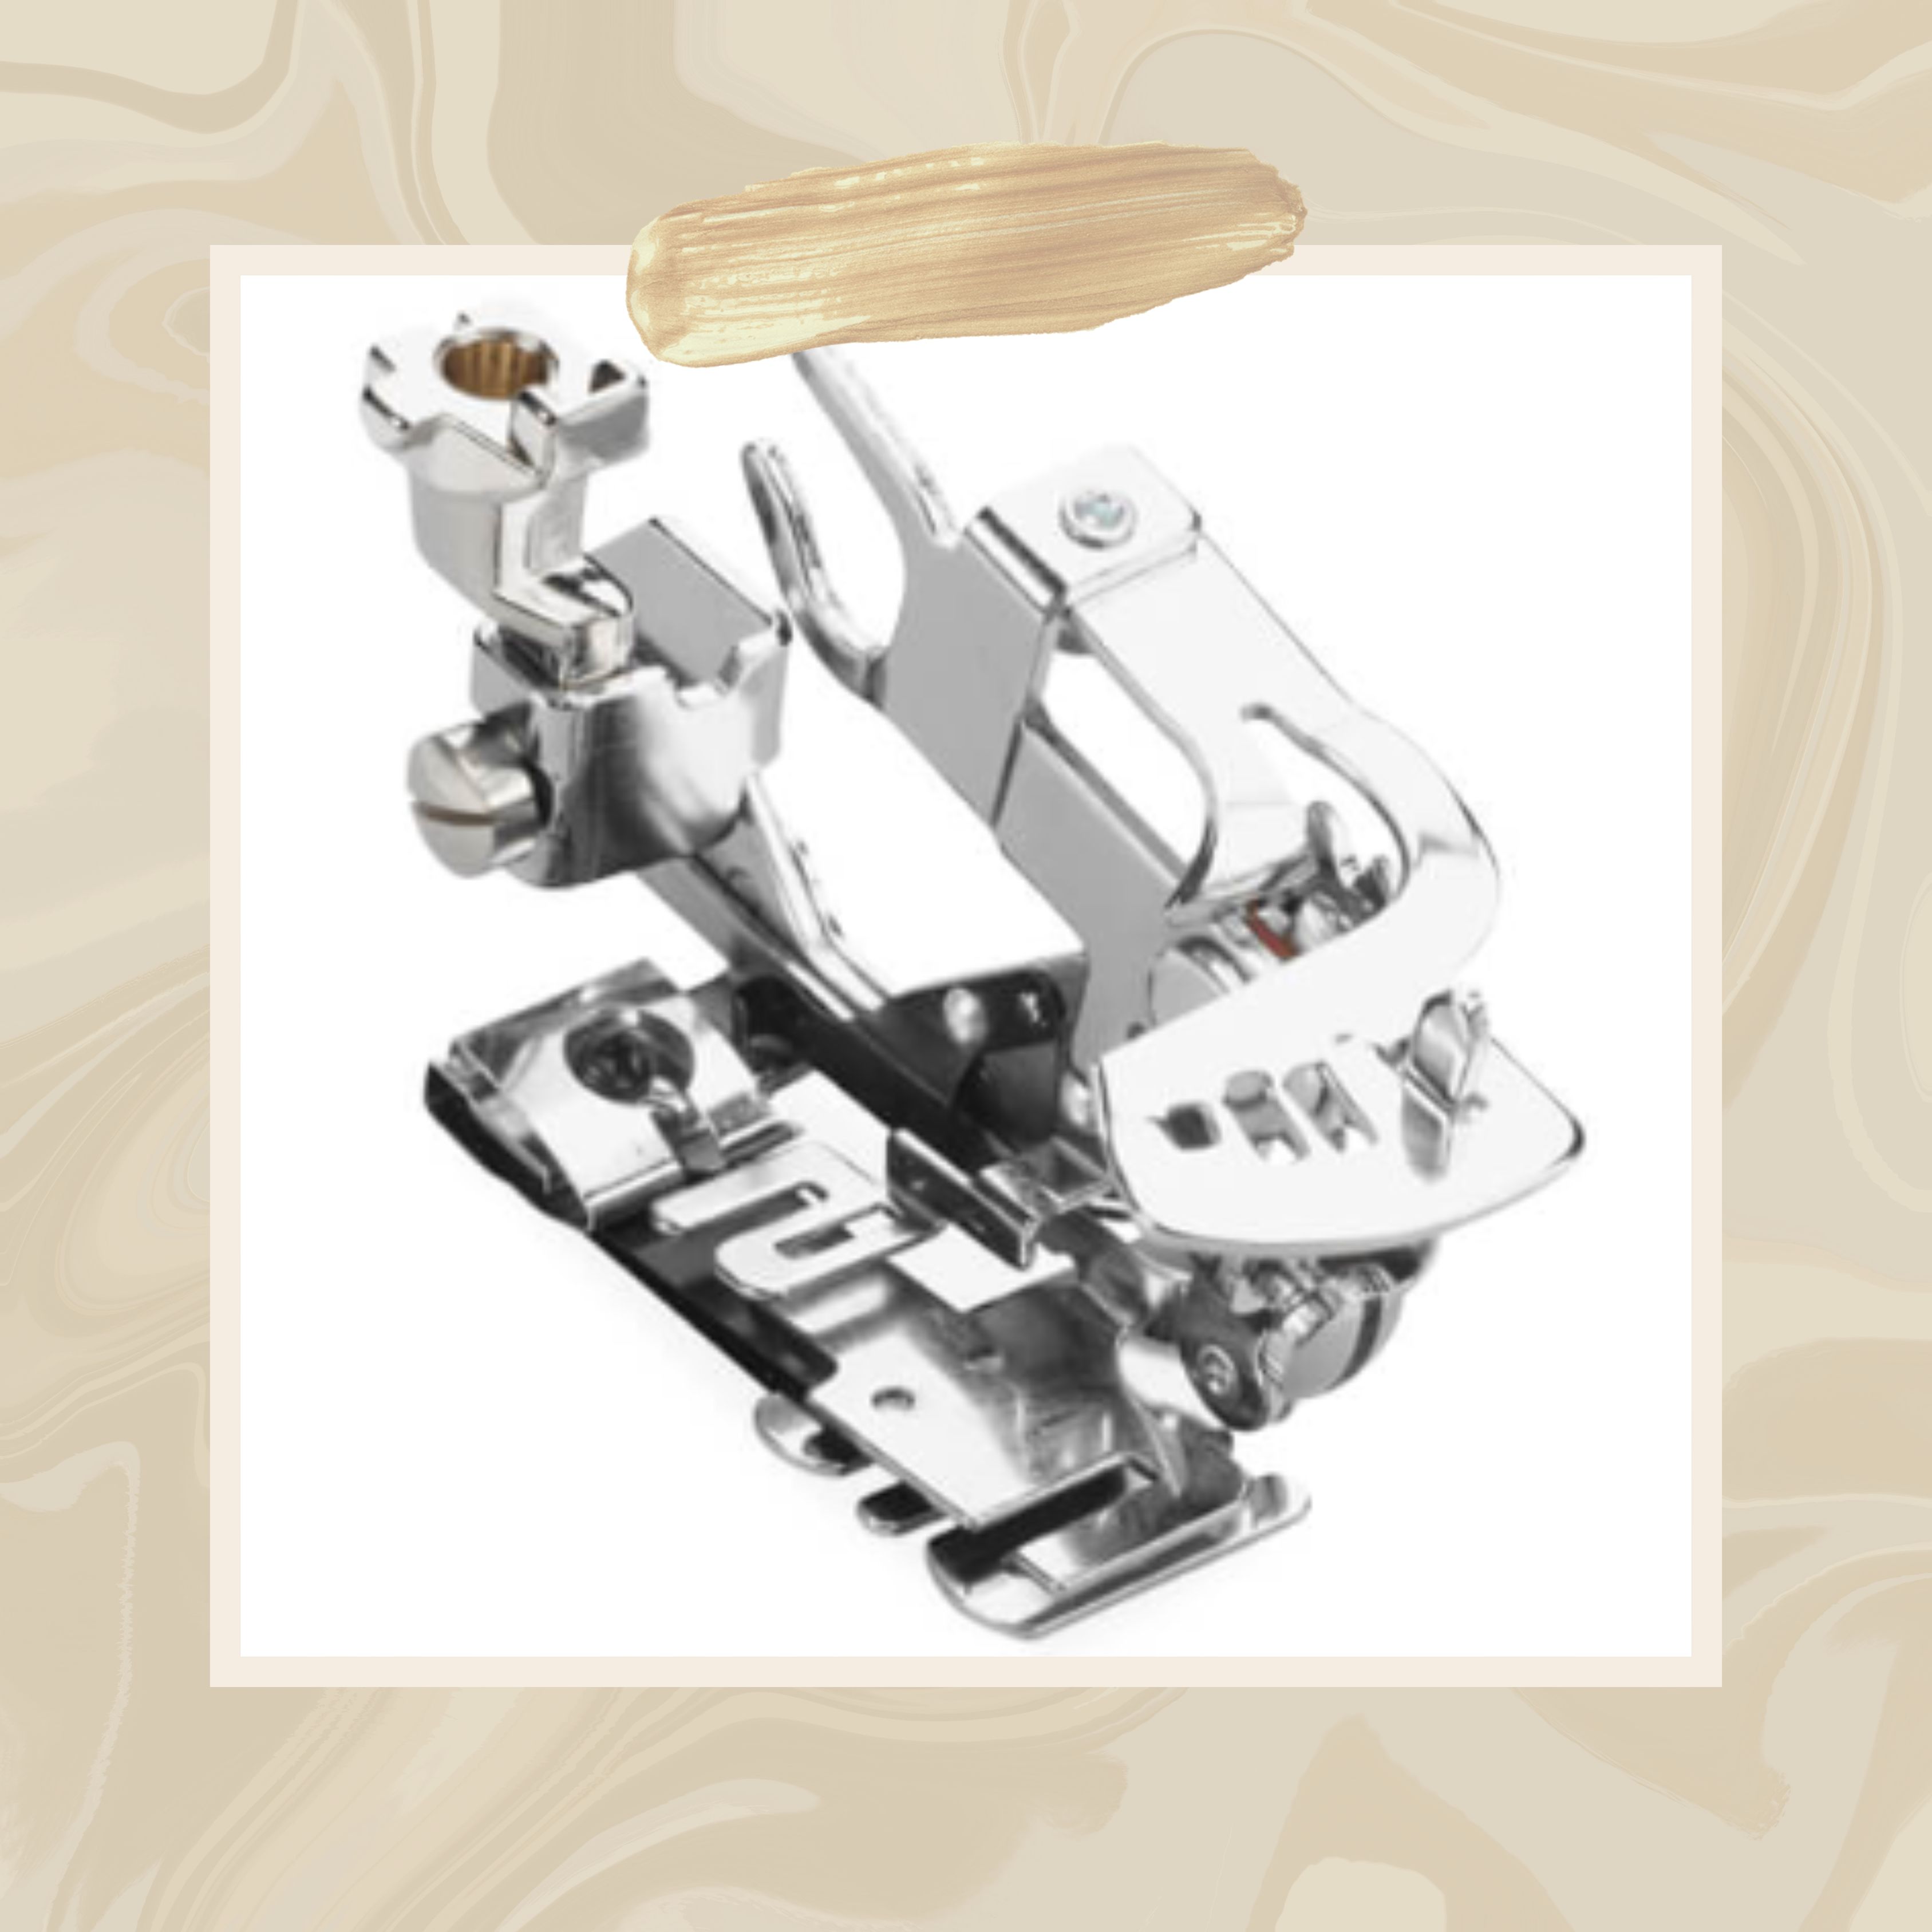
When Benartex sent me 4 yards of their beautiful printed cotton fabric, Mood Calico Dark Willow, I knew I didn’t want to waste a single piece of it if I could manage, so an 18th-Century style skirt/petticoat with ruffles seemed like the perfect project. Plus, I got to try out my new BERNINA Ruffler Foot #86, which has honestly been a game-changer.
As I mentioned in my other post where I made 18th-Century Stays with Benartex Fabric, quilting cotton and fashion garment cottons really only have one difference, and that is the cuttable width. Quilting fabrics come in at 44″ and fashion fabrics are more like 58/60″ wide. This is because of fast fashion, and the wider the width, the more garments can be cut from the fabric at one time. But throughout history, fabric has come in many different widths, so to me, there isn’t a hard and fast rule that you can only use quilting cottons for quilting and fashion fabric for garments.
I like using quilting fabrics for my historical clothes because I know I am always getting 100% high quality cotton, there are many fun and historically inspired or adjacent prints, and the 44″ cuttable width is actually perfect for making skirts with minimal waste!
Materials Needed to Make an 18th-Century Ruffled Petticoat
- Fashion Fabric: Benartex Mood Calico Dark Willow
- 3-4 yards, basically the HEM needs to measure at least 100″ – 120″
- 1″ Cotton Twill Ribbon Tape
- Mettler Thread
- Sewing needles
- Measuring tape
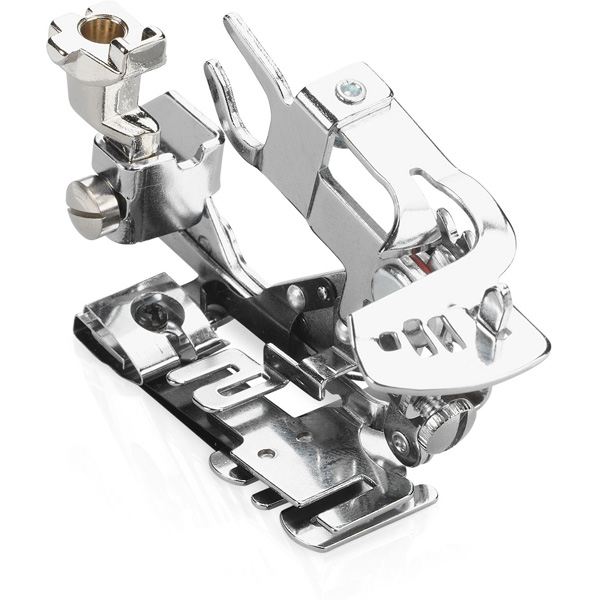
- BERNINA Ruffler Foot #86
Steps to Make an 18th-Century Ruffled Petticoat
1. Prep Your Fabric
Make sure to wash and iron your fabric–this is especially important when it comes to garment making, as you don’t want to make something that fits perfectly only to wash it and have it warp or shrink on you!
2. Drape & Cut Your Fabric
Because this is a minimal waste project and because I wanted to add a ruffle at the hem I had to do a little body math to make this work out, but I will say alot of this is intuitive as well so dont stress too much if the math isnt mathing but it seems to just work out for you–I call it divine body math and somehow it just kind of makes sense. For reference for this project, I am 5’6″ tall and have a waist that measures 30″. The goal is to gather the volume/ length of the fabric into the waistband and to also cut enough fabric strips to make the bottom ruffle substantial, and there are a few ways to go about this. The American Duchess blog and book also have great tutorials on how to make a basic 18th-century Petticoat Skirt that I like to follow as well for extra tips and tricks.
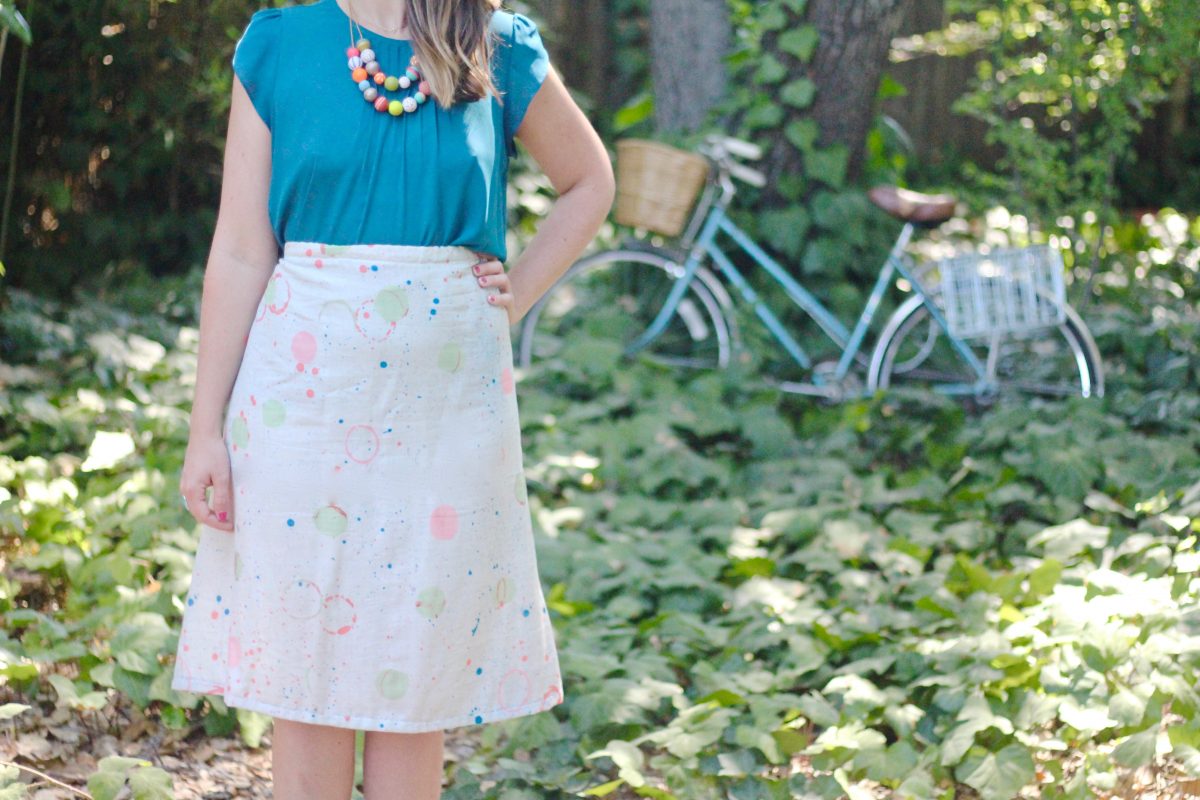
Here is how I worked out the skirt for myself: I took the 4 yards of Benartex Fabric and cut two 1.5-yard panels. These will make up the front and back of my skirt–meaning I would have 54″ to pleat down in the front and 54″ in the back to pleat into my 30″ waistband. So the 54″ will pleat down into 15″ on the front and the same for the back. Use your best judgment based on your own personal measurements. Maybe you only need three yards, maybe you need more to achieve a nicely proportioned pleated waistband. Out of those 1.5 yard panels (noting the selvage on one side will sit at the waist) I cut off 9″ along the bottom of each. This made my skirt shorten from 44″ to 35″ a perfect midi length on me. I also went ahead and took the last yard of the Benartex Fabric and cut it into 4 strips of 9″. These 9″ strips will become our bottom ruffle later on.
3. Serge or Sew Your Edges to Stop Fraying
Take the two 1.5 yards and place them front sides or right sides together, sew up the seams on the side using a basic straight stitch. To prevent fraying on the seams, you can also use a serger, a zig-zag, or a #10 stitch on your machine to make sure the edges are all clean. You will want to stop about 7-9″ from the waistband (this allows you to tie the skirt on easier, and if you want to add a tie-on pocket or wear historical skirt supports, you can access them more easily). Then turn the skirt right side out, and let’s get ready to drape the waistband!
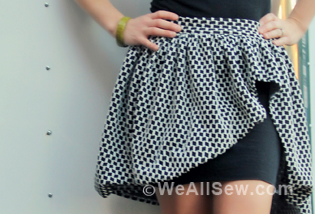
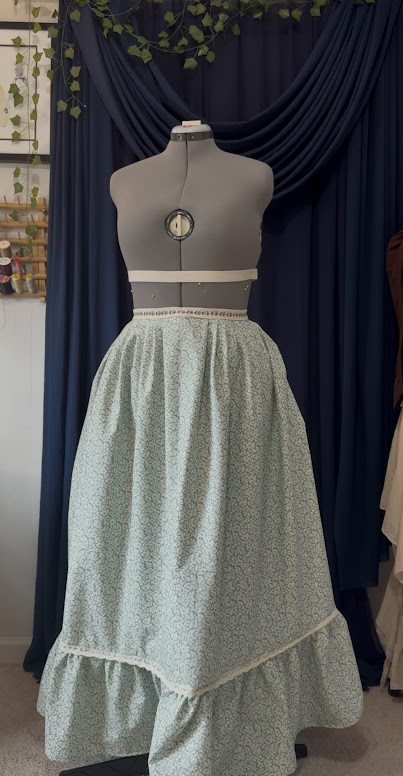
4. Drape the Waistband
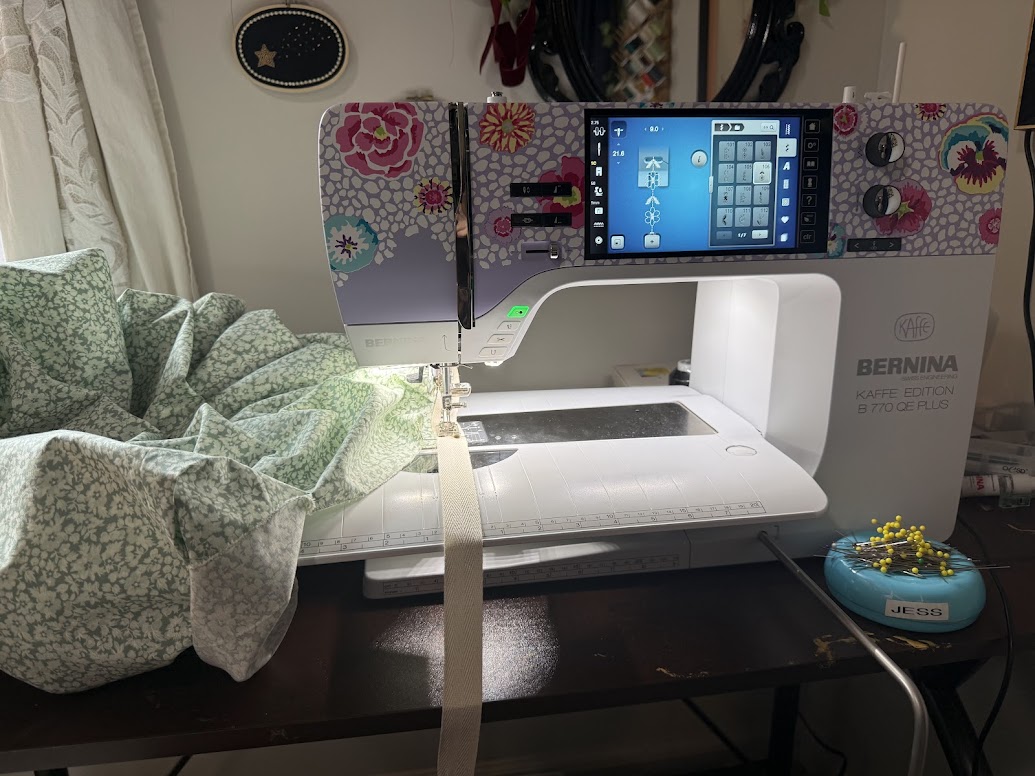
I find this easiest to do on a mannequin that is around my size, but all you need to do is make sure the length of the skirt is pleated down to your waist measurement. Start with a 3-4″ box pleat center front and then do knife pleats moving from the center back to the side seams. On the back of the skirt, I just did knife pleats going in one direction. Once I was satisfied with the pleating and it looked even, and it all went into the waistband I sewed a stay stitch to keep them together, and then I sewed that to my Cotton Twill Ribbon Tape, which serves as the waistband. I cut this to be about 36″ for the front tie and 36″ for the back tie, so I can wrap it around my waist front and back to secure the skirt to my body with ease.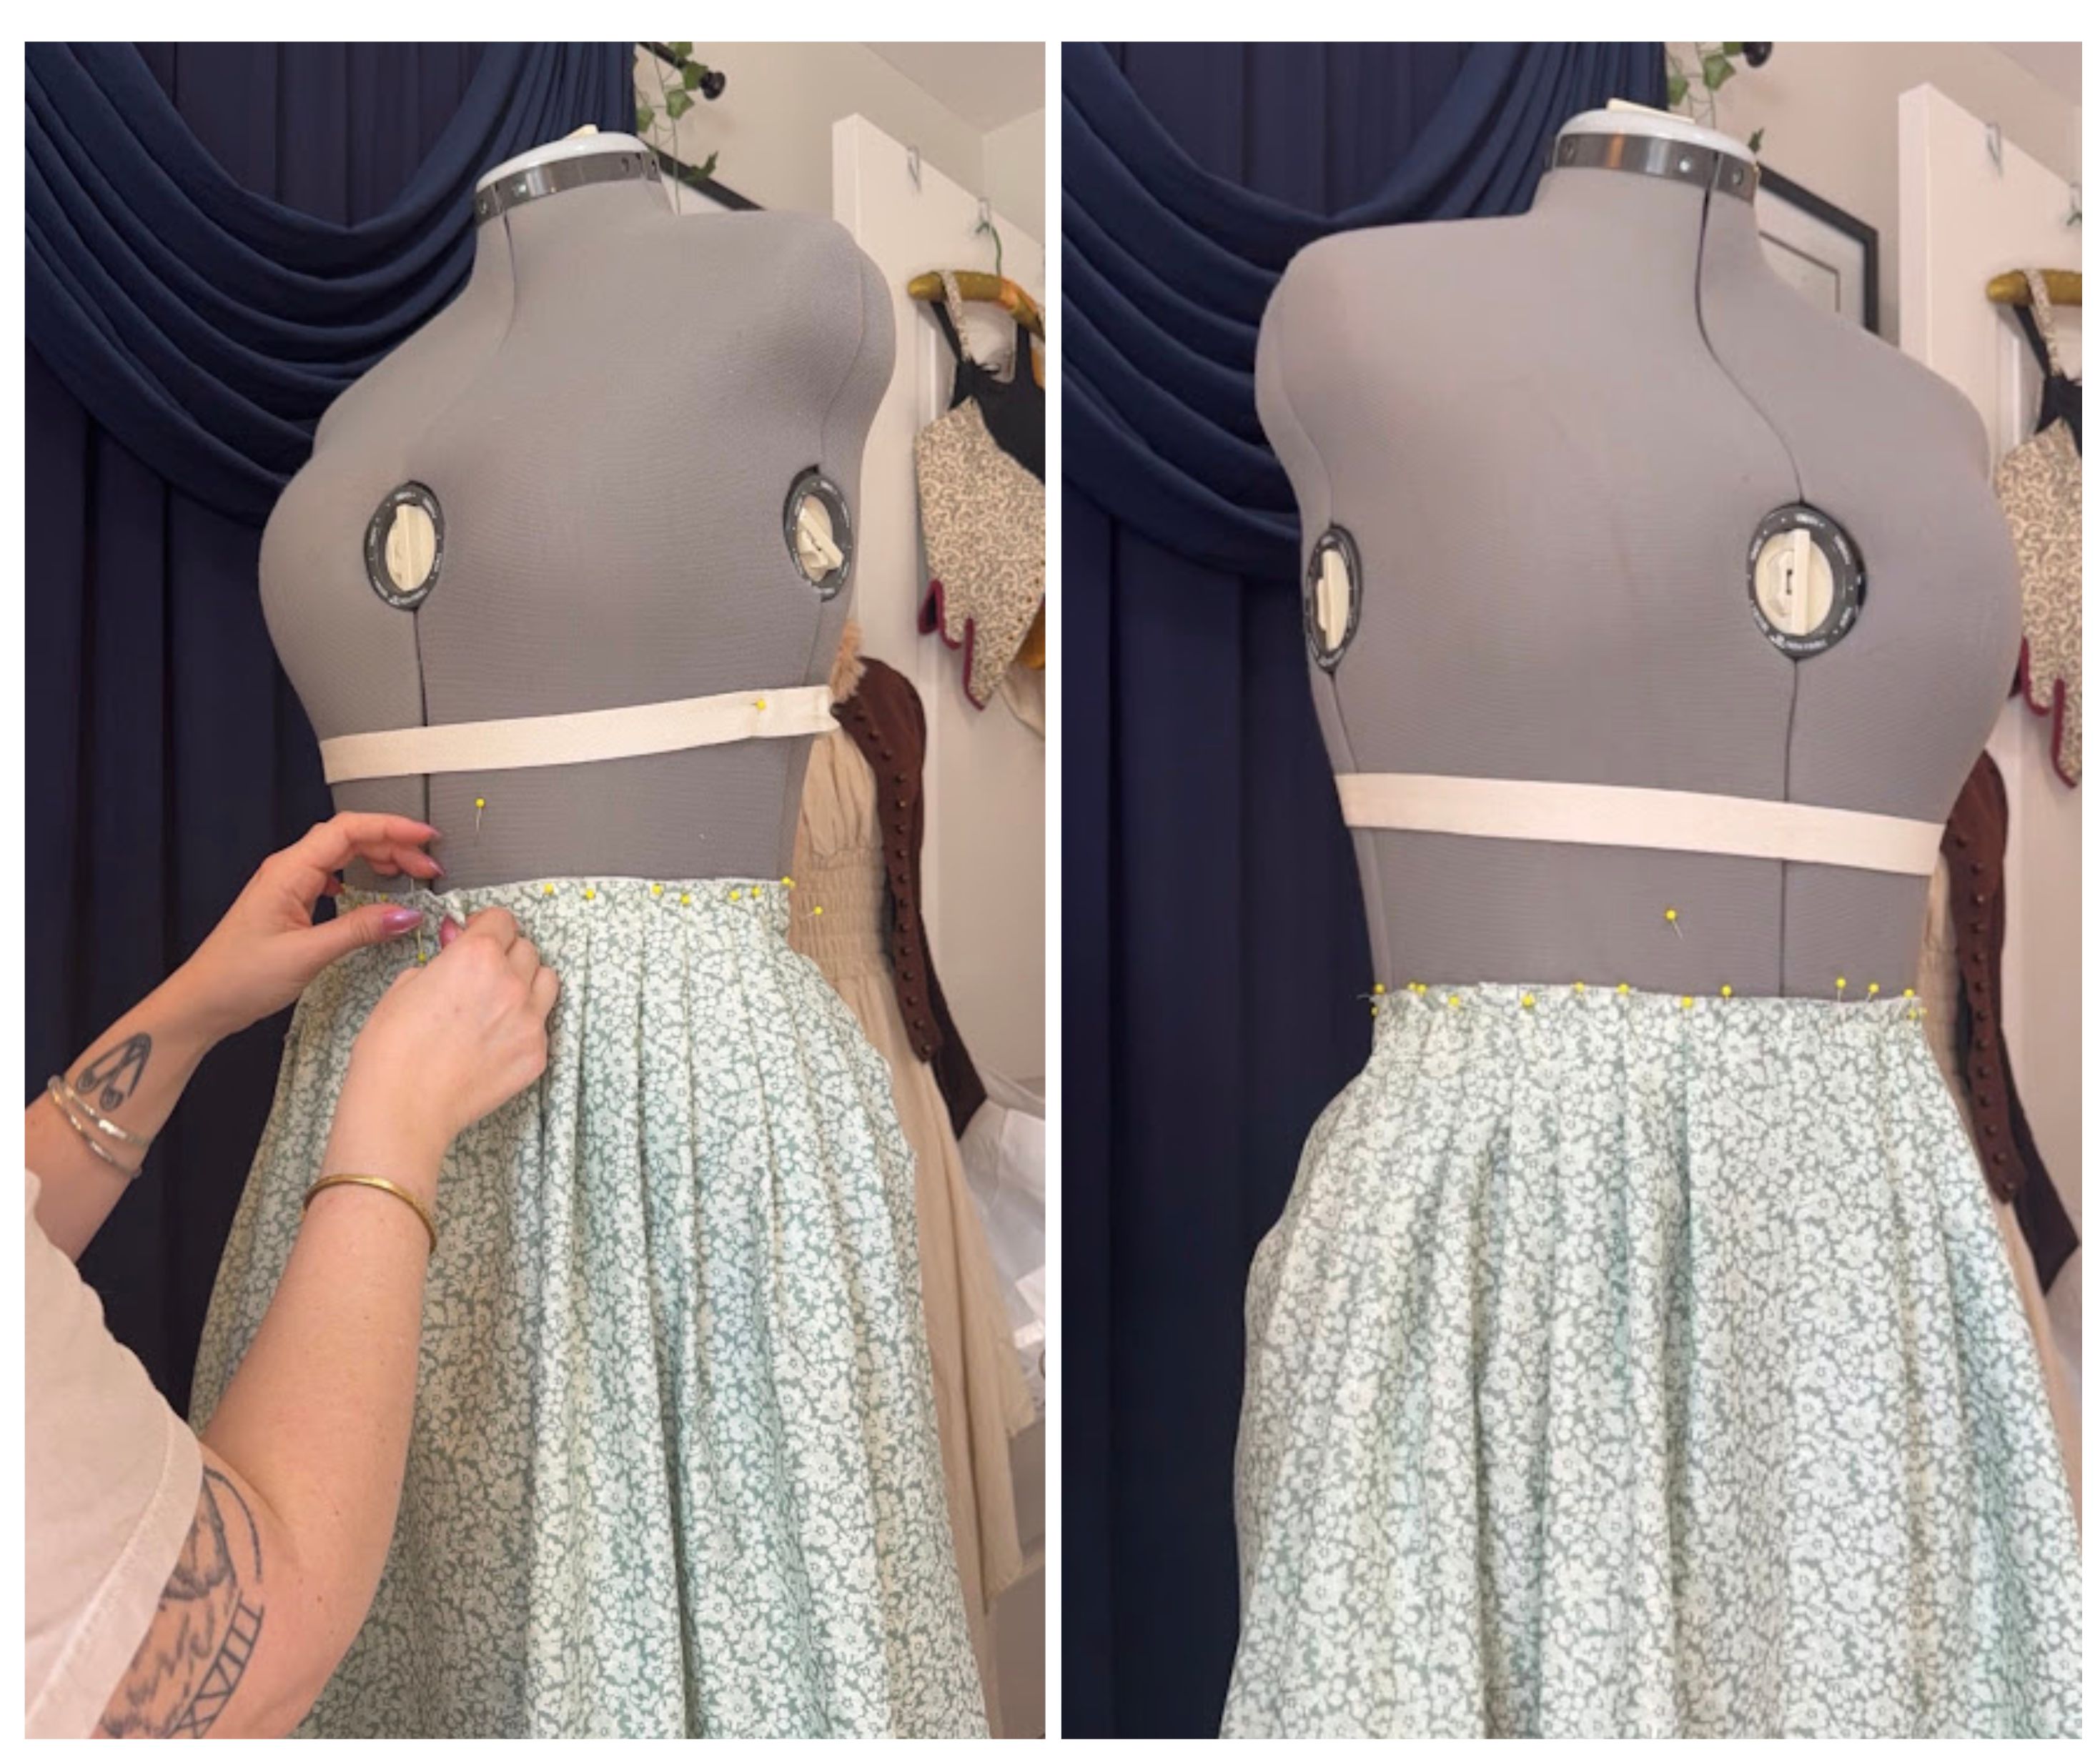
5. Add Decorative Stitches
I even went ahead and added in some more decorative stitching on the cotton twill ribbon–I can’t help myself, it’s one of my favorite features on my B 770 QE PLUS! I used stitch #106 to achieve this, and I think the decorative stitch looked very nice paired with the floral print of the fabric.
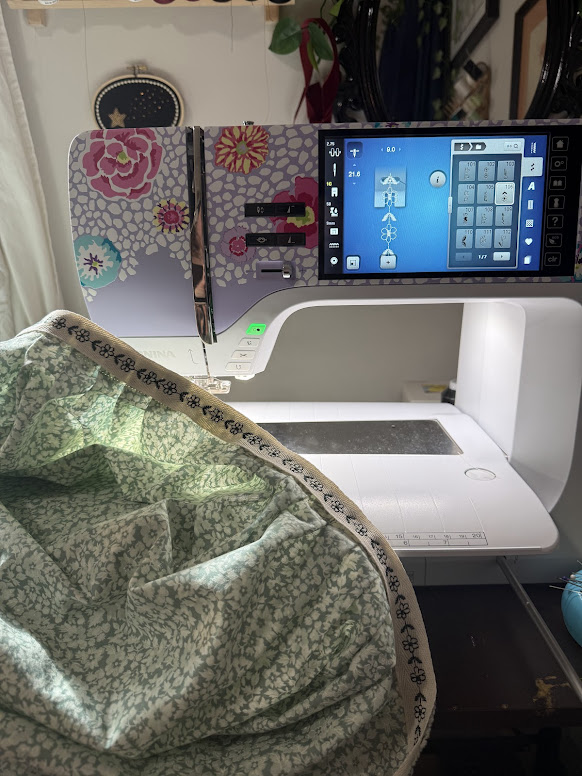
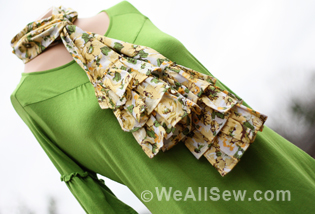
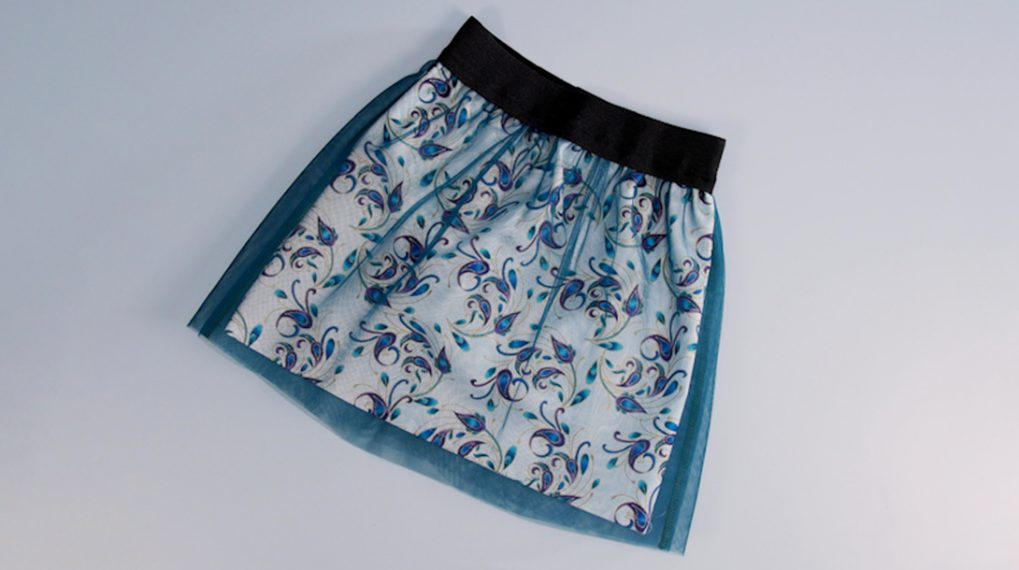
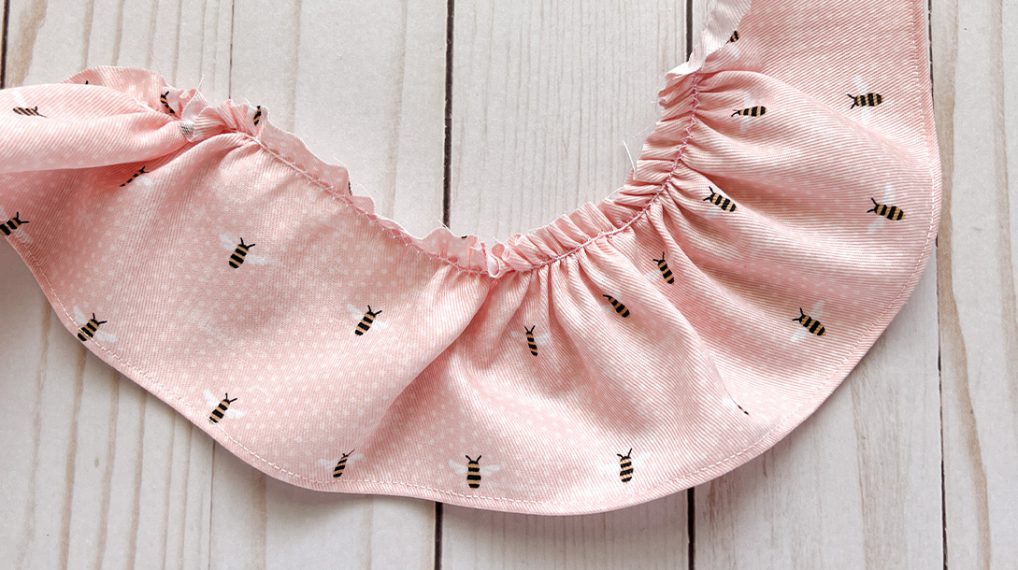
6. Add the Ruffles
Now you have a half-finished skirt, and all you need to do is make the ruffle and add it to the hem! I started by sewing all my 9″ pieces together to make one long length. Then I went ahead and did a rolled baby hem on the bottom. I find the hem easier to do at this stage than waiting until the very end to do it with all that skirt fabric getting in the way. After that, it was time to put the ruffler foot on my machine and give it a go! All I had to do was pop the foot on, tell the machine I was using the Ruffler Foot#86, and I was good to go!
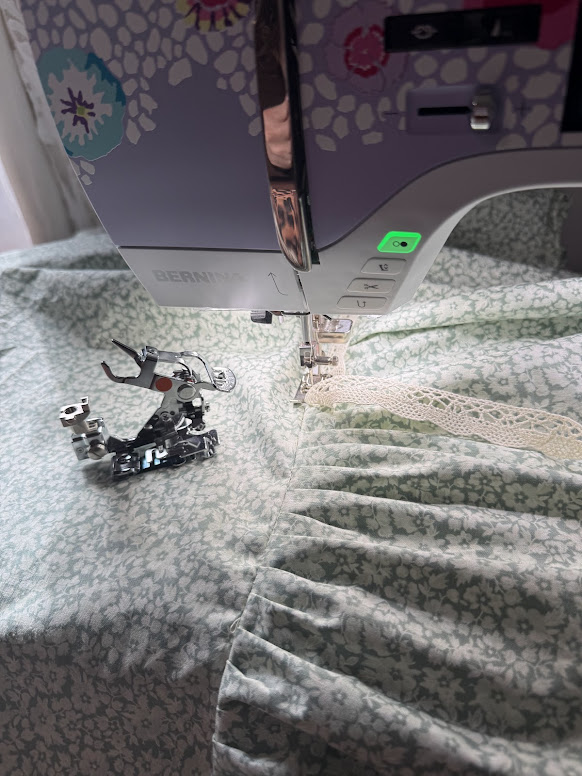
I will not tell you how many times I have gone ahead and hand-set my own ruffles. I once made a late Victorian gown that had over 9 yards of hand pleated ruffles…….so it goes without saying I may have shed a tear of joy using the ruffler foot! In literally the blink of an eye, the ruffler foot created beautiful, even ruffles, and it was so fun to sew with. For this project, I had mine set on the 6, so every 6 stitches, it did a kick back and made a ruffle. Perfect ruffles! I had to take a minute, haha. I’ll never ruffle again without the Ruffler Foot #86. It was very easy to set up and had minimal trial and error to understand how to use it. I also recommend that if you don’t have it, buy the BIG Book of Presser Feet, which gives excellent demos on how to use the different machine feet for your projects!
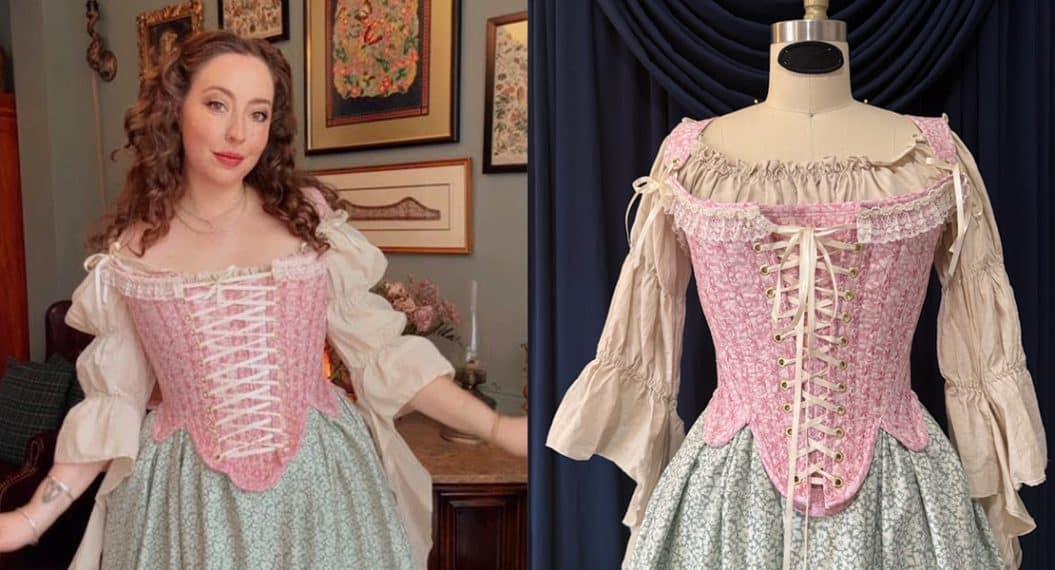
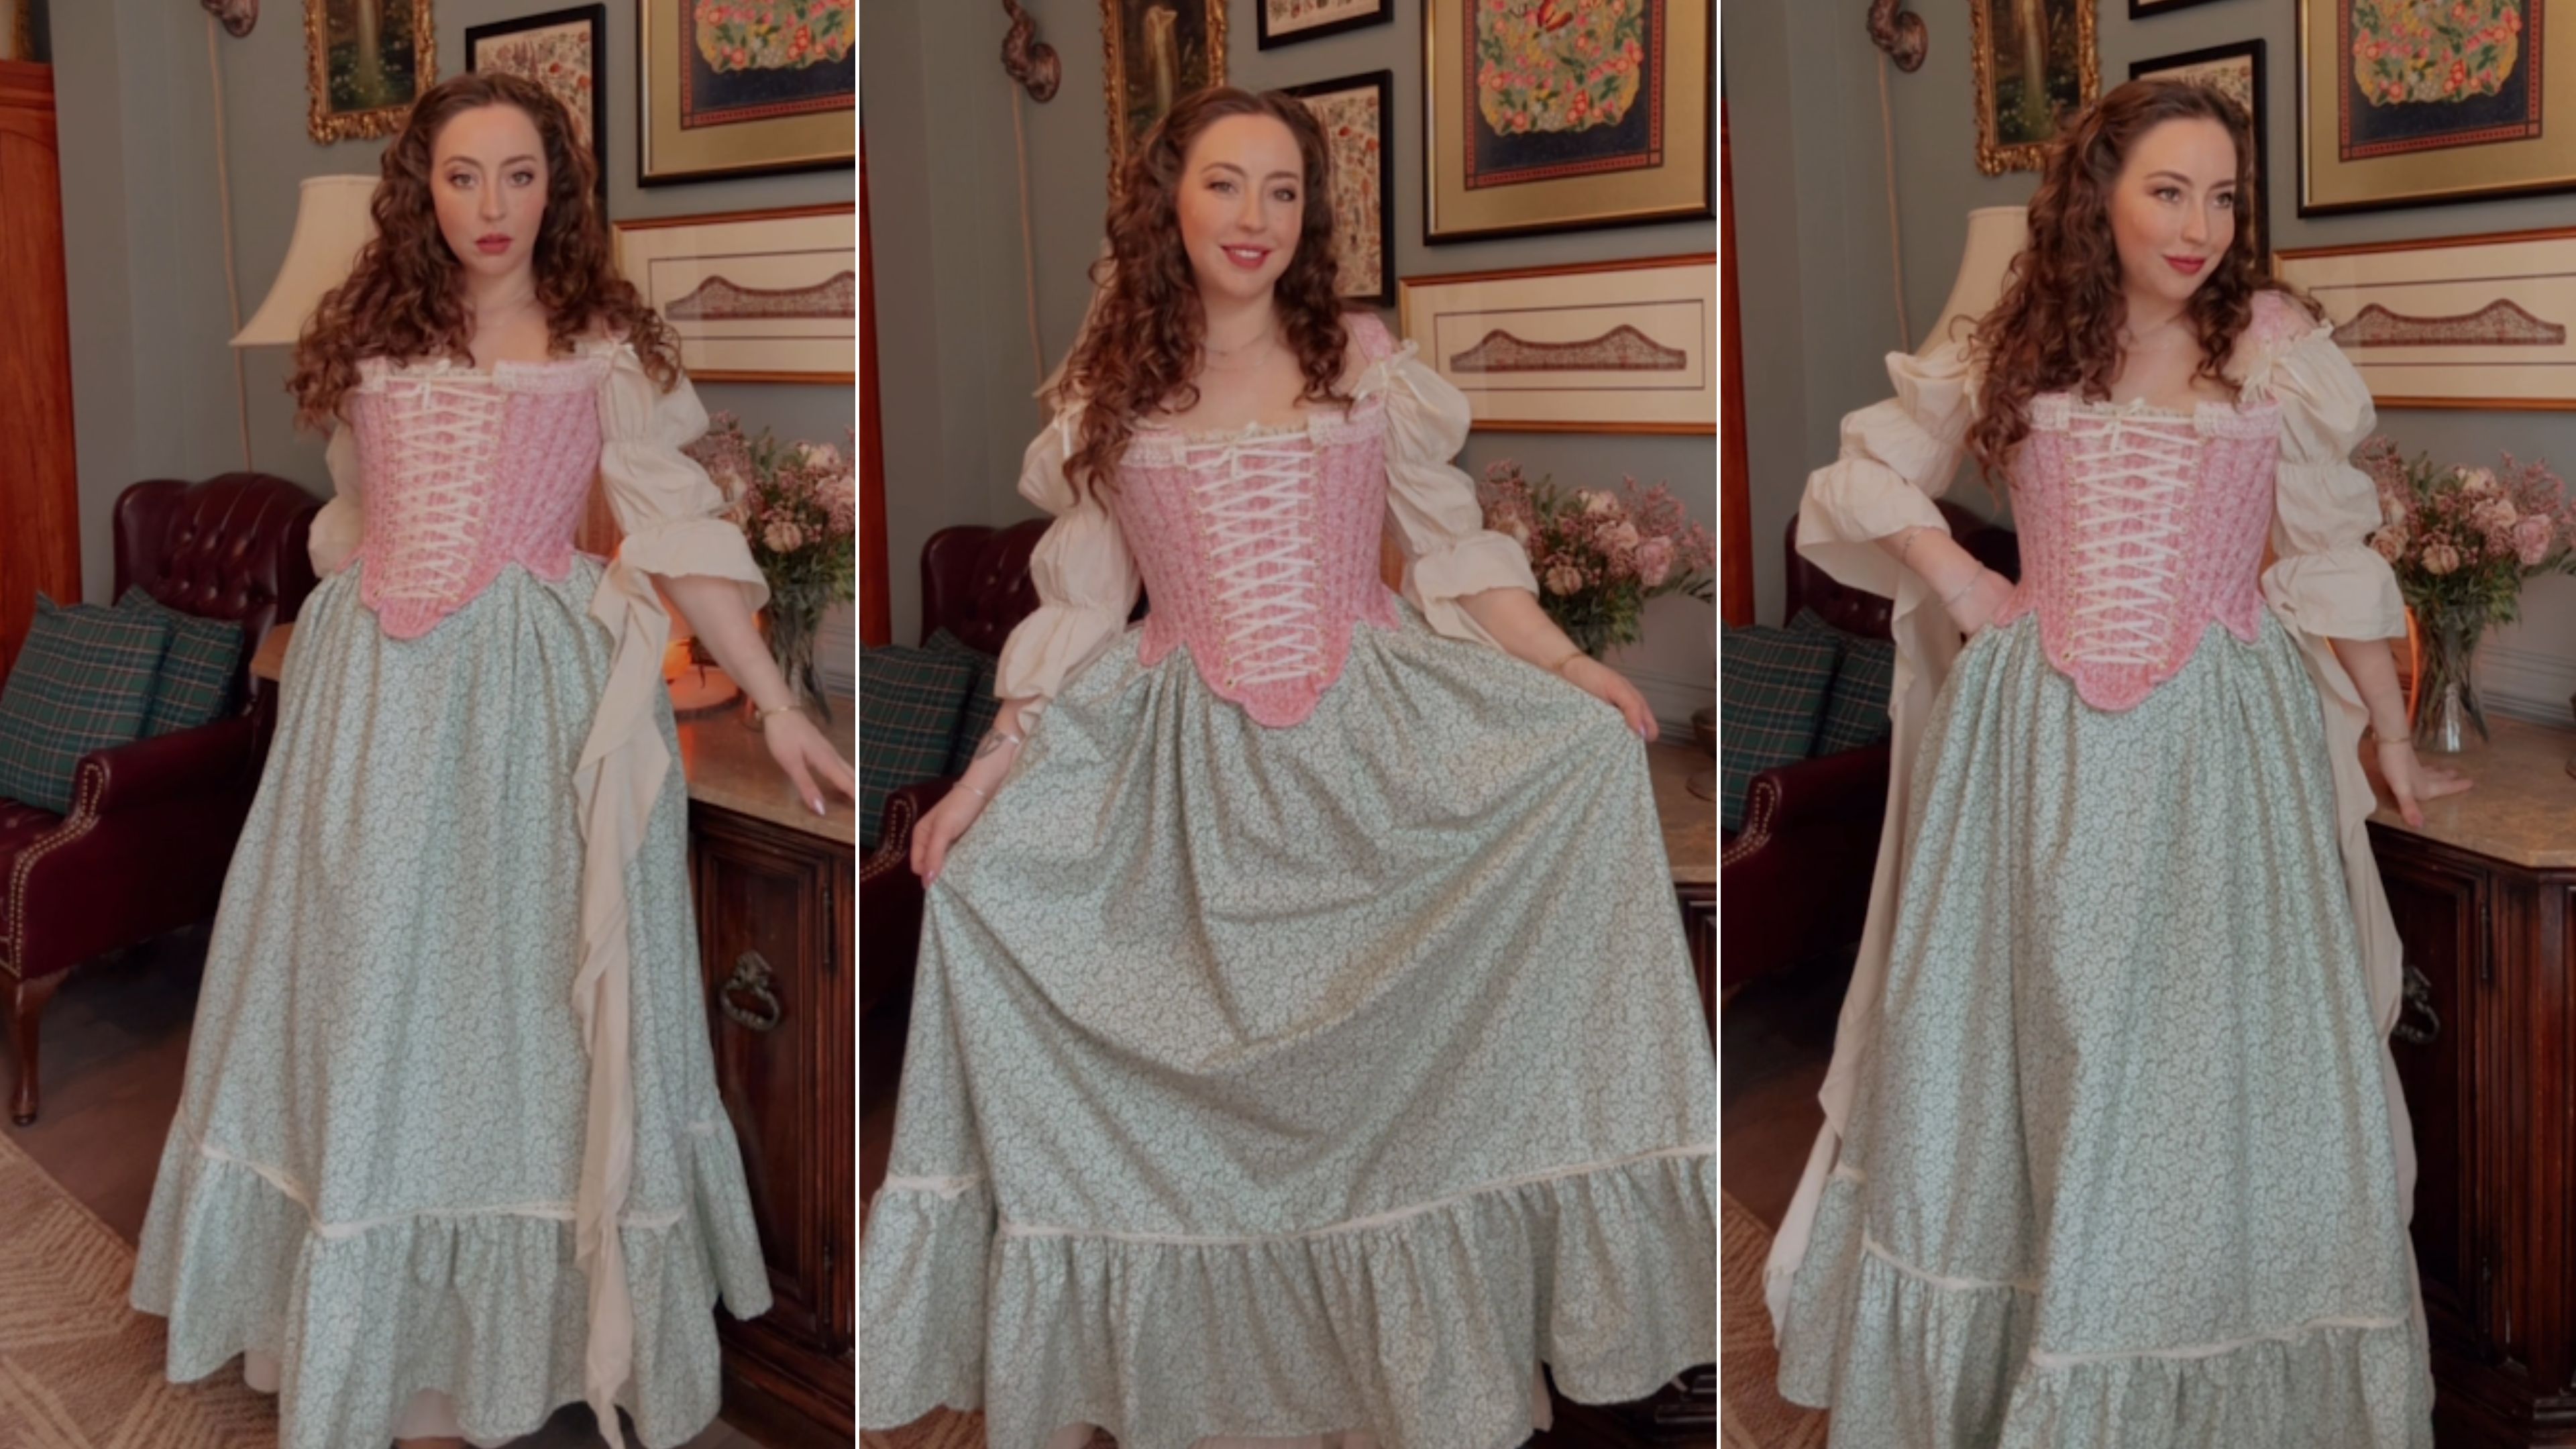
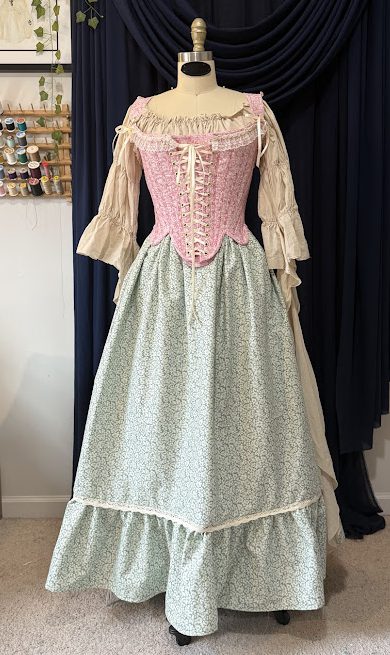
I never like to say a project is easy because what is “easy” for one person may be very confusing for another, but making skirts like this is truly delightful once you get the hang of it, and I love that it literally yields minimal to no waste. I think at the end I had about 8″ of ruffle I didn’t need. If you’re savvy enough, this extra fabric could be made into a proper pocket to add to the skirt! I went ahead and added some cute vintage cotton lace to the top of the ruffle for an extra detail, and I was done! We have a beautiful set of 18th-Century stays and a no-waste skirt–all made using my B 770 QE PLUS Kaffe Edition machine, the BERNINA Ruffler Foot #86, and Benartex Fabric!
I really enjoyed making this skirt, and the Benartex Fabric sewed up so well, it was truly a delightful process the whole time. I highly recommend checking out your local quilting fabric store, and especially Benartex Fabrics, for your future projects that require high-quality cotton! Thank you to Benartex for supplying this fabric, it was a joy to work with, and I can’t wait to wear this during the spring season!
Jessica Cronin is a costume designer and historical fashion enthusiast. If you enjoyed this project, you can find her on all social media channels @jesscronindesigns