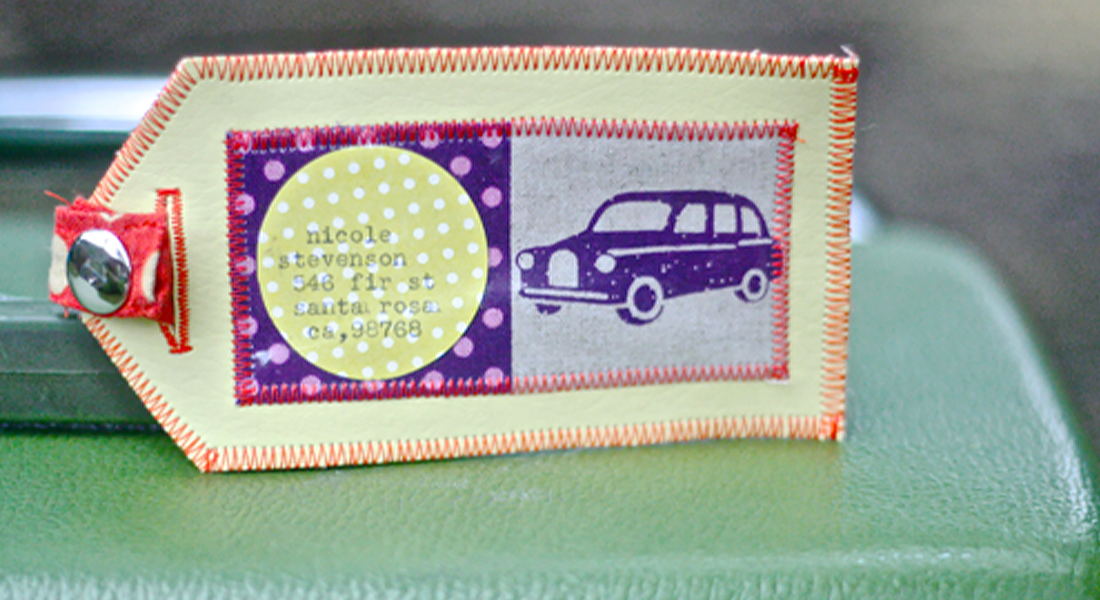
How to Make an Embroidered D&D Dice Tag
For those of you who don’t play Dungeons & Dragons, the idea of a “dice goblin” might sound like an insult, but I assure you the moniker is all in good fun. Calling yourself a “dice goblin,” or being called one by your friends who share the hobby, is like a quilter being called a “fabric hoarder” or “fabric addict.” It’s a title that is part light-hearted admission, part friendly jibe, and, of course, part badge of honor. So, in the spirit of good-natured fun, let’s embroider some D&D dice tags with the bernette 79!
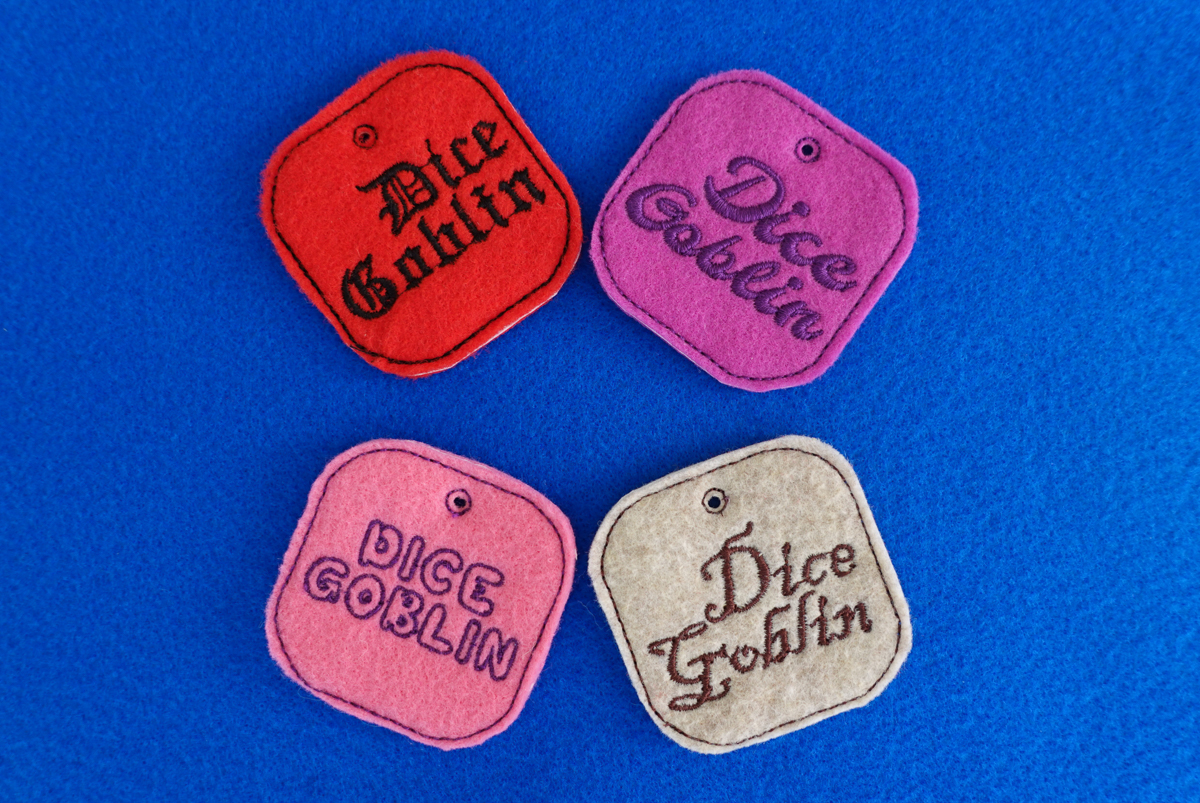
These tags come together so fast you will easily be able to make one for every dice goblin in your clan. And don’t worry! You can download the design for free for your project!

The free download includes four different designs but if you have BERNINA Creator software, which was included with the awesome b79 Yaya Han Edition, then the possibilities are endless for you! You can easily edit the tag designs to change the shapes, fonts, or make new tags with character names or classes. I always love customizing embroidery designs or being able to create anything I can dream up.
Let’s get started on the tags!
Materials to Embroider a D&D Dice Tag
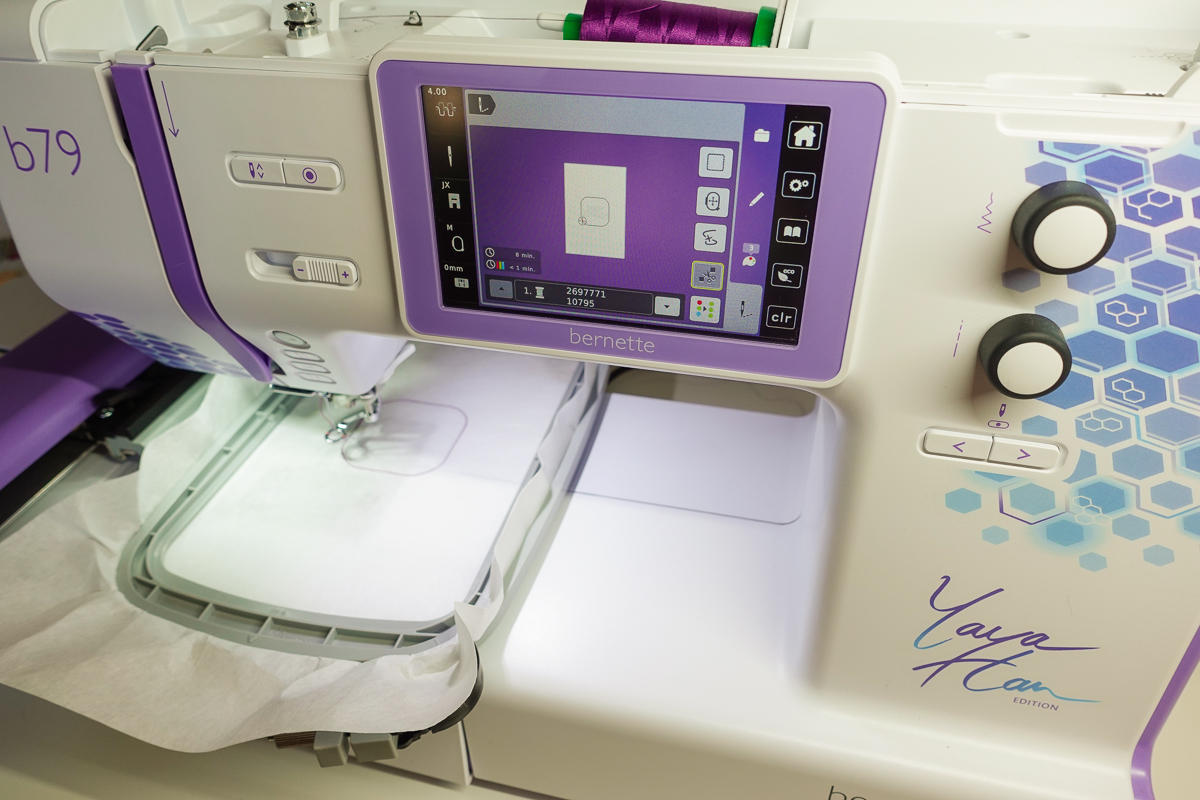
- bernette 79
- bernette Medium Hoop
- Embroidery Foot (JL)
- (2) 3.5” x 3.5” pieces of felt
- Quilting cotton can also be used, but you will need to use interfacing like OESD Fuse and Seal on the wrong side of the fabric to keep it from fraying
- OESD Medium Weight CutAway
- OESD Expert Embroidery Tape TearAway
- OESD Perfect Punch Tool
- 90/14 Topstitch needle
- Embroidery thread
- USB stick
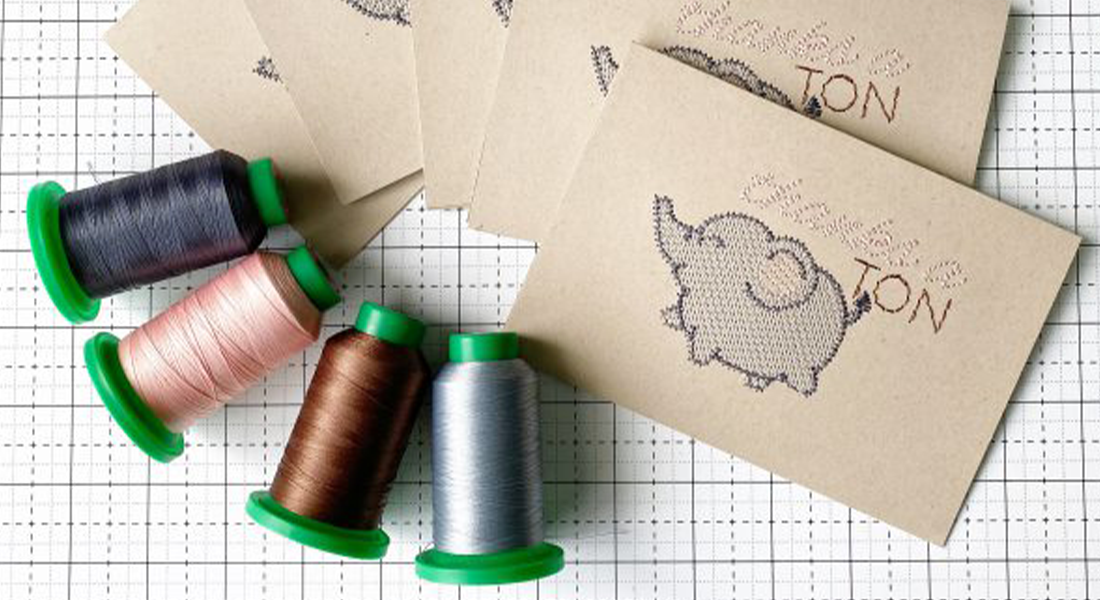
- Dice Goblin Embroidery Designs
- (optional) OESD MiniMAT
Step 1: Embroider the Placement Stitch
Attach Embroidery Foot (JL) and insert a 90/14 Topstitch needle. Thread the needle with embroidery thread and wind bobbin with thread to match.
Put your desired embroidery design on the USB stick.
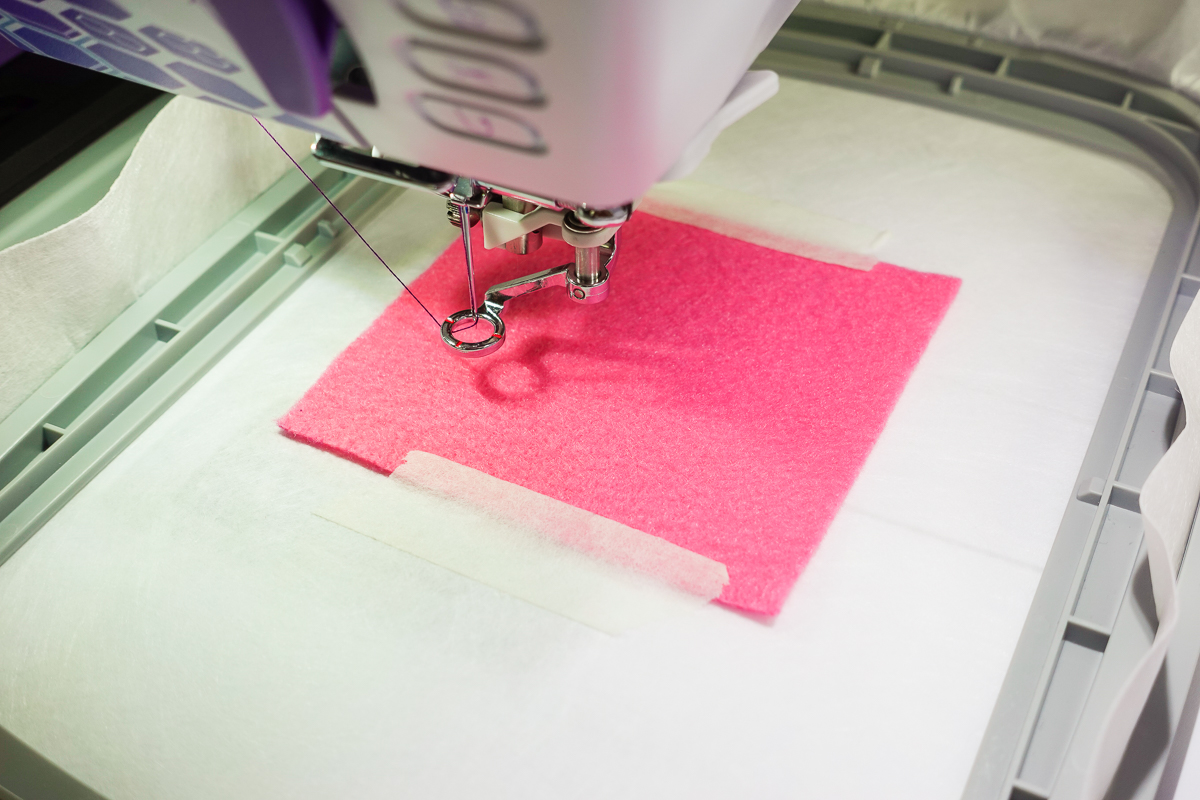
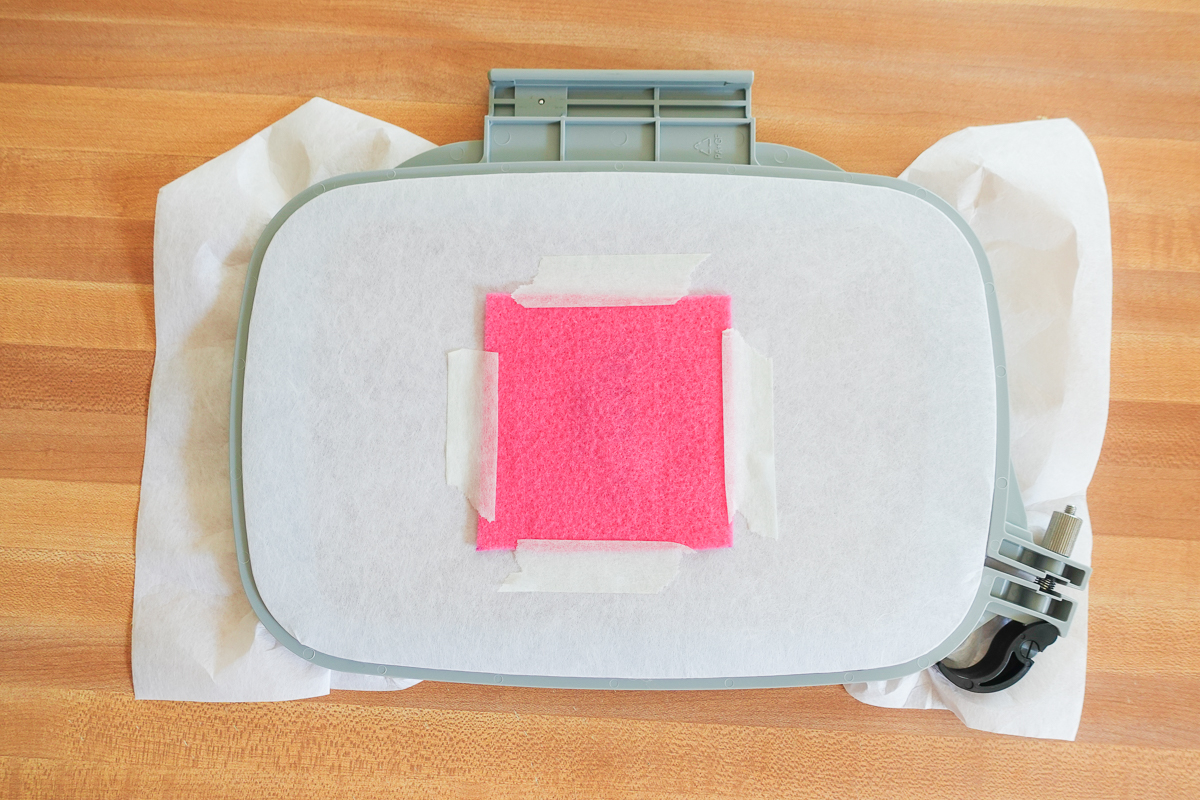
Hoop the Medium Weight CutAway in the medium hoop.

Place the hoop on the machine and stitch out the first color. This is your placement stitch, which will tell you where to put your felt.
Step 2: Embroider the Lettering
Tape one felt piece over the placement stitch, making sure the tape will be clear of the stitching. To do this, you can remove the hoop from the machine (but do not remove the project from the hoop) or slide the felt under the foot.
Stitch out the lettering. Do not stitch out the final color yet.
Tip: If you are having issues with your stitches sinking too far into your felt, you can use a topper like OESD StitcH20 to cover the felt before stitching. This topper will help the stitches stay on top of the felt instead of sinking into it and then is easily removed by tearing it away or washing it away with some warm water. Sometimes I skip it for ease of use (maybe laziness, too) and sometimes I add it to ensure everything looks perfect—totally up to you! Try both ways and see what you prefer.
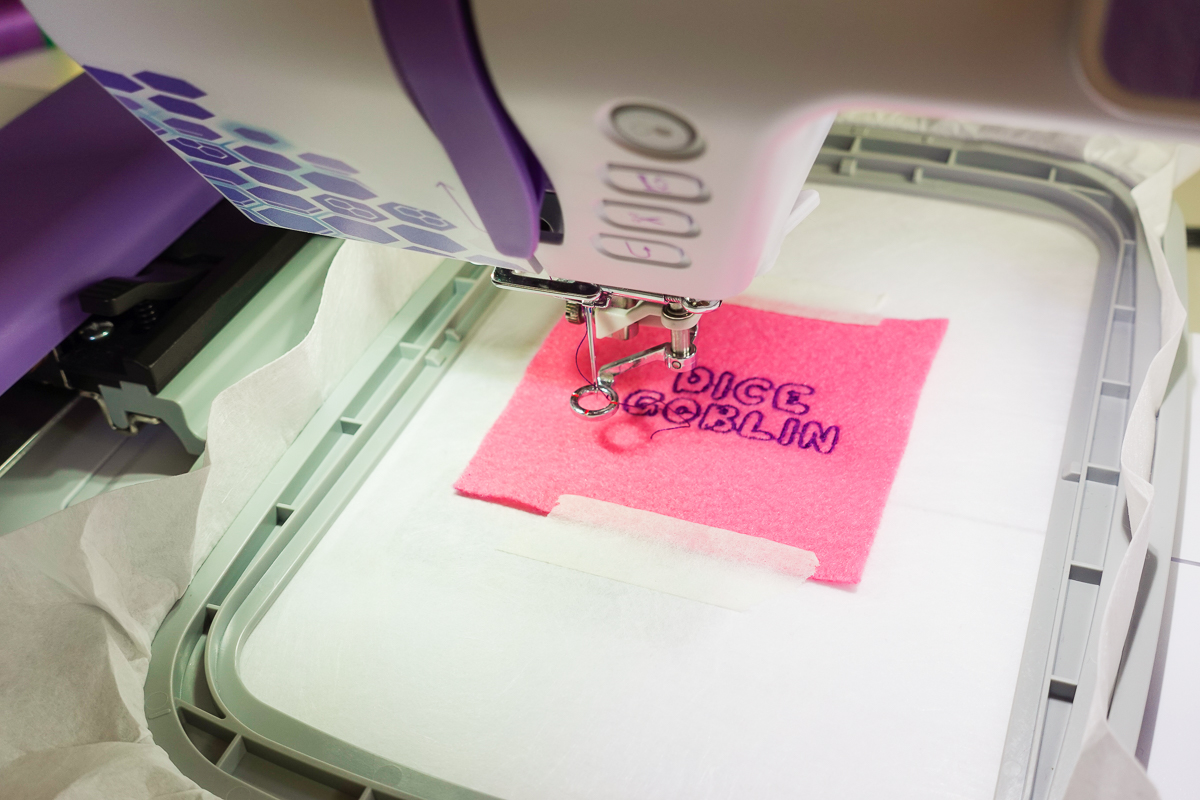
Once the lettering is done, remove the hoop from the machine, but do not remove the project from the hoop. Flip the hoop over and tape the felt to the back of the project, once again being careful to keep the tape clear of the stitching line.
Return the hoop to the machine and stitch out the final stitching line.
Step 3: Finishing
When the stitching is finished, remove the hoop from the machine and now you can finally remove the project from the hoop.
Trim away the bulk of the stabilizer.
Cut the felt down, trimming between 1/8-1/4” away from the stitching line, being careful to not cut the stitching.

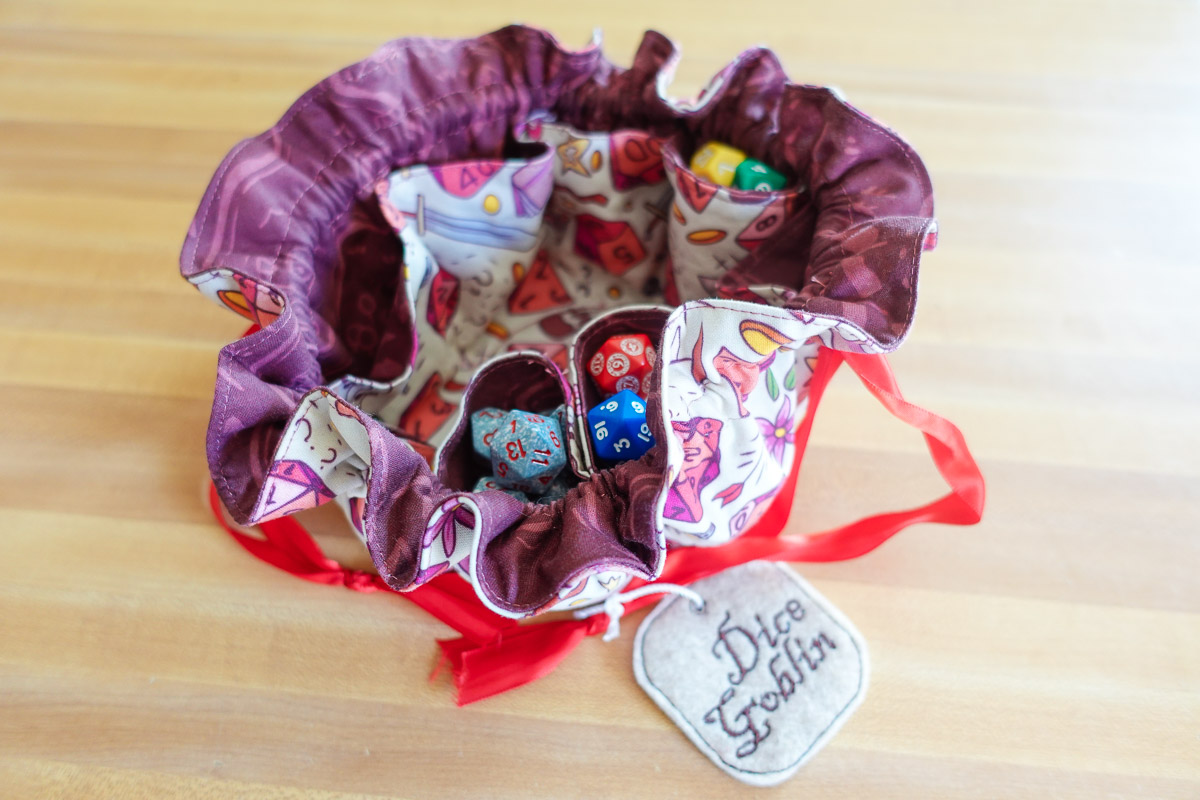
Use the Perfect Punch and MiniMAT to create the cutout for your ribbon, key ring, or however else you’d like to attach it to your dice bag, backpack, or wherever you want to announce your dice-collecting ways.

You’re all finished! Isn’t it fun? And so fast, too.

Want to learn more about machine embroidery? Check out this fantastic post by Dessi Desu all about Selecting and Preparing Your Embroidery Hoop. It’s filled with great information for embroiderers of all skill levels.

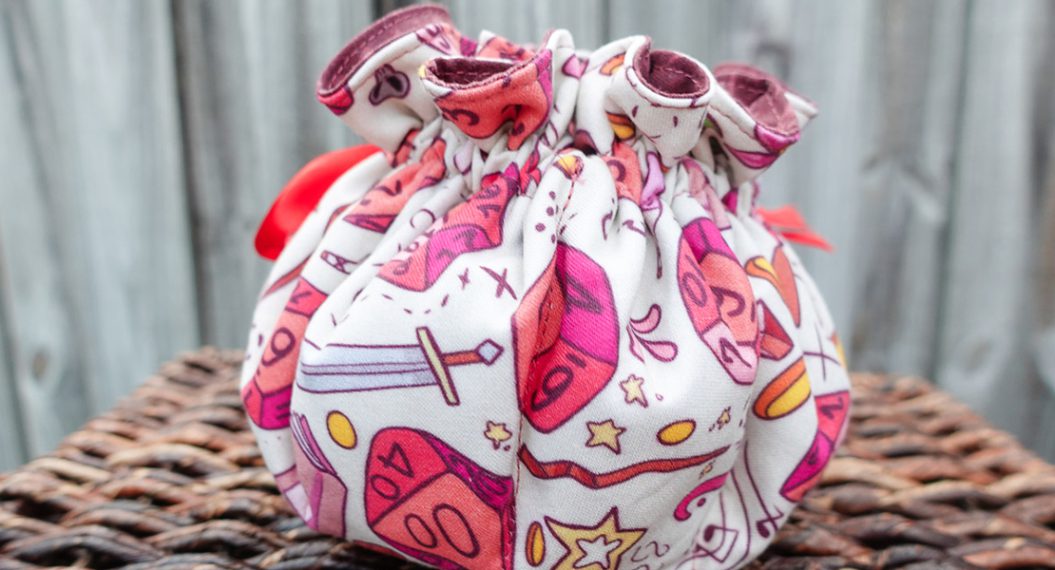
If you haven’t already, don’t forget to check out my post on how to Sew a D&D Dice Bag with the bernette 79 as a perfect compliment to your Dice Goblin tag.
Happy Embroidering!