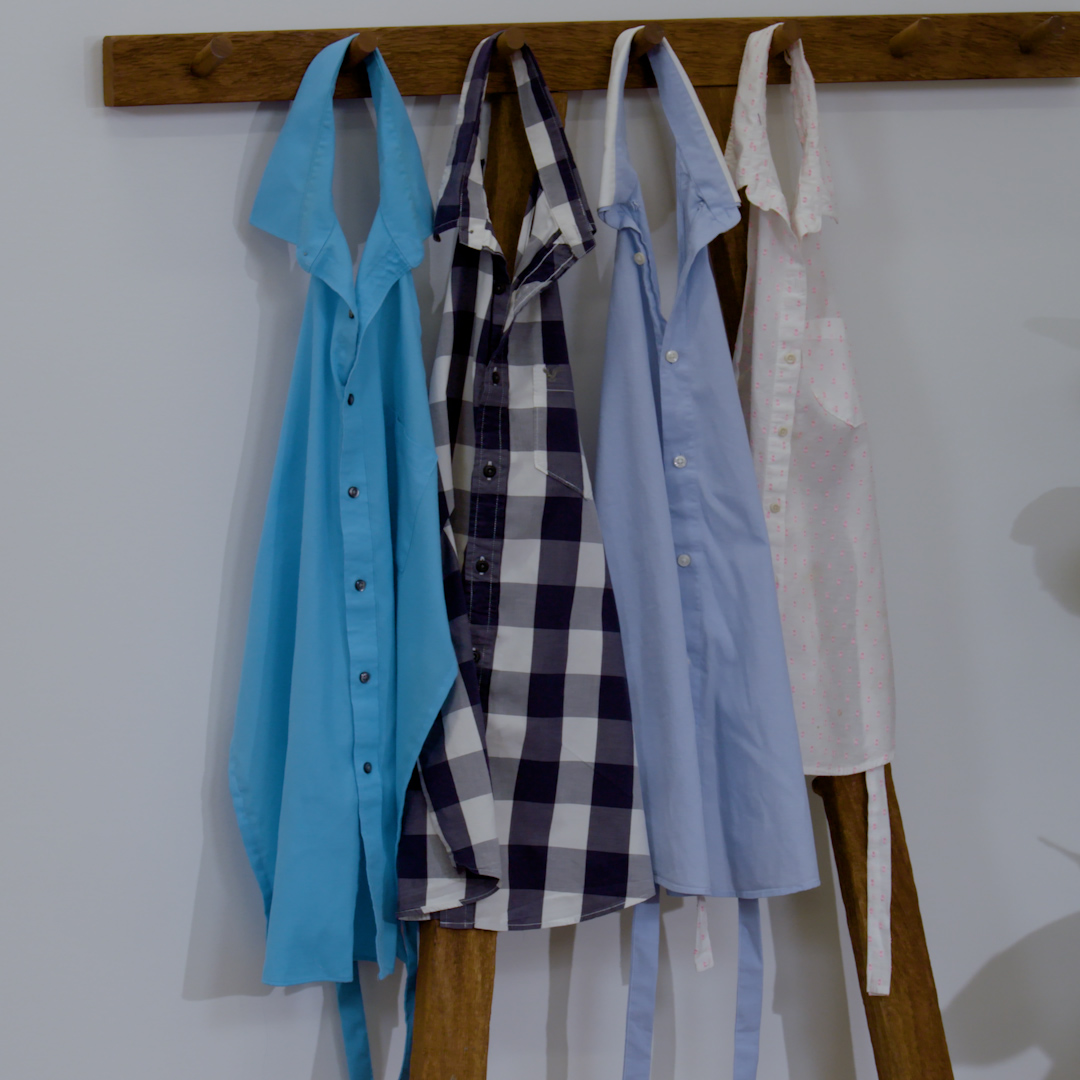
How to Upcycle a Shirt into an Apron

Dress shirts for men or women can make such a fun upcycling project into an apron for messy fun times around the house or school. Giving an old garment new life and personality is a great creative project for all sewists.
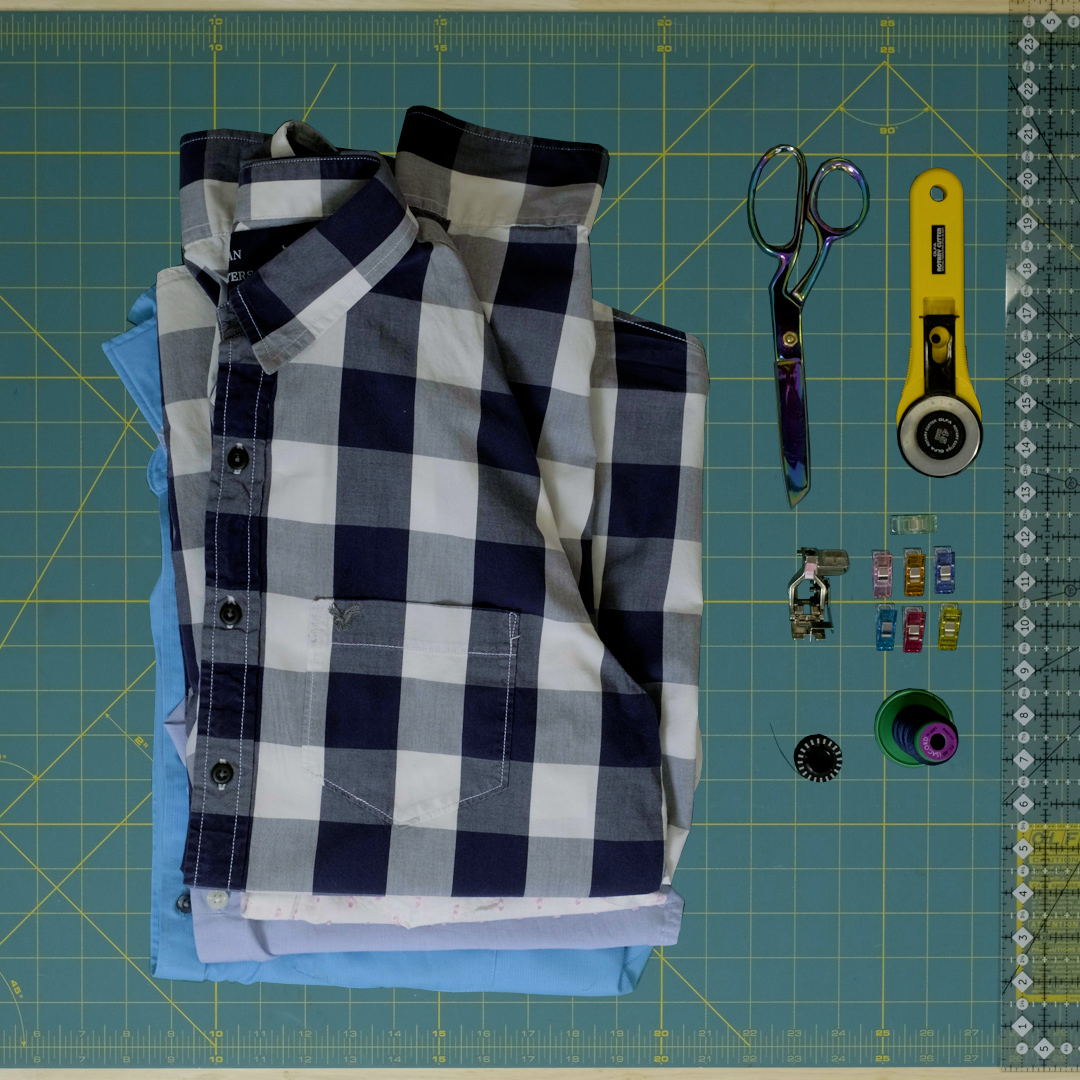
What You’ll Need
- BERNINA 570 QE
- Edgestitch foot #10 D
- 9mm Stitch plate
- Rotary Cutter
- Cutting Mat
- Ruler
- Thread
- Wonder Clips
- Scissors
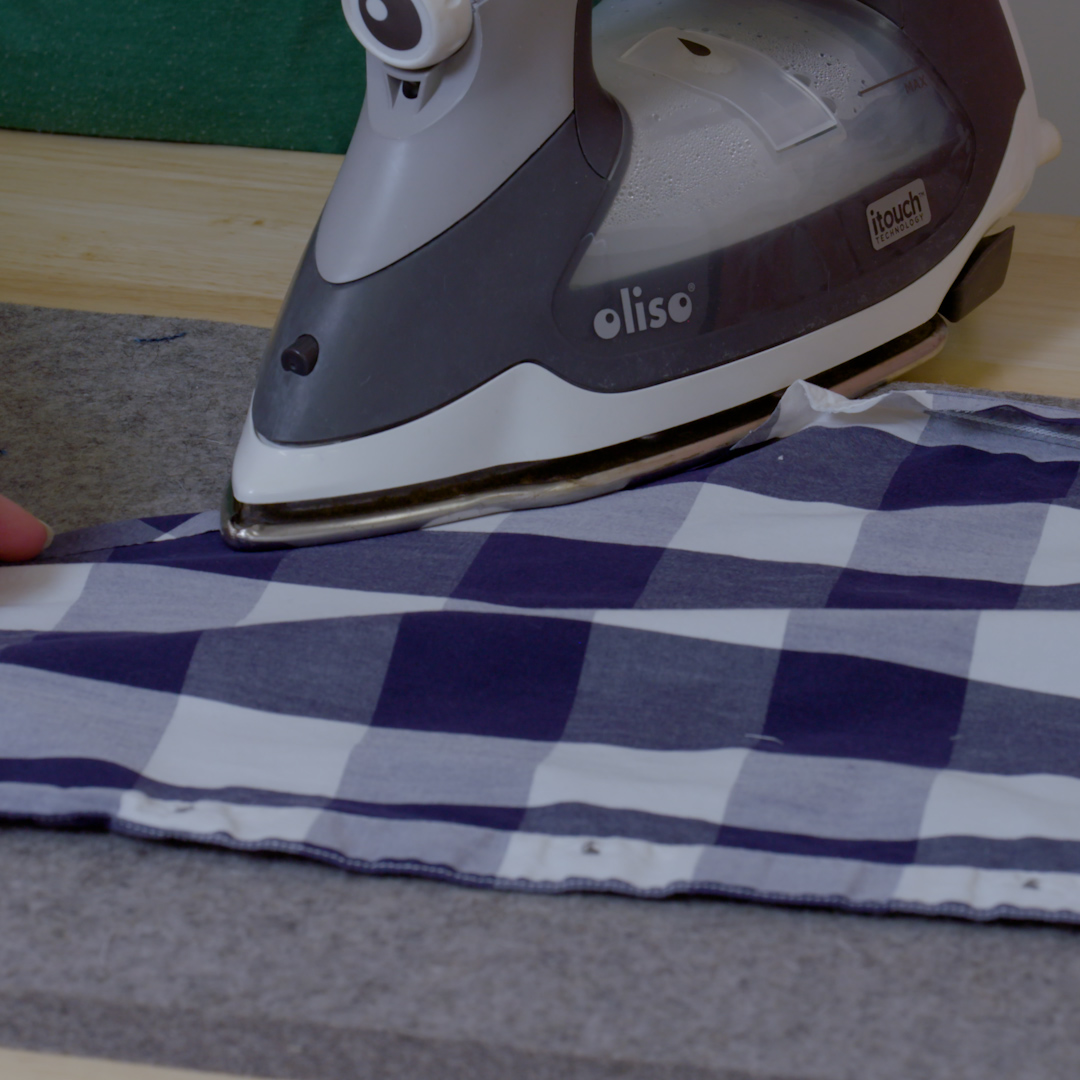
Step 1:
Prep your shirt by giving it a good press to get rid of any unwanted wrinkles, this will make the sewing process easier.
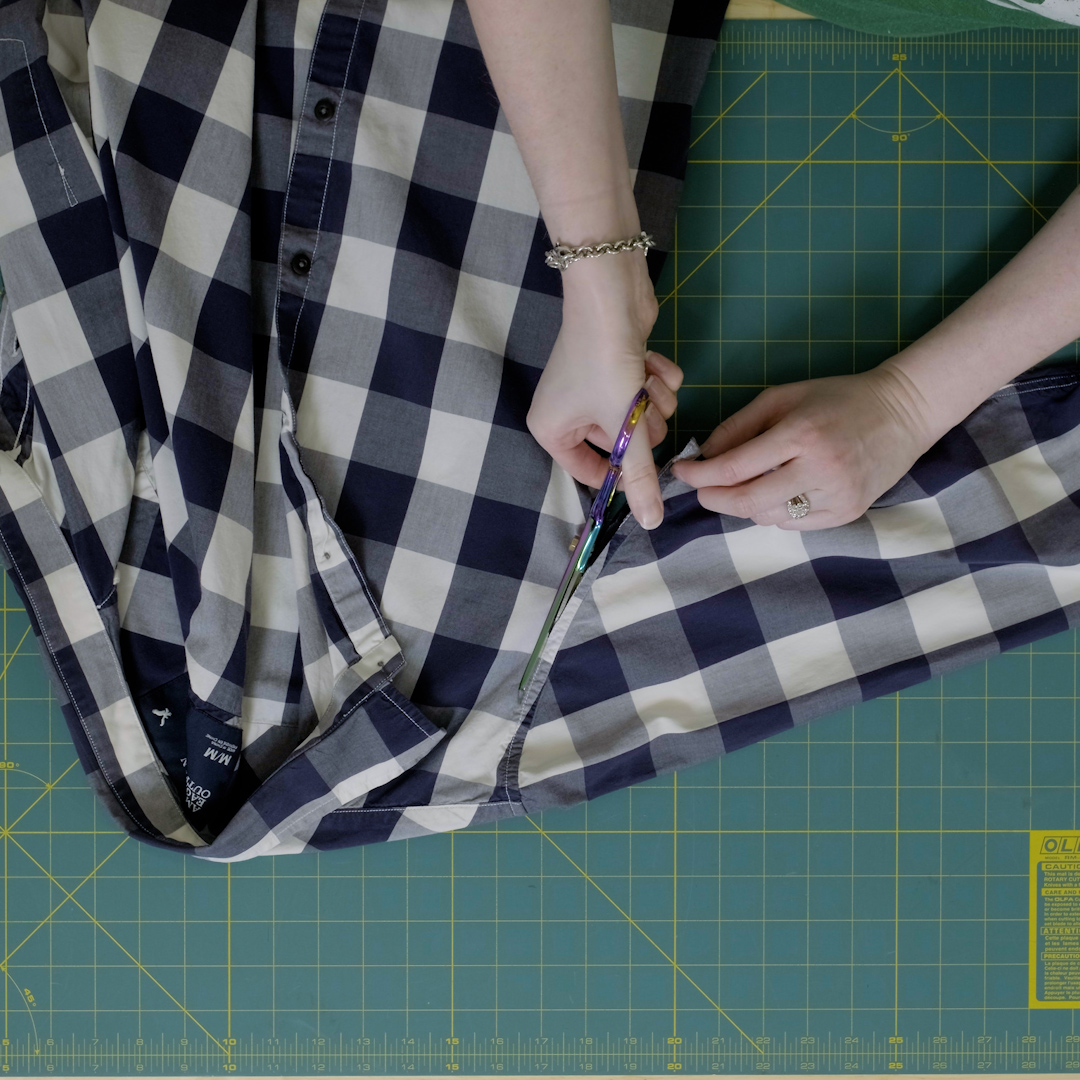
Step 2: Removing the Sleeves
Take your pair of scissors and cut off the sleeves on the chest side of the seam where the sleeve is attached to the shirt, set sleeves aside.
Step 3: Cut Side Seams
Using the rotary cutter and ruler, measure out ½ inch and cut up the side seams leaving the seam attached to the shirt.
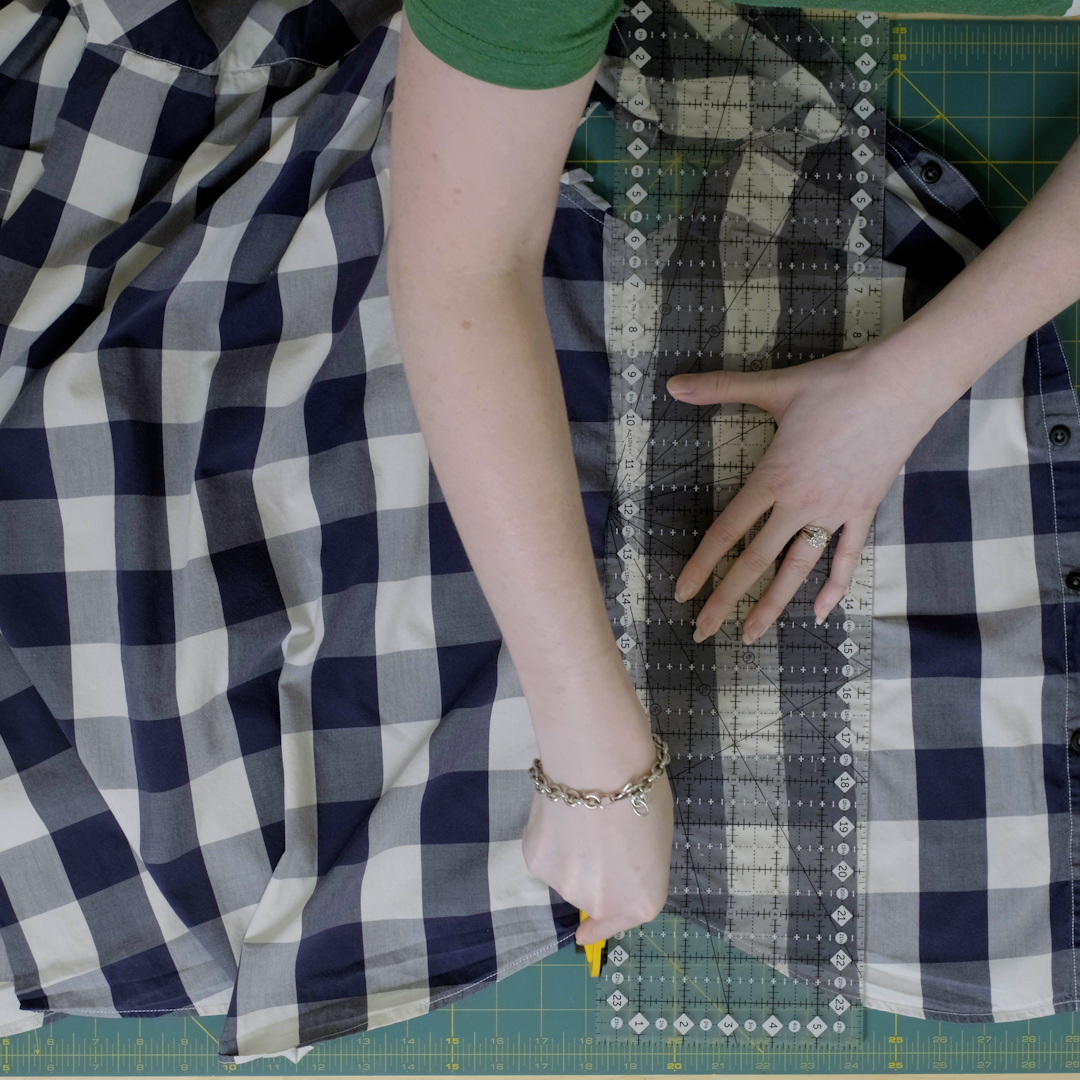
Next cut the shoulders and around the back of collar, leaving the seam attached to the shirt so you have a nice finished edge, stopping at the shoulder seam.
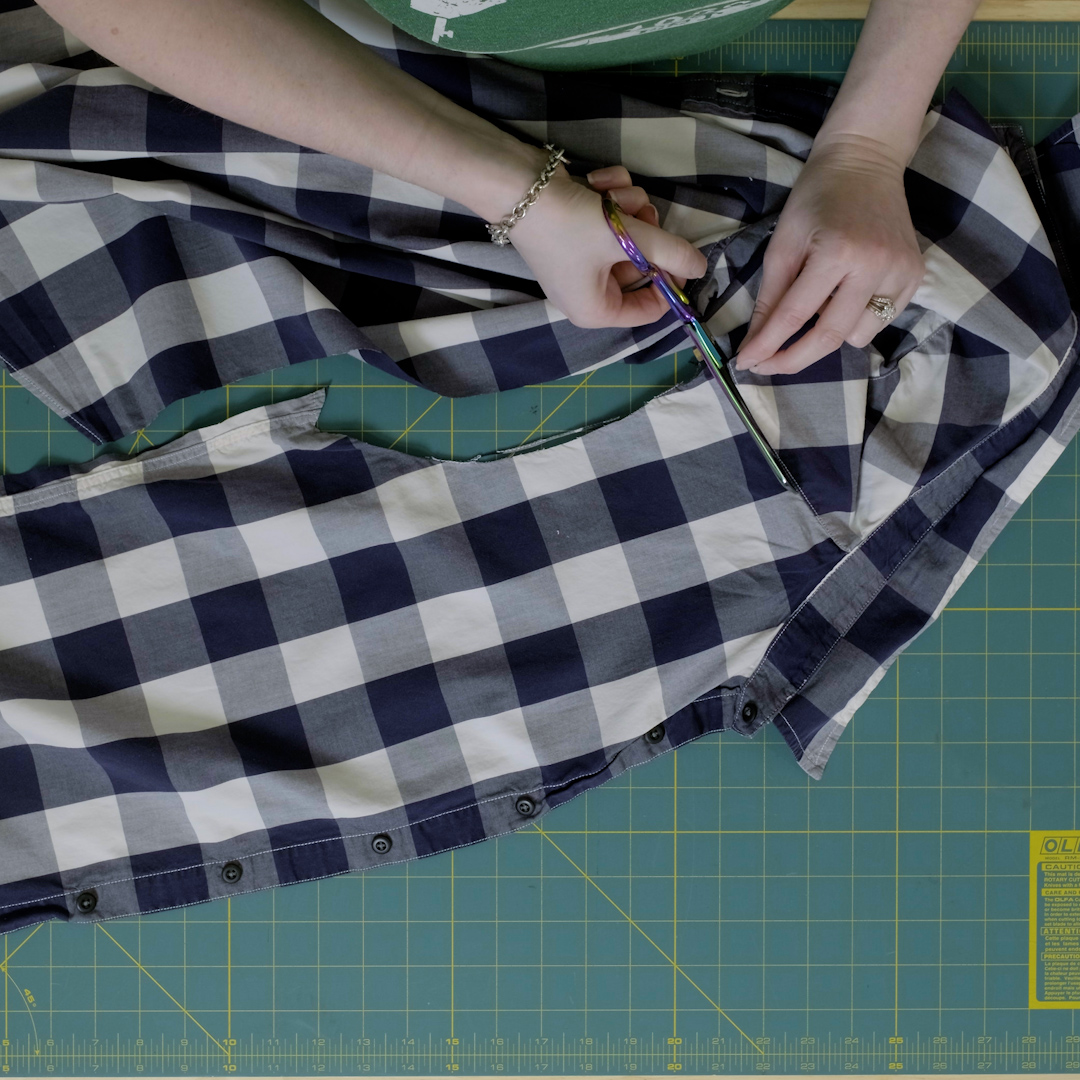
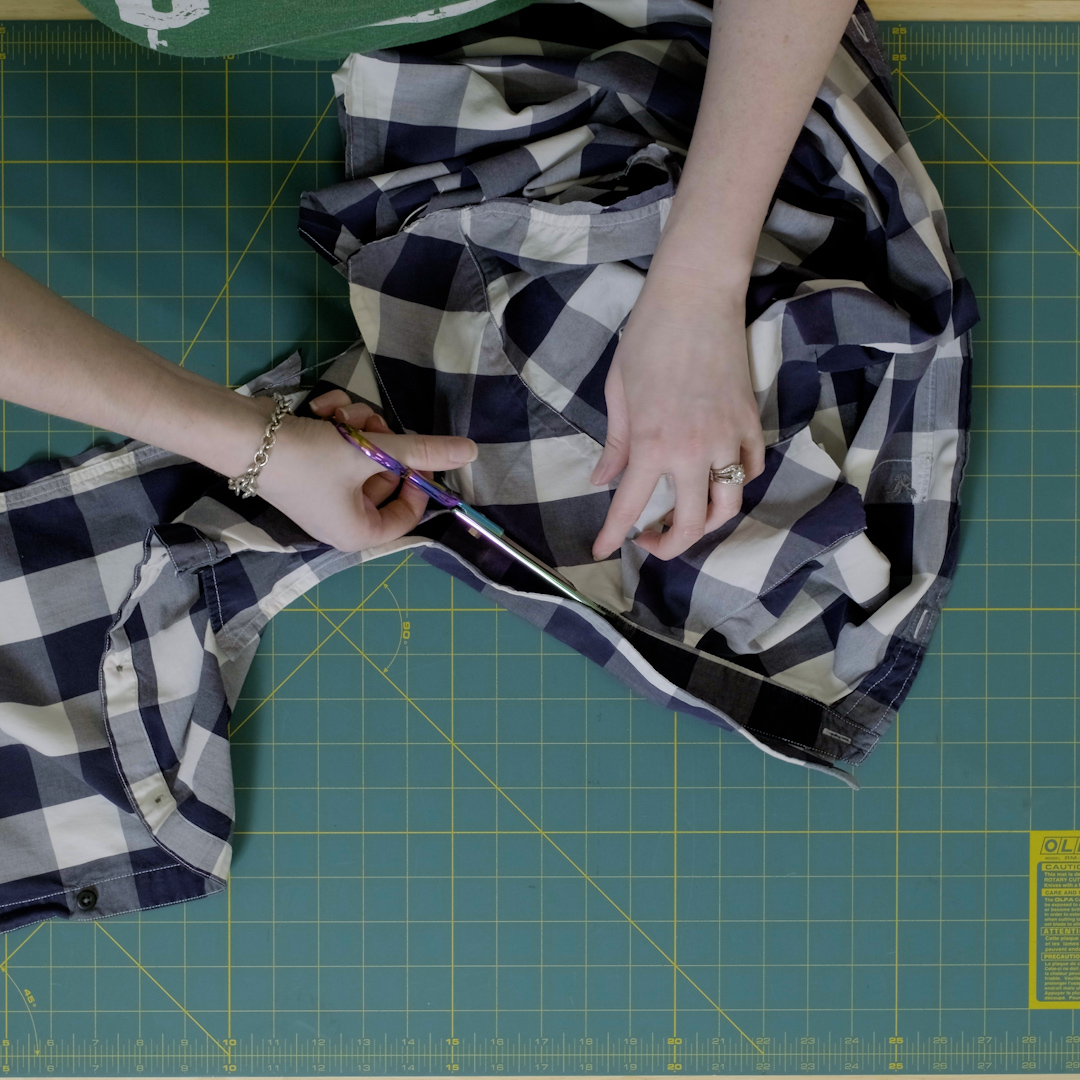
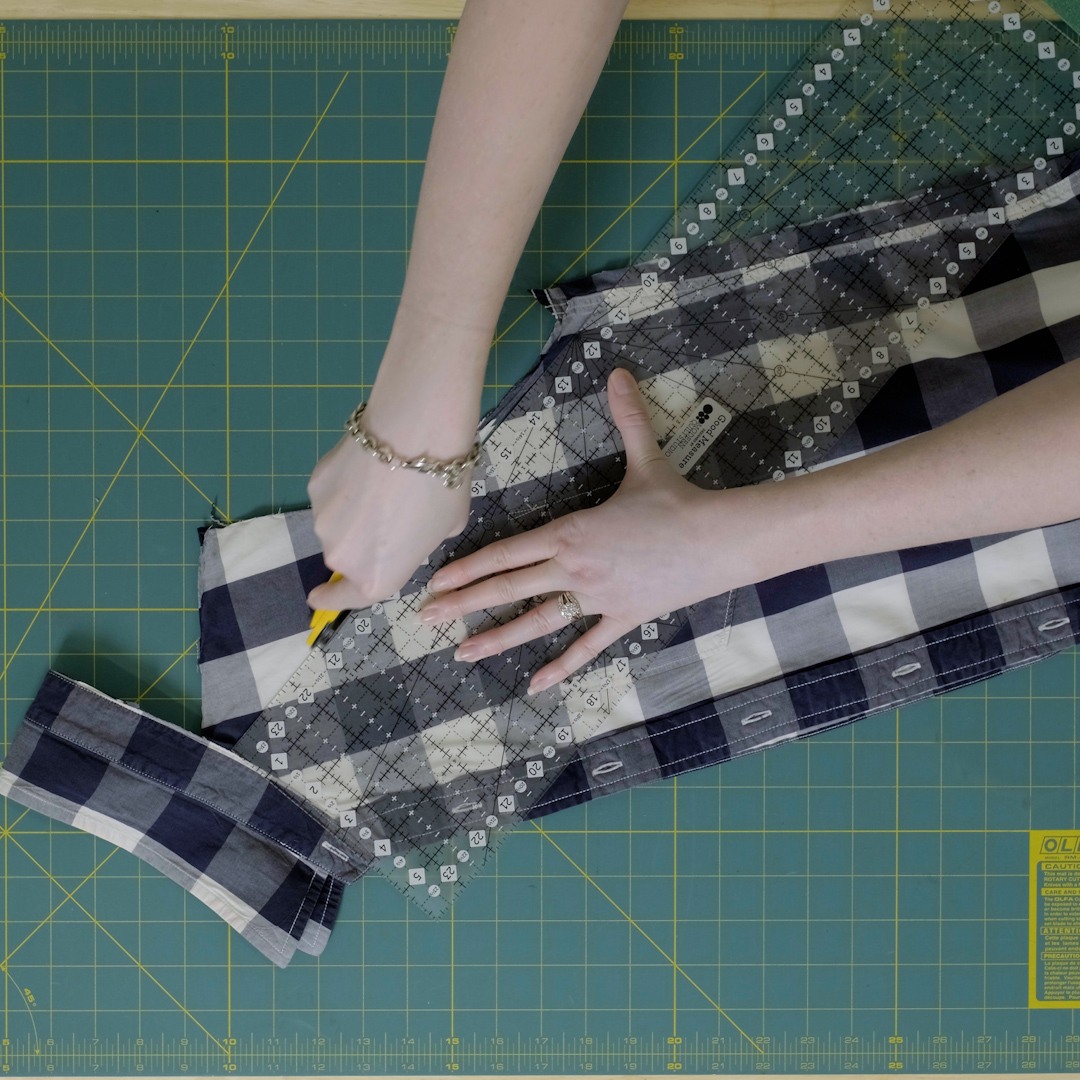
Step 4: Cut Angle
Fold the shirt in half, right sides out. Using the rotary cutter and ruler again, make an angle from the bottom of the sleeve armseye to the top of the collar. At the top of the collar, snip in 1.4 of an inch to be able to turn a hem.
Step 5: Create Straps
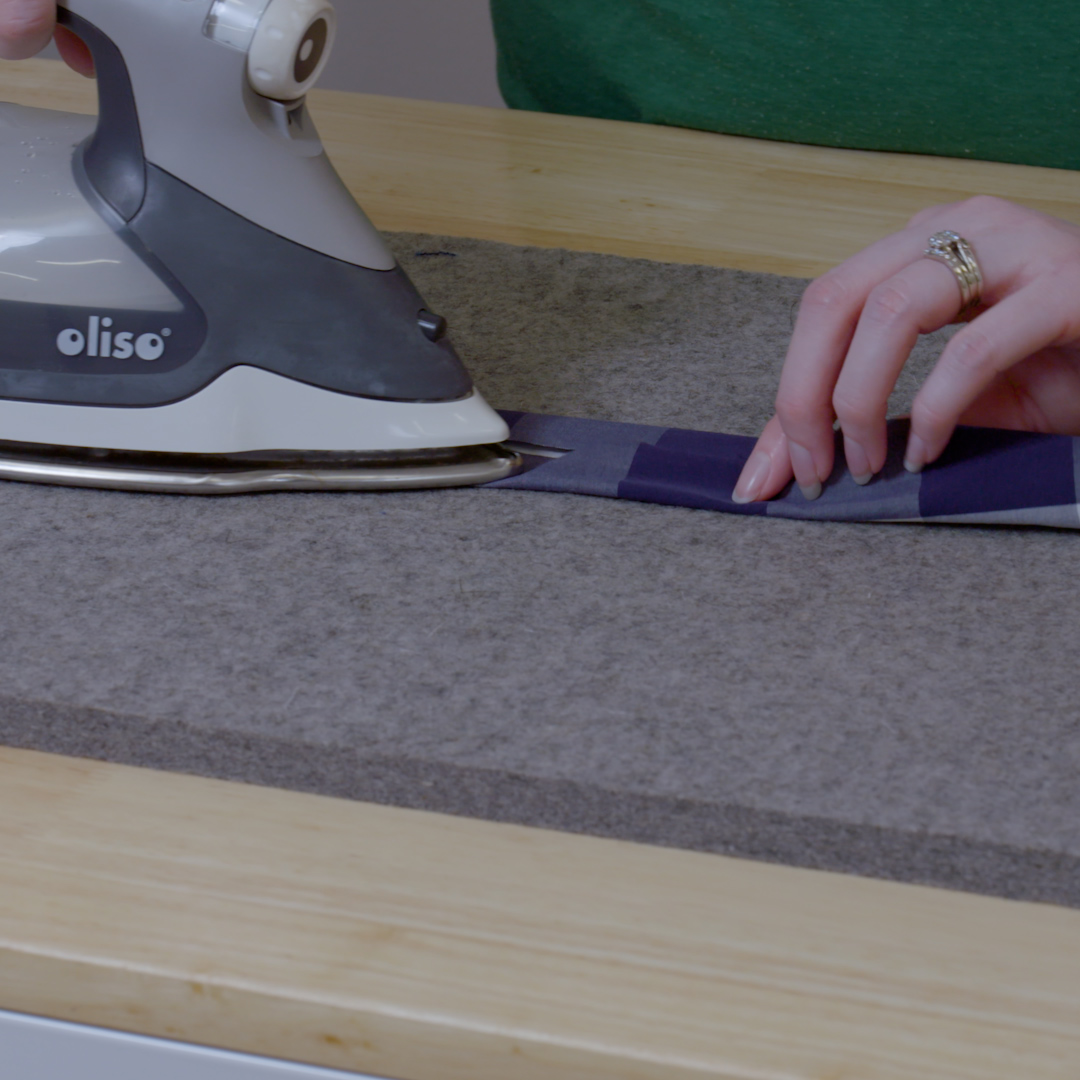
You will be using the sleeves to create the straps/ties for the apron. Press the sleeves well in half to have enough fold over. Cut one 2 inch x 20-22 inch section on the fold from each sleeve.

Take your 2-inch strip and take the raw edges and fold into the center and press.
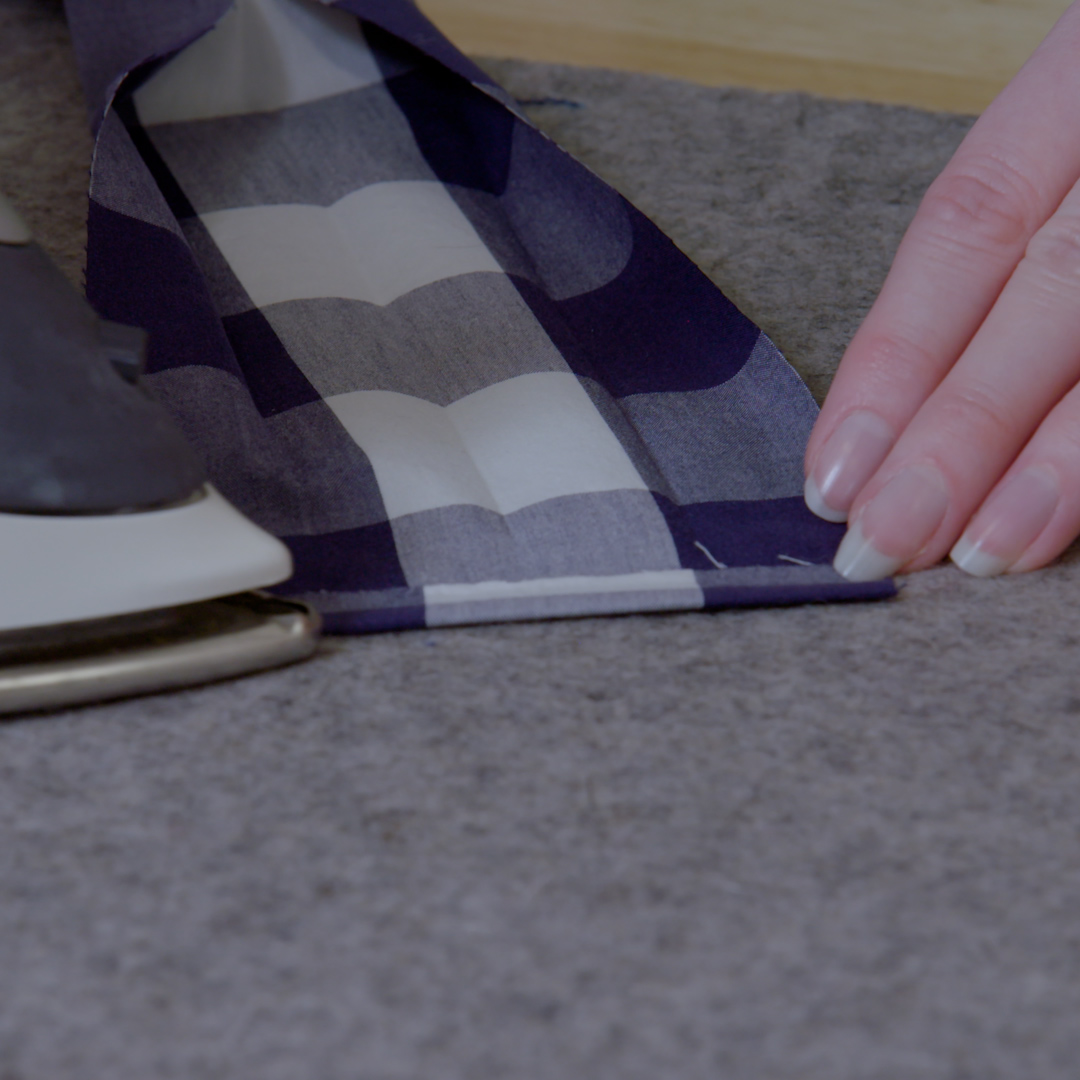
For the ends, fold in ¼ inch and press. Re-fold the strap so all raw edges are hidden.
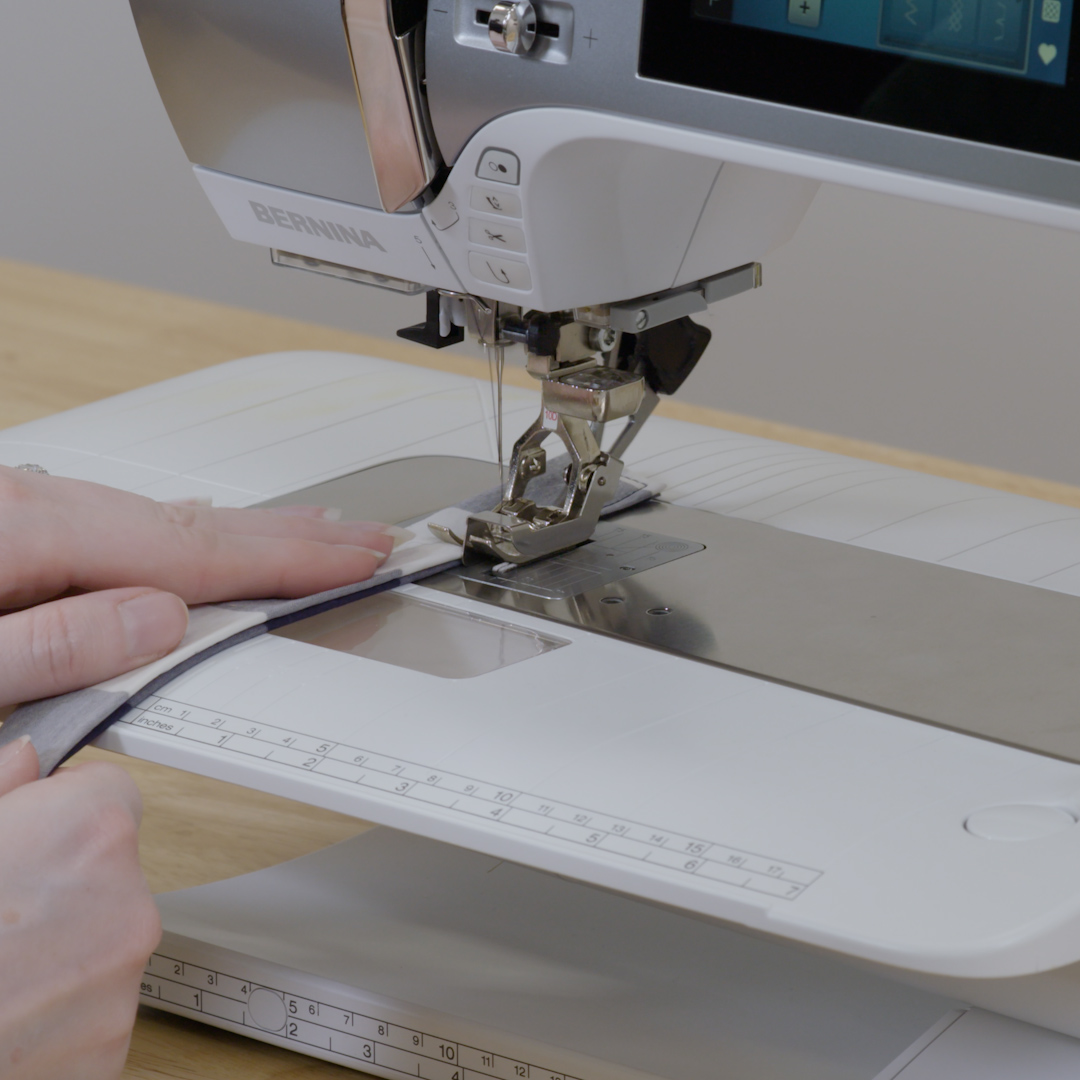
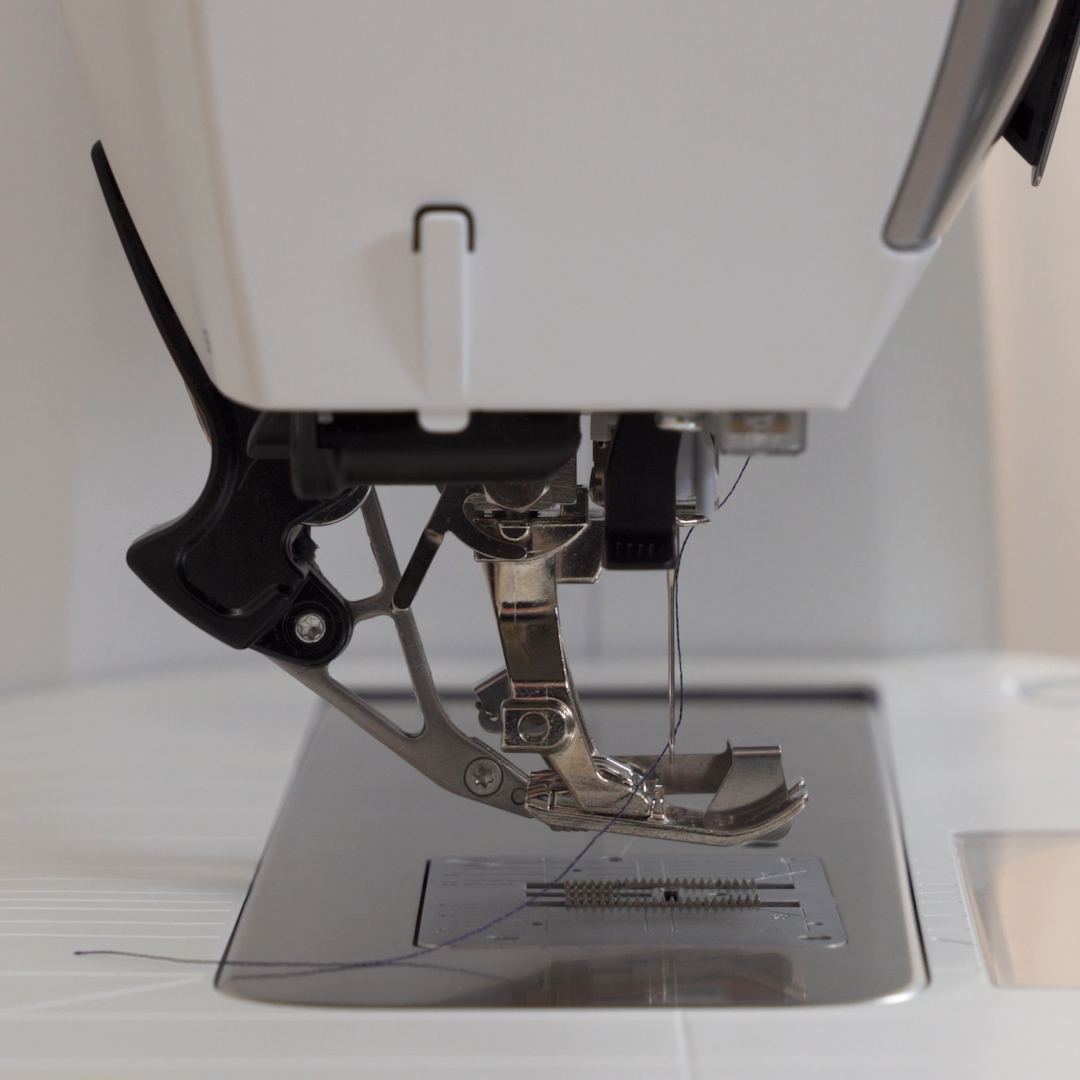
At the sewing machine, you will need the Edgestitch Foot #10D for this project, my favorite foot.
I moved the needle to stitch position -3 and have the 9mm plate on the machine. Using the guide on the foot, start on the short end of the strap and sew to the longer end, stopping to pivot using the BERNINA Freehand system for each corner. Do this for both straps.
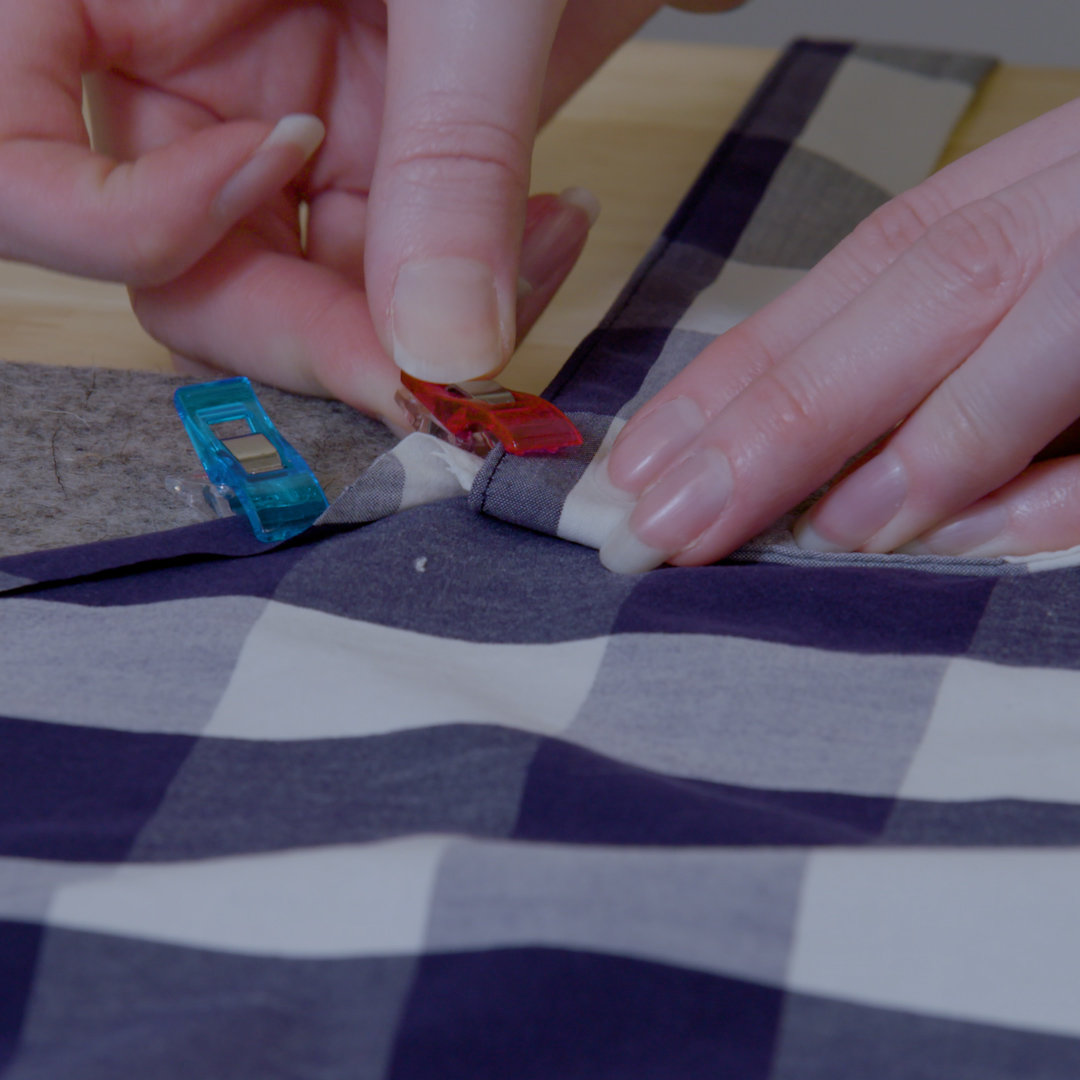
Step 6: Iron Apron Hems
At the ironing board, fold over the raw edges ¼ inch twice to encase the edge and wonder clip every few inches along the side seam. The side seam of the shirt should be the edge of the apron after folding in the hem.
At the top of the side seam insert a strap into the hem and Wonder Clip into place.
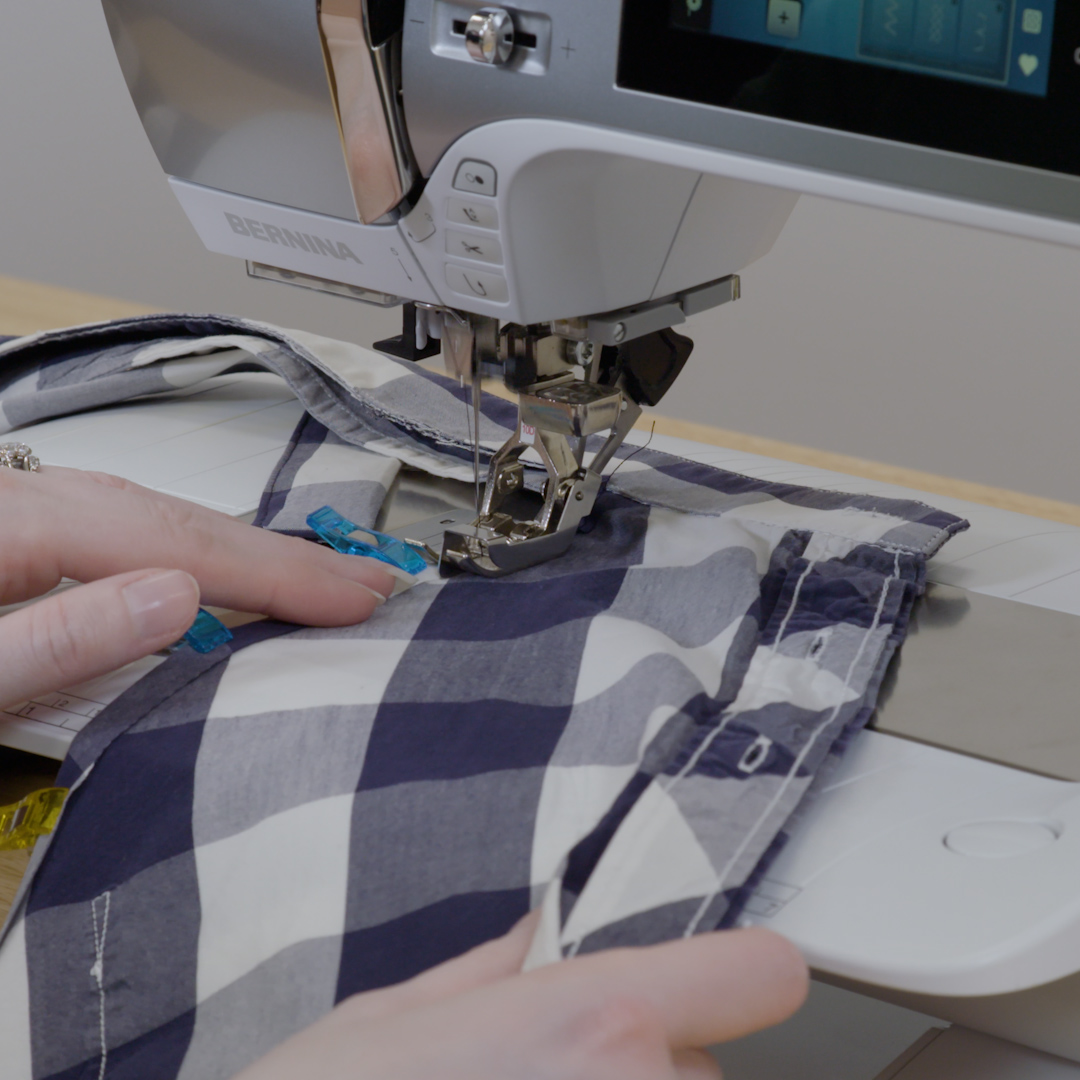
Attach Edgestitch Foot #10D and engage Dual Feed.
Using the center blade guide, sew down the hem from the neckline down to the bottom of the apron, removing the Wonder Clips as you go, don’t forget to use the Freehand System to pivot at the corner.
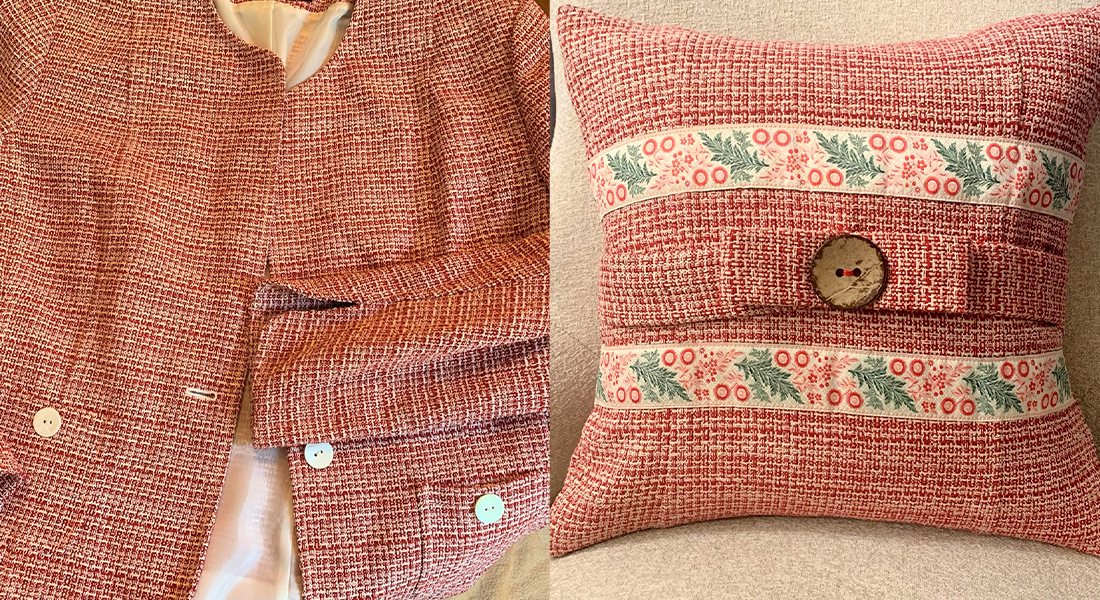
In our house, we try to find new life in well-loved items, instead of buying new. We are now ready to get messy and not have to worry about ruining our clothes, which always means more fun in the end. Go out there and make messy and great memories.