Lace Appliqué T-shirt Tutorial
Lace Appliqué T-shirt
Lace Appliqué T-shirt – Full Tutorial
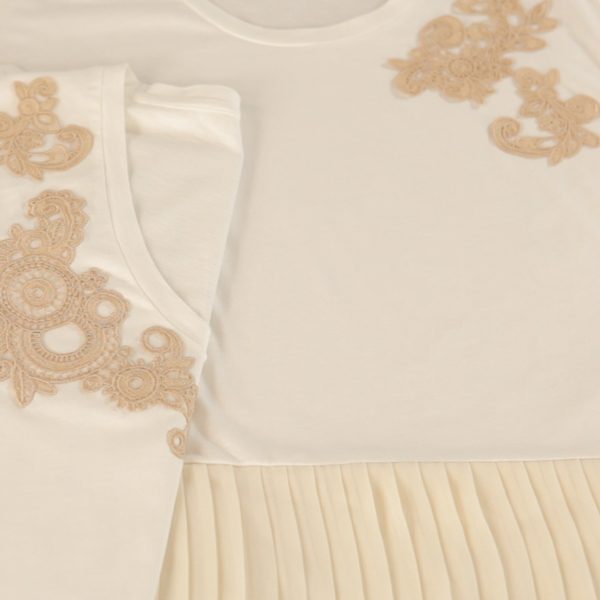
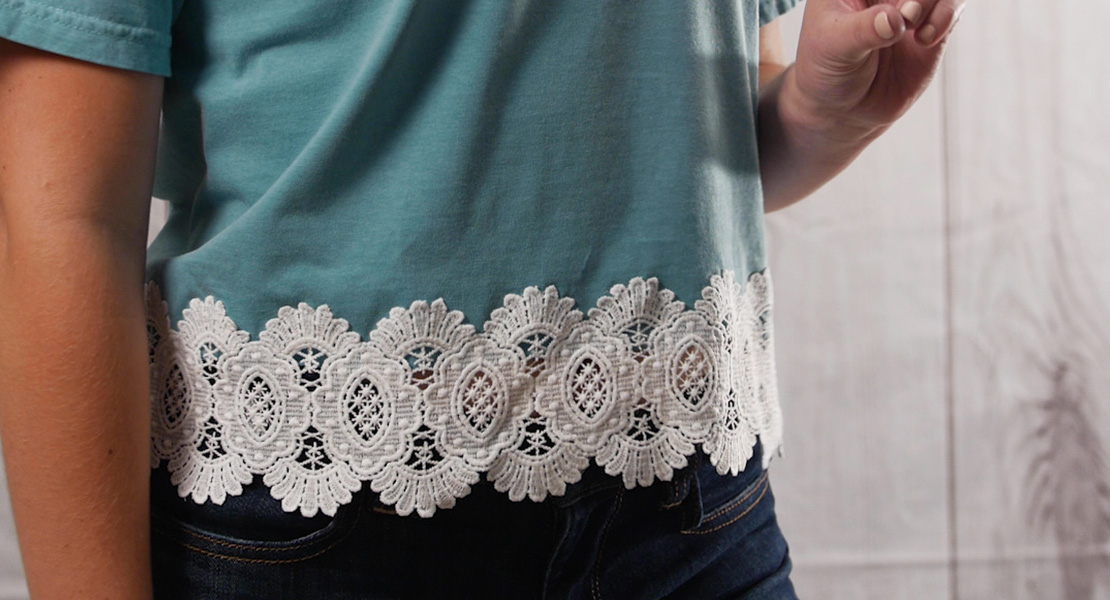
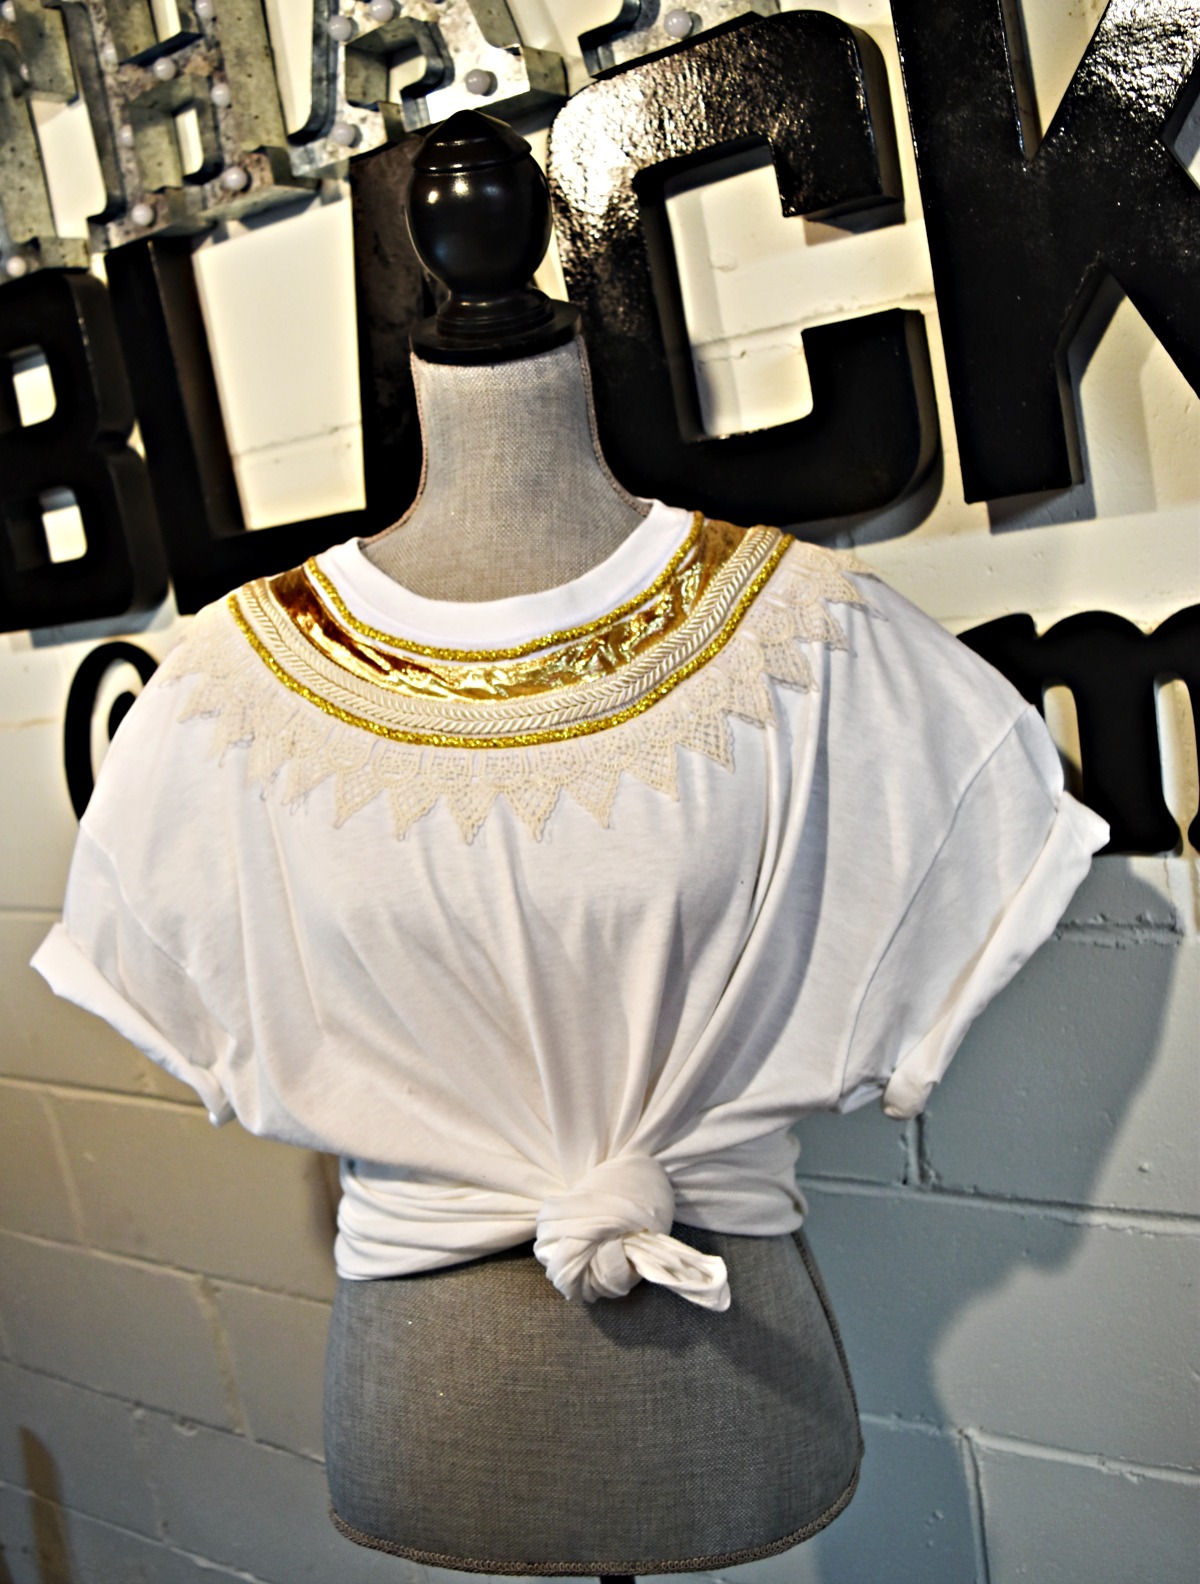
Add some chic to your favorite shirt with lace embroidery appliqués!
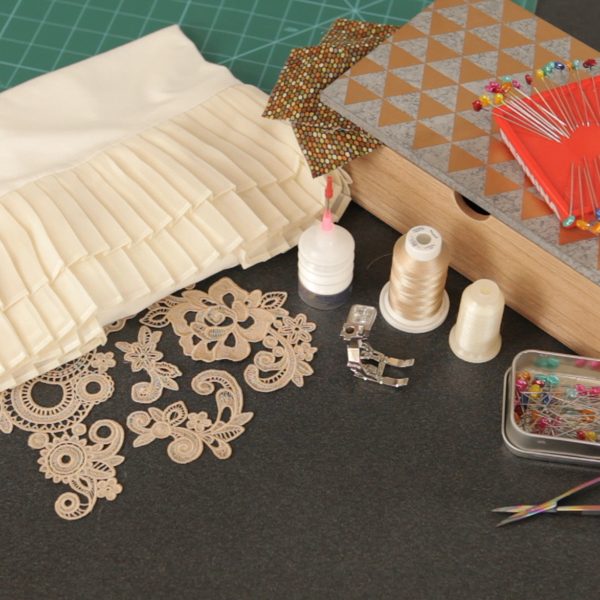
Materials to Create the Embroidered Lace
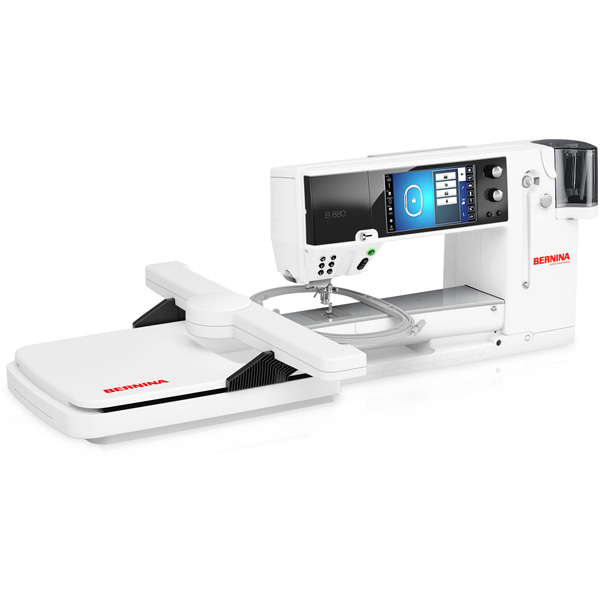
- BERNINA 880 Embroidery Machine for embroidery
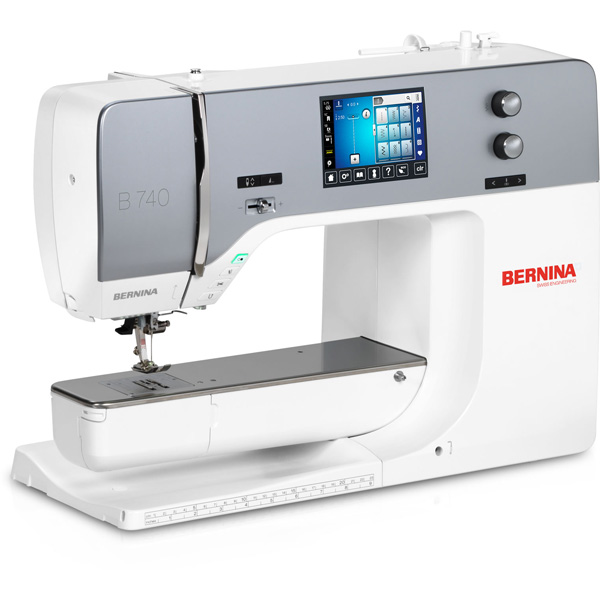
- BERNINA 740 for appliqué
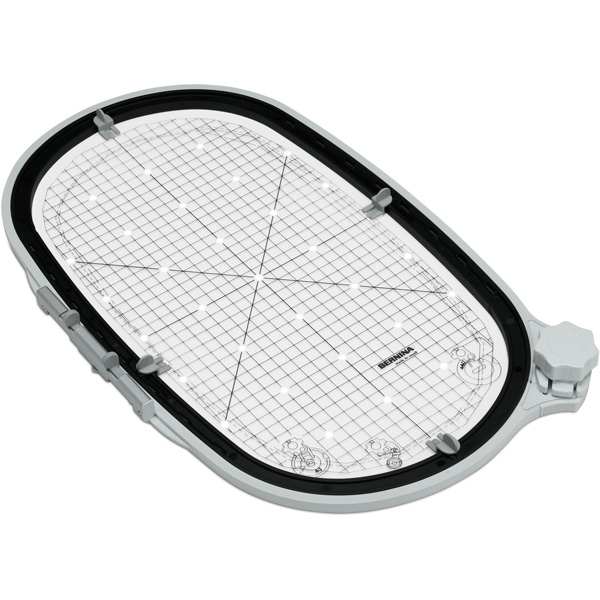
- BERNINA Maxi Hoop
- BERNINA Exclusive Collection Chic Lace #82018
- Embroidery Foot (drop-shaped) #26
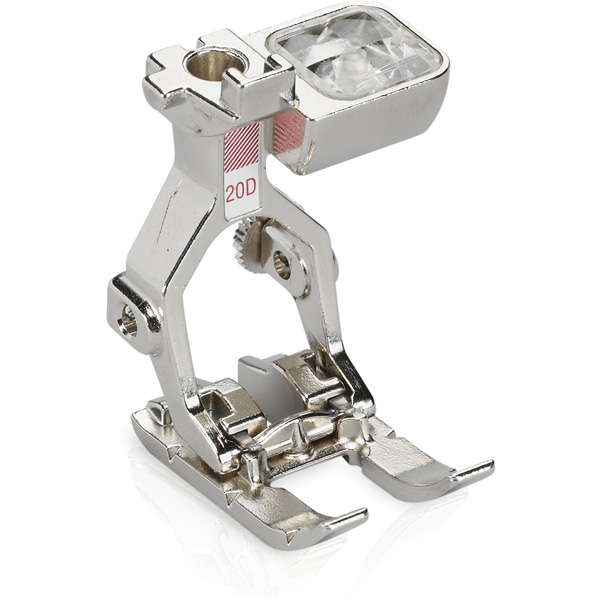
- Open Embroidery Foot #20D
- OESD Aquamesh Stabilizer
- Organ 80/12 Embroidery Needle
- Rayon embroidery thread in your favorite color (rayon gives you a softer feel to your appliqués than polyester embroidery thread)
- Monofilament thread to appliqué
- Pins
- Roxannes Basting Glue
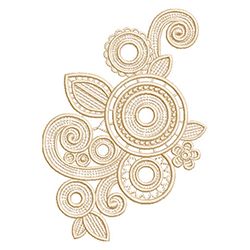
Download your free Chic Lace Design 82018-18
Embroider the Lace Appliqués
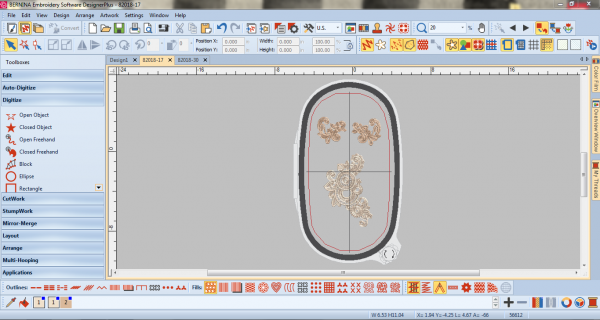
To get the most use of the embroidery space on the BERNINA embroidery machine place as many lace designs as you can in your hoop using the BERNINA Embroidery Software 8 DesignerPlus. I used the BERNINA Maxi Hoop to stitch three designs in one hooping. Send the combined design to your USB stick. For more help, check out the Just Embroider It eBook: Sending Designs to the Embroidery Machine.
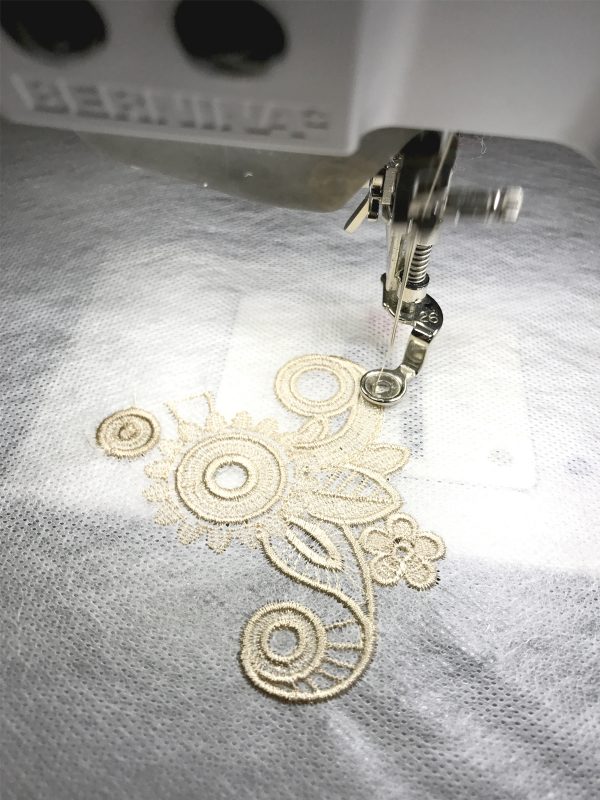
Hoop a piece of OESD Aquamesh Stabilizer and thread the embroidery machine with the rayon thread in the top and the bobbin. When stitching lace, you always want to make sure that you are using the same thread in both the top and bobbin.
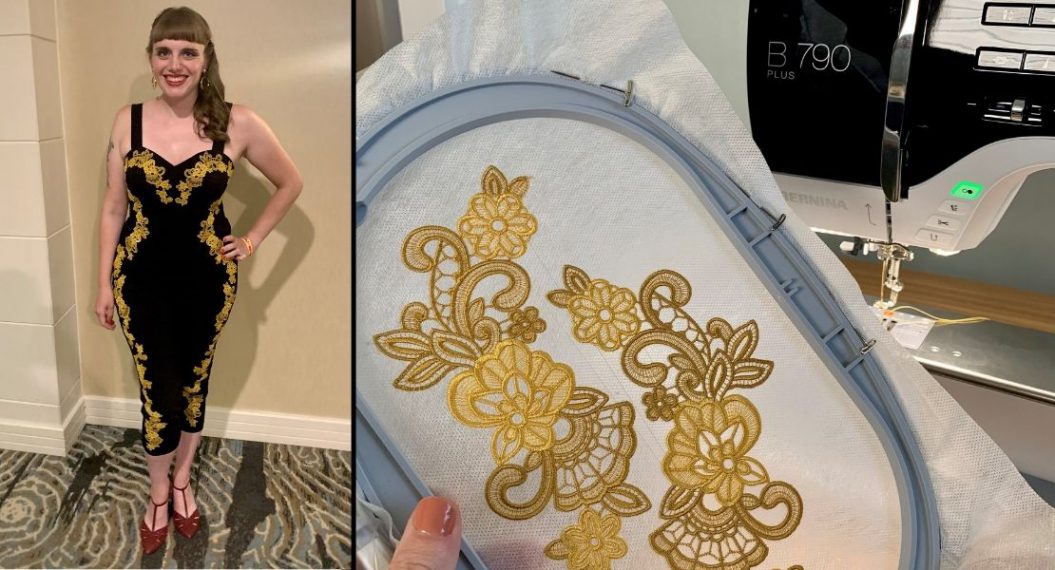
Embroider the lace designs.
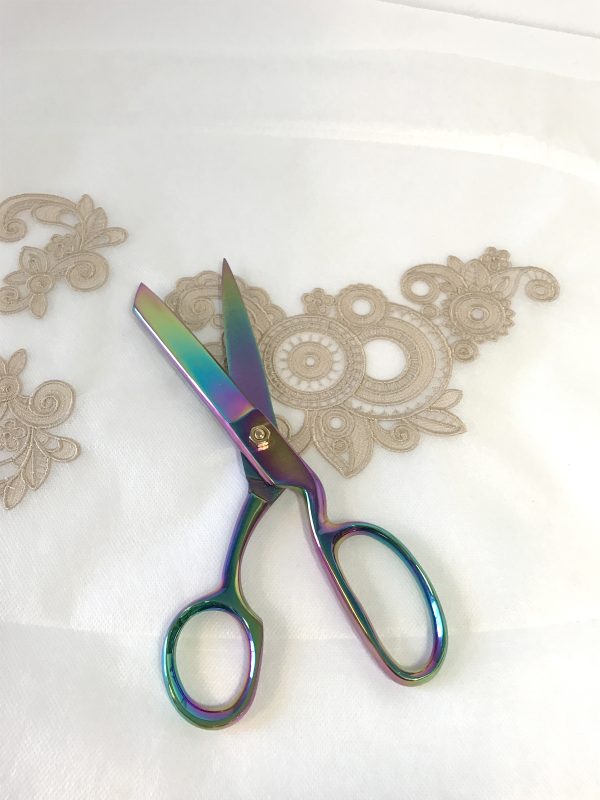
When complete you will have three lace pieces embroidered on the washaway stabilizer.
Unhoop and cut out around the appliqués. Rinse in warm water to remove the washaway stabilizer and lay flat on a towel to dry. Steam when dry to reshape as needed. Make sure all of the stabilizer is removed before you start with appliqué.
Appliqué the Lace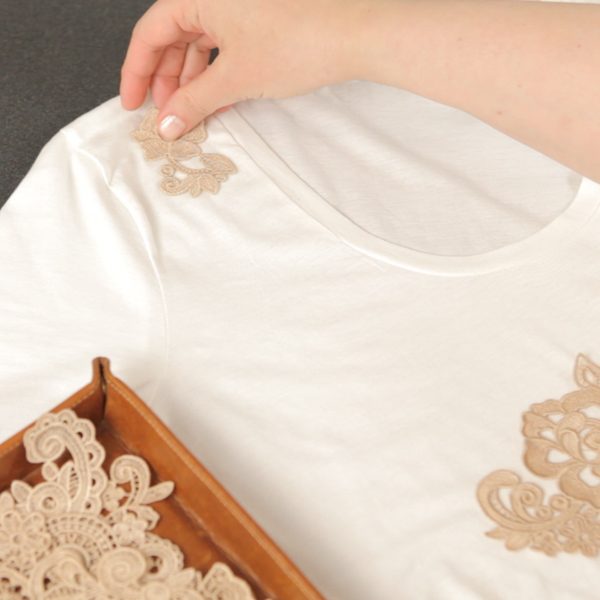
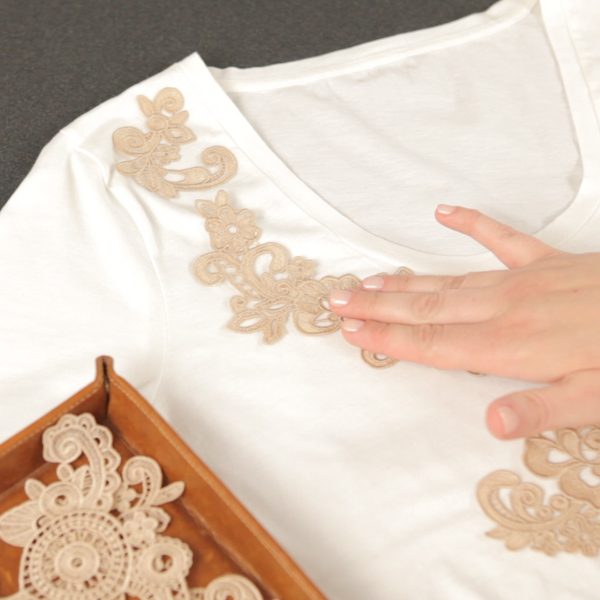
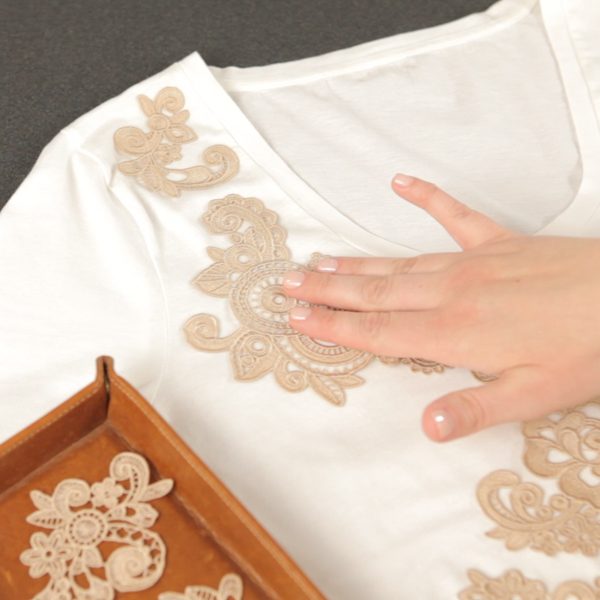
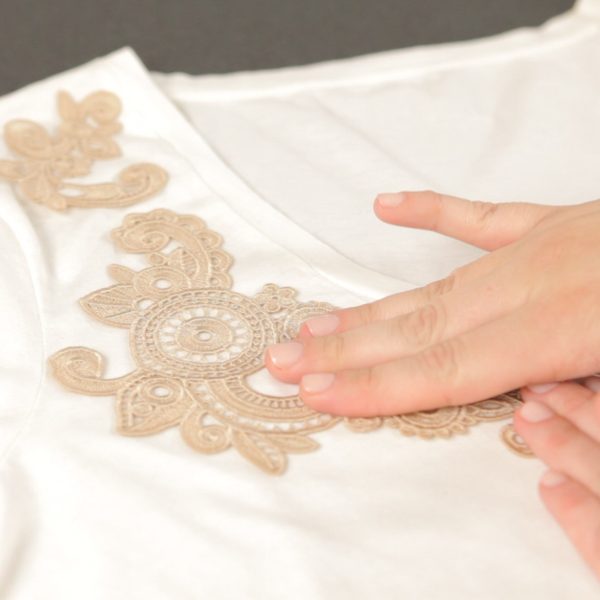
Audition the appliqué pieces on your shirt. Arrange them in the position you think suits best.
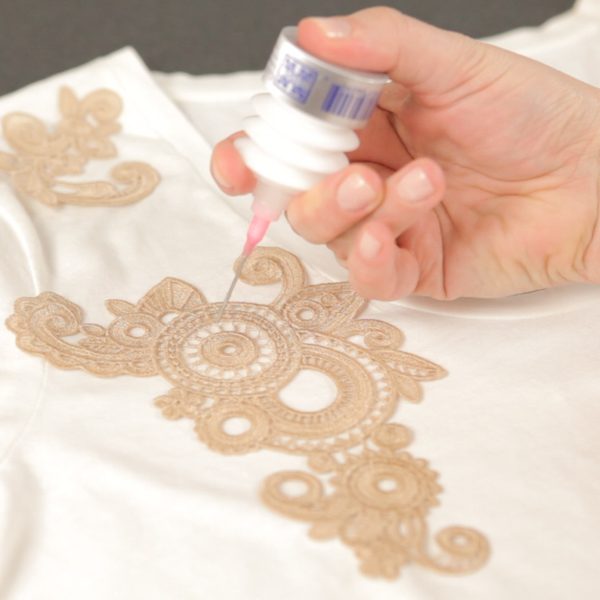
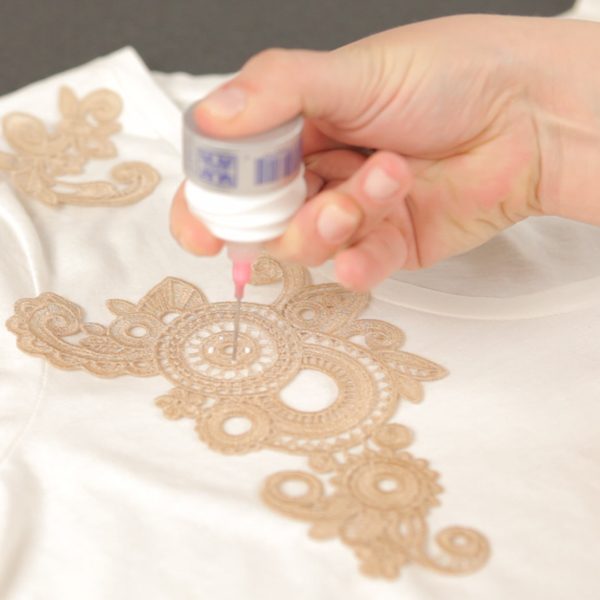
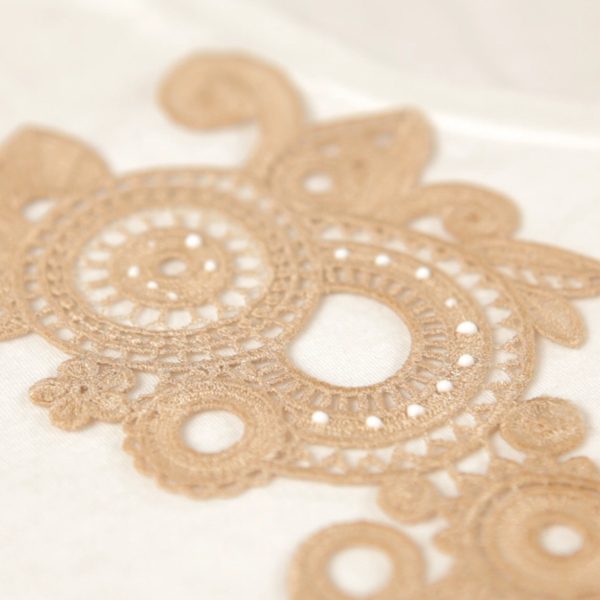
Once you are happy with your placement, pin or glue the appliqué designs in place.
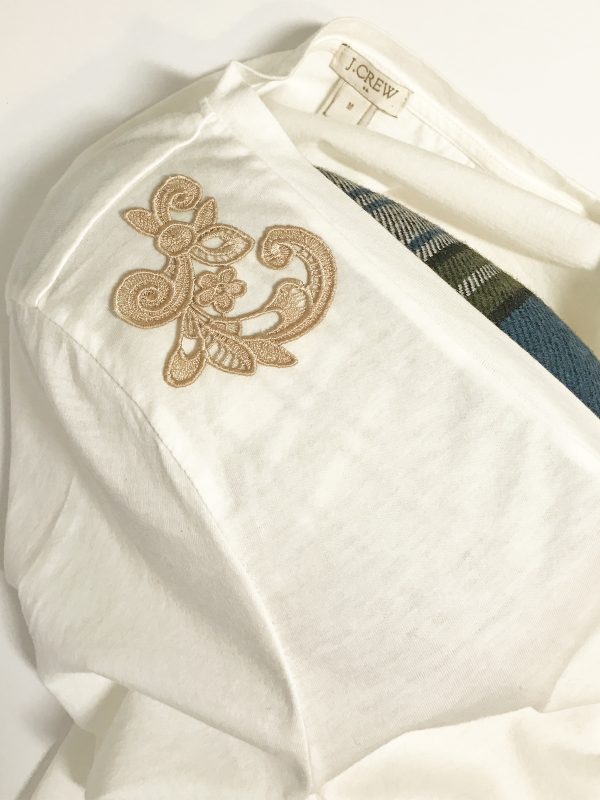
When the appliqué designs are placed around a neckline or sleeve use a tailors ham under the garment so the glue doesn’t go through the back of the garment and the curves in the garment stay in position.
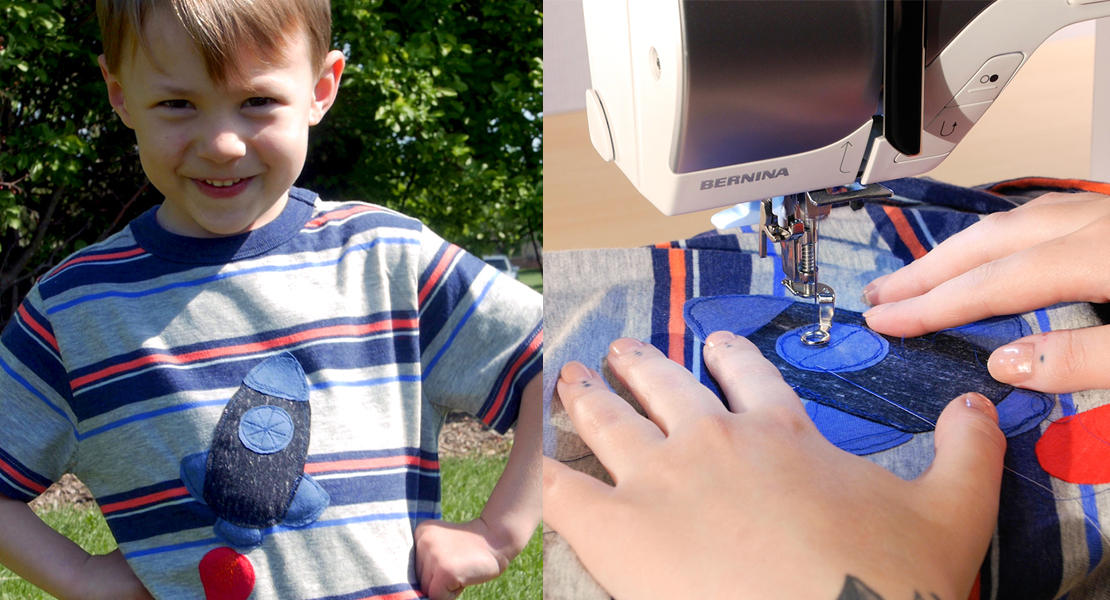
Setup the machine to appliqué the pieces on the garment.
Select Needle Stop Down to make sure the needle stops in the down position.
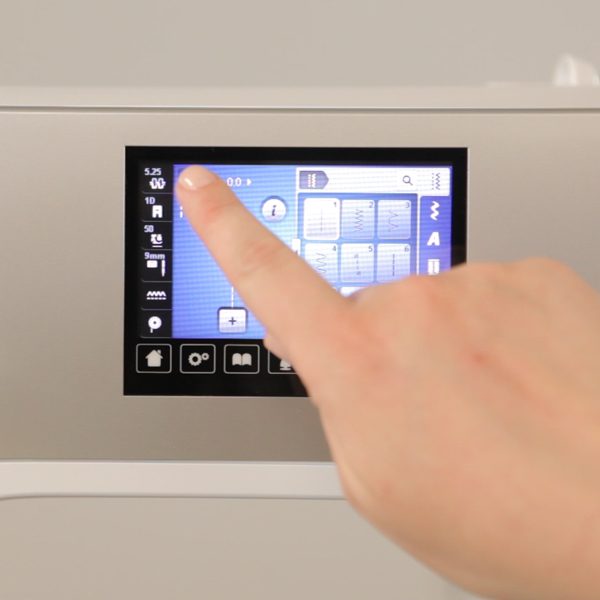
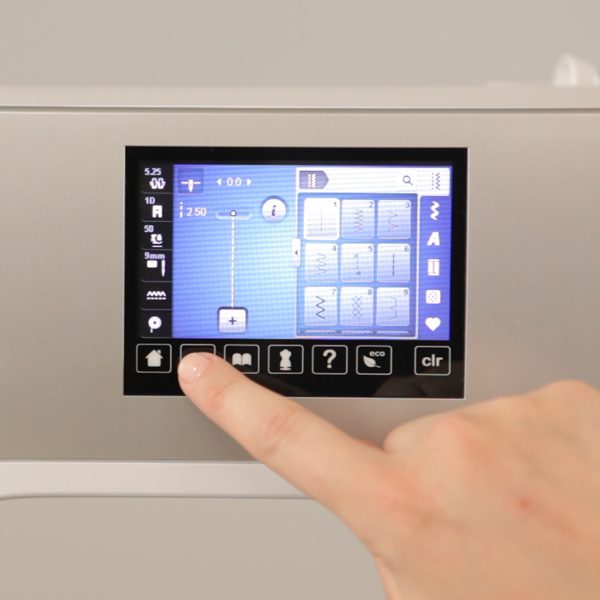
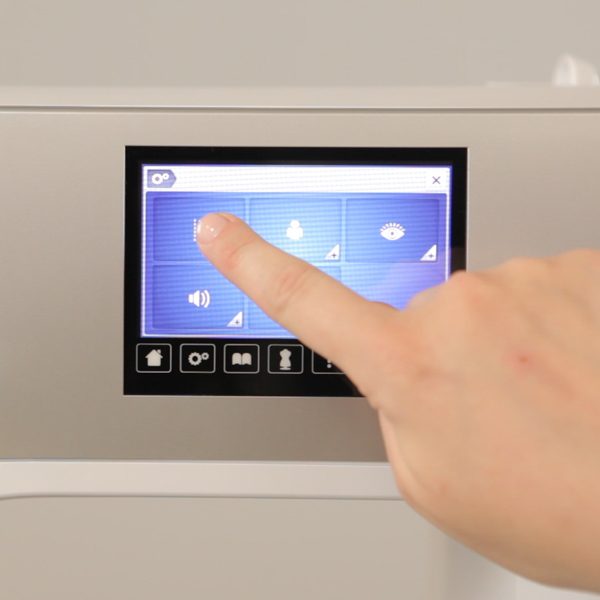
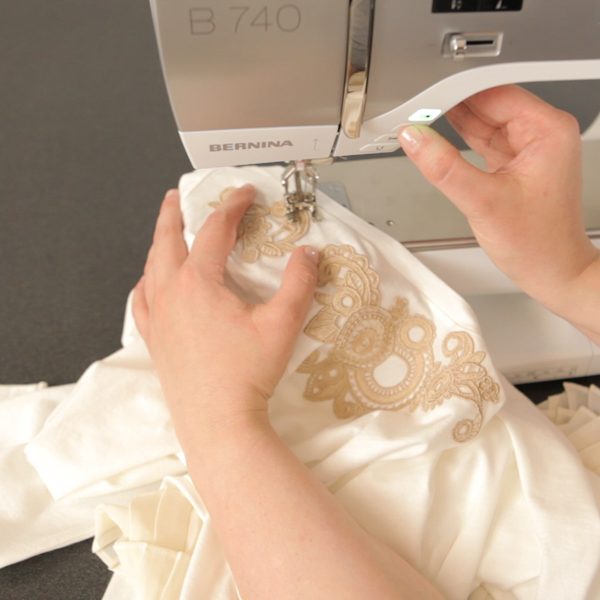
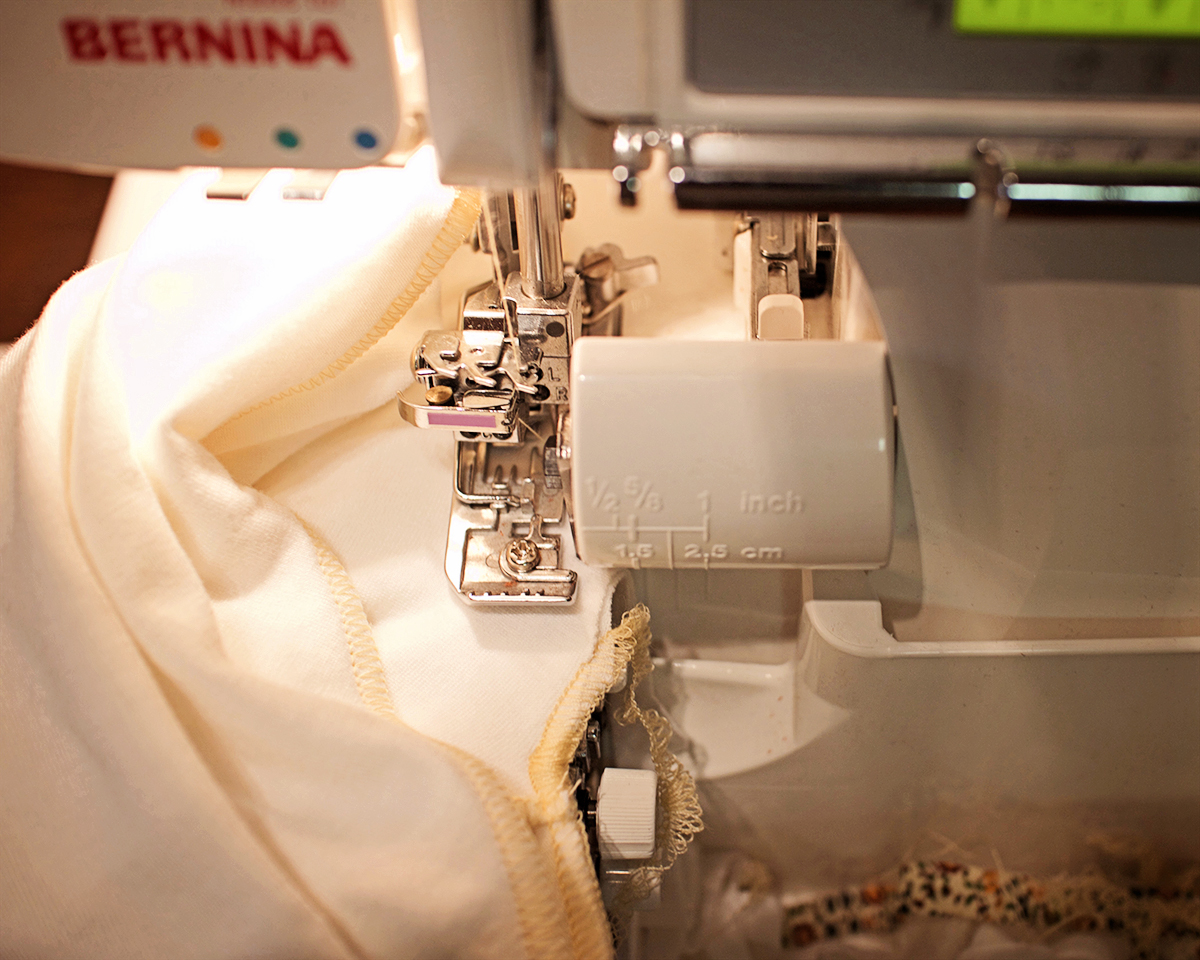
Select Settings to set Hover Mode. The hover mode is a great feature to use when working with appliqué that includes a lot of twists and turns. This feature is available on the BERNINA 7- and 8-series machines. Hover mode raises the presser foot automatically when the machine stops sewing so you can easily pivot the fabric.
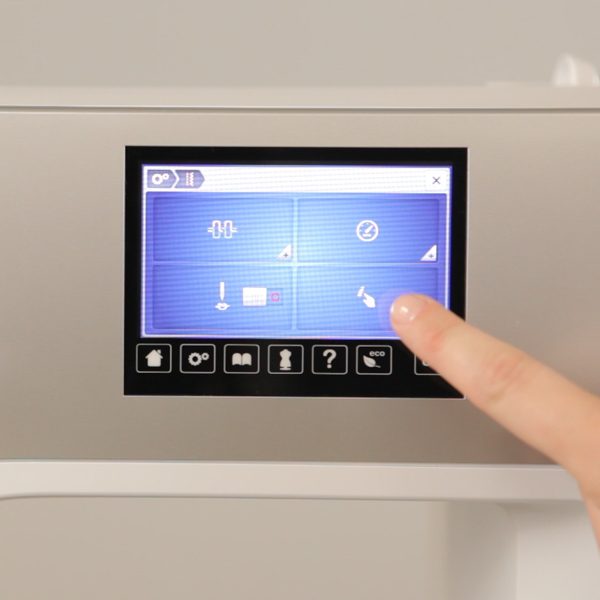
Select the Sewing Settings.
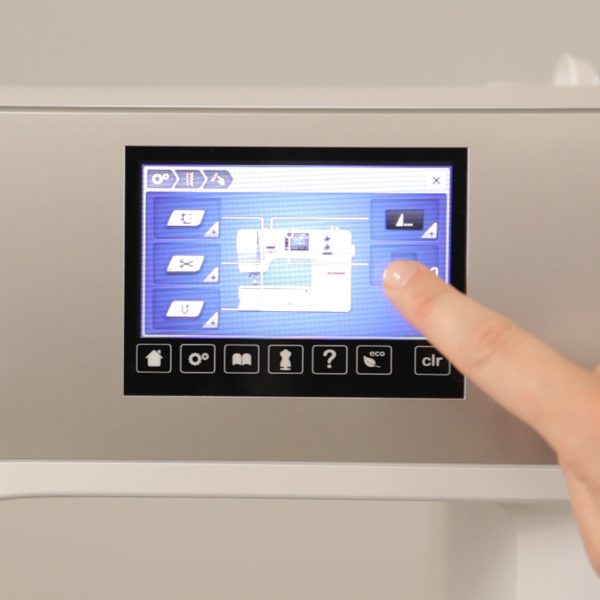
Select Programming Function Buttons.
Select Presser Foot Position with Needle Stop Down and set to the middle position. Close the settings.
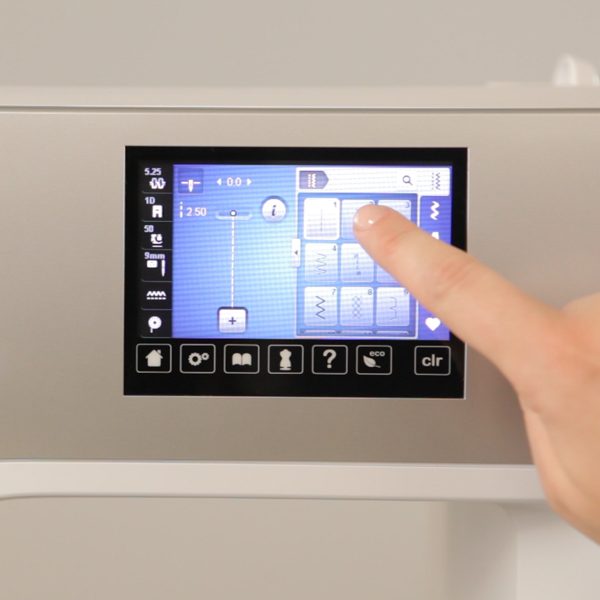
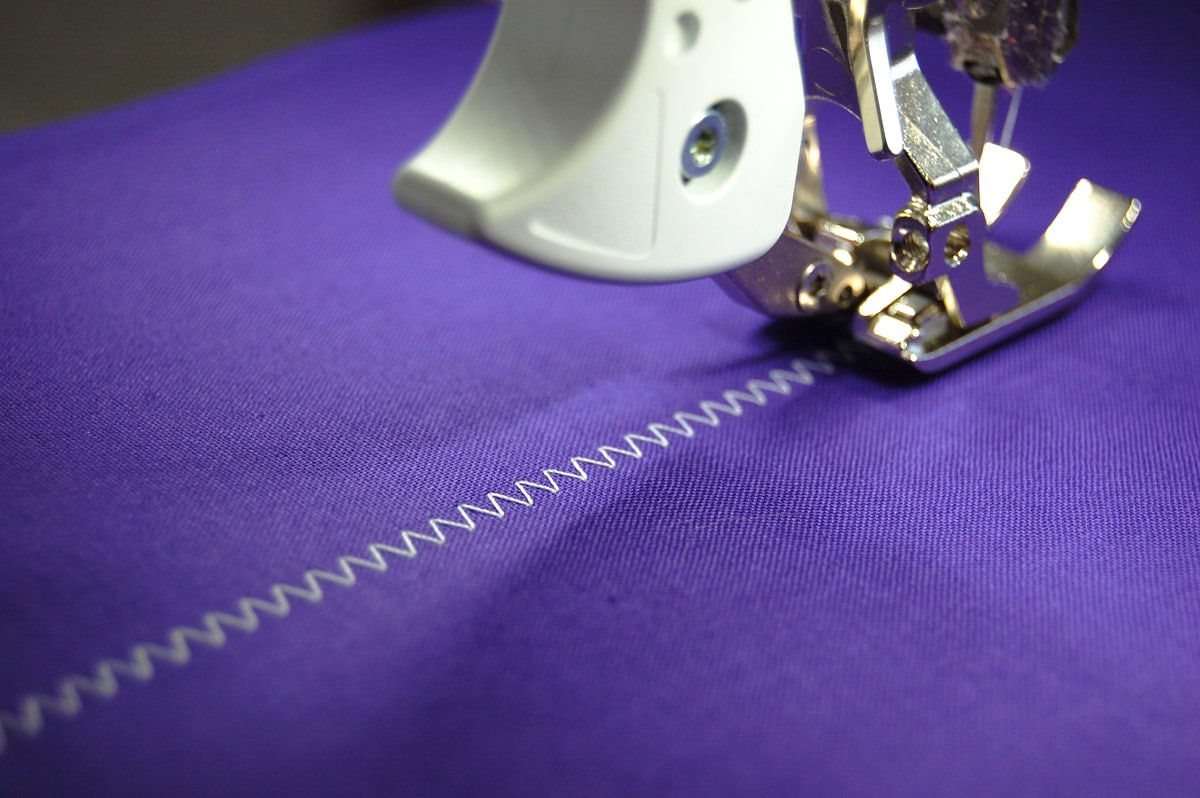
Select the Zigzag stitch #2 and adjust as necessary to tack down the lace.
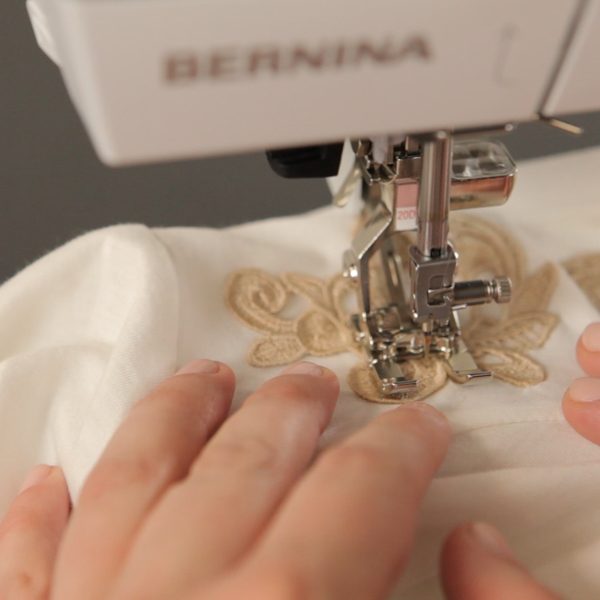
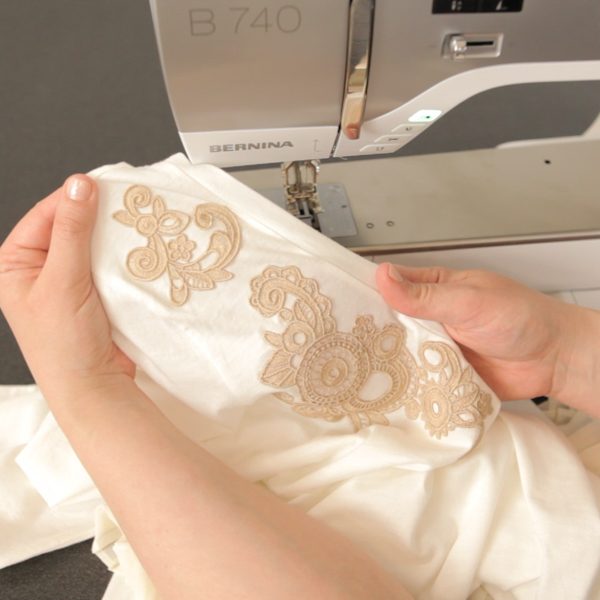
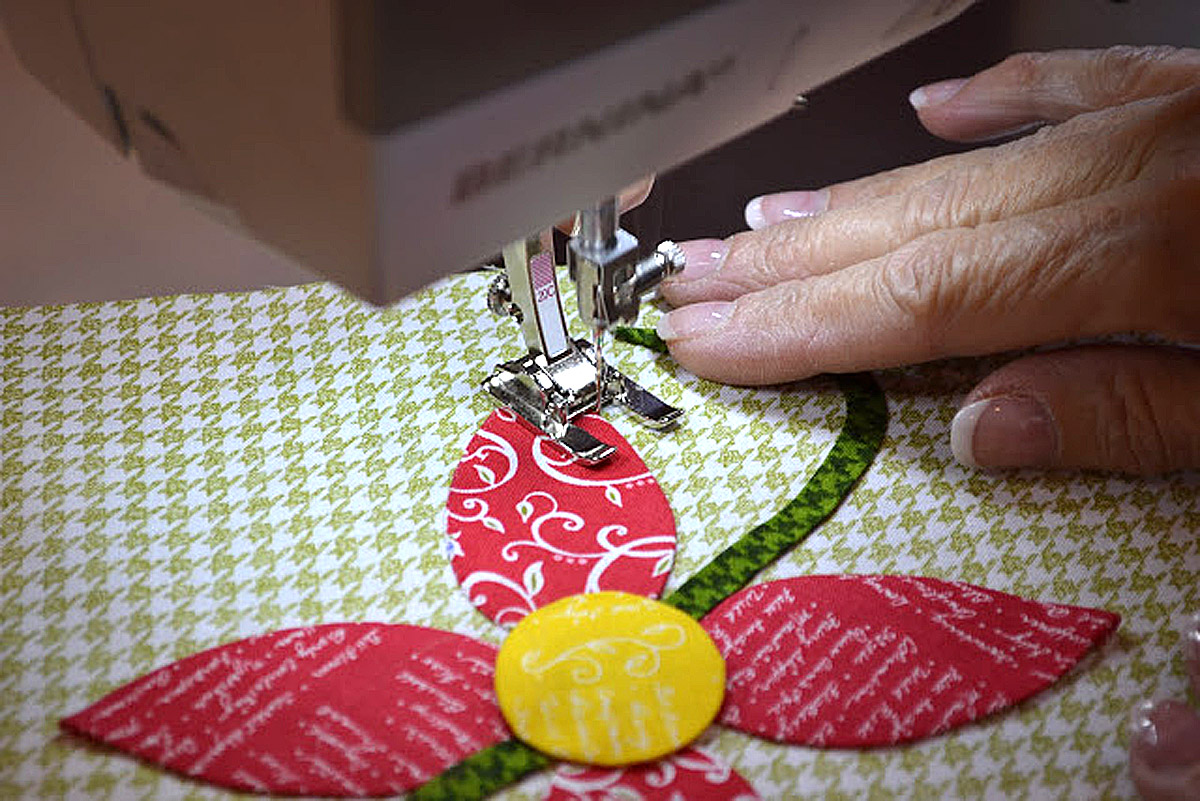
Thread the machine with the monofilament thread in the top and a polyester thread the same color as your garment in the bobbin. This will help keep the stitching nearly invisible when working with appliqué. Attach the Open Embroidery Foot #20D to the machine for a clear view of your stitch area. Detach the slide-on table off of the machine and use the freearm if the space is tight.
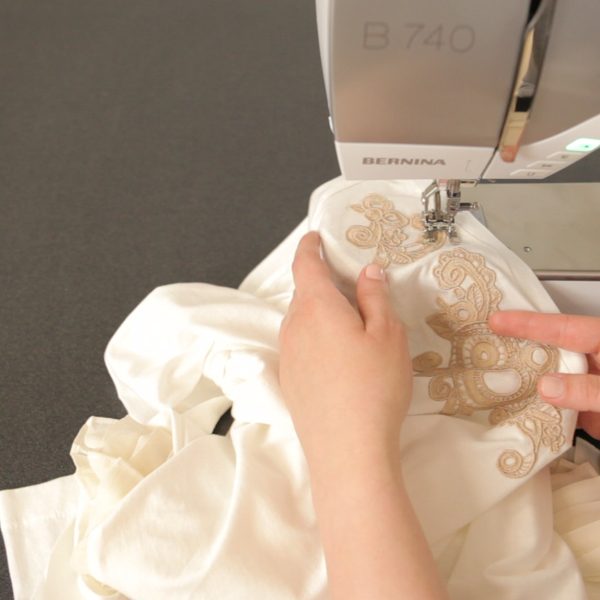
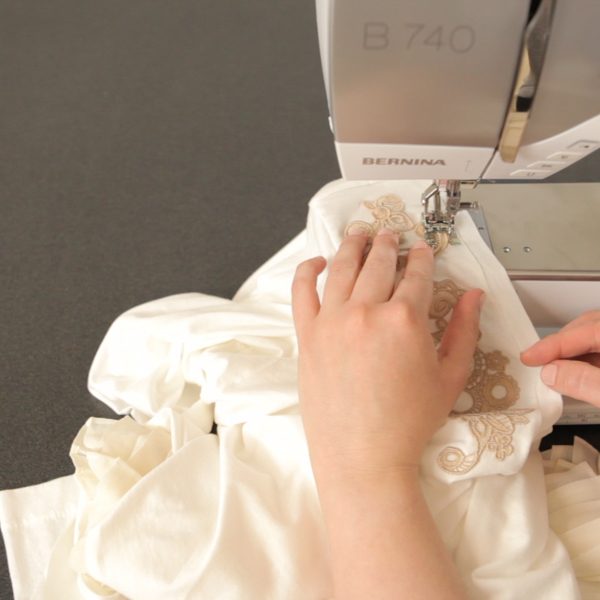
Stitch around the appliqué pivoting as you stitch. Make sure the edge of the appliqué is aligned to the inside of the right toe. If you find that the fabric is puckering use a lightweight tearaway stabilizer underneath.
Stitch around the appliqués until they are completely tacked in place. Press if needed.
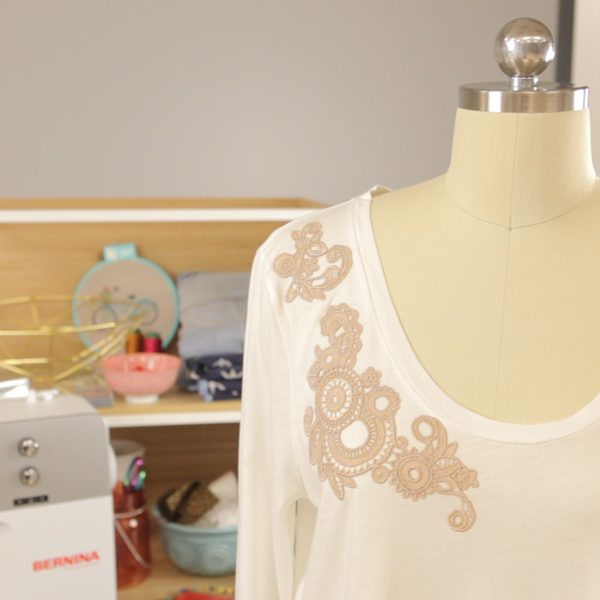
Wear your newly embellished shirt with pride!
What you might also like
One comment on “Lace Appliqué T-shirt Tutorial”
Leave a Reply
You must be logged in to post a comment.







Beautiful project! Can I make this with my 590?