Library Book Tote Bag and Pencil Case
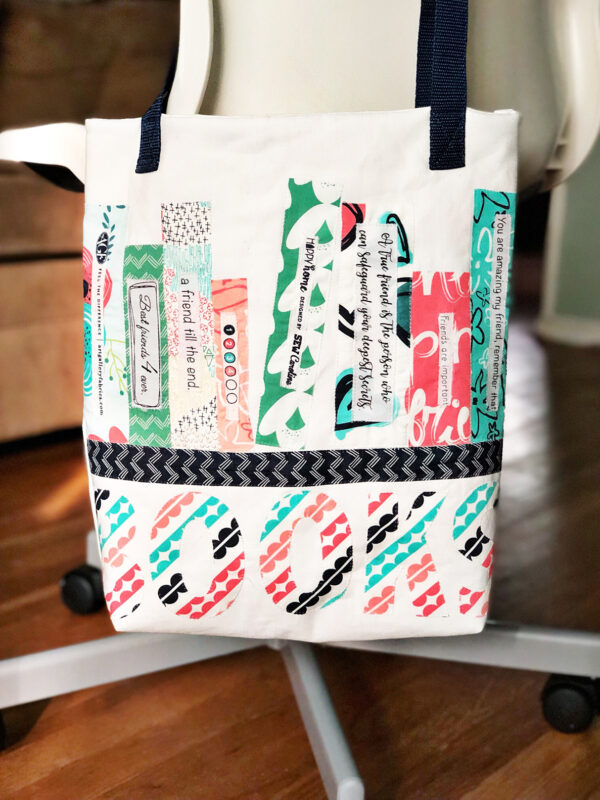
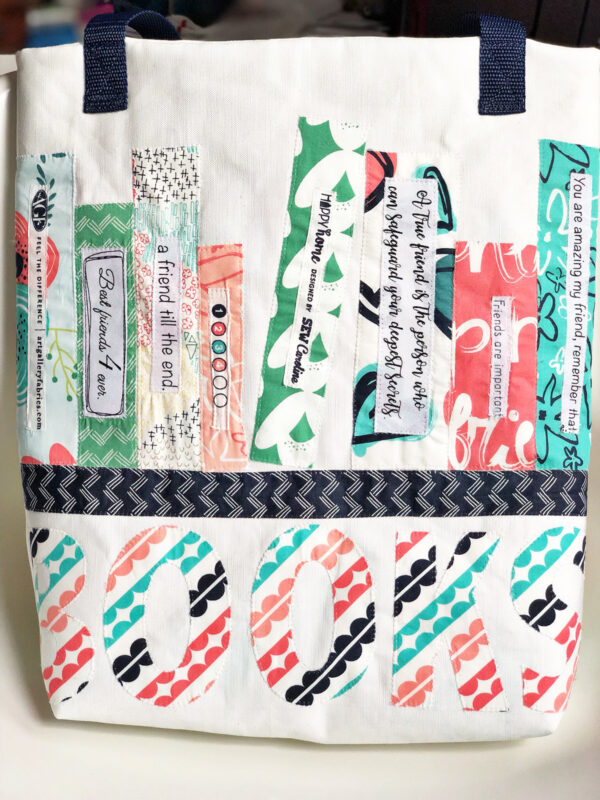
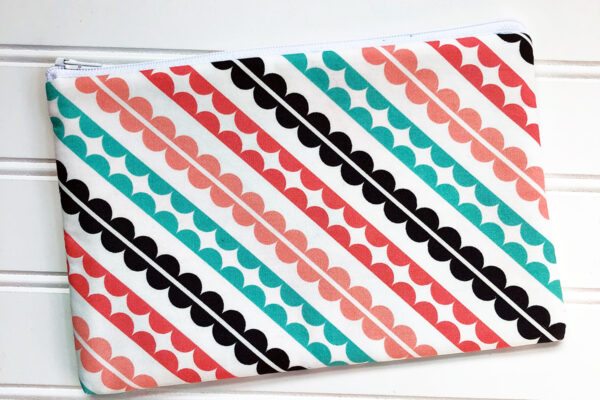
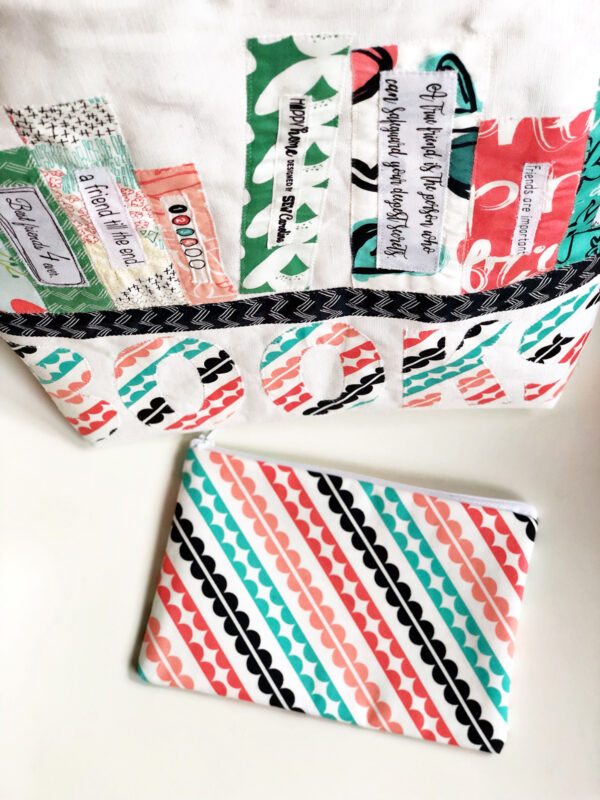
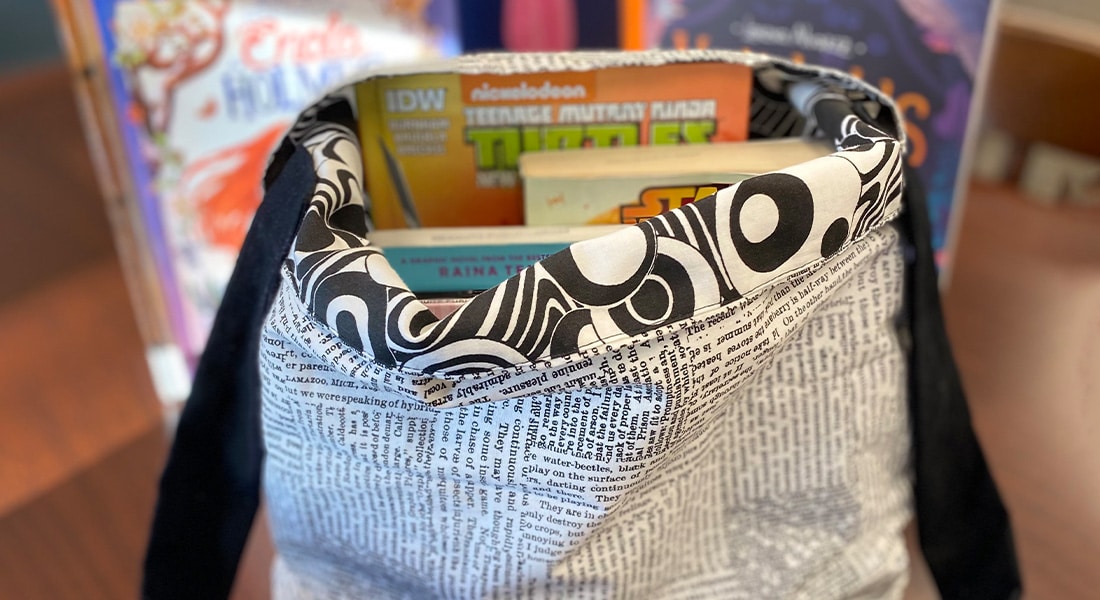
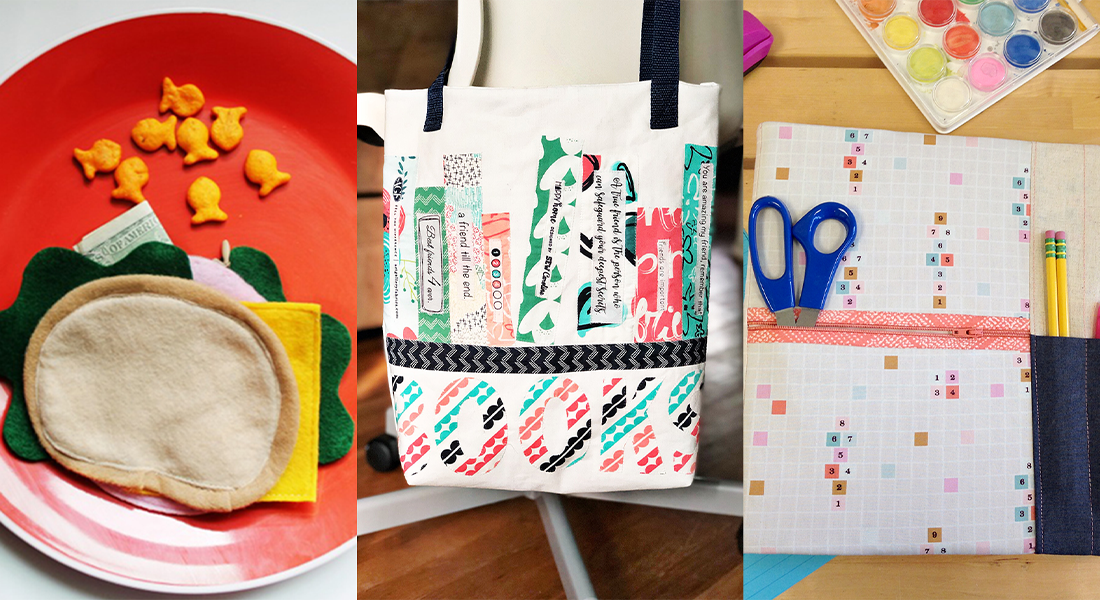
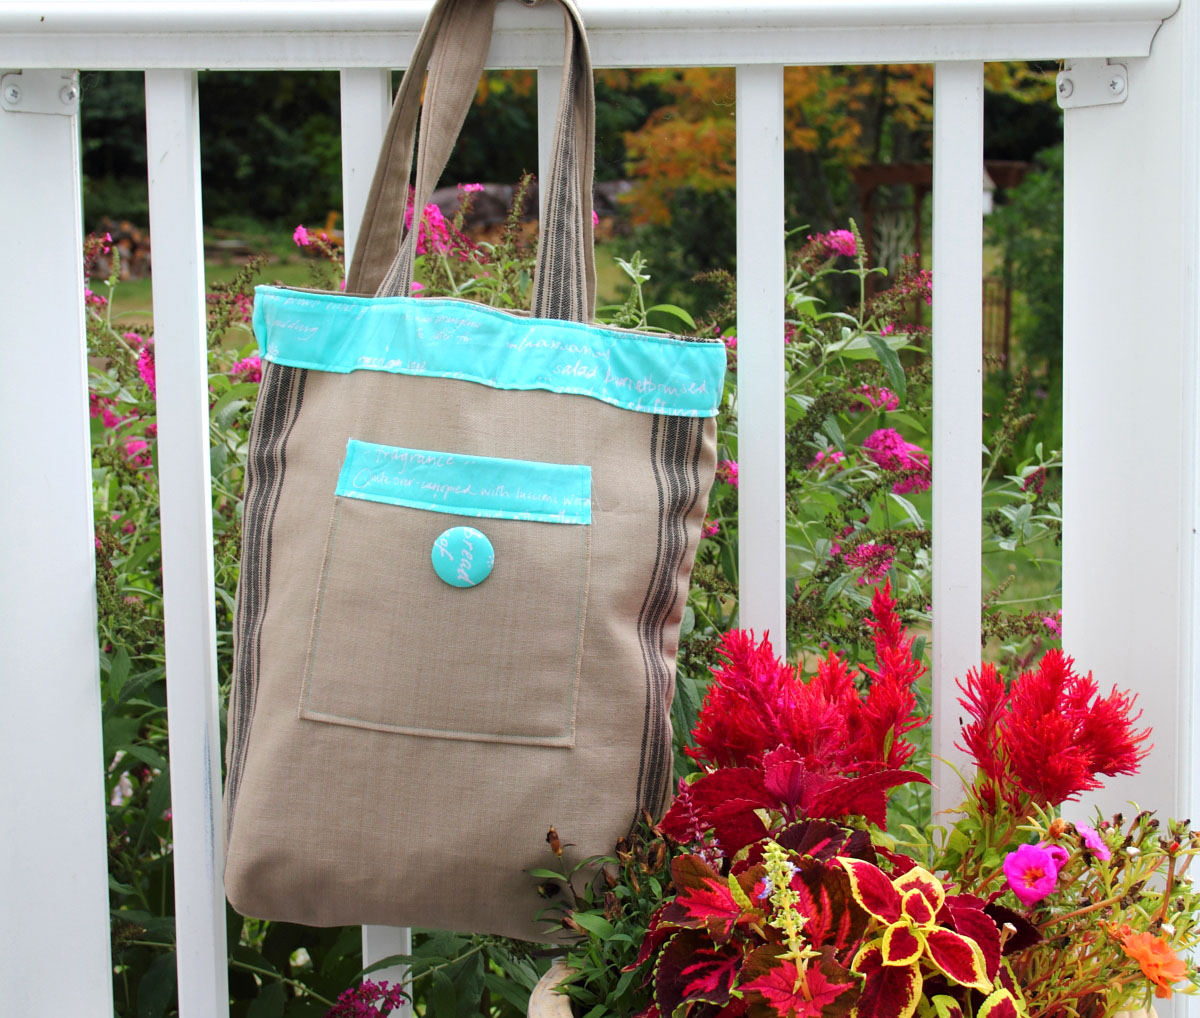
Hello everyone! Kymona here with a back-to-school project to kick off the new school year. Book bags, pencil cases, and tote bags are on everyone’s list. This year I’m sending my daughter to school with a stylish library book tote! I have a bonus for you; my daughter made a matching pencil case.
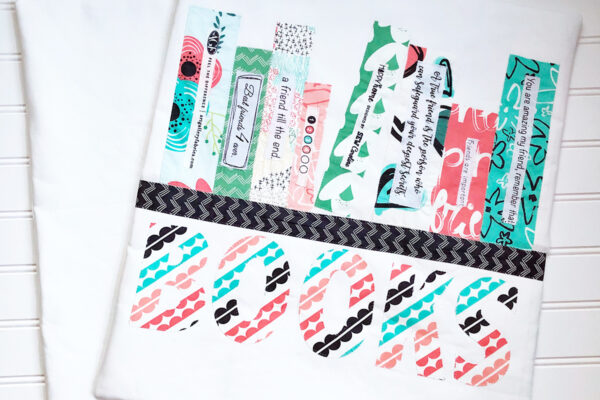
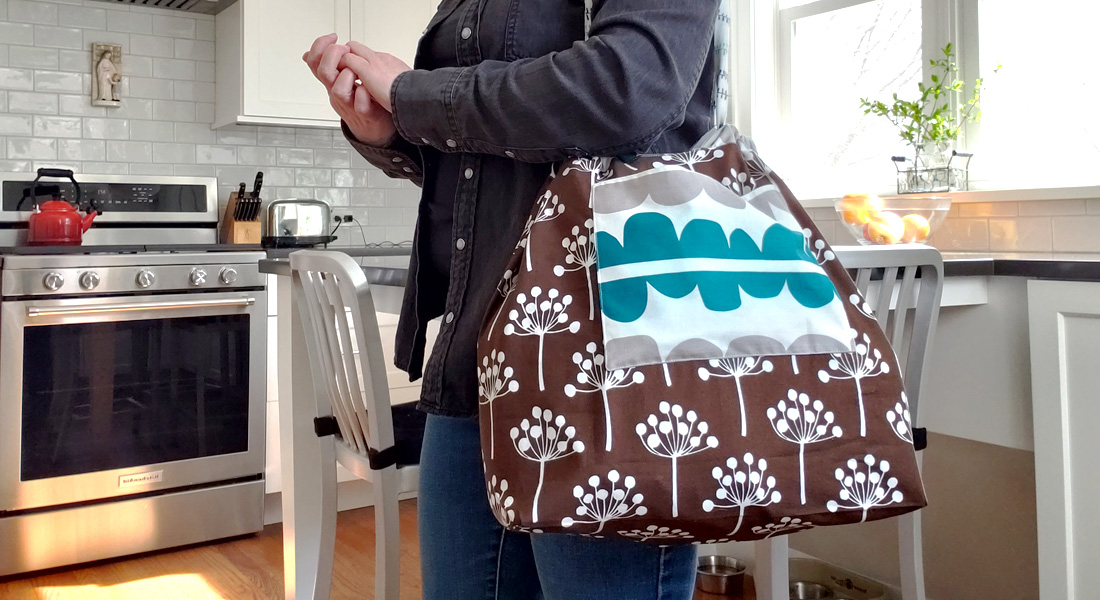
Finished tote size: 13.5″ wide x 15″ height
Materials to Create a Library Book Tote Bag and Pencil Case
Fabric and Notions
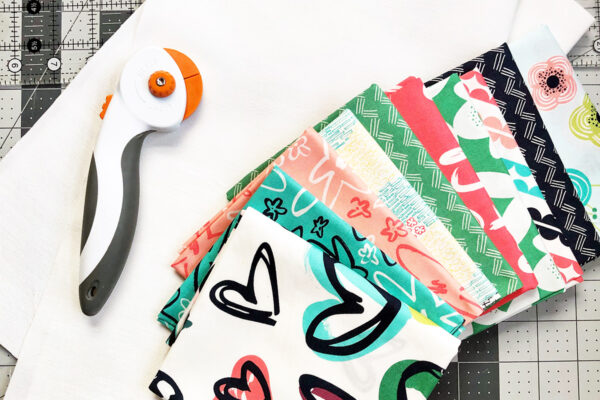
- 10 Fat quarters (Happy Home Collection by Sew Caroline)
- Linen-Cotton Canvas in Non-Optic White
- Fabric Pen
- Point Turner
- Ruler
- Embroidery Scissors
- Pins/clips
- Rotary cutter and mat
- Monofilament thread
- White thread
- 27 inches Cotton Belting
- 10-inch zipper
- Fusible Fleece
- Sewable iron-on adhesive for applique
Other
- Electronic Cutter
Step 1 – Cut the fabric and belting.
Tote:
Cut (4) pieces of the Linen-Cotton Canvas to 16″ x 18″.
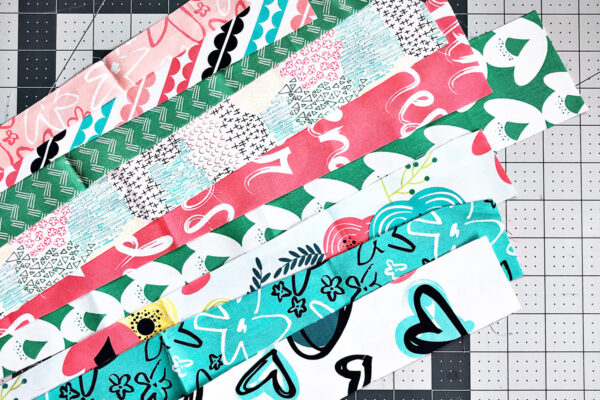
Trim (8) strips (different height and width) from eight fat quarters (books).
Cut (1) piece of the fat quarter to 2″ x 16″ (bookshelf).
Cut (2) pieces of the fusible fleece to 16″ x 18″.
Trim the salvage with the written word into smaller pieces (book titles).
Cut the cotton belting in half to make to equal straps.
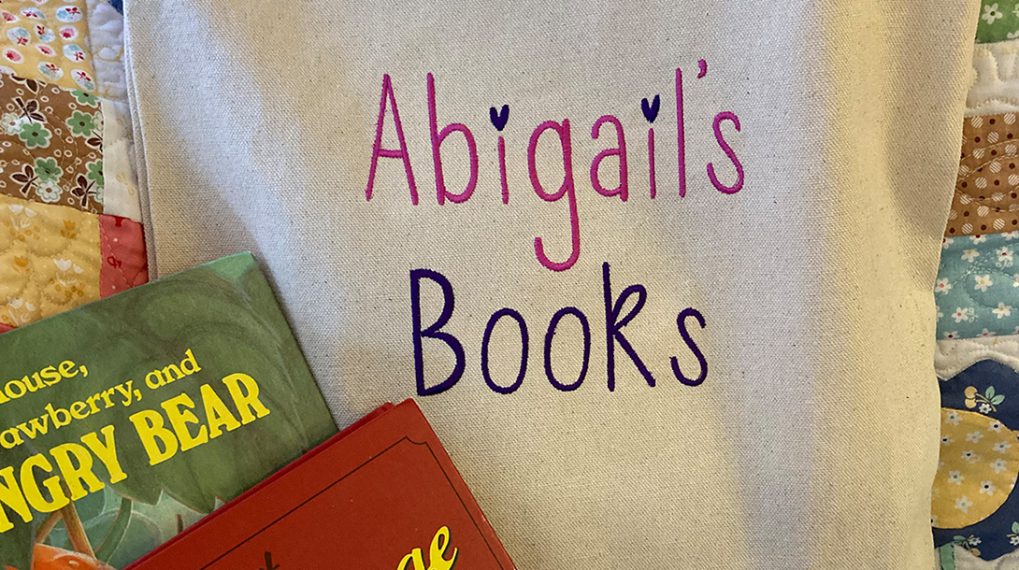
Cut the letters out of the last fat quarter by hand or use an electronic cutter.
Pencil Case:
Trim (1) piece of a fat quarter to 9.5″ x 11.5″ for the exterior.
Cut (1) piece of a fat quarter to 9.5″ x 11.5″ (interior)
Cut (1) piece of the fusible fleece to 9.5″ x 11.5″.
Note: All seam allowances are 1/4″ unless otherwise noted.
Step 2 – Prepare the fabric for placement of the letters.
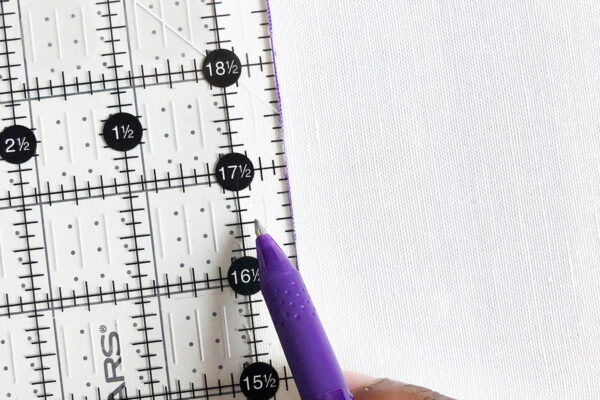
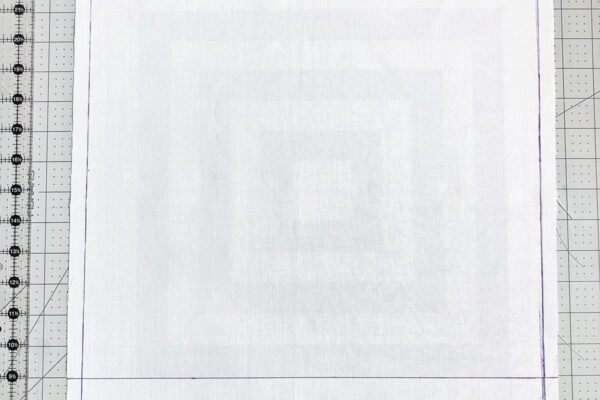
On one of the Linen-Cotton Canvas fabric pieces, measure 1/2″ from the edge (18″ side) and draw a line straight down. Repeat on the opposite side.
Measure 3-4″ from the bottom (16″ side) and draw a line straight across.
Step 3 – Cut the letters
Letter size: 2.6 x 3.8
Iron-on the sewable adhesive used for applique to the wrong side of the fat quarter.
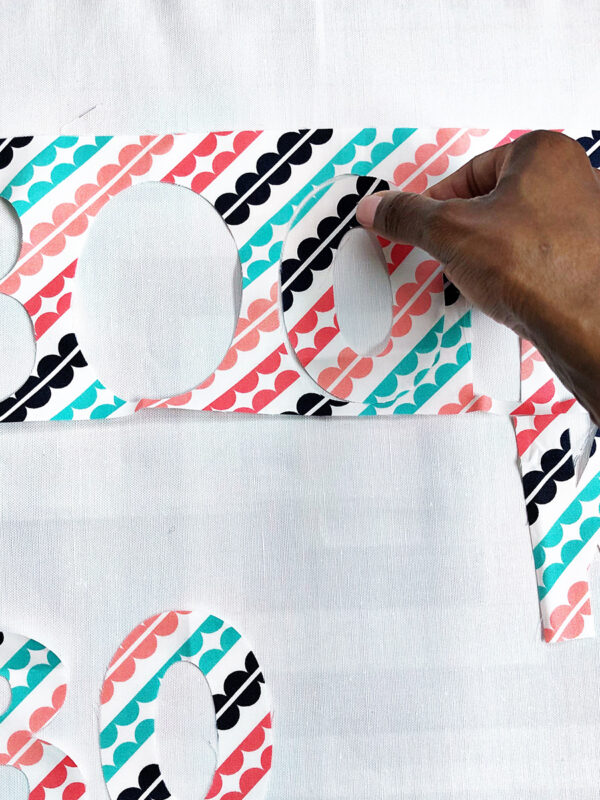
Use an electronic cutter to cut out the letters.
If you do not have an electric cutter, print out the letters on your computer. Cut them out and trace them on the wrong side of the fabric.
Note: Make sure you line the letters according to the pattern so that they match one another.
Place them on the horizontal line to check for placement — pin in place.
Step 4 – Applique the letters.
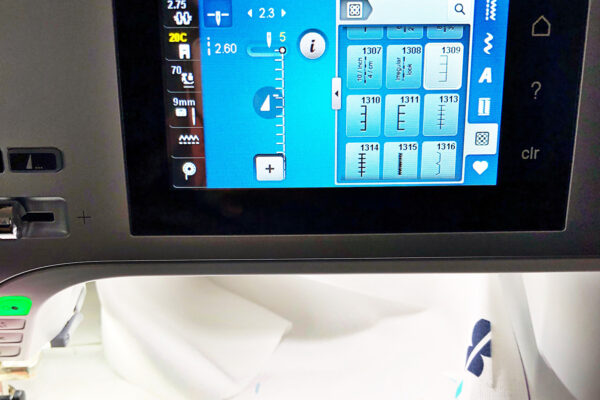
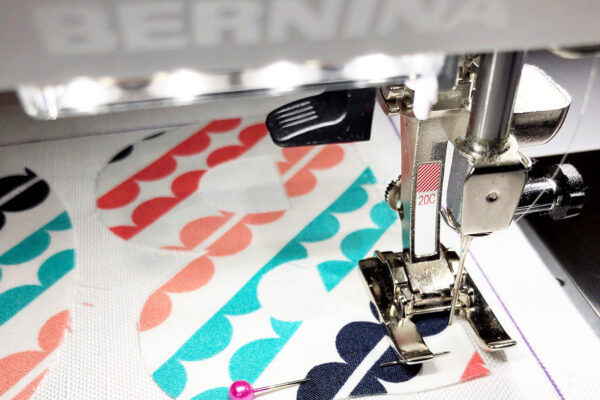
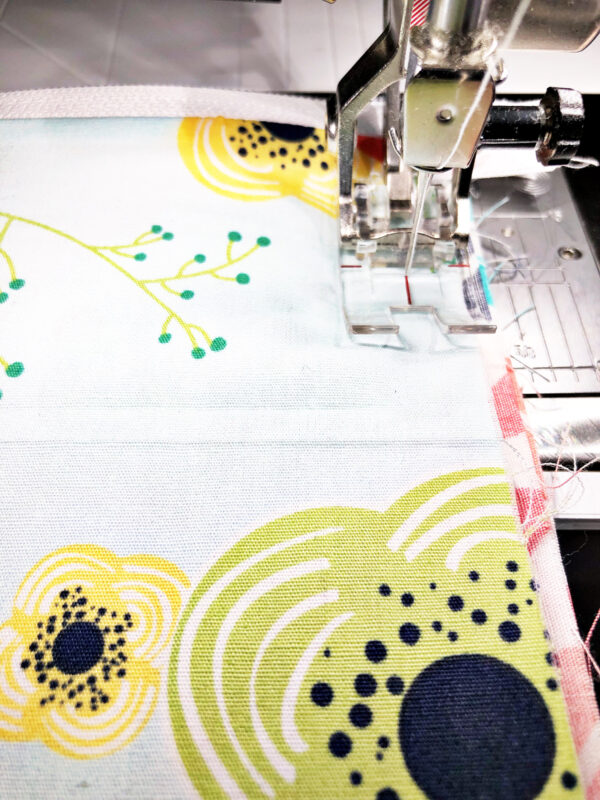
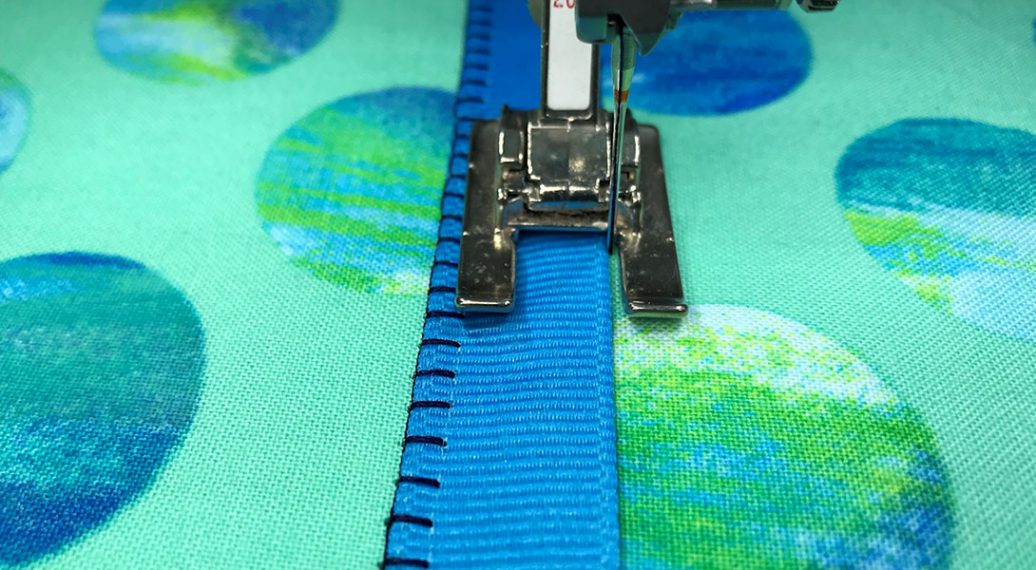
Thread the machine with the monofilament thread. Add white thread to the lower bobbin. Set the machine to blanket stitch 1309. Move the needle position to the right 5.
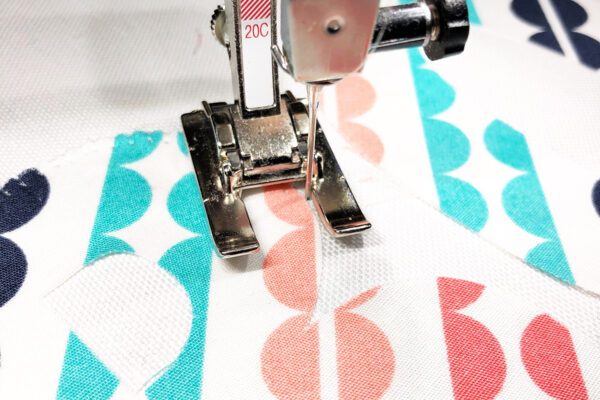
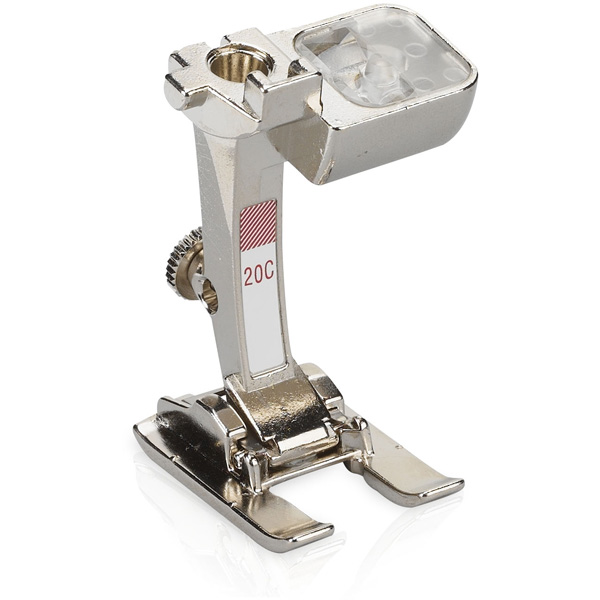
Using the BERNINA Open Embroidery Foot #20C, place the fabric edge up against the right side of the foot.
Take your time and sew around each letter, including the center of the “B” and “O’s.”
Step 5 – Sew the bookshelf
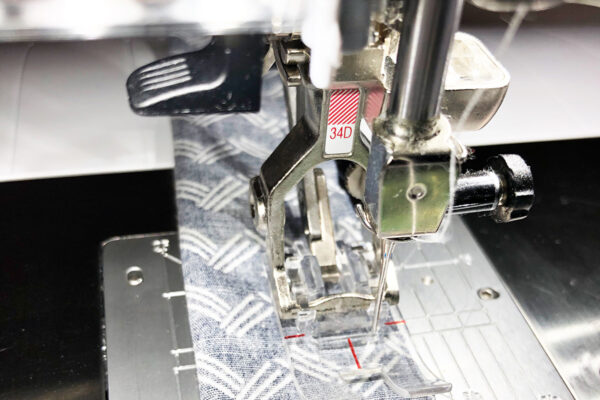
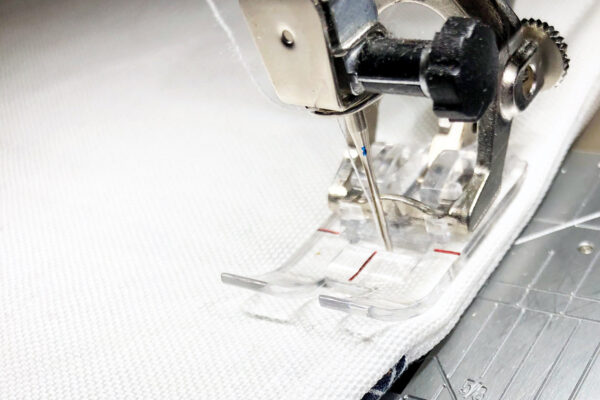
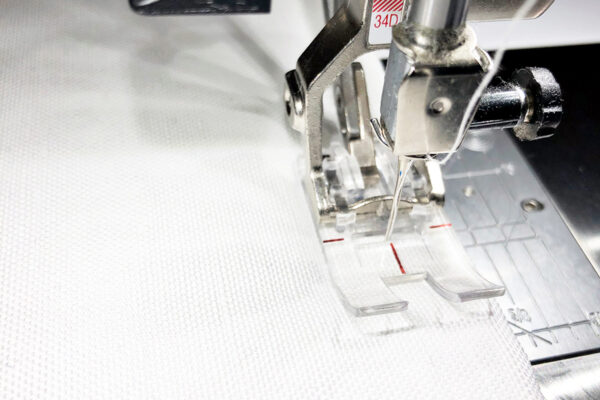
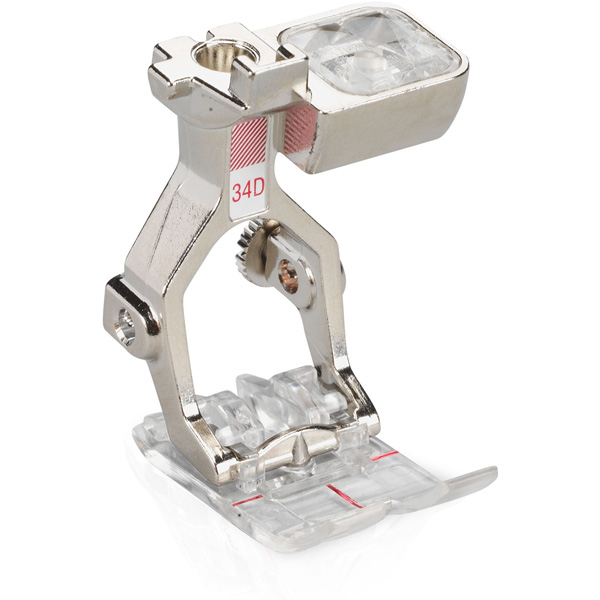
Switch the foot to the BERNINA Reverse-patten foot with clear sole #34D, activate the Dual Feed.
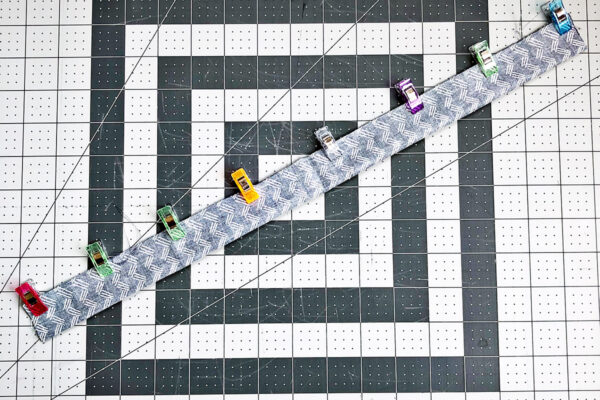
Take the 2″ x 16″ piece of fabric, fold in half, wrong sides together, and sew straight down.
Turn the fabric inside out and iron with the seam in the center.
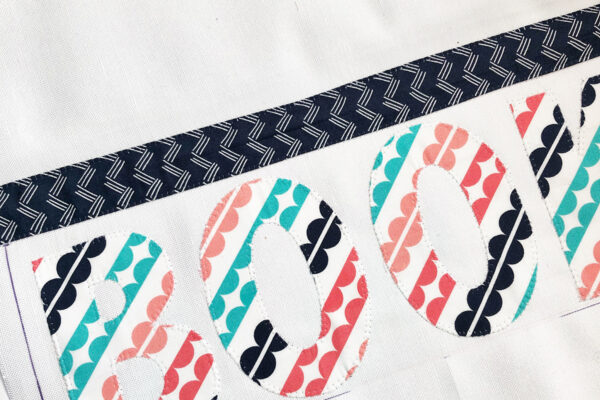
Pin the strip of fabric a 1/4″ above the letters.
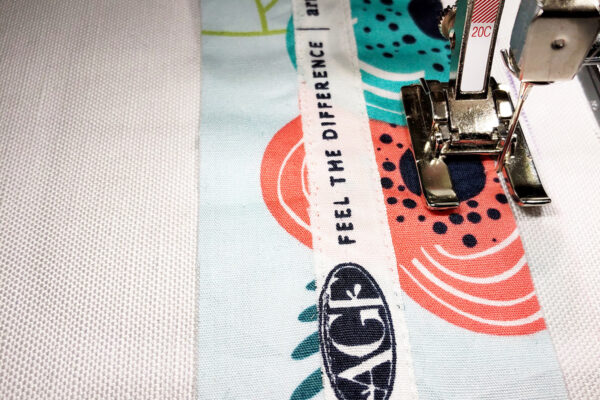
Change the foot back to the BERNINA Open Embroidery Foot #20C, needle position to the right 5 and blanket stitch both sides of the fabric.
Step 6 – Applique the books
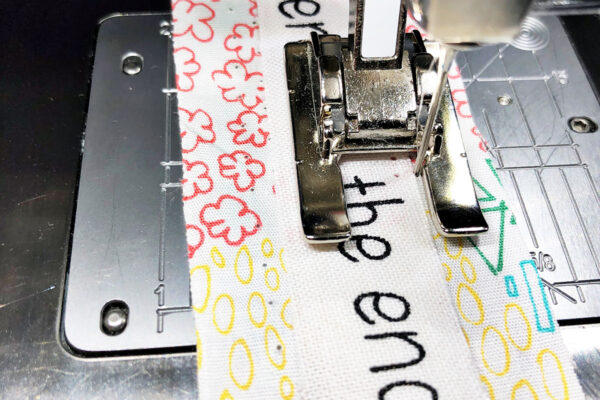
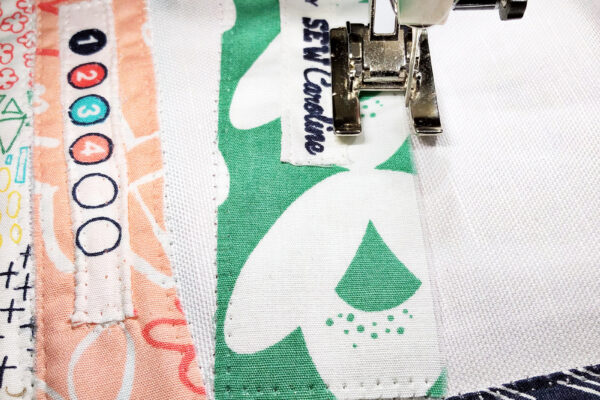
Blanket stitch the titles of the books to the center of the eight strips of fabric.
Sew each book in place using the blanket stitch.
The books should touch each other.
Step 7 – Sew the tote.
Iron a piece of fusible fleece to the front and the back fabric pieces. Wrong sides together, sew the fusible fleece front and the lining fabric.
Leave an opening for turning. Turn and set aside. Repeat with the fusible fleece back and lining fabric.
Turn the fabric. Don’t worry about the two openings. When you sew the tote, they will get caught in the seam allowance.
Switch the foot back to the BERNINA Reverse-patten foot with clear sole #34D, activate the Dual Feed. Very important, because of the bulkiness of the fabric.
Sew the front and the back together right side together. Stitch 1/2″ seam allowance to make sure all of the edges within the stitch.
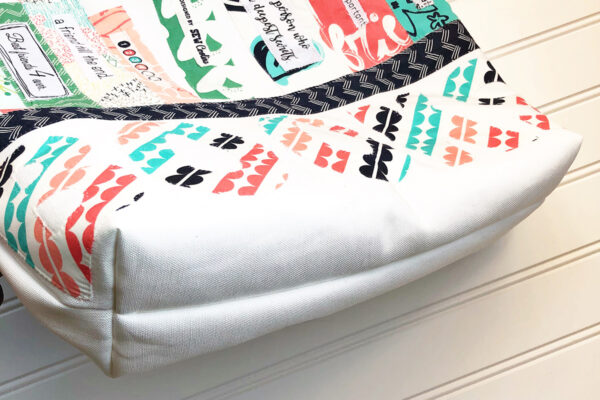
Sew around the tote on three sides — backstitch at the beginning and the end. Now it’s time to box-out the bottom of the tote.
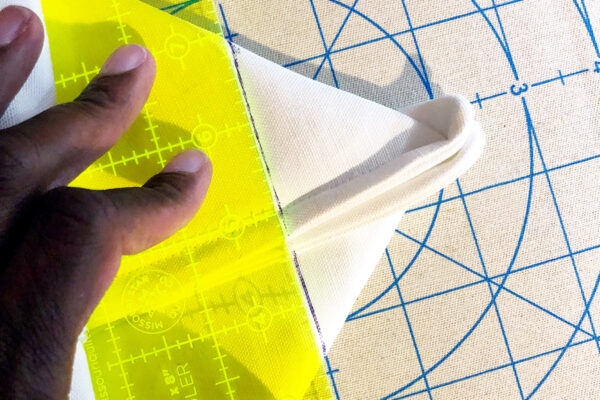
Fold the bottom of the tote so that the seams meet. Measure from the point of the seam 2″ in and draw a line.
Repeat on the opposite corner of the bag.
Stitch along the line, remember to backstitch at the beginning and end. Repeat for the opposite side.
Trim of the excess. Use a zig-zag stitch and stitch up the three sides and the boxed corners.
Turn the tote inside out.
Step 8 – Sew the straps.
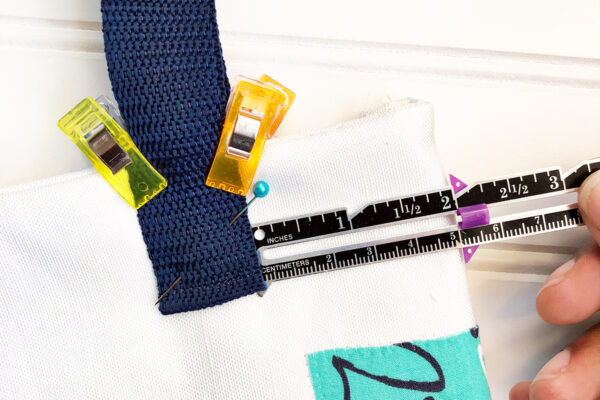
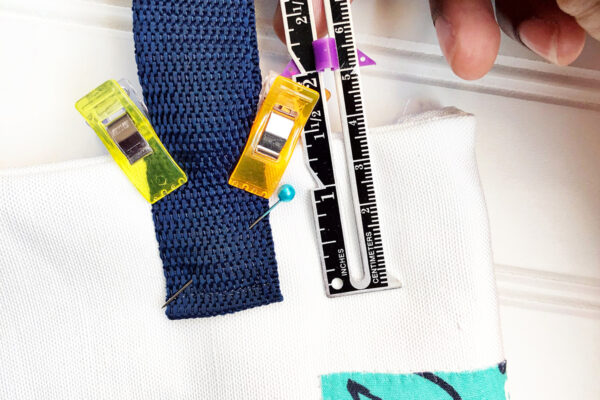
Take one of the cut cotton belting pieces, measure 2″ in from the edge and 1.5″ down from the top, pin/clip in place.
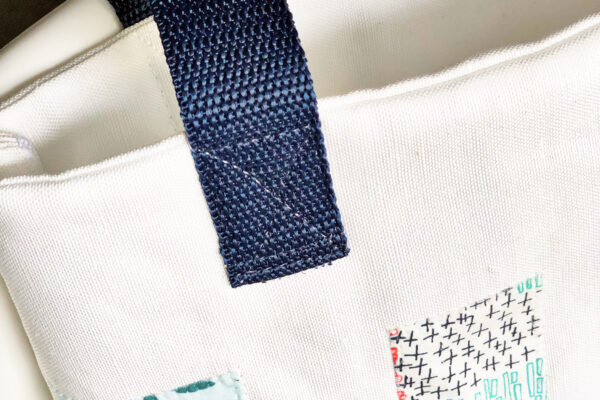
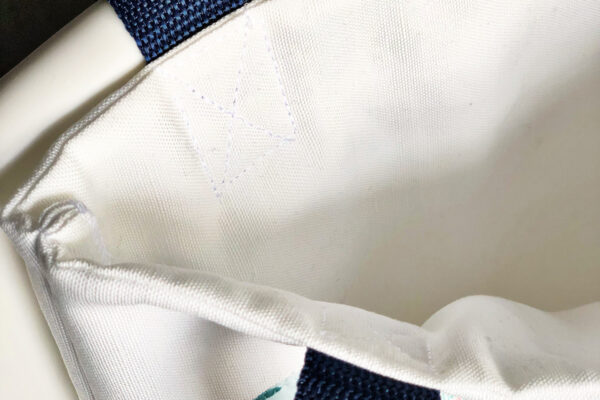
Sew all the way around, attaching the belting to the front of the tote. To keep the strap sturdy, sew and “x” in the center of the belting.
Repeat for all of the strap pieces.
Step 9 – Iron the tote.
Iron the tote to set the stitches and to take out any wrinkles.
This library book tote is perfect for any student, book lovers, bag lovers, or yourself.
Bonus Pencil Case Tutorial
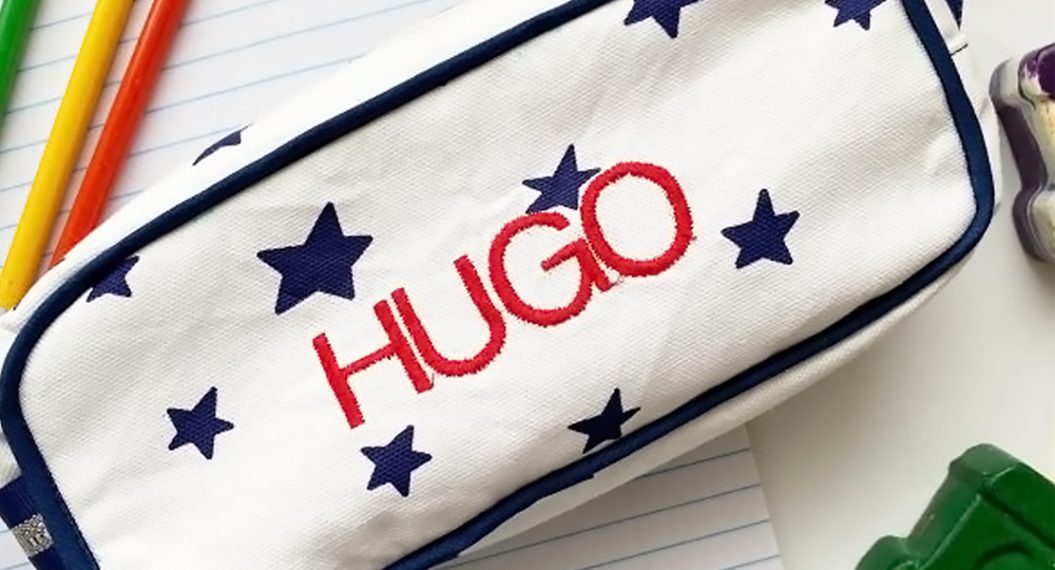
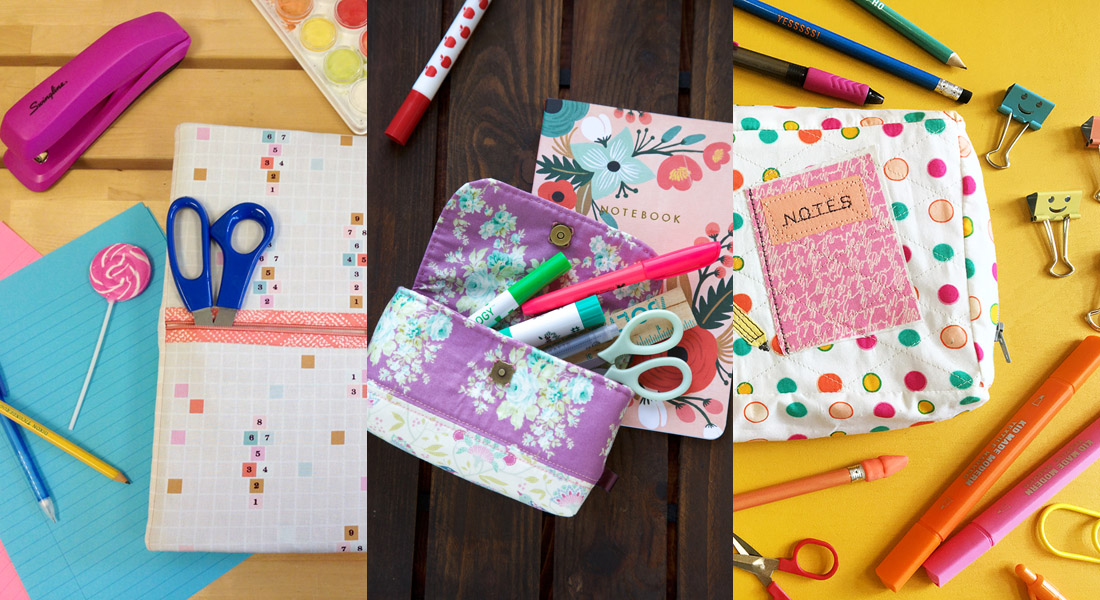
My daughter is a sewer as well and wanted to make a matching pencil case to go with her new tote. Sanaa learned how to sew at the age of 8. One morning she woke up and asked if she could learn, and the rest is history. She challenged me to learn, and its been fun every since.
Finished size: 8.25″ height x 5.75″ wide
Step 1 – Prepare the fabric for sewing.
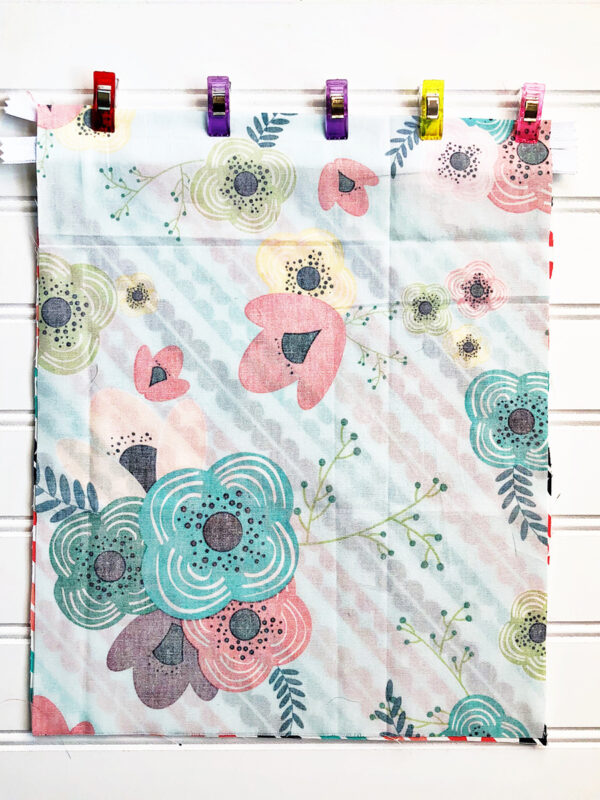
Iron the fusible fleece to the back of the exterior fabric. Then, place the exterior fabric face up down first.
After that, place the zipper facing down to the edge of the exterior fabric.
Next place the lining fabric on top of the zipper at the edge face down.
Step 2 -Sew the zipper in place.
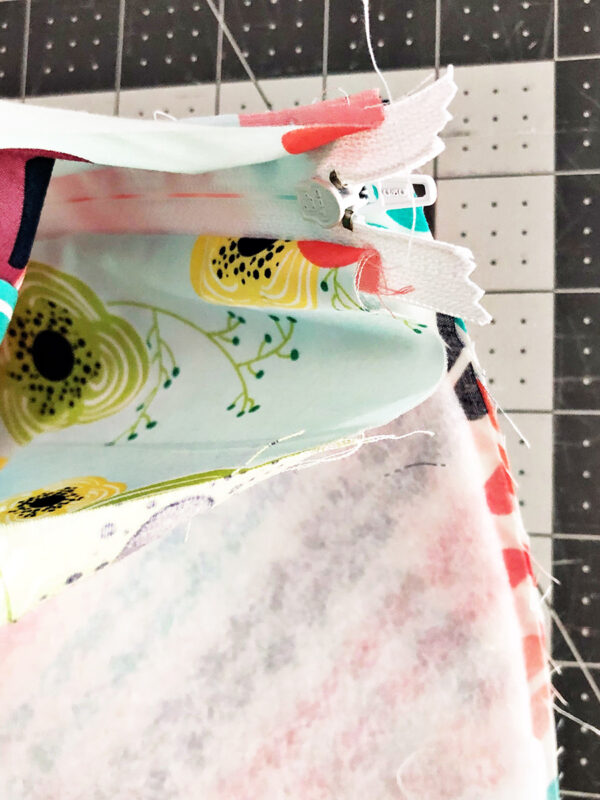
Set the needle position to the right 3 positions, sew straight across, starting behind the zipper pull. Sew to the end – backstitch.
Pull the zipper back and sew the unsewn portion of the sandwich. After that, pull the lining fabric back, exposing the zipper, iron it away from the zipper.
Repeat with the exterior fabric. Now both pieces are together. Pull the lining fabric up to the zipper edge and pin in place. Repeat with the exterior fabric.
Sew straight across again repeating the same steps above.
Step 3 – Finishing up the pencil case.
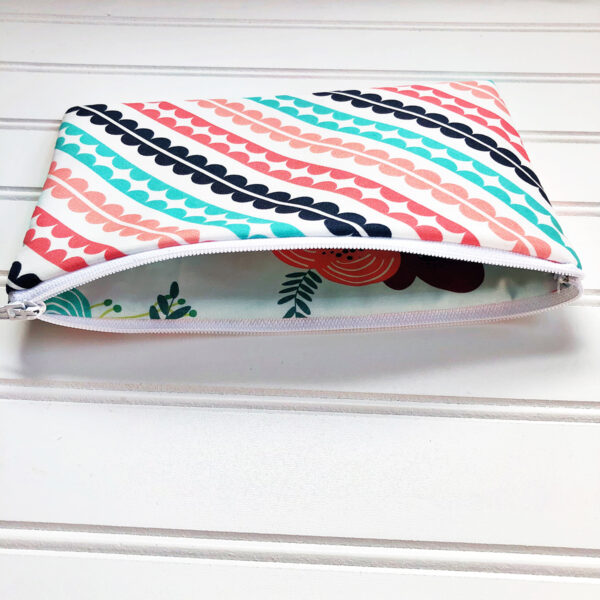
Open the zipper halfway so when the sides are sewn together so that you can turn the pencil case inside out.
Sew both sides together reversing over the zipper to secure it.
After that, turn the pencil case inside out.
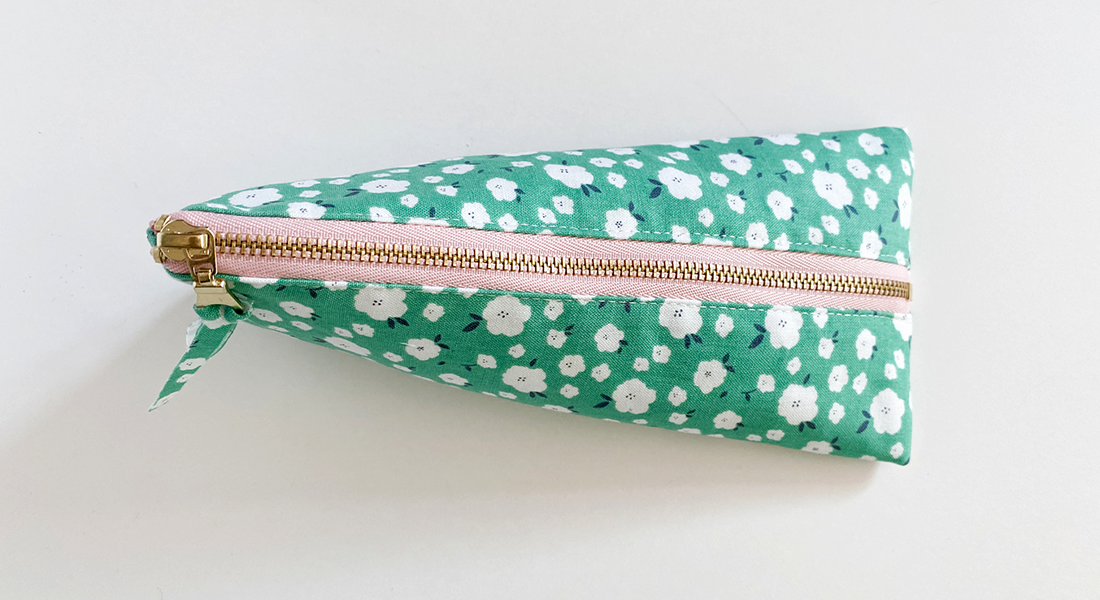
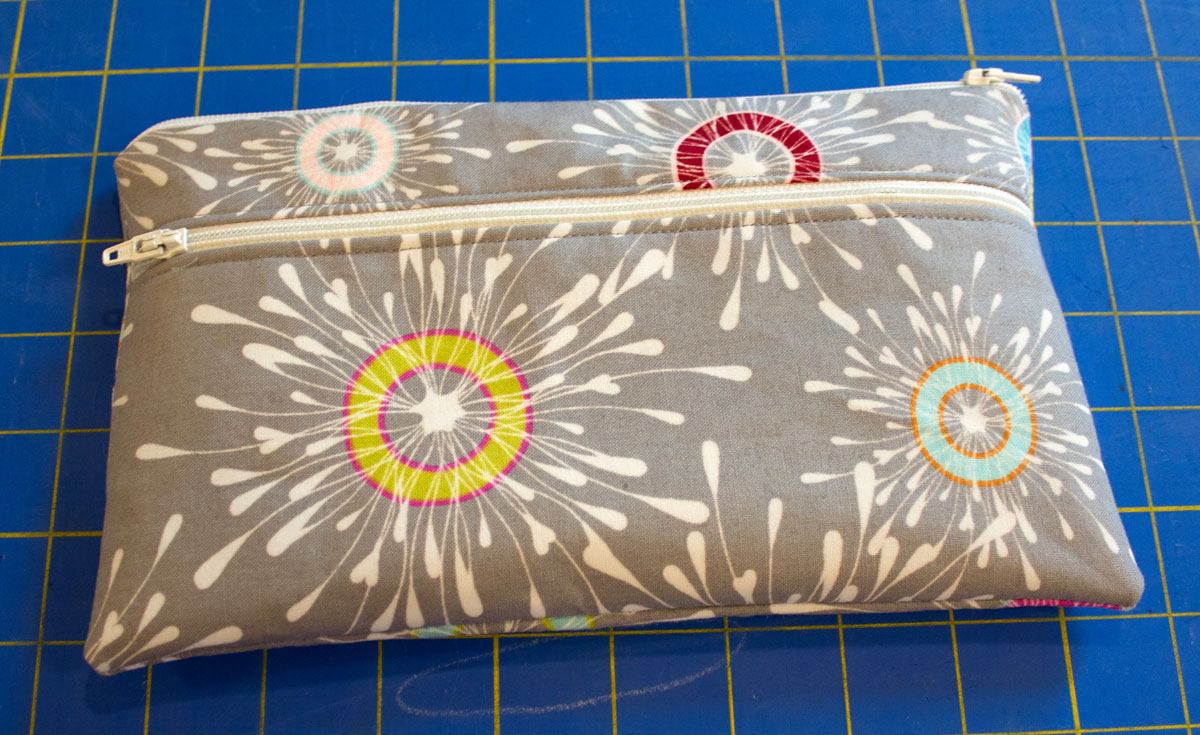
Sanaa did a fantastic job sewing a matching pencil case for her library book tote.
What you might also like
9 comments on “Library Book Tote Bag and Pencil Case”
-
-
Thanks for sharing Judith! I have a couple of little sharp scissors. I collect them. Thanks for stopping by!
-
-
Where did you find the embroidered tape? Thanks for any info!
Mary Ann-
Hello Mary Ann!! Thank you so much for your question, are you asking me about the sewable iron-on adhesive for applique? Please let me know.
-
-
Thanks for a great tutorial – I missed how the names of the books get on the fabric.
Thanks-
Thank you!! To create the book titles, I cut out sentiments from text fabric and the different salvage edges. I love salvage edges!!!
-
-
Love your use of selvedge edge. Great project!. Thanks for the easy to follow instructions, also.
-
I absolutely love the way you decorated/personalized the book bag! I can’t wait to make my own. Thank you for this great idea.
-
You say to print out the Kettering for BOOKS on your computer, was there a pattern for the letters or did you just type it out? Thanks
Leave a Reply
You must be logged in to post a comment.







My favorite scissors are a little sharp pair of black scissors that remind me of the ones my Mama always had close by as she made ALL of my clothes— which were made far better than what I can sew—even on my wonderful Bernina machines!