Machine Embroidered Iron-on Patch
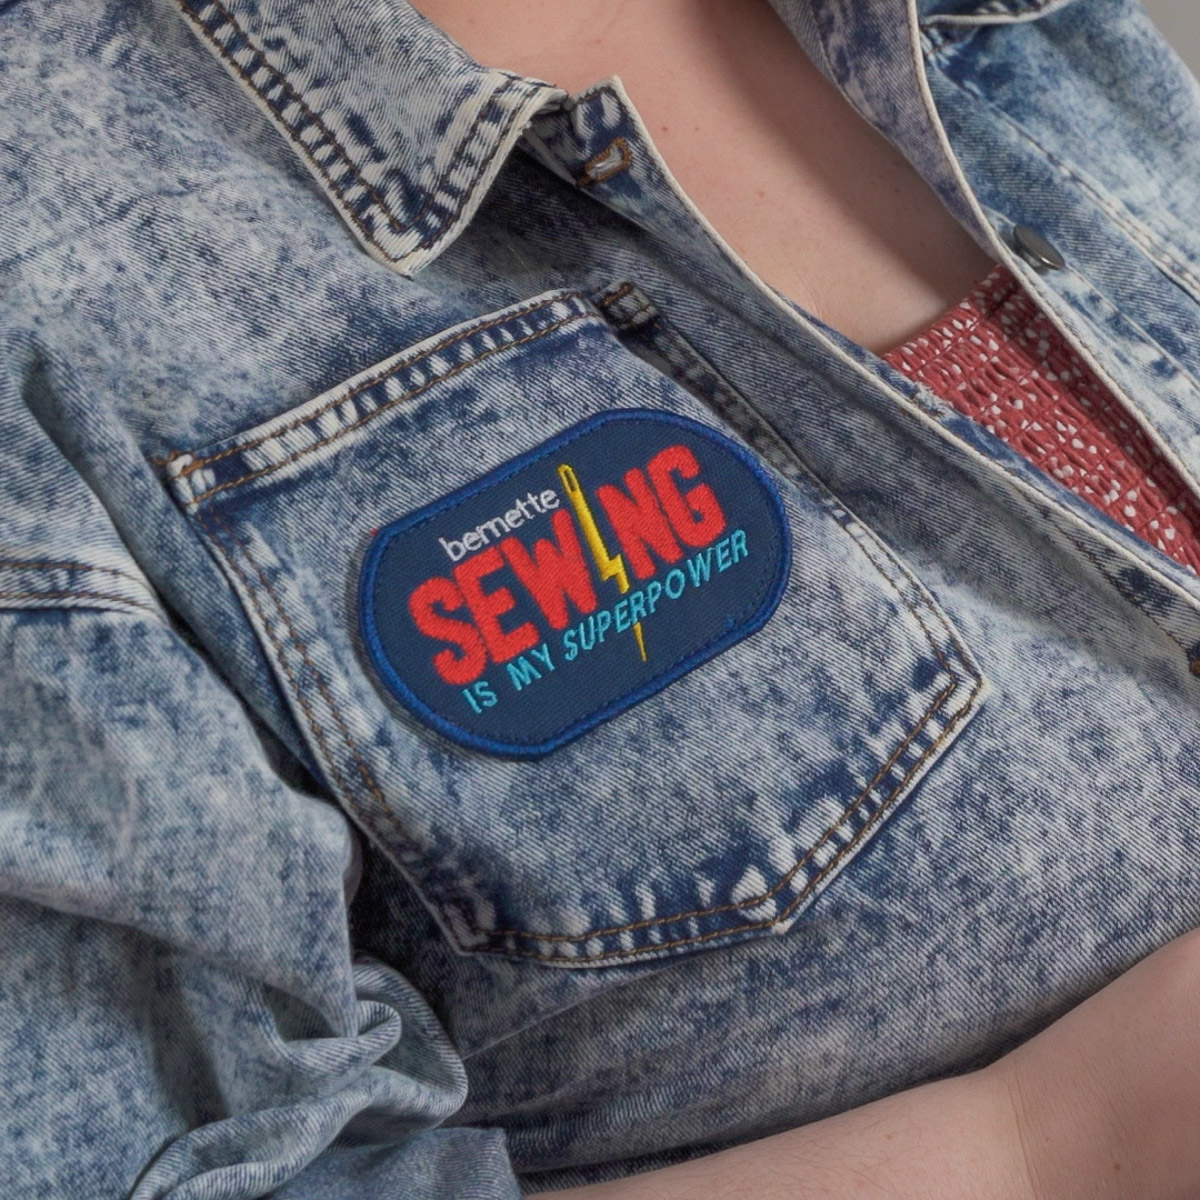
It’s a bird! It’s a plane! It’s a super easy machine embroidered iron-on patch tutorial you can make for your favorite jacket or backpack!
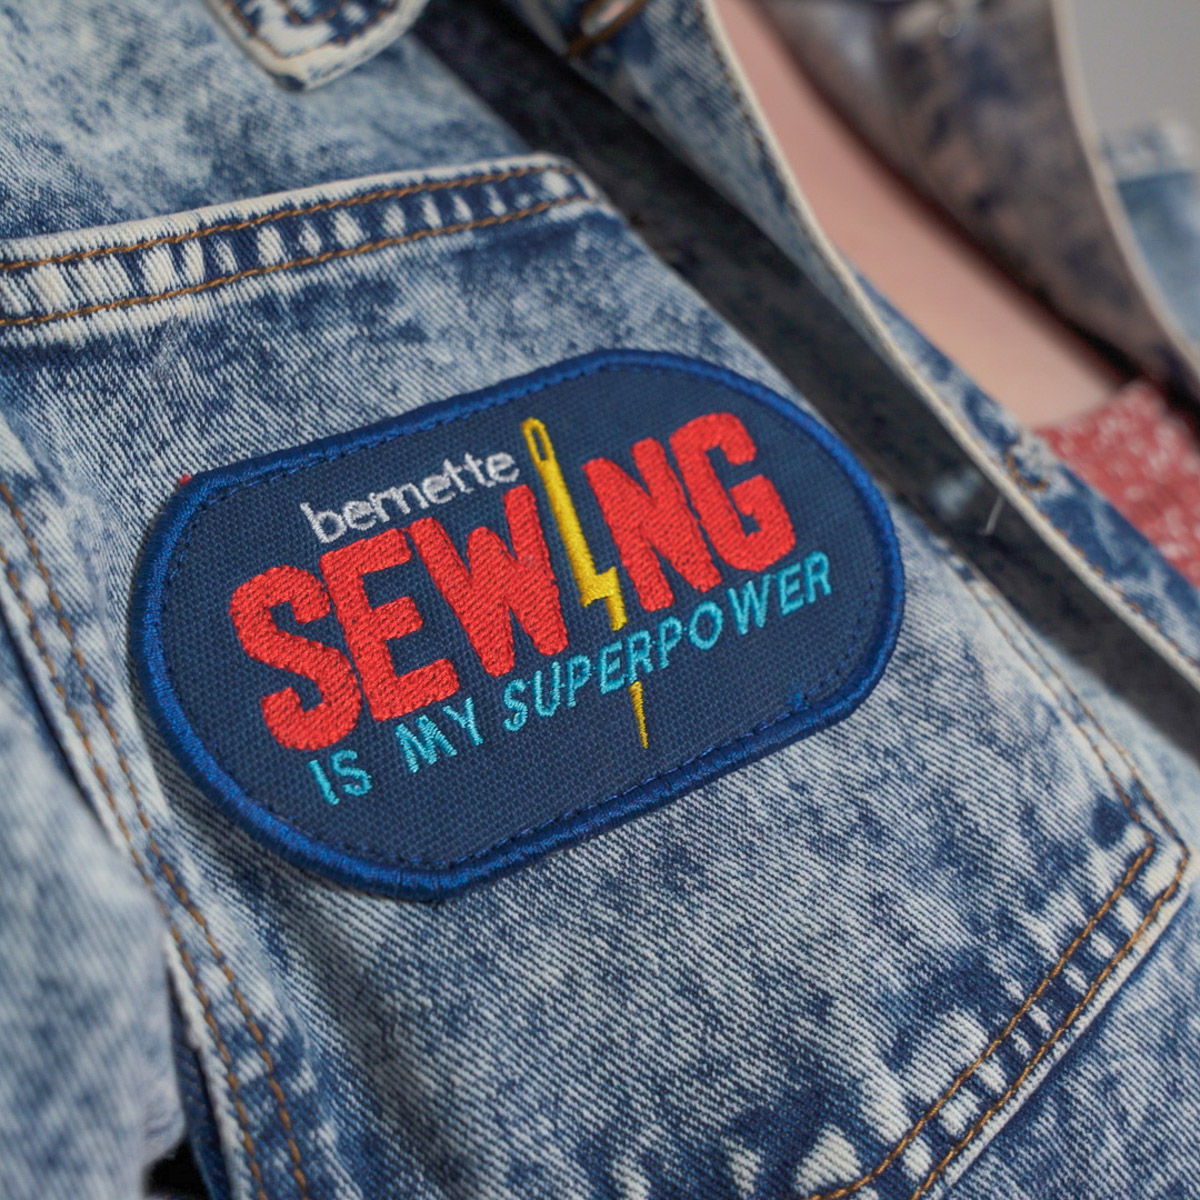
Use this tutorial to make your very own “Sewing Is My Superpower” patch that is sure to be a hit at your next con. You can use these steps to make patches of all kinds for your favorite fandoms, books, super cute aesthetic designs, and more. Now I want to make a million of these in different colors to fit my many moods.
As an added bonus, we are going to make this cool patch iron-on! It’s easy to do and creates a really professional, finished result.
Let’s gather our supplies and get stitching.
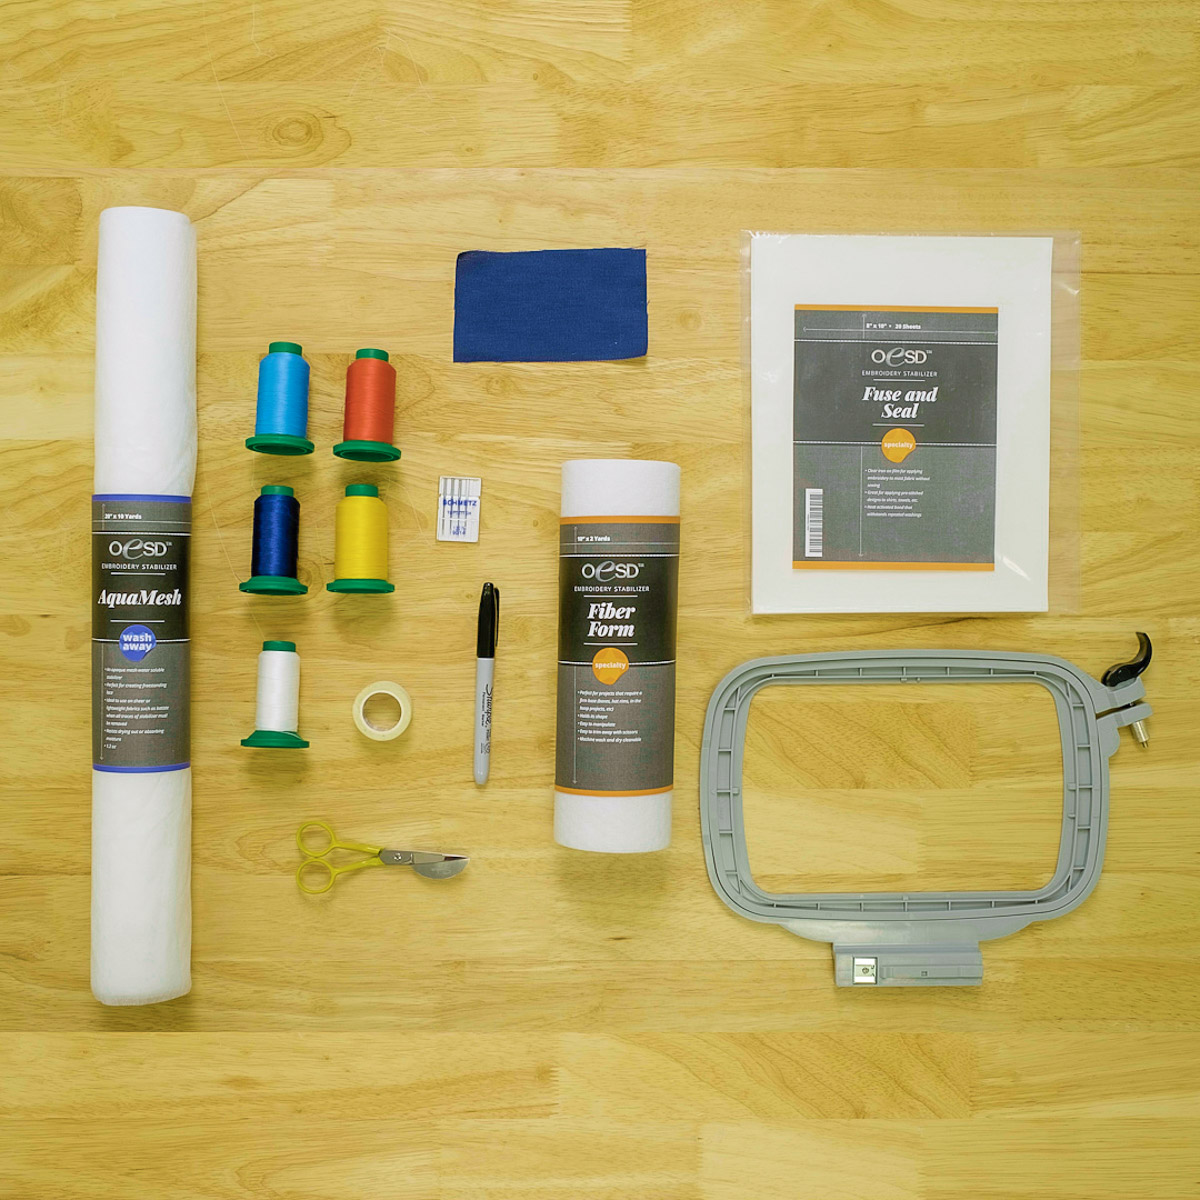
Materials for Machine Embroidered Iron-on Patch
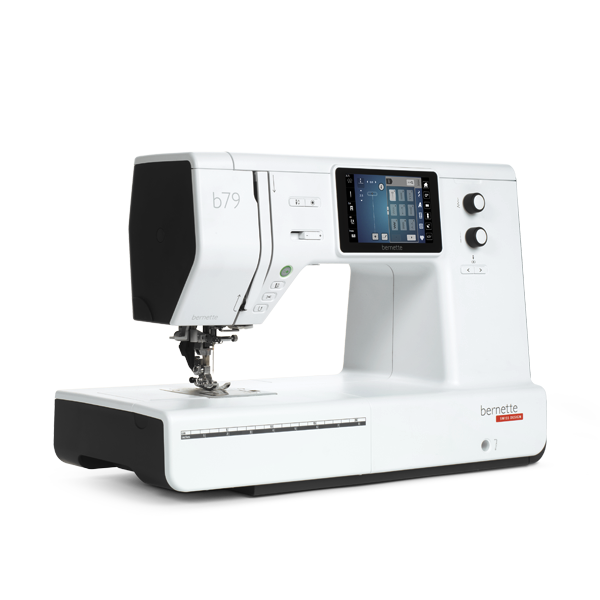
- bernette 79
- I also highly recommend the bernette 79 Yaya Han Edition because it comes with the BERNINA Creator software and additional feet that are great for embellishing fabric and creating garments
- Embroidery Foot
- Embroidery Hoop M
- Sewing is My Superpower Design download
- Patch appliqué shape
- (2) 5” x 3” pieces twill fabric
- Most medium-weight woven fabrics that can be ironed will work, like denim or quilting cotton
- OESD Expert Embroidery TearAway Tape
- OESD Fiber Form
- OESD AquaMesh WashAway
- OESD Fuse & Seal CutAway Sheets
- OESD Fusible Woven CutAway
- OESD Expert Embroidery Bobbin Thread
- Use whichever color works best for your project. I used black.
- Embroidery thread
- Embroidery needle 80/12
- Marking pen
- 505 Spray Adhesive
- Duckbill Appliqué Scissors
- All Purpose Scissors
Optional: Use the BERNINA v9 Embroidery software to create your own patch designs. I used it to create this patch and many others like it. With the BERNINA software, you can dream up anything and create the file to stitch it out.
Step 1: Preparing the Patch Pieces
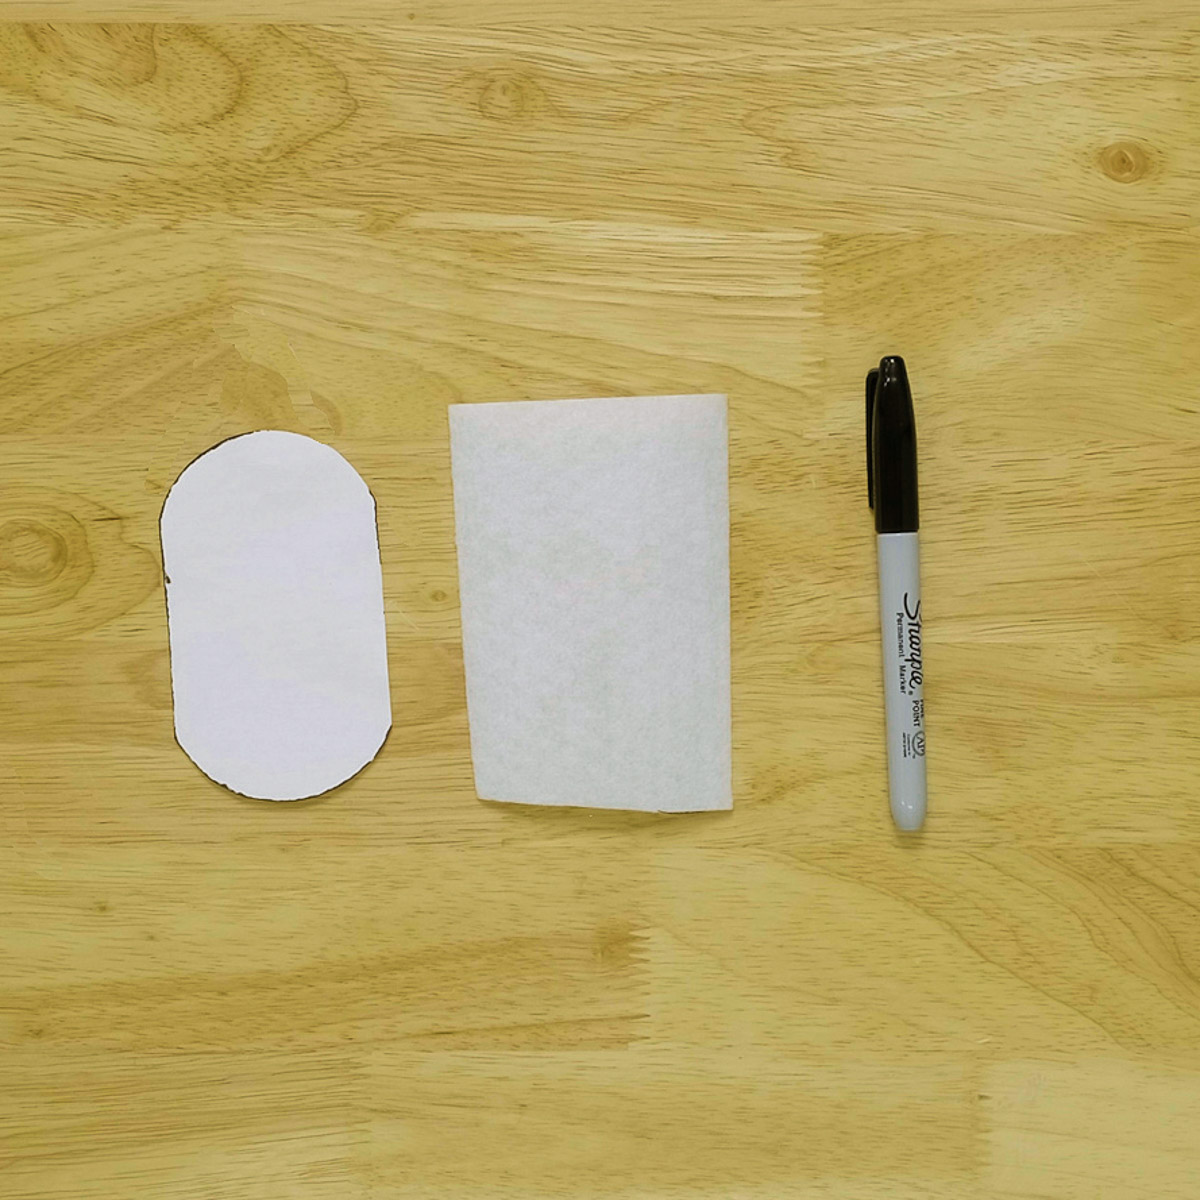
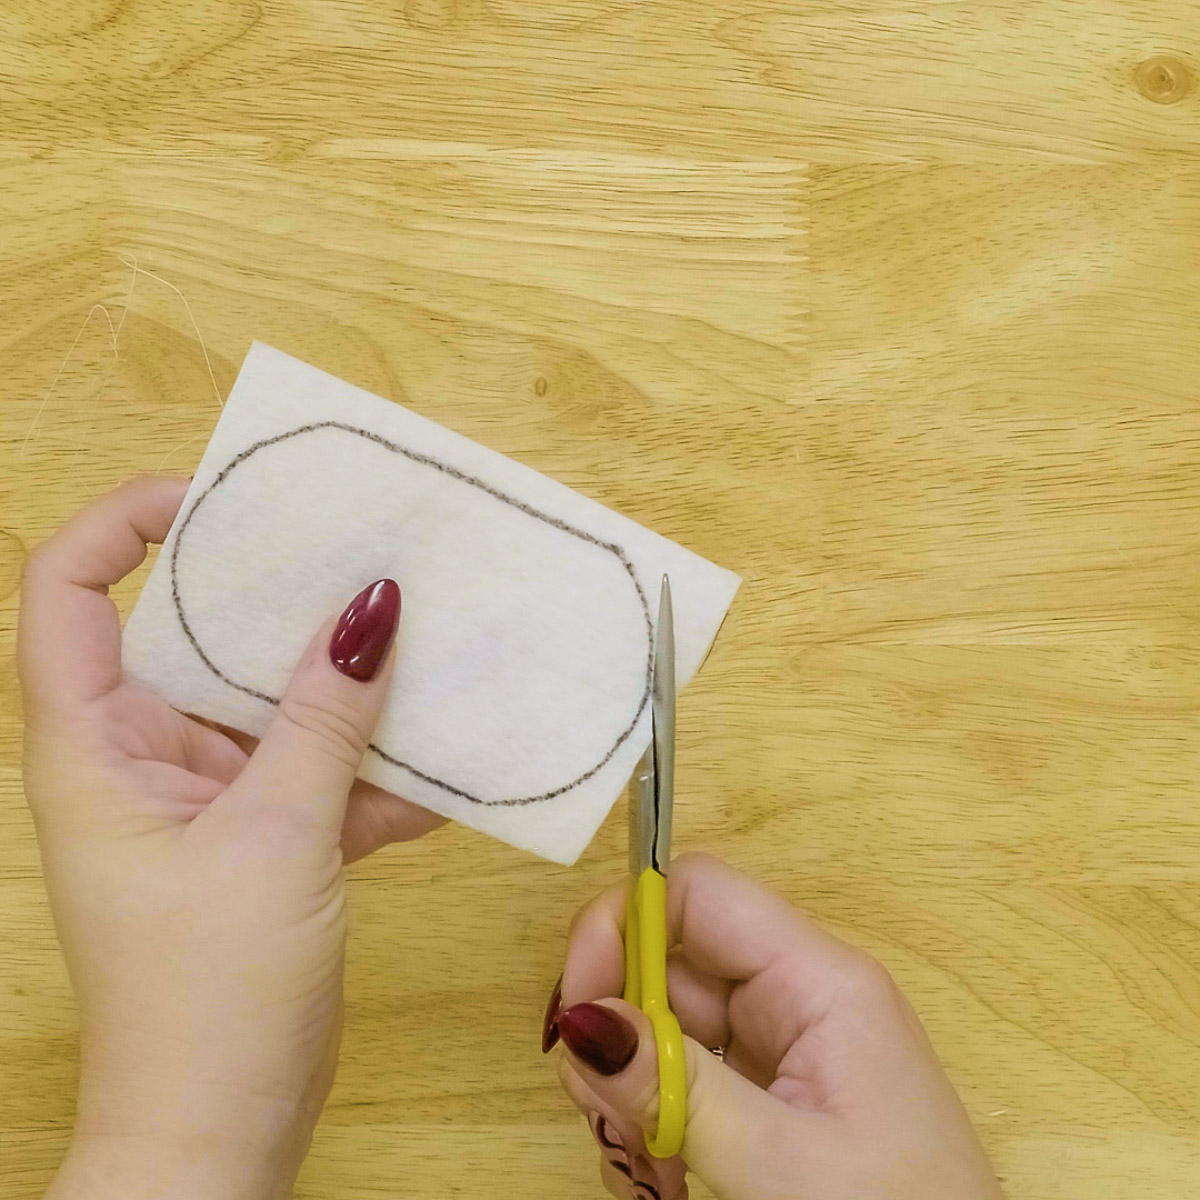
Take the appliqué patch shape and trace it onto the fiber form with your marking tool.
Cut out the fiber form shape with your all-purpose scissors.
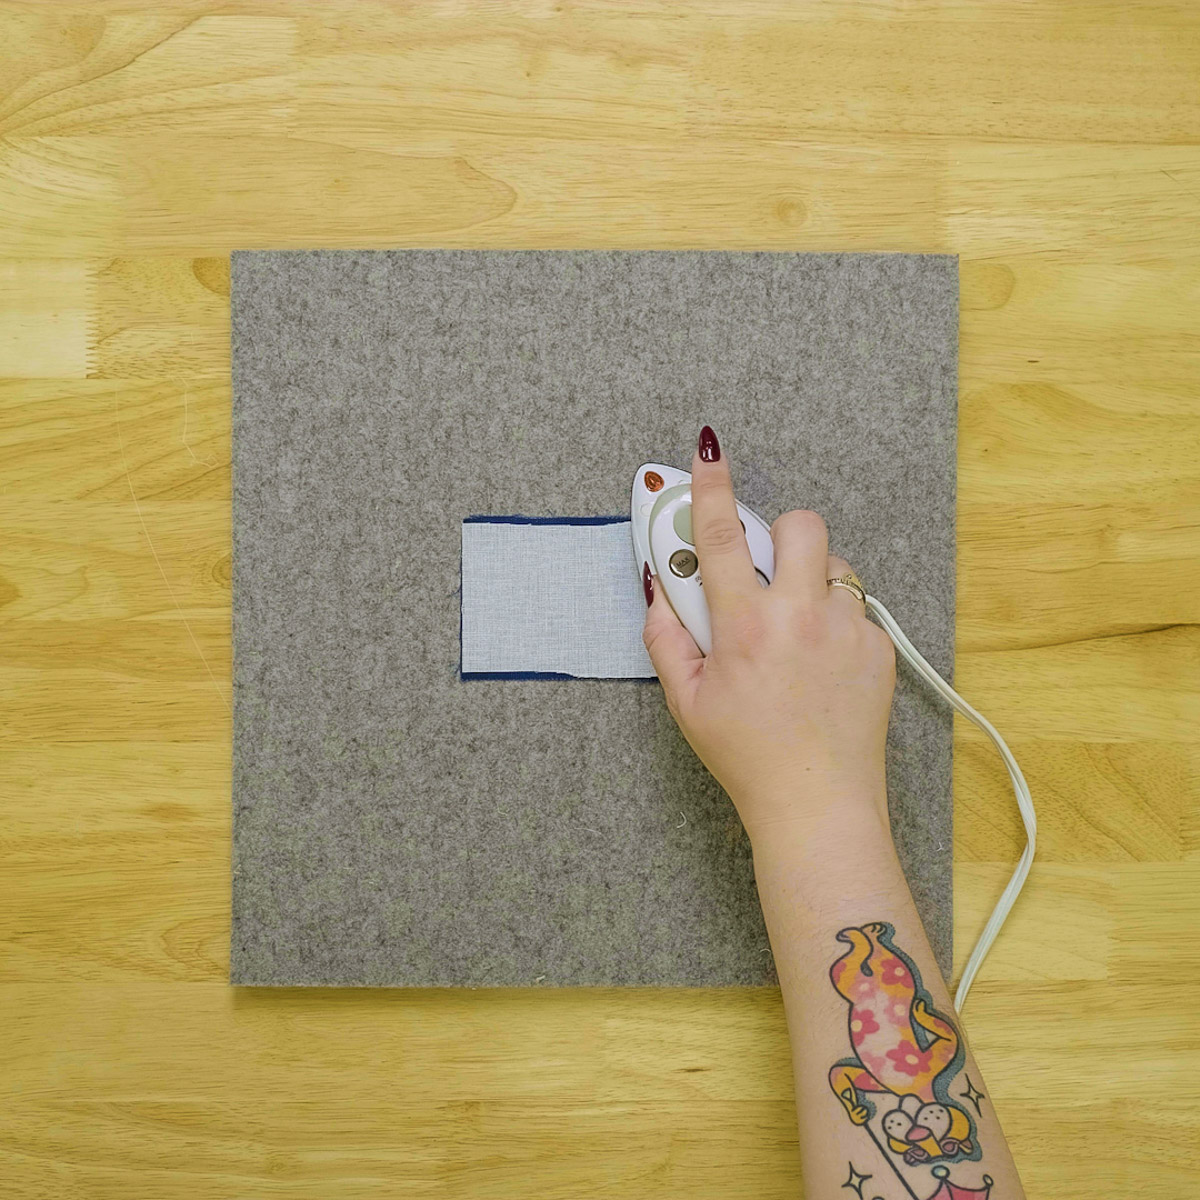
Cut two pieces of the fusible woven to the size of your twill fabric. Fuse the fusible woven to the wrong side of both fabric pieces.
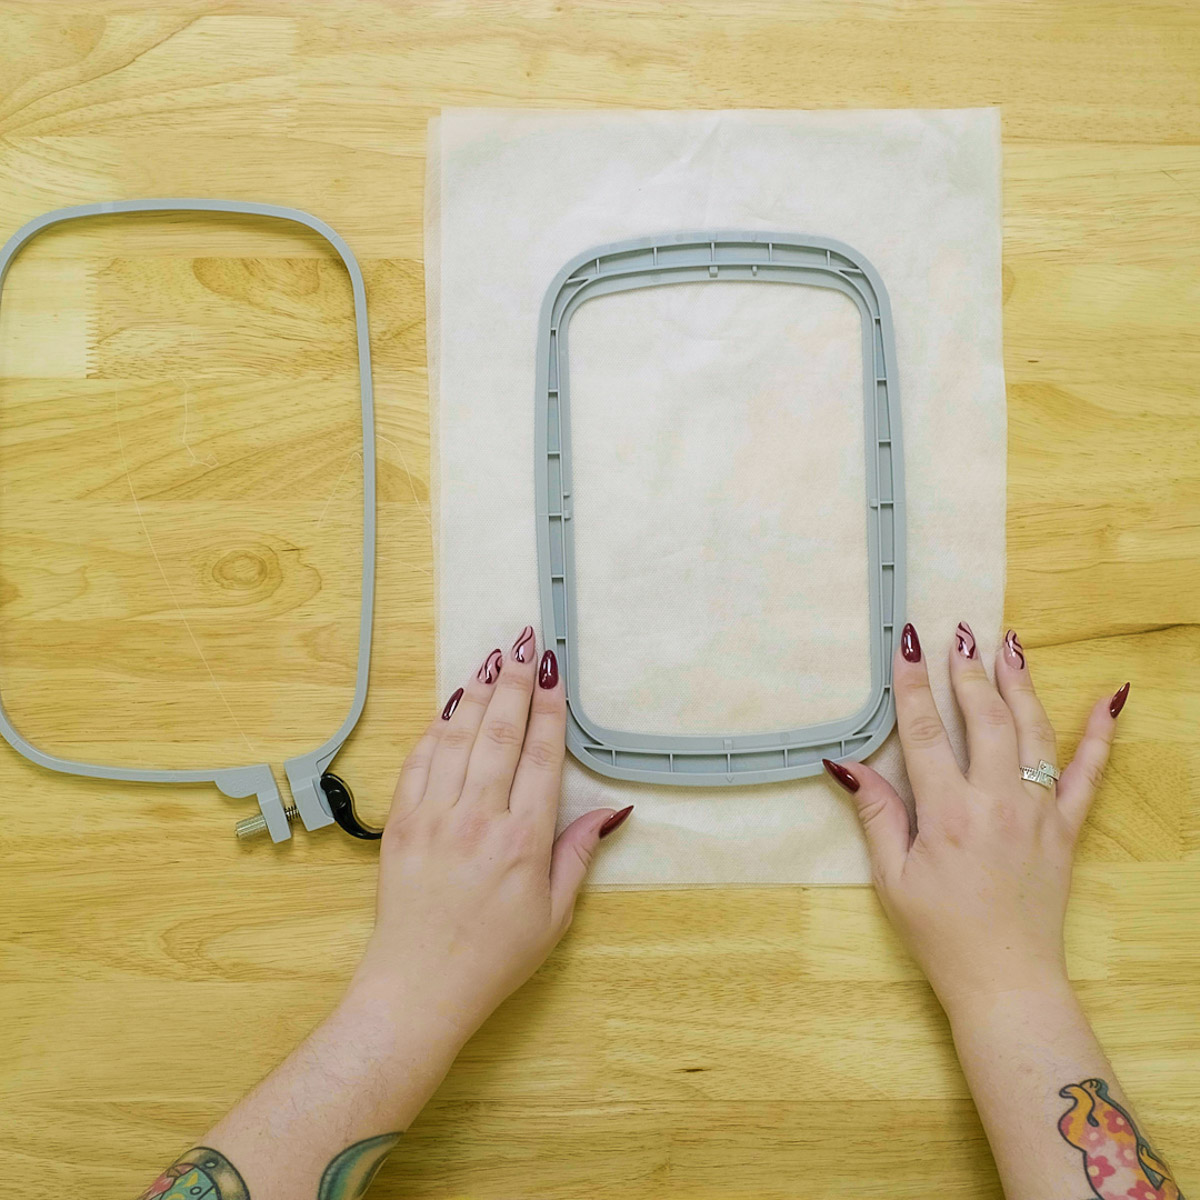
Hoop two layers of AquaMesh in the medium embroidery hoop.
Step 2: Embroidering the Patch
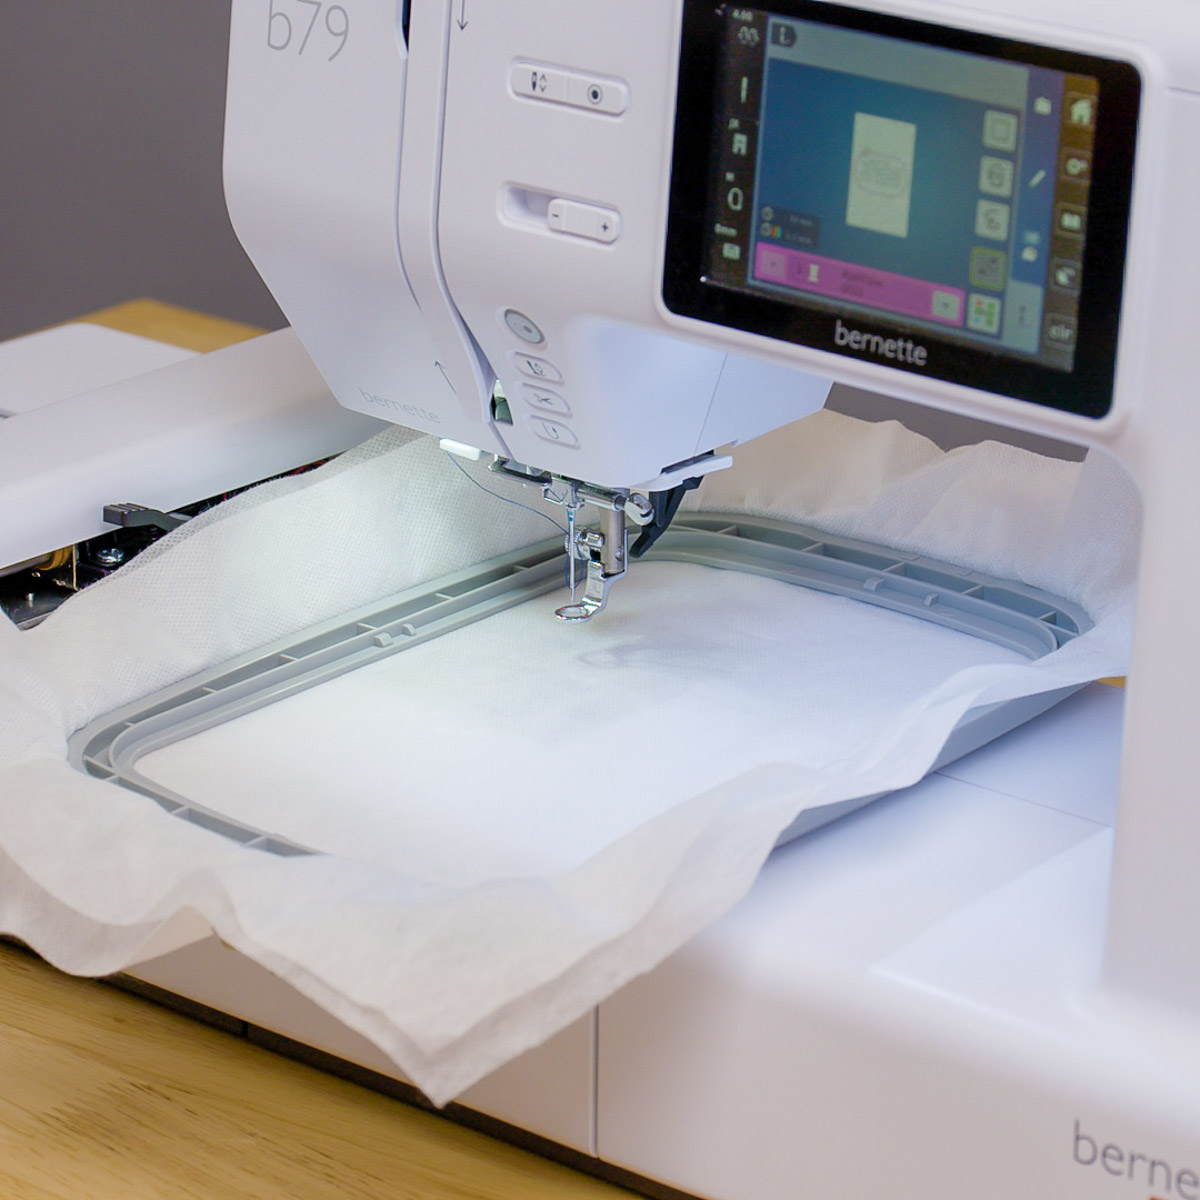
Prepare your embroidery machine by installing an 80/12 embroidery needle, OESD Bobbin Thread in the bobbin, your first embroidery thread color in the needle, and the embroidery design loaded into the machine.
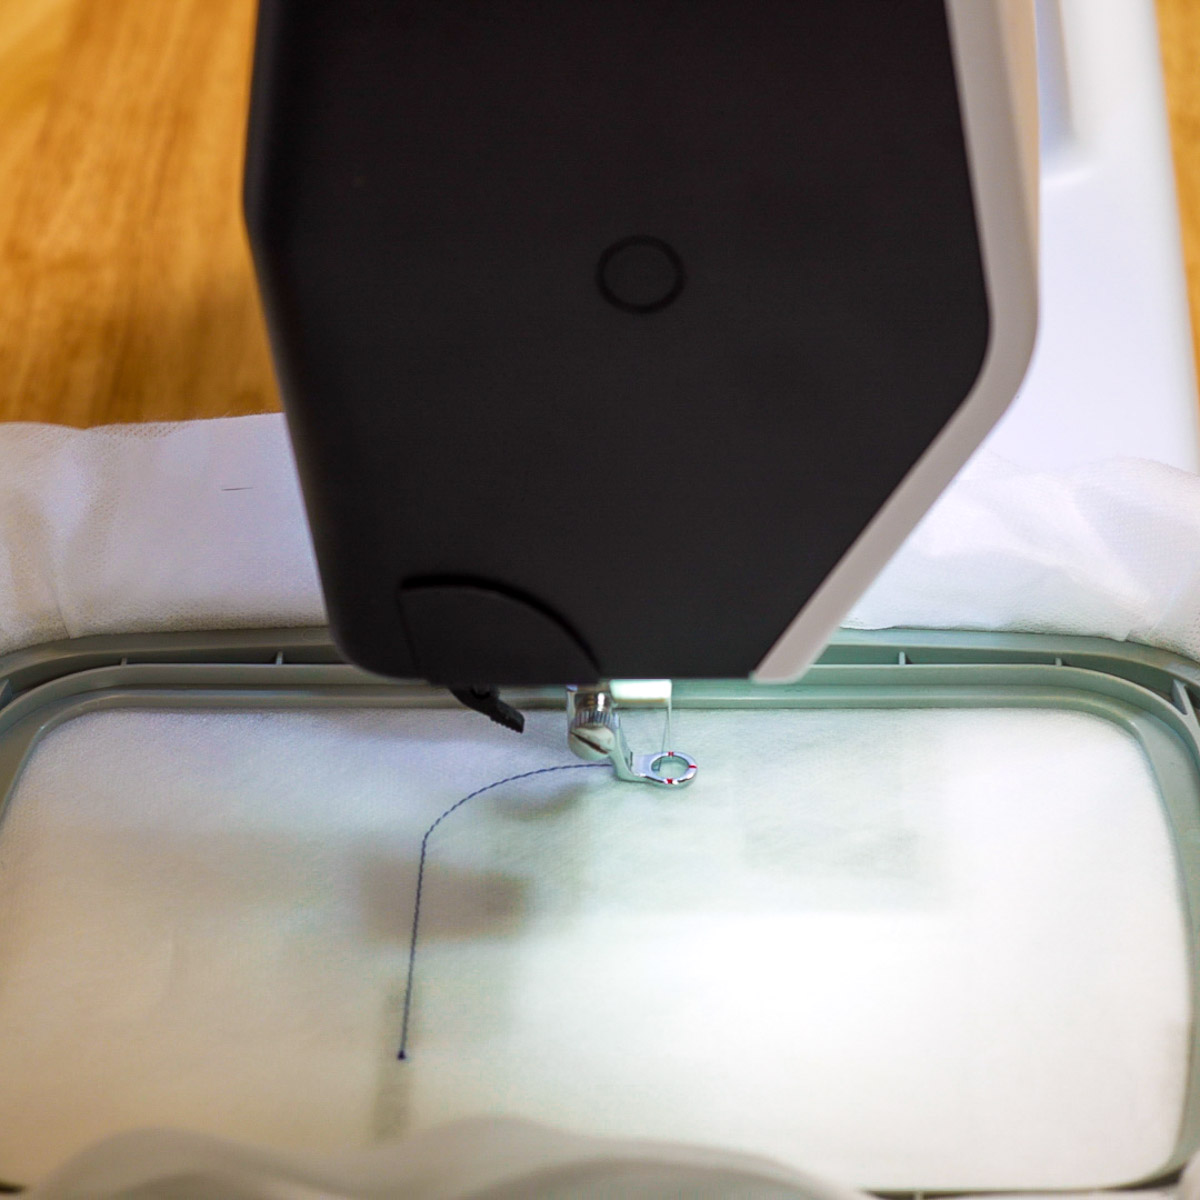
Stitch out the first placement stitch.
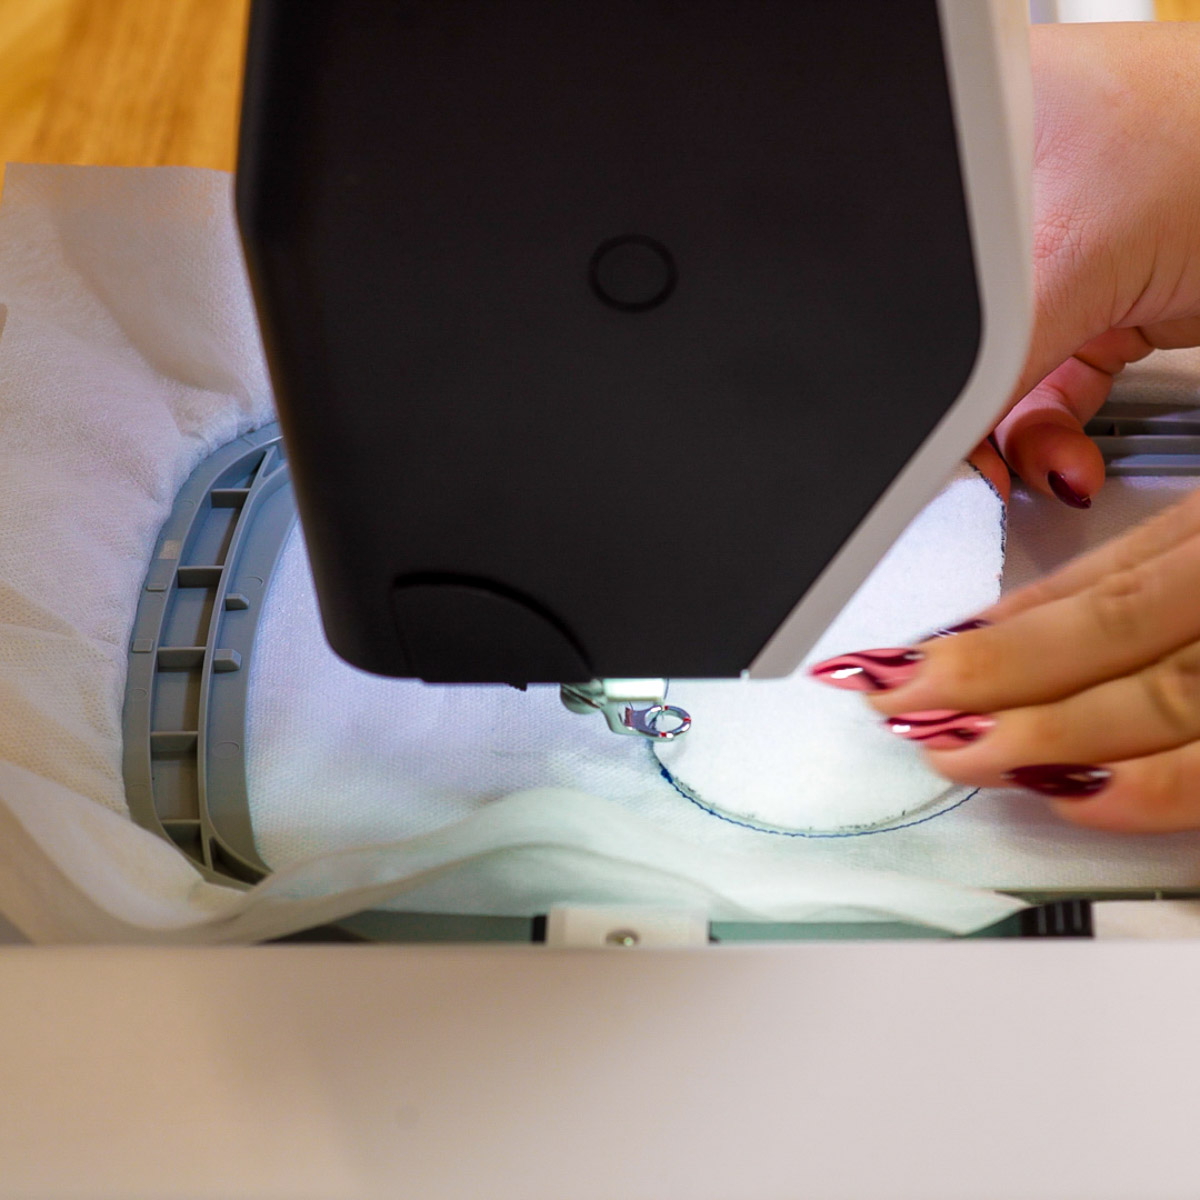
Spray temporary adhesive on the front and back of the fiber form piece. Place the fiber form within the placement stitch.
Tip: Using Fiber form will result in a sturdier, thicker patch. If you’d like a patch that is less stiff, you can omit the fiber form step and replace it with Stabilstick CutAway. You can omit the additional stabilizer entirely, though you will want to stitch out a test patch to ensure your stitching still looks great.
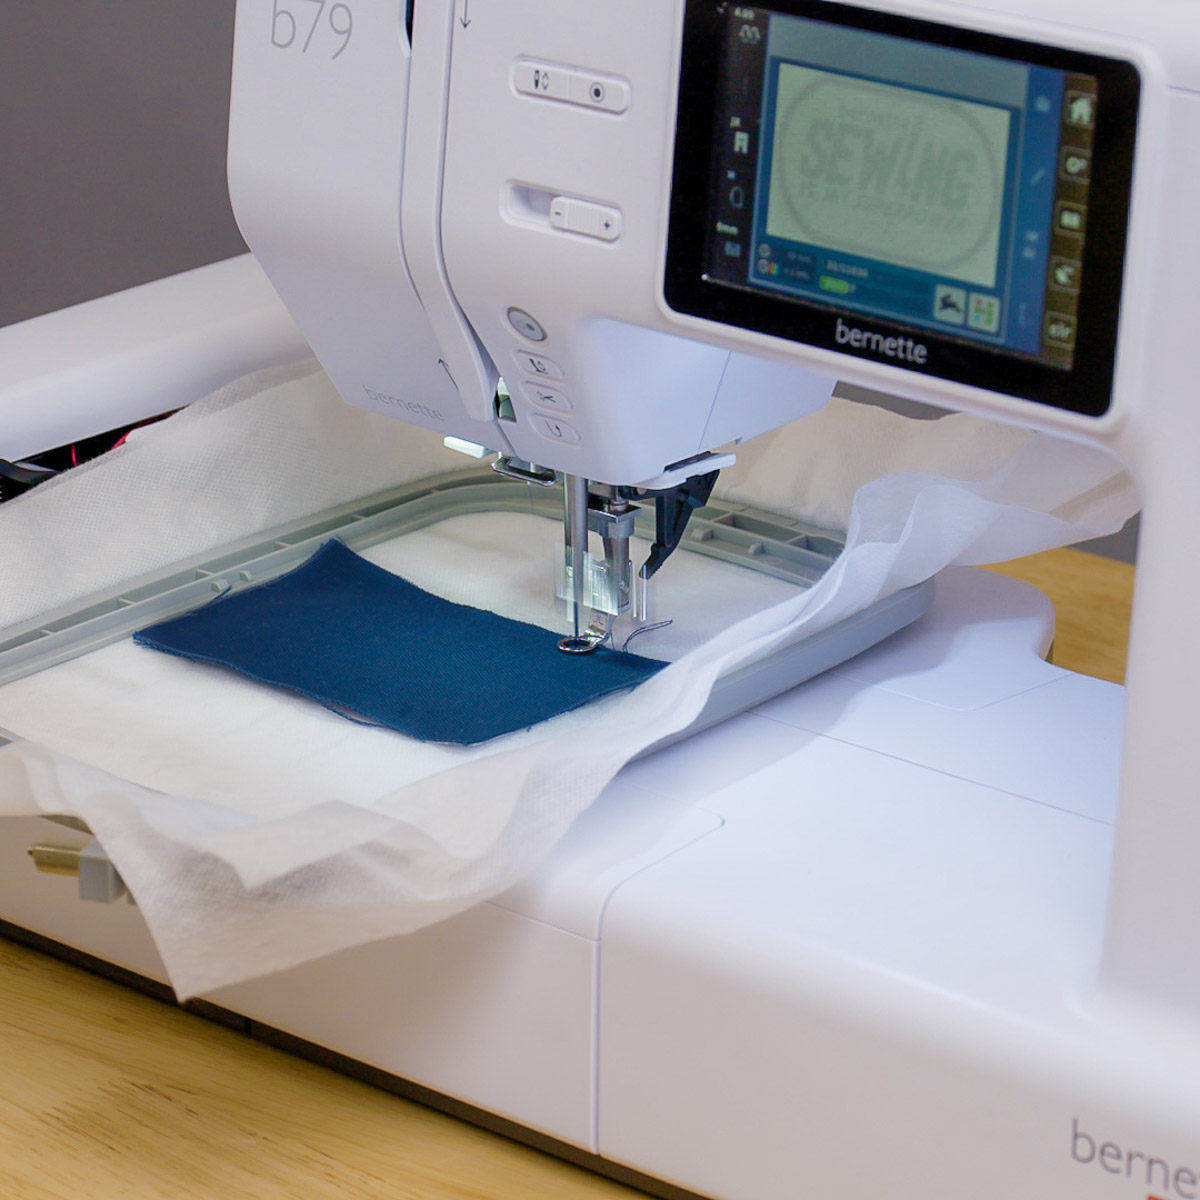
Place the twill fabric piece, right-side up, over the fiber form and placement stitch. Stitch out the cutline stitch.
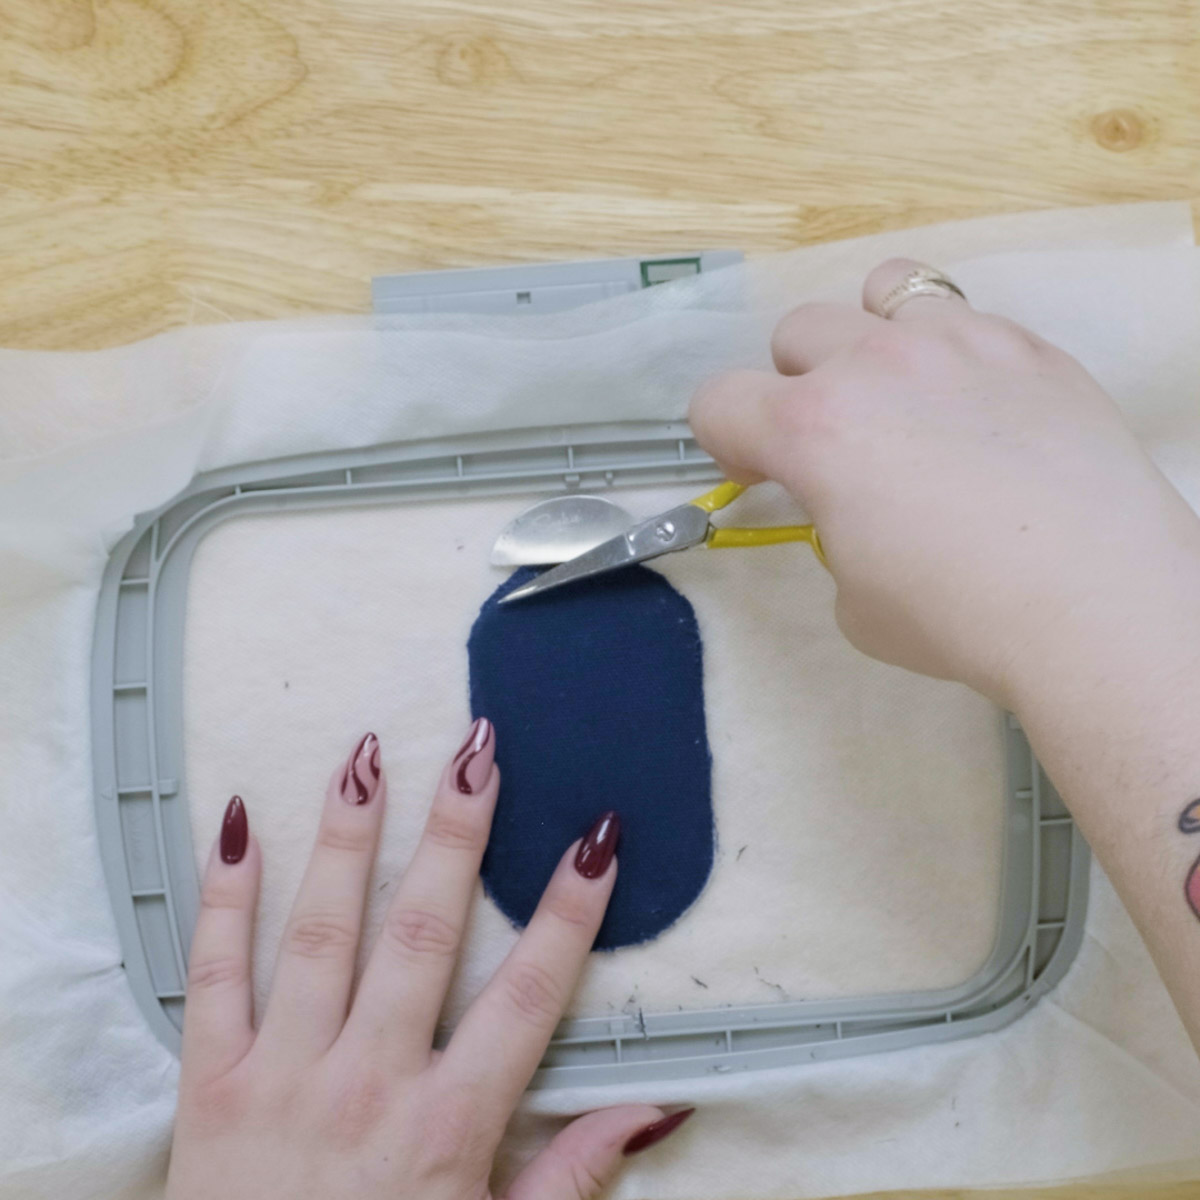
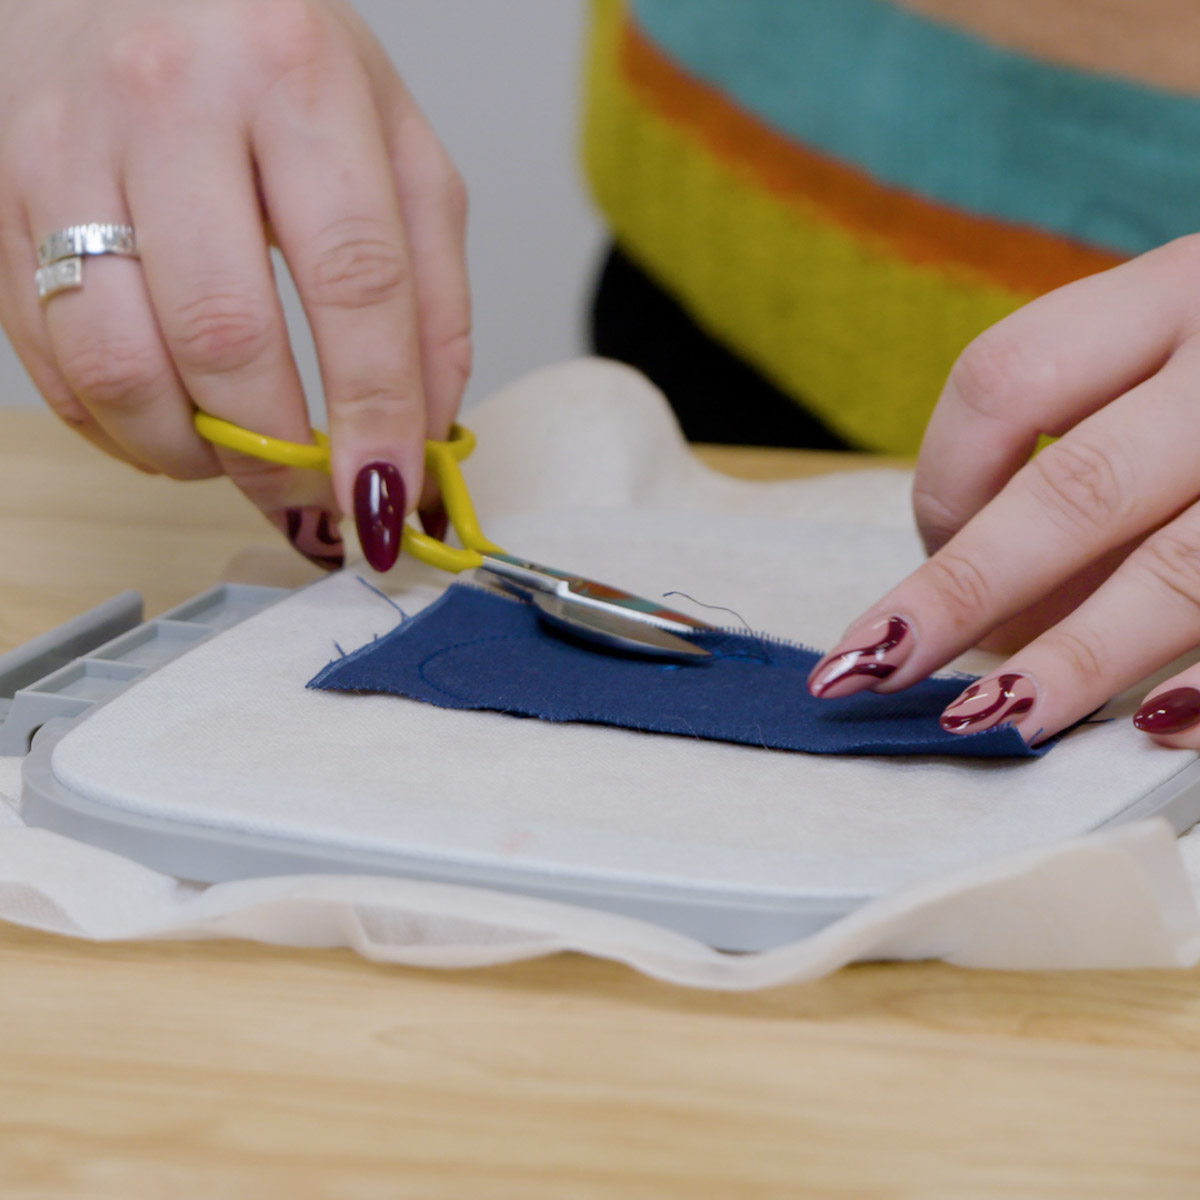
Remove the hoop from the machine and gently trim away excess fabric around the cutline.
It’s important to do this on a flat, sturdy surface to ensure you do not poke through the stabilizer or cut away too much fabric.
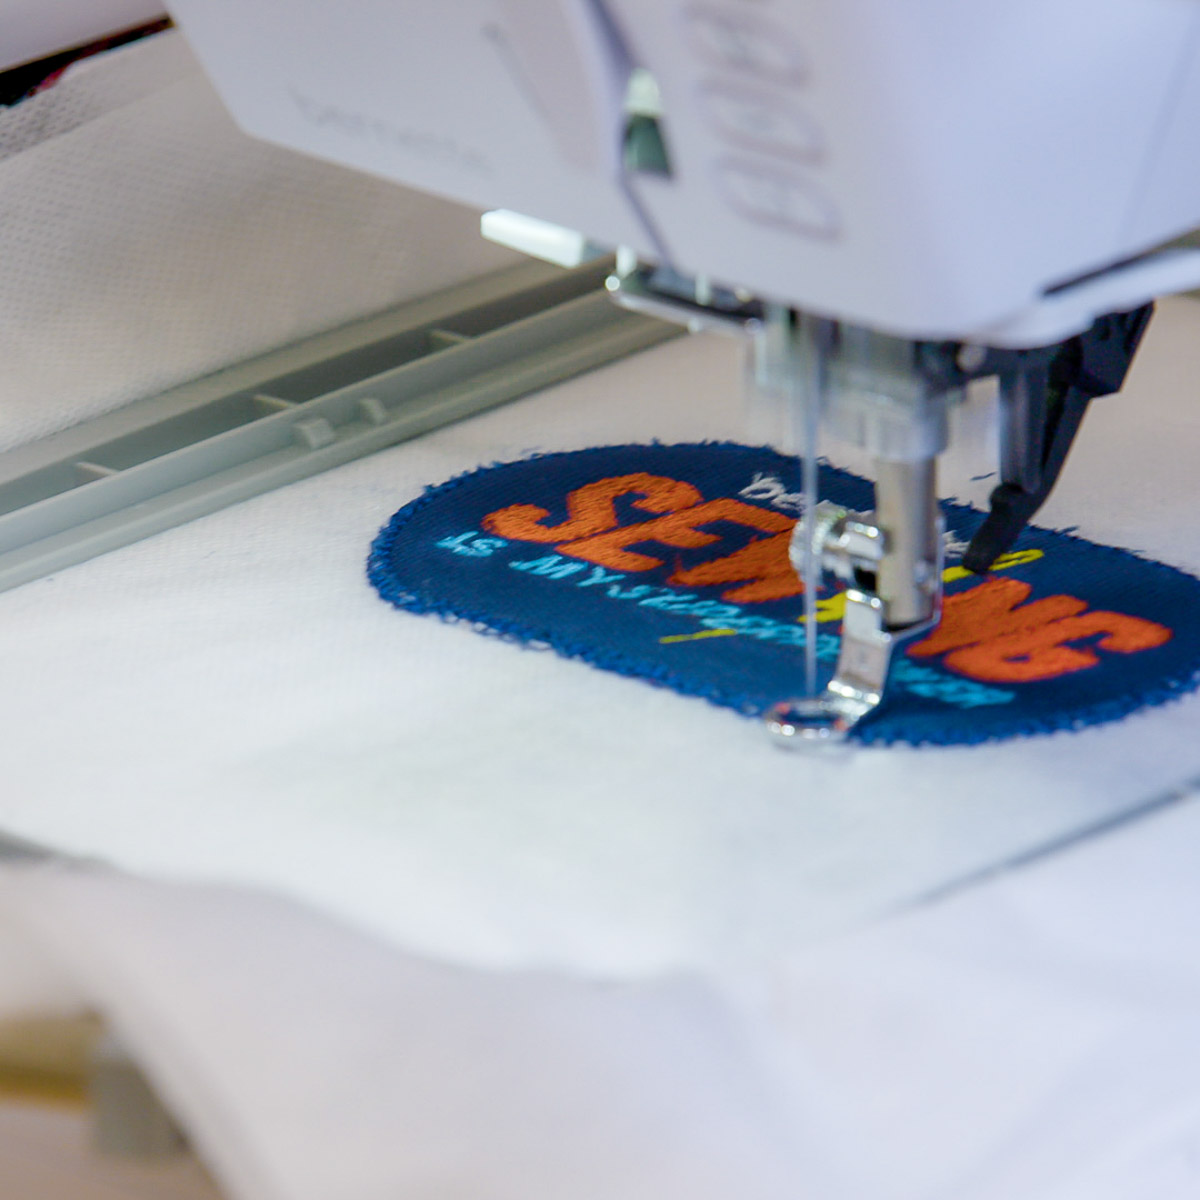
Continue stitching out the lettering on the patch. Remove the hoop when all the patch lettering has been completed.
Remove the hoop from the machine and bring it to a work surface. Turn the hoop over and trim any long threads.
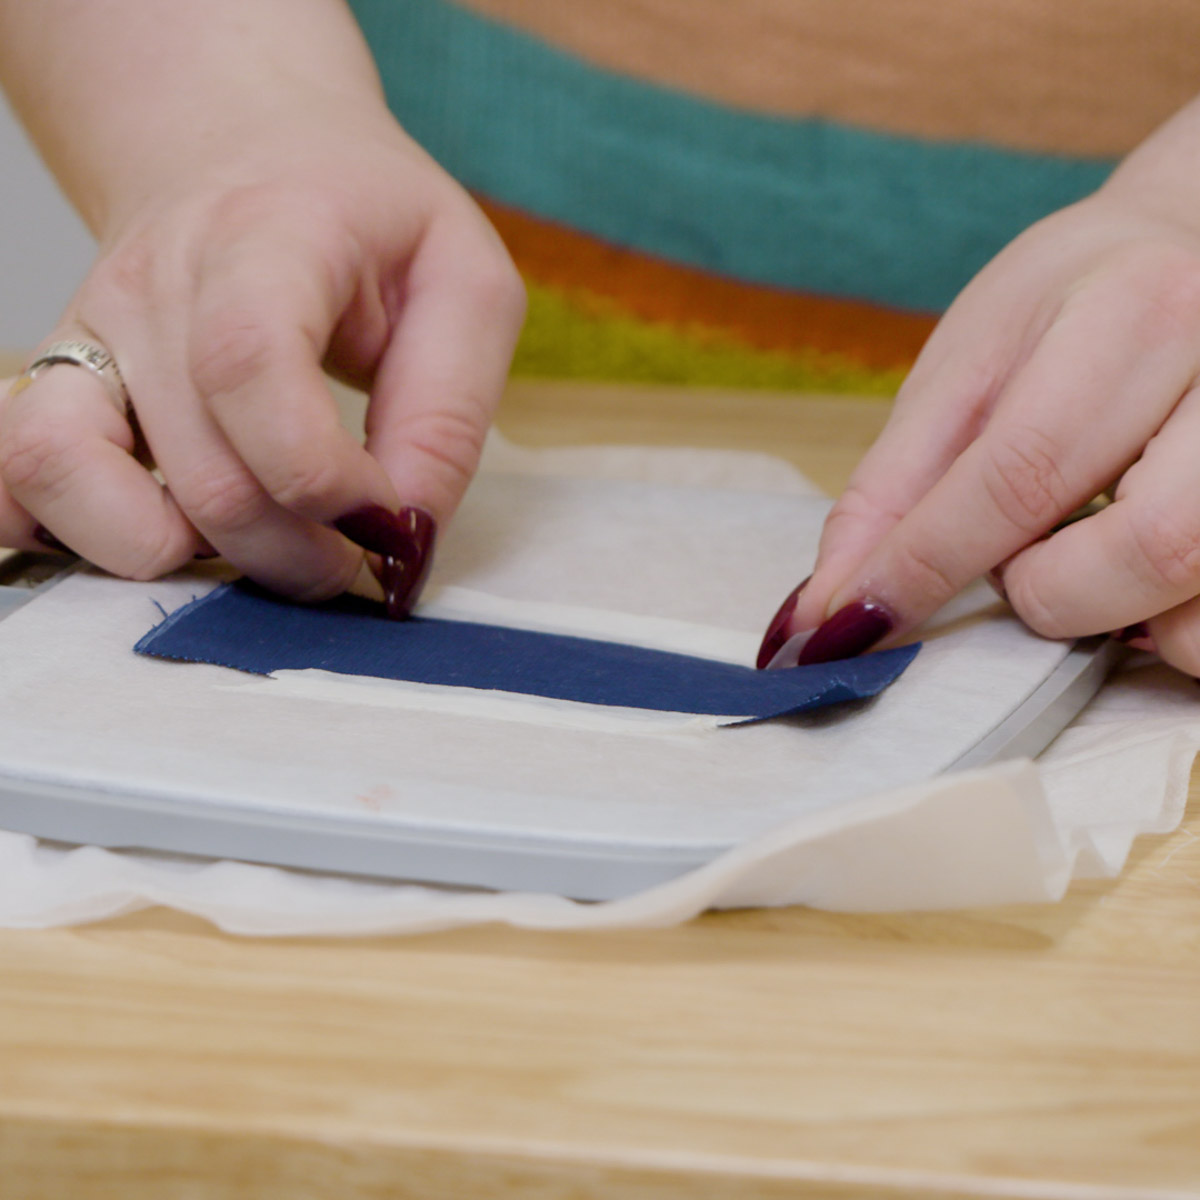
Tape the second piece of twill to the back of the hoop, being careful not to get the tape in the way of the cutline that will be embroidered next.
Return the hoop to the machine and stitch out the cutline.
Remove the hoop from the machine and cut away the excess fabric just as you did with the front of the patch, once again being careful not to damage the patch or the stabilizer.
Wind a bobbin with embroidery thread to match the thread color you chose for the satin stitch around the patch. I used a navy embroidery thread on my patch.
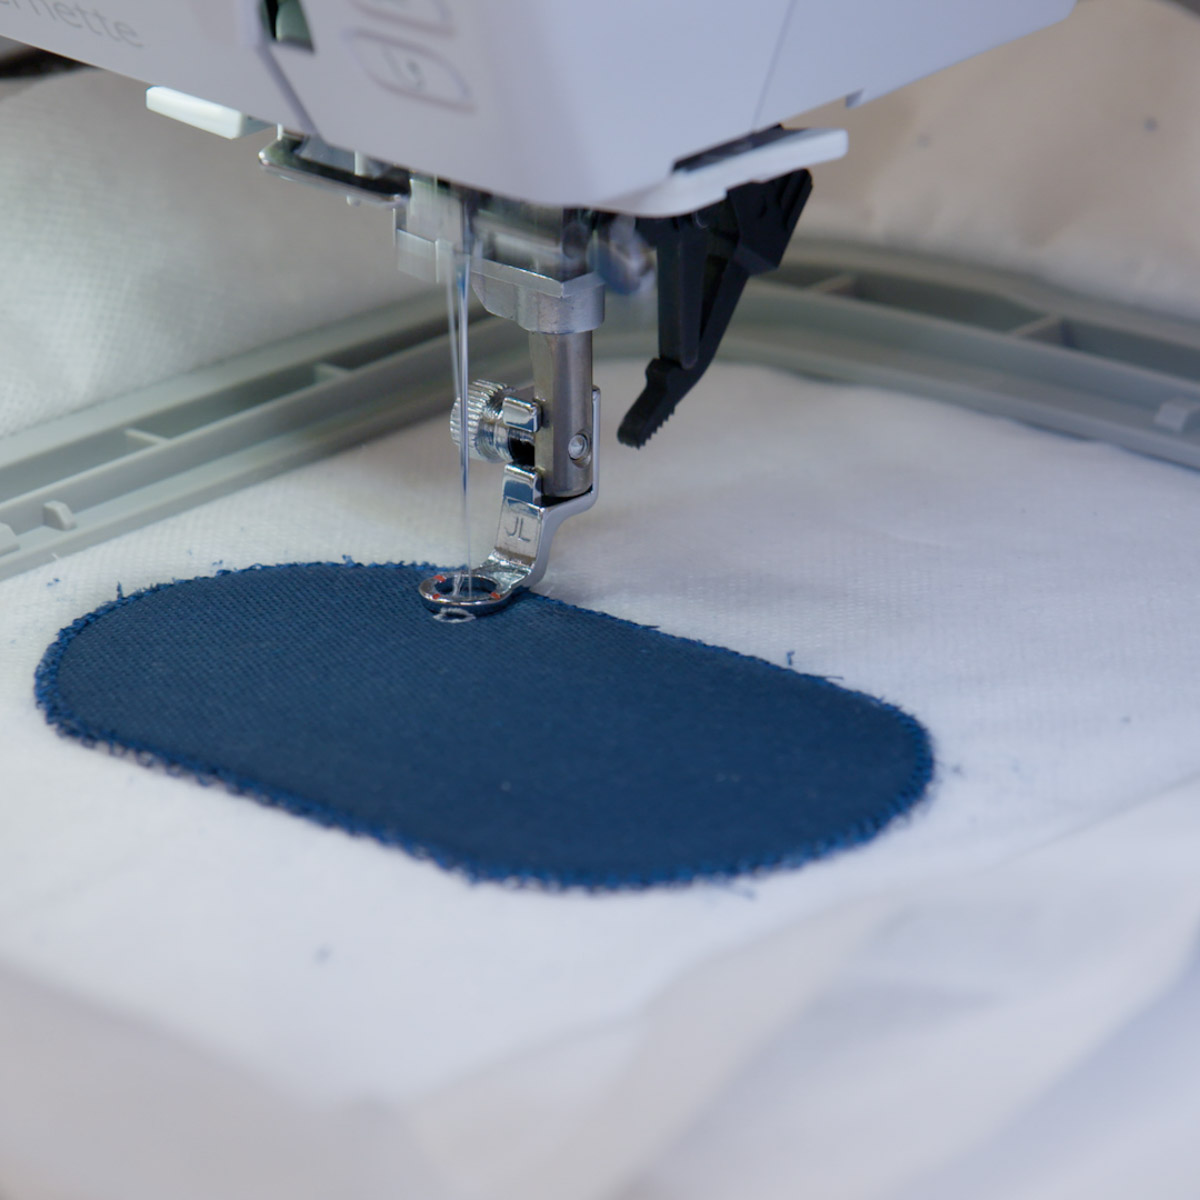
Return the hoop to the machine and stitch out the final satin stitch around the design.
Step 3: Finishing the Patch
When the embroidery has finished, remove the hoop from the machine and un-hoop the stabilizer.
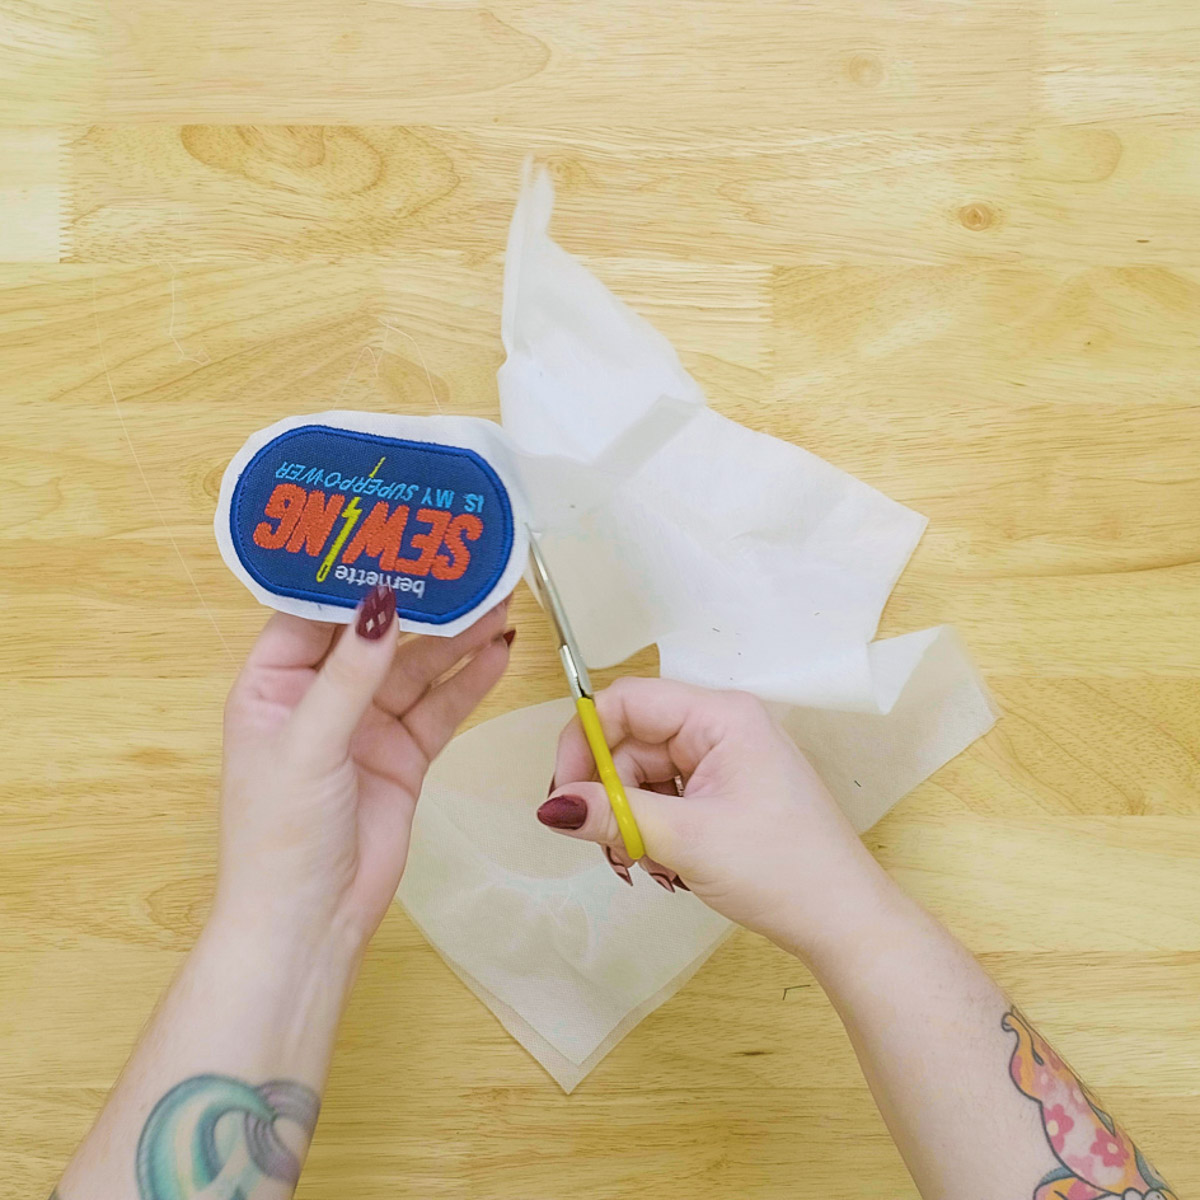
Cut away the excess stabilizer, leaving about a 1/2” around the patch.
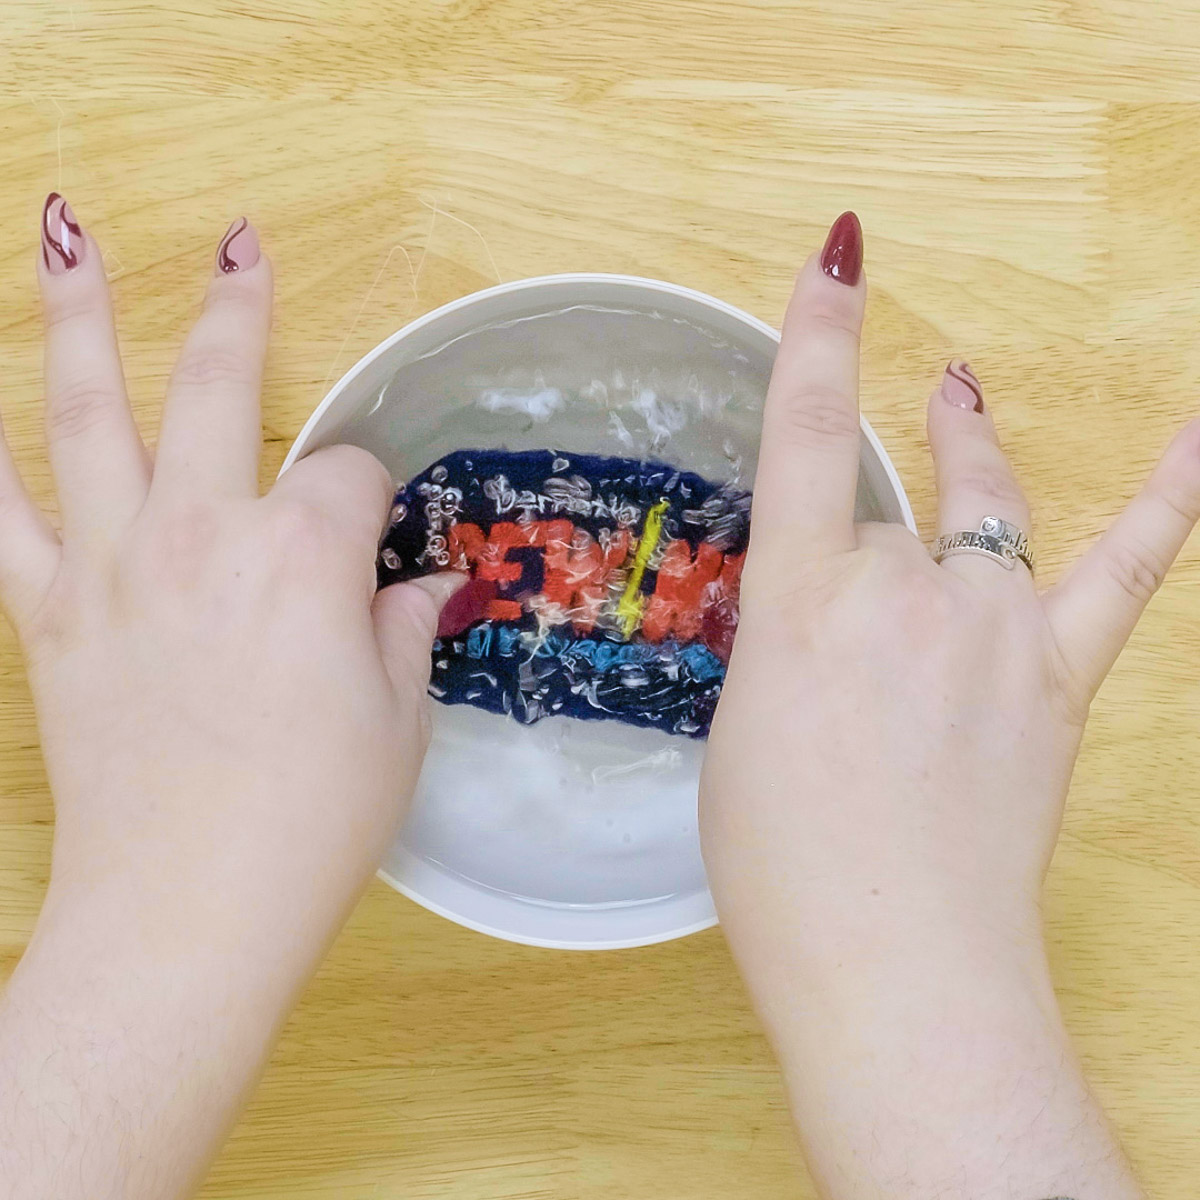
Submerge the patch in a bowl of warm water or under running water. Rinse away all the AquaMesh stabilizer.
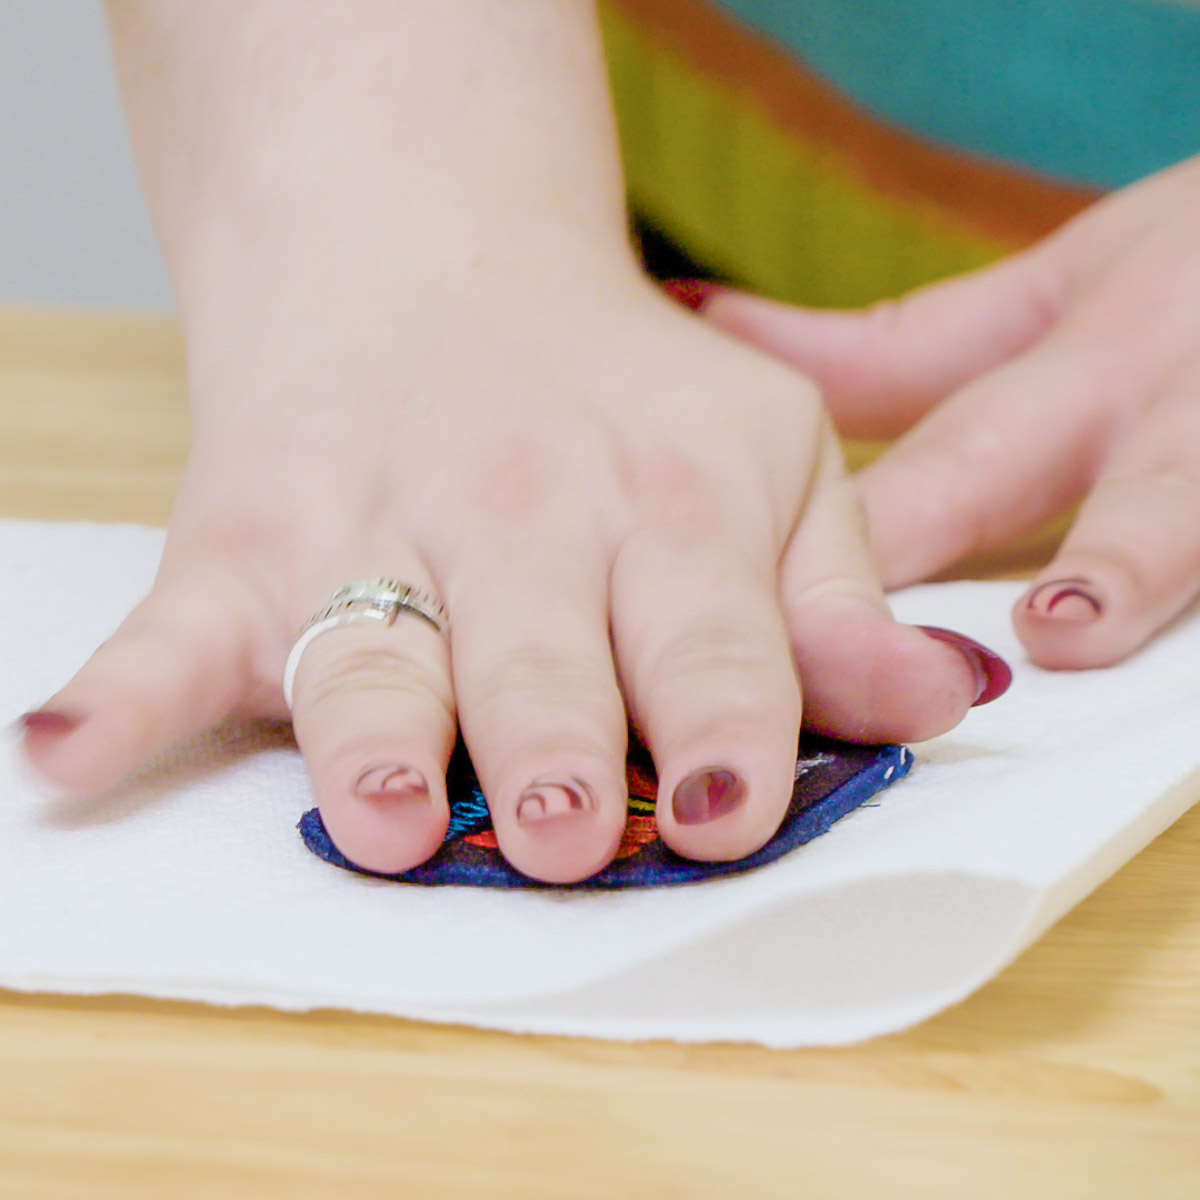
With a clean cloth or paper towel, pat the patch dry.
Allow the patch to dry completely before moving on to the next steps. I like to speed this process up by placing the patch in front of a fan in my sewing room.
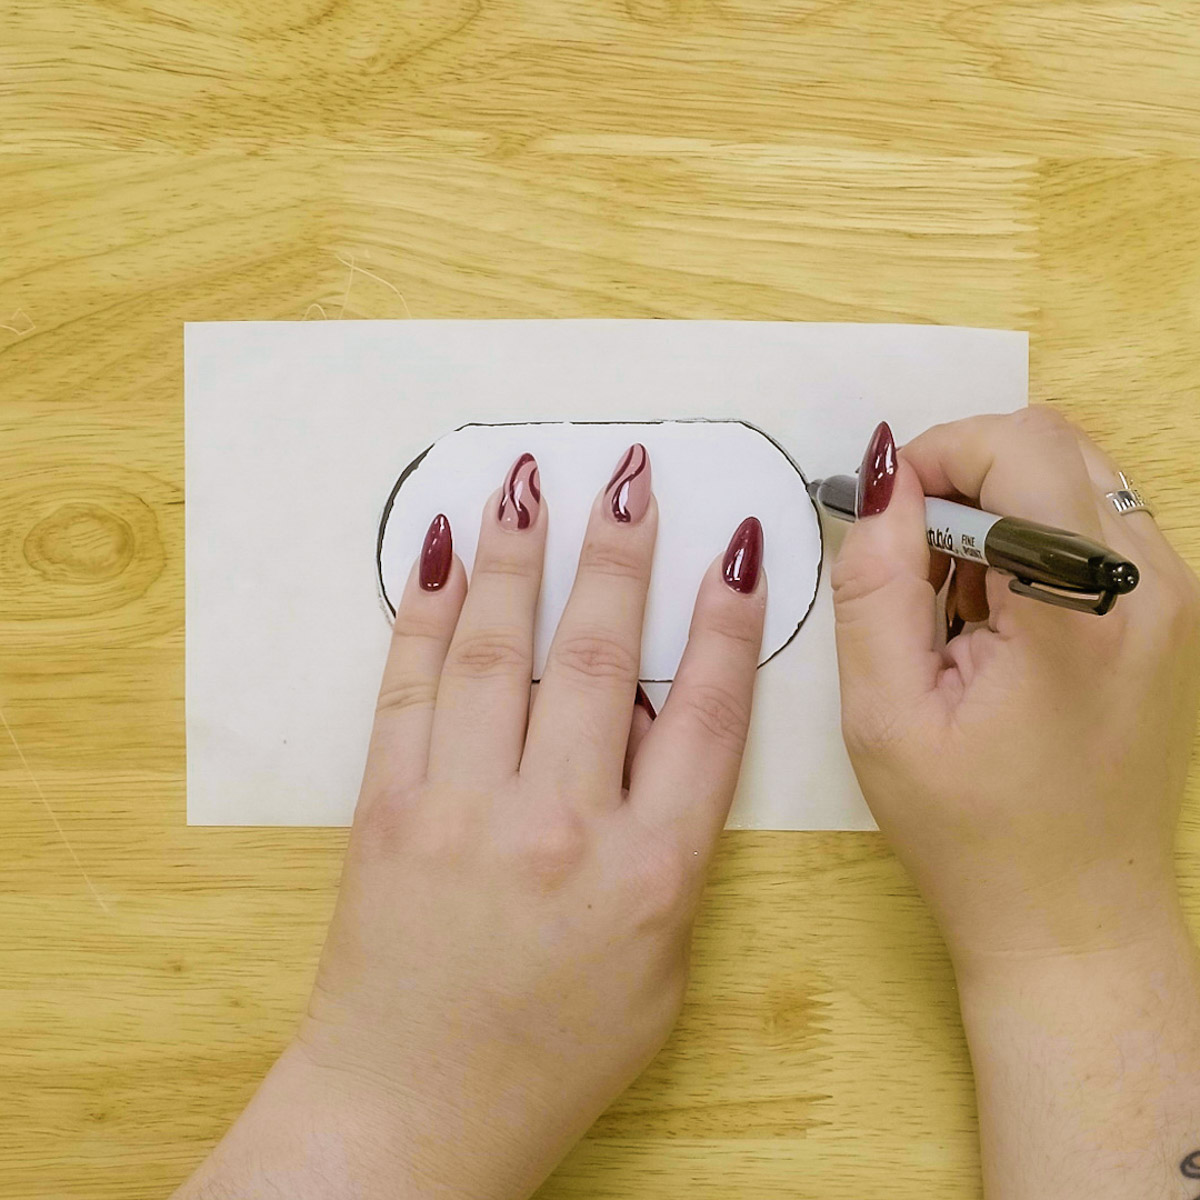
Trace the patch appliqué shape onto a piece of OESD Fuse & Seal.
Cut out the shape. For this step, I tend to go 1/4-1/2” smaller than the drawn shape to ensure the fusible shape stays hidden on the wrong side of the patch.
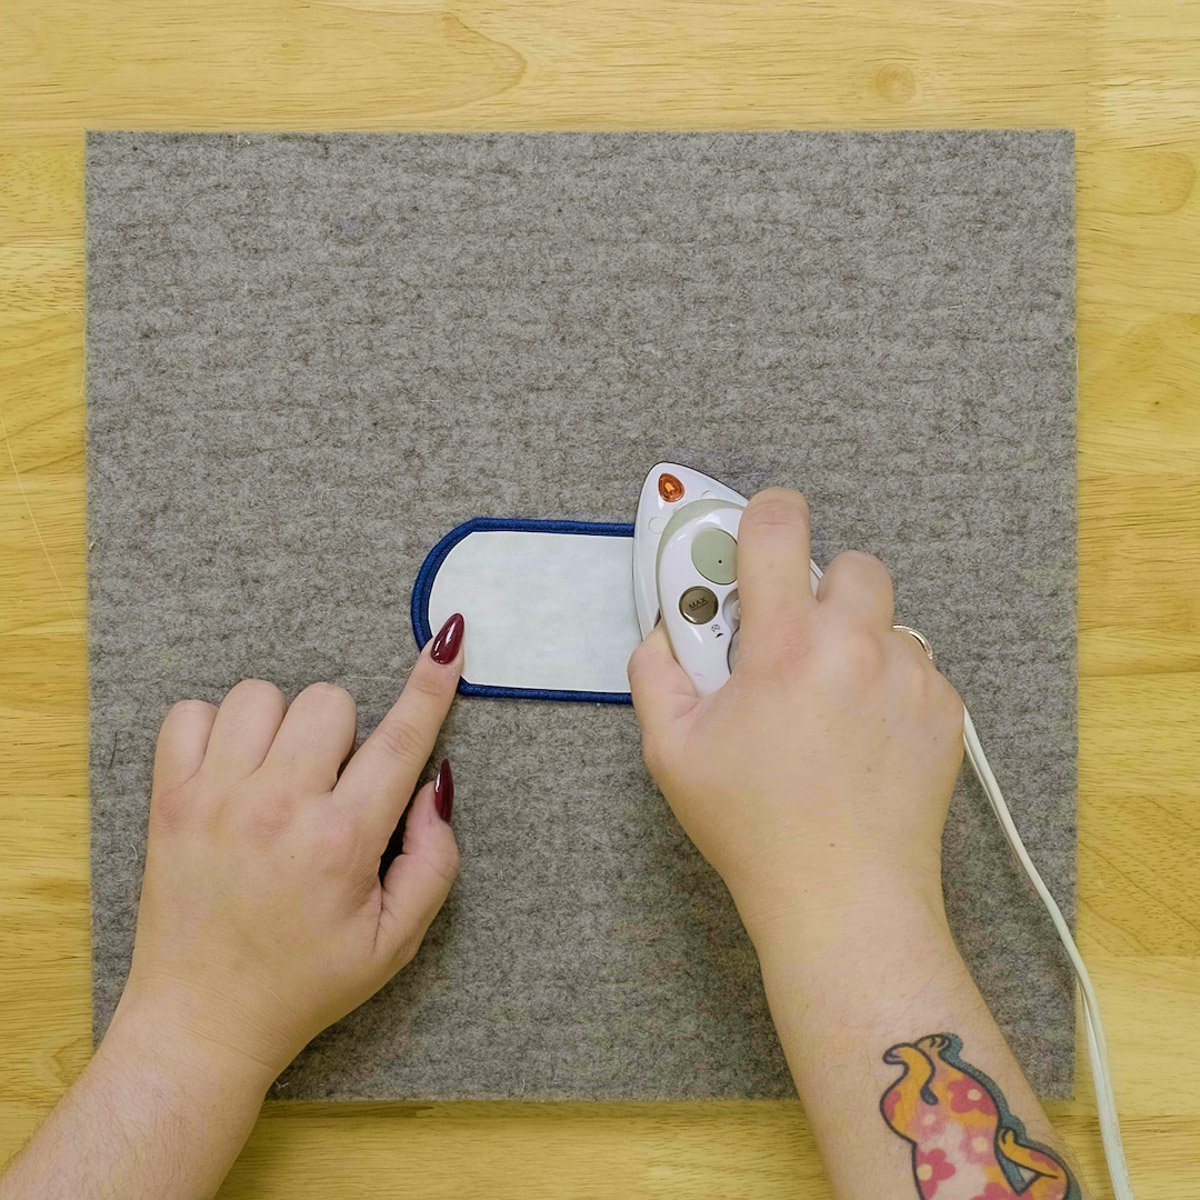
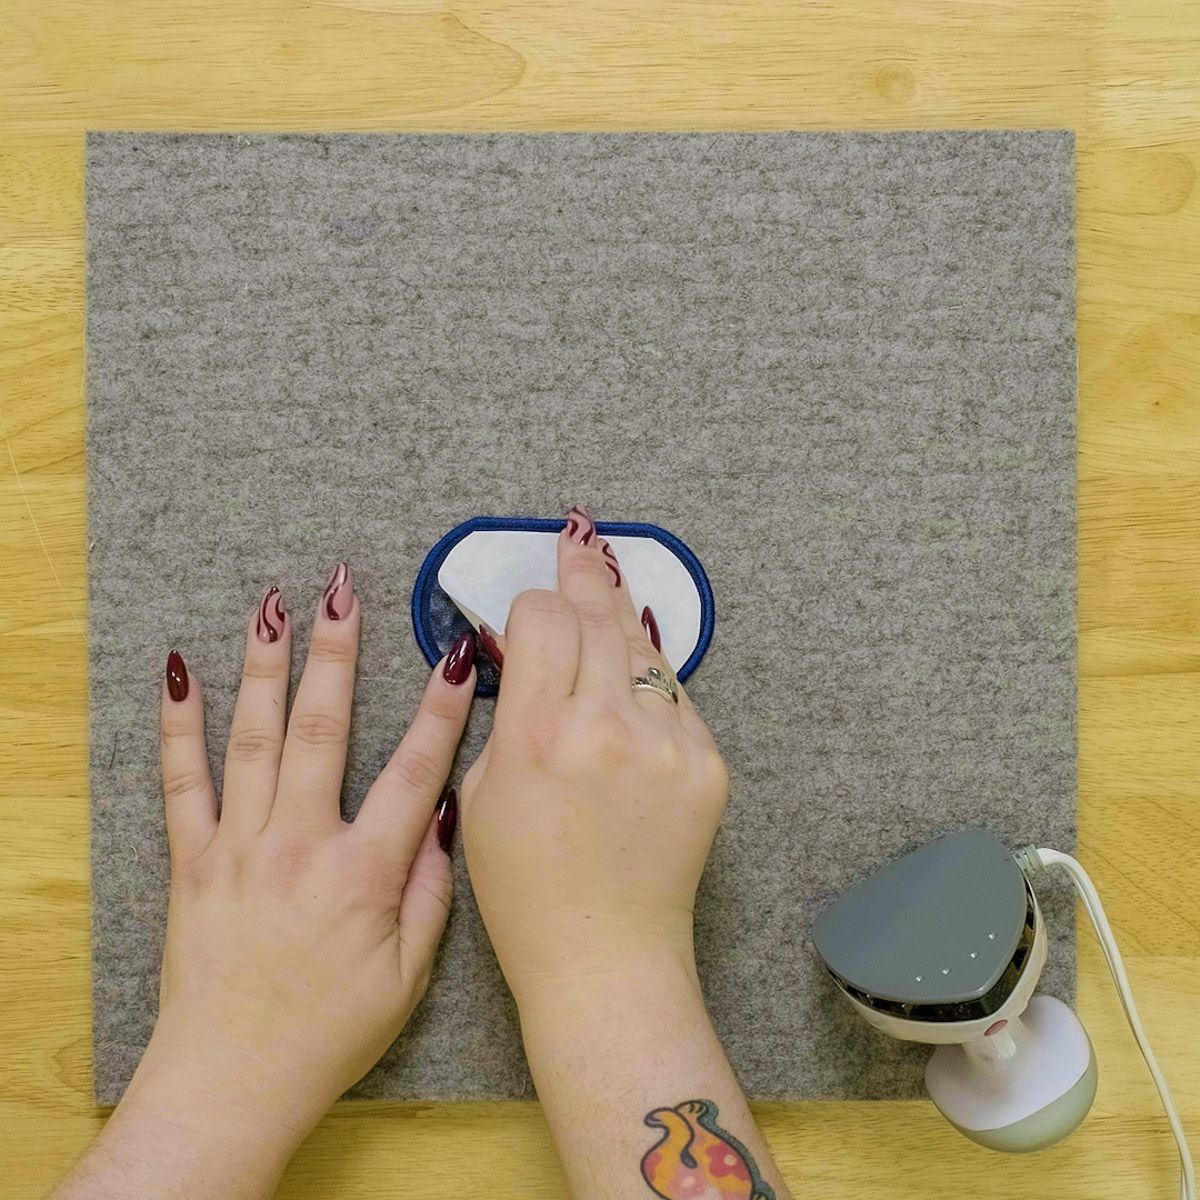
Fuse the Fuse & Seal to the wrong side of the patch according to the package instructions.
Once fully cooled, remove the paper backing and you’re all set!
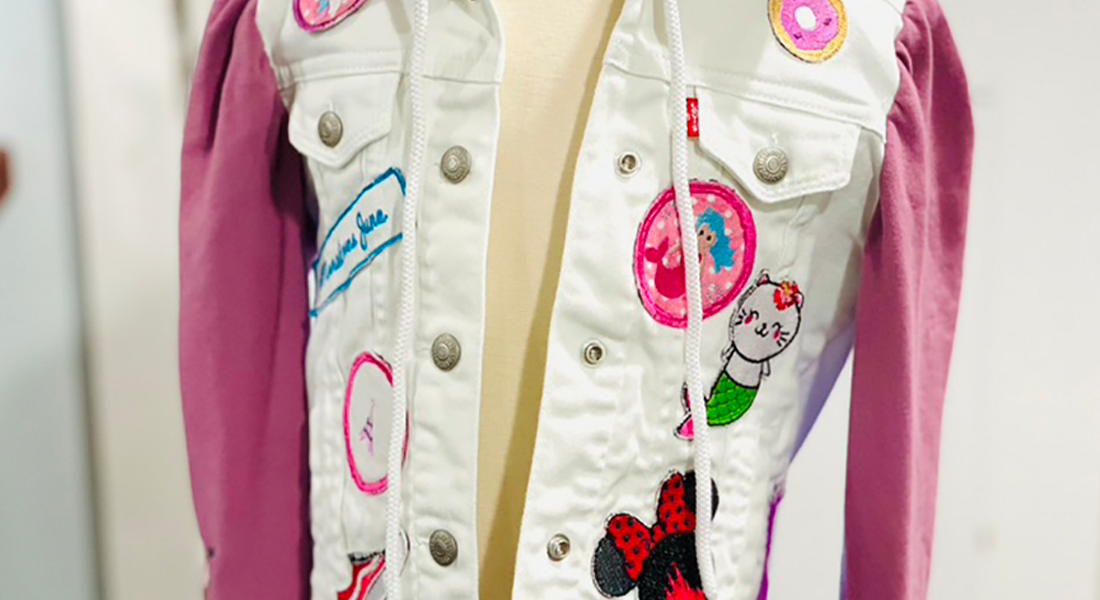
You now have a great iron-on patch that you can place on any of your favorite accessories.
Want to make more patches? Check out these great OESD designs for more patch-making fun:
You can also check out this great tutorial on We All Sew about how to make a Leather Monogram Patch.
Hope you enjoy making your Sewing is My Super Power patch as much as I enjoyed showing you how. Can’t wait to see yours at the next con!
