Quilting and Embroidery, a Beautiful Pairing: Part 2
Welcome to Part 2 of this project! You can read about embroidering the designs in Part 1 here. I love quilting with embroidery for its rich and textured appearance. There are a few things to know to make your embroidered work look its best.
Decide On a Plan
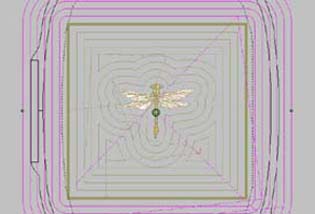
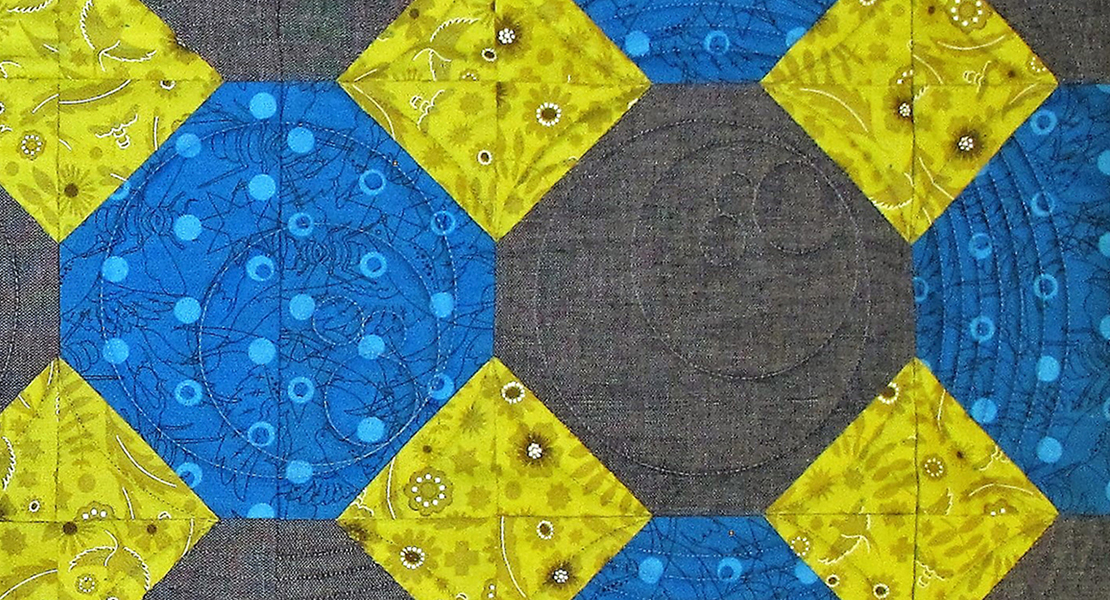
I knew I wanted my quilting to weave in with the embroidery, so I picked a few elements to incorporate into my quilting. One of the embroidery designs was a small crosshatched circle, which is a fun thing to quilt. I also wanted to incorporate the texture on some of the moth wings and the floral elements of the vines. The whole work, though, feels very organic so I was not worried too much about being perfect, except when it came to the crosshatching.
Stabilizing the Work
Before I got to the really fun bits, I knew I needed to stabilize around my embroidery. My preference is to use a very thin thread (in this case, a 100 wt spun polyester called Invisafil) that blends into the background to outline each embroidered motif. As you can see in the photo below when compared to a 50 wt thread, it is really quit thin!
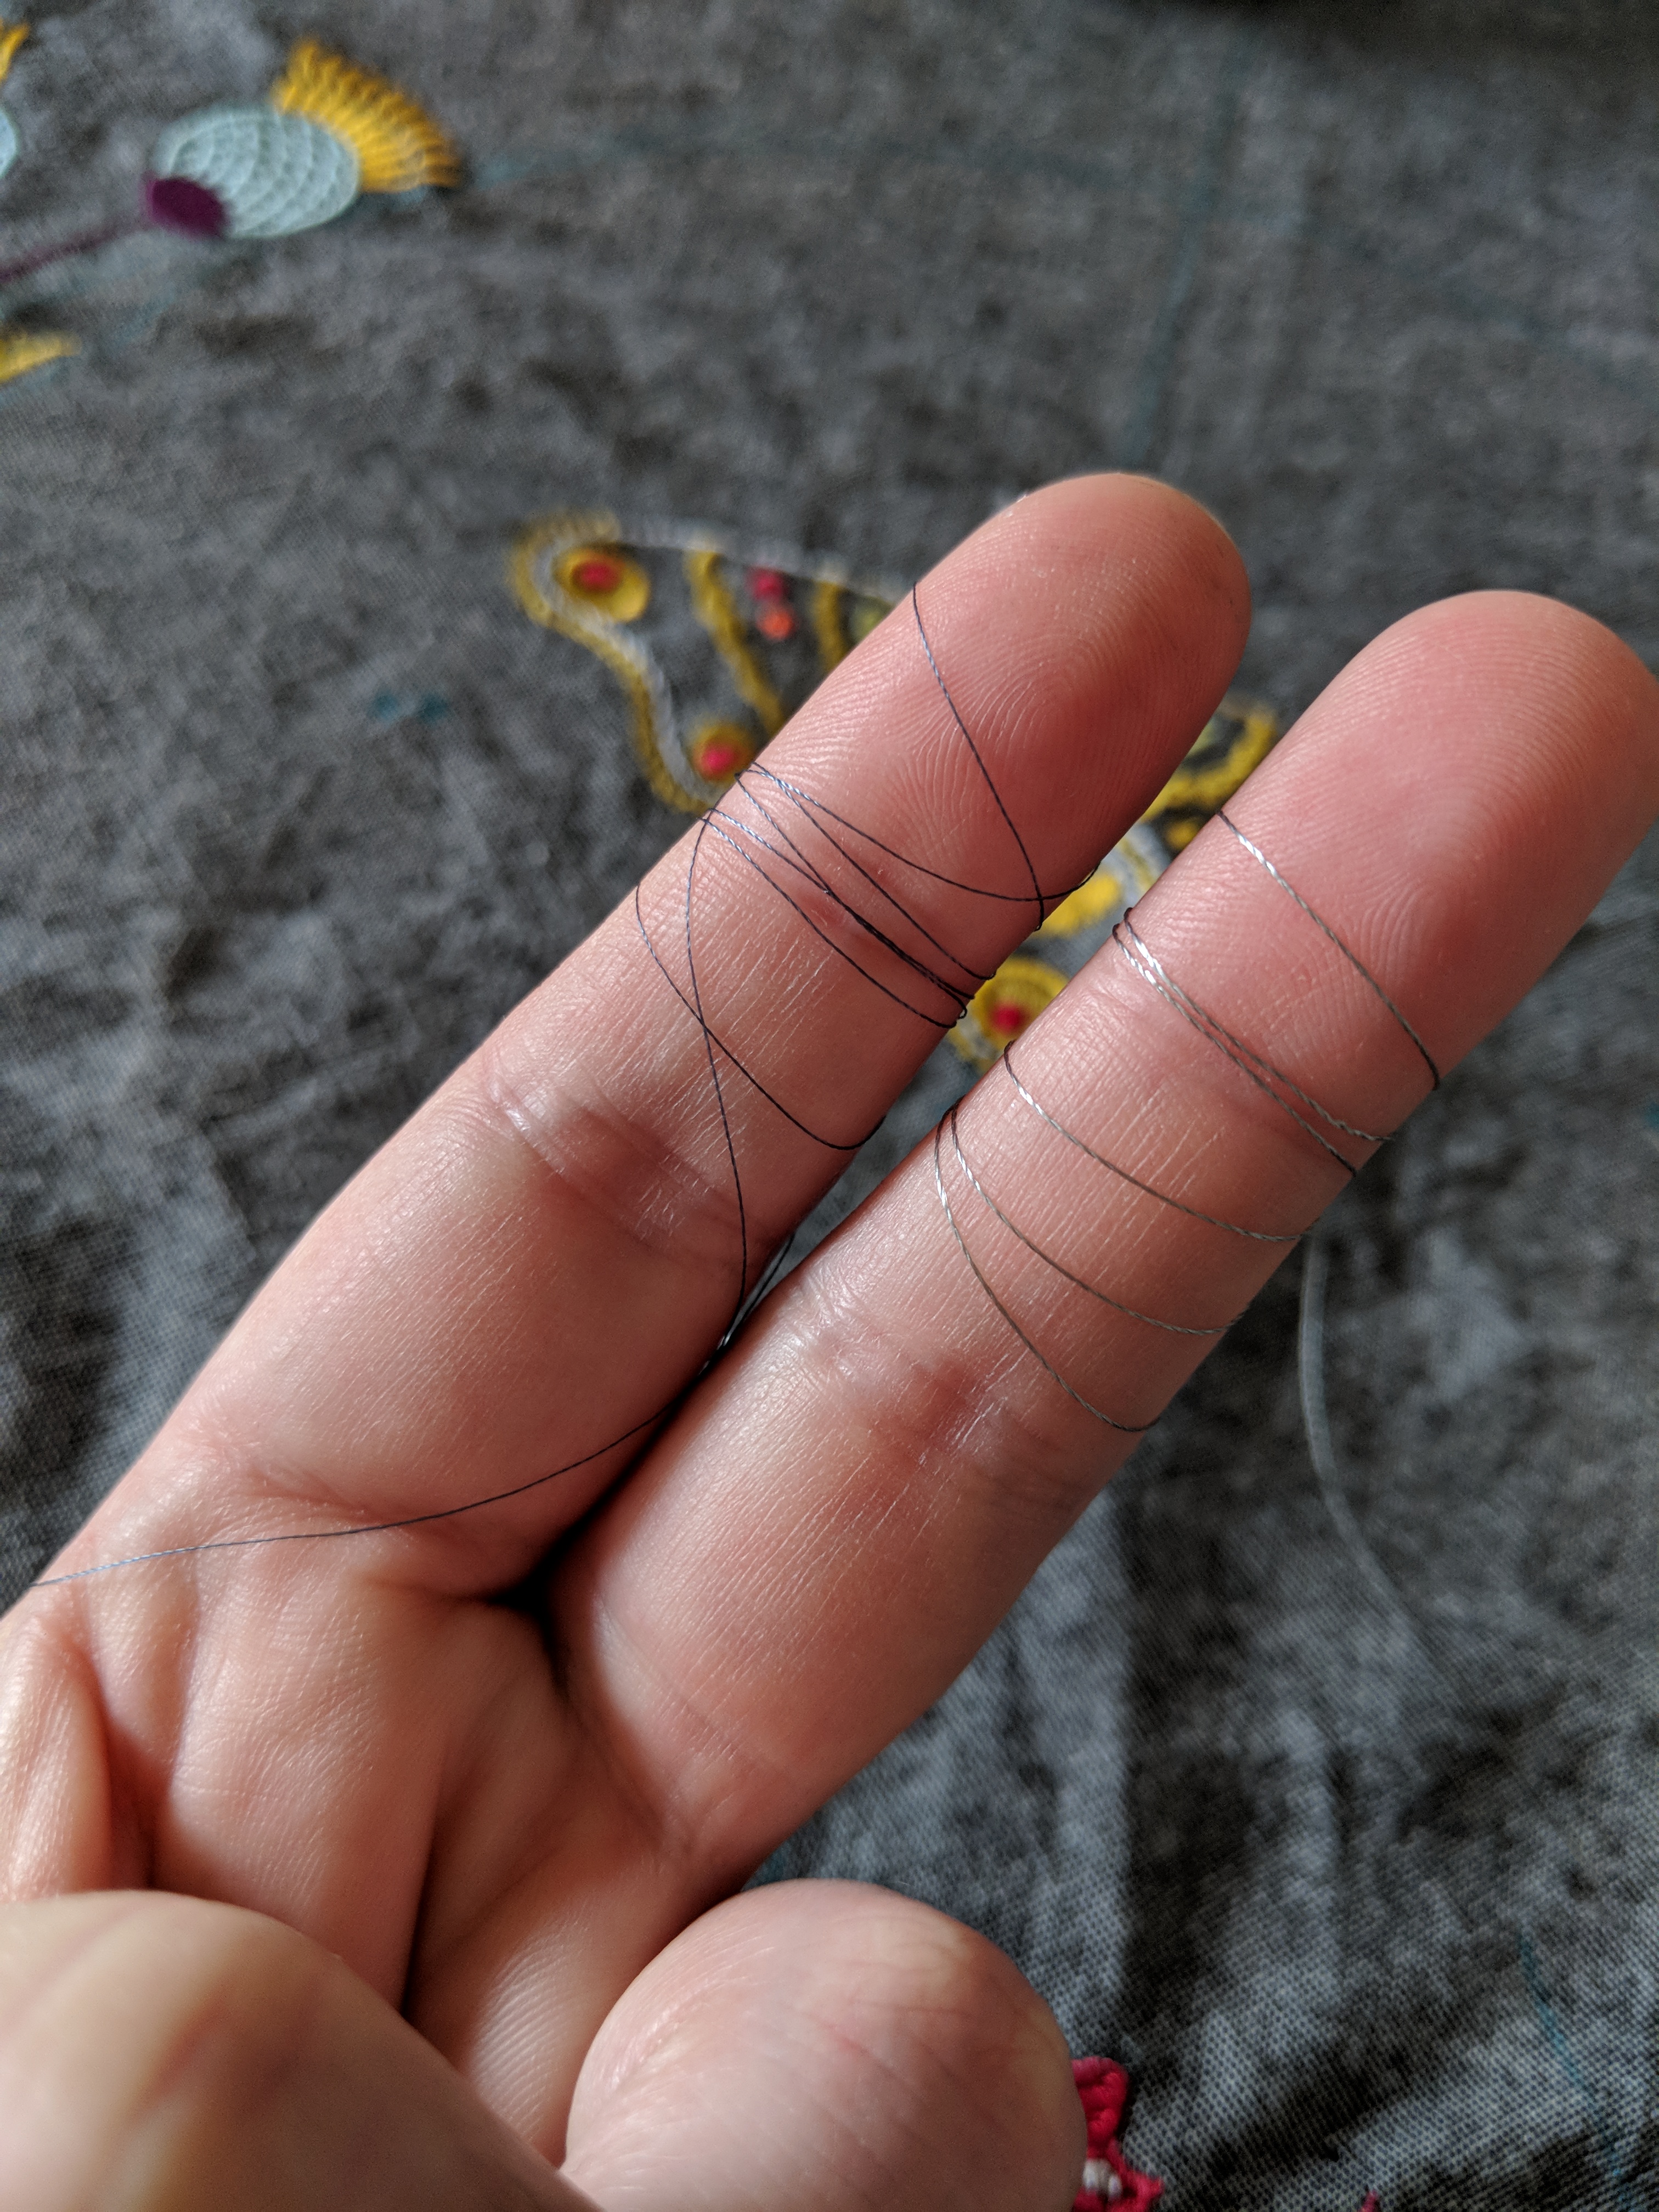
Invisafil is on the left, and the much thicker 50 wt is on the right. I will use the 50 wt for quilting my designs, later.
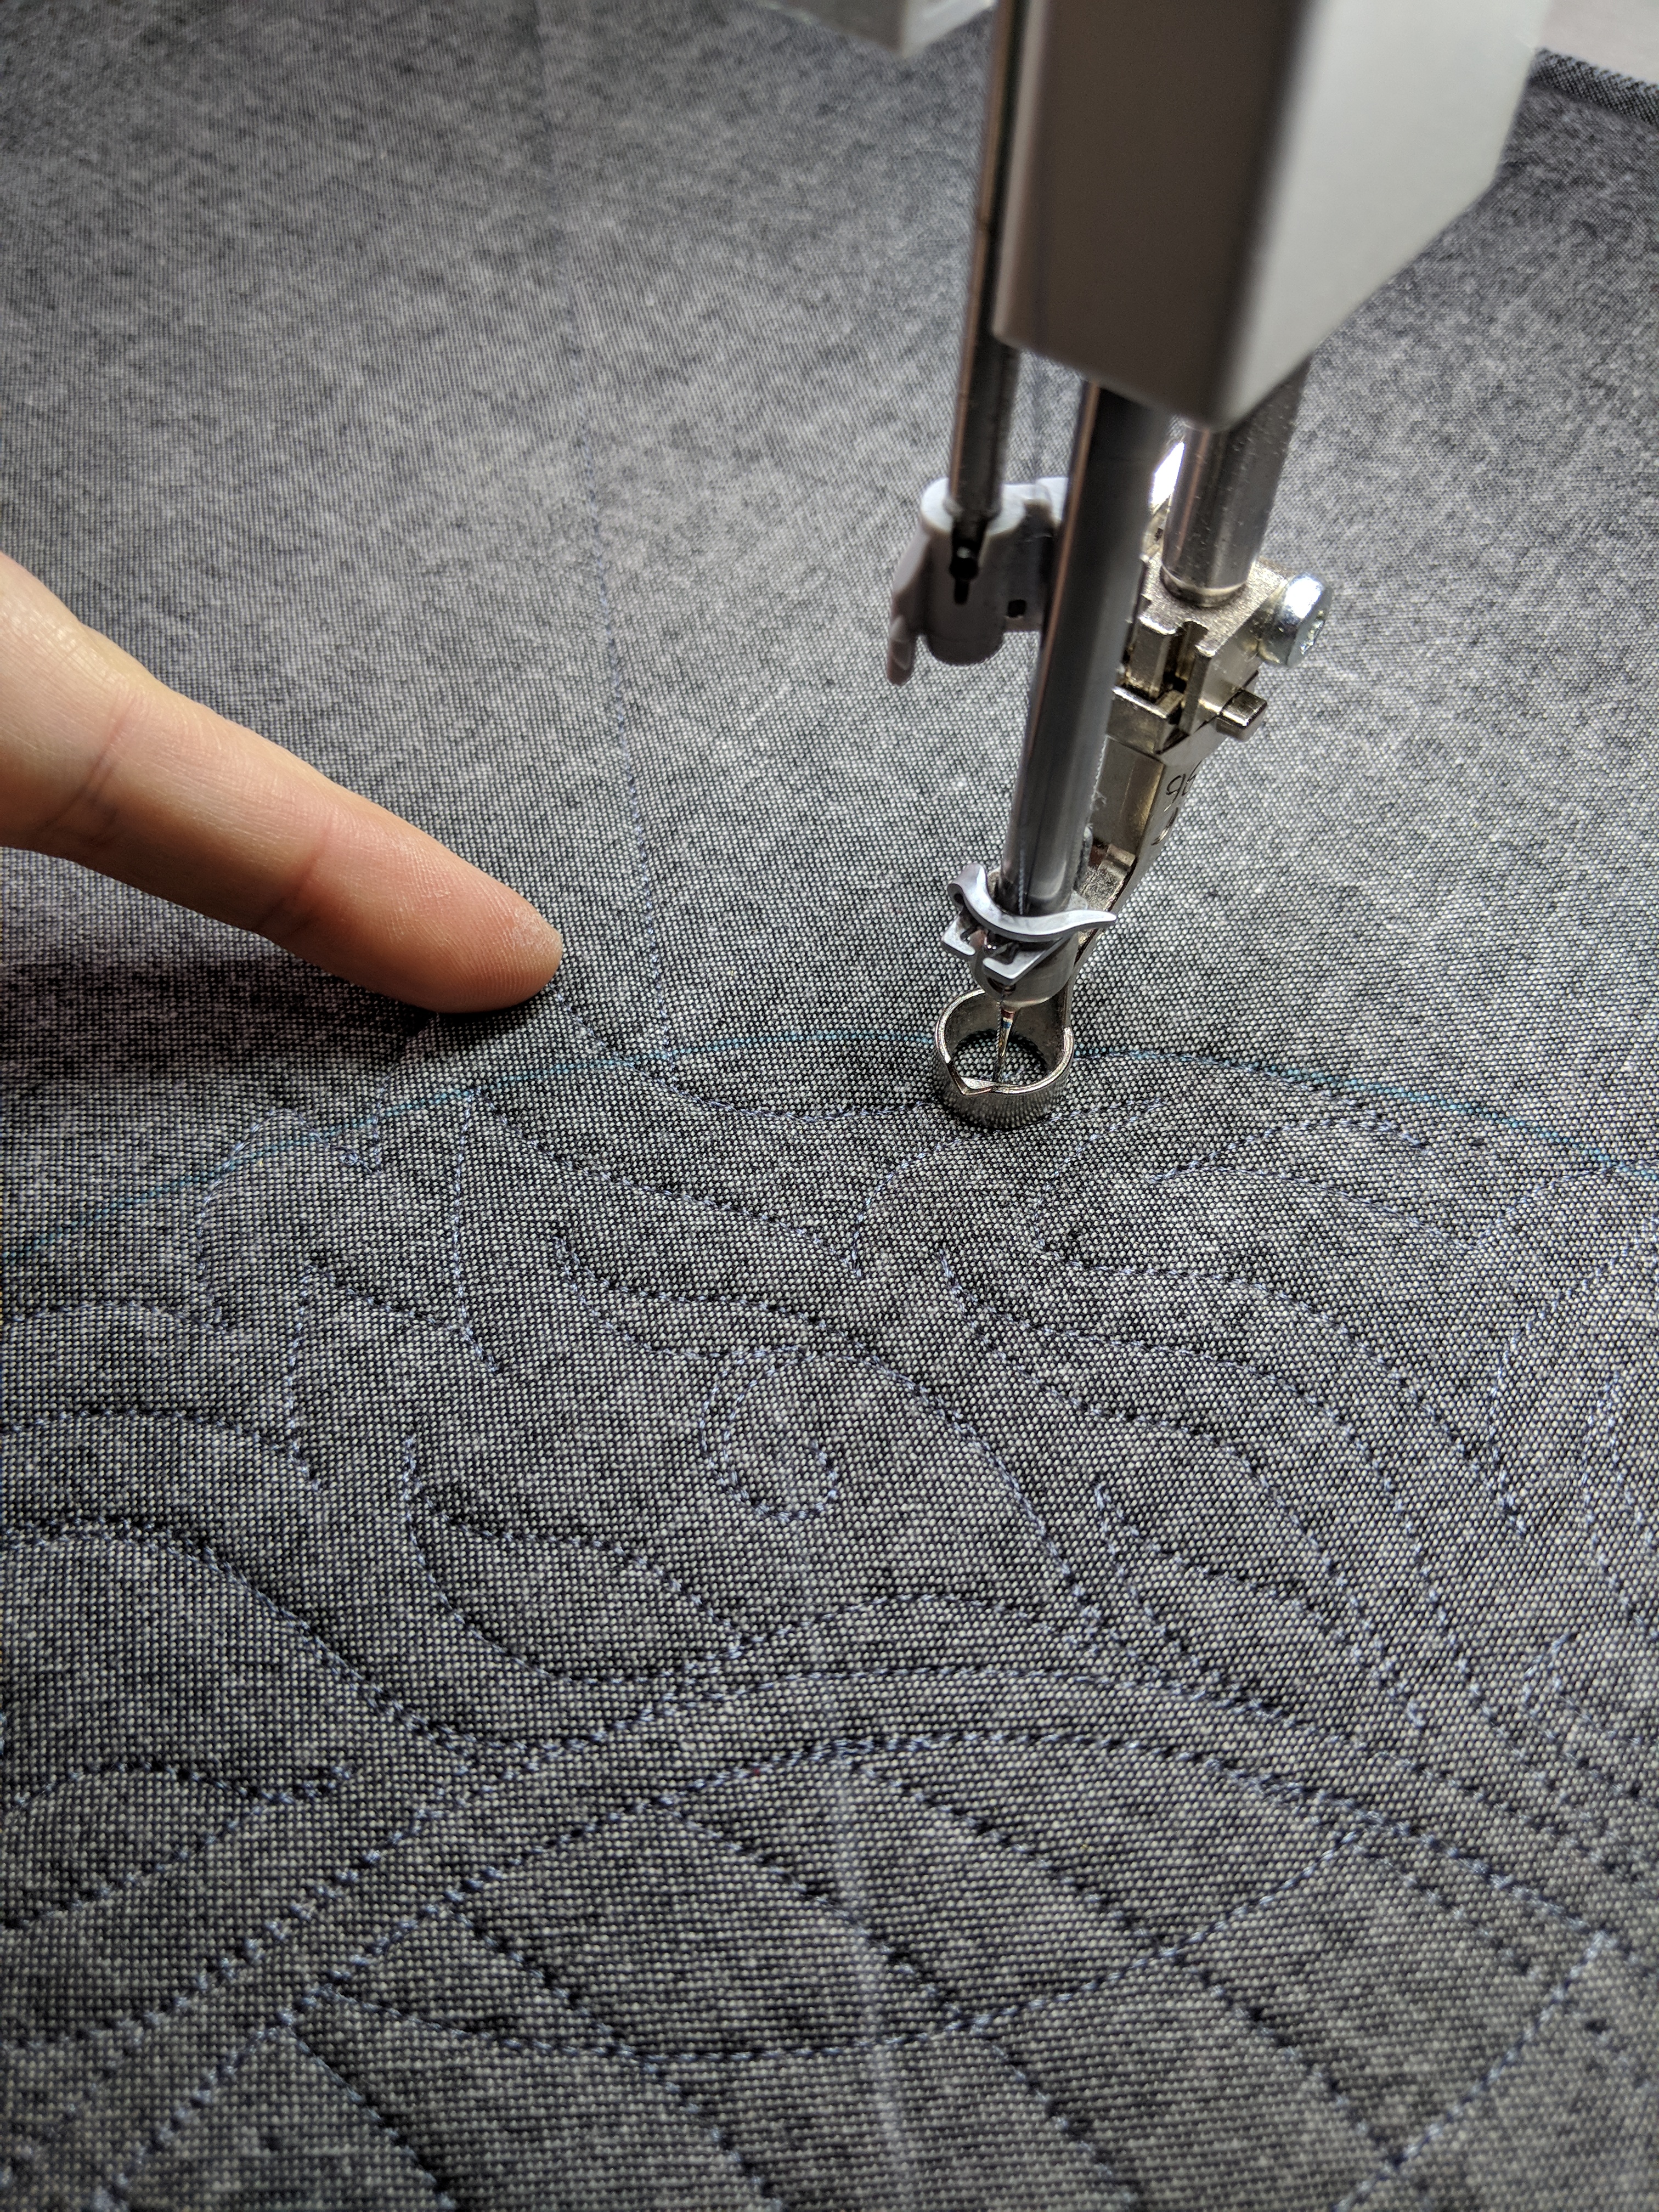
As you can see below, I am not outlining it exactly. What I am aiming for is 1) to have my embroidery anchored in place before I start quilting and 2) to give the embroidery a bit of a “boost” to help it stand out from the surface a bit. DO be sure to get inside the leaves, flowers, and circles, because it does make a big difference in the overall effect.
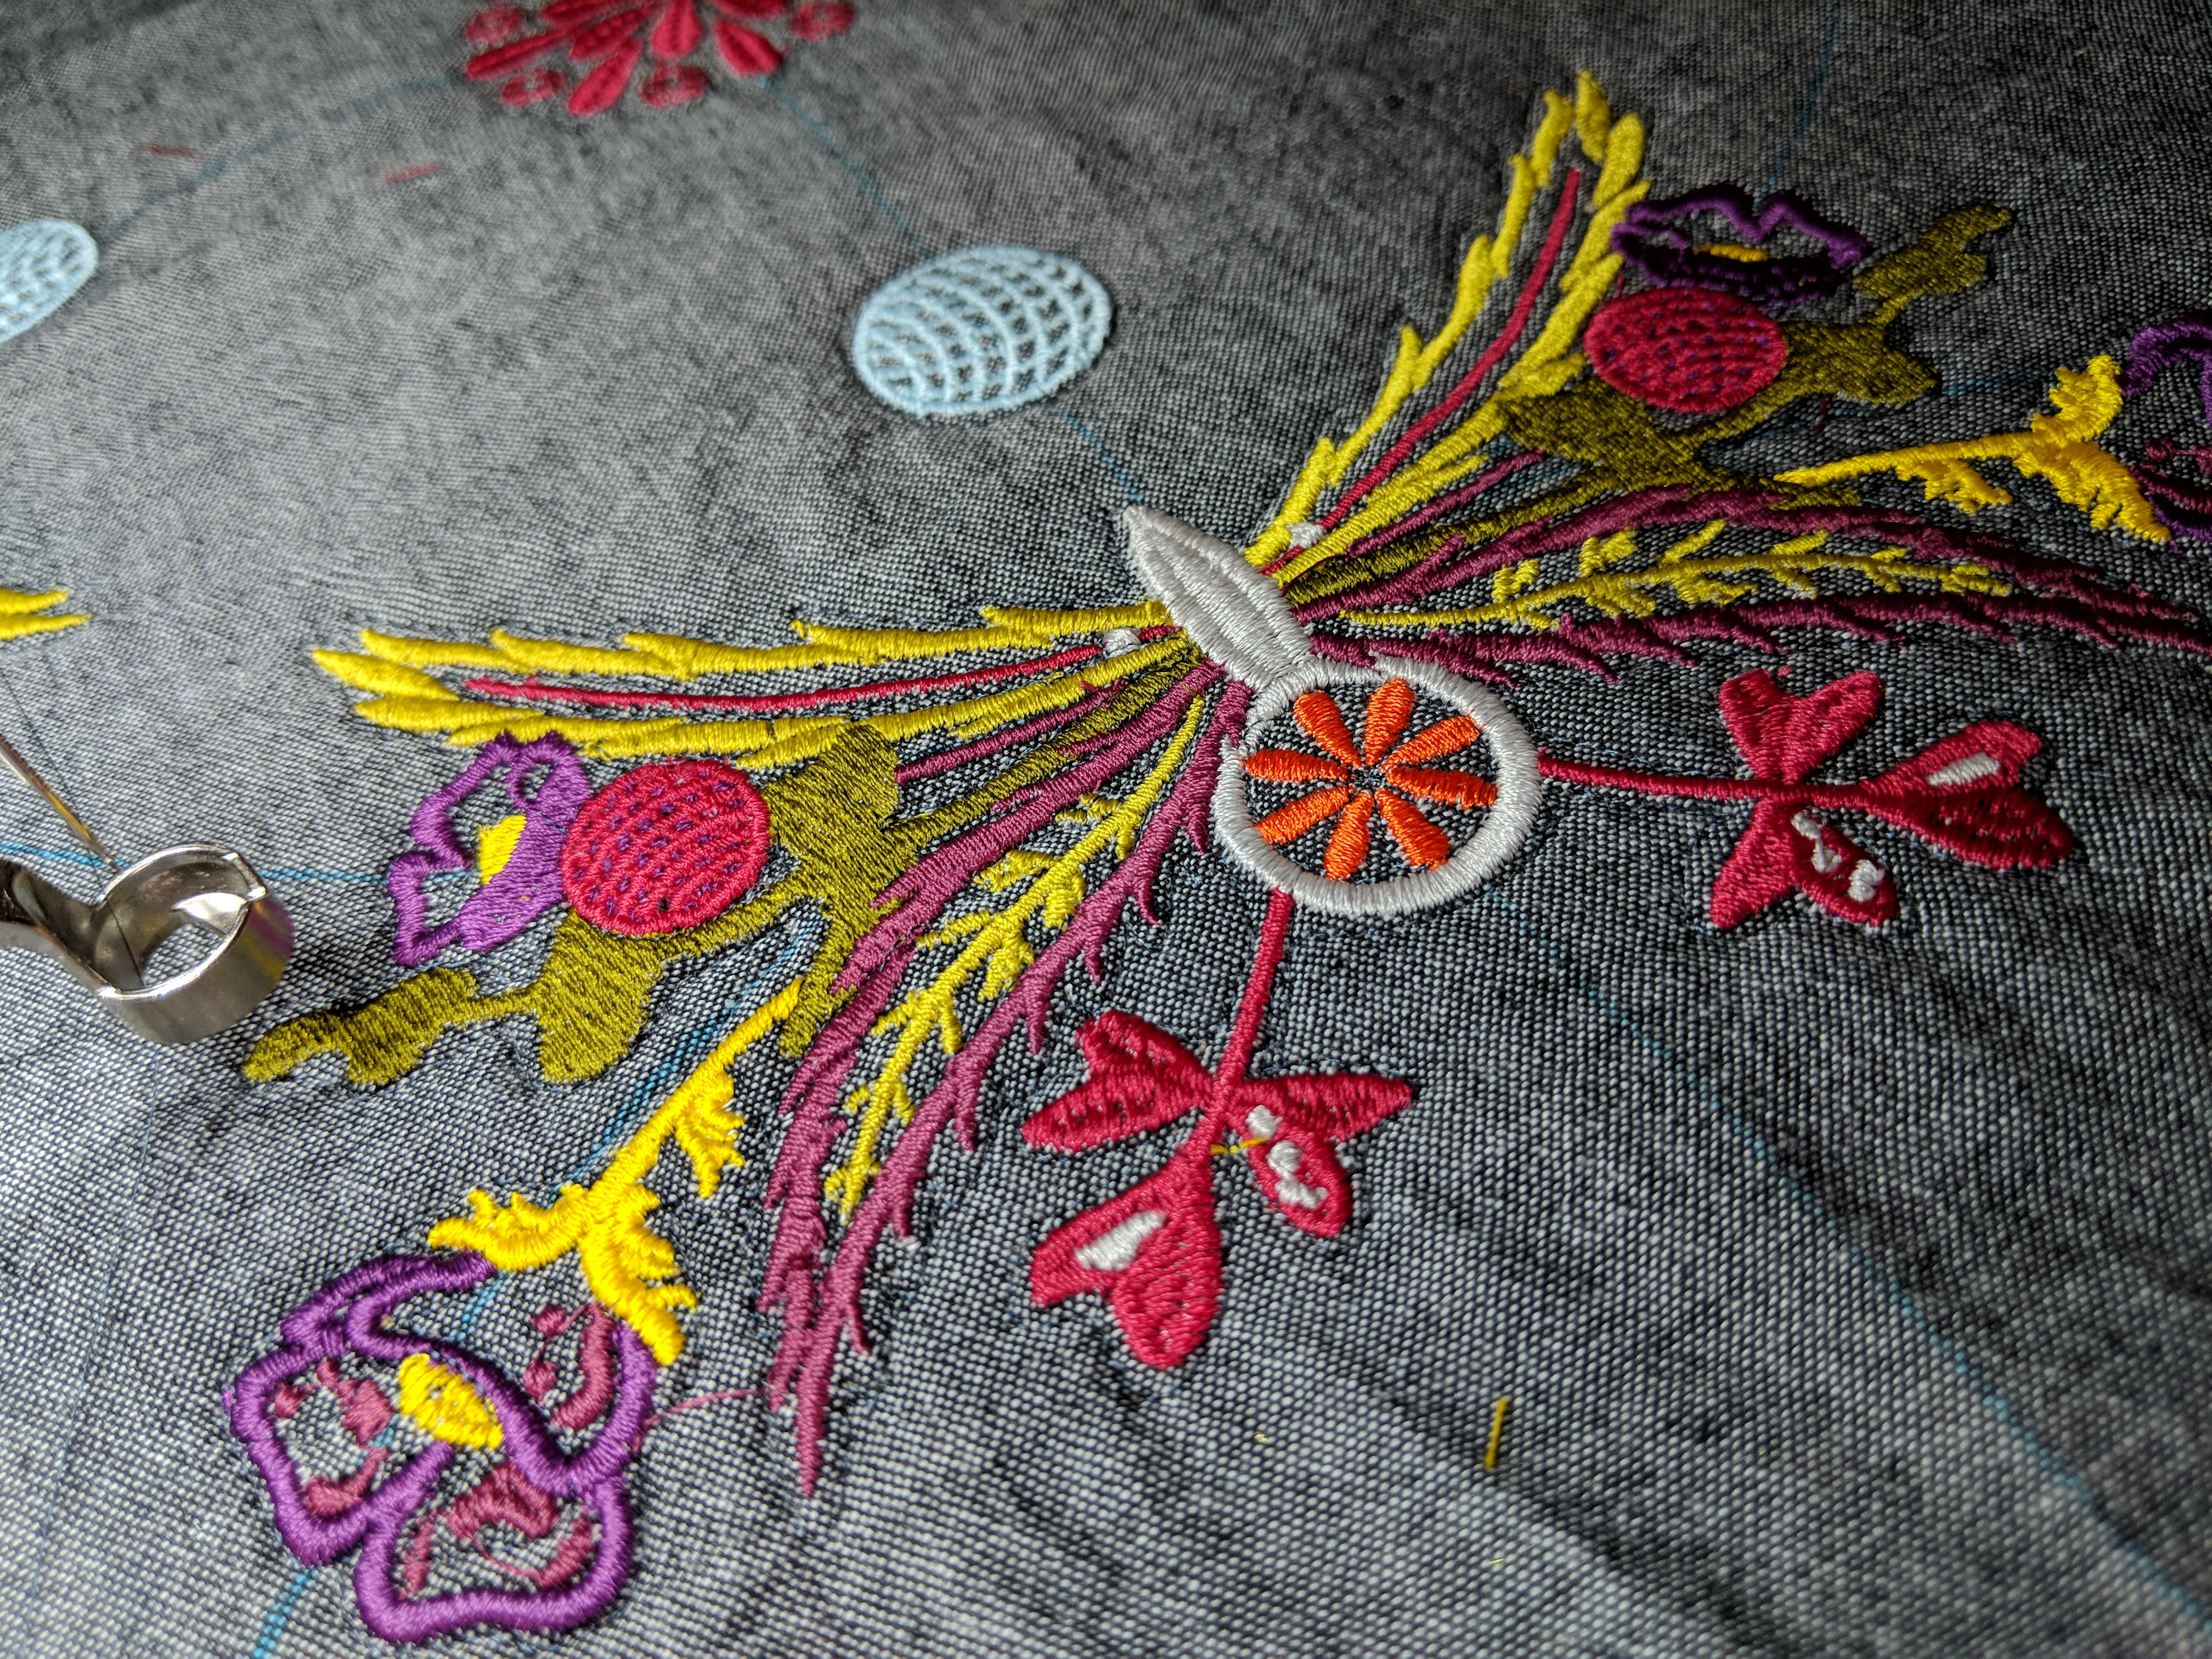
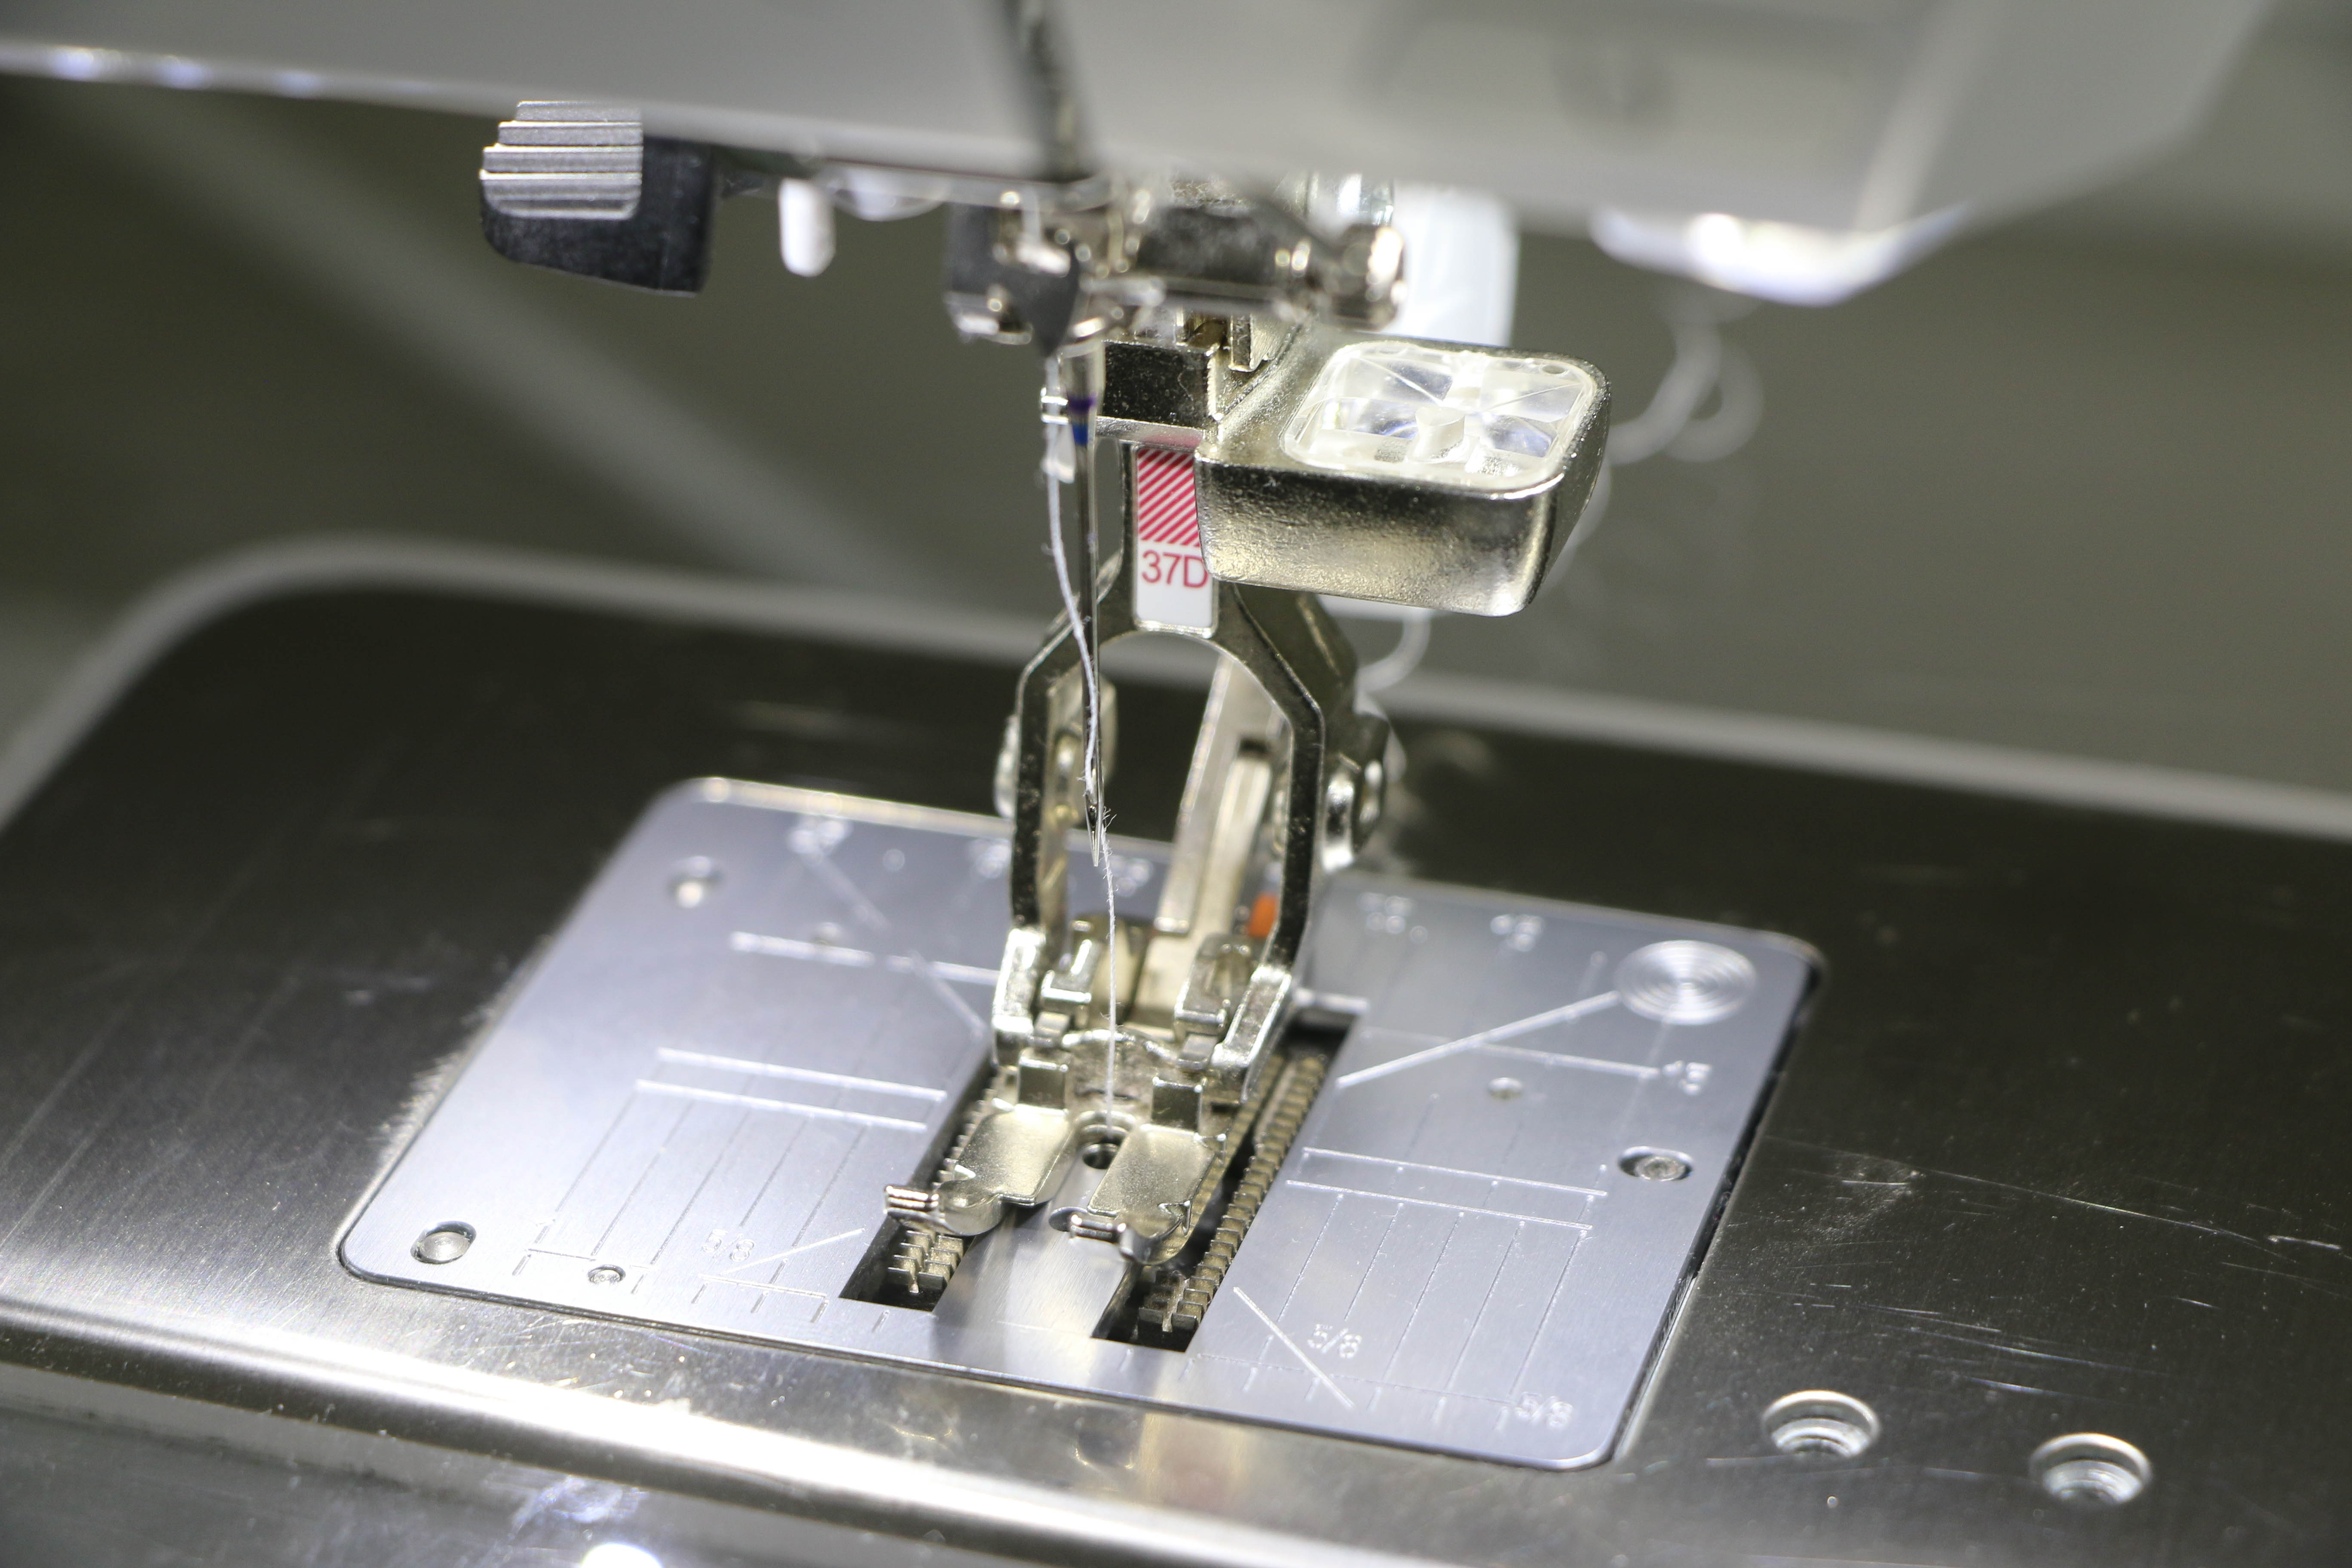
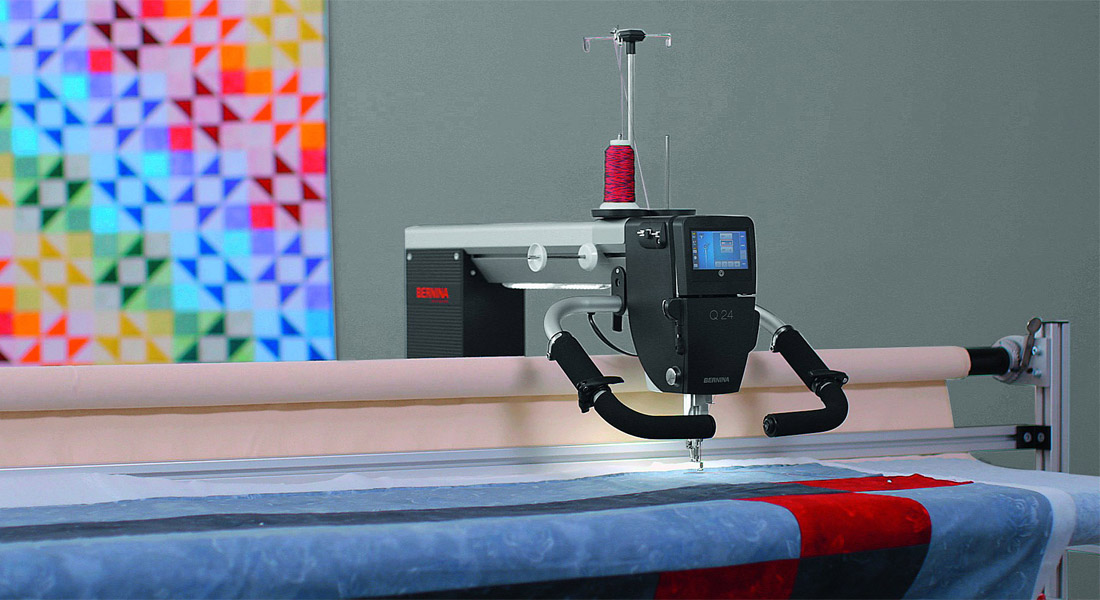
Using such a thin thread on my BERNINA Longarm Q 24, you don’t have to worry as much if you accidentally run over the embroidery, since it is nearly invisible.

Look at the difference! The thistle has been stitched around and stands out versus the swag at the bottom that has not.
In order to make sure everything was quite visible and distinct, I then quilted an additional echo around each motif.
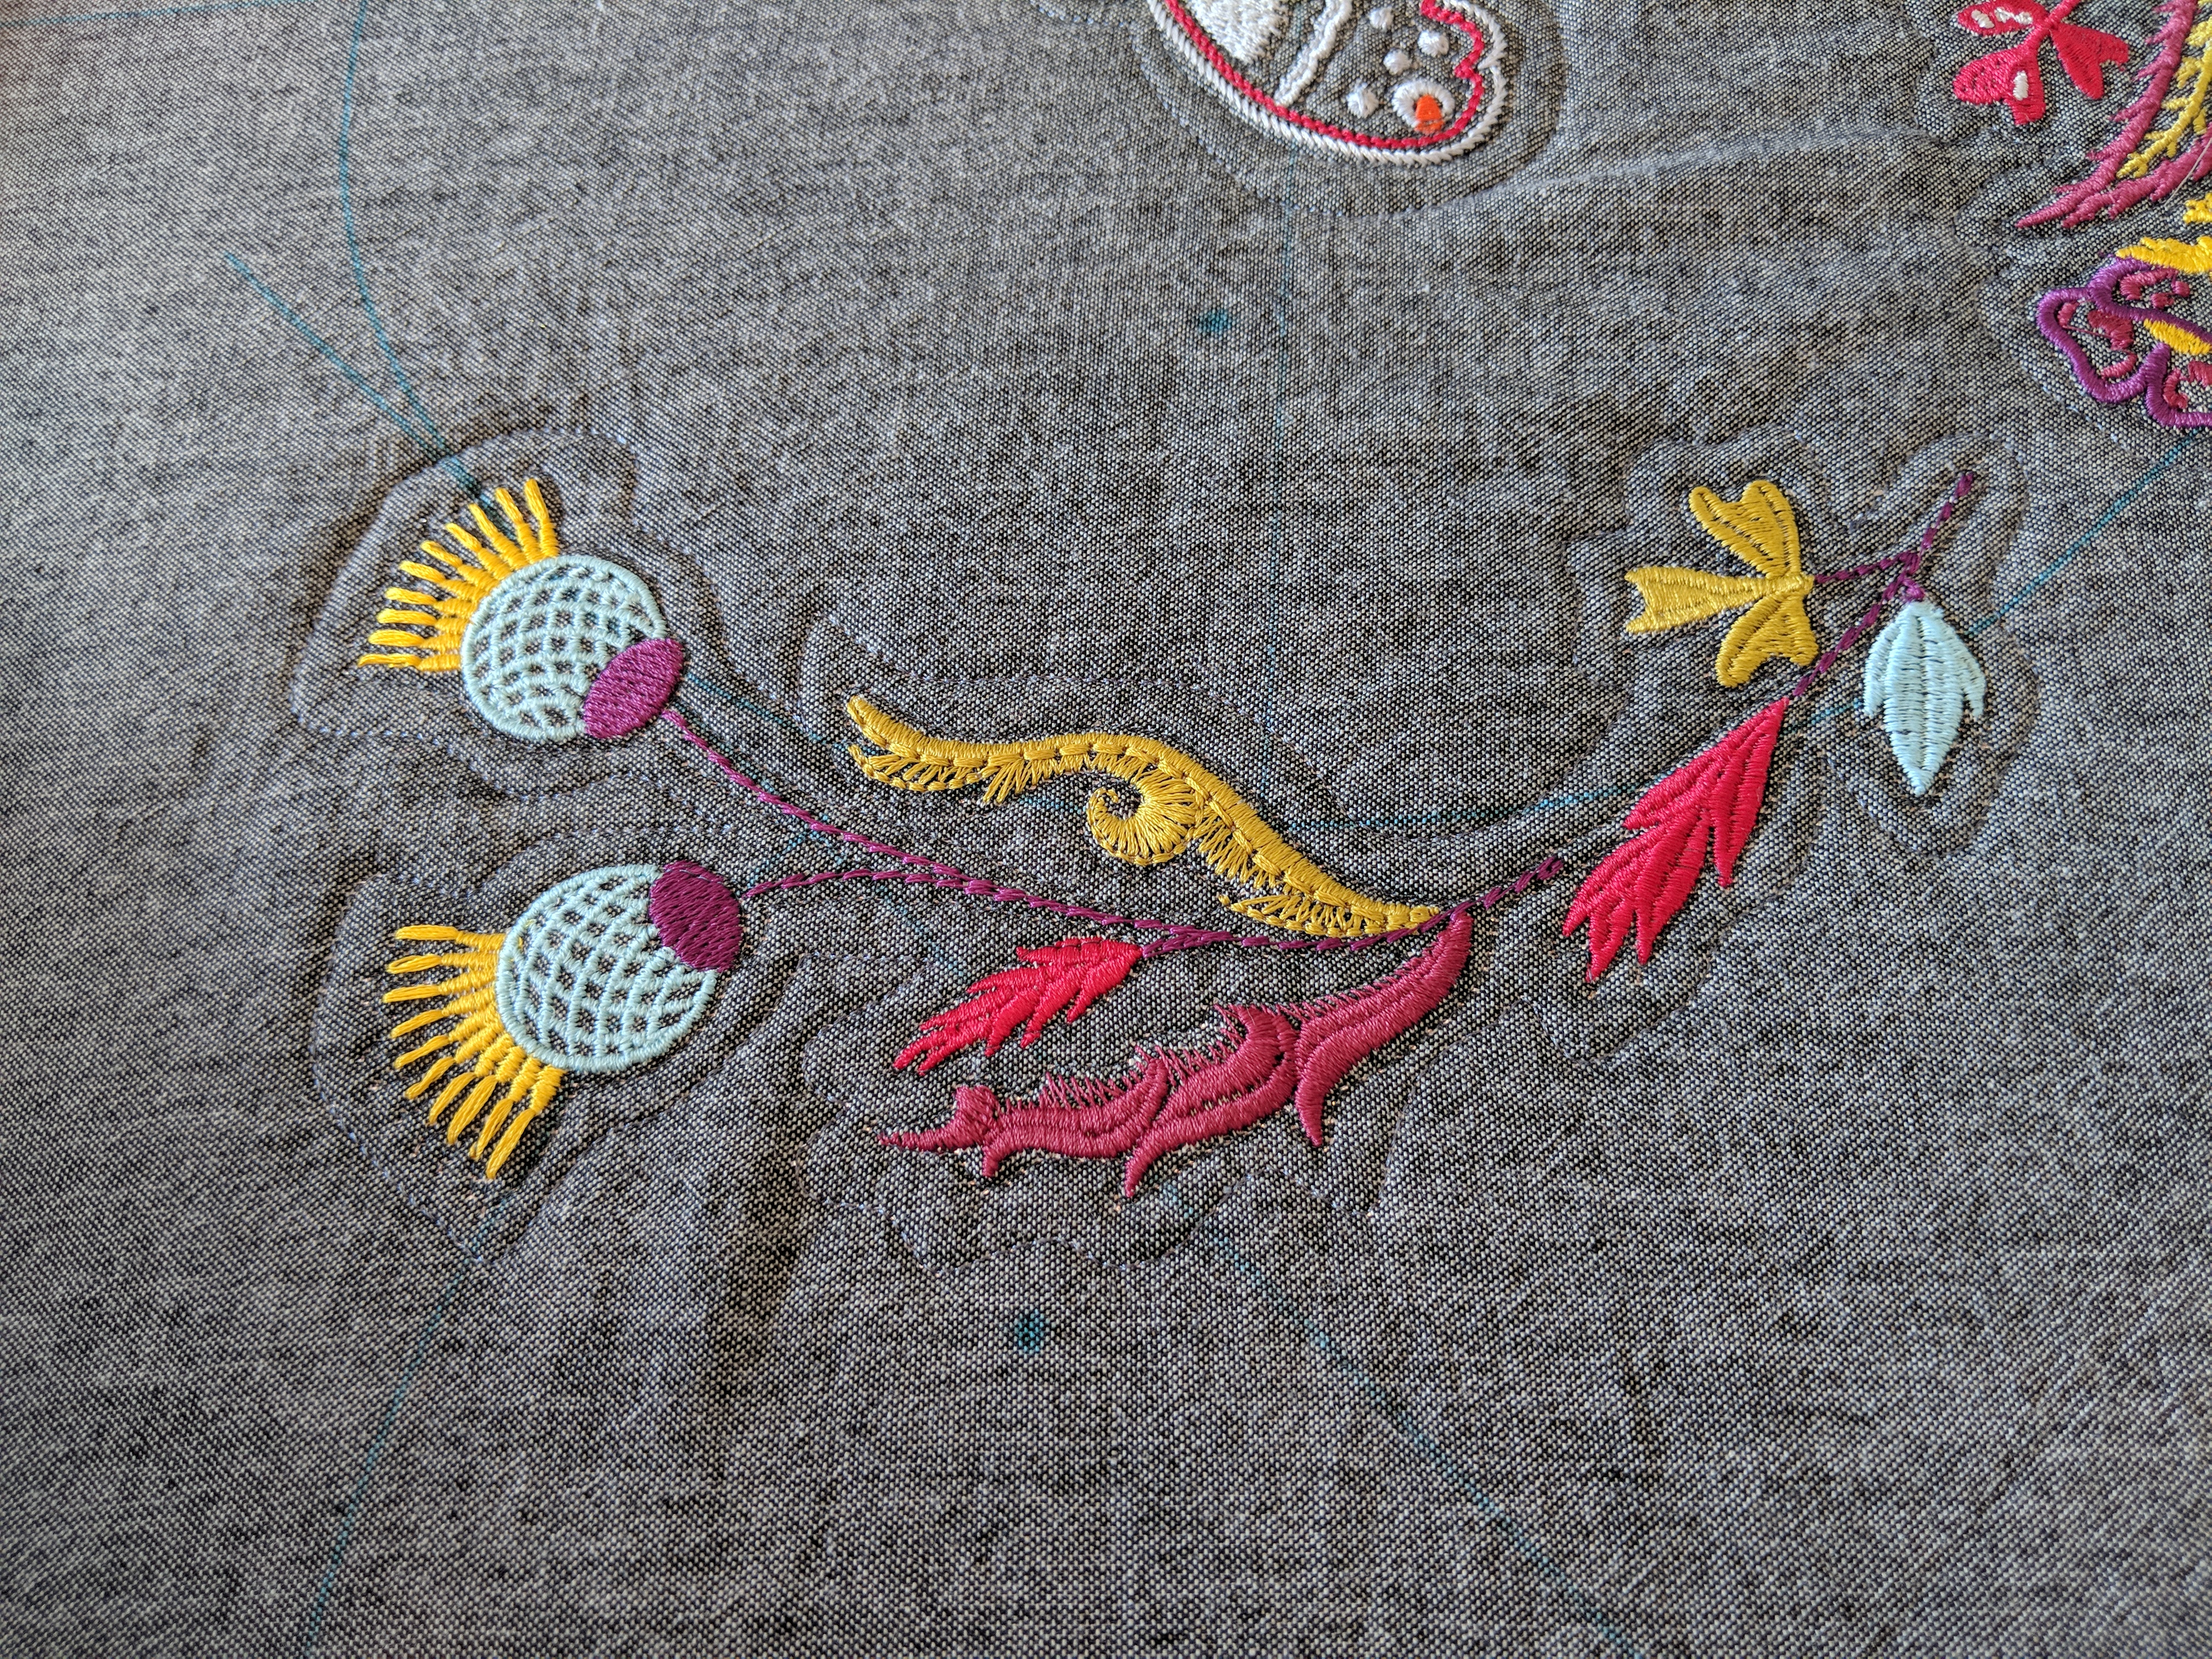
This step gives you the added bonus of having a path to use to back stitch and travel as necessary, far away from your embroidery.
The Quilting
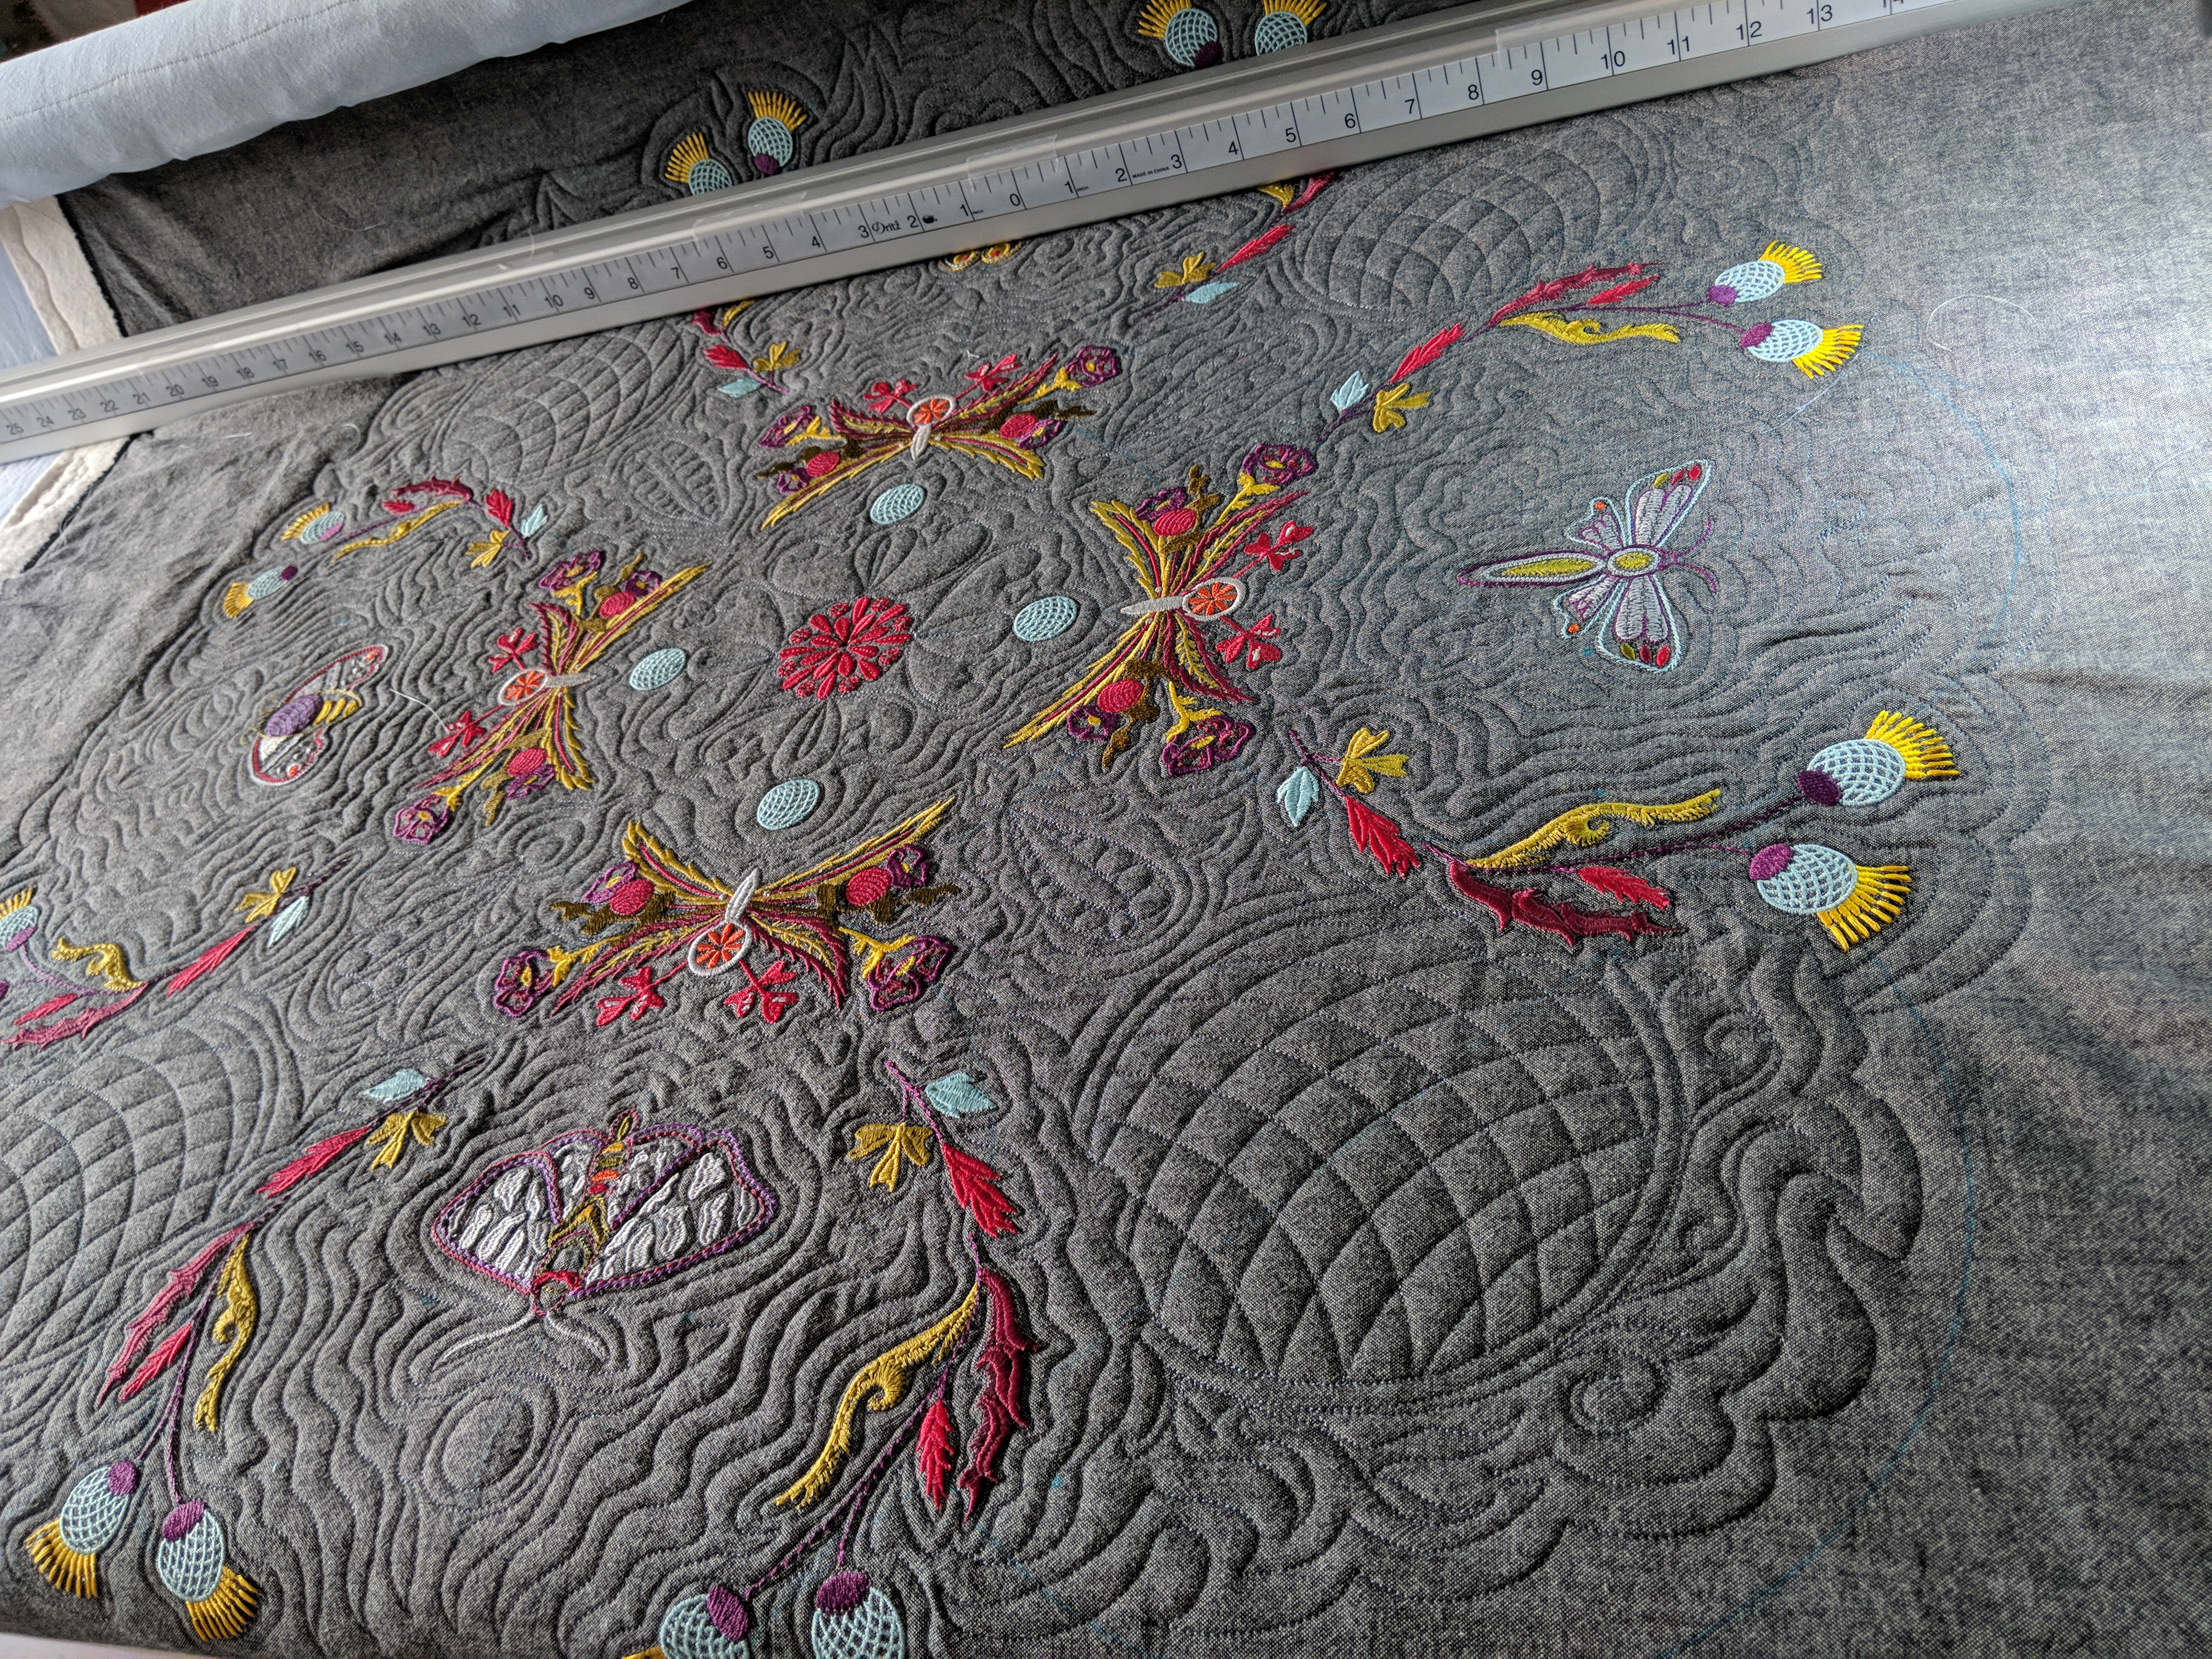
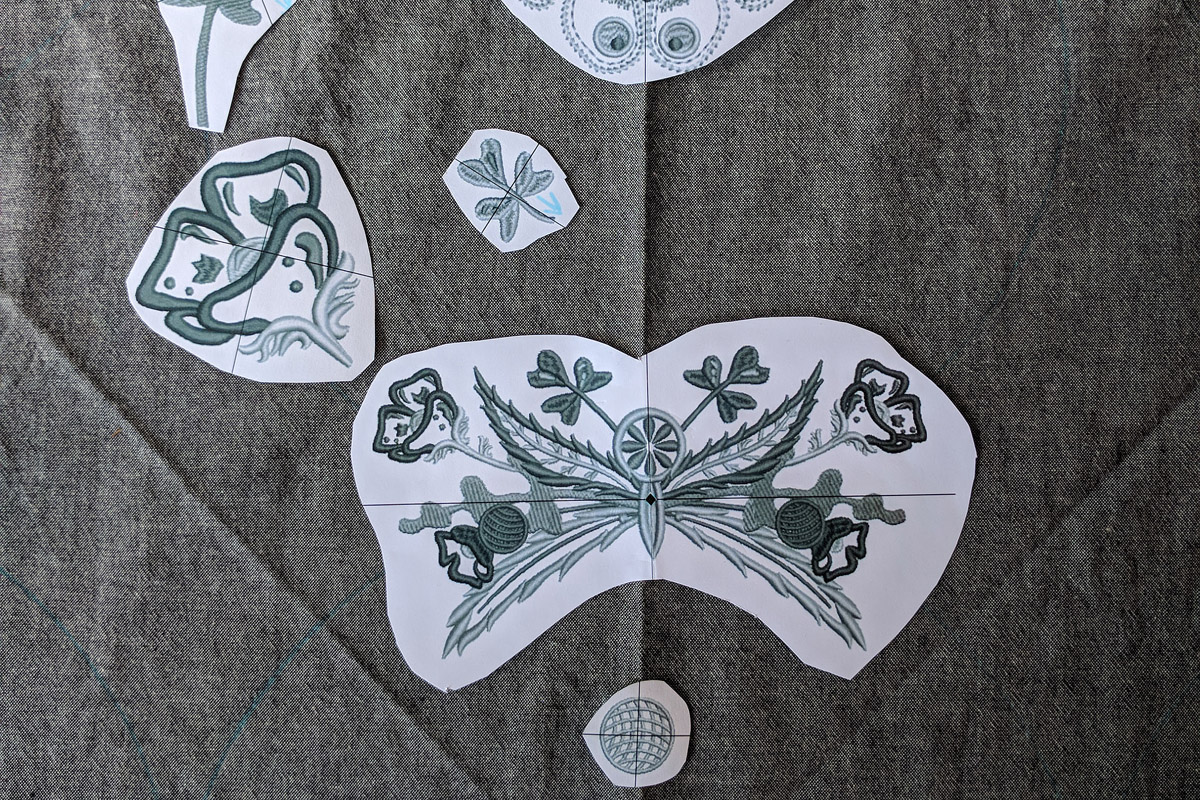
First, I decided to add little elements around each moth, and then echo around the negative space created by the florals and the moth. I also wanted to add my crosshatched circle before things got too busy!
NOTE: The fabric might appear a bit puckered, however, once the free-motion quilting is added around the embroidery design, the puckering will diminish.

I added a 1/4″ echo around my crosshatched circle to help it stand out from the rest of the quilting that was coming, just as I did for the embroidered bits.
I then did a floral vine that went all the way around the outside of the whole project, which tied it together. I also echoed around that, to help add some space visually between the delicate design and the outer fill that would be coming.
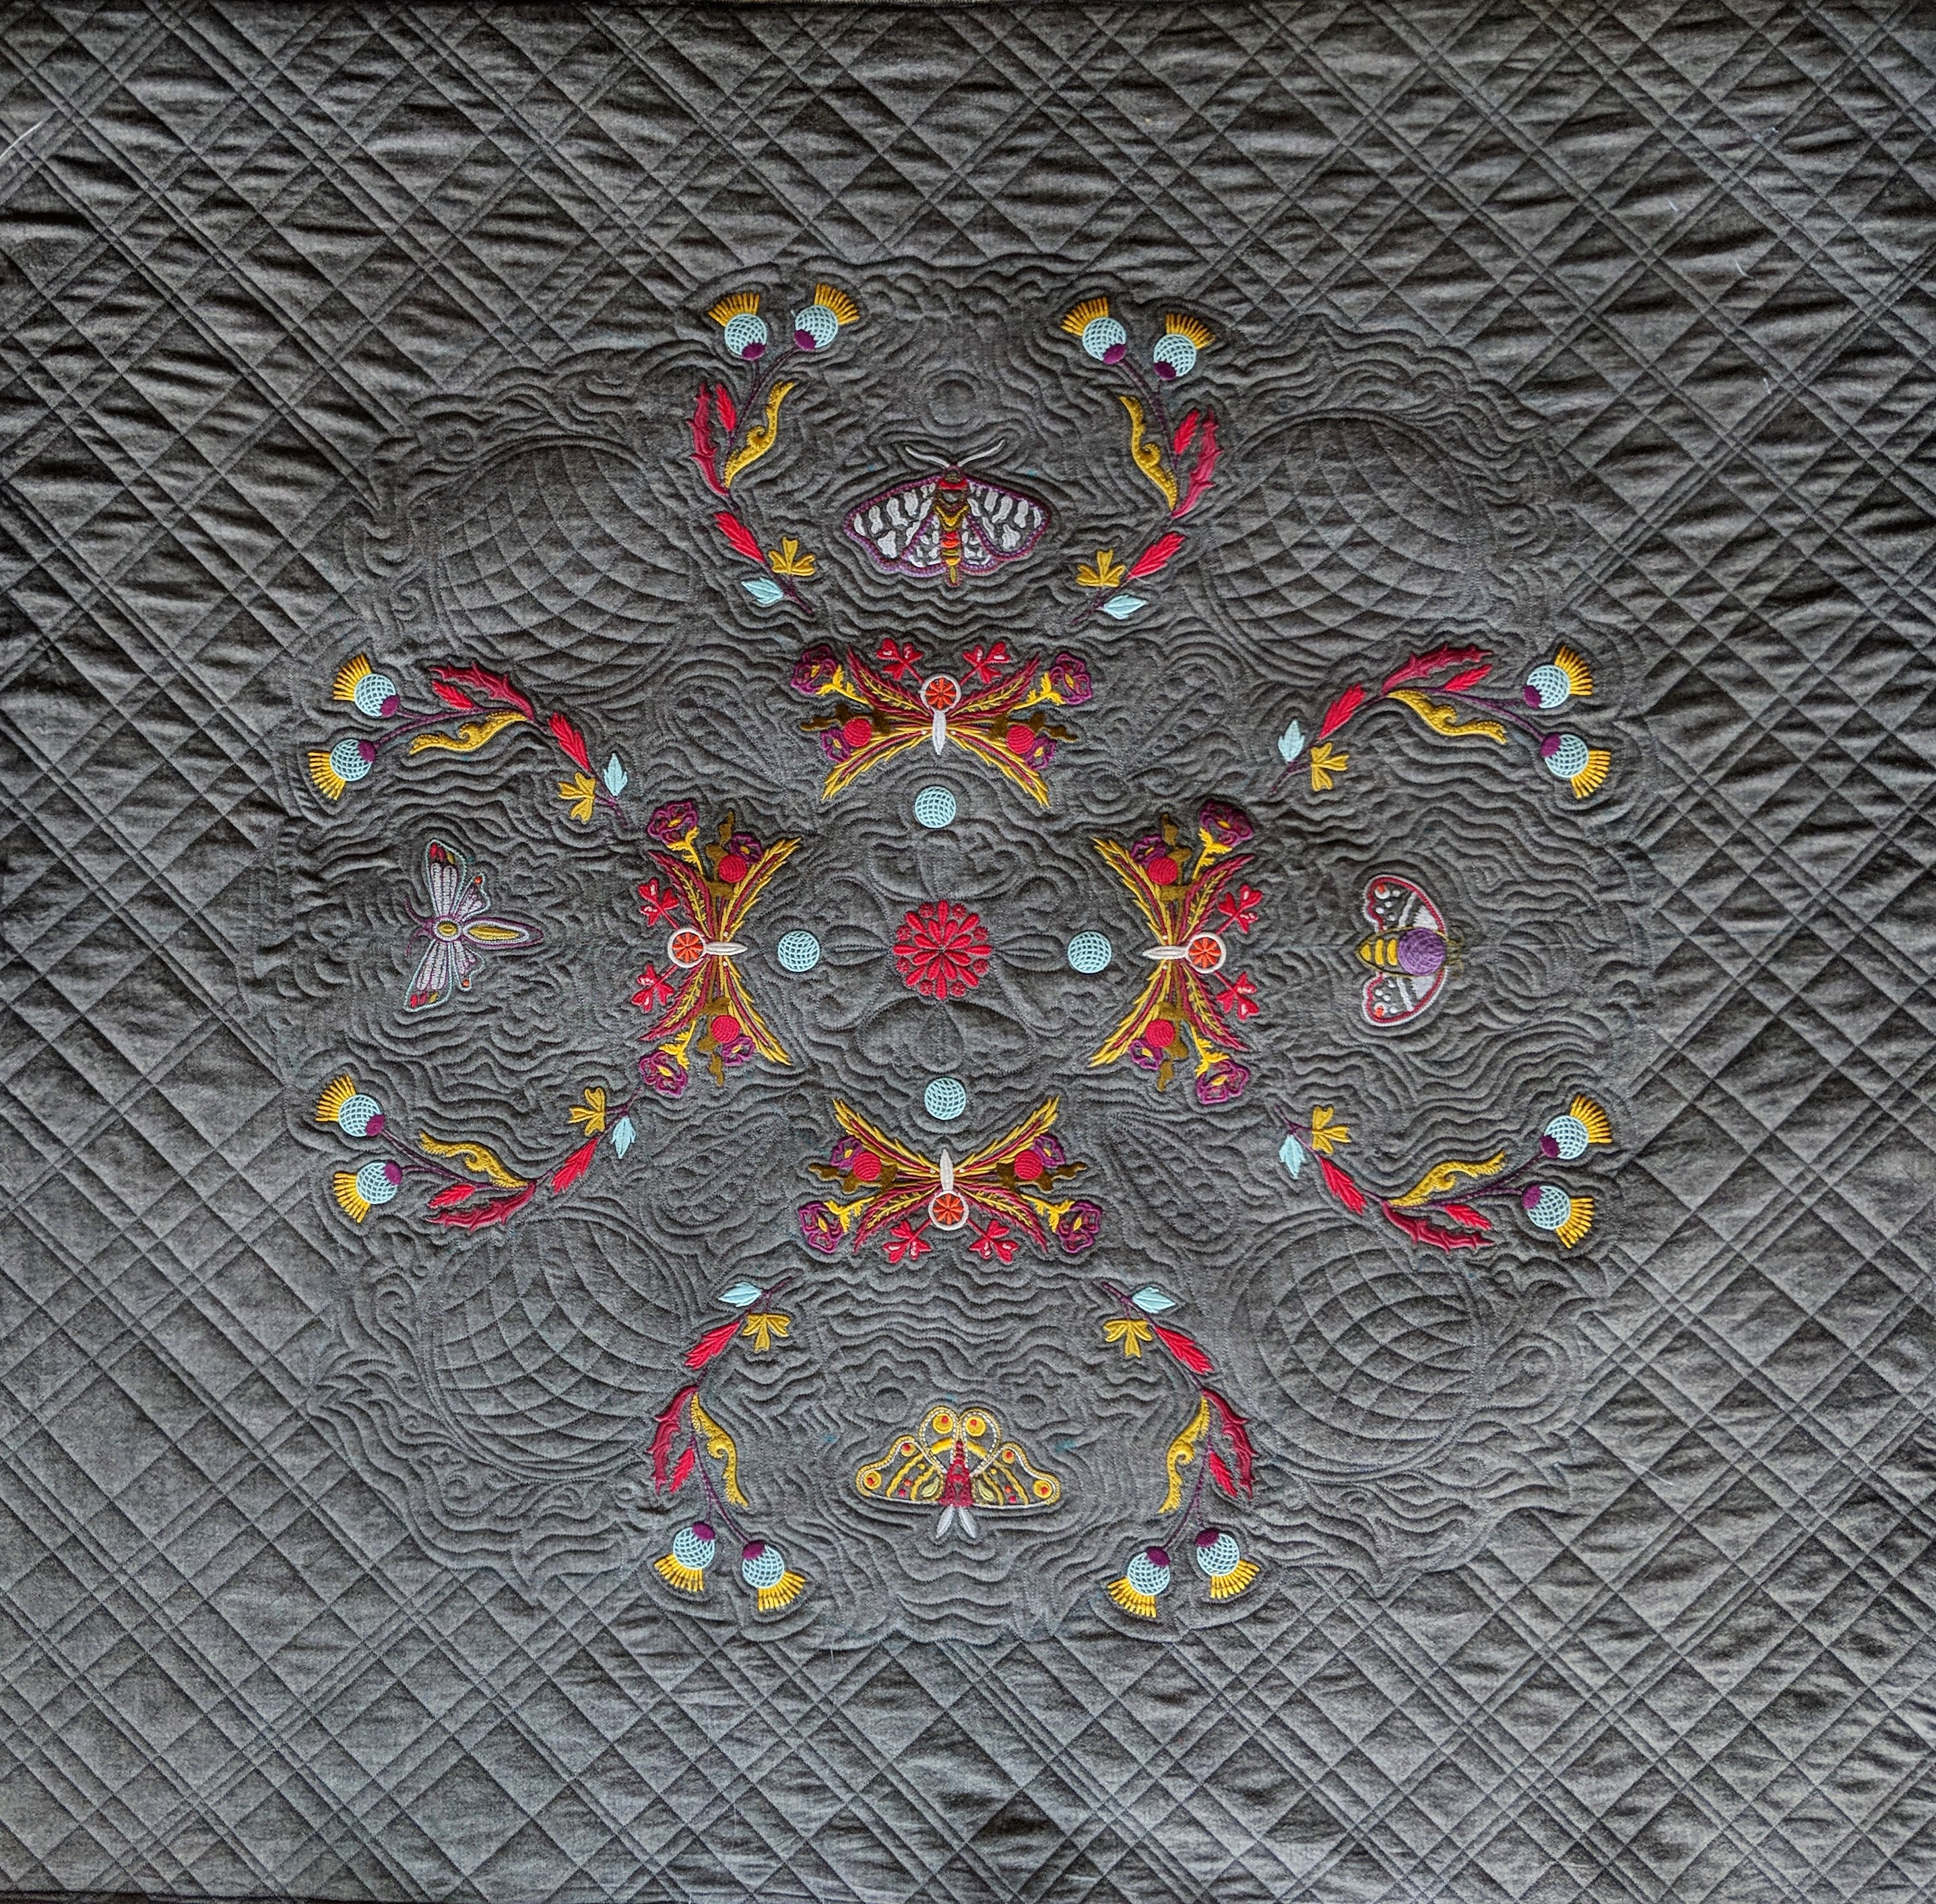
I love how the echoes around each moth recall the wavy designs in the moth wings. Combined with the other elements of embroidery that I incorporated into my quilting, I feel like this is a composition that works well together.
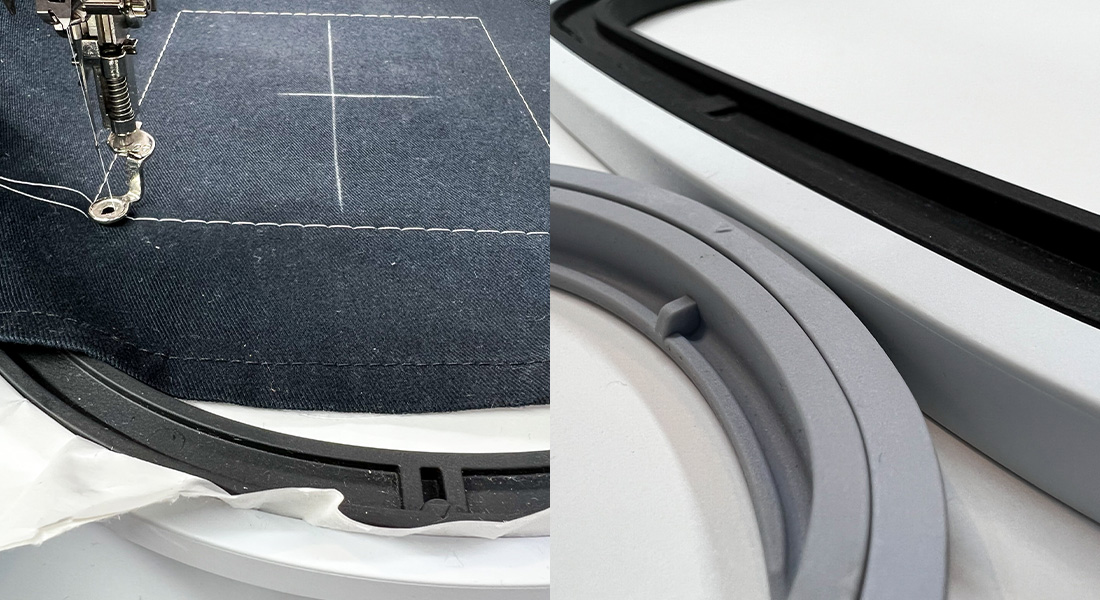
Finally, to set off the lovely organic quilting in the center, I used very straight lines to frame it. I still wanted to have it feel more organic and less formal, so I went with a random diagonal plaid look.
From one quilting friend to another, I highly recommend marking these ahead of time, because they are much easier to quilt!
I love how this turned out! My original plan was to use this as a centerpiece or wall hanging, but now I am considering leaving it unbound and perhaps adding other embroidered and quilted elements later, with a quilt-as-you-go-technique. The possibilities for play are endless!
For a tutorial on quilt-as-you-go, check out this pillow project by Pat Bravo!
Used Products

What you might also like


2 comments on “Quilting and Embroidery, a Beautiful Pairing: Part 2”
-
-
This is the very fist time I’ve seen quilting and embroidery together, great combination!
Leave a Reply
You must be logged in to post a comment.

This is one of the best embroidery design I saw today!
XYZ