Stitched Valentine’s Day Card
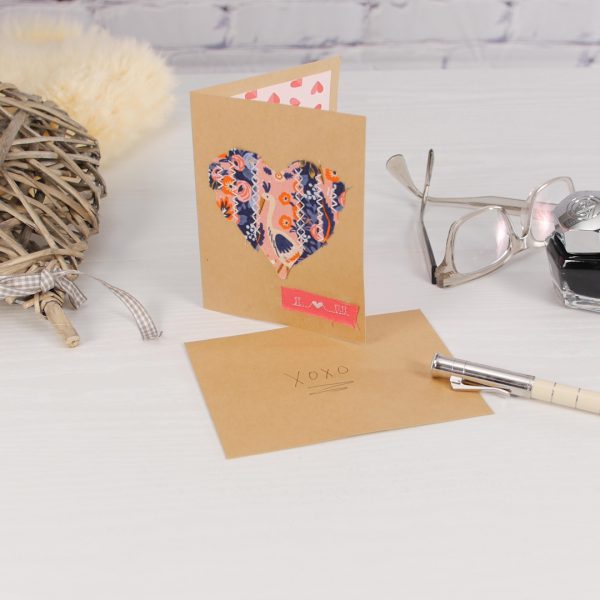
Nothing says ‘love’ like a handmade gift, and that goes double for a love note or valentine! This Valentine’s Day, take a little extra time to make your valentine cards by hand. A little extra thought and effort won’t go unnoticed by the folks you share these gifts with.
These cards are easily made with blank note cards and small fabric scraps. It’s a cute way to put tiny pieces of beloved prints to great use. Make a batch for classmates or just one extra special card for your beloved!
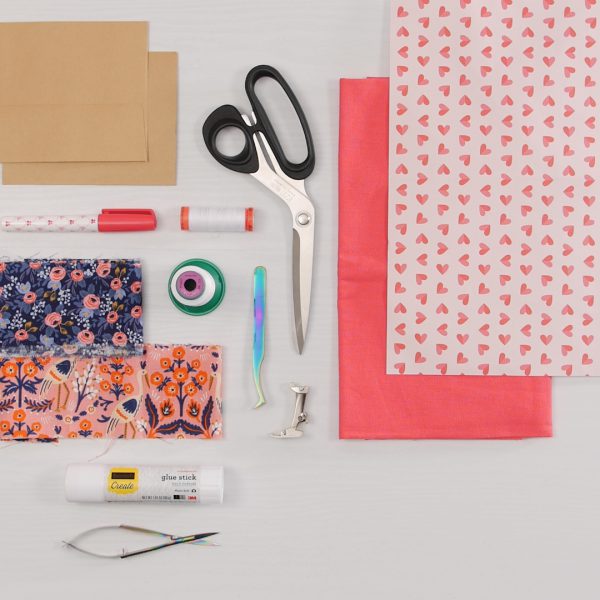
Materials to Stitch a Valentine’s Day Card
- Blank cards and envelopes
- Fabric scraps
- Fabric scissors
- Polyester thread
- Craft glue stick
- Scrapbook paper
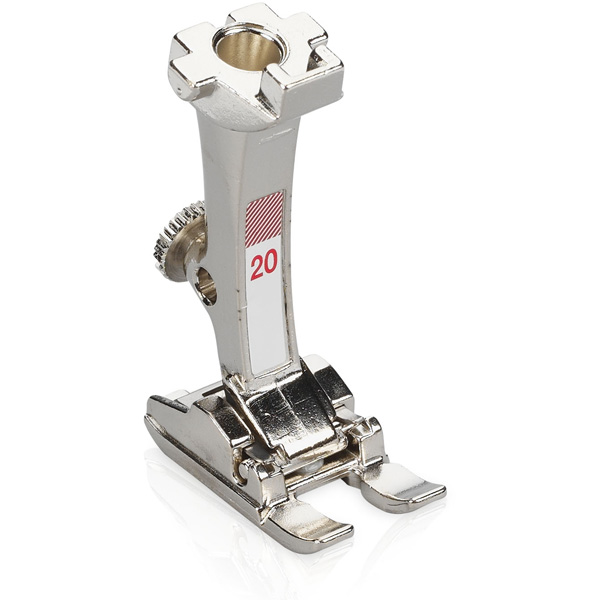
- Open Toe Embroidery Foot #20
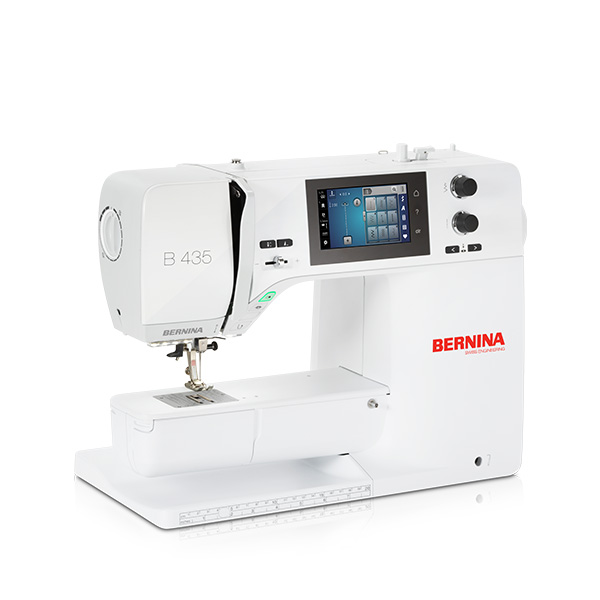
- BERNINA 435
Step 1. Trim and glue fabric scraps
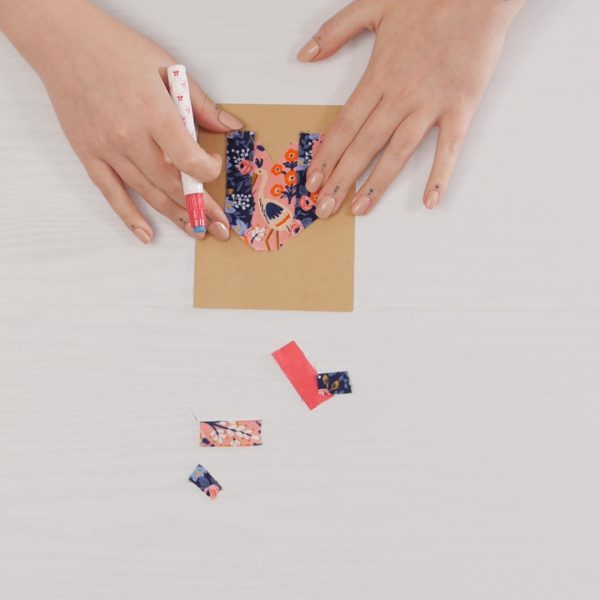
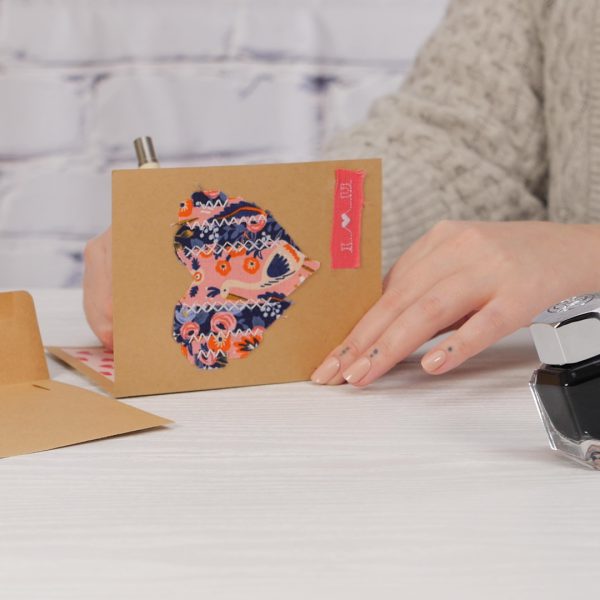
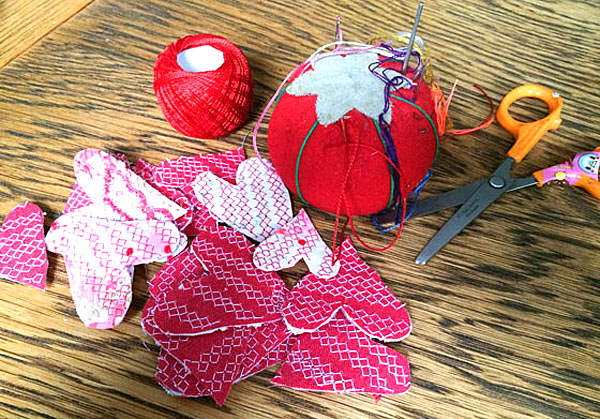
Use fabric scissors to trim fabric scraps into tiny pieces and arrange them on the front of your card. When you’re satisfied with the layout, use a craft glue stick to secure the pieces down.
I collaged my tiny strips together and trimmed them to the shape of a heart. You can try this, or get creative and come up with your own design!
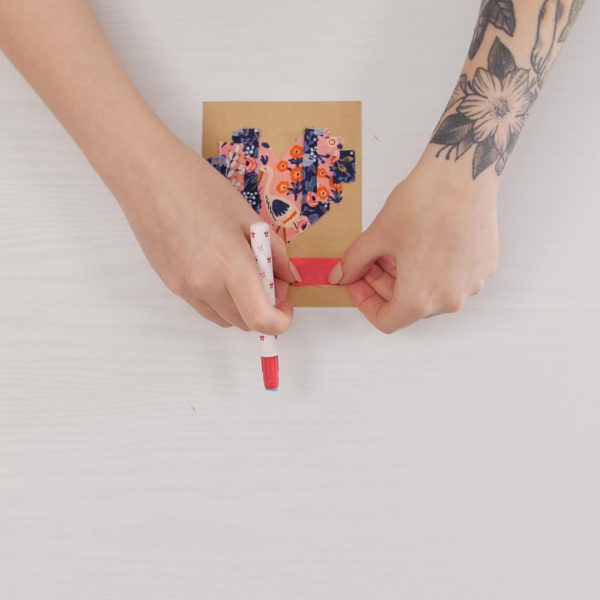
Aside from the main shape or decoration on your card, add a narrow (about ½” wide) strip wherever you would like to place the message on your card.
Step 2. Setup machine
To permanently affix our fabric scraps to the card, we’ll sew them down. Let’s get our machine setup for stitching.
Insert a new, sharp jeans needle into your machine. Jeans needles have a long, slender, extra sharp point designed to penetrate through thick, tightly woven fibers. When it comes to sewing through cardstock, that means we’ll pierce the thick paper smoothly and without skipped stitches.
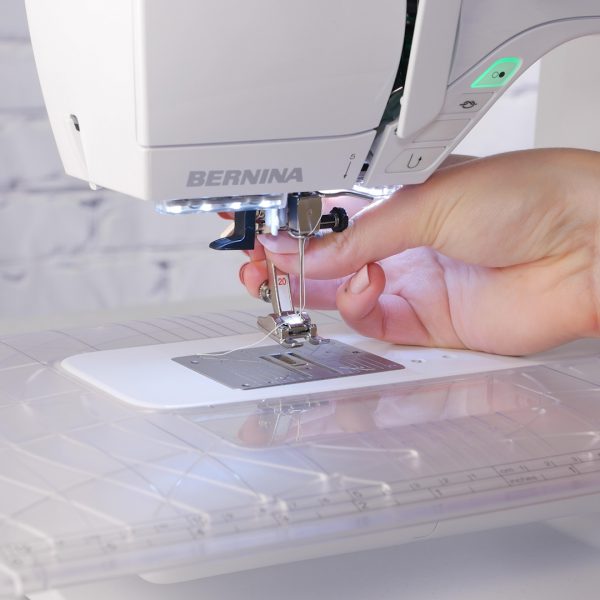
Thread with a high contrasting polyester thread to make your stitching really pop. Attach Open Toe Embroidery Foot #20 to the machine.
Step 3. Spell your message
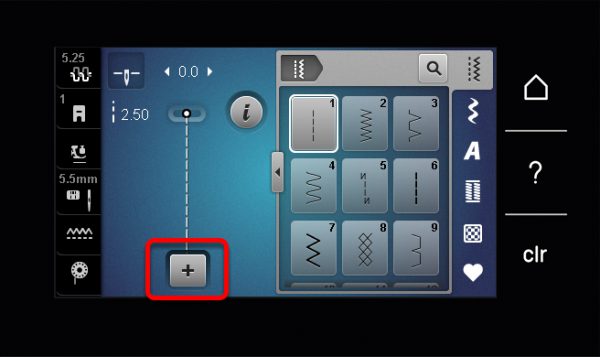
Let’s start by stitching our message on the front of the card. To do this, we’ll use Combi Mode and the alphabets built-in to the machine. Open Combi Mode by selecting the plus sign in the stitch preview area.
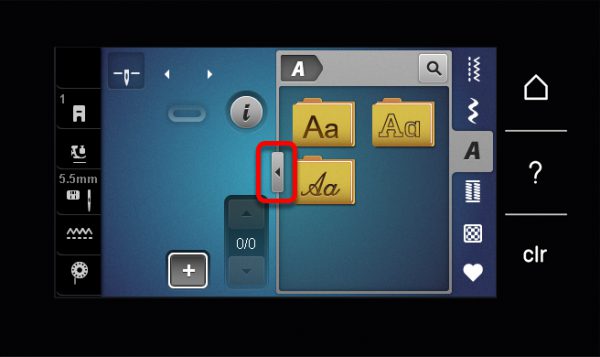
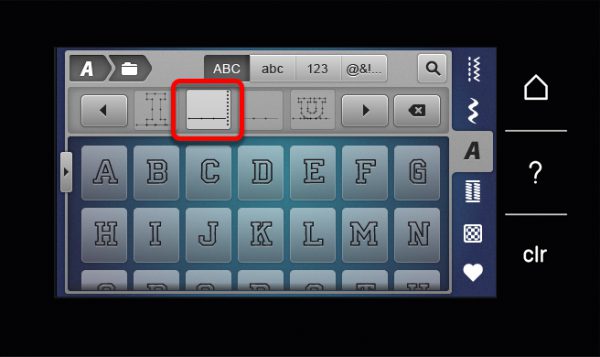
Select the Alphabets menu. Select the tiny arrow on the left side of the Stitch Selection window to open up the Transition screen. This gives us a full screen view of our decorative stitch menus.
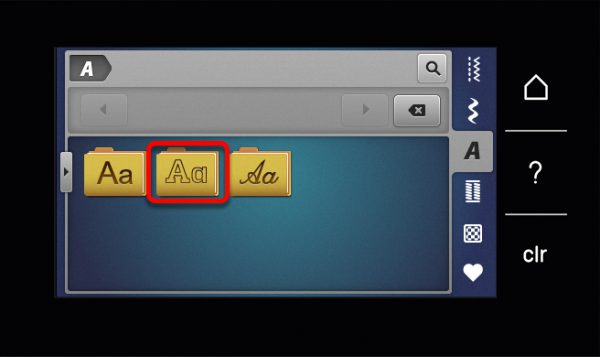
Select the alphabet you wish to use. I went for the Double Block Alphabet.
Now type out your message! You can swipe up and down to scroll through all the character options or use the icons at the top of the menu to quickly jump down to lower case letters, numbers, or special characters.
To type out my “I heart U” message, I entered the letter I, added two spaces, and then the letter U. To add the heart in the middle, select the first space.
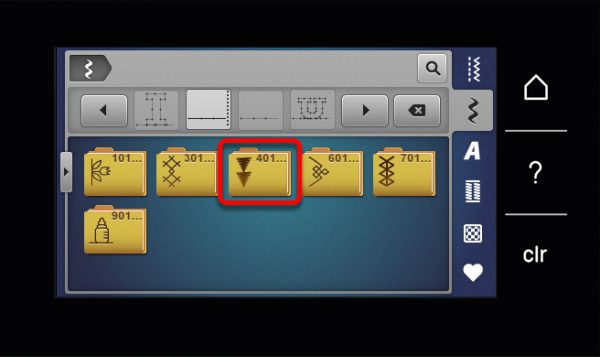
Then, select the Decorative Stitches menu. Open folder #401.
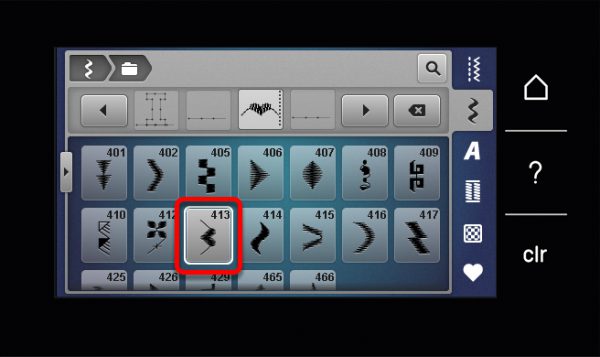
Select stitch #413. The heart will be inserted between the two spaces. In Combi Mode, the next stitch you choose for your stitch pattern will always be inserted immediately after the currently selected stitch in the sequence.
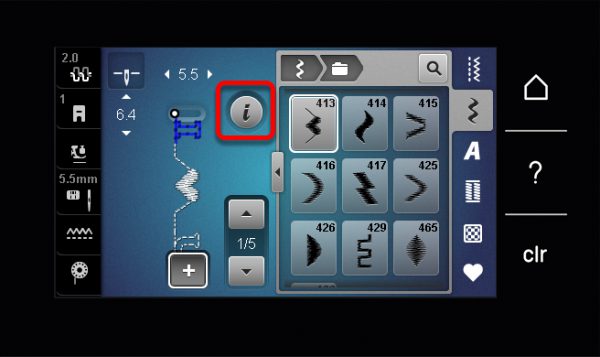
Collapse the Transition by selecting the small arrow on the left again. Now you can fine tune each stitch in the sequence by scrolling up and down with the arrows on the Stitch Preview area. All the standard stitch adjustment tools (changing stitch length/width, mirroring left or right, etc) can be used to customize each stitch in your combination.
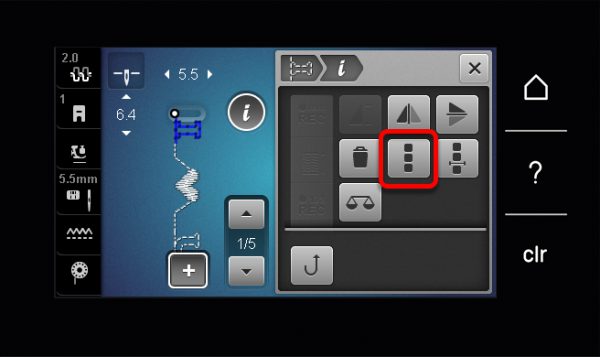
When your combination is perfected and ready for sewing, select the Information icon.
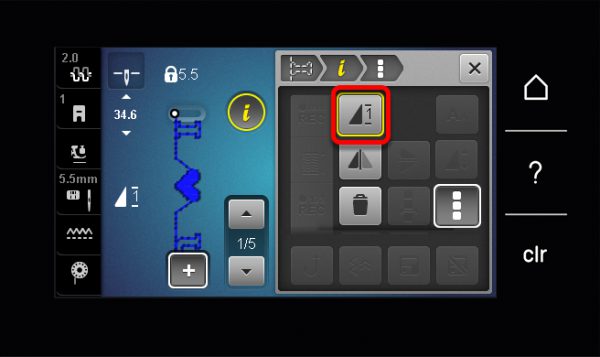
Select the Editing Complete Combination icon. This will group those individual stitches and tell the machine to recognize them as one, big stitch pattern.
Now we’ll set Pattern Repeat. This will tell the machine how many times we want this whole pattern to stitch out. Select the icon one time to set this number to one. Your valentine’s message is now ready to sew.
Step 4. Stitch it out
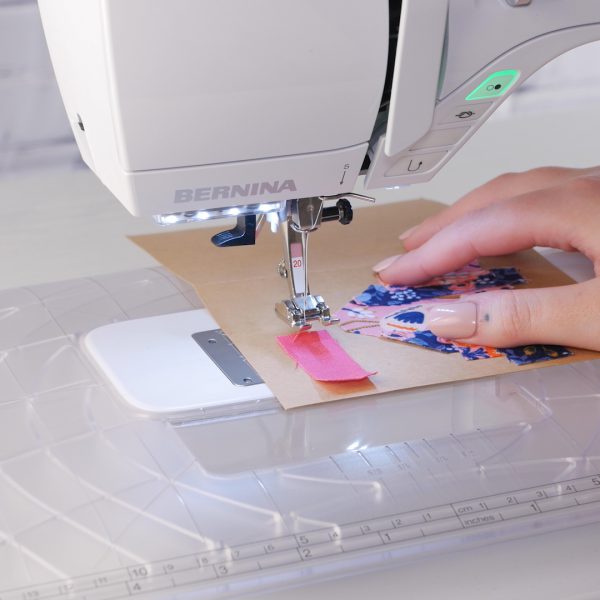
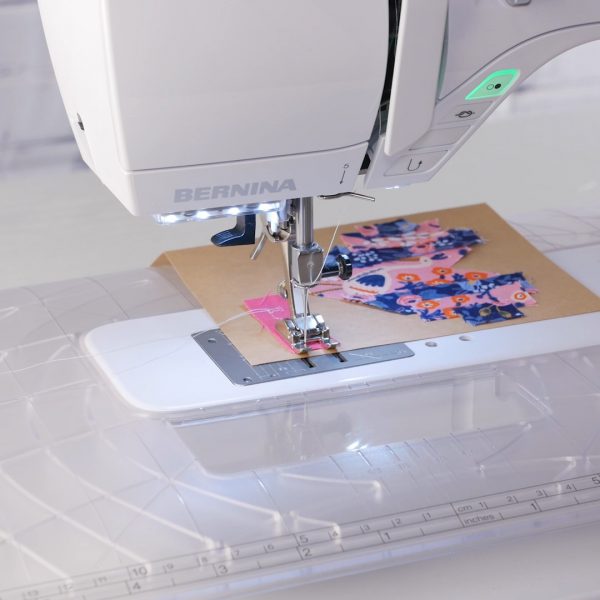
When you’re ready, place the card underneath the presser foot, aligning to stitch on the strip of fabric you glued down for your message.
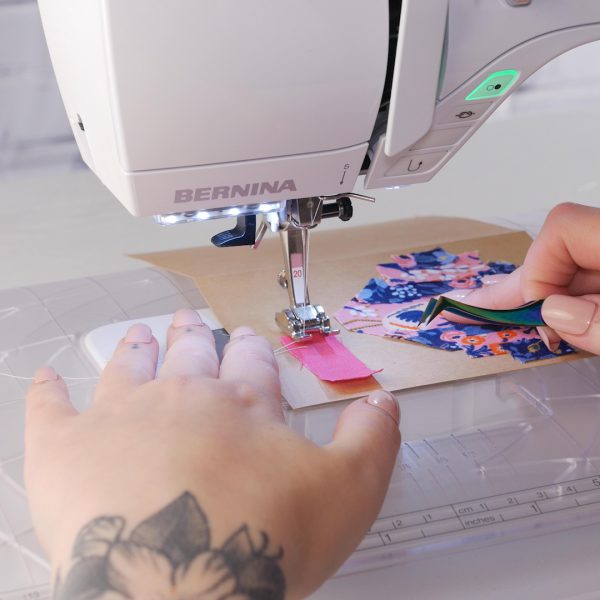
Hold on to the needle thread and press the Needle Up/Down button to bring the bobbin thread up to the top. Pull long thread tails of both the needle and bobbin threads and hold on to both of these threads.
Press and hold the Start/Stop button to begin sewing. I recommend slowing the machine down for this with the Slide Speed Control.
When the machine reaches the end of the stitch pattern, it will automatically stop. Raise the presser foot and manually cut the threads leaving long thread tails.
Step 5. Add decorative stitches
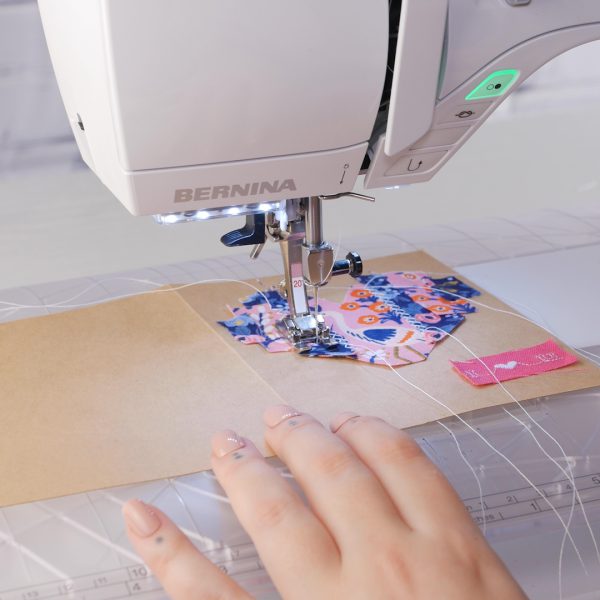
Moving back to our main decoration on the card, use decorative stitches to secure these fabric scraps down. You can do this in any manner you like—you could stitch across perpendicular to the scraps, you could cross hatch, or keep it simple like mine. I selected Cross Stitch #303 to stitch on the lines where my scraps overlapped.
Close Combi Mode by selecting the same plus sign we used to open it. Select the decorative stitch of your choice and start stitching.
Again, when you’re stitching these rows of decorative stitches, be sure to leave long thread tails at the start and stop of each seam.
Step 6. Finishing touches
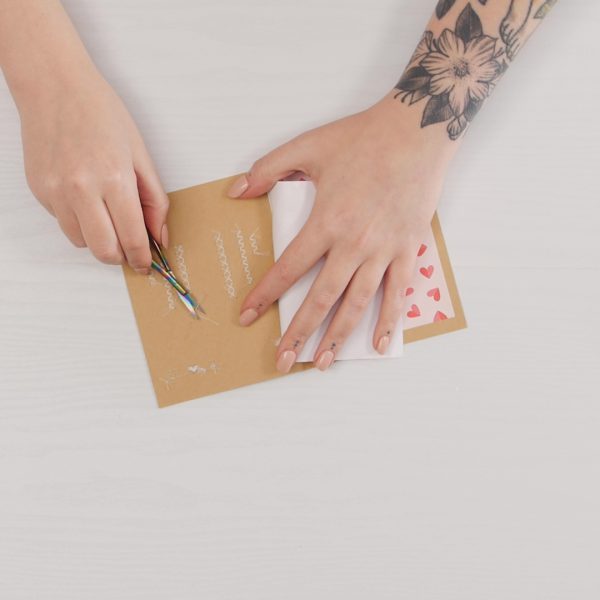
When you’re all done stitching, we need to clean things up on the inside of the card. Pull all your thread tails to the back (inside) of the card, hand tie them, and trim the excess thread.
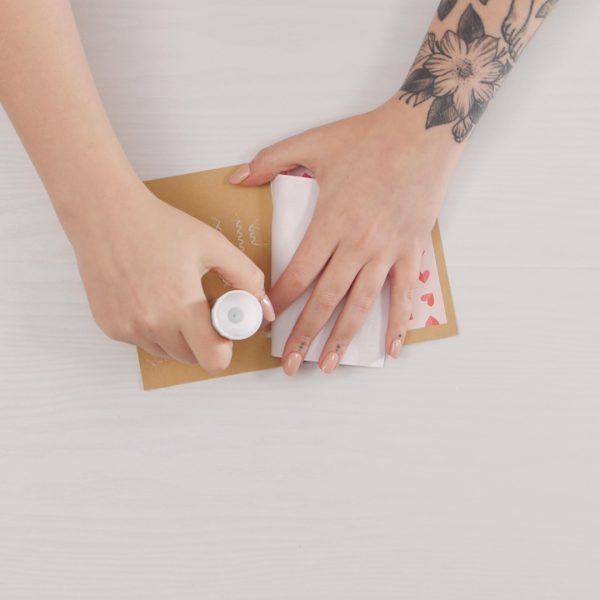
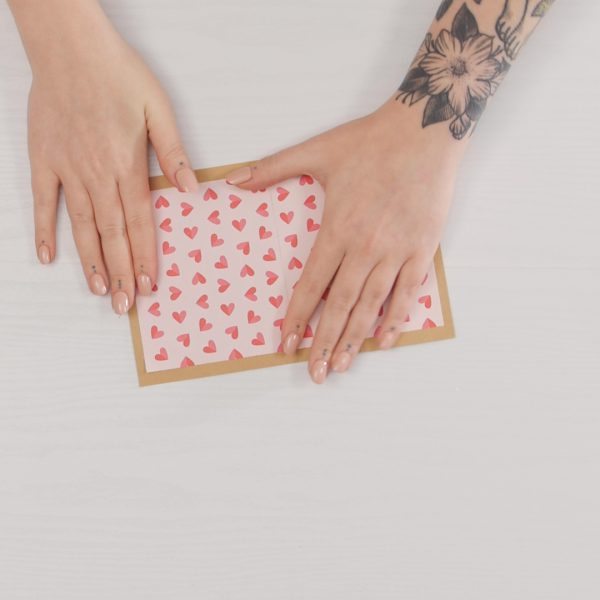
Cut a sheet of scrapbooking paper to ½” smaller than your open card in each dimension. Center it over the inside of the card and secure down using a craft glue stick.
Press the liner down firmly to make sure there are no bubbles or gaps between the cardstock and the paper liner. Fold the card in half.
The last step is to fill it with love! Add your personal messages of love or a poem or whatever lovey-dovey sentiments you want to share this Valentine’s Day.
What you might also like
4 comments on “Stitched Valentine’s Day Card”
-
-
I modified this slightly for my occasion and my Bernina 730. Thanks for the really clear instructions. It came out great.
-
Thank you for pointing out the needle up/down can be used to pick up the bobbin thread. I did not have card stock so I stitched quilting cotton to peltex to make my card stock and then stitched a message on a solid color to stitch to the card. Came out great. Love the details that you teach. May not have to buy a card again.
-
Thank you for this super cute idea. I just made my husband the cutest card with a fabric heart and I coped your I heart U. So, I learned how to create lettering and design with this project. Very fun!
Leave a Reply
You must be logged in to post a comment.




Great idea! Thanks for the pattern.