The Nona Quilt Along, Week Two: Supplies & Materials
Hi, Friends! Welcome back! Jessica Dayon here and today we are starting week 2 of the beginner quilt along- Nona Quilt Along. This week we will be discussing the supplies and materials needed for quilting in general and specifically for the Nona quilt.
If you missed part one of The Nona Quilt Along, you can read all about it here:
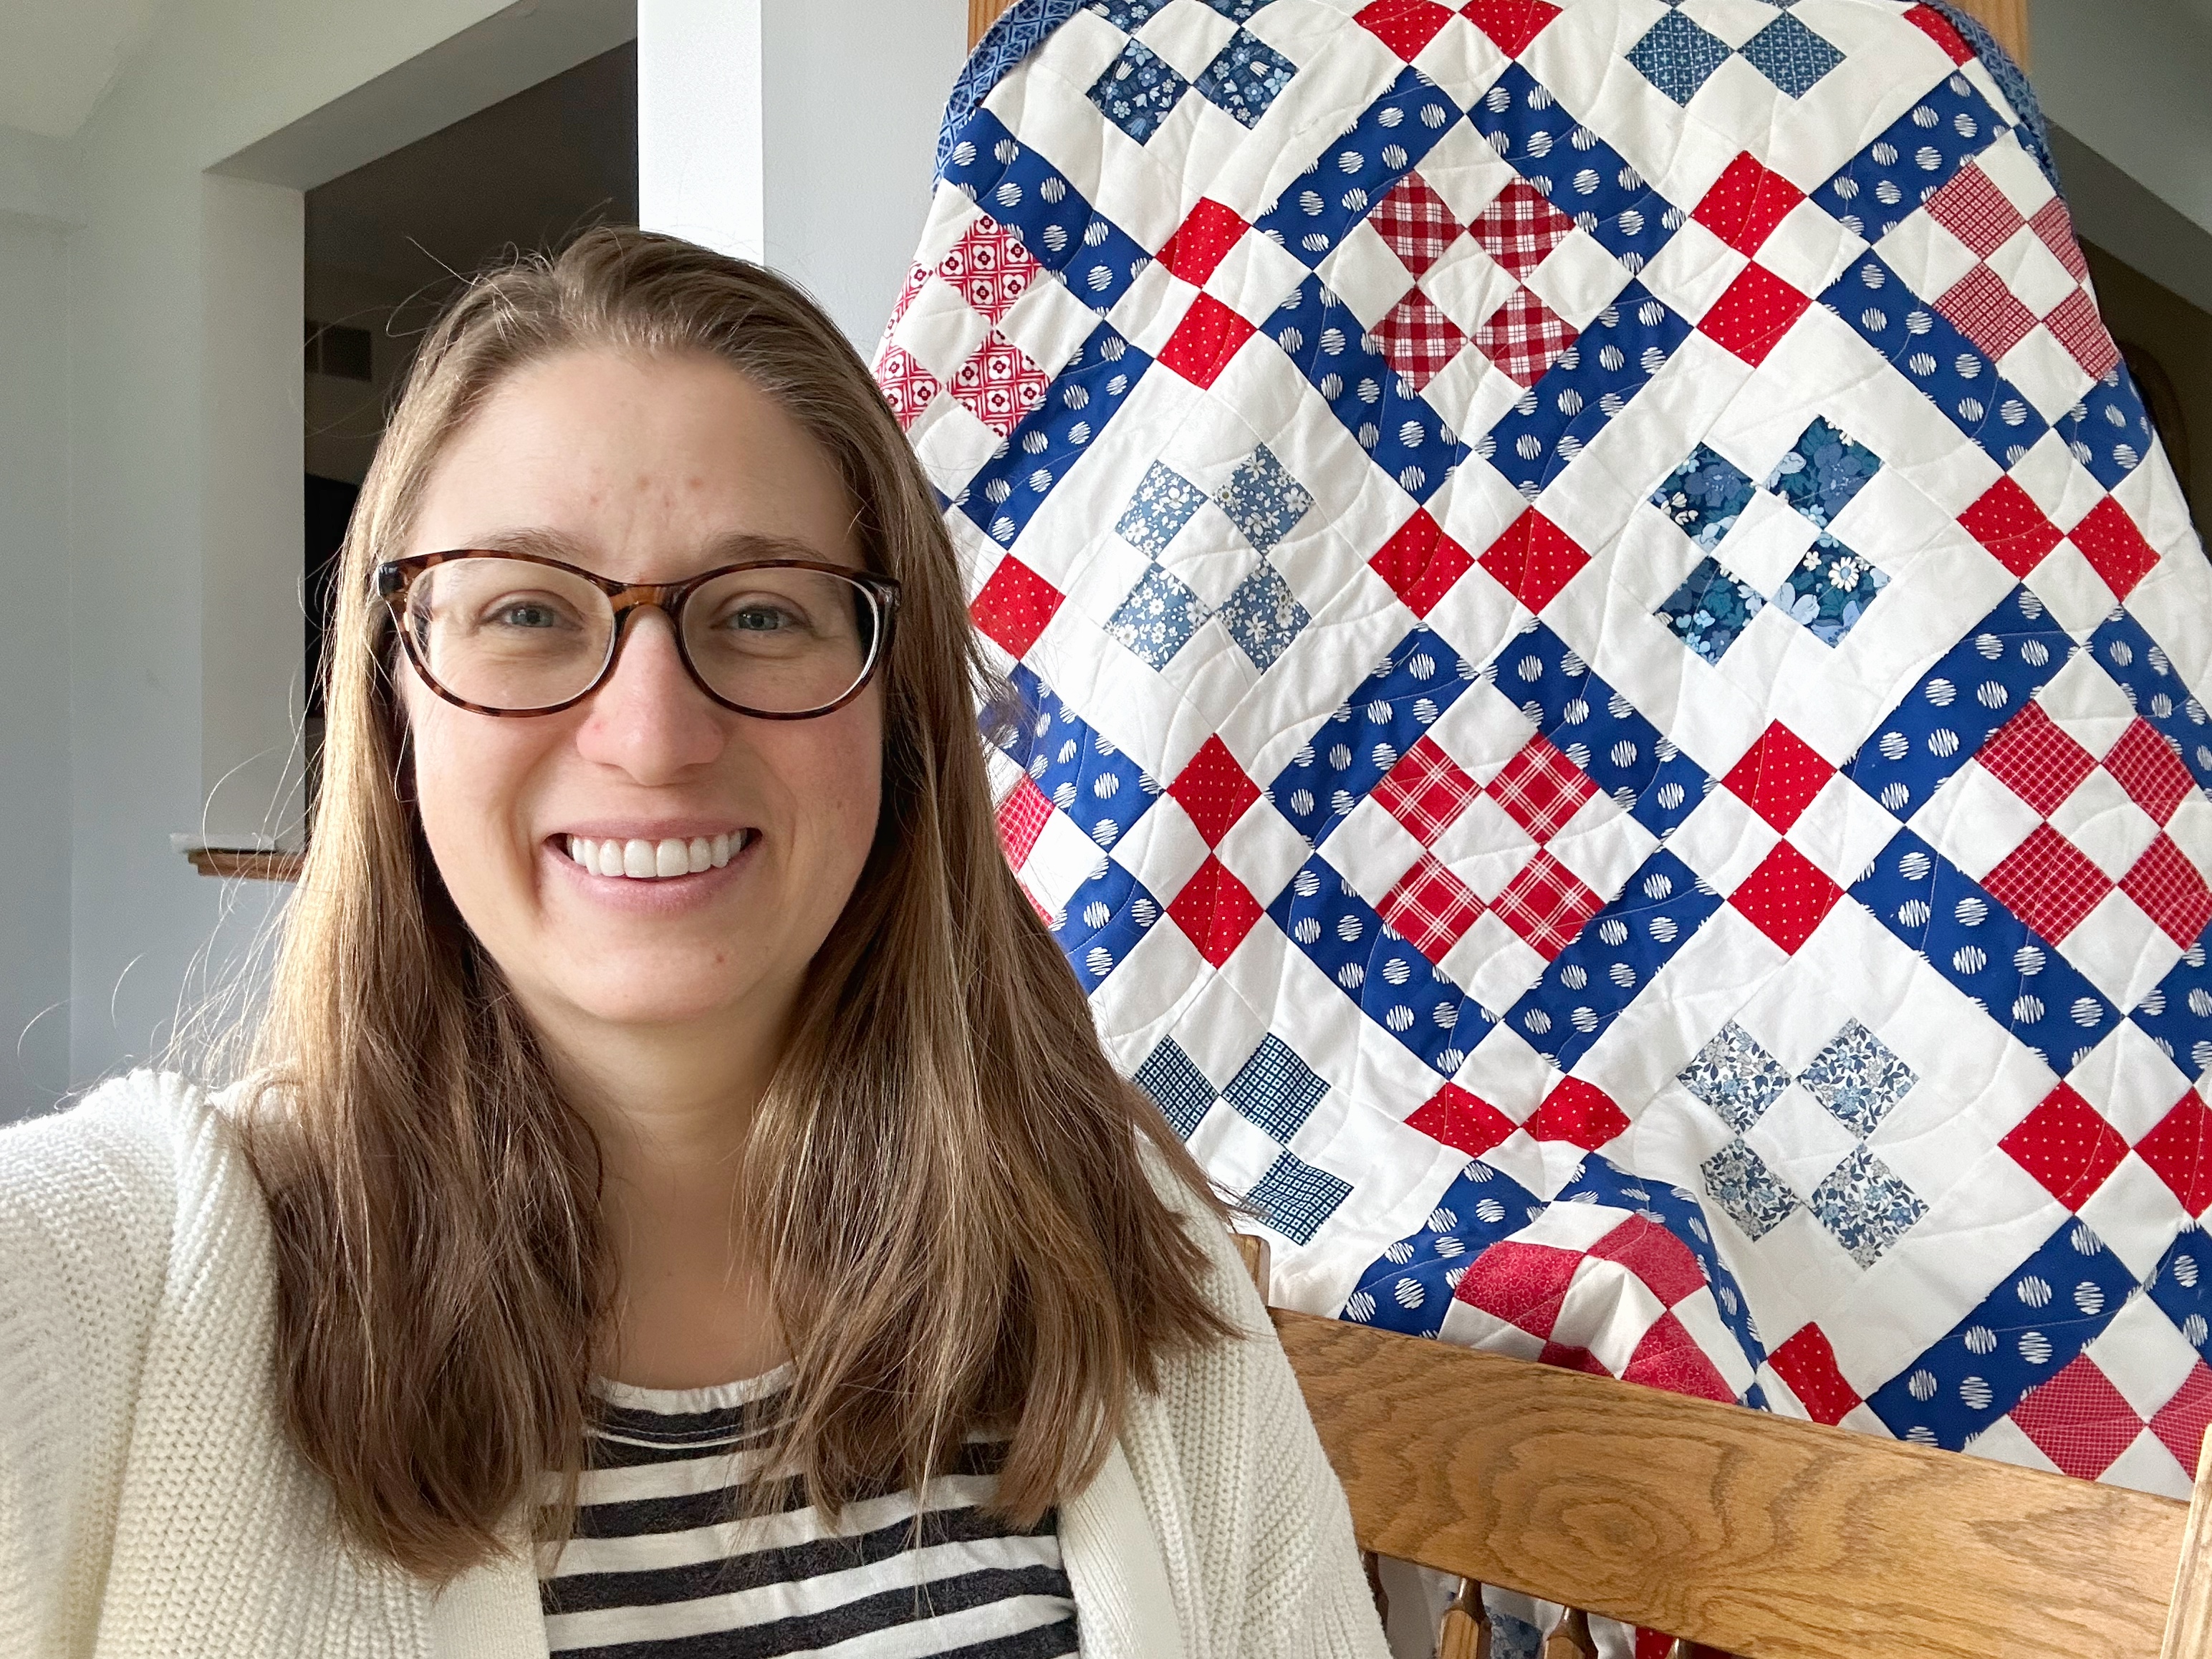
There is a lot of information to cover this week! To help thoroughly cover everything, there will be multiple YouTube videos this week on my channel. I’d love for you to check them out each day.
Supplies and Materials
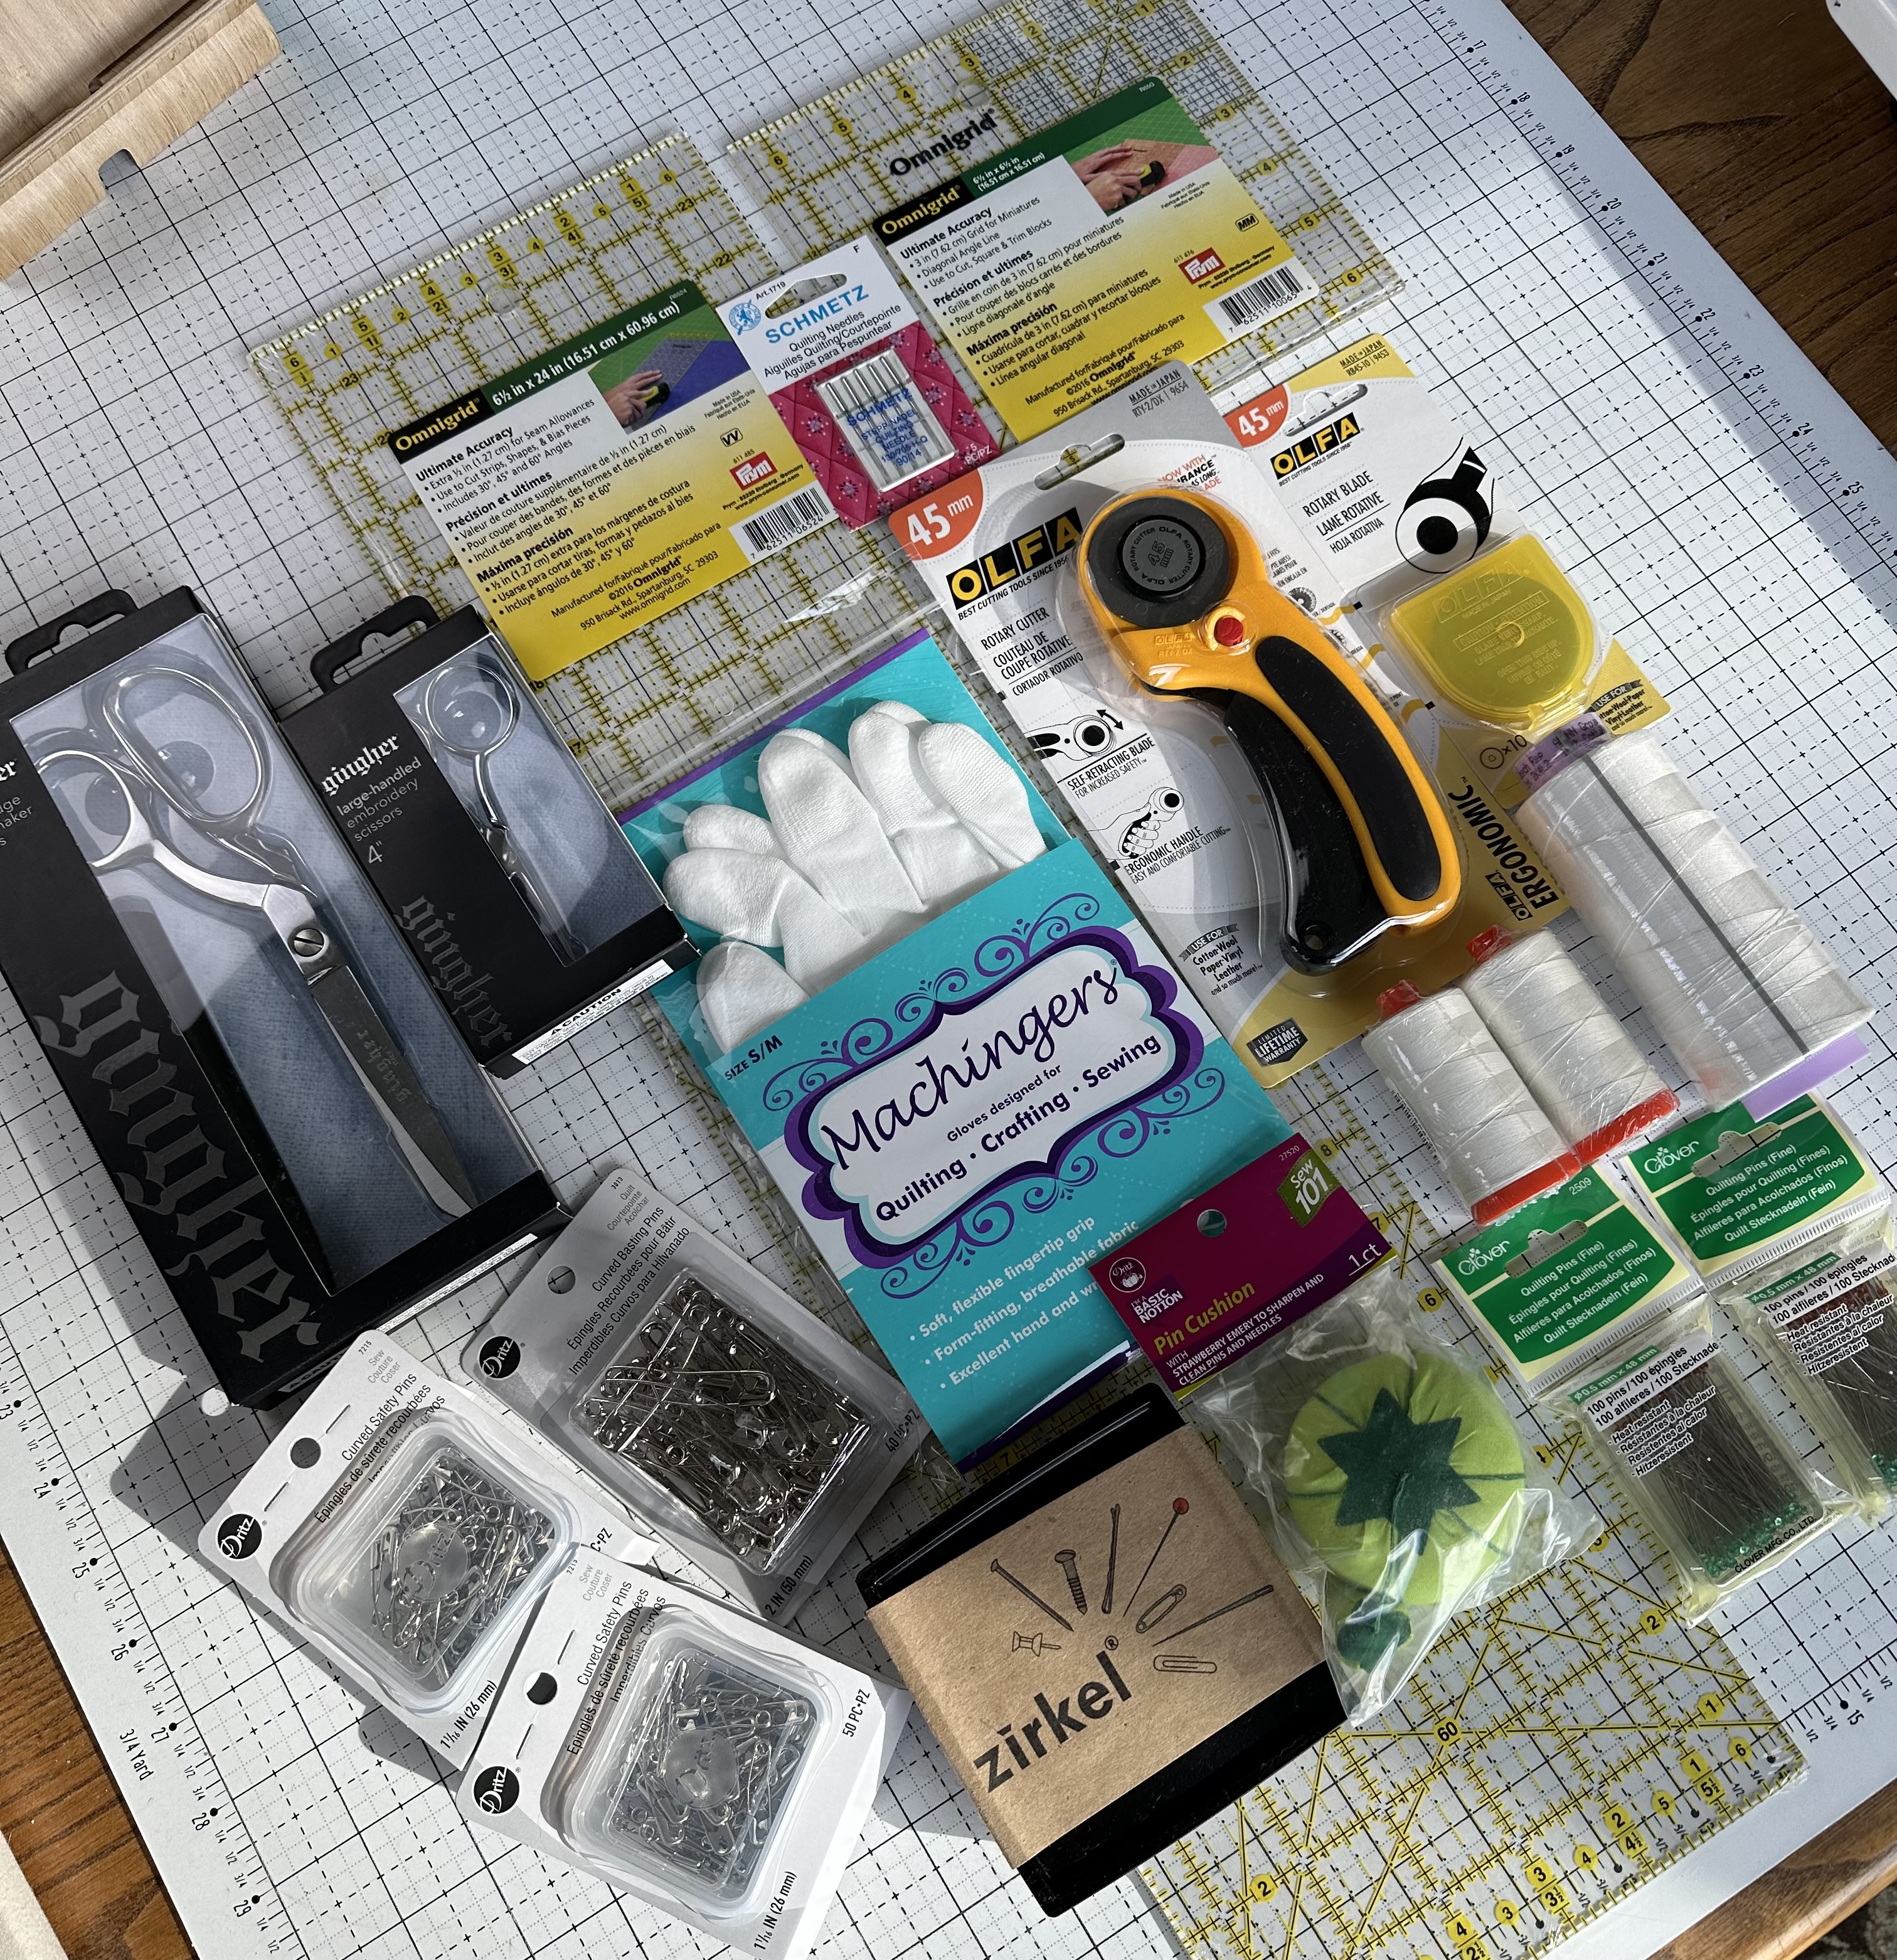
Here are the topics we will cover this week.
1. Sewing Machines
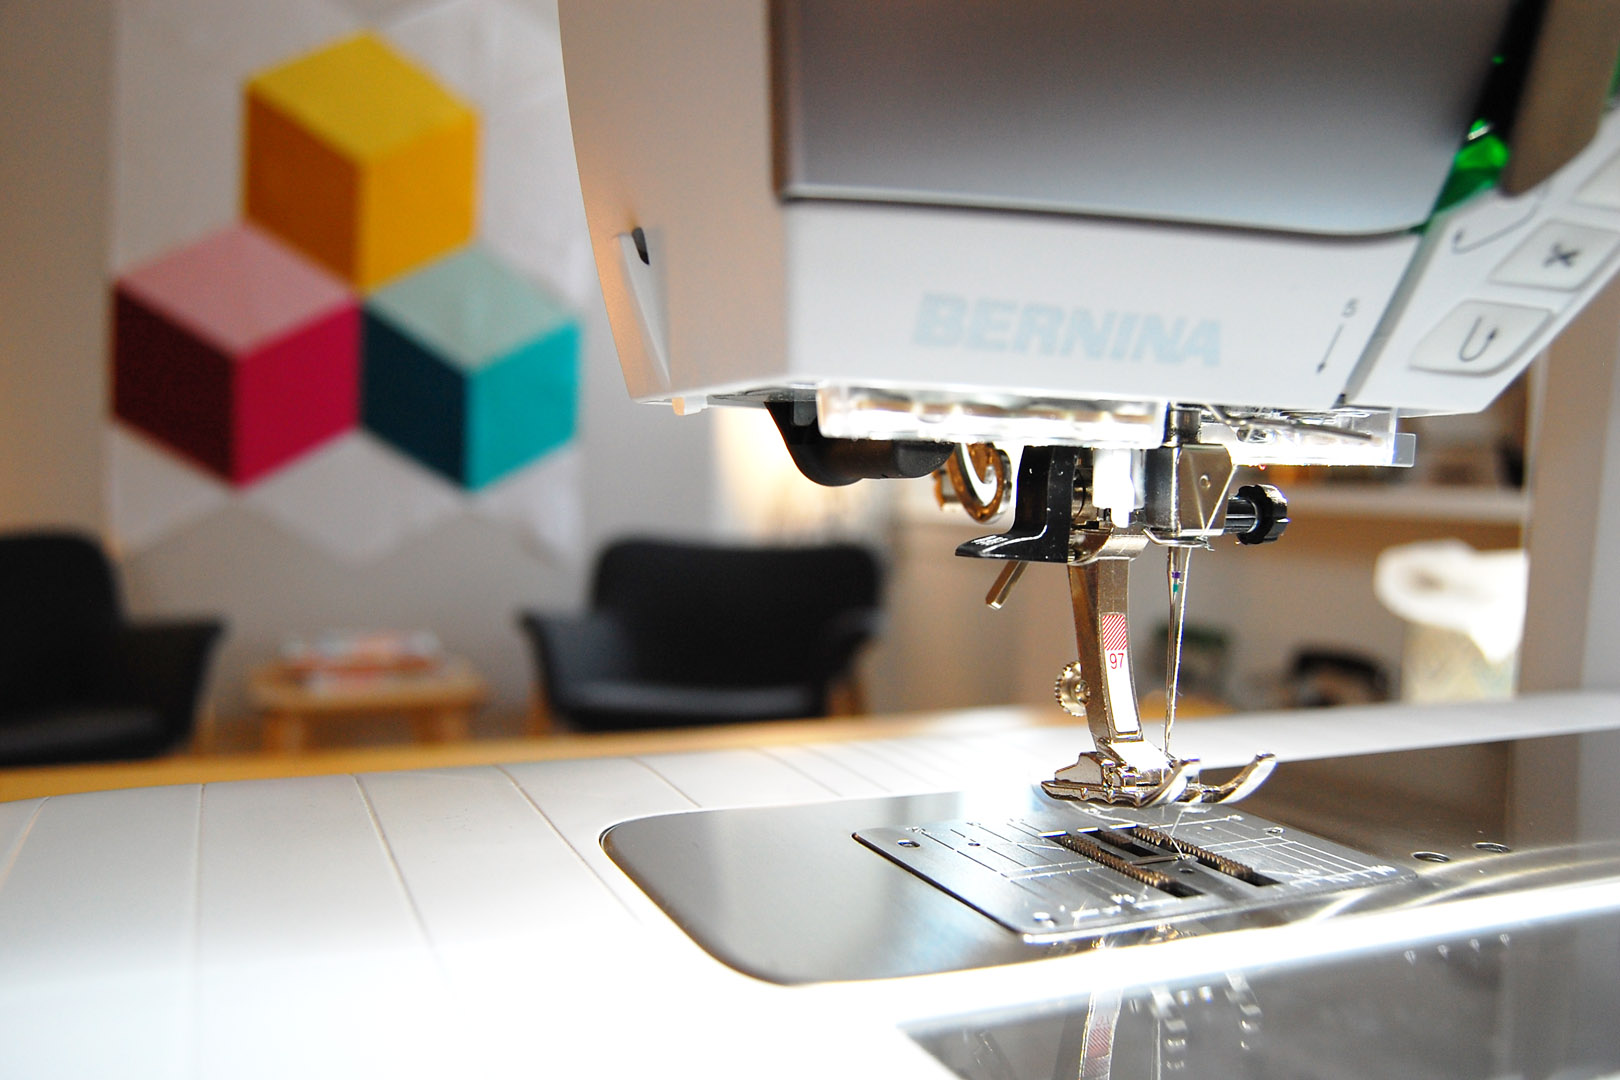
If you are just starting out, then you need a good, reliable sewing machine. Also, though, if you are just starting out, it is difficult to know what the features of a sewing machine are and what each one means because you haven’t used one before and have nothing to compare it to.
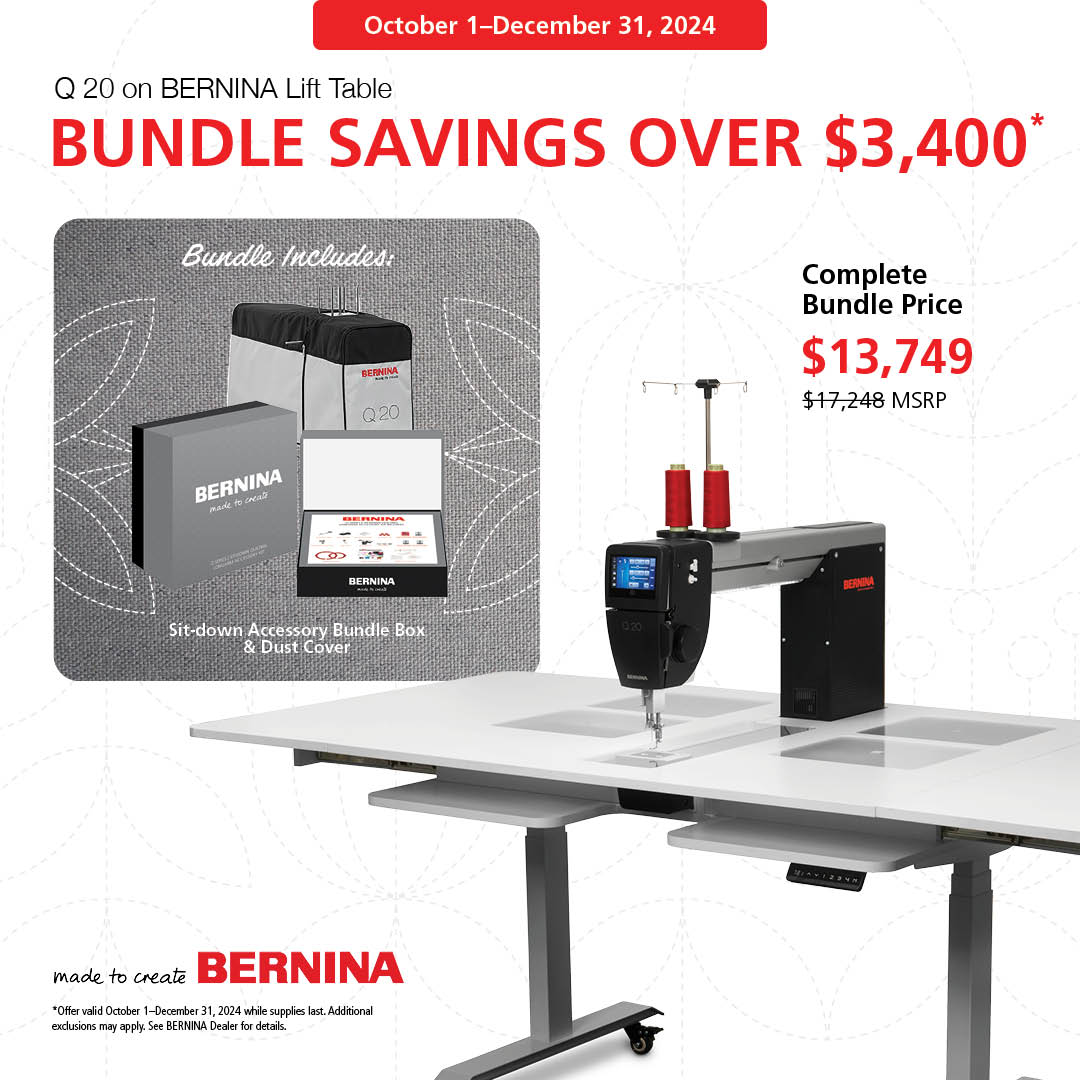
BERNINA
One thing I love about BERNINA is that they only sell their machines through a dealer network. What this means is that you need to purchase a BERNINA at a BERNINA dealer. The dealer can help you choose the right machine for you- working within your budget and making sure you get the machine with the features you need based on what you are sewing.

bernette
In case you are working with a smaller budget, there is no need to worry, BERNINA has a brand called bernette. bernette is a value sewing machine brand that has machines starting at just a few hundred dollars.

There is a sewing machine for every budget between the bernette and BERNINA lines.
2. Quilting Fabric
If you choose to there is so much you can learn about fabric. Let’s start with the very basics though. Most often quilts are made with 100% cotton fabrics, referred to as Quilter’s Cotton. You can buy fabric individually by a certain length (called yardage) or in bundles.
When you are purchasing yardage, you choose individual fabrics and have them cut for you from a bolt of fabric. Yardage is measured in yards and because of that, you’ll find that quilting patterns have the fabric requirements written in yards as well. Quilter’s Cotton is 43/44” wide and you decide the length of the fabric when you say how much you want.
Here are common cuts you’ll come across in quilting-
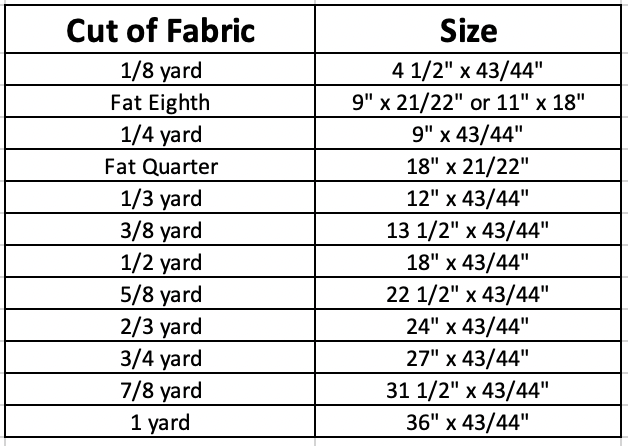
Two cuts that quilters really popular in the quilting world are called fat eighths and fat quarters. These cuts came about to give the quilter fabric for cutting larger pieces when cutting for a quilt pattern that doesn’t use skinny strips. Although fat eighths & 1/8 yards and fat quarters & 1/4 yards differ in shape, they are, respectively, the same amount of fabric.
In addition to yardage, there are fabric groupings called bundles and precuts.
Bundles are specially coordinated fabric put together by a shop or designer. They can be in a variety of sizes including, but not limited to, fat eighths, quarter yards, and fat quarters.
Precuts come in a variety of sizes and they are precut bundles of fabric usually packaged by a fabric manufacturer. The most common sizes of precuts are as follows.

Most often, each precut package is a composed prints of fabric all from the same fabric collection. Fabric collections are a group of designs that are created to work harmoniously together. Each fabric collection usually contains a good mix of light, medium, and dark colors as well as some neutrals.
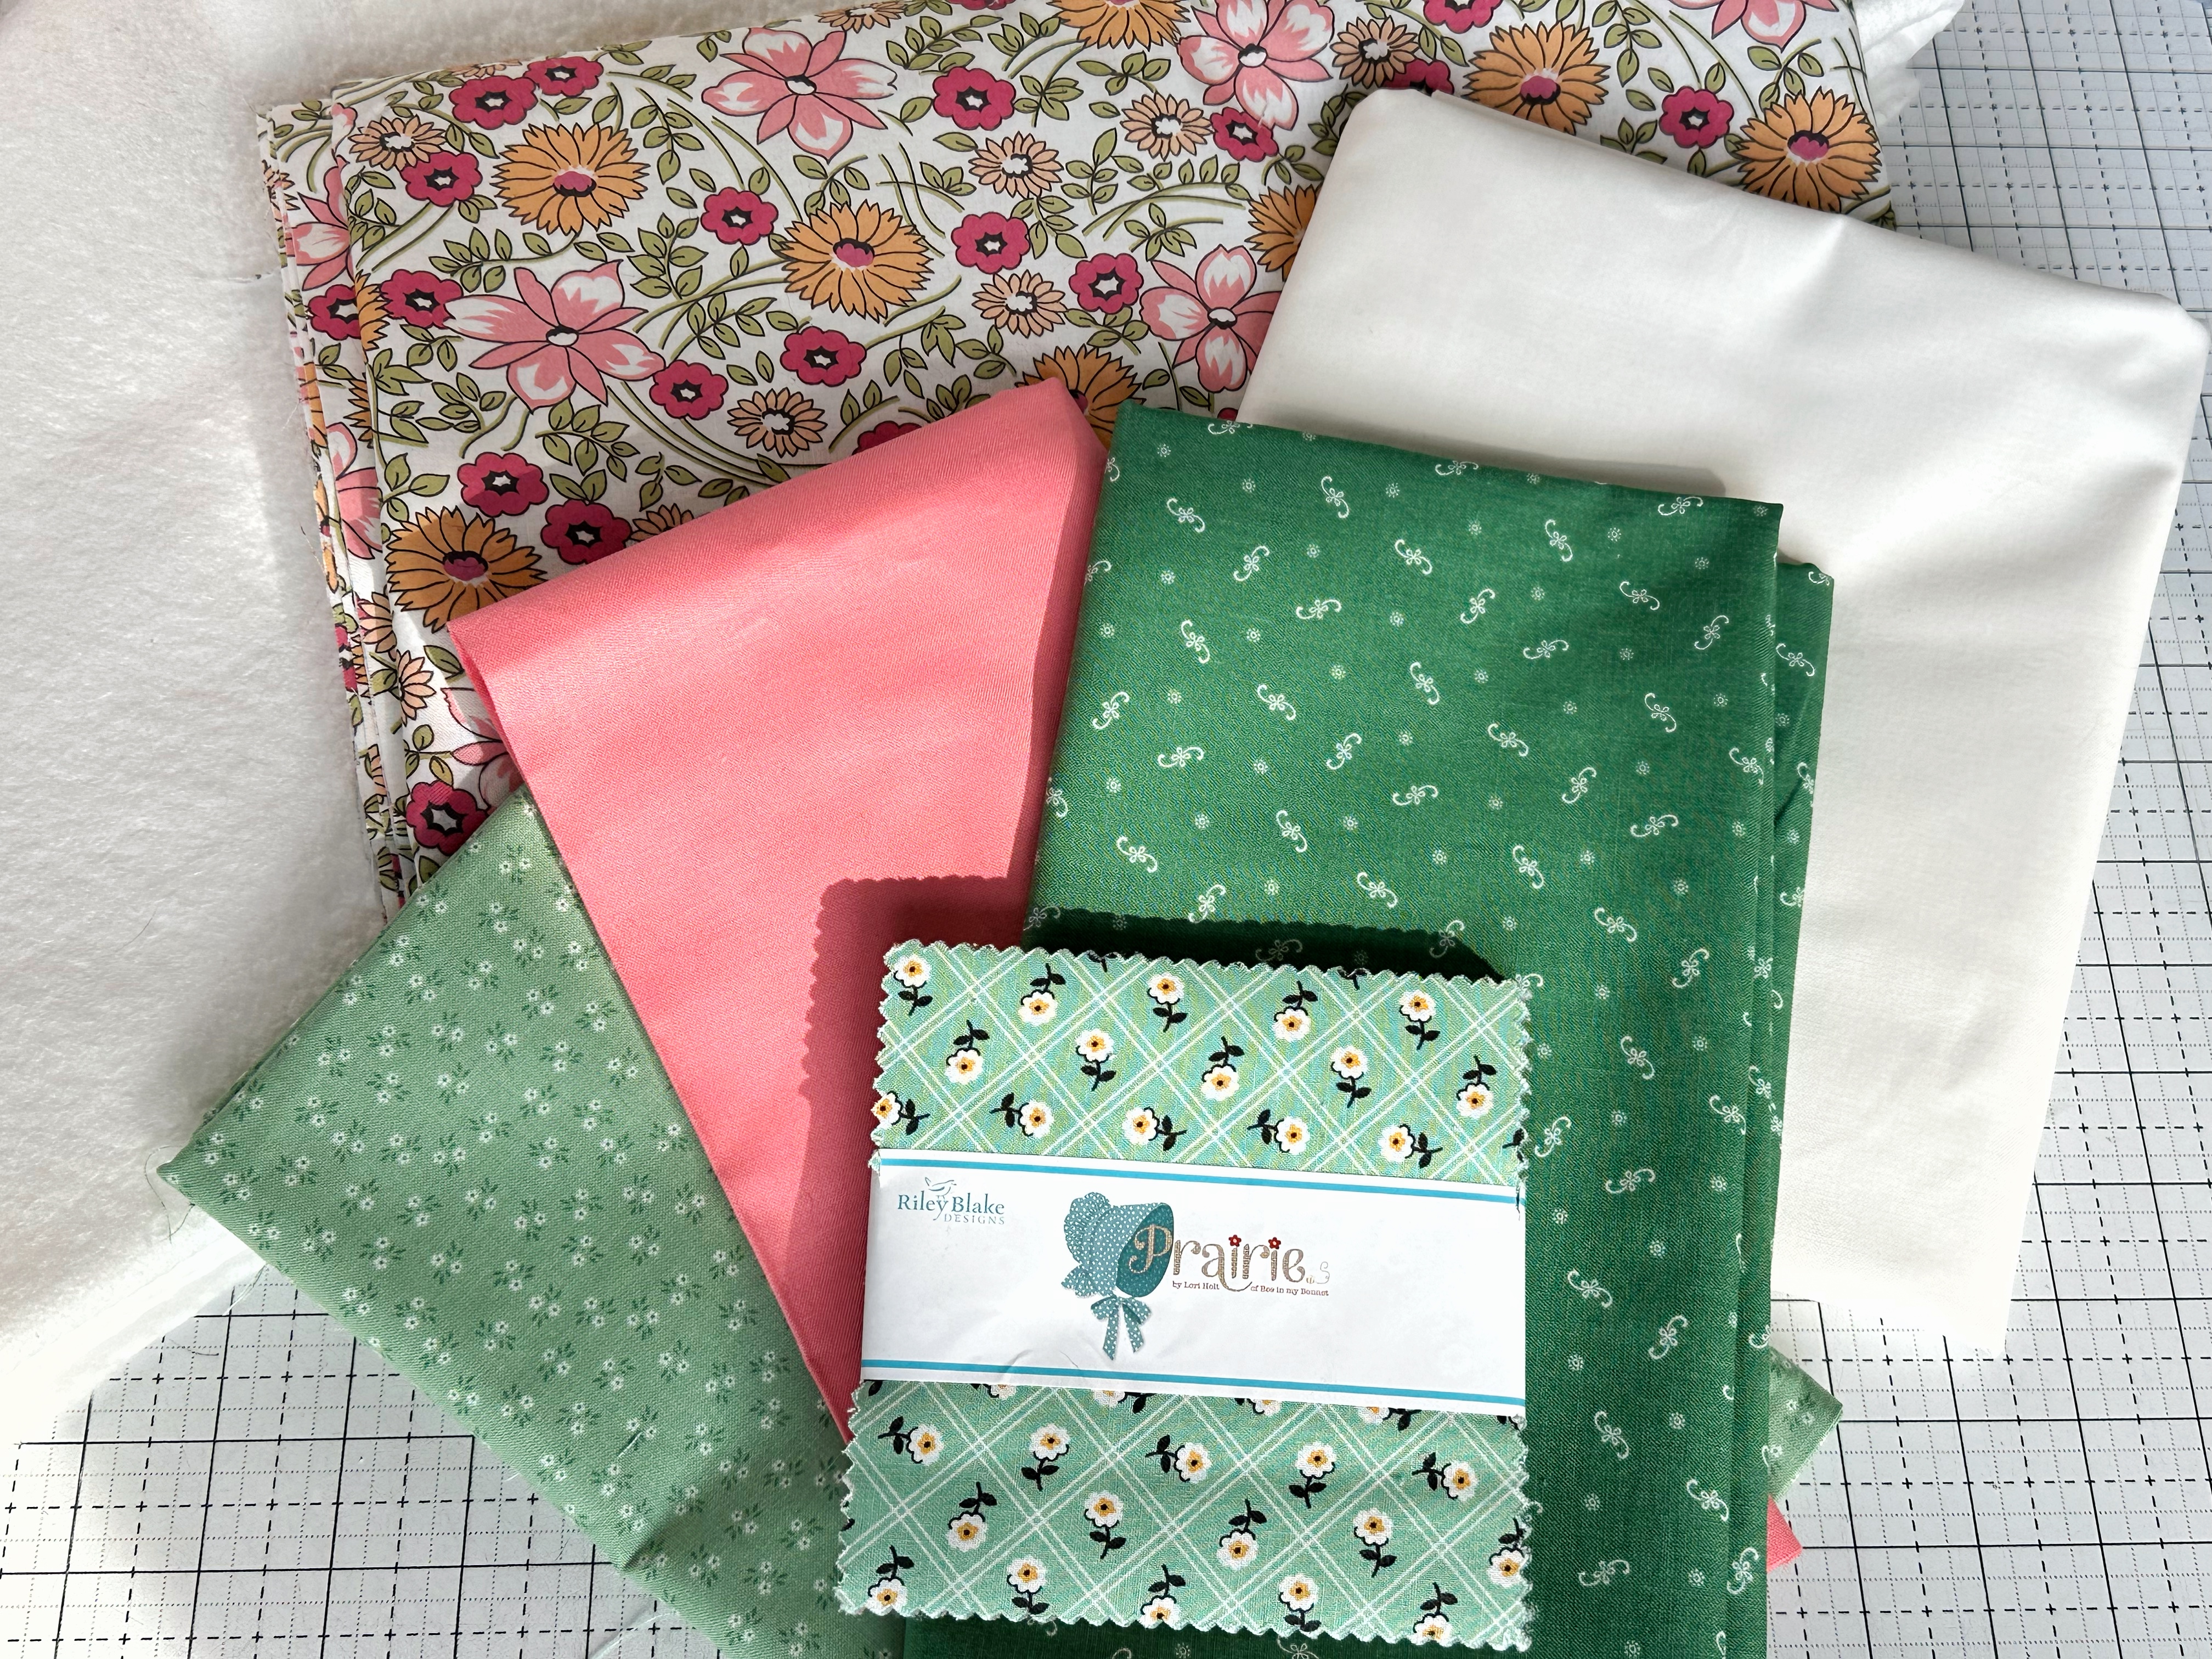
For the Nona Quilt, we will be using a mix of precuts and yardage. For the exact materials list, refer to the Nona Pattern below.
3. Batting
Batting (also called wadding) is the layer between the quilt top and the quilt backing. The definition of a quilt is a layer of padding enclosed between layers of fabric and held in place by stitching. The batting gives the quilt warmth and insulation.
Batting Options
There are so many batting options to choose from that it can be overwhelming. Let’s go over a few kinds together but the best advice I have is to just pick one and try it out. As you continue to make quilts, keep trying different battings and you’ll mostly like come to decide on a favorite (or a few favorites) that you keep going back to.
100% Cotton

Cotton is a great option for batting. It is made from natural fibers and has a breathable, soft texture.
Cotton batting will shrink slightly on washing, which can be good or bad depending on your preference. After the first wash, the batting will shrink and the quilt will have a crinkled look to it which is appealing to many people. However, for those entering their quilt into a show, the crinkles are not a feature that they want on their quilt.
A quilt made with cotton batting is a little stiffer in the beginning but will soft greatly over time and become wonderfully drapey and cozy after use. Cotton often comes in bleached and natural. So, you’ll need to keep that in mind when choosing it for a project.
If your quilt has a lot of white in it, you might prefer a bleached cotton because some of the darker fibers in the natural batting can show through light quilt tops.
Another thing to keep an eye out for is cotton seeds. Cotton batting can have seeds (though I’ve only found a few in the process of making hundreds of quilts). If you see a seed, you’ll want to remove it because it can stain the fabric around it over time.
Polyester
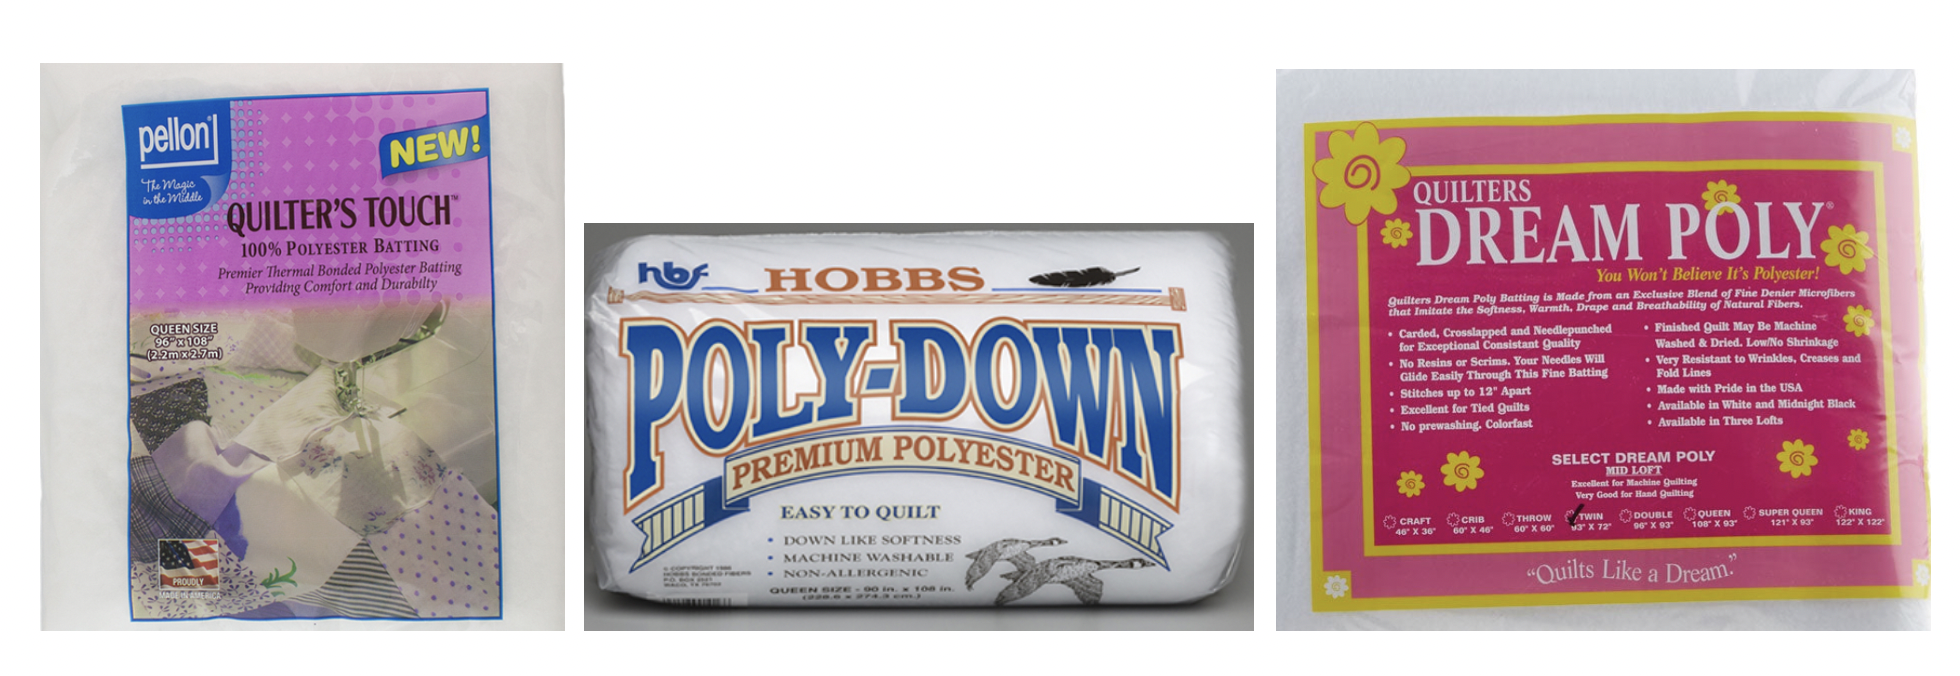
Polyester batting is the least costly batting. It is a good choice for people with allergies because it is hypoallergenic and resists to mold and mildew. Polyester batting is thicker than its cotton counterpart but it is lighter in weight. Polyester doesn’t shrink upon washing.
Polyester/Cotton blend

You can buy batting that is either 100% cotton or 100% polyester but also you can buy cotton poly blend batting. The most common ratios are 80 cotton/20 polyester and 60 cotton/40 polyester. This is a very popular batting because you get the features of cotton and the features of polyester together. Since the majority of the fiber is cotton, there is breathability. But, it is lighter in weight than 100% cotton. It is also more resistant to mold and mildew than 100% cotton and has less shrinkage too.
Wool

Wool batting is warm and fluffy. It is relatively easy to work with and quilts up beautifully both by machine or by hand. Wool resists creases which means you can fold it and the fold won’t leave crease marks even if it’s folded for a long time. It holds its shape and springs back. It is more expensive than cotton and polyester. One other potential drawback is that wool tends to beard. Bearding is when the fibers travel through the quilt and you can see them coming up through it in a sort of halo effect.
Bamboo

Bamboo is a dreamy quilt batting option. It is eco-friendly, quilts up beautifully, and has the most amazing drape. It is lightweight, breathable, and resists mold and mildew. However, it is one of the most expensive battings. Bamboo batting is sometimes blended with cotton and even sometimes silk too.
Silk
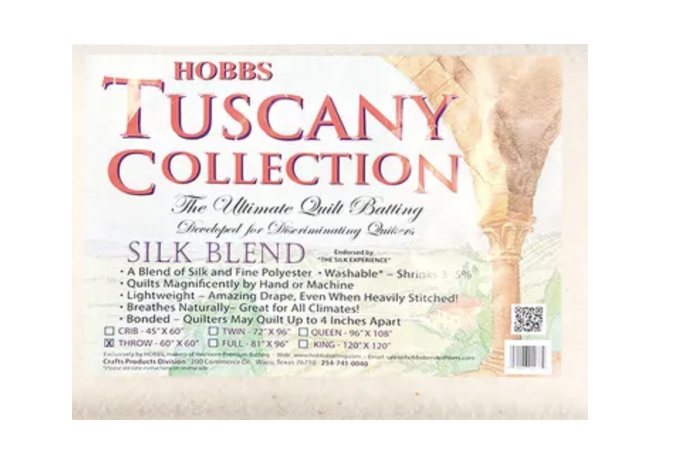
Silk batting is a lightweight batting with beautiful drape. It is not as common as the other types of battings. It is suitable for both machine quilting and hand quilting. Most silk battings are a blend. The batting won’t shrink unless it is blended with cotton. Even though it is lightweight it is also warm. Silk battings should be washed by hand and should be air dried. Silk batting is another expensive option.
A Few Other Batting Notes
Loft refers to the thickness of the batting. Low loft is thin and high loft is thicker.
Scrim
Some battings come with a scrim. A scrim is a thin layer of stabilizer on one or both sides of the batting used to prevent the fibers from stretching or separating. Having a scrim on the batting makes it possible to space your quilting lines further apart while maintaining the integrity of the batting. Battings with scrim are not a great option for hand quilting because it is more difficult to get your needle through the dense layer of scrim.
Right side vs wrong side
Some battings have a right side and a wrong side. So, what does that mean for you? Battings that are needle punched have one side that the needles enter on and one side that the needles exit on. You want your needle to go in the same direction that those needles did. So, the side that the needles entered on is the right side and it goes facing your quilt top. The side that the needles exited on is the wrong side and it goes facing the backing. If the batting is needle punched, you can usually tell the difference by looking at both sides. The ‘right’ side, has dimples on it (where the needles entered). The ‘wrong’ side has small bumps (or even fuzz balls).
Spacing for Quilting
Always refer to the package to see how close or far apart you can space the quilting lines.
4. Thread
Thread is very important- we piece our quilts with it and we quilt them with it. Just like fabric and batting, thread can be made of different fibers. Let’s talk about cotton, polyester, and silk threads.
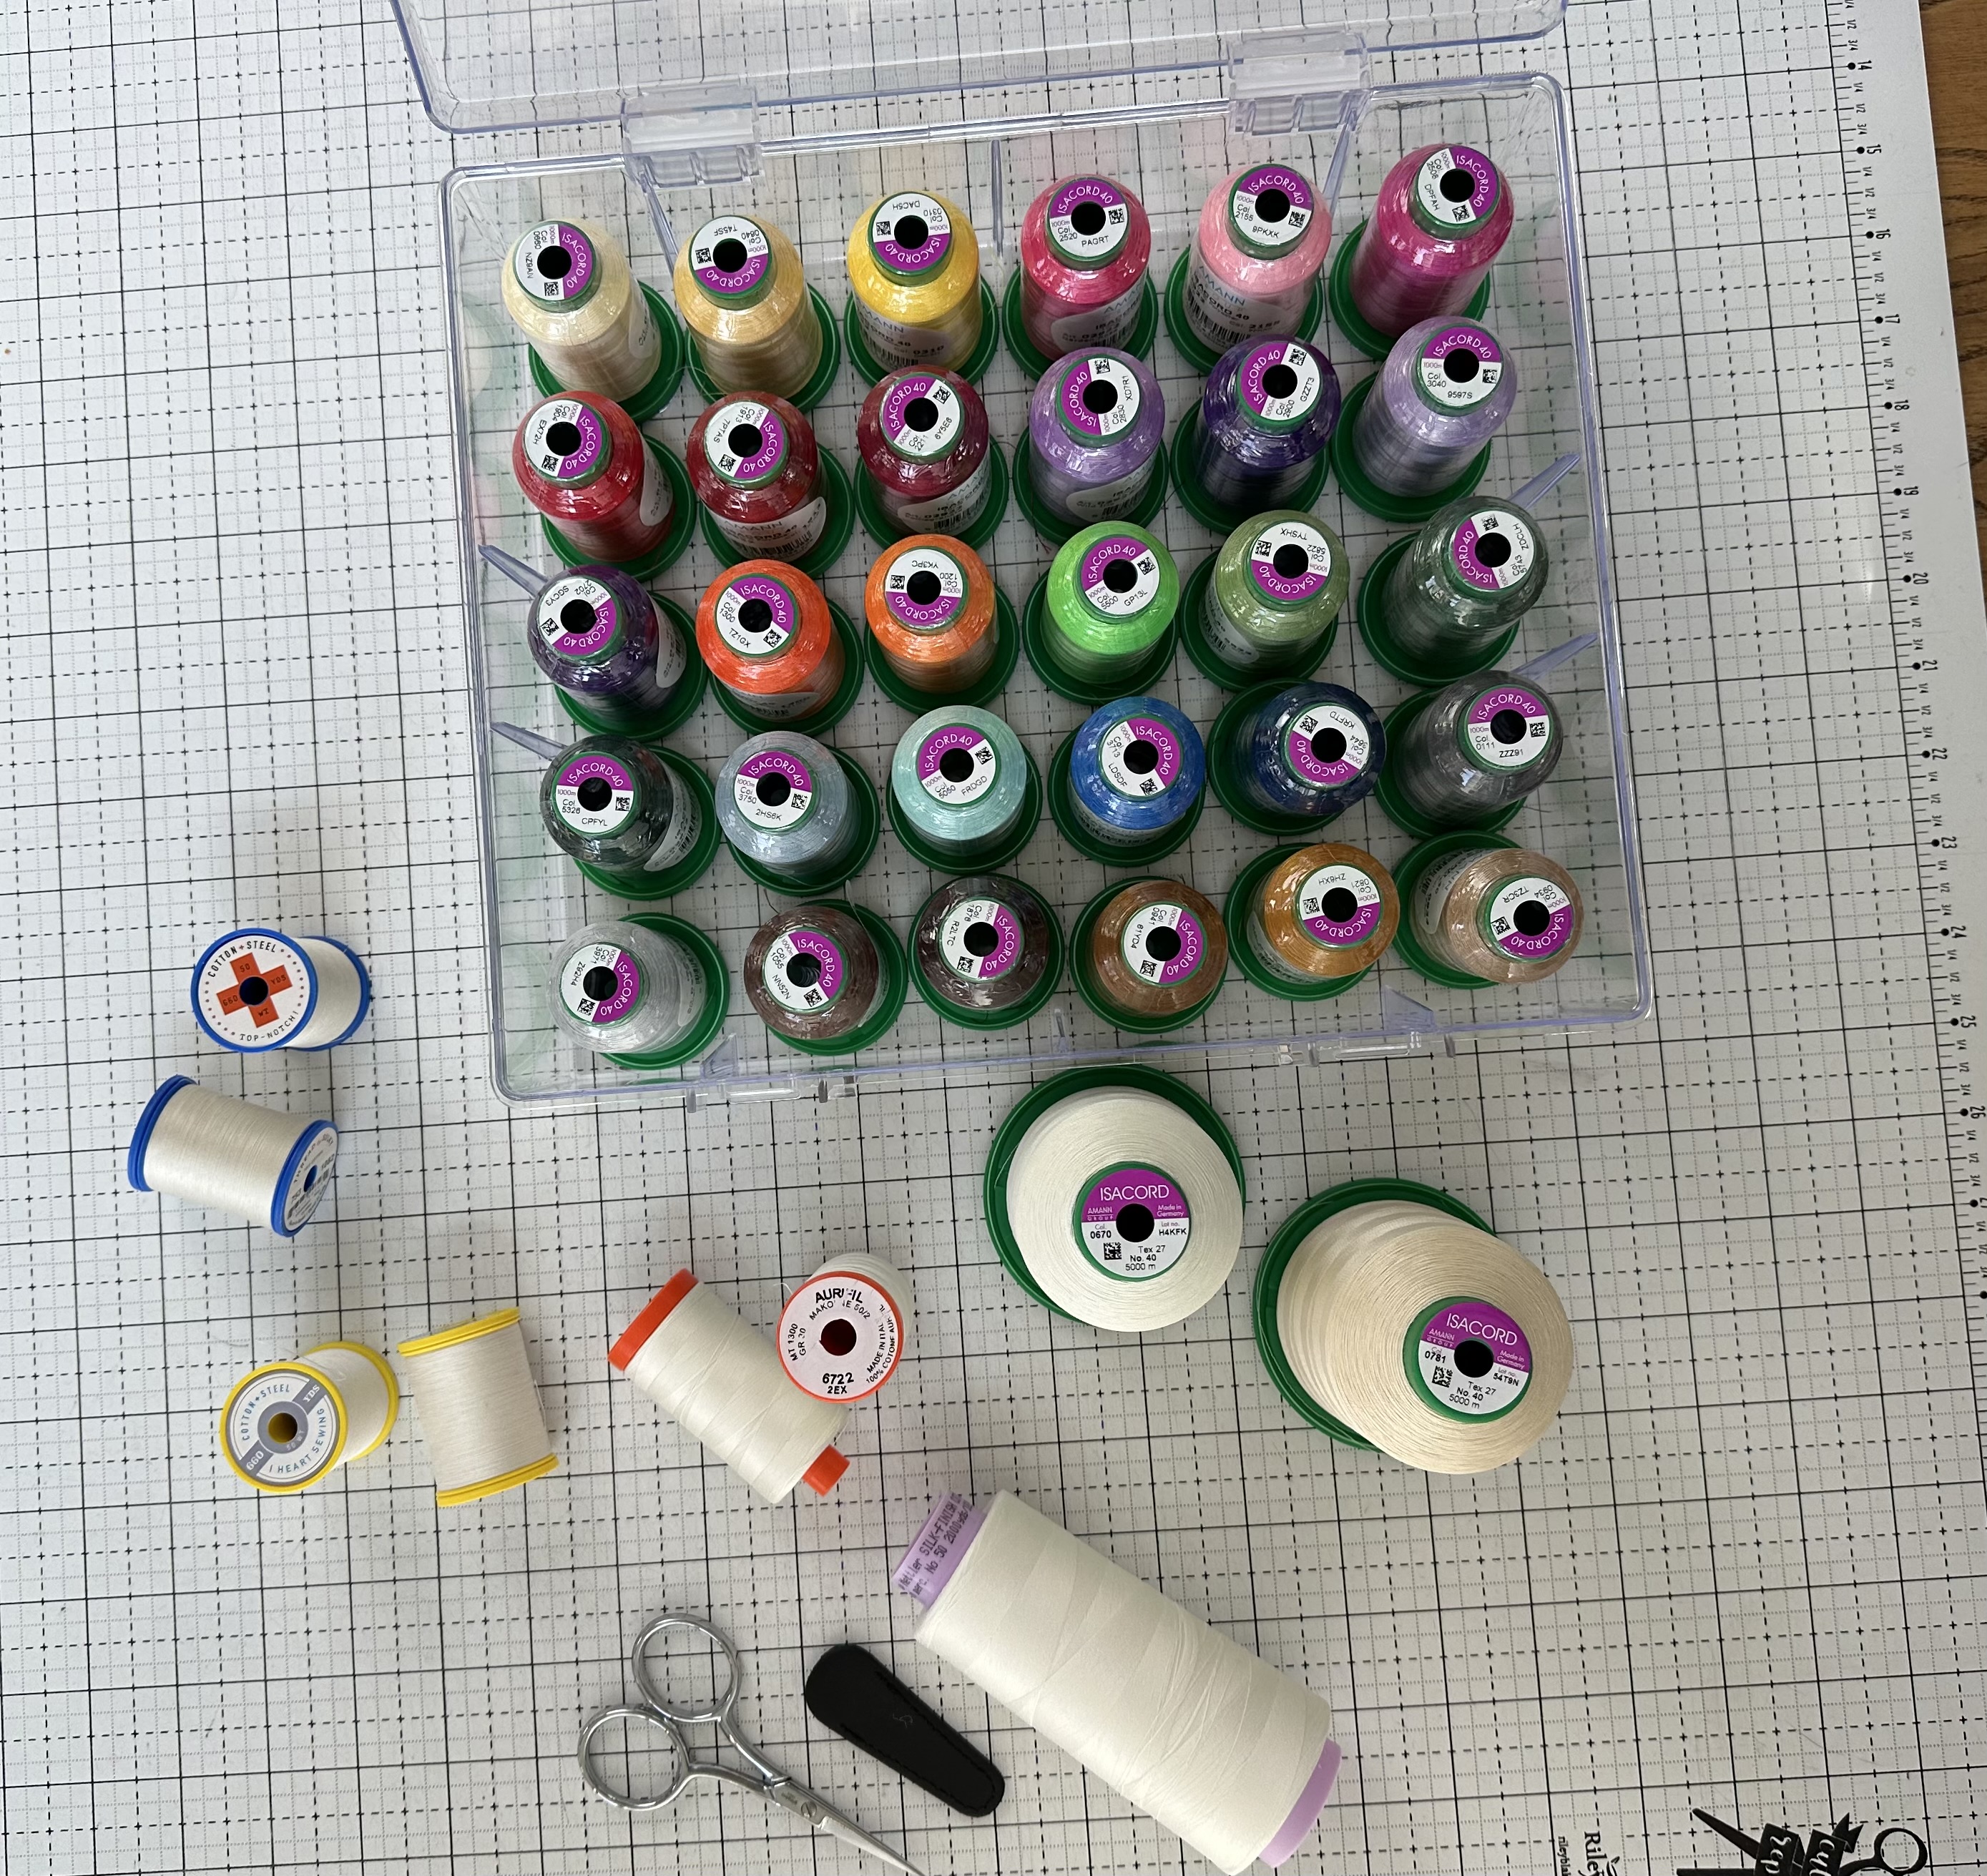
Types of Thread
Cotton Thread
Cotton thread is made from cotton plants. Cotton thread is soft and strong. Cotton thread doesn’t stretch so it’s good for quilting because it holds its shape really well.
Cotton thread is low in luster. Cotton thread stands up to heat really well so it can handle being pressed at a higher heat.
Polyester Thread
Polyester thread is synthetic and is made from polymers derived from petroleum. Polyester thread is very strong and has a little bit of stretch to it. Because of this, it is a great choice for garments.
Polyester thread has a little bit more shine to it than cotton thread. Polyester thread doesn’t stand up to heat as well as cotton thread so you may need to reduce your iron heat setting to the lower synthetic level. Also, it makes less lint than cotton thread.
Silk Thread
Silk thread is made from the cocoons of silkworms. Silk thread is very fine, beautiful, and durable. It is fantastic to use for top stitching and tailoring.
It has more luster than polyester. It can hold up to high heat.
Use High Quality
Whatever thread fiber you choose, choosing a high-quality thread is important. The thread passes through many parts of your sewing machine and since it is touching so many parts of the machine, it’s important to use a good, high-quality thread that won’t leave any residue or excessive loose fibers in your machine.
Thread Sizing
In addition to fiber, when choosing thread, you need to know about sizing. The thickness of a thread is referred to as its weight. Certain weights of threads are used for certain applications. And, while I think it’s okay to experiment until your heart is content, it is helpful to know a thread’s intended use so that you can make informed decisions on how you’d like to use it.
Numbers are given to each thread to tell its thickness. The lower the number, the thicker the thread and the higher the number, the thinner the thread.
Typically, quilts are pieced with a 40 or 50 weight thread. If quilts are machine quilted, then they are also generally quilted with a 40 or 50 weight thread. Hand-quilted quilts use a thicker thread- often a 30 weight or thicker. Big stitch hand quilting is usually an 8-weight thread.
5. Cutting Supplies

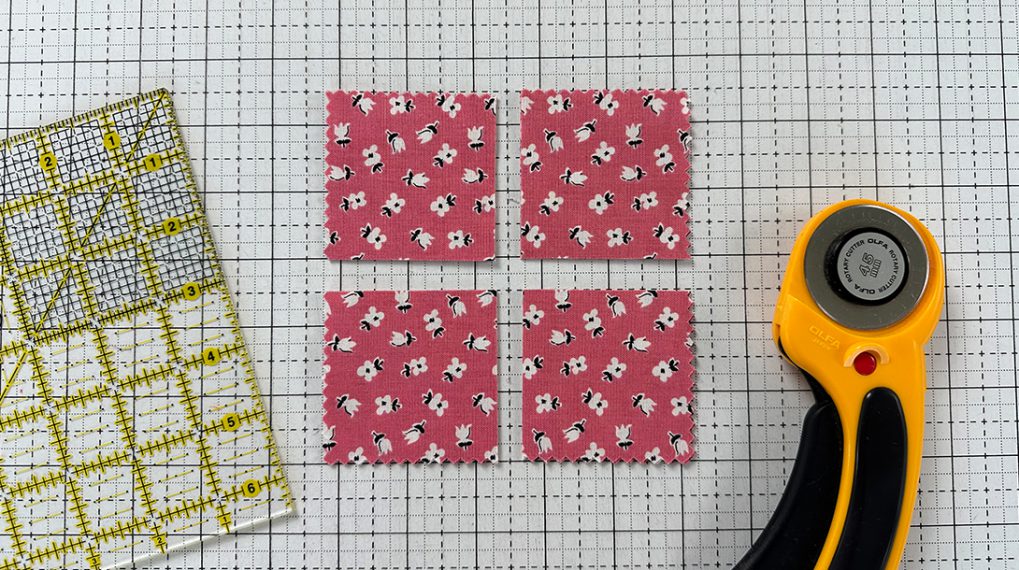
The most common tool for cutting quilting fabric is the rotary cutter. The rotary cutter was invented in 1979 by OLFA. It was originally created for the garment industry but when quilters tried it, they fell in love. The rotary cutter works in the same manner as a pizza cutter. When you are using a rotary cutter to cut fabric, you need to use it in conjunction with an acrylic ruler and a self-healing cutting mat.
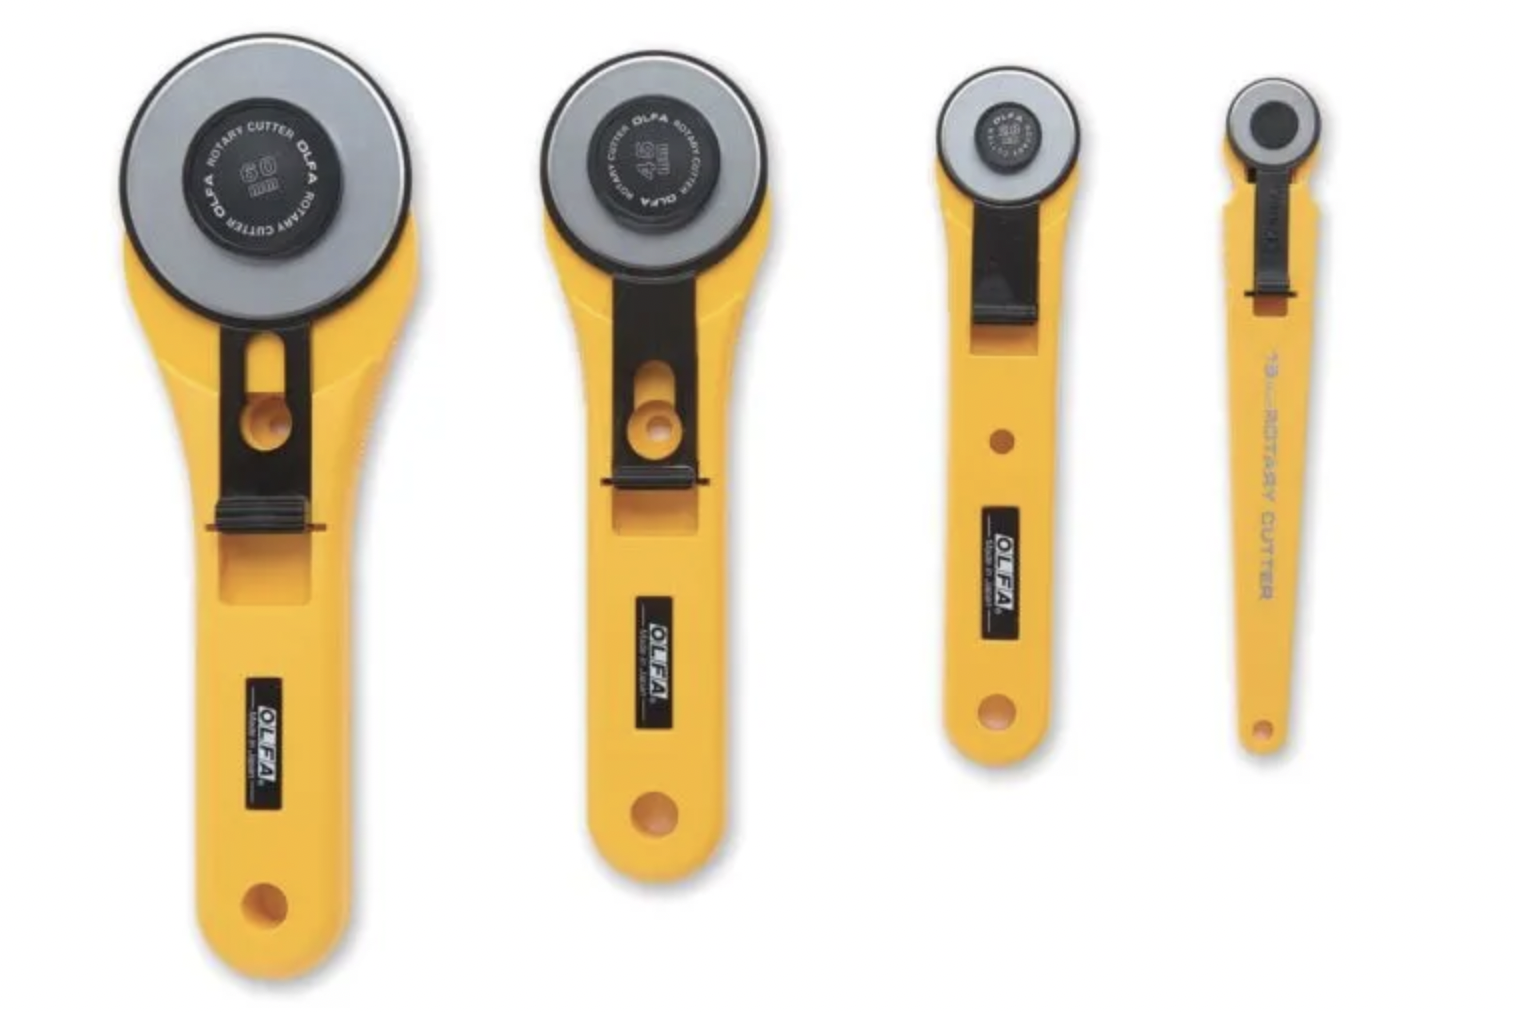
Rotary cutters come in different sizes. The ones that are in quilts shops are 25 millimeter (mm), 45mm, and 60 mm. 25mm cutters are often used for small detailed cutting and cutting around curves. I’d say that the 45mm is the one most commonly used in quilting. 60mm is more of a heavy-duty cutter for cutting more layers at once. I use the 45mm cutter daily for all of my cutting and it’s the one I’d recommend buying when you are starting out.
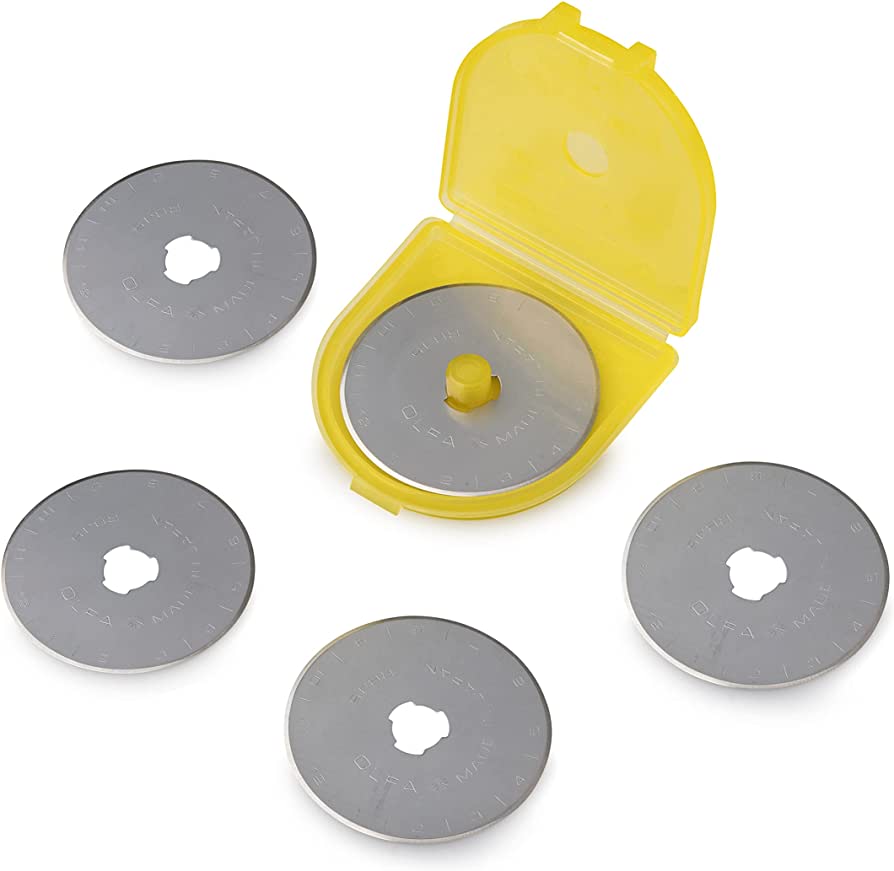
The blade that is used in your rotary cutter dulls after cutting fabric so you do need to replace the blade occasionally. I don’t find that there is an exact time of use and then the blade needs to be changed but you’ll notice that it’ll get a little bit tougher to cut through the fabric layers and that’s your cue to change the blade. You can buy replacement blades individually or in bulk packs. I save the containers from the blades, mark on the container ‘old’, and then put all my old blades in the container to dispose of safely.
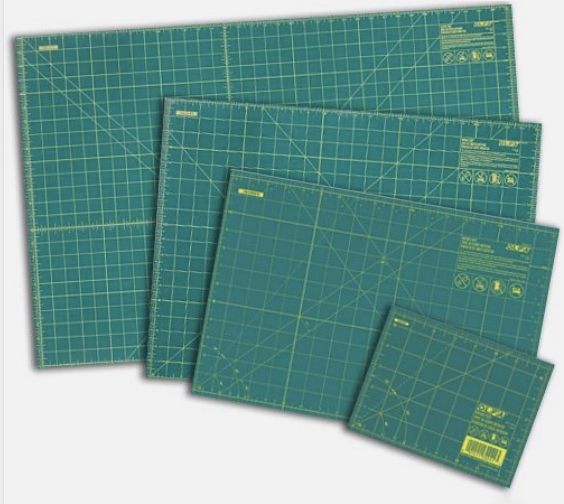
A Self-healing cutting mat is needed to use in conjunction with the rotary cutter as I mentioned before. Self-healing cutting mats come in quite a variety of sizes. You’ll need to decide the size that works for the space you have. My favorite size is 24” x 36”. I bought this size when I started quilting and it is the size I continue to use. I like this size because it is big enough to cut yardage on but also anything smaller too and it fits in my sewing space nicely.
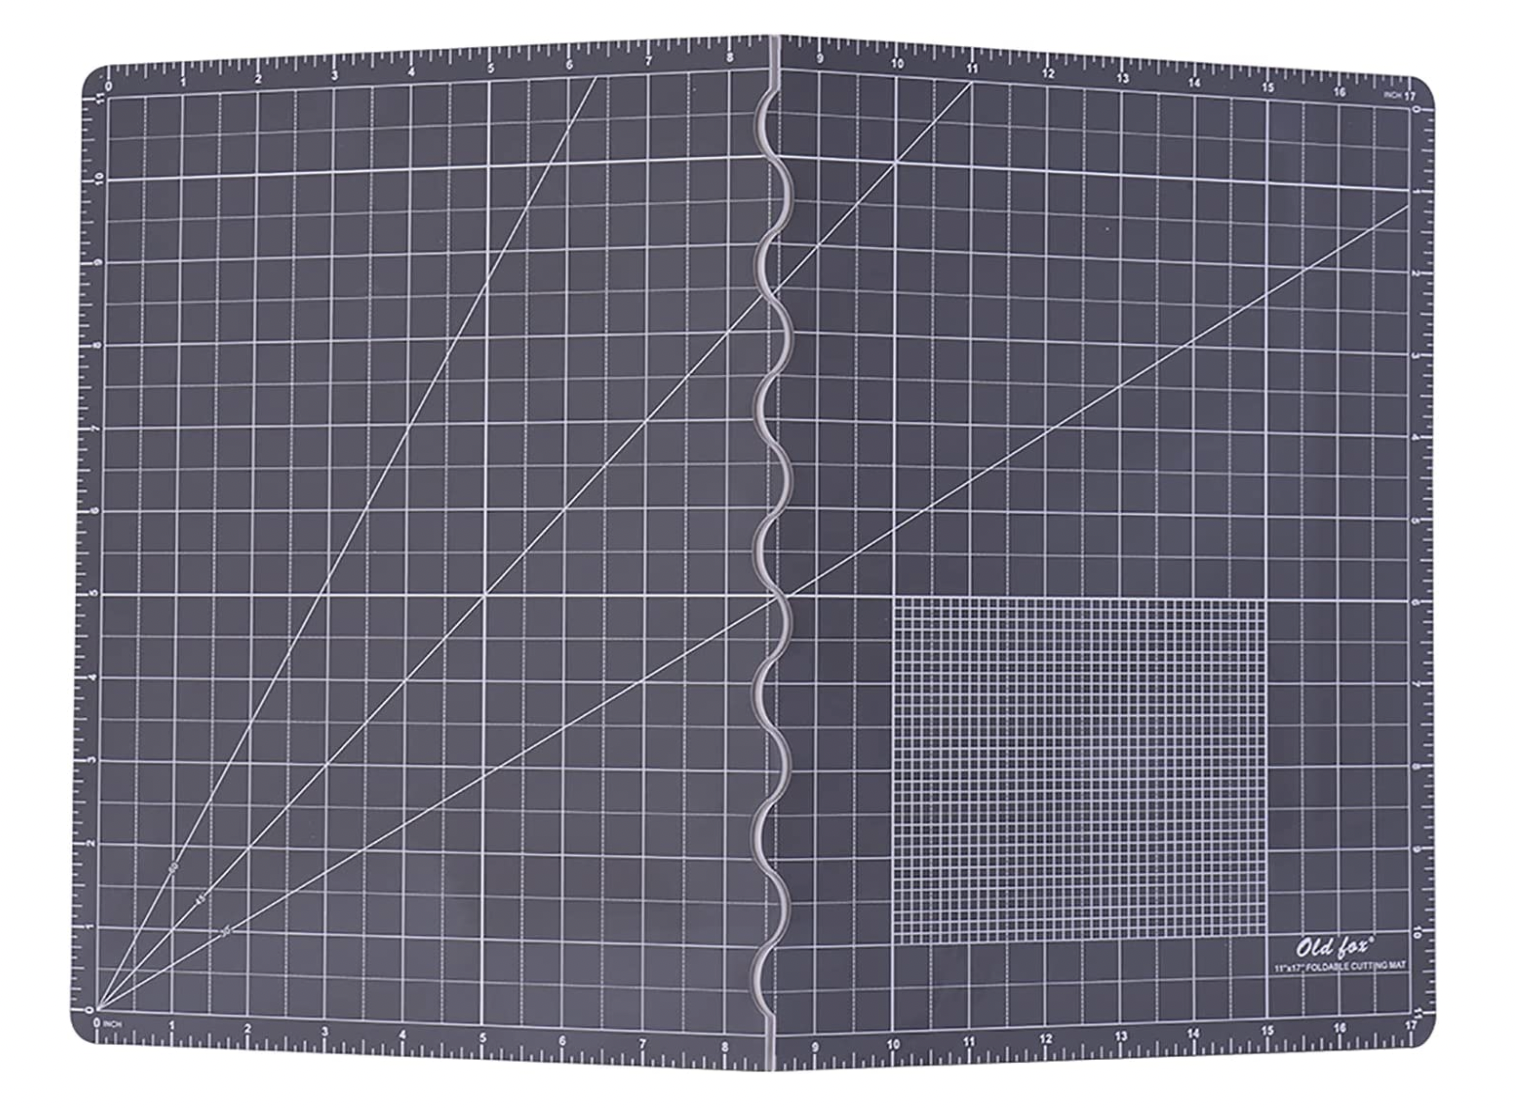
If you don’t have a space to leave your mat out all the time, there are folding cutting mats that you can research. And, also as a note, when not using your mat, store it flat or hang it on a wall. Don’t store cutting mats on their edge because it will warp them, and they won’t lay flat.

An acrylic quilting ruler is necessary to use with a rotary cutter. There are tons of acrylic quilting rulers and it’s hard to decide what will be the most useful for you. I have 3 favorites that I use every day. For the first five years that I quilted (and still the ones I use daily), these were the only three rulers that I used.
- 6 1/2” x 24 1/2” ruler
- 12 1/2” square
- 6 1/2” square
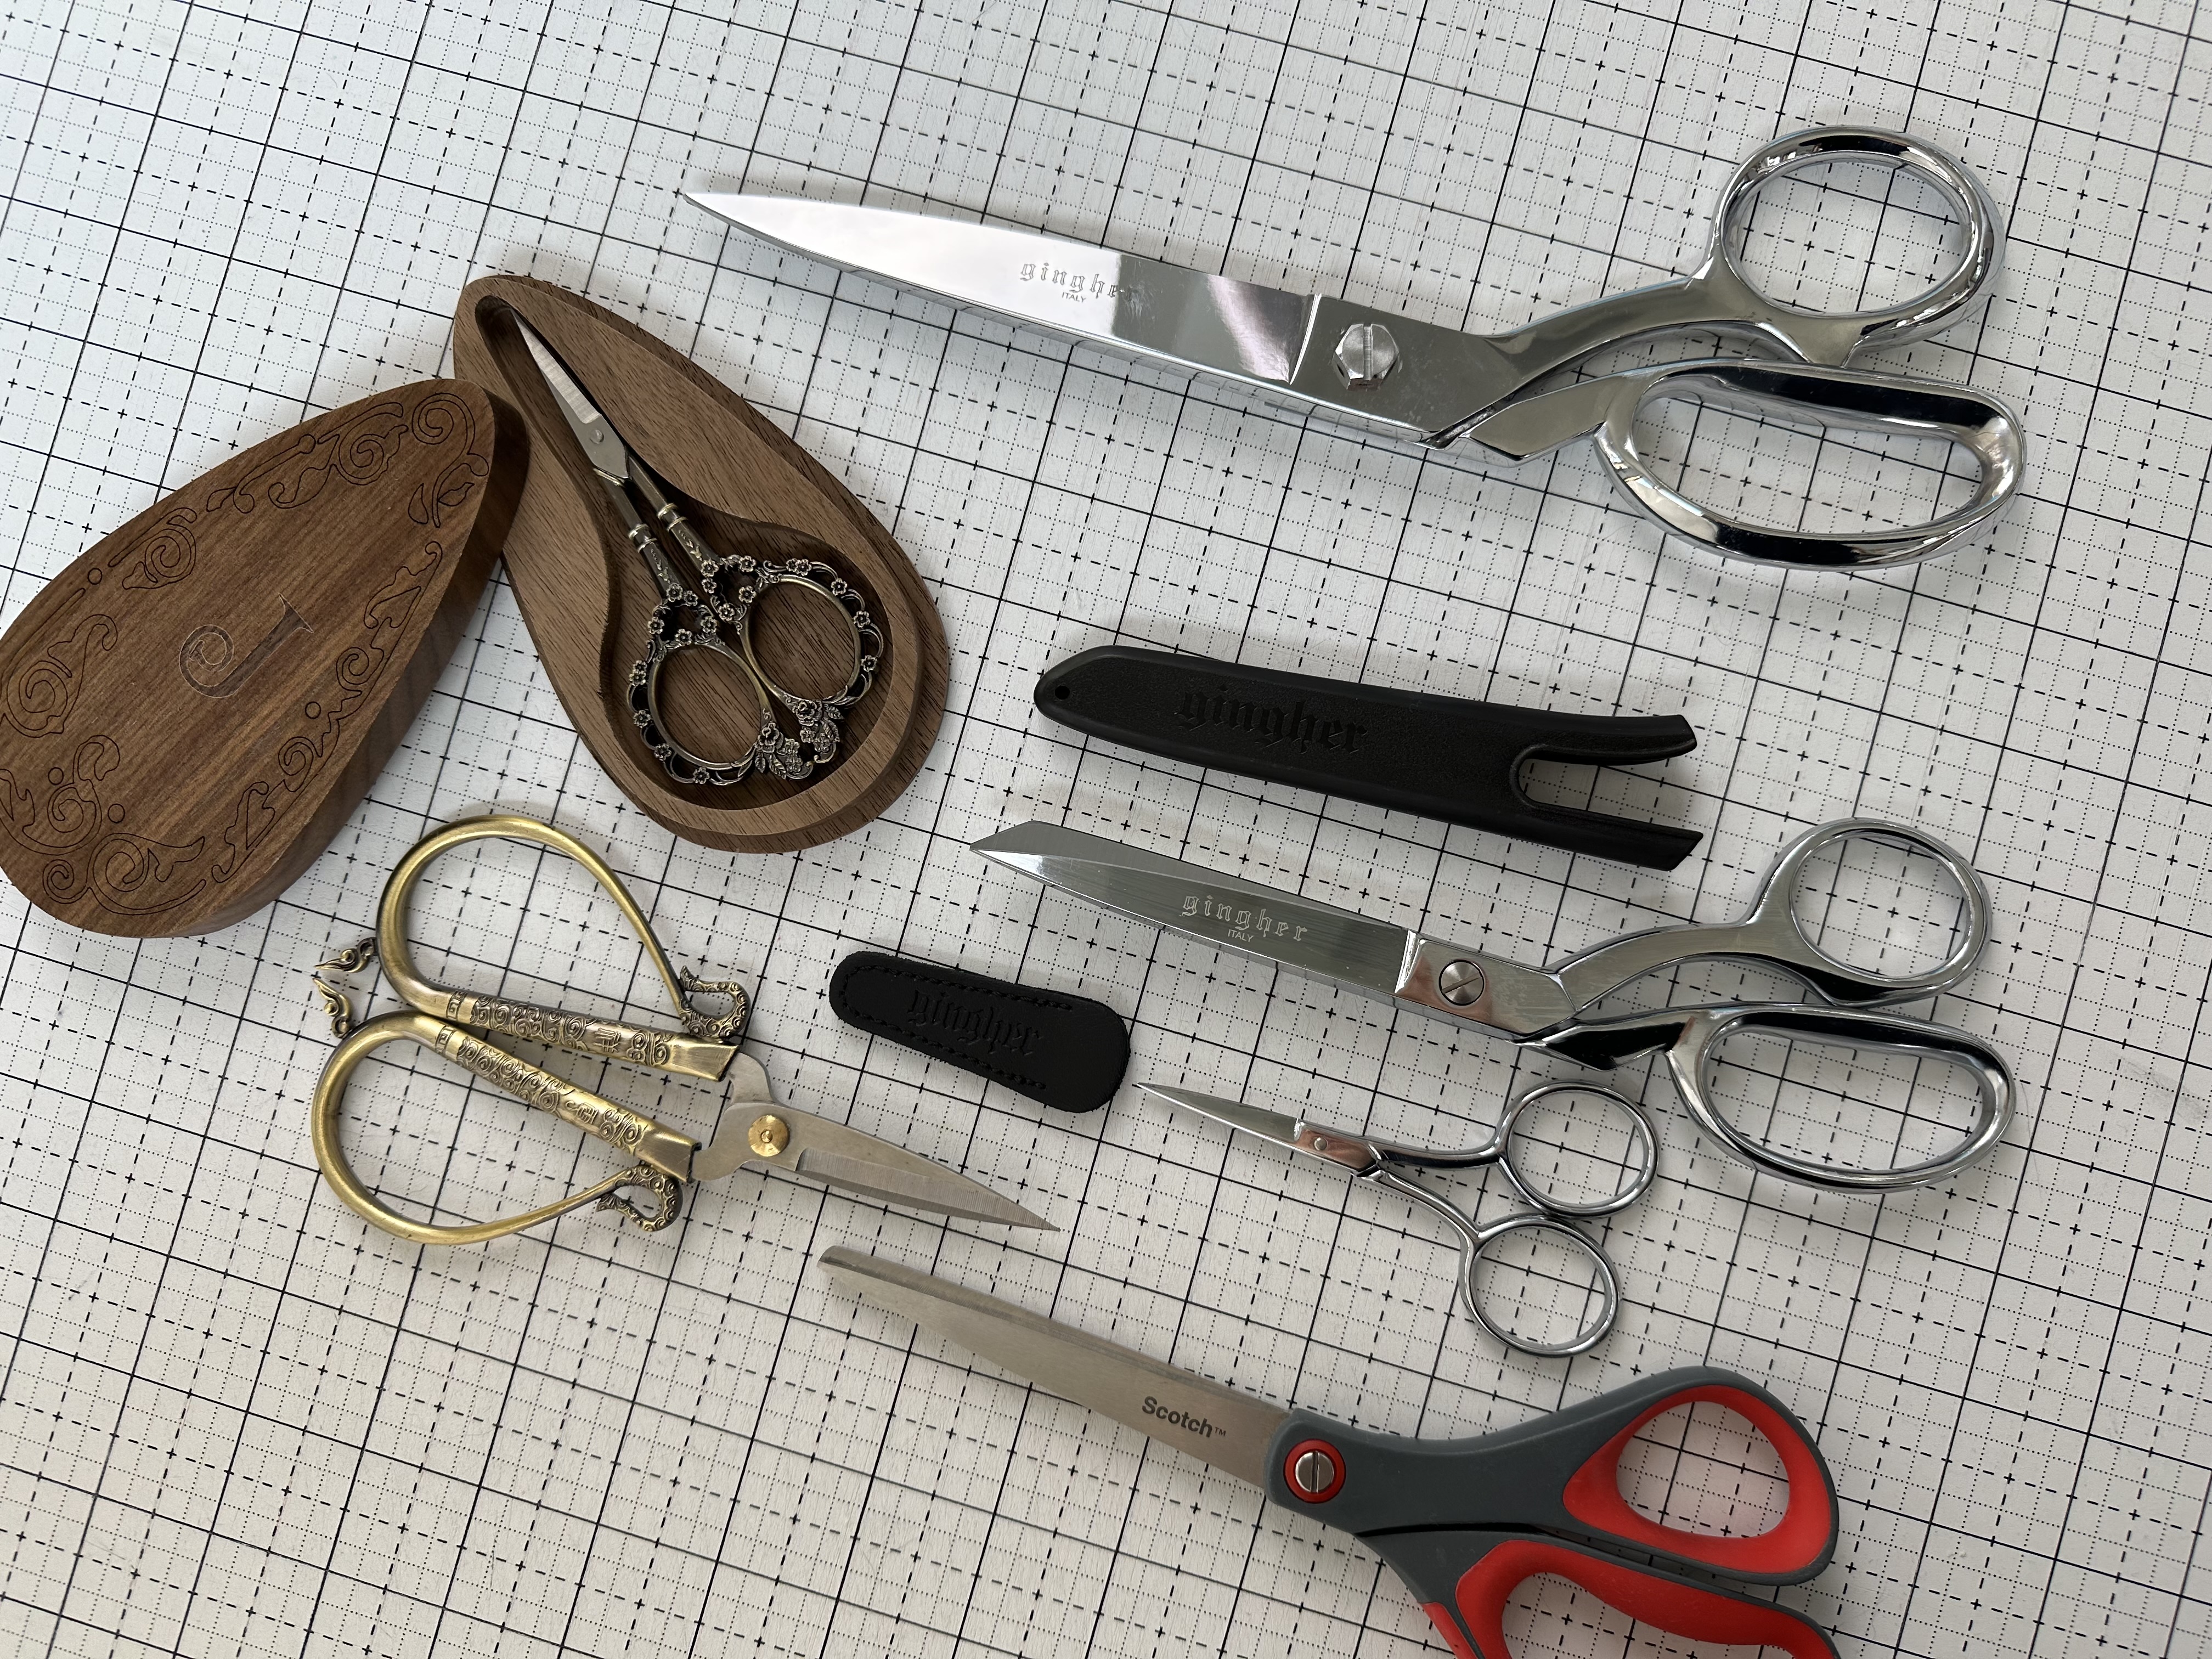
I also like to have a variety of scissors- all different sizes. I use each size and type for a different function. When I first started, I had one pair and that was good enough. As I’ve continued, I’ve found that I like to have variety.
For the Nona quilt, we will use the 6 1/2” square and the 6 1/2” x 24 1/2” ruler.
Pins, Irons, Pressing Board/Mat, Basting Supplies, Etc…
Pins
When piecing a quilt, quilters often use pins to hold their blocks together before sewing. I taught myself to sew without using pins so I don’t use them when I piece. I say this to let you know that if you try pins, and they aren’t for you, that is ok! You can still be a quilter if you don’t use pins. However, if you try to pin and love it, then that is amazing too!
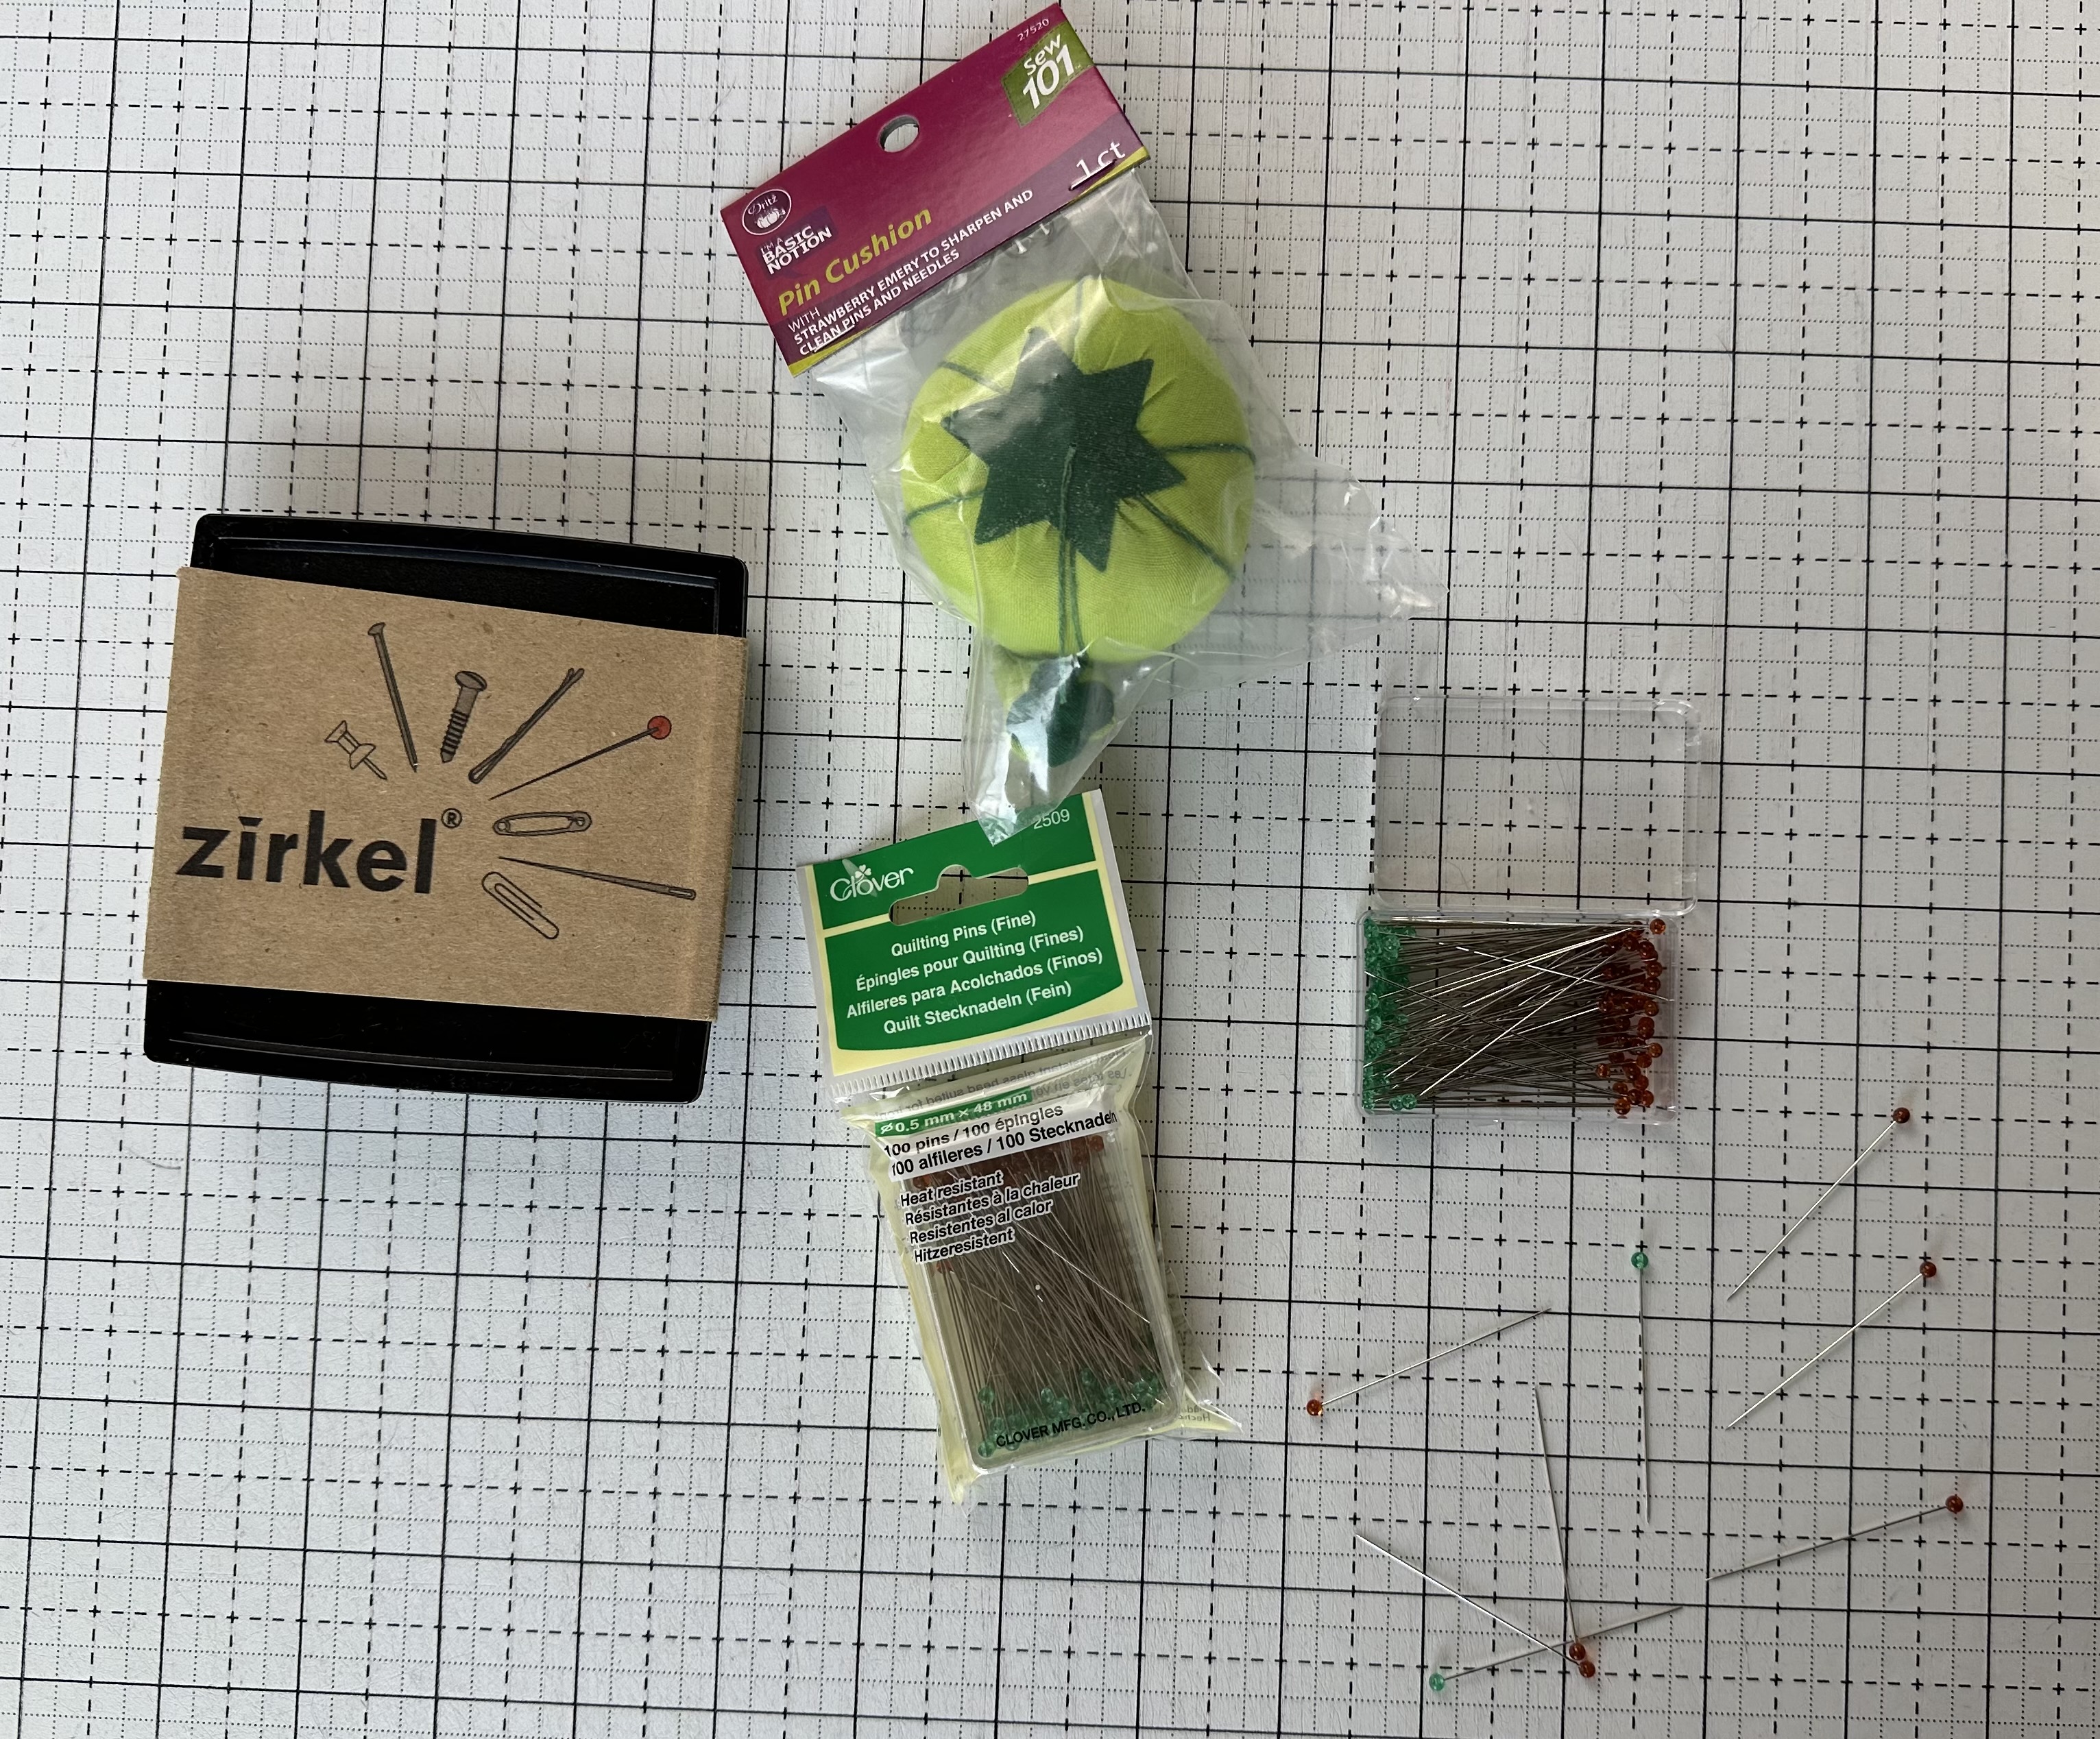
- Pins come in a variety of sizes so try a few out and see what works for you.
- Most often, quilting pins are long and thin. They are commonly found between 1.5 inches and 2” long. This size makes them easy to grip to use. They are thin so that they don’t leave large openings in the fabric after you take them out.
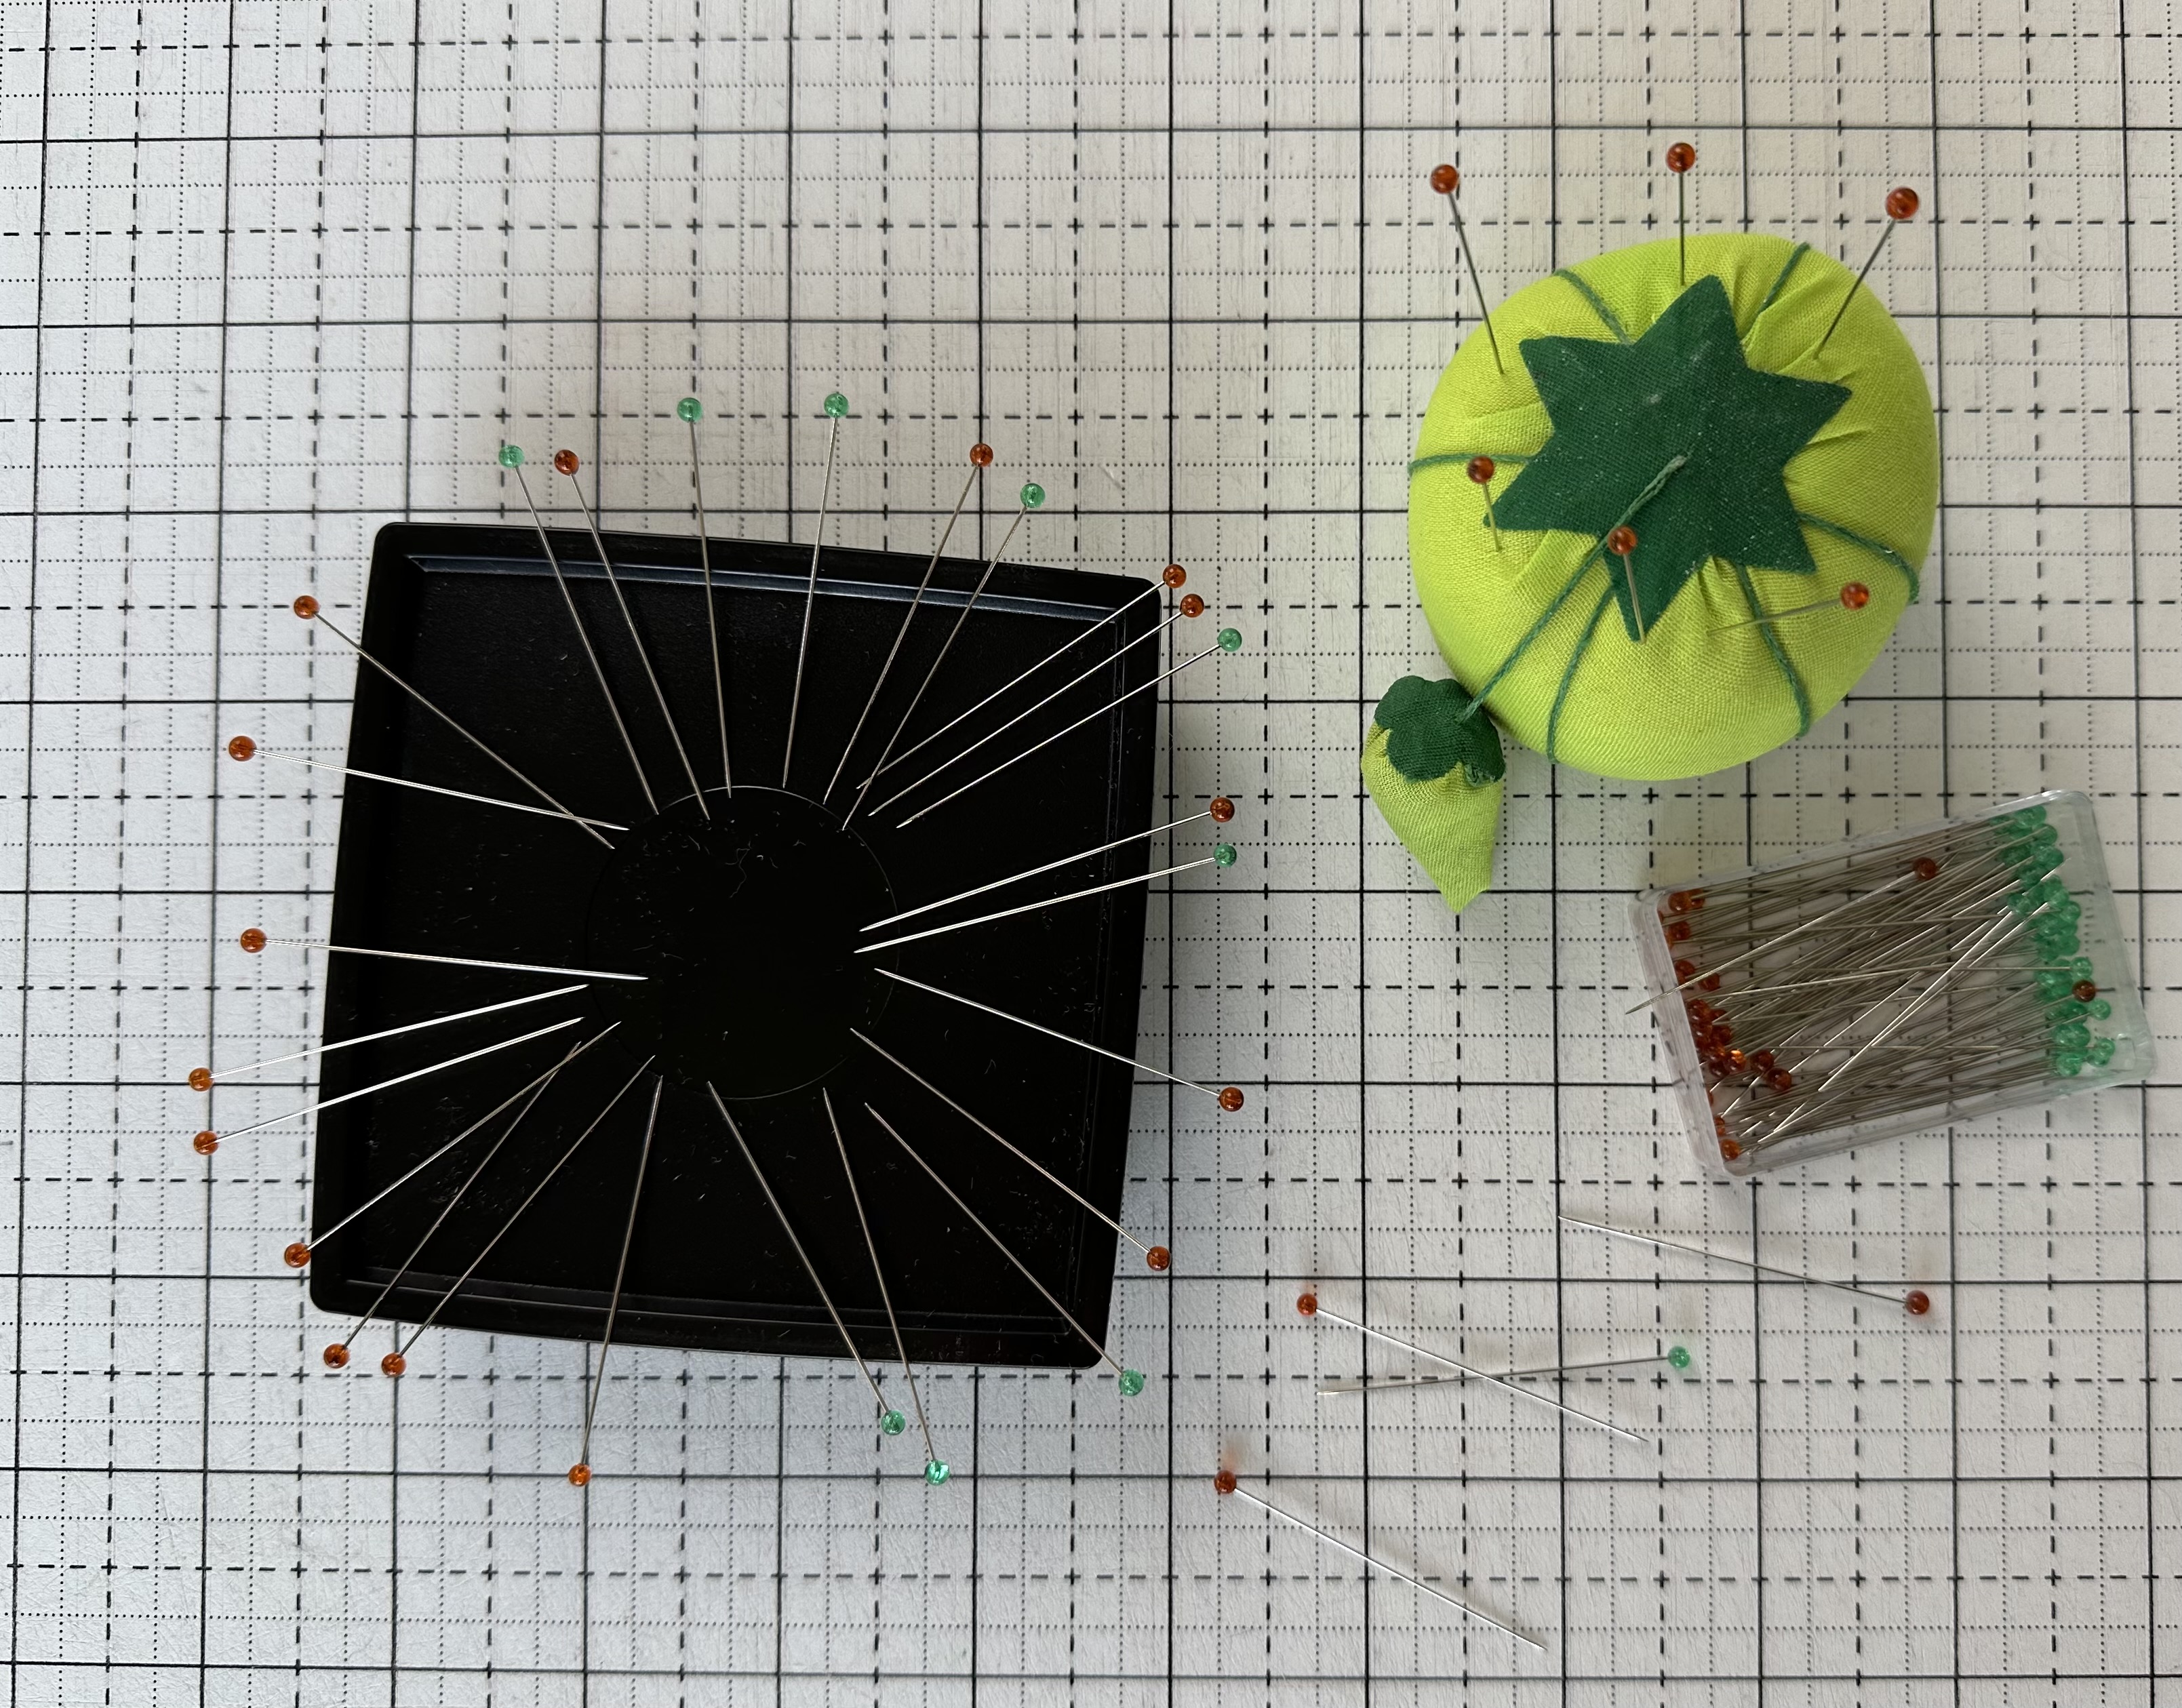
- Many people prefer glass pin heads to plastic because if you iron over the glass pin heads, they won’t melt.
- Pin cushions or magnetic pin trays are helpful for holding your pins when not in use.
Iron/Pressing Mat/Board
When you are first starting out in quilting, any iron will do. You want one that has a cotton setting so it will get nice and hot and that’s pretty much it!
You’ll find that you might hear from quilters that putting water in your iron may cause your iron to leak. So, sometimes it’s recommended to use a spray bottle instead of putting water in your iron. You just spritz your fabric with the spray bottle and then iron. The water that you sprayed on creates steam and it kind of mimics the effect you get if you had water in your iron and used the steam button. Either way will work so just decide the way that works best for you.
You can use any ironing board if you are just starting out or if you are in a pinch. However, if quilting becomes your hobby, you may want to use a special surface to press. I use a pressing station that I made. It is plywood, wrapped, in batting, and then wrapped in canvas and secured with heavy-duty staples. I like to press on this because it is hard and doesn’t give at all (like an ironing board would). This is good because the blocks being pressed on it don’t warp at all.
Another common pressing surface for quilters is a wool mat. Wool mats are nice because they absorb the heat as you press and then heat comes from the mat as well as the iron. It gives you a really flat block. However, it does smell like steamy sheep wool, so if that smell would bother you, a wool mat might not be for you.
Basting Supplies
When you are quilting your quilt yourself on your home sewing machine, you have to baste the quilt before you quilt it. Basting is a way to temporarily hold the three layers of the quilt together while you quilt it.
There are two basting options that work well with quilting on a domestic sewing machine: basting spray and/or basting pins.
Basting Spray
Basting spray can be found in the notions section of your quilt shop. There are many different kinds but all work in the same way. It is an aerosol container that you spray on the batting (both sides but one at a time) to stick the fabric to it. It holds the fabric onto the batting while you quilt. Then, it washes out in the washing machine after you are finished making your quilt.
Basting Pins
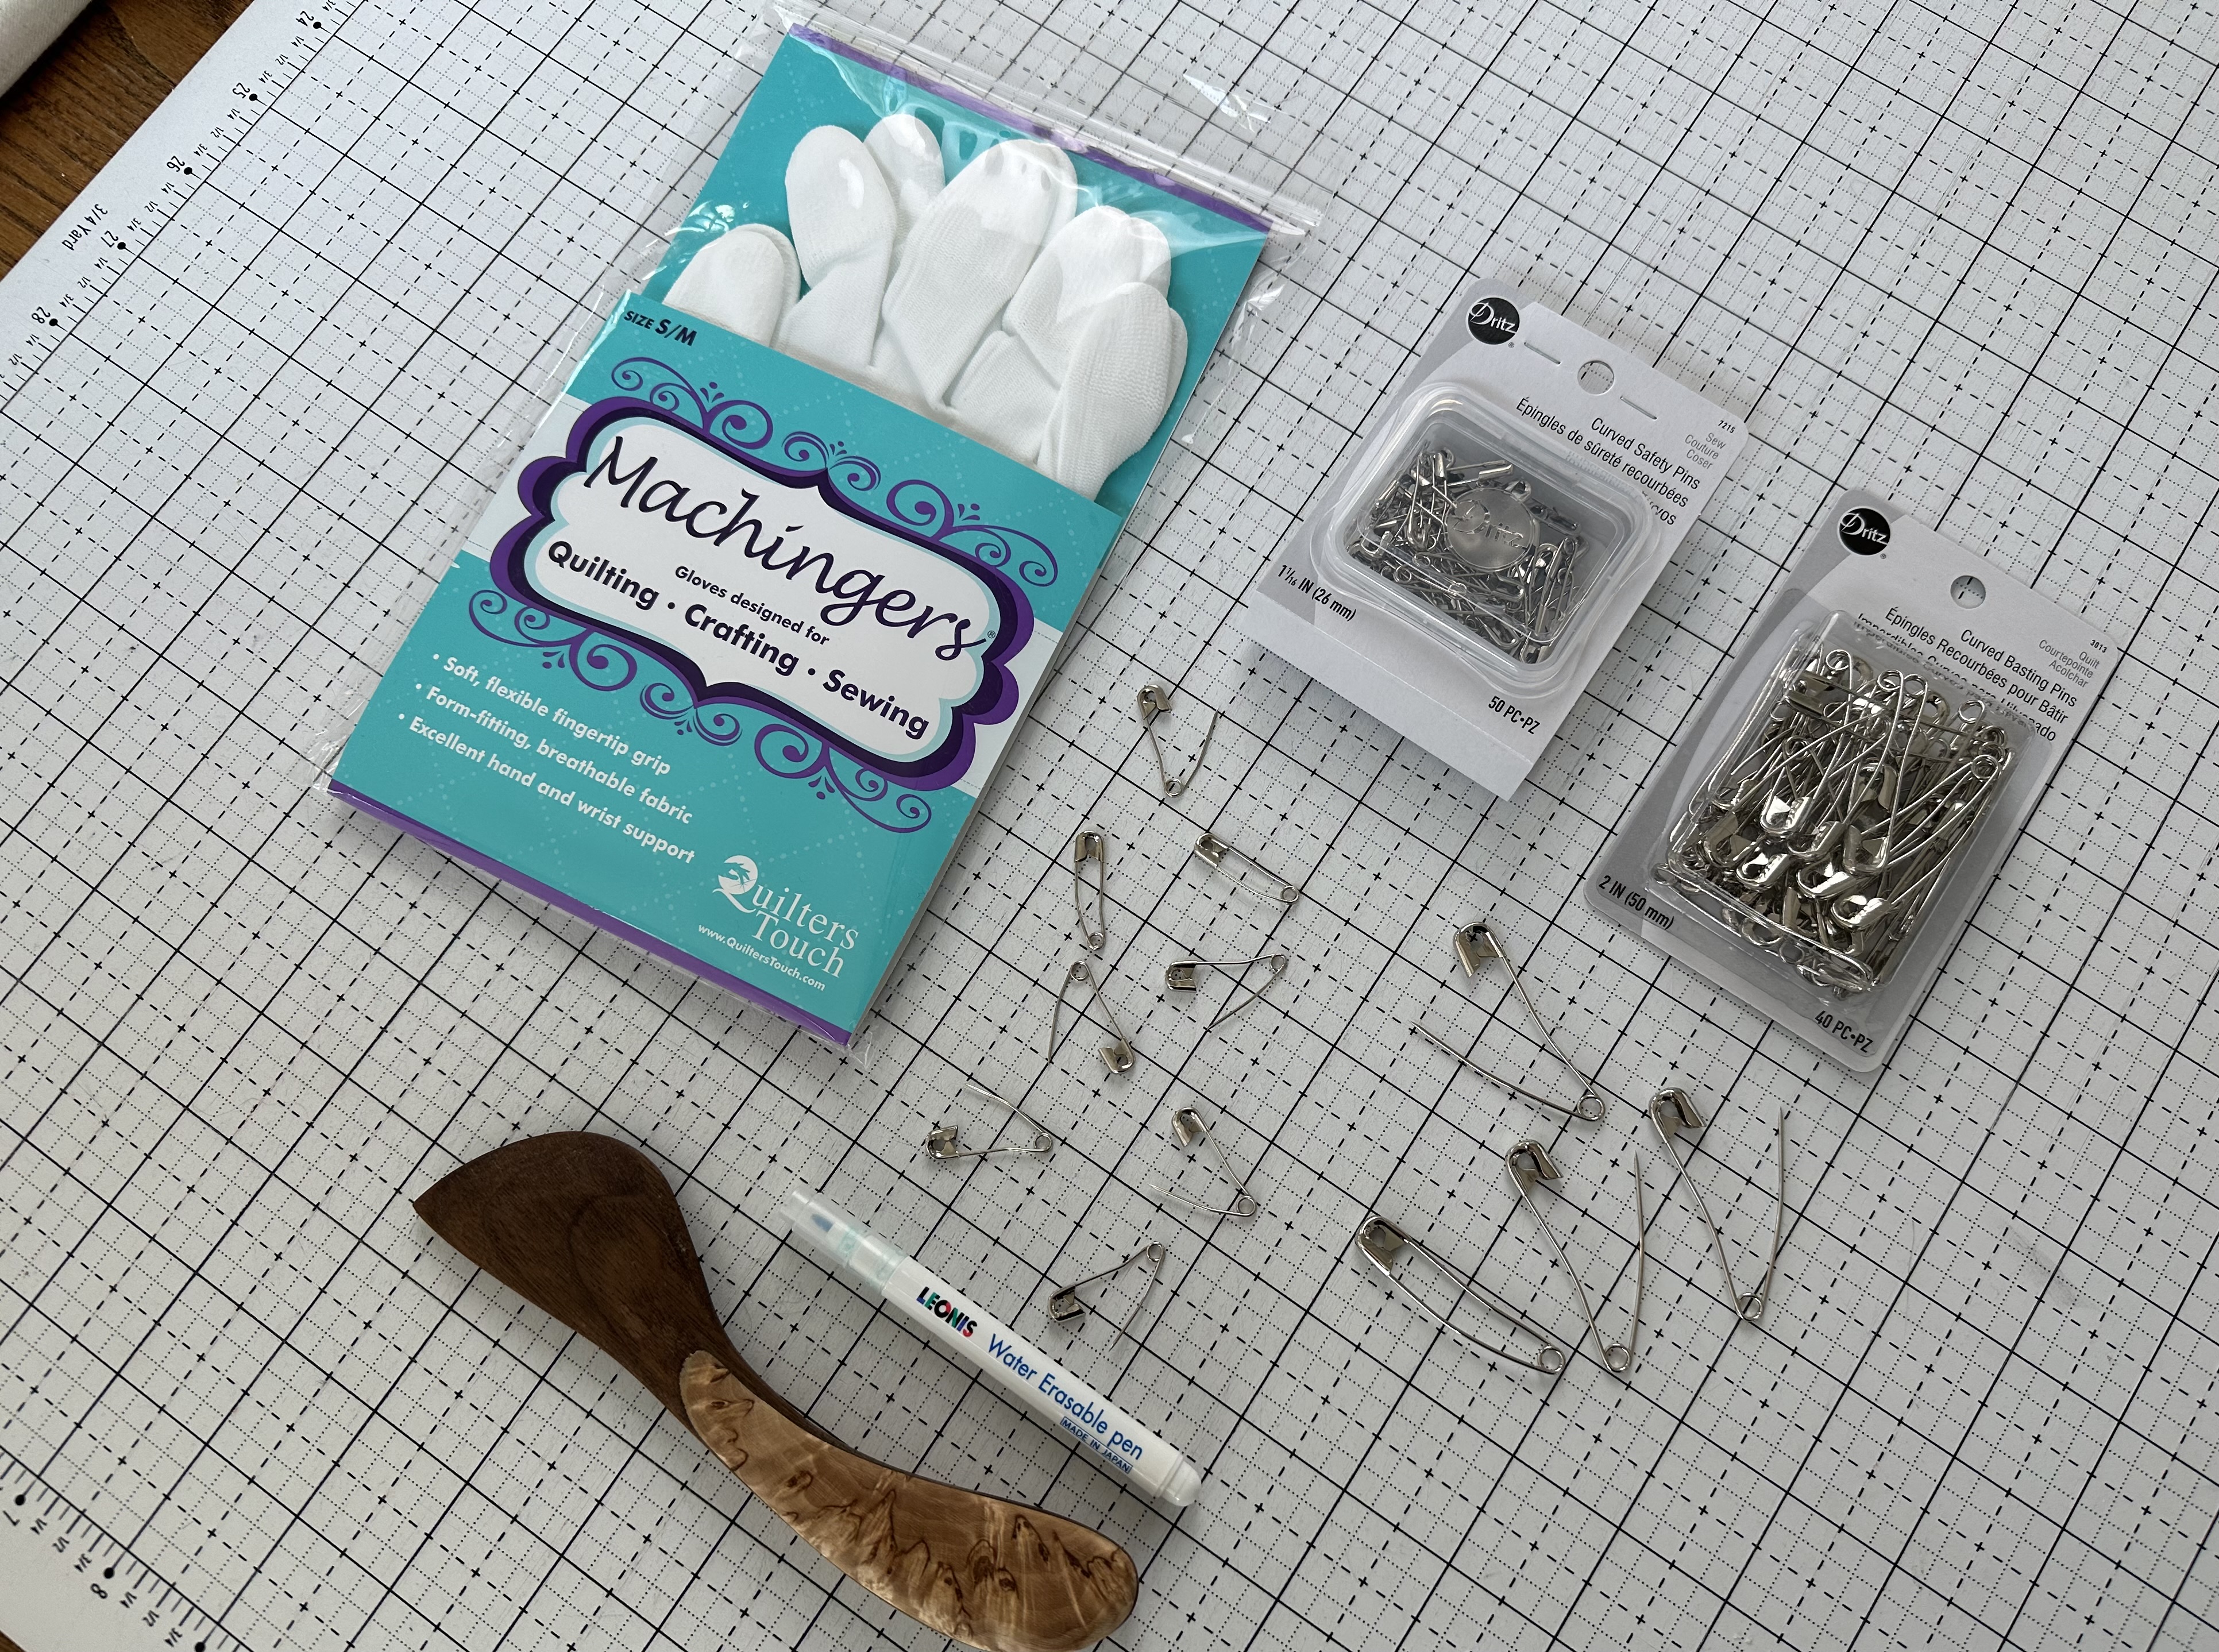
Basting pins are another option. Some quilters use them in conjunction with basting spray and some use them alone. Basting pins are also called curved safety pins. They come in two sizes: size 1 in which the pin measures 1 1/16th of an inch and size 2 in which the pin measures 1 1/2 Inches. The curve in these safety pins helps you easily get through all three layers and back up so you can easily pin the quilt layers together.
A Few More Supplies
After the quilt is basted, it is time to quilt it. We will cover the quilting in detail when we get to that week. However, depending on how you want to quilt your quilt, you may need a few additional supplies for the week we are quilting.
If you plan on quilting your quilt with straight lines, you may want to mark your quilt top so that the lines are evenly spaced. You can use your 6 1/2” x 24 1/2” quilting ruler and a chalk pen, air or water soluble markers, or hera marker.
- If you are using any kind of marking tool that actually leaves a mark (with ink or the like) on your quilt, definitely test the marking tool to make sure it comes out.
- I really love using a hera marker if I am marking lines. A hera marker leaves an indent/crease in the fabric when you run it across, and you can see the indent so that you can sew there but there is no actual ink or anything left behind.
- Side note- if your sewing machine has a quilting guide bar, then you won’t need to make lines on the whole quilt- only one line to start. Then the quilting guide bar will be used to space the remaining lines as you quilt.
- I also like to use quilting gloves called Machingers when I quilt on my domestic sewing machine.
Summary
This week covers a ton of information! Take it one section at a time and bookmark this post to come back to when you have specific questions on a quilting topic.
Watch the Week Two YouTube Videos
Again, as I mentioned above, please tune into all of the Week 2 YouTube videos on my channel that I have for this week. These videos coordinate with this post and I think you will find them really helpful.
I’ll see you back here next week and we will start cutting fabric. See you then!
– Jessica
What you might also like
4 comments on “The Nona Quilt Along, Week Two: Supplies & Materials”
-
-
Thank you very much! I think there are endless combinations of fabrics and colors to be used and that you could make this quilt a bunch of times and not get tired of it!
-
-
Great Quilt Along Jessica! Love your accurate descriptions of materials.
-
Thank you so much, Sally! I appreciate it!
-
Leave a Reply
You must be logged in to post a comment.

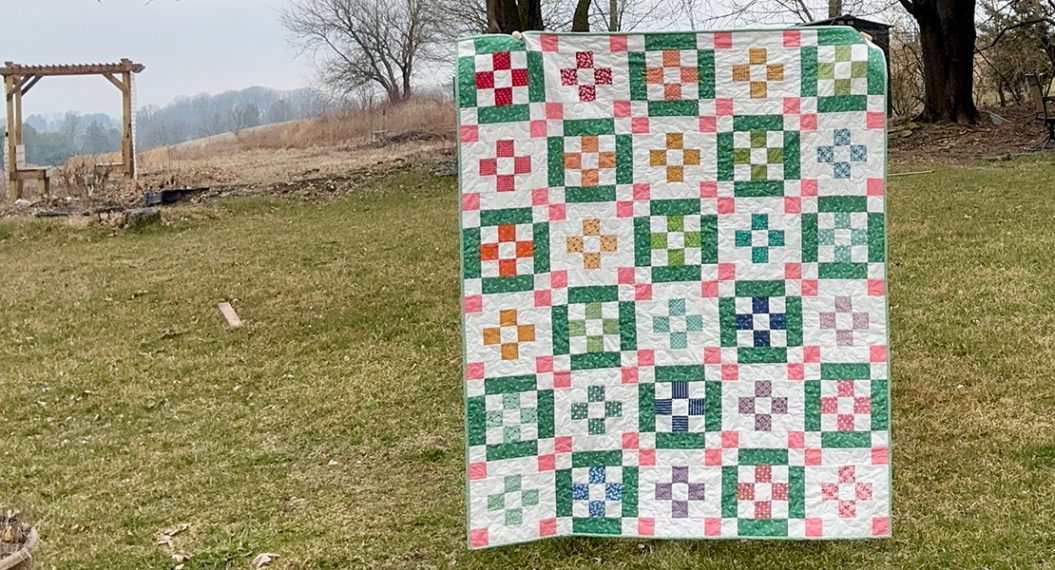
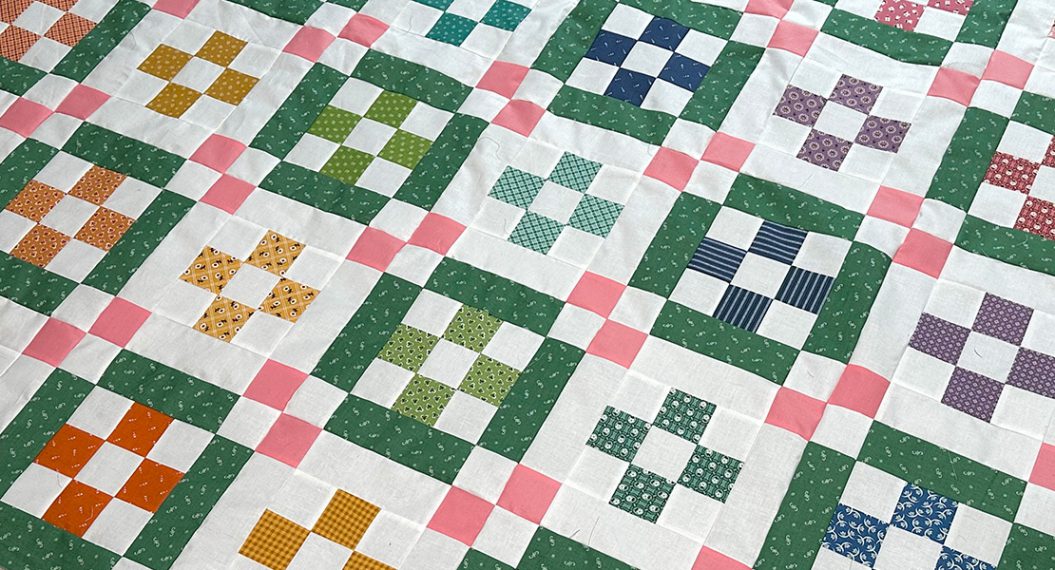



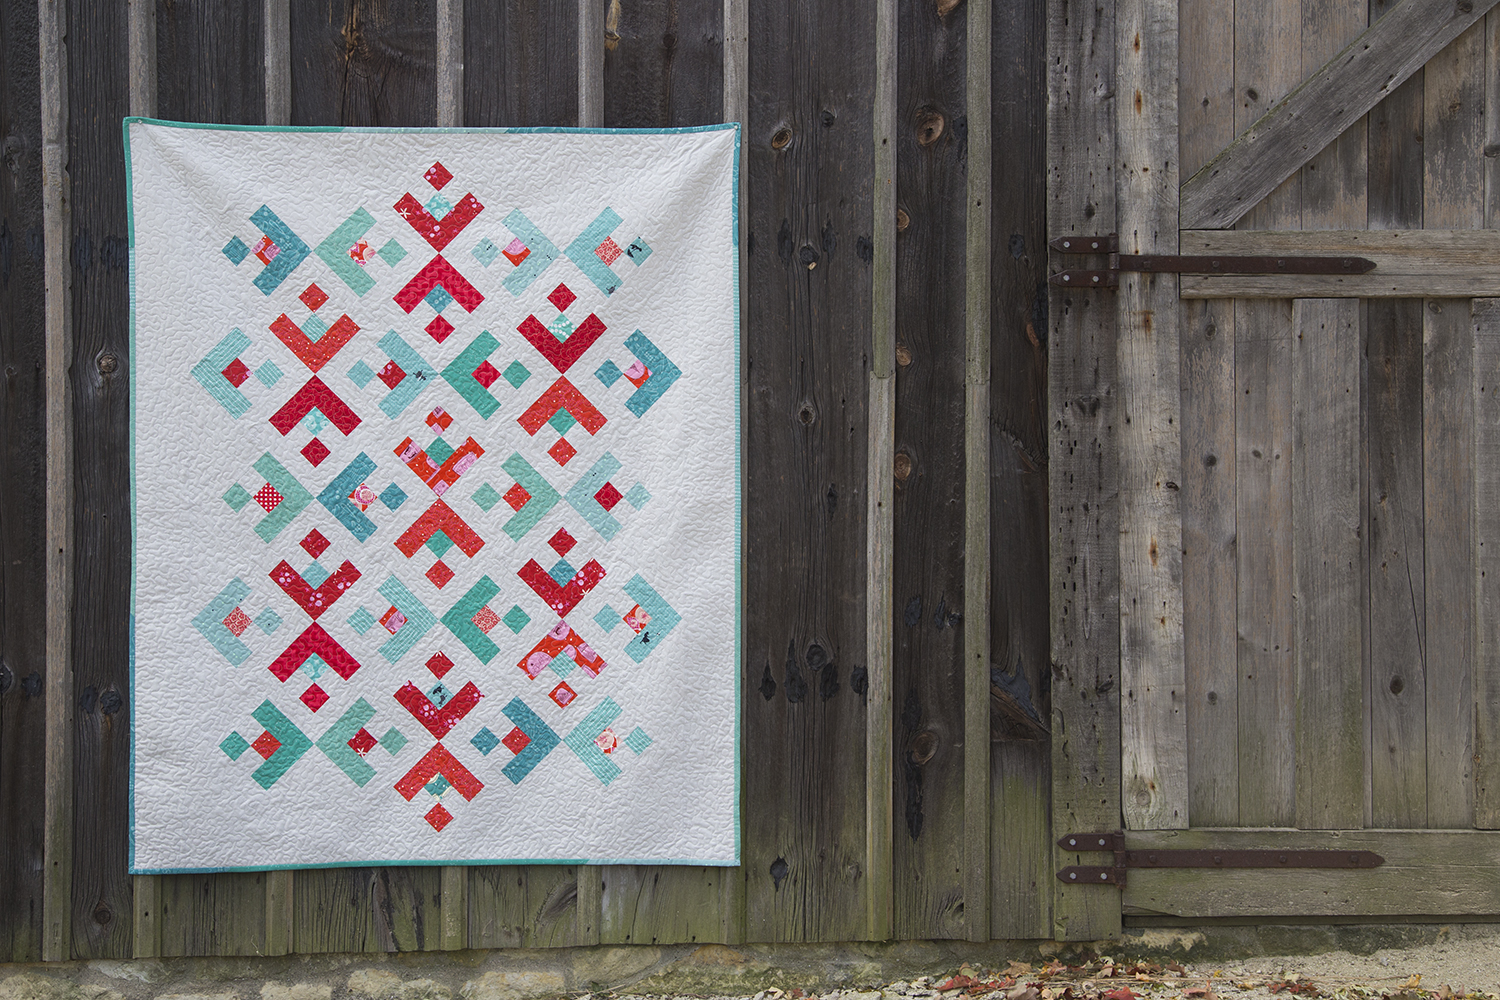
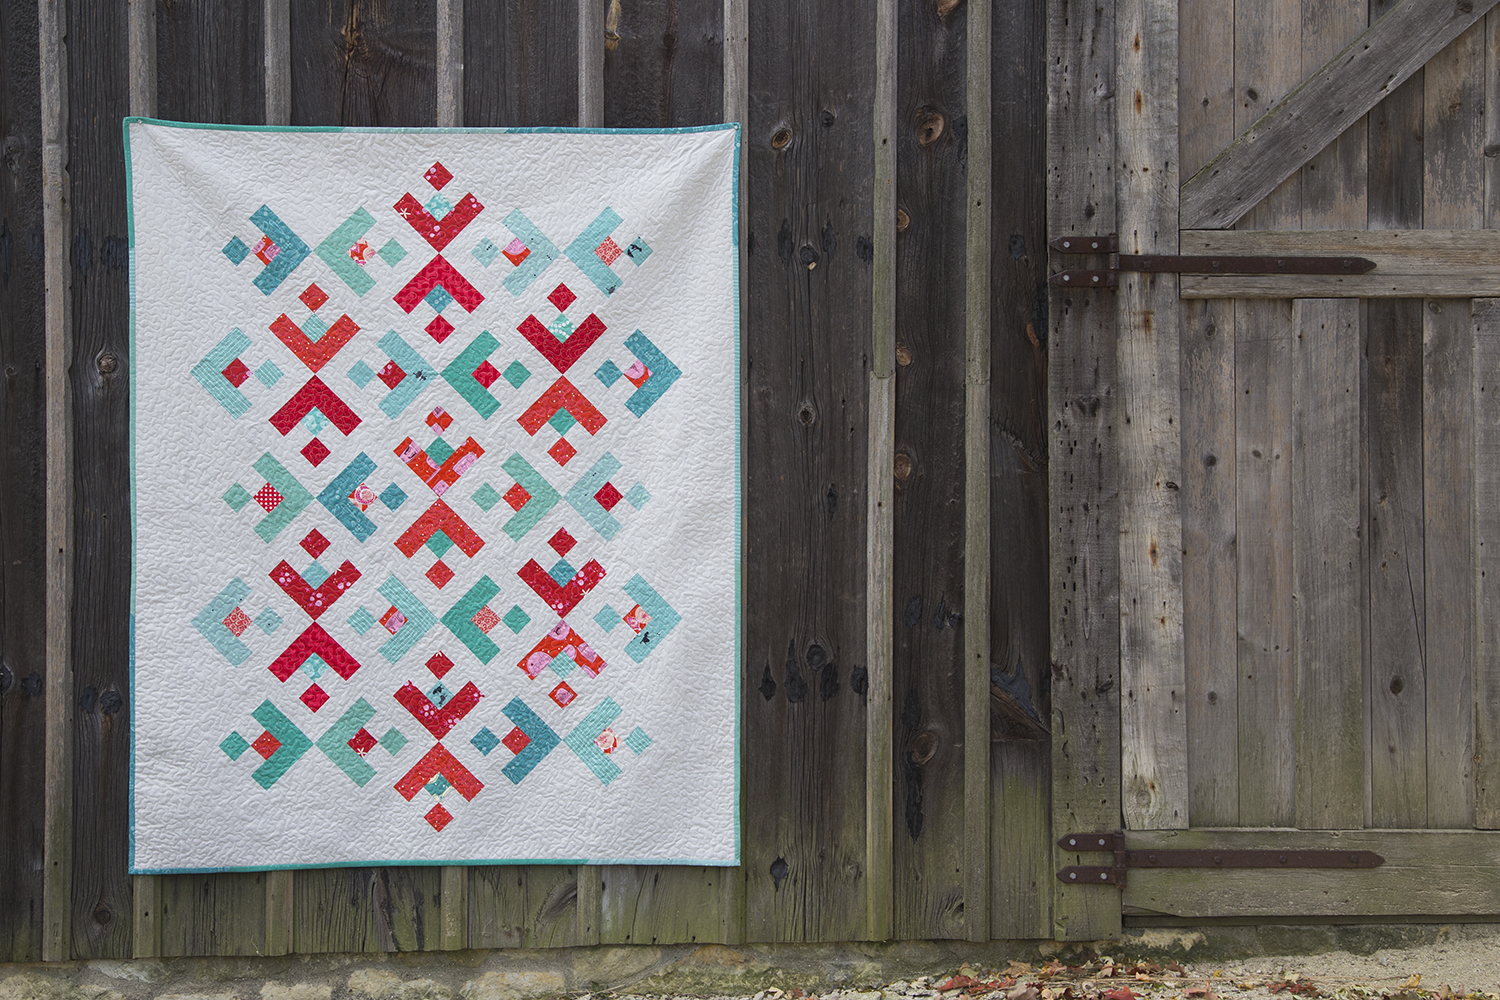
For a beginner quilt, this is a very “sparkly” design. It looks terrific in all the colour combinations you’ve used so far! Very thorough post, you’ve hit on all the important topics Jessica!