DIY Toddler Scarf
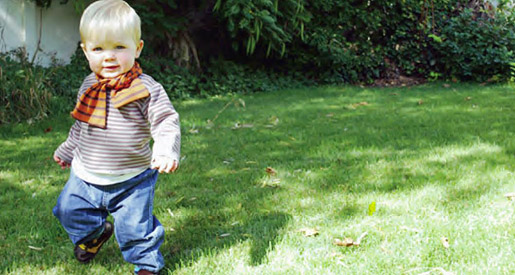
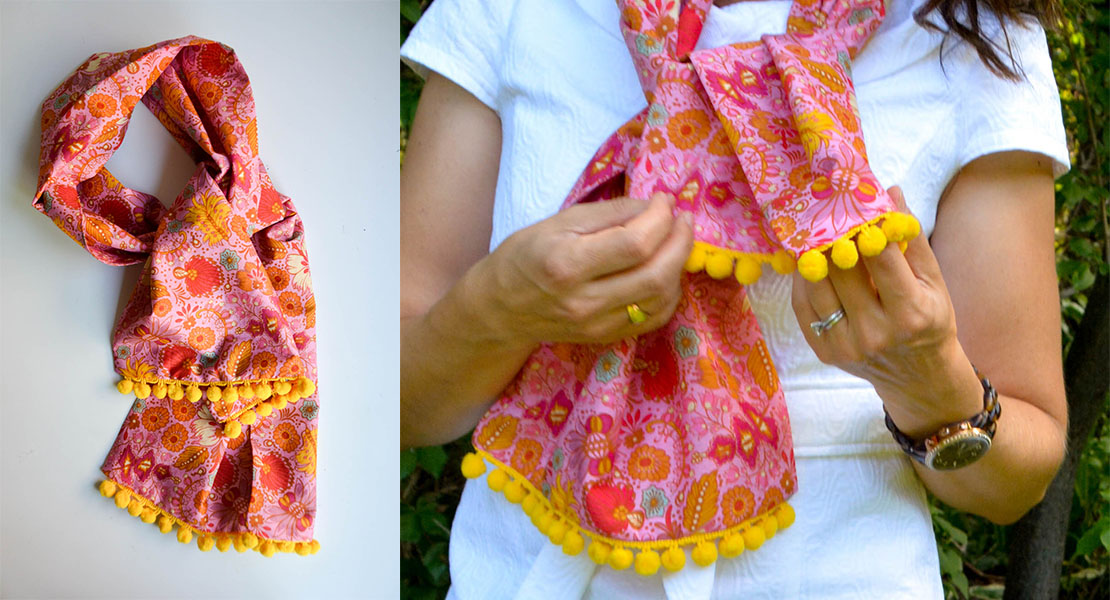
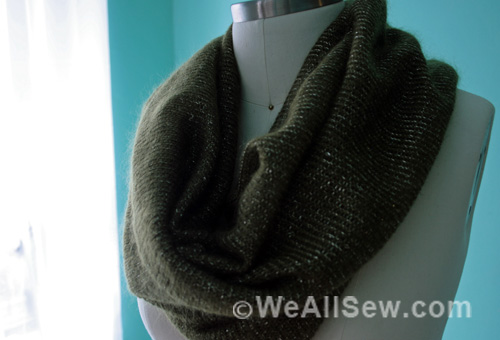
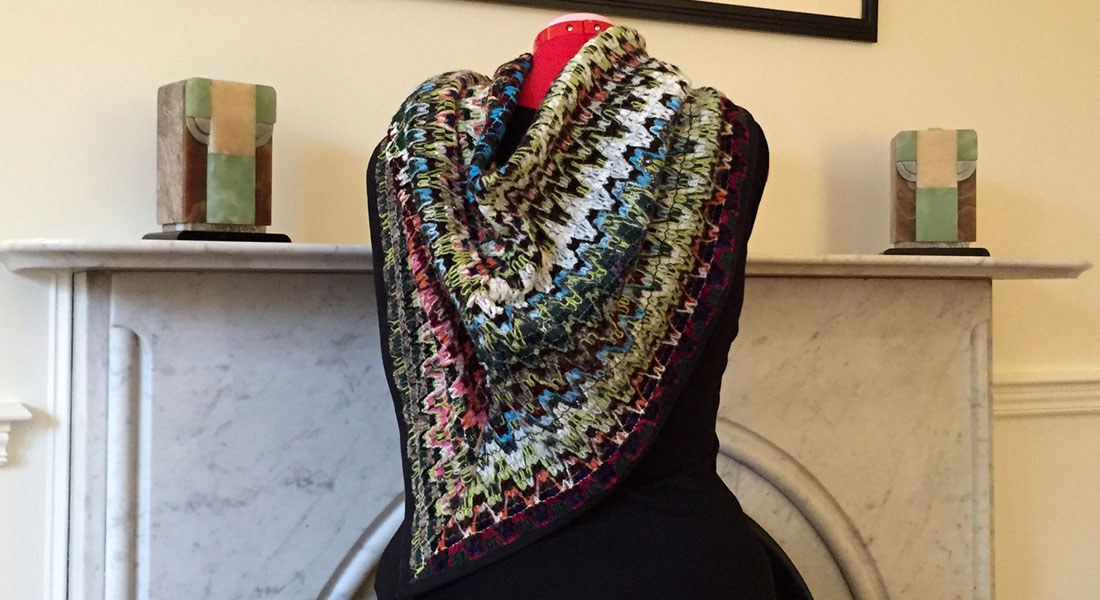
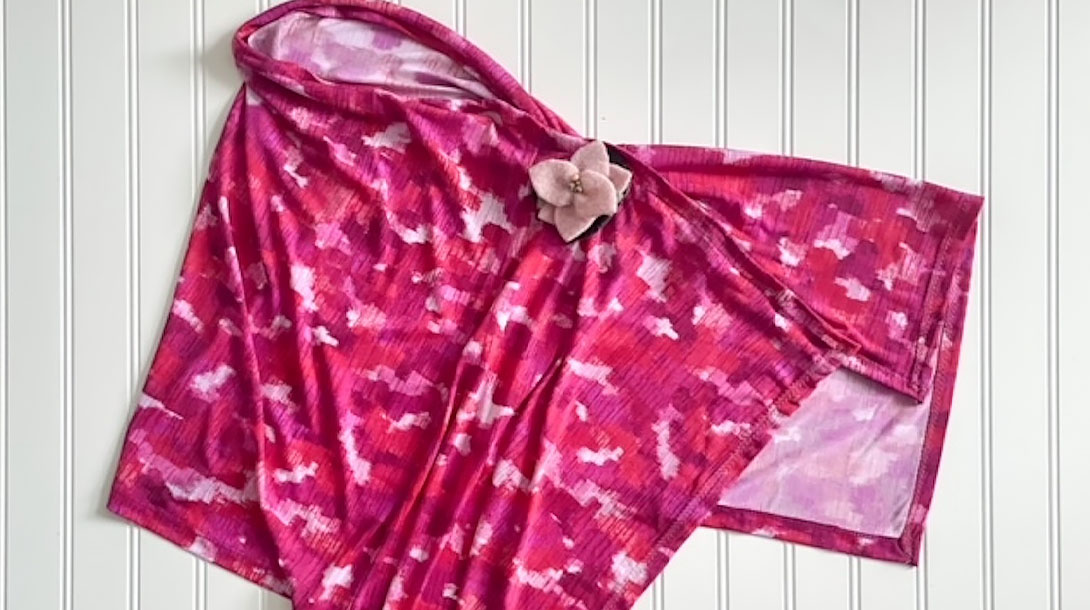
Want your little one to look très chic this winter? With the help of the Sewing Republic, you can make it happen in no time. This super-simple toddler scarf can keep your kiddies nice and toasty as the temperature goes down this season, and the length is just enough to make a single knot – not long enough to get caught in things. Plus, they make wonderful holiday gifts for play date moms or anyone else who’s got some real style.
- Two rectangles of sweater knit measuring 5″ by 27″
- Coordinating thread
- Jersey-point needles
- One to three pieces of ribbon for the tag, each measuring 3″ to 4″
Step 1) Cut your material.
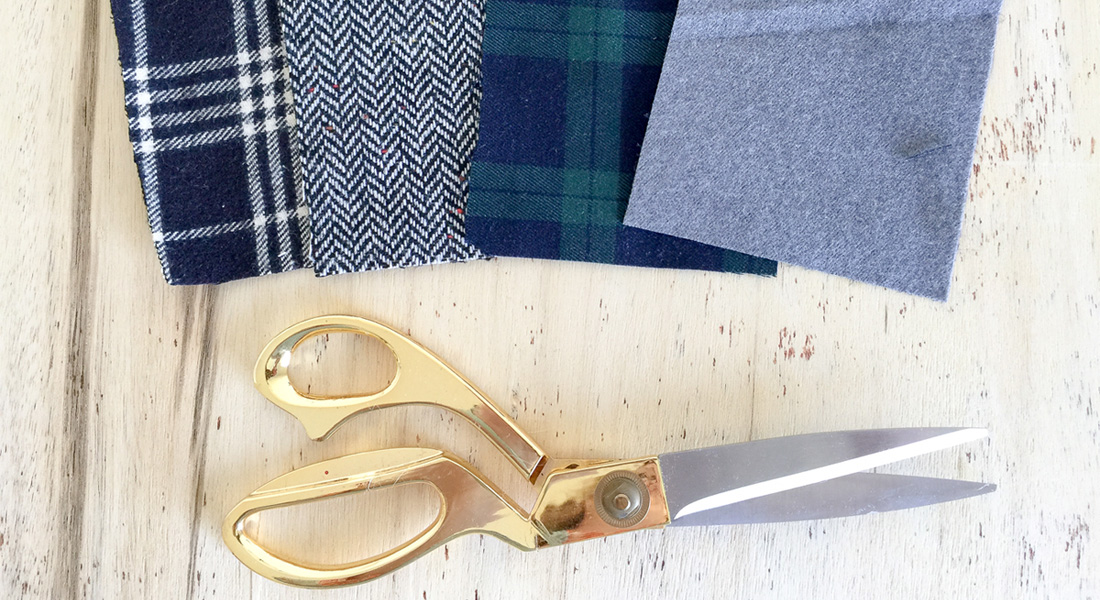
Cut one to three pieces of ribbon, each measuring 3″ to 4″, and two rectangles of sweater knit measuring 5″ by 27.”
Step 2) Make the ribbon tags.
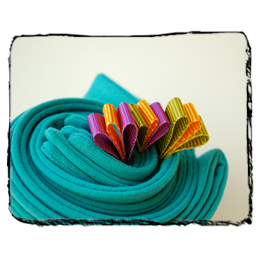
Fold the ribbon(s) in half and pin the raw edges together very securely. Ribbon shown in this photo is enough for three scarves.
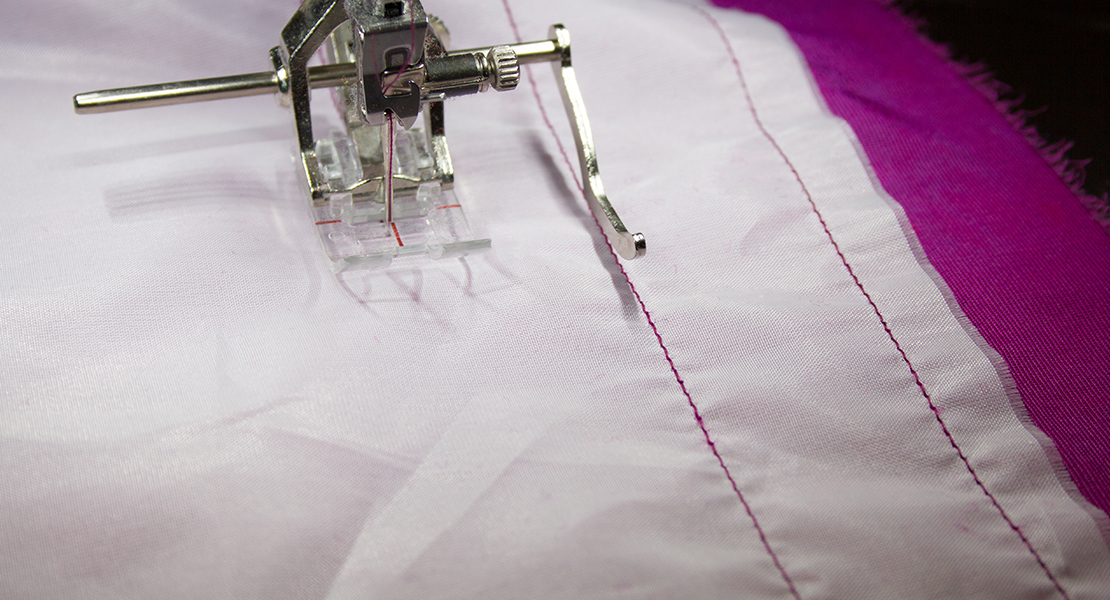
Sew ¼” from the raw edges, making sure the ribbons don’t slip out of alignment.
Step 3) Pin the layers.
Pin the two scarf layers together with right sides facing each other, leaving an area about 3″ long unpinned for turning later. I chose to place mine in the middle of one of the long sides.
Insert the ribbon tag, aligning all the raw edges.
Step 4) Sew the scarf.
Sew all four edges of the scarf with a ½”-wide seam allowance, catching the tag and leaving an opening for turning. Instead of pivoting at the corners, sew off the ends as shown in the photo.
Trim the seam allowances to ¼,” but leave them intact around the turning hole.
Turn the scarf through the hole and press well. You can use a long knitting needle to help you turn the corners.
Voila! You have completed this project so quickly you might want to make another.

