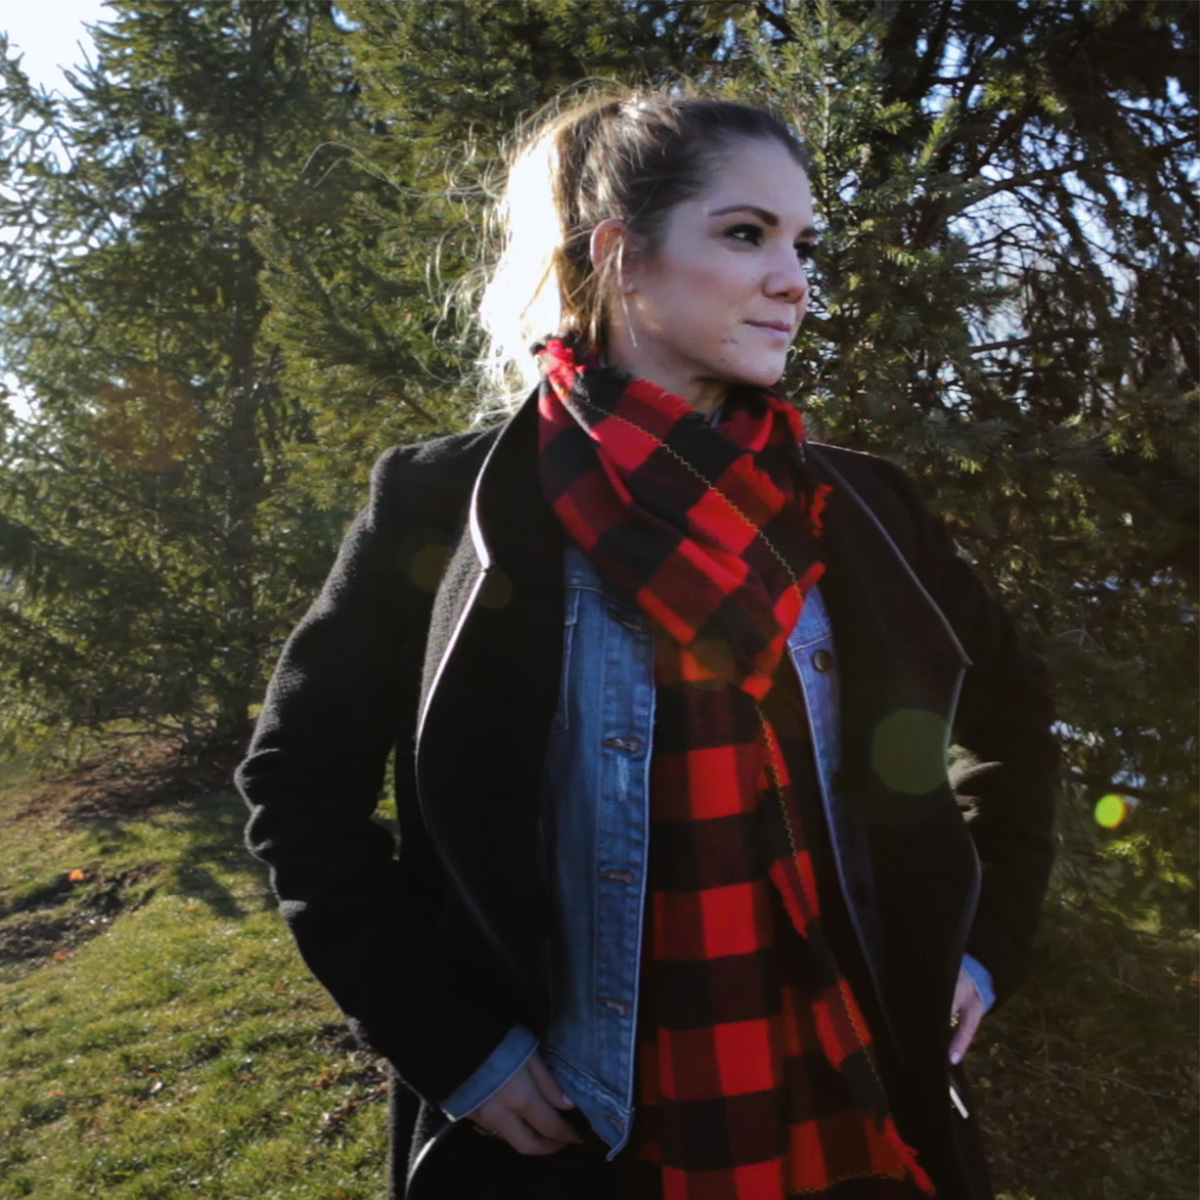
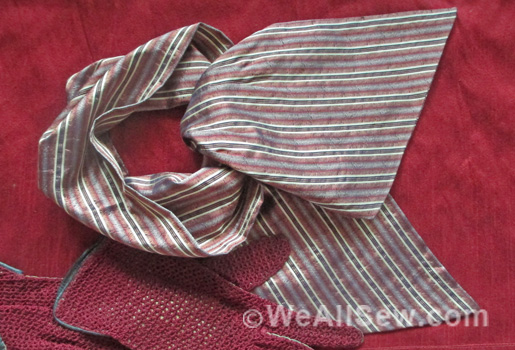
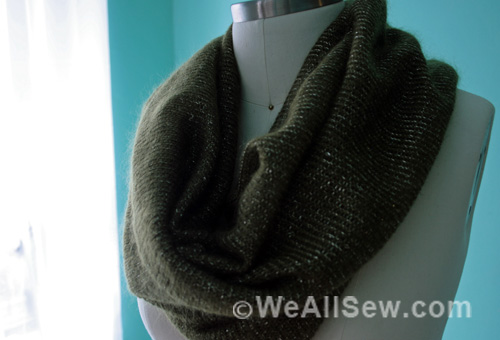
DIY Blanket Scarf
Let’s Make a Buffalo Plaid Scarf, aka blanket scarf. This trendy accessory is a great companion for all seasons, whether to keep you warm during chilly days or cozy when cool air conditioning is around you.
Materials to Sew a Buffalo Plaid Scarf
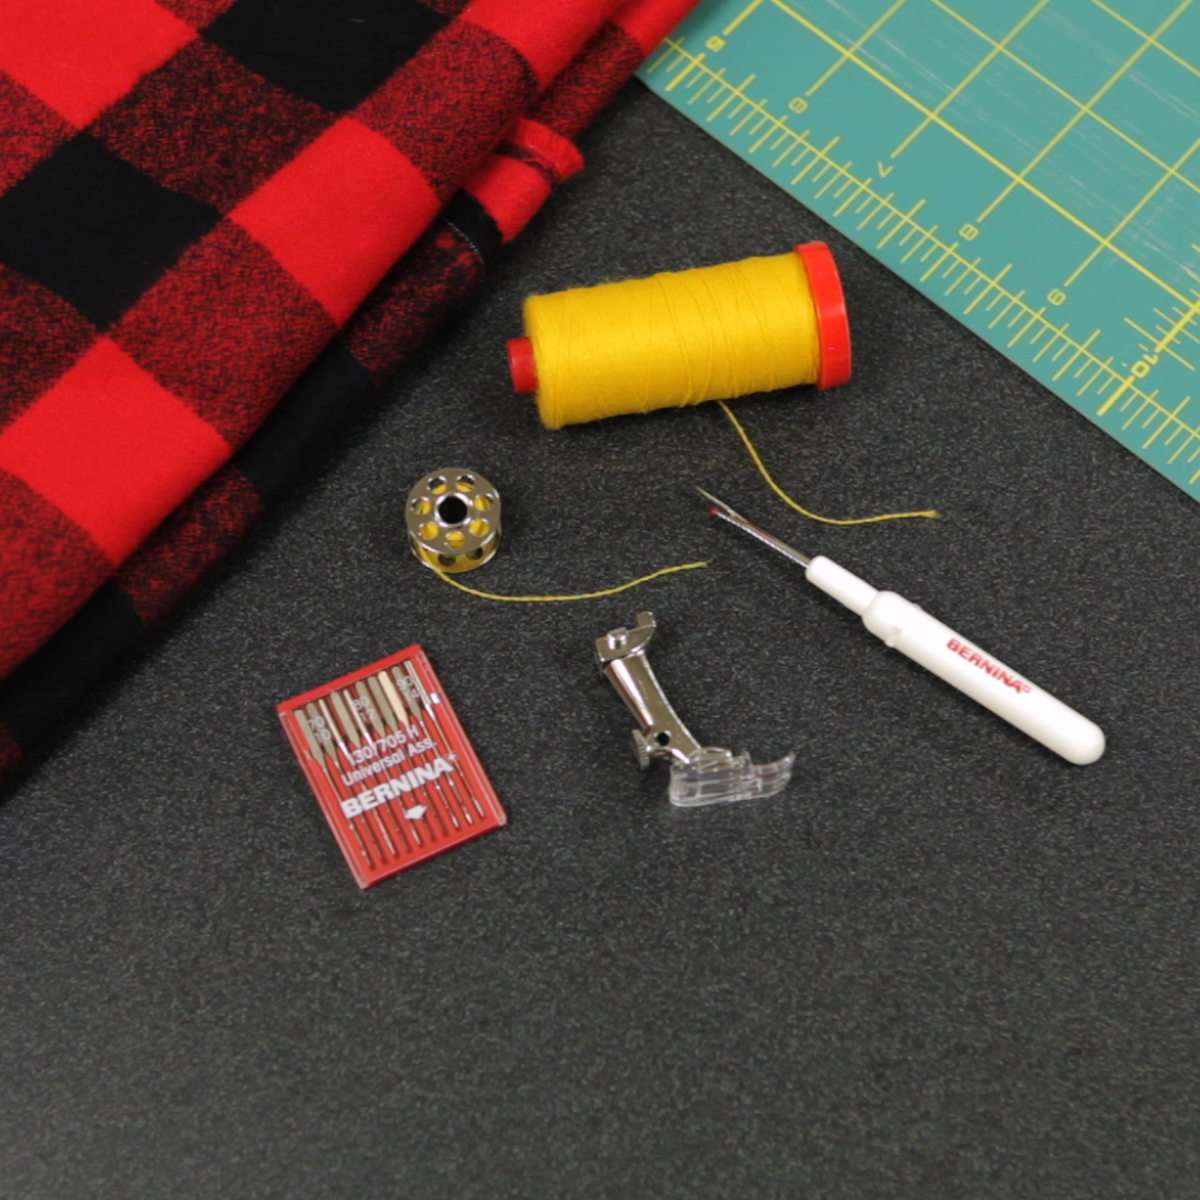
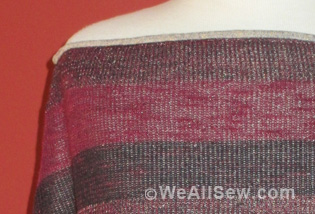
- 2-1/2 to 3 yards of Flannel Plaid Fabric—the more fabric, the fuller the scarf. Bonus, this makes TWO scarves—one for you and one for a friend.
- We used Robert Kaufman Mammoth Flannel
- Wool Blend thread in a contrasting color
- We used Aurifil 12wt Lana Wool in 8135 Gold
- Topstitch 90/14 Needle
- Seam Ripper to Fray
- Scissors
- Your Sewing Machine, we sew on a BERNINA 350 PE
- Embroidery Foot with Clear Sole #39
Prepare the Fabric
Cut the fabric horizontally along one of the plaid lines across the center. You may not have a plaid line running perfectly across the center; choose the closest to center. This will leave you with two piece approximately 22 inches x the length of the fabric.
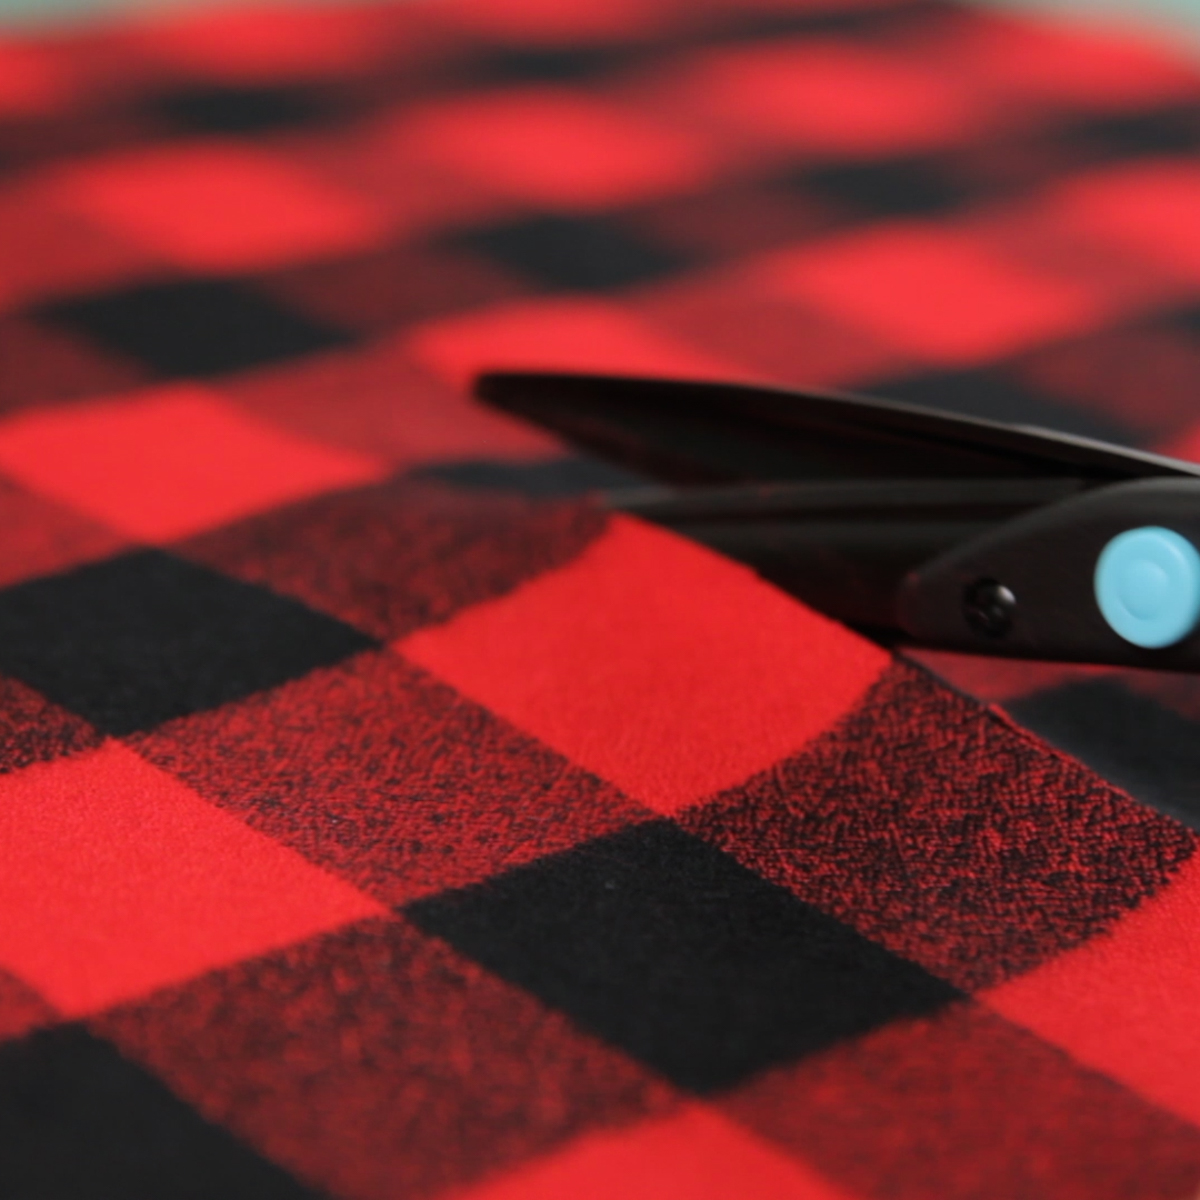
Cut off the selvage edges and square up the sides, again following a line in the plaid as close to the edges as possible.
Prepare the Machine
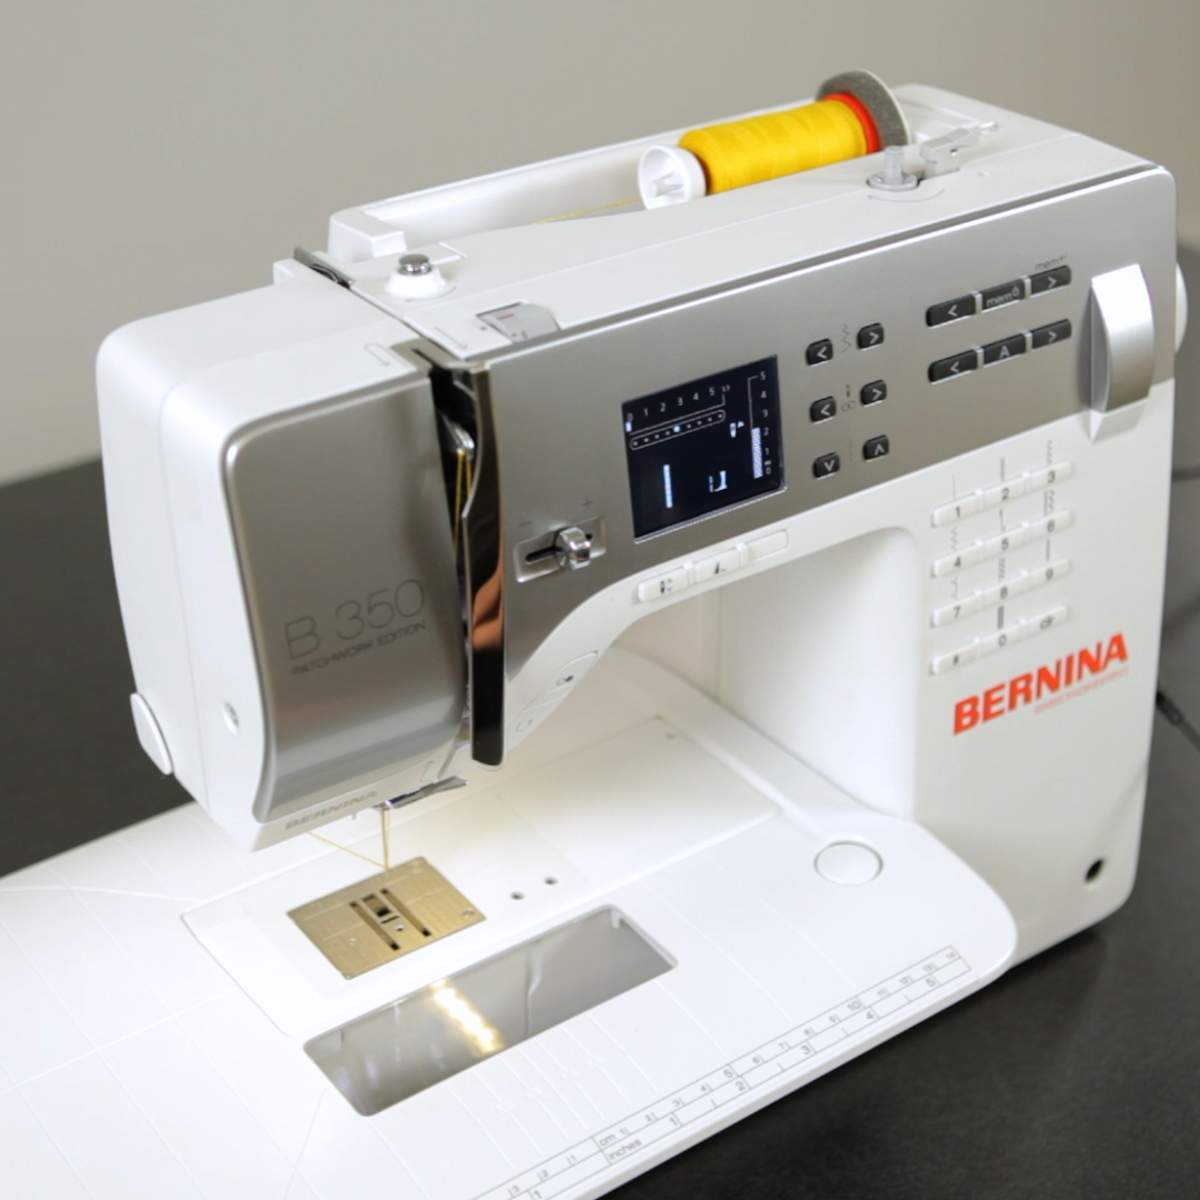
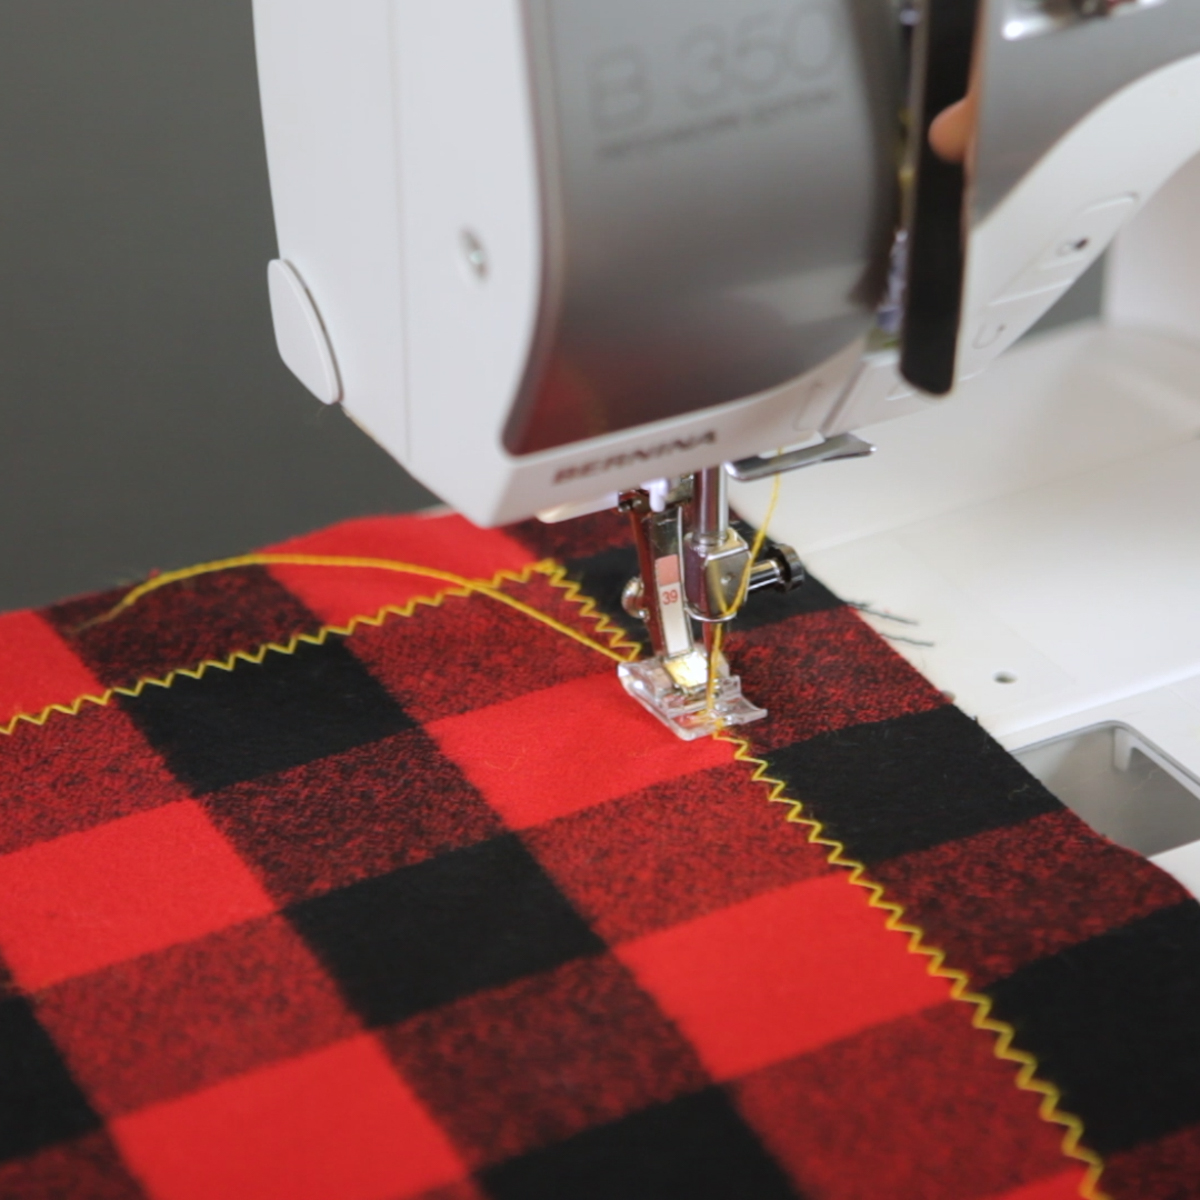
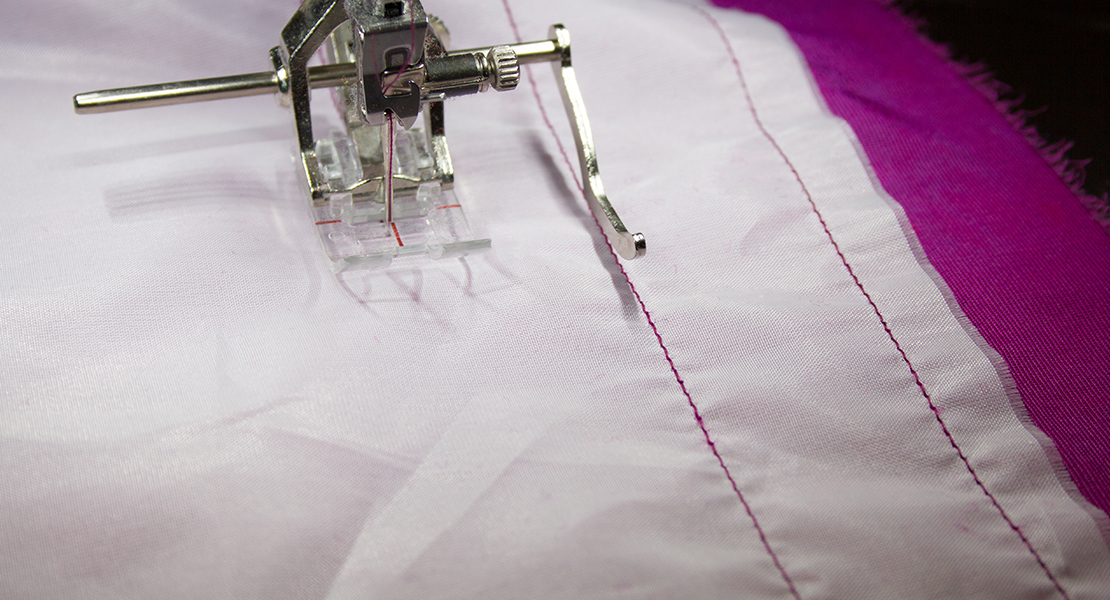
Wind a bobbin with the wool thread and thread the machine with the same thread. Make sure you are using your topstitch needle for this thicker thread, the larger eye will help prevent thread breaking.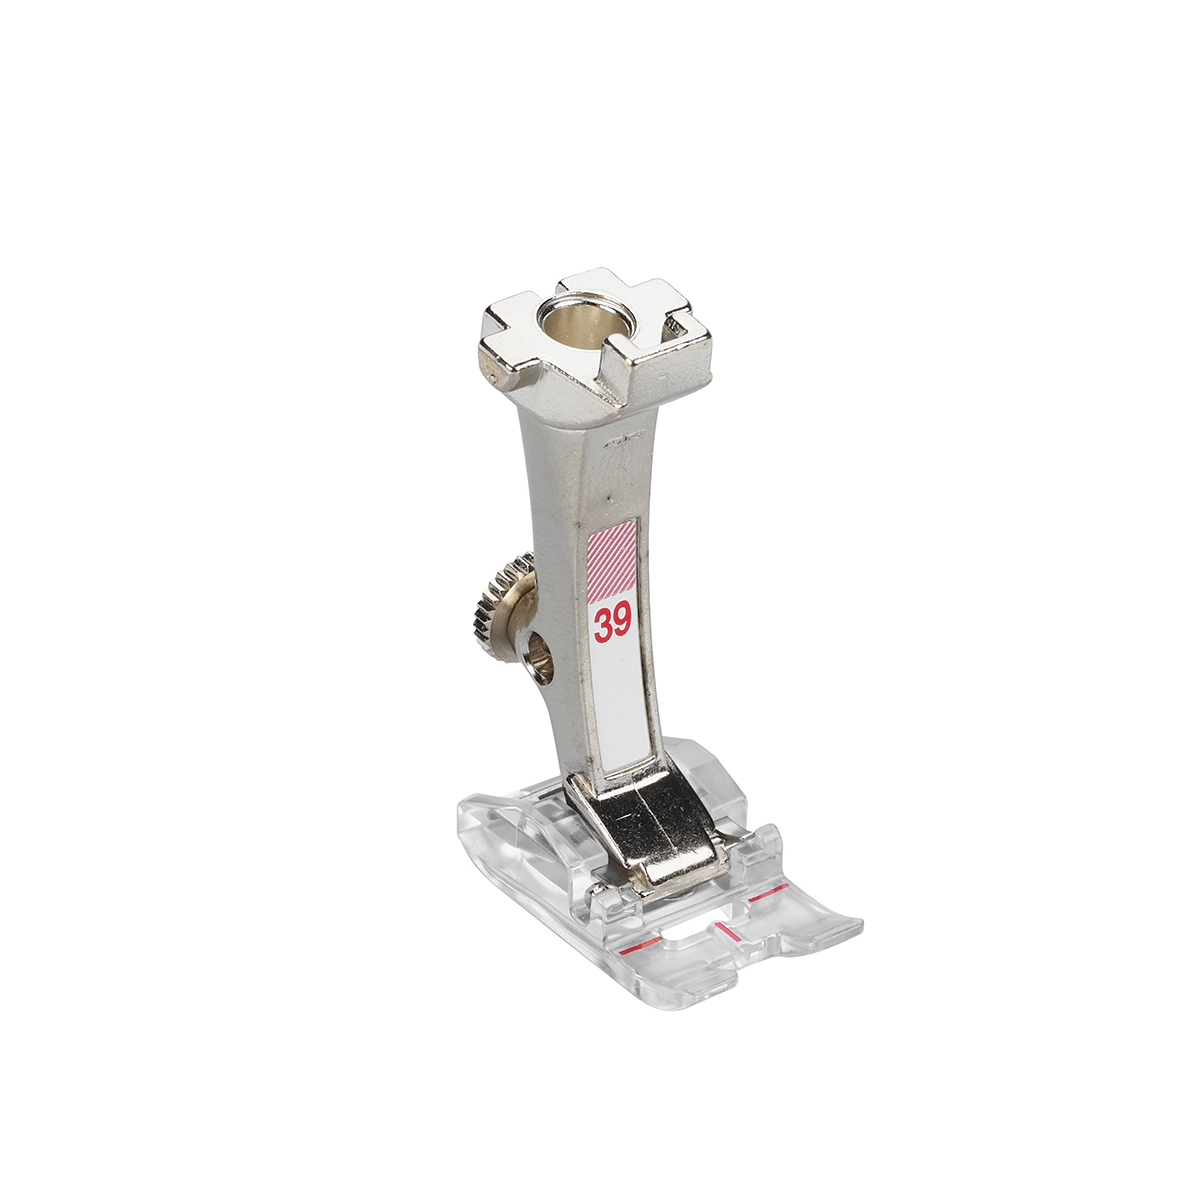 Attach the Embroidery Foot with Clear Sole #39 to the machine. This foot has a wedge shaped indentation in the sole, allowing thick threads and satin stitching to pass easily under the foot. It is also transparent, making it easy to see your stitching.
Play with the decorative stitches until you find the one you like best. We went with the Zig-zag Stitch #2 with a stitch width of 5.5mm and length of 3.5mm.
Make sure you check the tension—you may need to loosen the top tension when using this thicker thread!
Time to Sew
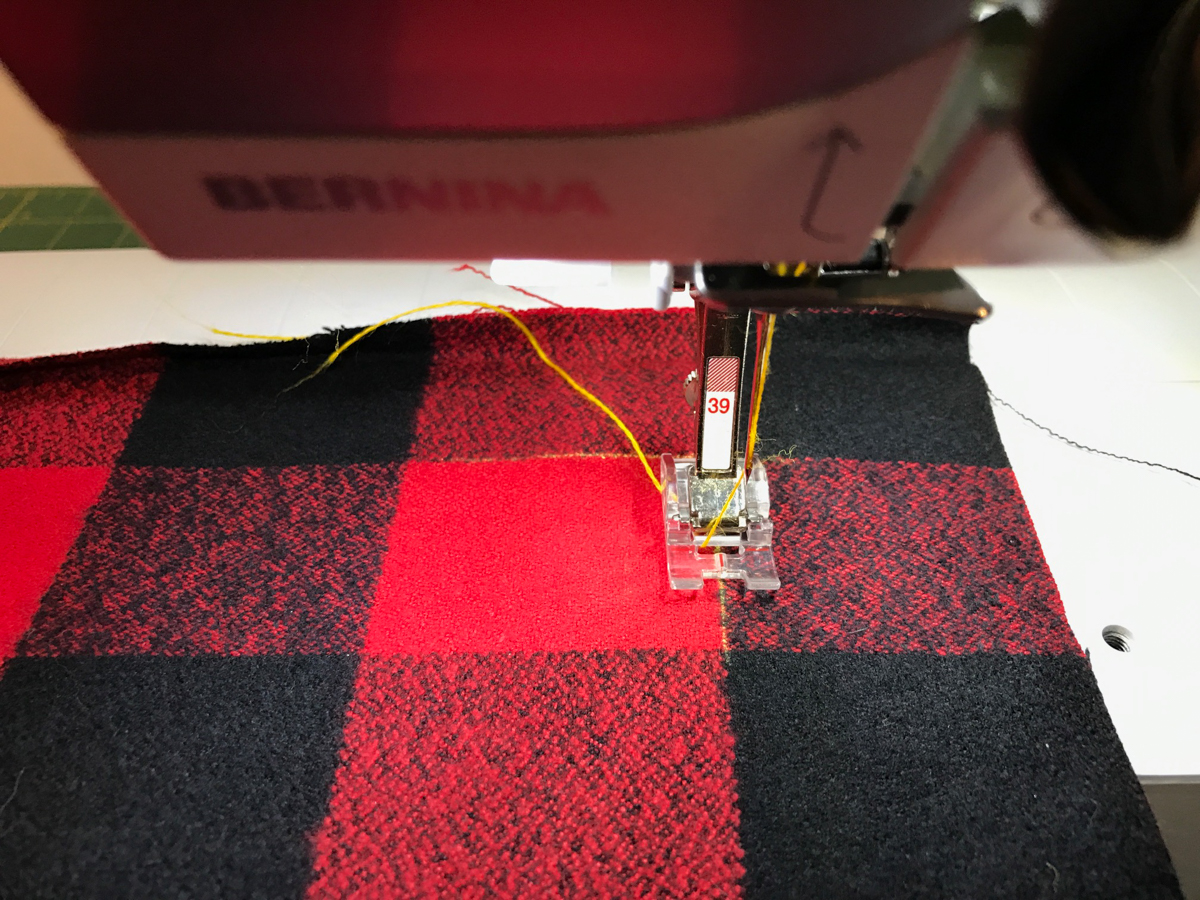
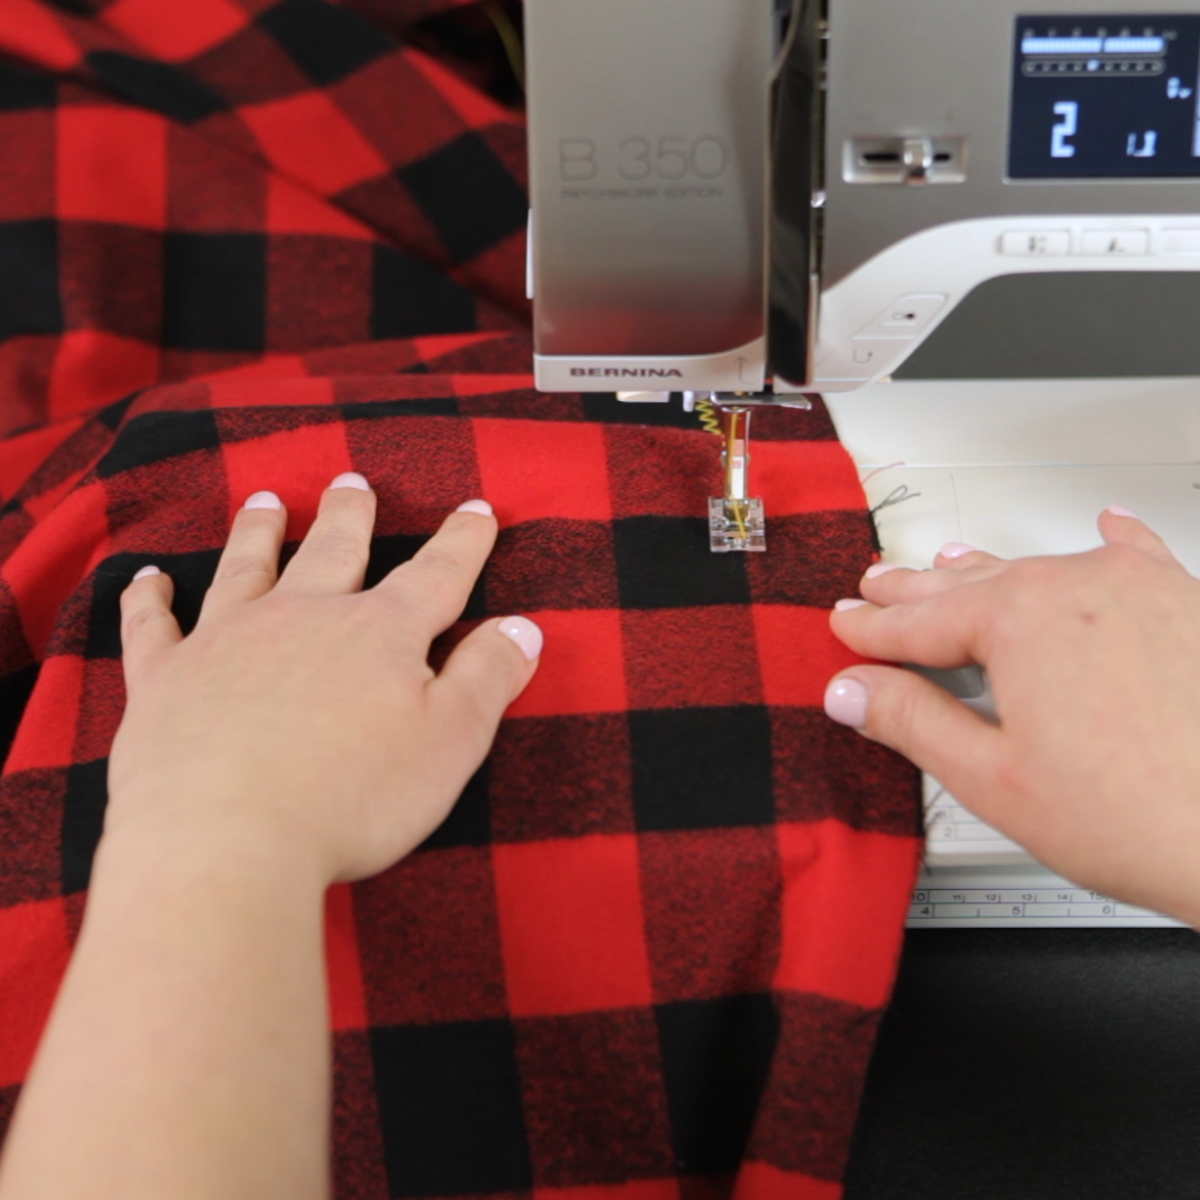
Start sewing aligning the center mark of the presser foot along a line in the plaid, aim to be at least 5/8″ in from the edge. You can see we marked a yellow line to note the lines we are stitching on. This will give us plenty of room to fray the edges after sewing!
Secure the stitch at the beginning. Sew around all four sides using the stitch you selected.
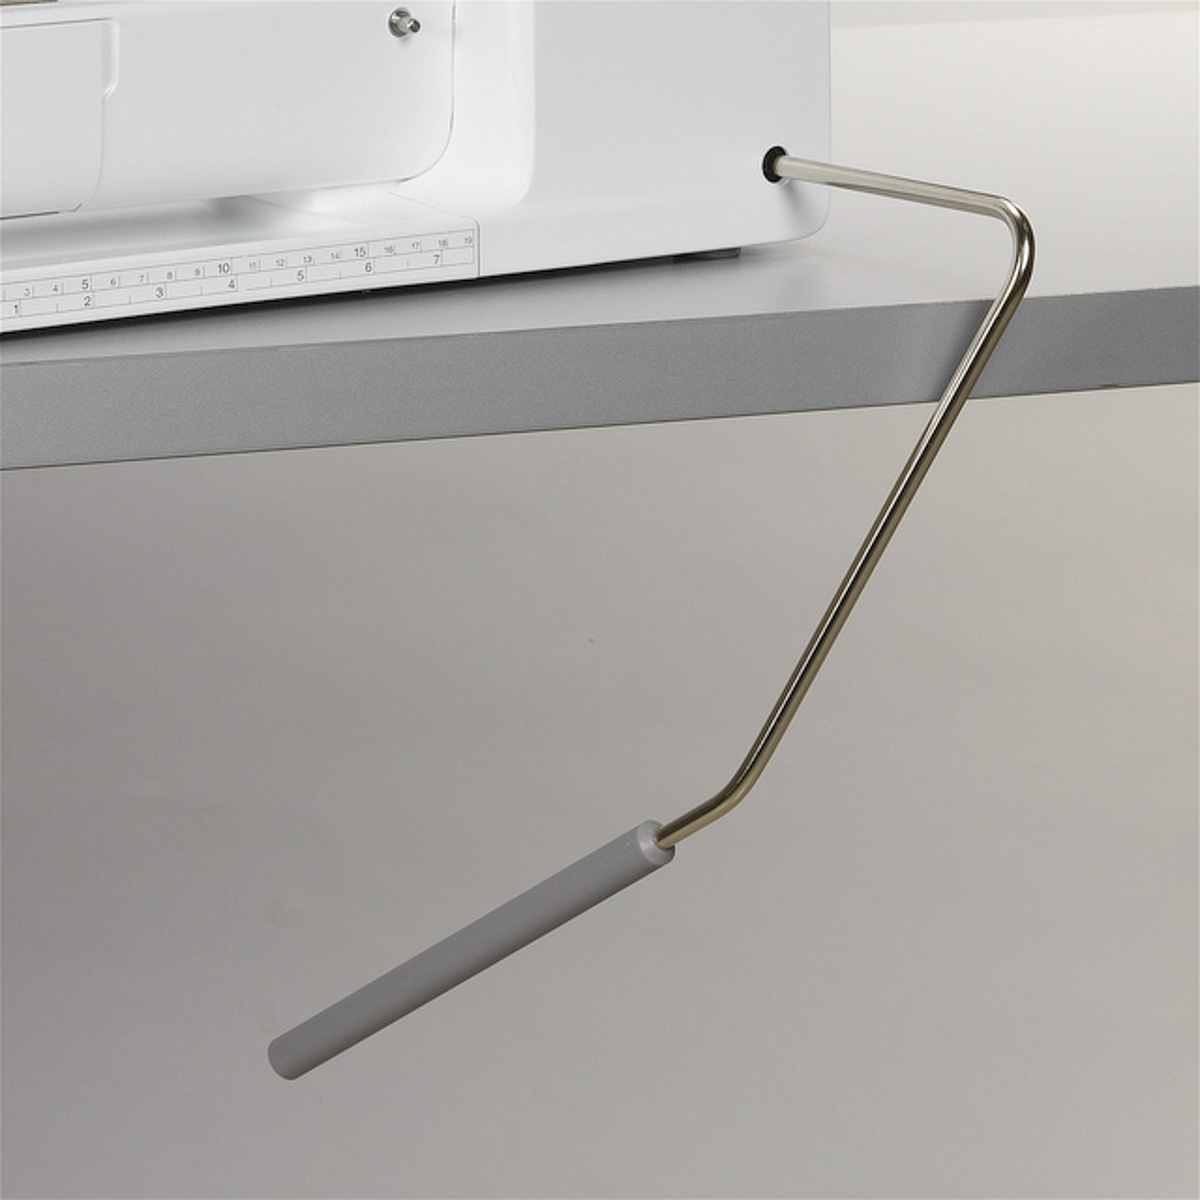
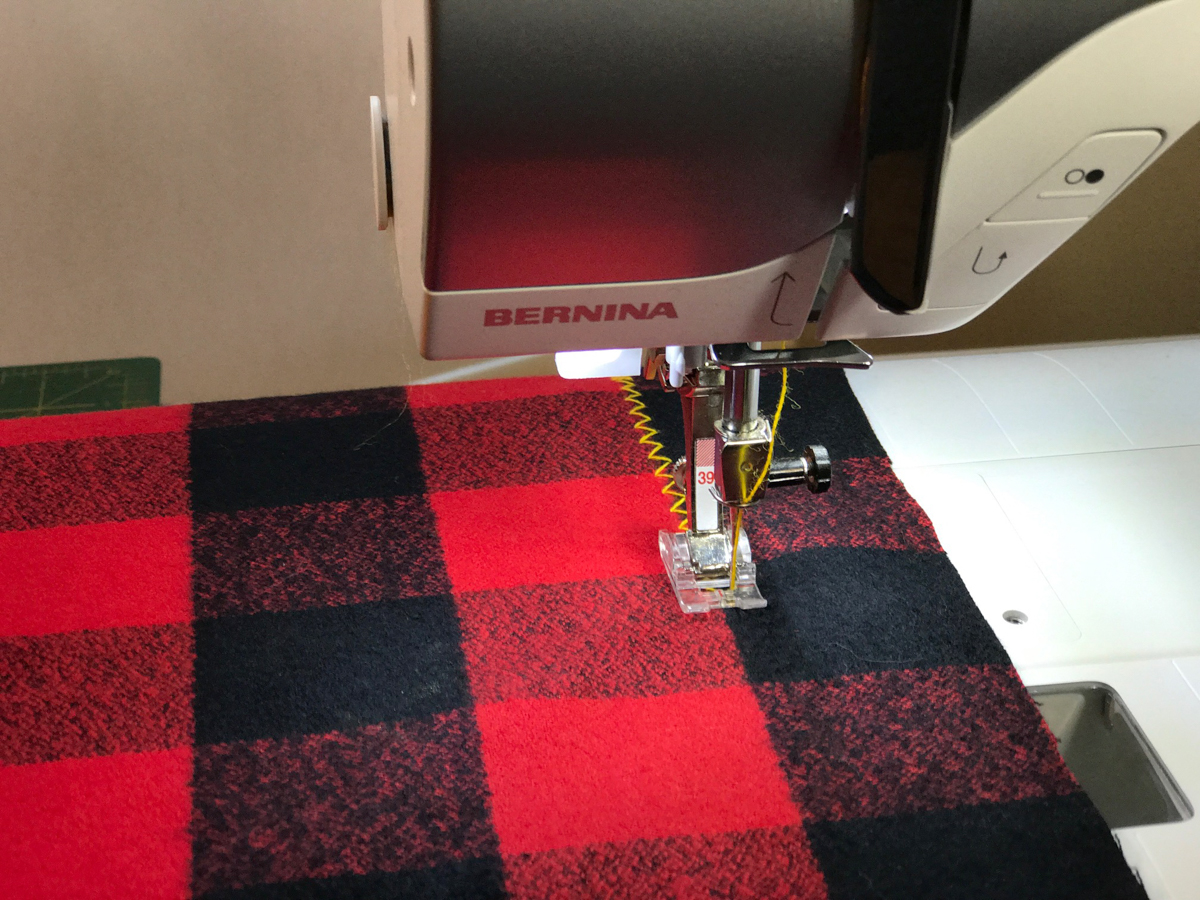
Tip: Use the BERNINA Free Hand System (FHS) when turning the corners. Set the needle to stop in the down position.
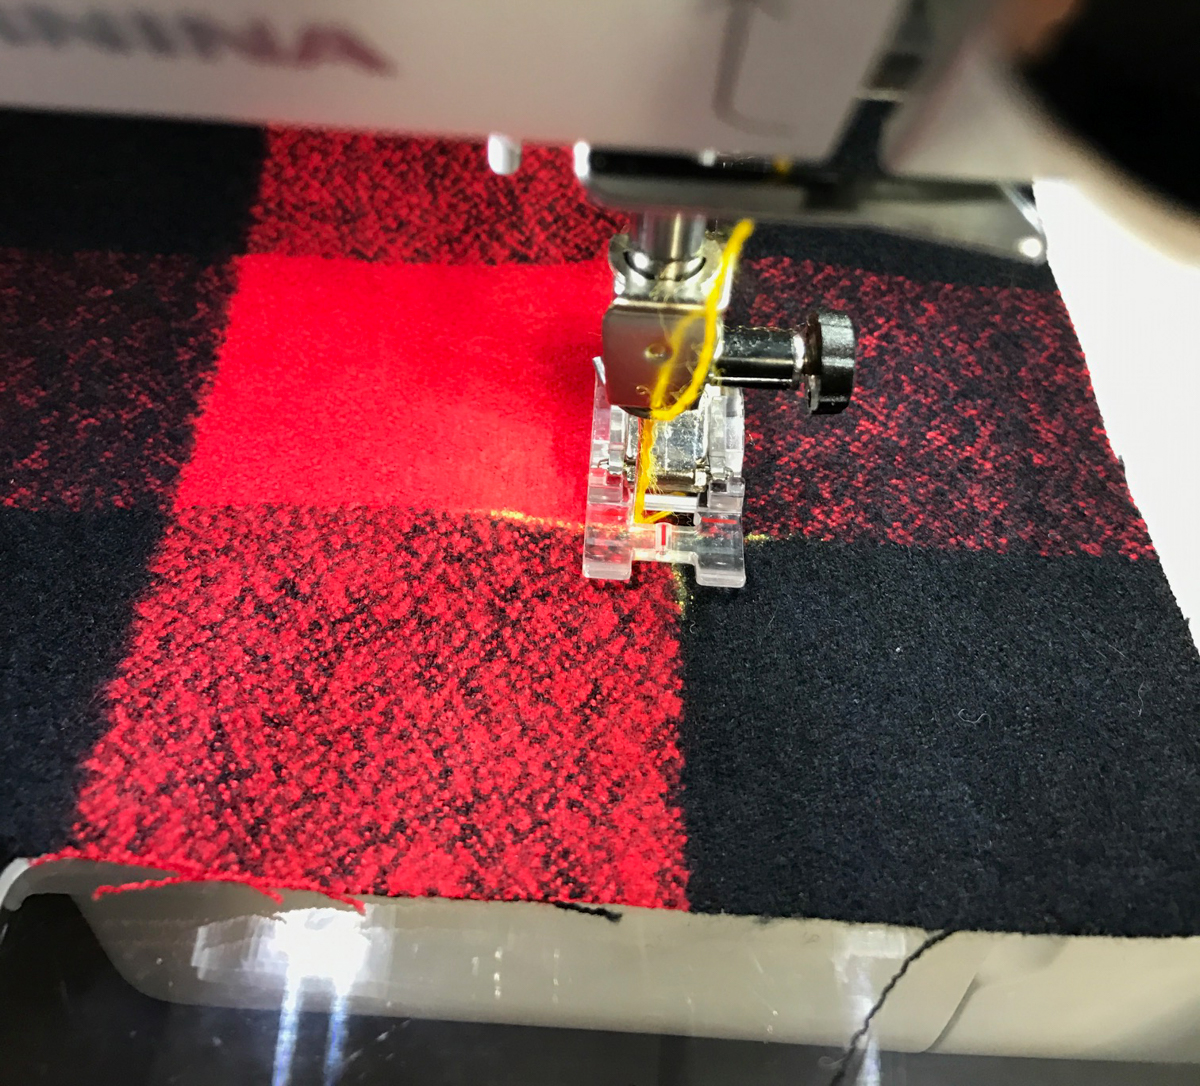
When stitching a zig-zag you want to stop at the corner when the needle is in the left position.
Secure the stitch at the end. When decorative stitching with thick thread, we like to set the machine to a straight stitch #1 and the stitch length to almost 0mm. Stitch “in place” for a couple of stitches, creating a knot. This prevents a thick thread build-up you may get when reverse sewing.
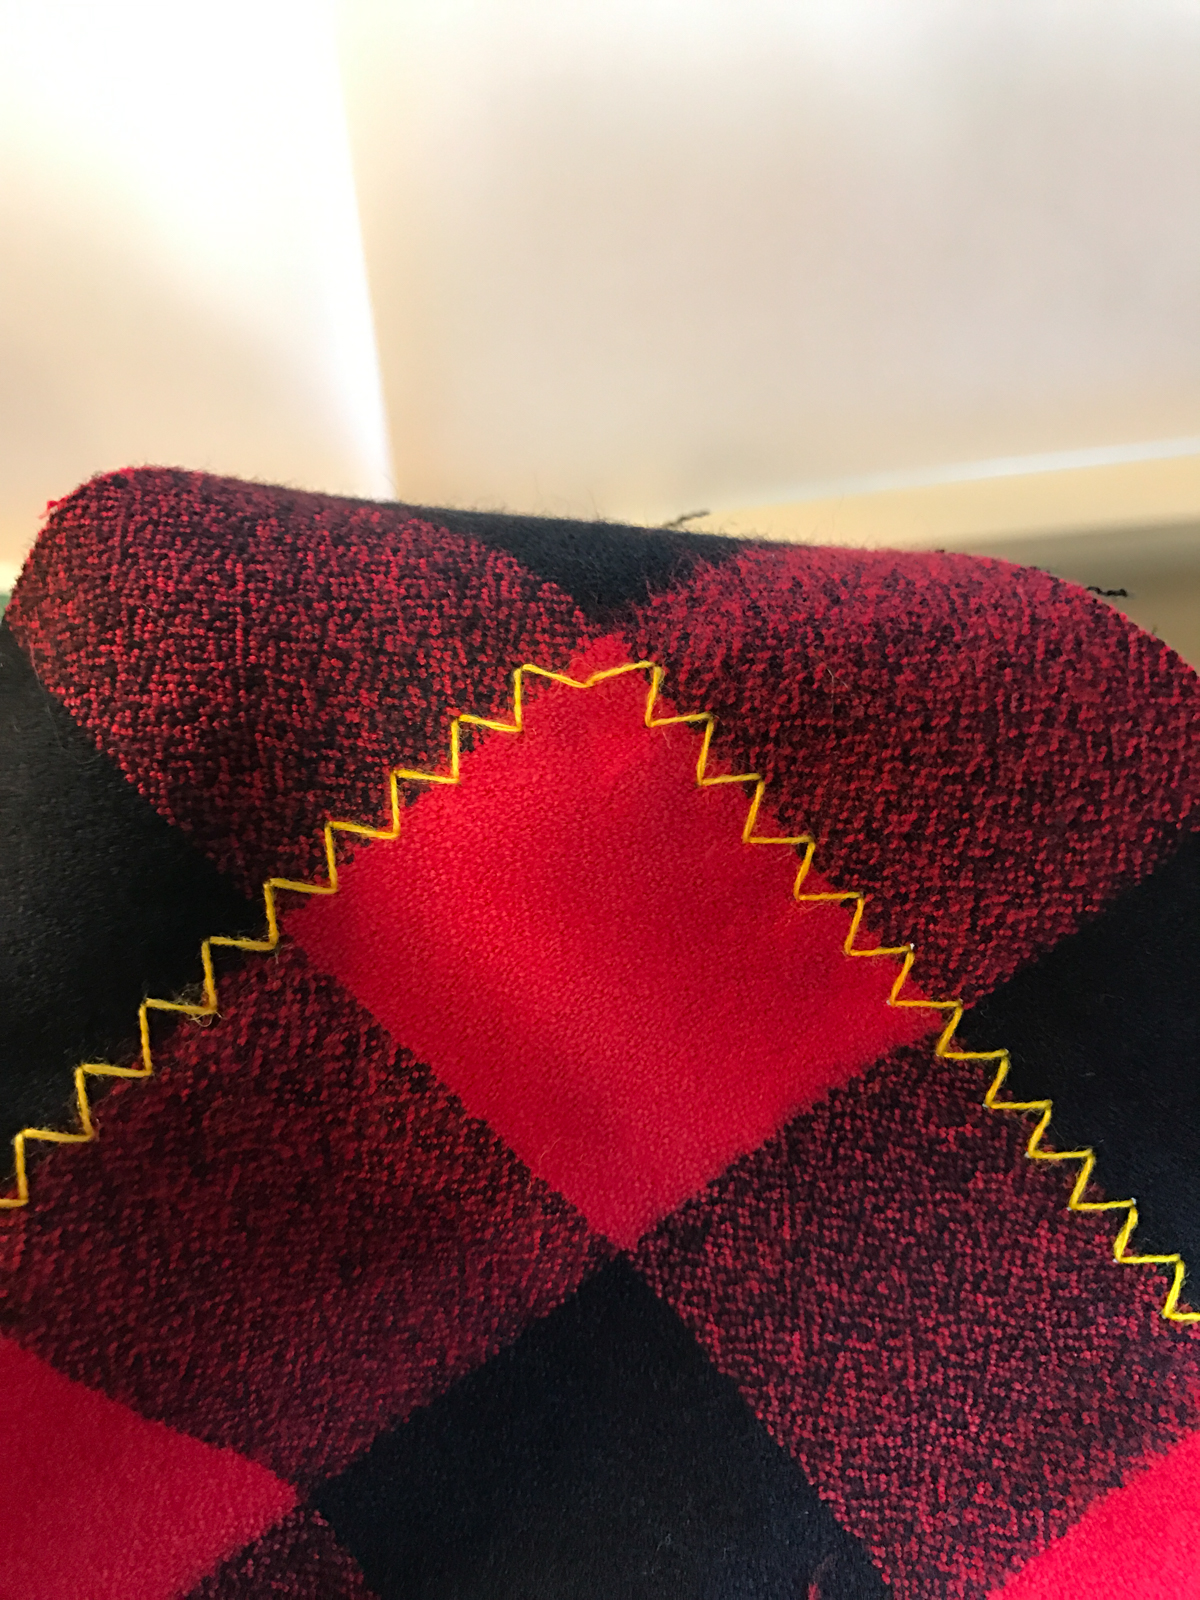
Let’s Fray!
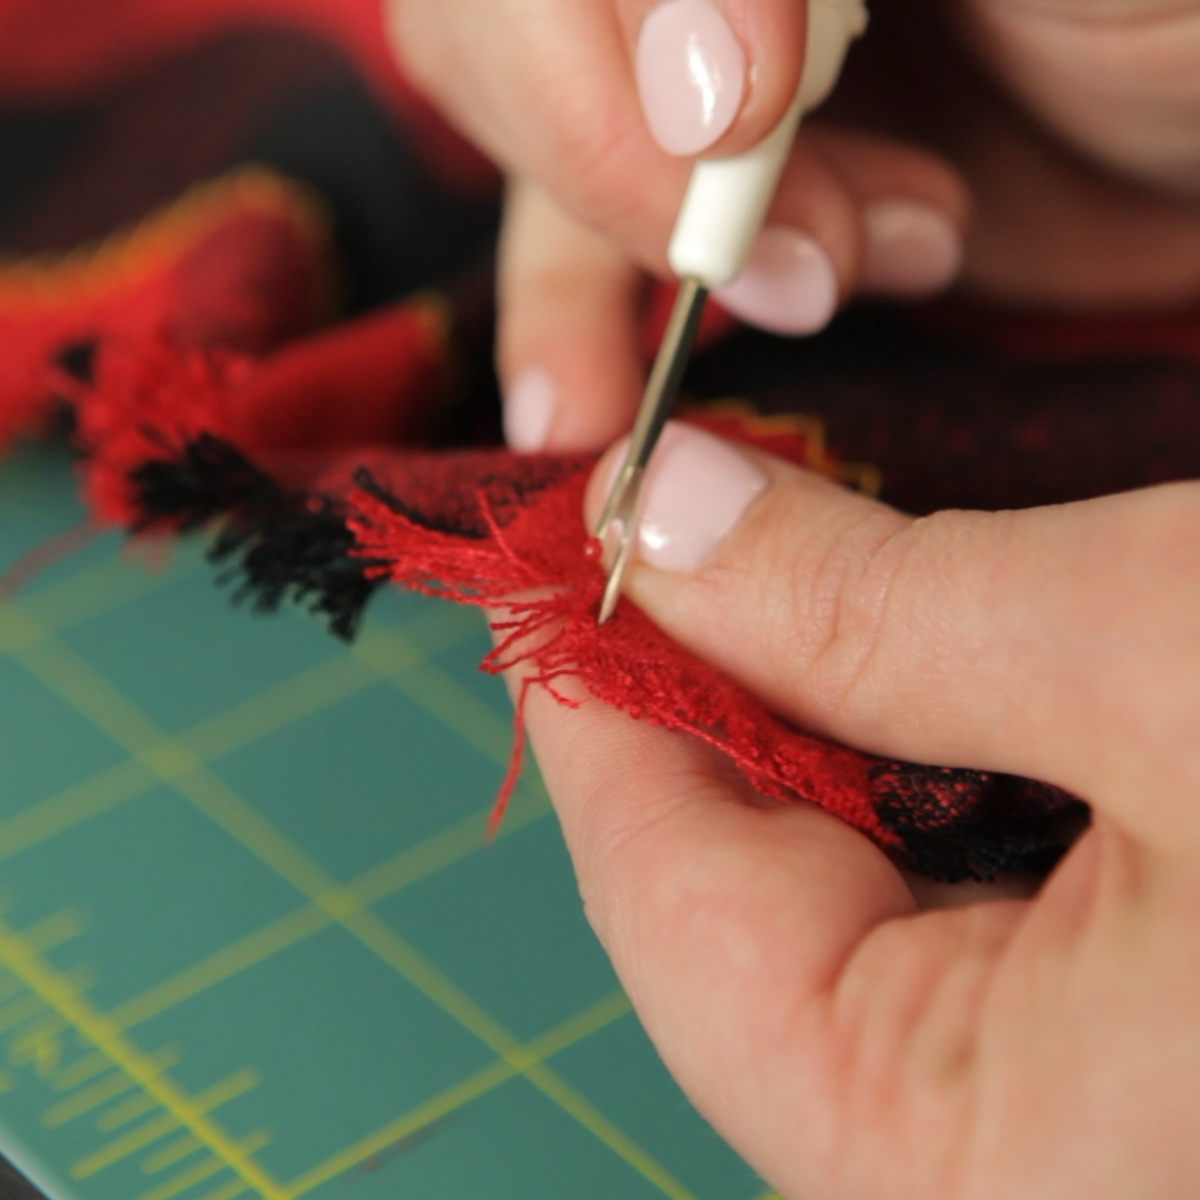
Grab your seam ripper and begin pulling a long thread on one of the edges. The seam ripper helps separate the threads as you go.
Pull threads until you are satisfied with your amount of fringe. I did about ½” on all four sides.
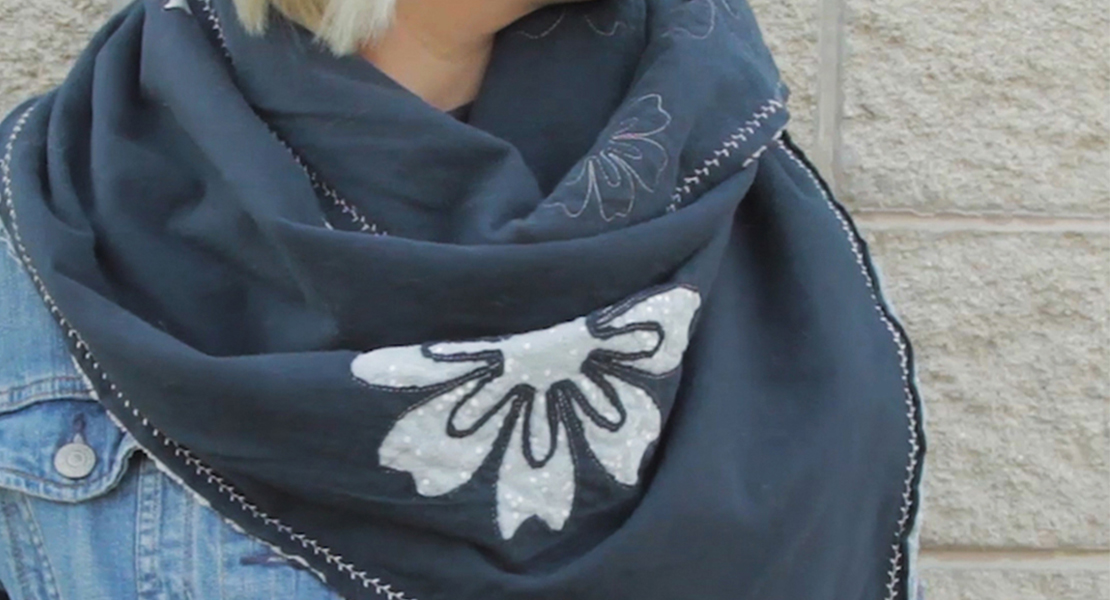
Your scarf is ready to wear!
Sew trendy!


Beautiful, can’t wait to make a scarf! 🙂