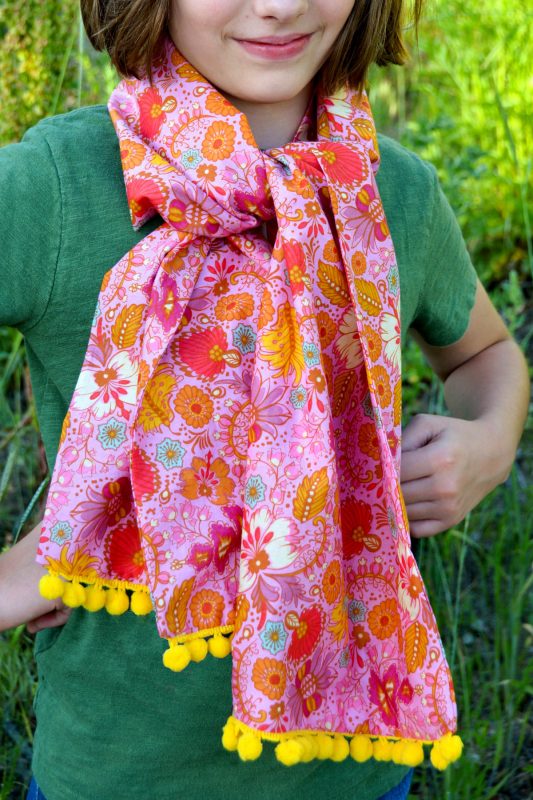
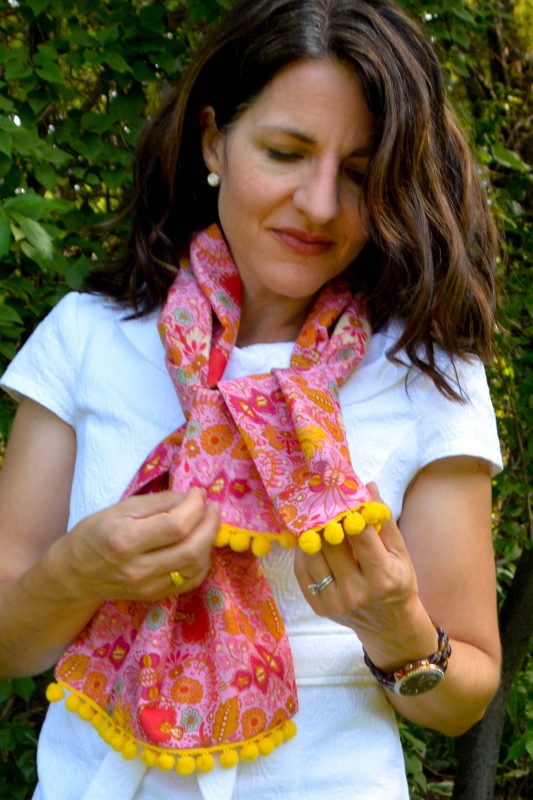
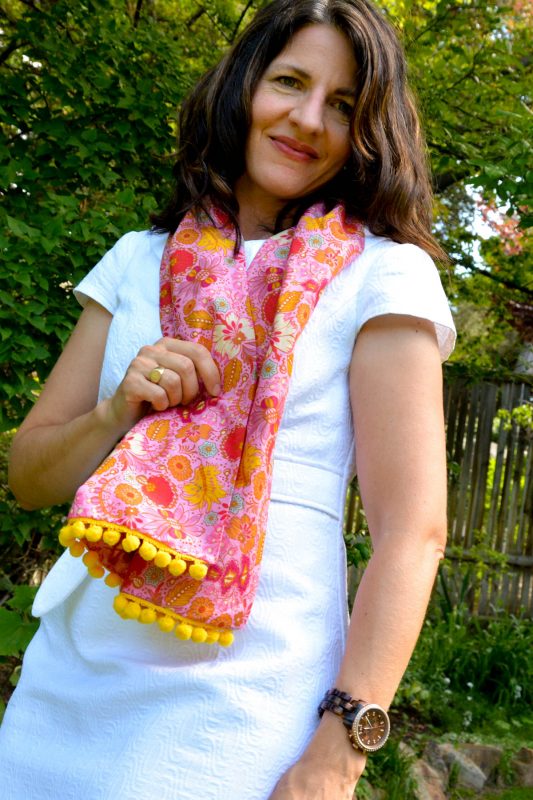
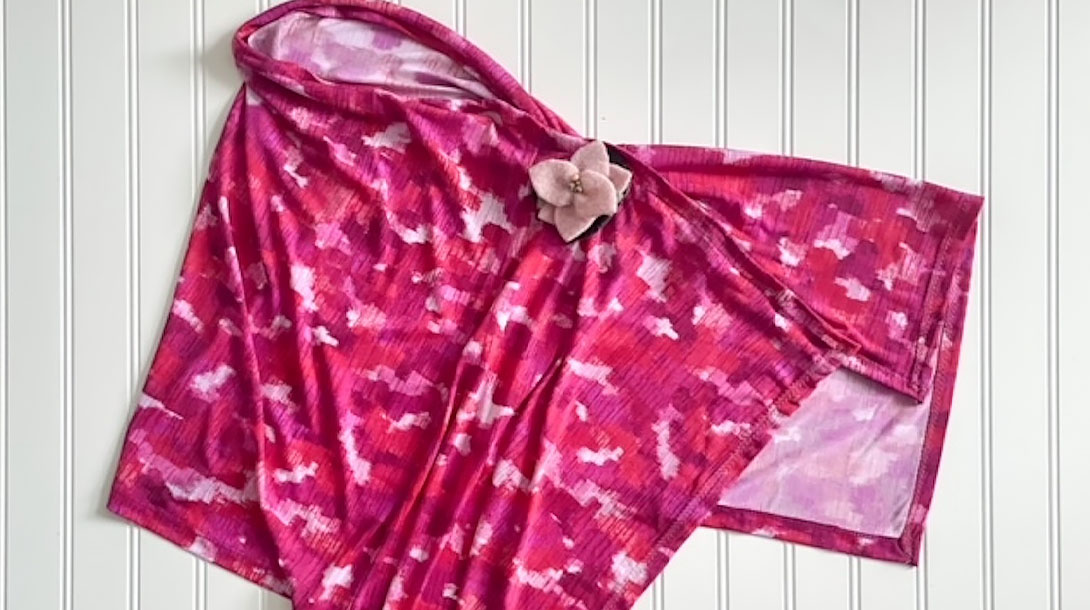
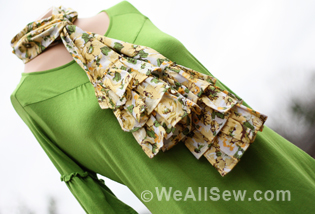
How to Sew a Pom Pom Scarf
Summer is a great time to teach your children to sew, and this scarf is the perfect beginner sewing project. It can be worn by girls or women. It’s a lightweight accessory that can be worn year round. And it can be given away for a one-of-a-kind handmade gift.

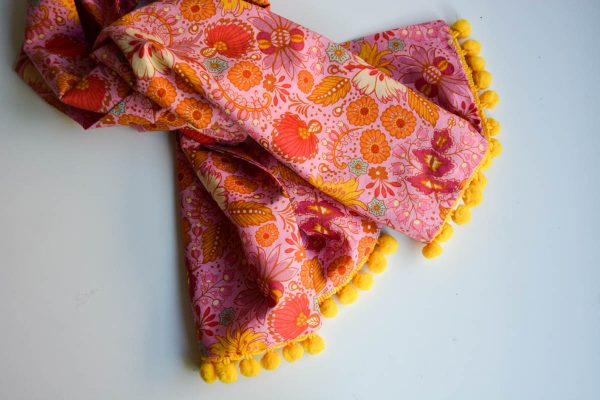
Sewn from a folded rectangle of fabric, there is only one, straight cut to make before sewing and one straight seam (with a couple pivots). The pom-pom trim gives it some added personality, but the trim is optional so it truly doesn’t get easier than this to build confidence in a new sewist and get to a finished project. Along the way your child can practice ironing, learn about pinning, the basics of using your BERNINA sewing machine, the difference between basting and stitching, and why seams are often sewn right sides together.
That’s a lot of learning! But it won’t even take an afternoon.
Materials:
- 24″ inches of 44″ wide cotton voile or cotton lawn fabric (if you are purchasing new you can purchase ¾ yard), such as this “Coloring Garden” in Citrus from the Anna Maria Horner “Little Folks” voile collection. It’s ok to use quilting weight cotton, or shirting as well but they will be a little stiffer.
- 24” length of ¾” pom-pom trim. (I found this trim at Jo-Ann)
- Coordinating thread.
- Scissors or rotary cutter.
- Your BERNINA sewing machine. I sew on a BERNINA 580.
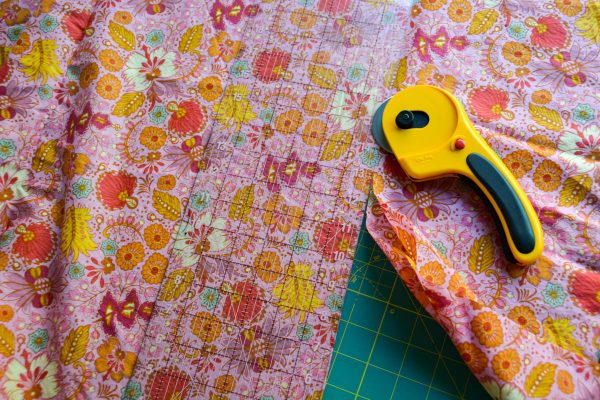
To sew the scarf, start by cutting a piece of 24″x44″ fabric (cut selvedge to selvedge). You can help your child measure and use the scissors to cut or use your rotary cutter and take care of this step for them.
Help your child iron the material to get rid of any wrinkles.
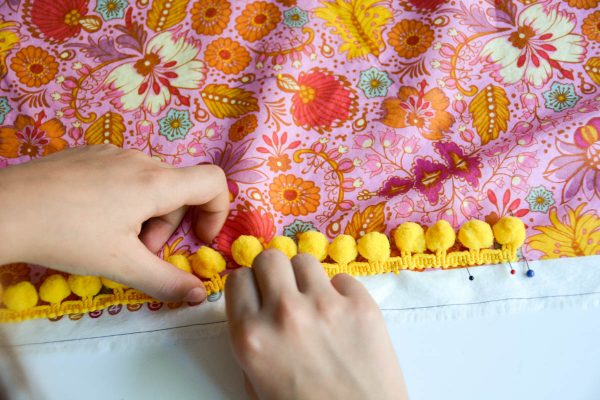
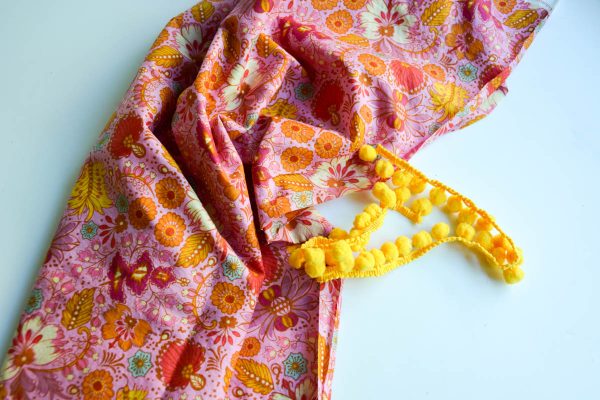
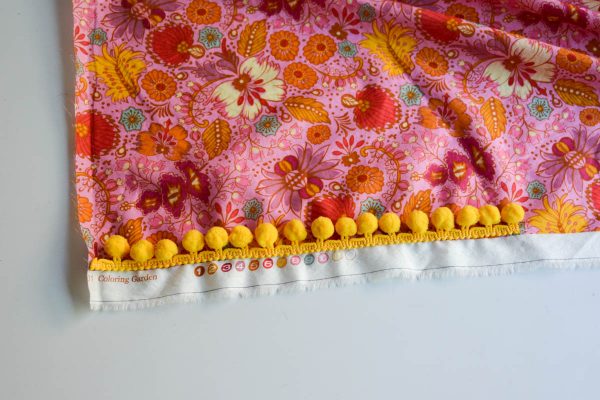
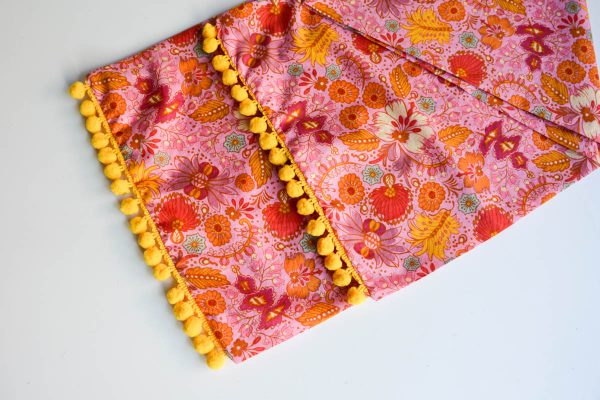
Before sewing the scarf you’ll need to baste the pom-pom trim in place along the short edges of the fabric. Help your child fold the fabric in half lengthwise and place a pin where the fold meets each short end to mark the midpoint. Now you will show your child how to pin the pom-pom trim along half of the short end of the scarf material. Teach her to place the heads of the pins along the selvedge so they can be easily removed as she sews. The webbing of the trim should be clear of the selvedge and the pom-poms should lay towards the middle of the scarf, not towards the selvedge (or they would be enclosed inside the scarf). Cut the trim and pin the raw edge towards the selvedge so it will be caught in the seam.
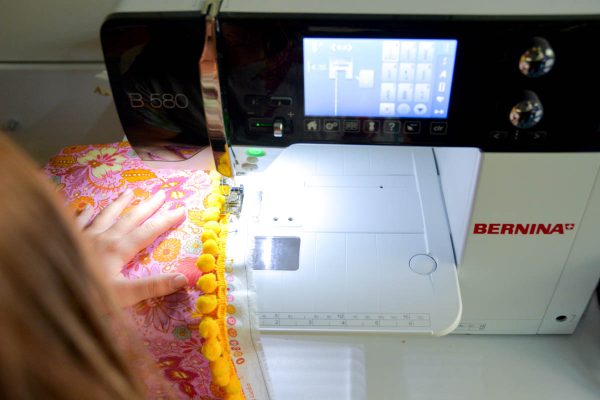
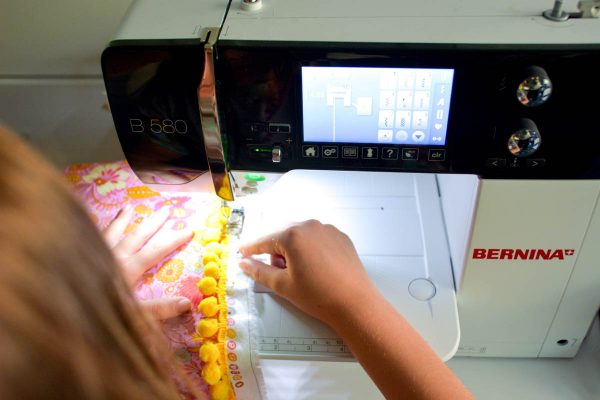
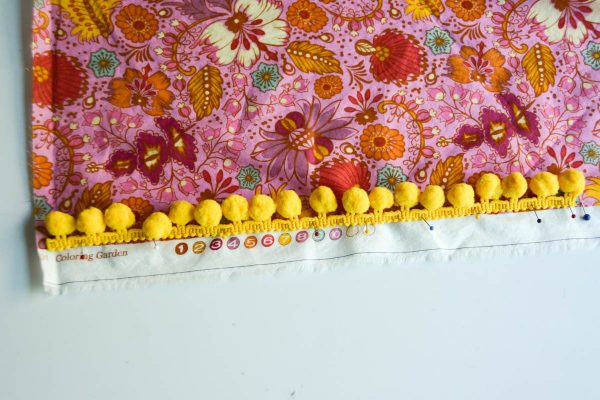
Move the needle on your BERNINA machine to the left, or use a zipper foot, to place the stitching closer to the pom-poms. With a straight stitch length of 5.0 baste the trim in place along the webbing. Repeat this on the other end of the scarf material. Teach your child to remove the pins as she comes to them to avoid breaking the needle.

Repeat these steps to add pom-pom trim to the other end of the scarf.
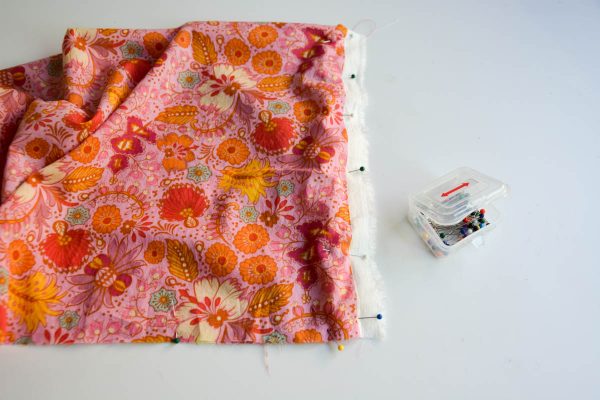
Now with right sides together, help your child fold the scarf lengthwise again. Have your child pin the scarf along the three raw edges. The short ends of the scarf will be a bit bulky, but pin carefully and match up the raw edges at the corner. In the center of the long edge of the scarf help your child adds some extra pins to identify a 3″ section to leave open for turning the scarf right side out.
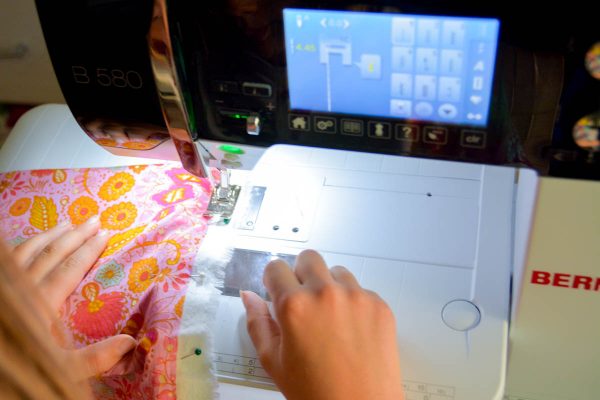
With a stitch length of 2.5, and your needle moved to the left, show your child how to backstitch to secure the thread and then stitch close to the pom-poms along the short edge, removing the pins as he or she comes to them.
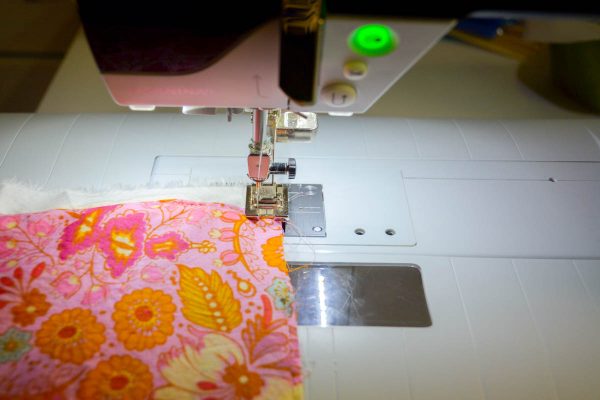
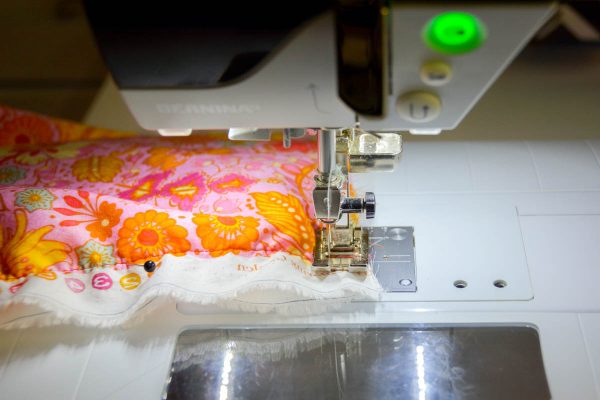
When your child comes to the corner show her how to pause with the needle in the down position, lift up the presser foot, and pivot the fabric so the stitching can continue down the long edge of the scarf. I like to use the edge of the presser foot as a guide along this edge, which will give you close to a .5” seam allowance. Your child should stop stitching where he or she placed the extra pins for the opening and backstitch to secure the seam. Cut the threads and slide the fabric under the presser foot so the needle can be positioned on the other side of the opening. Backstitch and continue stitching the long edge of the scarf. Pivot at the corner and have your child stitch along the short end of the scarf and backstitch to finish.
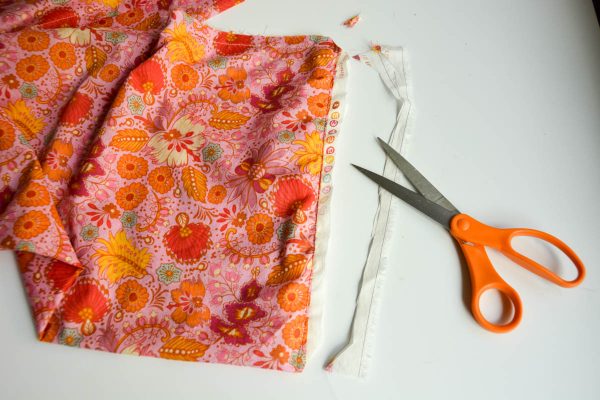
Teach your child how to trim the selvedge on the short ends, and clip the corners to remove excess fabric. (No need to trim the seam allowance on the long edge, and you’ll want some extra to make stitching the opening closed easier.)
Now the best part: turning the scarf right side out!
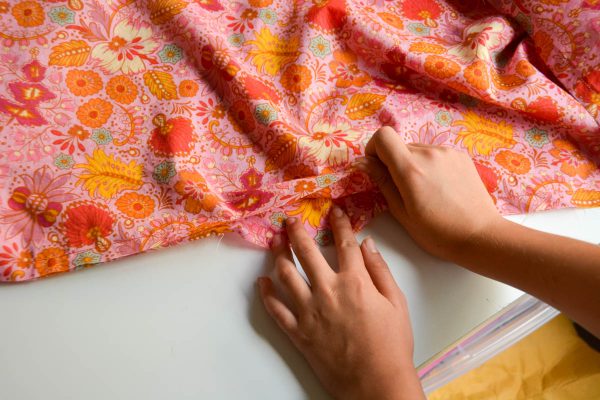

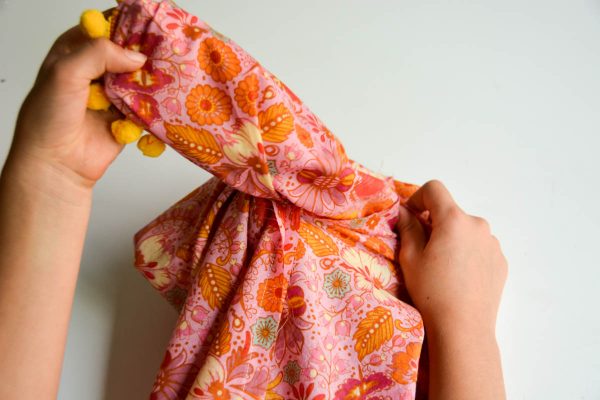
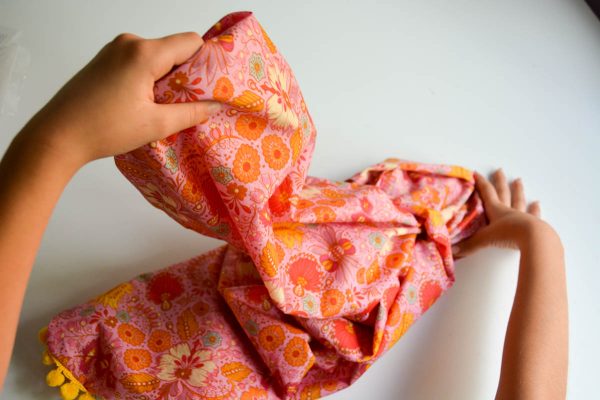
Show your child how to reach inside the opening left in the stitch and pull the right side of the fabric out. Your child’s arm may be small enough to reach all the way in to the pom-pom trim so each half of the scarf can be turned in one large gesture.
When the scarf is turned right side out show your child how to tuck in the seam allowance to neaten the opening left in the long edge. Then the opening can be stitched closed very close to the folded edges.
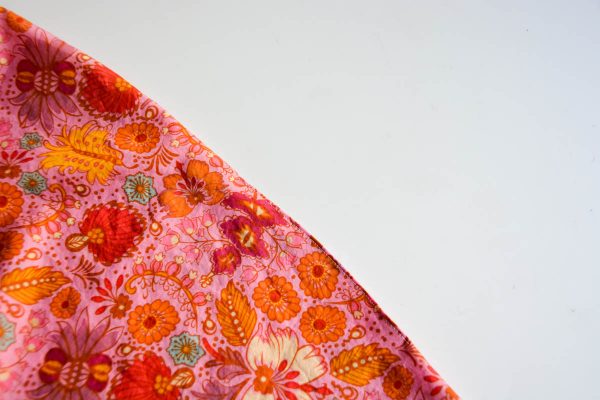
As the final step, show your child how to press the scarf with a crisp fold on the folded edge.
Now your child can wear the scarf, package it to give away, or share it with you!